alienware
Banned
Not often I would chop up a chassis worth a fortune, but this one cost me bugger all really.
I originally set up Nfenix with Quad SLI to run my three screens (pictured here)
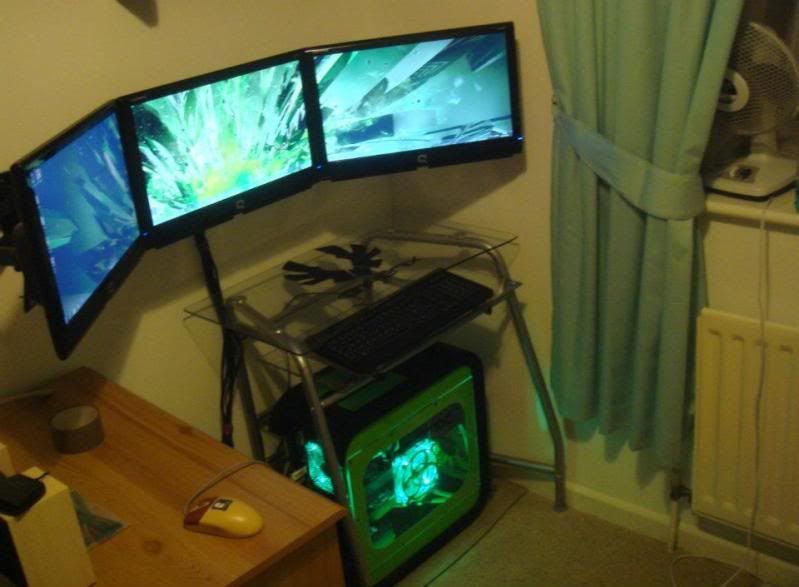
But alas the Core 2 Duo was choking it badly.
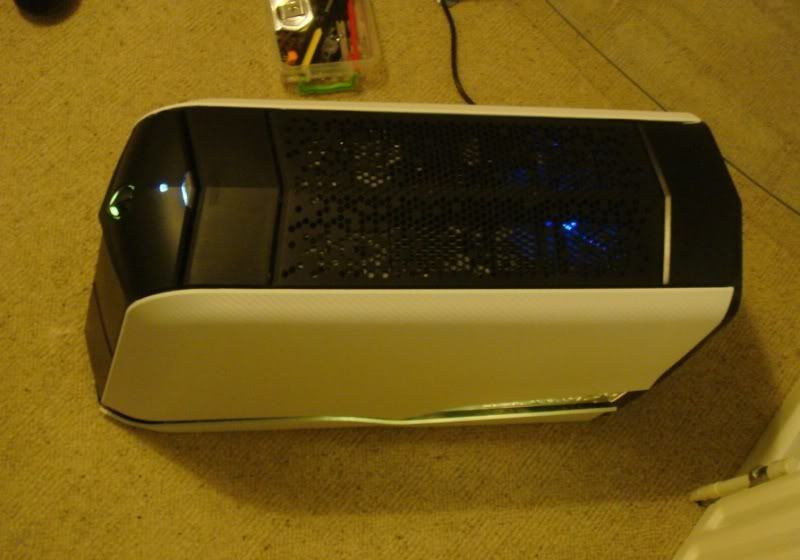
So a mate of mine sold me an Alienware for peanuts. Do note, the inside isn't going to be pretty. Firstly you can't rewire it as it has three electronic boards that control the case.
So I took my pair of Co ops and drooled for a bit.
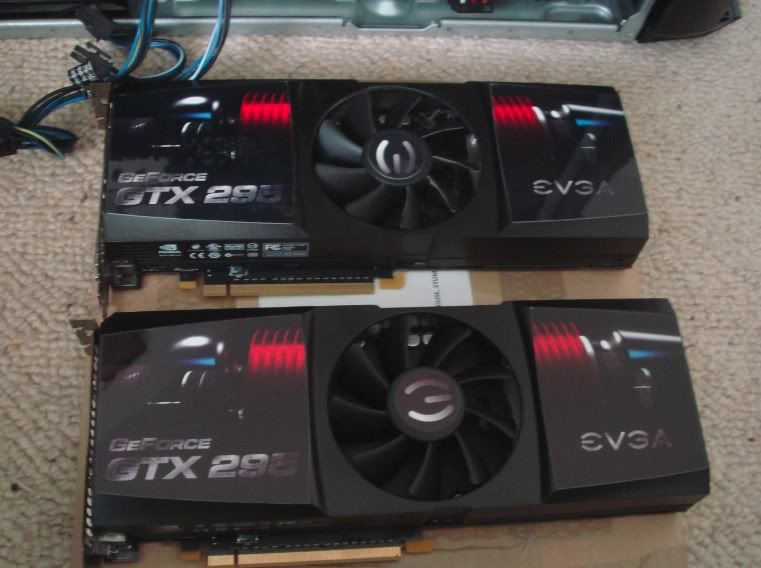
Pretty, aren't they? Any way, threw the rig together.
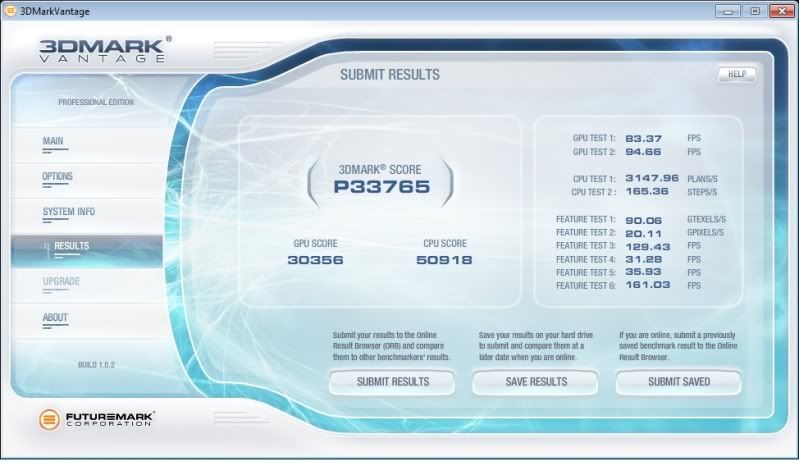
Quick Vantage.
lmao. Onto some small mods for cooling.
And in.
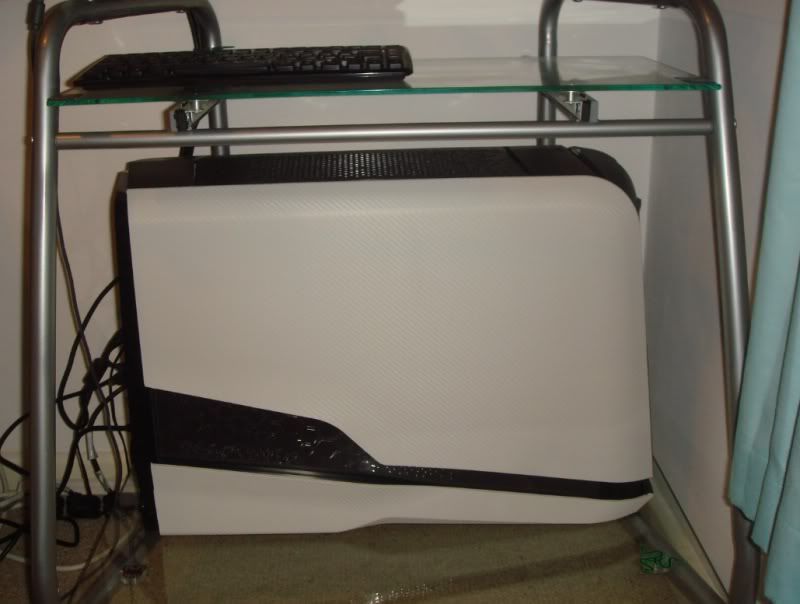
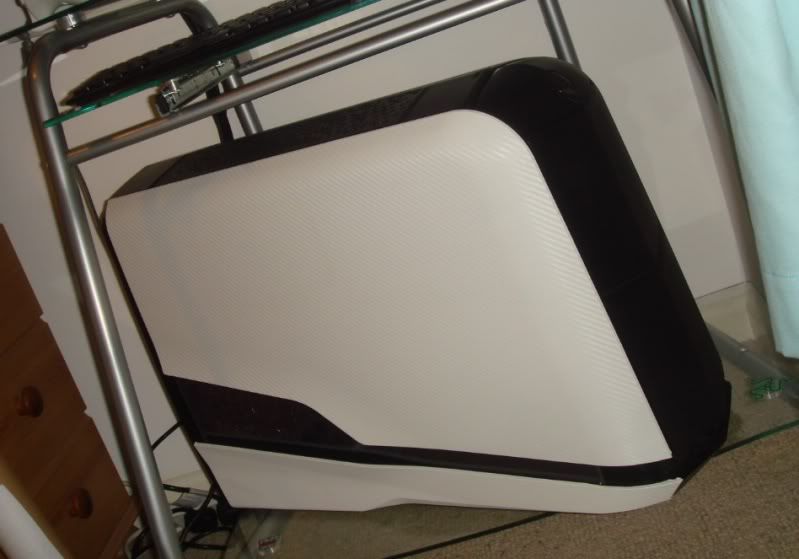
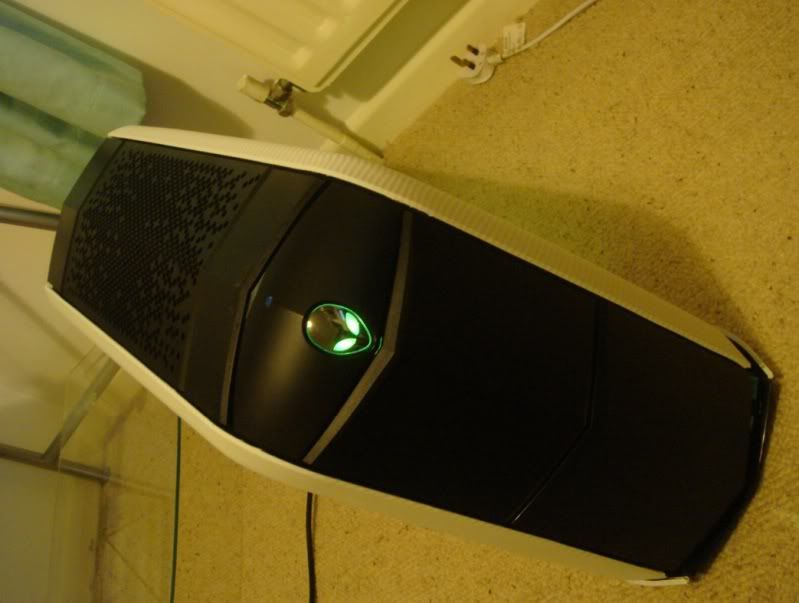
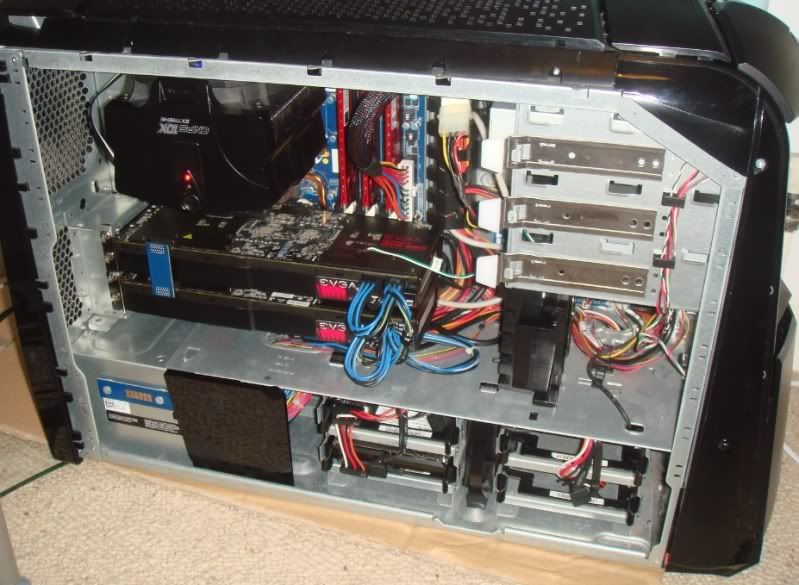
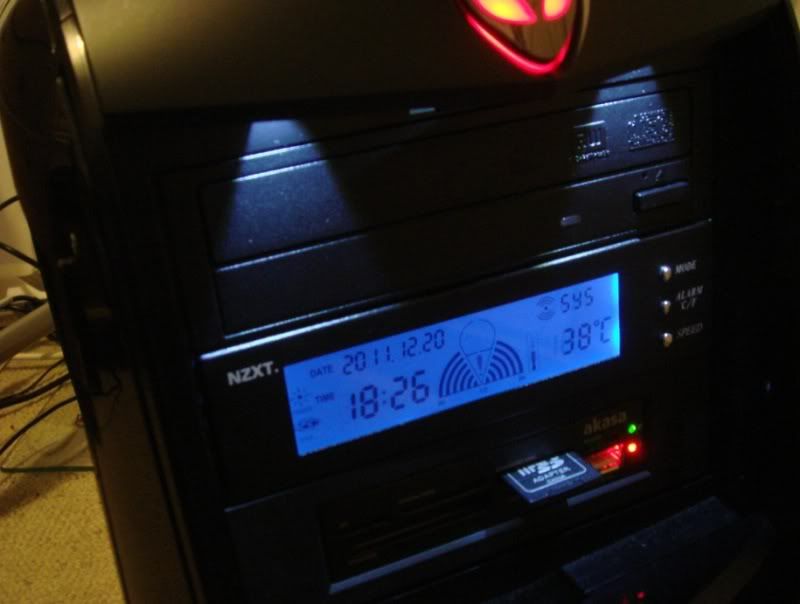
It's tidier now, and I have a fan for the back (cheapo Arctic F12. Again I will repeat, the inside ain't going to be pretty. Trust me, when you pack a pair of co ops next to each other what it looks like doesn't matter. This is the front. The horrid "Just doesn't fit" fan controller is only there to fill a hole. It does have the time and date on which is kinda useful.
Now onto the not very fun part.

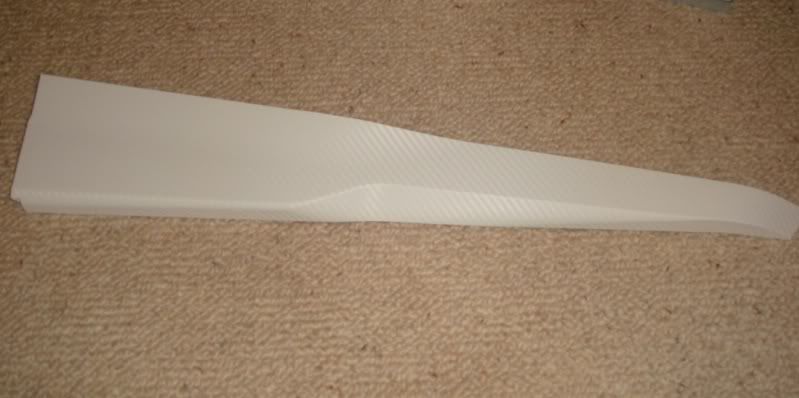
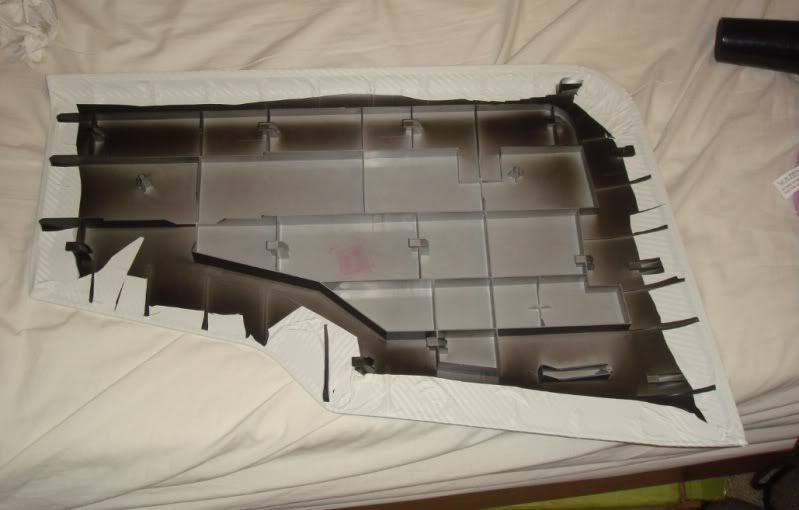
Break down.

Bit of cutting.

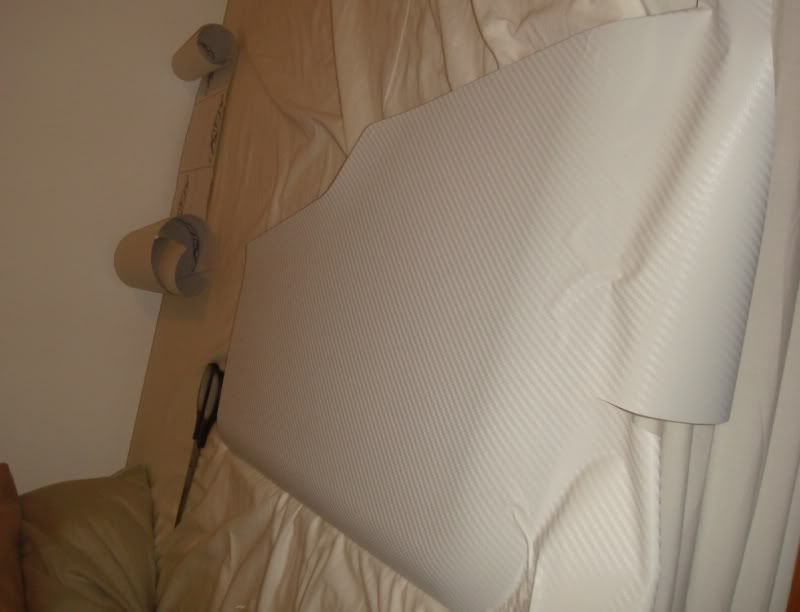
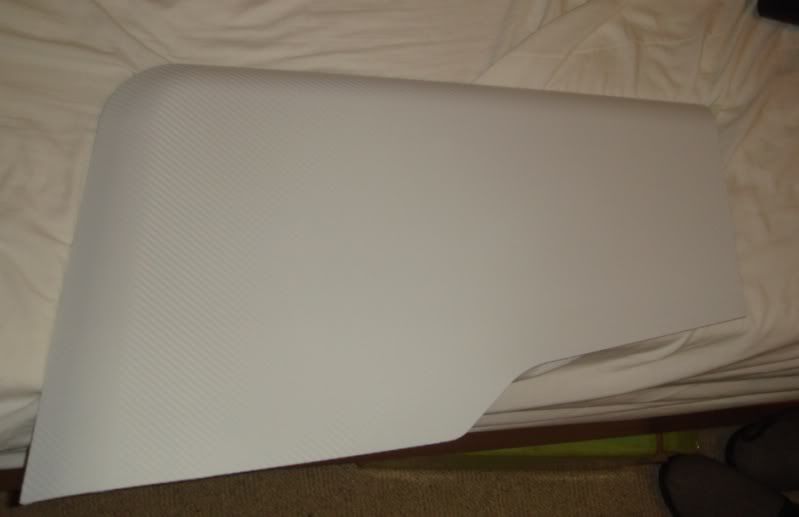
One hour of burning your hands, blistering your fingers rubbing out bubbles and lots of swearing later.

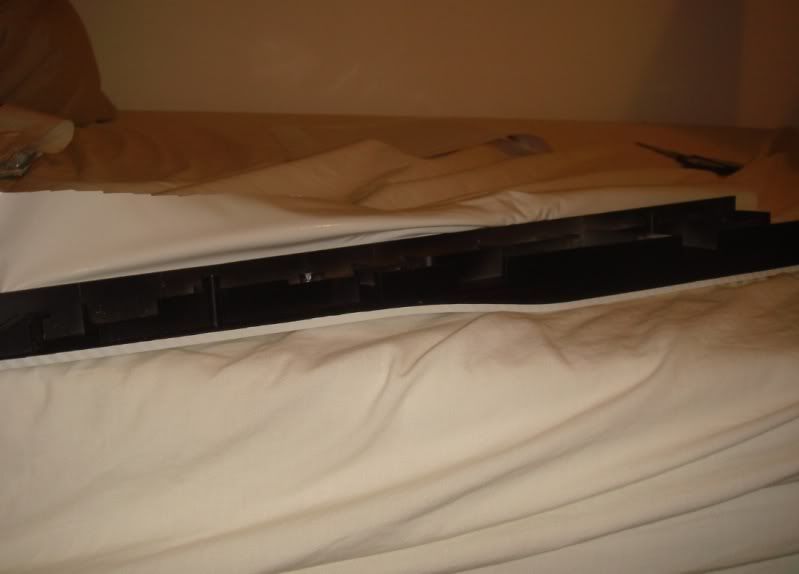
Will get onto the small bottom part in a minute.

I originally set up Nfenix with Quad SLI to run my three screens (pictured here)
But alas the Core 2 Duo was choking it badly.
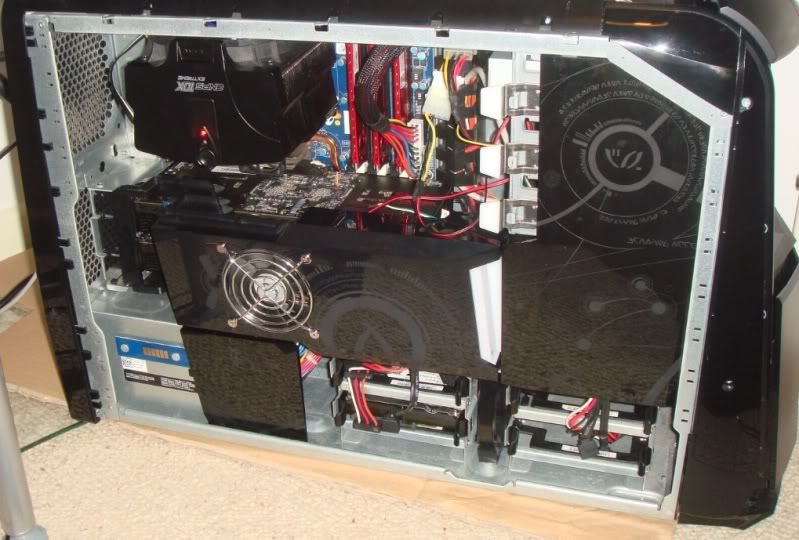
So a mate of mine sold me an Alienware for peanuts. Do note, the inside isn't going to be pretty. Firstly you can't rewire it as it has three electronic boards that control the case.
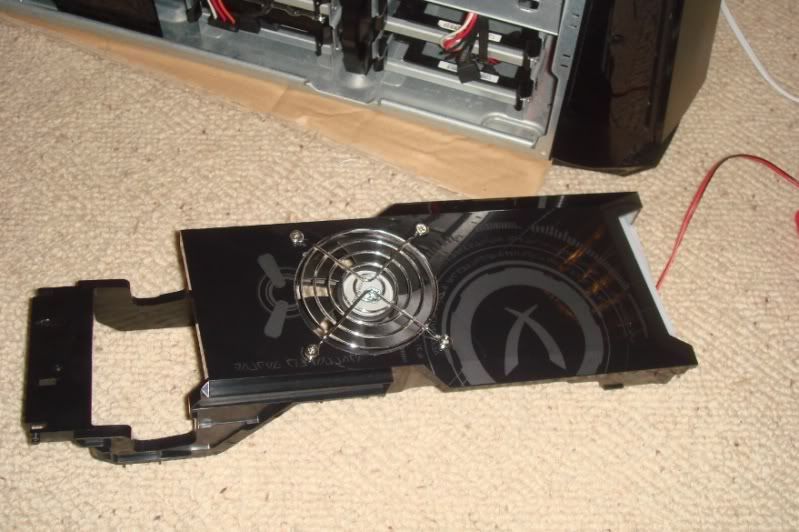
So I took my pair of Co ops and drooled for a bit.
Pretty, aren't they? Any way, threw the rig together.
Quick Vantage.
lmao. Onto some small mods for cooling.
And in.
It's tidier now, and I have a fan for the back (cheapo Arctic F12. Again I will repeat, the inside ain't going to be pretty. Trust me, when you pack a pair of co ops next to each other what it looks like doesn't matter. This is the front. The horrid "Just doesn't fit" fan controller is only there to fill a hole. It does have the time and date on which is kinda useful.
Now onto the not very fun part.
Break down.
Bit of cutting.
One hour of burning your hands, blistering your fingers rubbing out bubbles and lots of swearing later.
Will get onto the small bottom part in a minute.