Rise of the triad, The 2014 Area 51

Another side project. However, this one is very important. I won't say what it is yet, let's see if any one can guess :D (and no, me making a huge mess doesn't count :p )

OK so last night I was poking around on Ebay (as you do) and I saw something that filled me with want. However, it was expensive and when I broke it into logic I realised I could make my own for almost nothing.

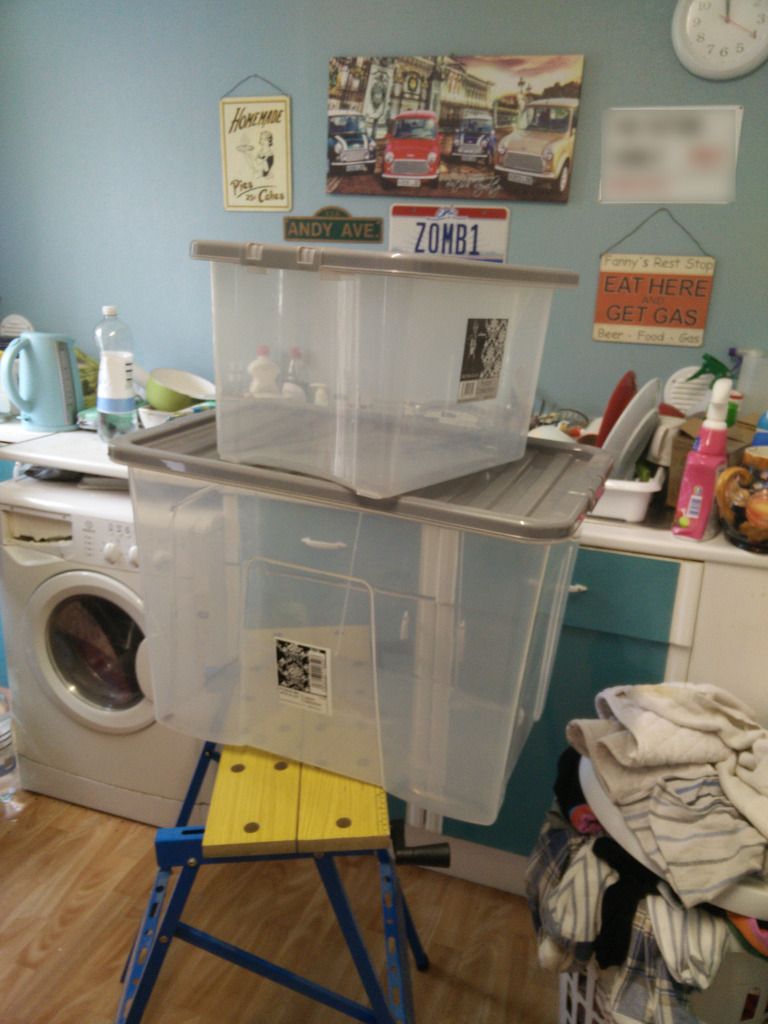
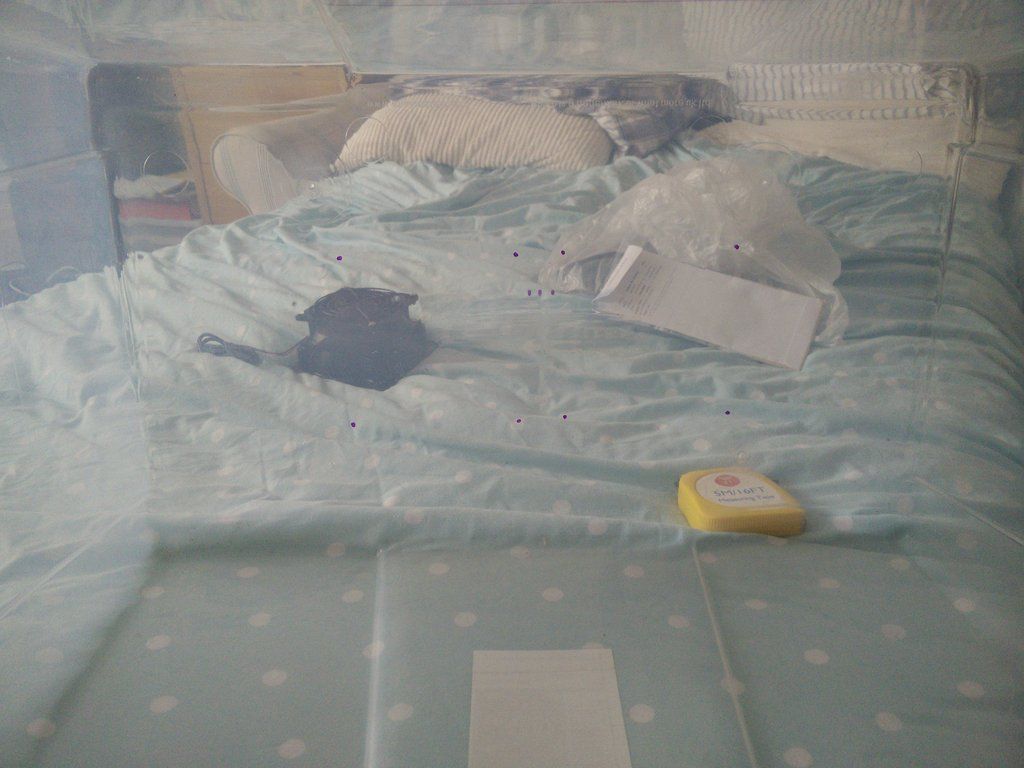
So the first thing I needed to do was empty out two plastic storage boxes (I know right, this is weird but I promise it will make sense in the end !)


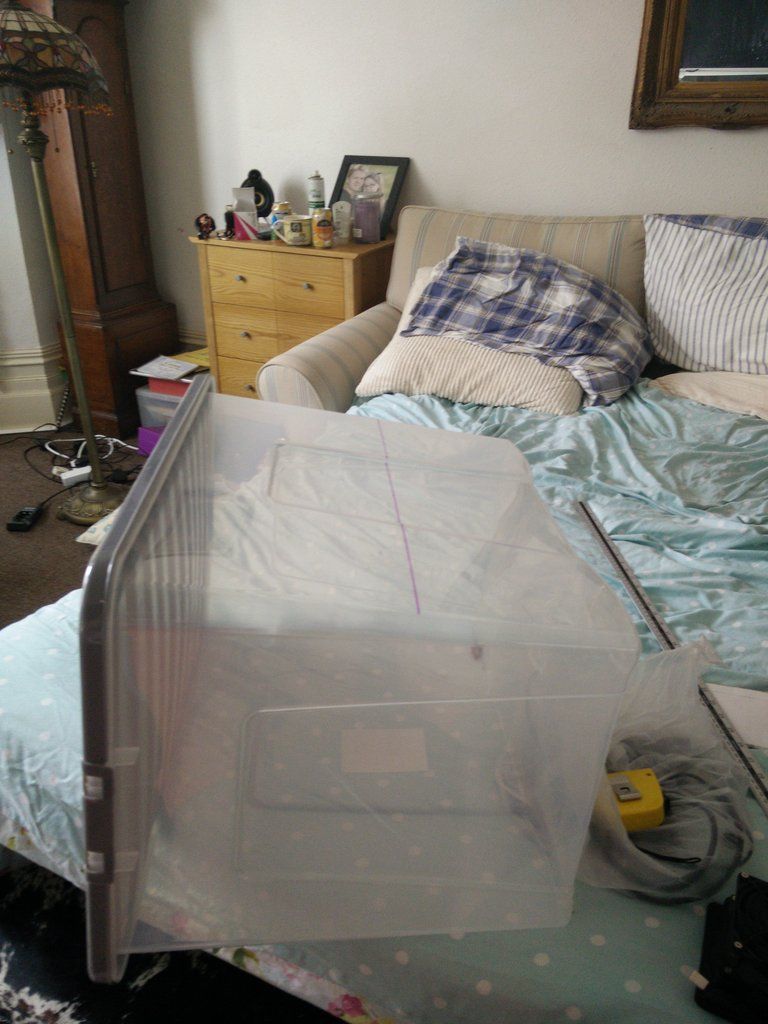
I then needed to mark and draw lines so I busted out the heavy gear, my metre ruler.


And drew a line.


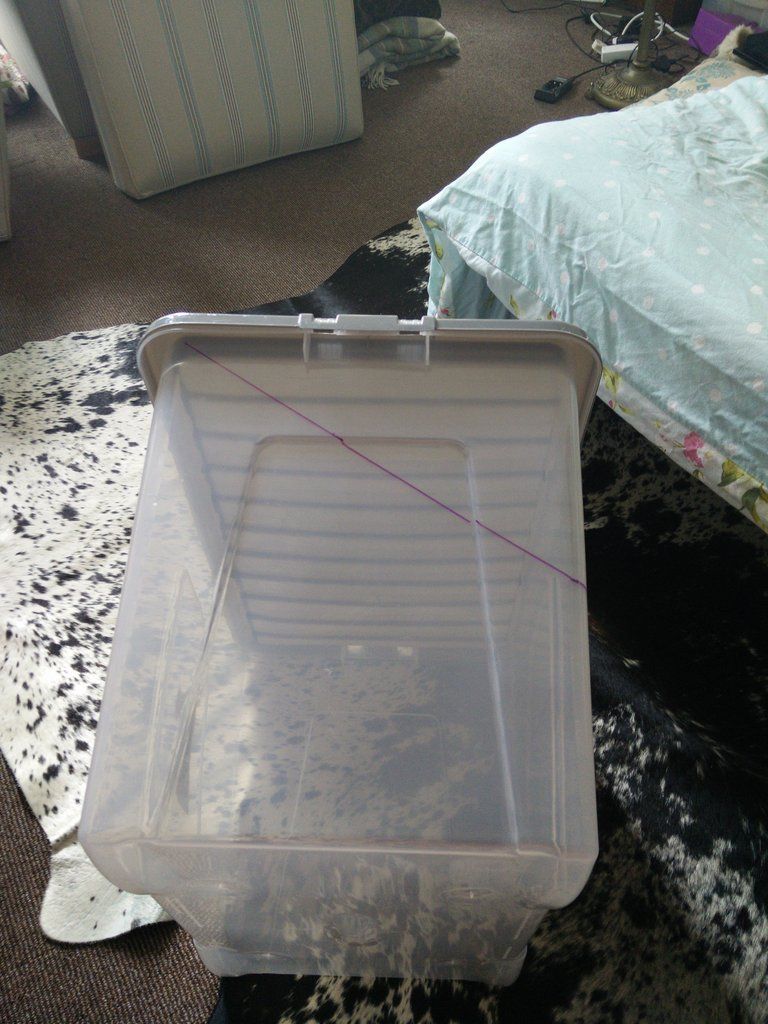
And then drew another line.


Then I marked the centre and two more markings 1/4" apart.


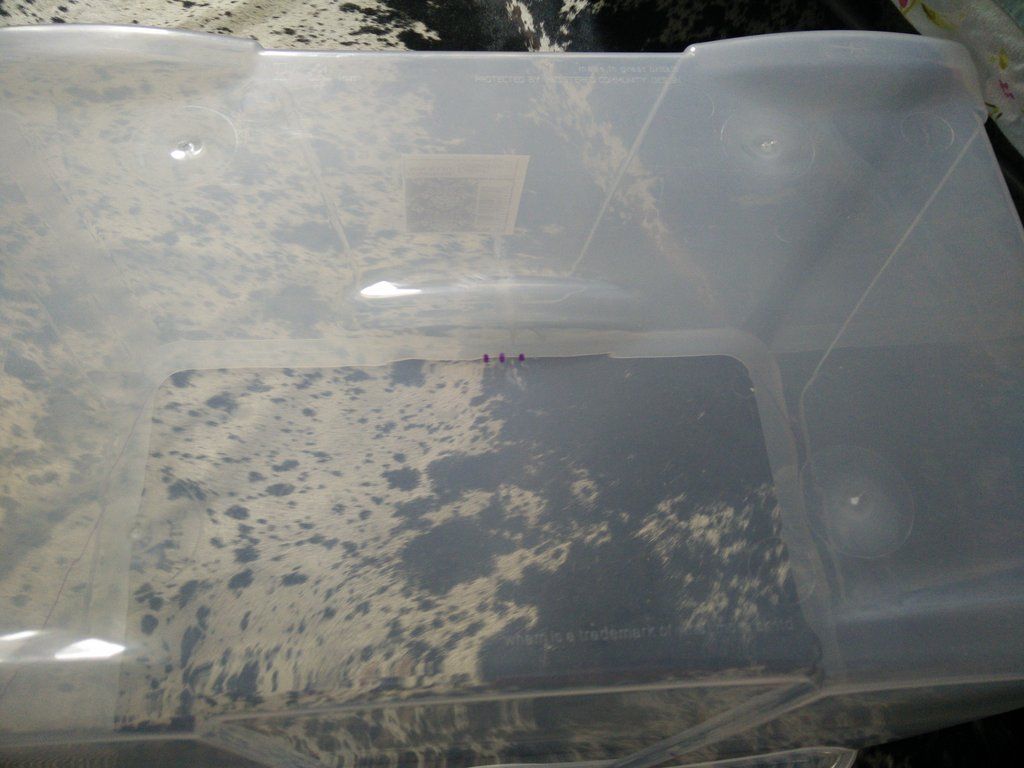
Then came the "lots of markings" bit.


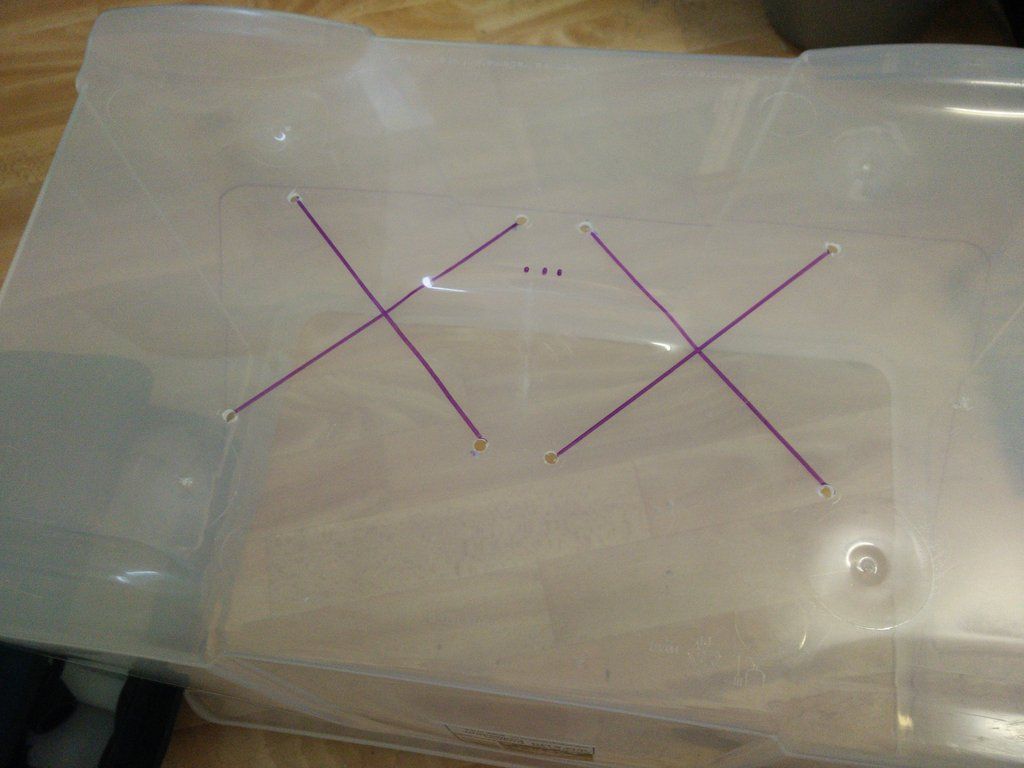
And then I went off to the kitchen and drilled some holes, then drew a cross through each set to make a centre point.
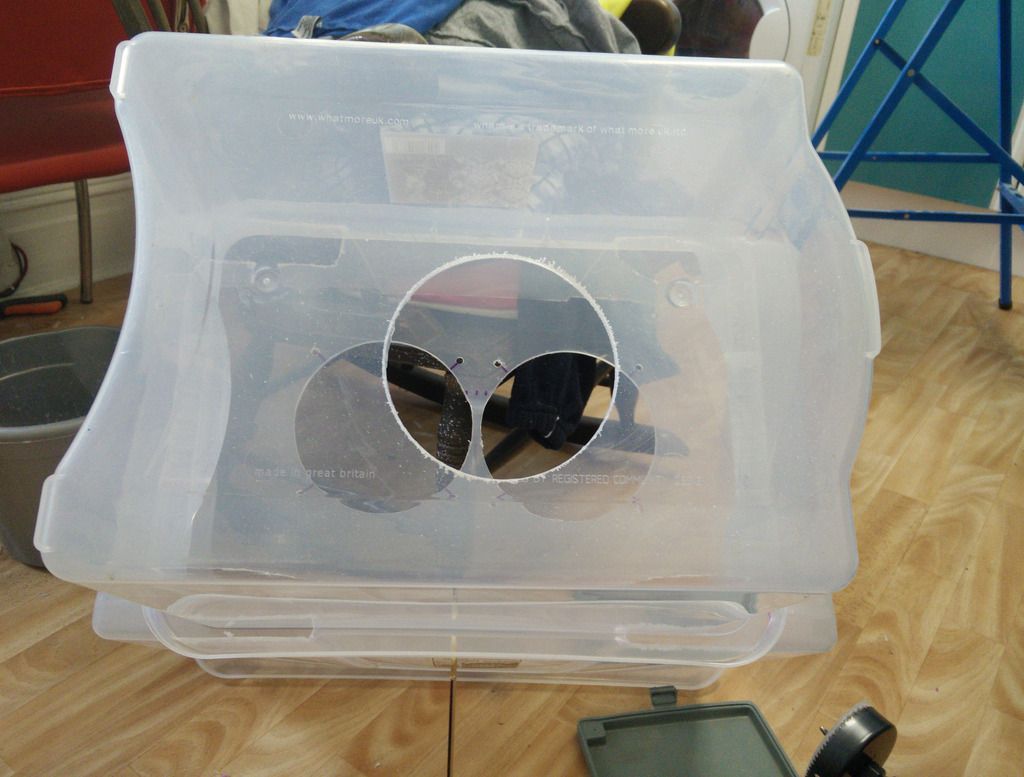


And cut them out.


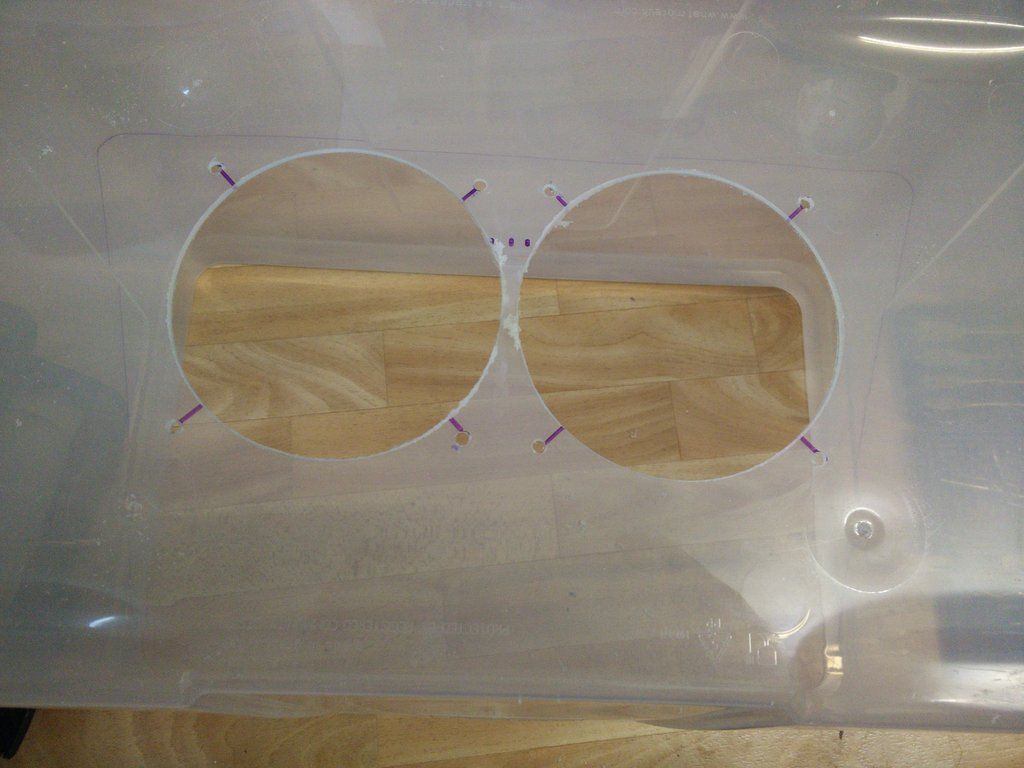
It then looked like this after I had cut along all of the lines.


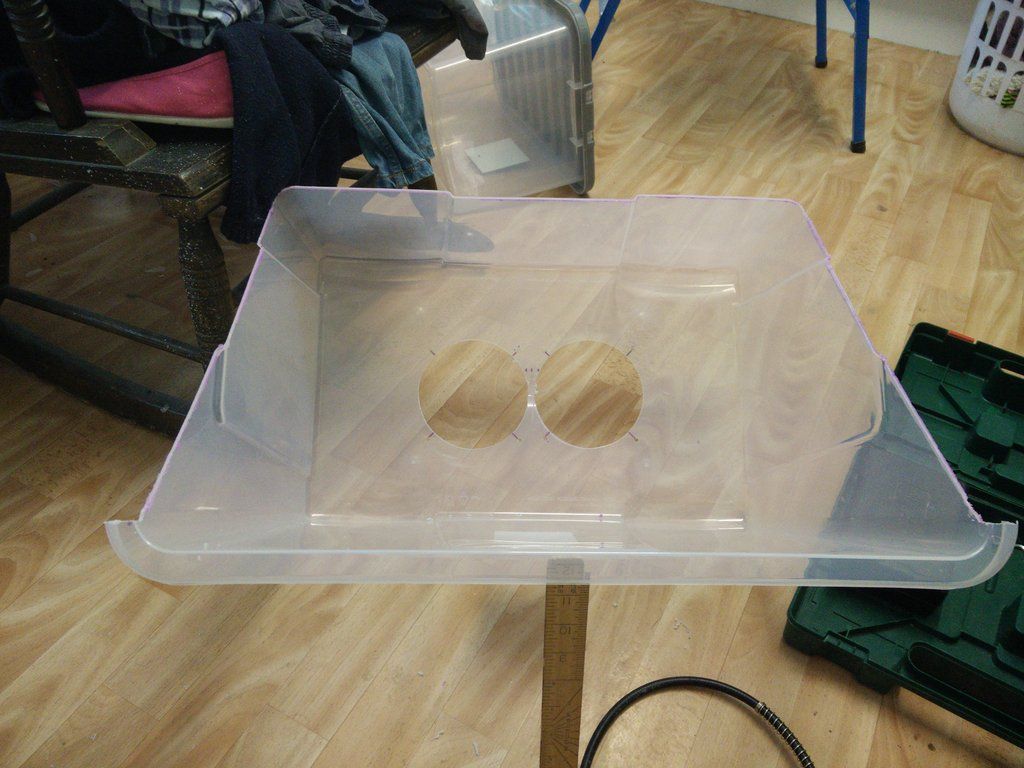
Then it was time to introduce the other box. I bolted it on.


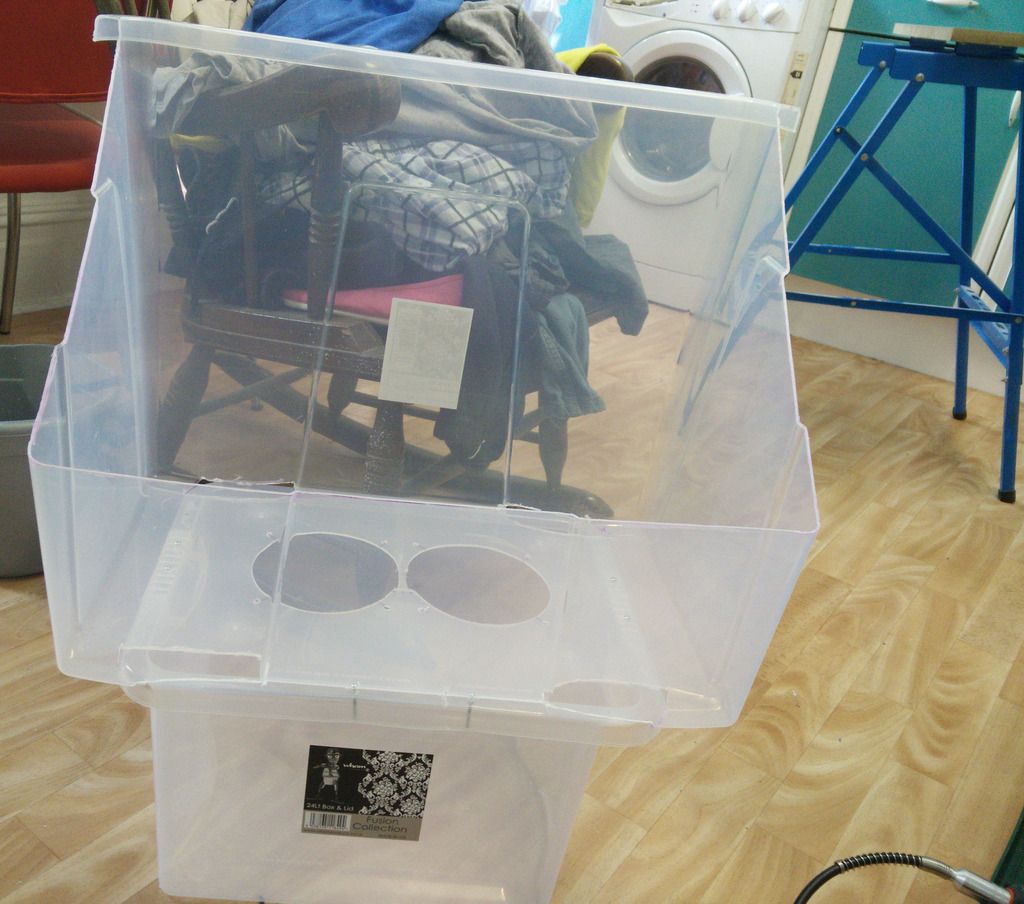
And cut a third hole in the bottom.


And maybe this pic will help people to identify what it will be. A hint, this pic is side on.
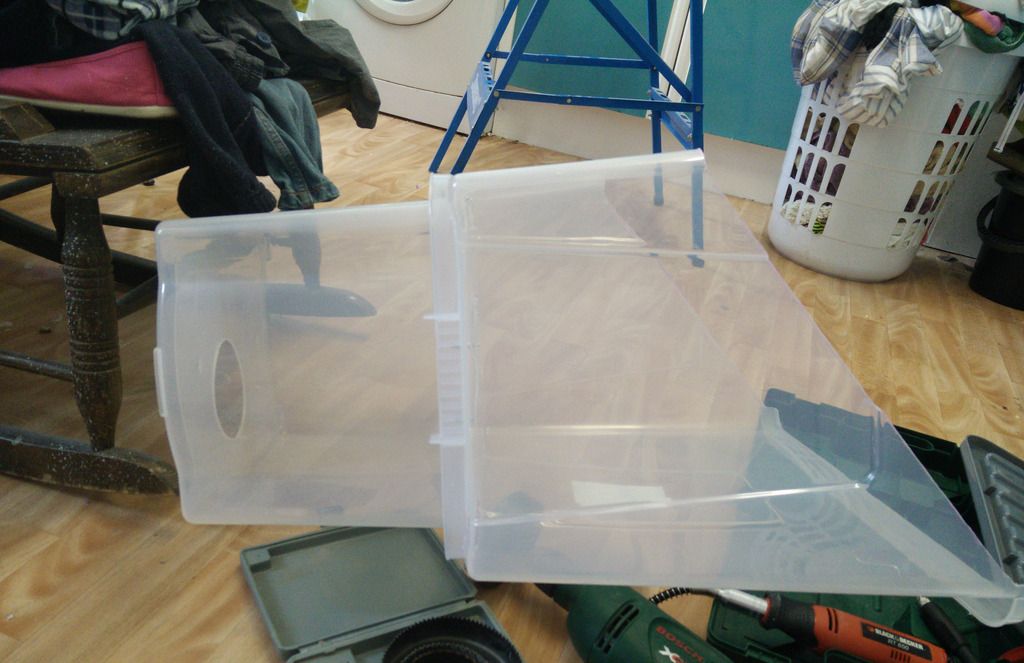


And a final clue.


And a video :)

https://www.youtube.com/watch?v=QWtq_W93XWg&feature=youtu.be
 
At least your head won't get sweaty :D

Time to explain :)

It's a paint booth. I saw this on Ebay a couple of nights ago.


It costs £60. However, firstly it's too small (I would not be able to rotate the parts) and also it's for air brushing, not painting out of a fast rattle can. I did some research and it appears it has one 120mm fan in the front behind that blue paper filter. That's it. Inside it is stuffed with the same breathable fluffy stuff you find inside a fake pillow (I only have feathers me).

OK so you can see how I have sort of copied the design, only made it much larger. I am also using two 120mm Nidec fans (brutal) for extraction and then a further 92mm fan on a 120mm plate for exhaust.

OK, so basically at the back I am going to insert this (£2, tumble dryer hose)


I am then going to snip around the edges and duct tape it. Then i put on the back fan and bolt it in and hey presto, we have exhaust. Not sure the Polish bloke in the flat downstairs will appreciate it when he sees it dangling out of my window but DILLIGAF right?

The front paper filter is nothing but this.


£1. And of course I will need me one of these.


£6. The only other thing I will need is this, which is £3.


That goes inside and prevents the fans from sucking in the fluff. As for the fluff? we're due some new pillows ;) (we're actually not, but hey, we are now :D )

Oh BTW you may be saying to yourself "But it's full of gaps !" Yeah, I know :) that's where liberal use of Gorilla tape will occur :D
 
Some more work on the nose cone :) First up I did some measuring and calculating and soldered two LEDs together like this. This is so that when fitted they will be at the right place to light up the clear rings in the bottom.


OK so they are stacked 5mm apart. I then shrunk and braided them.


Machined a channel into the bottom.


And built.


And how it will look.


All I need now is another of those adjustable voltage PCBs so I can put exactly 3.5v through it. I've fitted the resistor into the cable :)
 
All of the parts I need for the spray booth have been ordered :)


I'm sure I will need copious amounts of this.


And I got this. Most of the paint itself will go through the extractor, but it still stinks.


And I needed this also for the nose cone :)


So yeah, once it's all here it should take me a few hours to be able to begin painting no matter how terrible the weather is :D
 
I've completely lost what's what with this build now, There's like 10 million things going on ^_^

Yeah it's a bit hectic dude sorry about that !

I'm building a paint booth. Basically as you probably know the weather has been all over the place lately and so going over to my mother's house to paint has not been an option. To save this dragging on forever I decided to just build a paint booth that hooks onto my workbench and I can just shove the arse end out of the window with an extractor hose.

The reason I have done all of this is because I have a few stages for paint. First there is the sealer, then all of the parts need to be left to harden properly (a few days) and then I need to move onto primer. Once that's done I need to let them all harden properly so I can wet sand them. Then, and only then, I can start on the finish coats.

So if I went over my mother's house I would probably need to be there at least a week and I CBA.

This way I also eliminate insects and so on.
 
Great idea man! Kudos to you for doing it yourself too.

Thanks Bartacus. Yeah I do like doing everything myself. I think a part of me would be dead if I relied on other people :)

Well all that came today was the tape. The most expensive part of the paint booth at £5.50 lol. I could have gotten cheaper tape but I wanted it clear. Not because it makes it look better than using gray but because I need to be able to see what is going on inside the filter when I test it. I need to make sure that no actual paint is getting past the filter.

So being air tight is quite important, so I set about sealing what I could. First up there was a large crack in the bottom. By the time I had done this I was getting quite tired and began to rush. Typical though, last hole I pushed the drill through hard and it split. I tried to weld it but it seems whatever these tubs are made out of doesn't weld.


You can see the power socket there too. I will run this from an external PSU as 1. It means I don't need to sacrifice a PSU just for this and 2. the unit will be much lighter. It also stops me from having to seal up the PSU to stop paint getting in. So I just put a run of tape down both sides, problem solved.


And then I sealed the fan to the adapter.


Replaced a missing piece with tape (it was curved and stopped the fans going on properly.)


And then sealed up any holes on the two intake fans :)


I've now packed it away. There's no point putting in the rear fan without the hose as I would only need to remove it again.

Hopefully some more stuff will come tomorrow :)
 
The paint booth is finished :D Firstly the hose came.


I then fitted it. Note you will need scissors and a pair of clippers for this (so you can cut through the wire support)


And then sealed it all down.


Then fitted the fan.


Test :D

https://www.youtube.com/watch?v=pwHxchFPv1Q

Yup that works alright :D I then fitted the front intake filter.


Secondary internal filter.


Tested it again with all of the fans and lights running.

https://www.youtube.com/watch?v=S4aDZ2BJ2MA

And then sealed it all up


Noting that I had to remove some of the internal filter as it was too dense and blocking airflow. I then did the "vape test" where I use vape to test air flow (I do this in my rig as well with my fans) and it is doing what it should :) the goggles and mask arrived today but sadly the goggle lens is broken :(
 
Thanks fella ! yeah I'm absolutely thrilled with it :D I just need to fit the catcher to the top (which will be made out of the part I chopped off) and I'm ready. Never thought I would reach this stage tbh !

Got my step daughter here until Friday so I will probably start painting over the weekend so long as the replacement goggles arrive. Last time I painted a car I forgot to take off my glasses or wear goggles and I trashed a pair of $500 glasses. Won't do that again !

I hope the Polish bloke downstairs likes the smell of paint :D
 
lol I have the exact unit you posted, and you'll be pleased to know that yours sounds almost EXACTLY the same, so reps for accuracy
 
hahaha awesome :D yeah man she's noisy alright !

You'll note I have left the lip on the bottom of the container. That's so it can clip over my workbench :D

Might christen it later blowing some acid etch onto the alu plate I made to cover the board's cooler.
 
OK so the serious crap has begun.

Here are all of the primed parts except one.


There are three errors. Two where I accidentally touched them whilst laying down other parts and one where I didn't use the tack cloth (across the top of the masking tape).

That's OK though, because it's on the masking tape which will be coming off.

Here is the last part, the nose cone.


The booth is kinda dirty now but man, it's exceptional. I mean obs it stinks of paint in the kitchen because the parts are drying in there but if you look at the sunlight it's completely clear. All paint that would be floating around has been extracted :)

If you look at the back filter you can see how much crud it has removed.


It will need a good clean with alcohol before I paint in it again but yeah, don't know how I lived without this thing tbh. I now need to let the parts fully harden for a few days before I can repair any bad areas and wet sand them with P1000. I reckon I may be putting on finish coat this time next week :D
 
Last edited:
Ah the pains of being human. So I messed it all up pretty much. I went out to check the panels were dry today and they were so I started off wet sanding with P800. That went really well and it didn't take long before they were ready to be painted. However, it's hot today and I probably should have just left it but I decided to paint on any way.

Mistake 1. Not making sure that the booth had been completely cleaned out so the first part is now covered in bits /facepalm. Not too much of a problem, because mistake 2 would have seen that part needing more paint any way. It seems that Montana Gold is not the same finish as Montana black (not the colours they are the range names). So Montana gold is a really nasty shiny satin which I really don't like.

And then I went on to make the same three mistakes I made before, on exactly the same bloody parts. It seems the board I was laying them out on was not big enough and I was clumsy and touched two of the sodding panels, so they'll need repainting too.

Ah well, the joys of PC modding I guess. I did take a pic but all of the parts are still very wet and this paint is weird because when it's wet it looks like you have the worst orange peel ever, yet when it dries after about an hour (well, dry to the touch) it seems to have smoothed out. Odd !


And I even made a video :D

https://www.youtube.com/watch?v=mqrrQUWMyi4

What's annoying is this paint takes about two weeks to fully cure.
 
OK so after basically throwing a strop yesterday I decided to look at my options.

Option 1. Wait for the paint to full harden so I can smooth it down and repaint. Thing is, this paint takes about two to three weeks to fully harden so that option would have been painful.

Option 2. Make the panels again. This is all well and good but the side panel was a PITA and took me about three days to finalise the design and get it done.

I wanted to wait for the paint to harden but I remembered that if you then try and sand it it's still quite soft underneath. Fully removing it would probably destroy the panel. Ugh.

Any way, I looked at the parts that did come out properly...


And it reminded me just how much I love this paint. When it goes off properly after a couple of weeks the finish is just incredible. It's like touching an egg shell and is rock hard.

So I decided to make the two effed panels.


And the back which took the longest.


And clean :)


I will melt the screw holes in later today and then prep them. Shouldn't take long, they're a lot better than the originals.
 
Back
Top