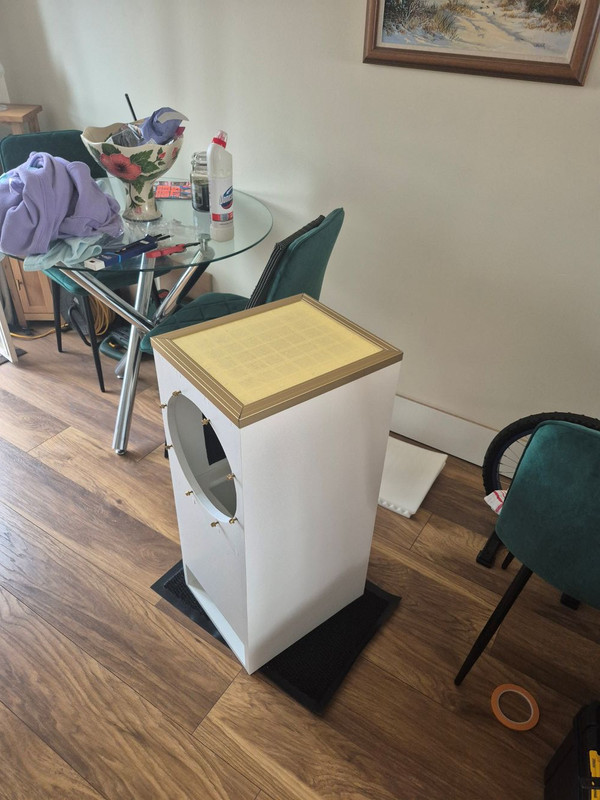
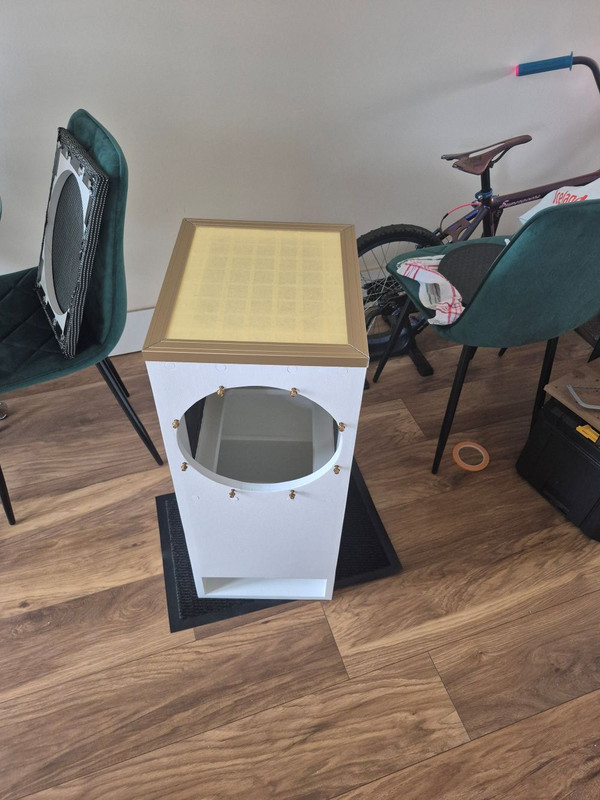
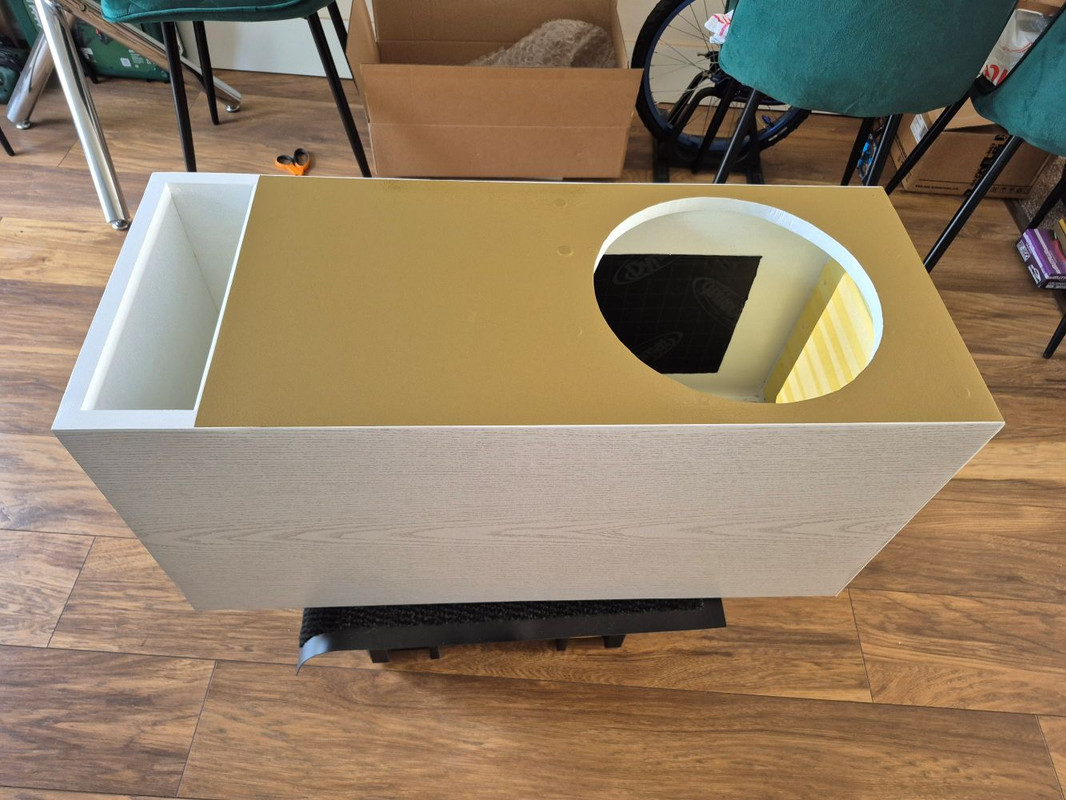
OK so it is now finished. After lugging it here I got to work fitting the deadening inside.

Badges and lights fitted.

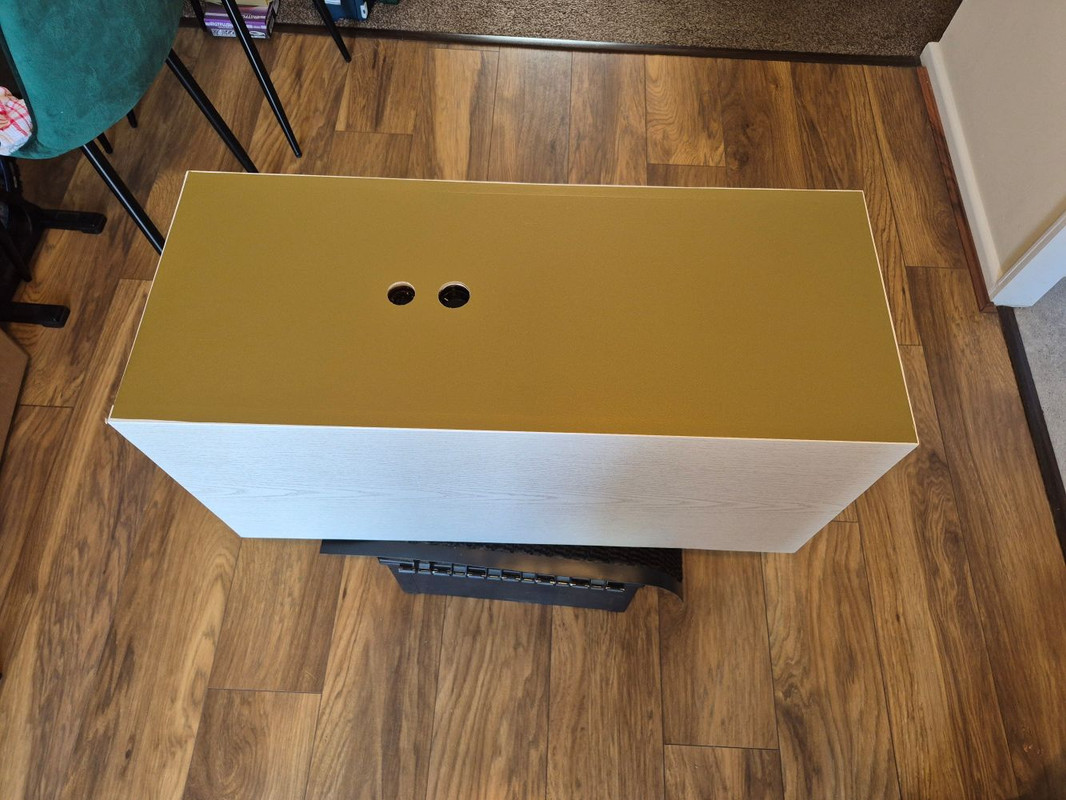
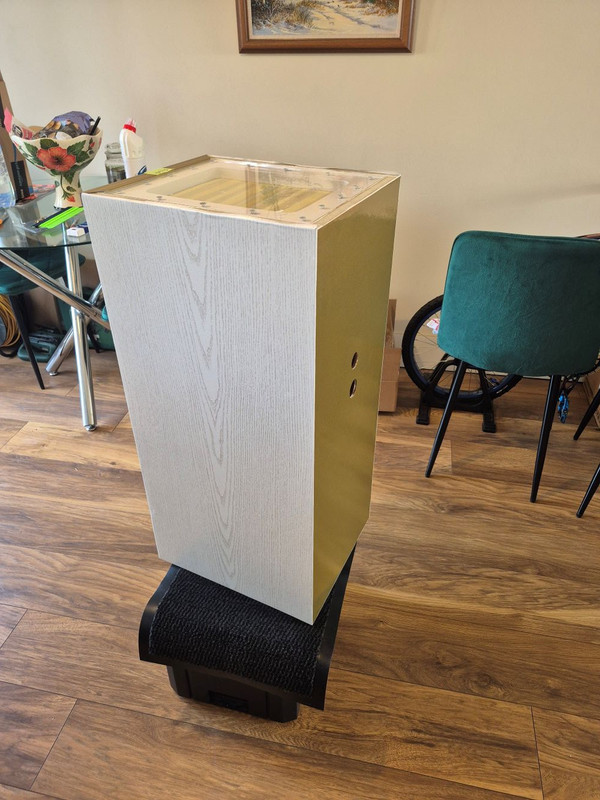
Round to the back for the terminals and rear plate.

Finish up the power wire and connector on the DSP/EQ

Fit new sockets and trunk wires etc.

It is on a breaker. The very next day it tripped when my hot water heater blew up ffs. That could have taken out all of the electronics. Glad I went with protection tbh !
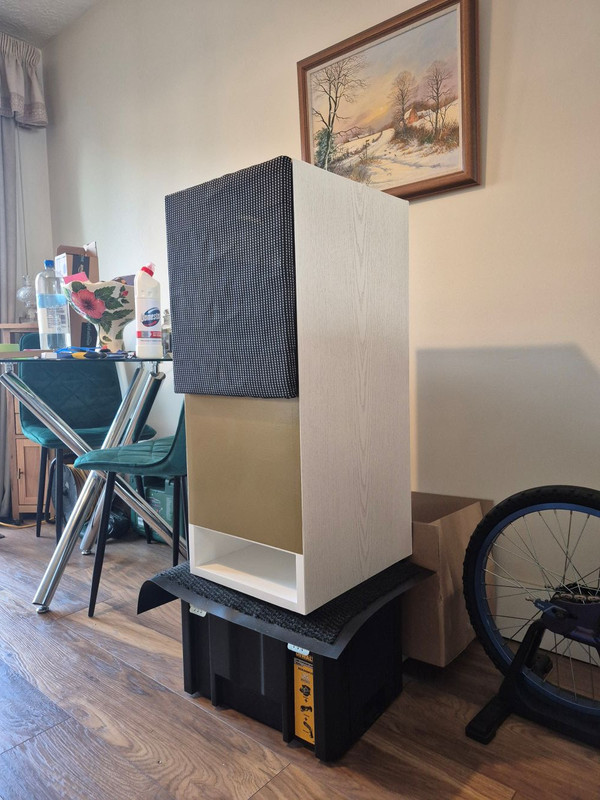
And complete.
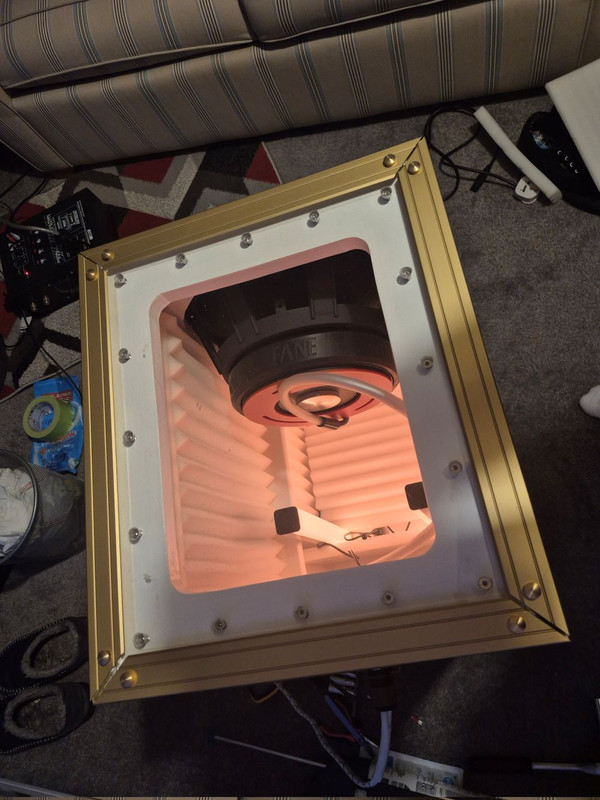
I did not think the light would come out of the port also, but I love it


And then wall mount the DSP, finish the ex speaker stand, connect amp etc etc

And...

So how does it sound? jesus. Scary lmfao. Someone said on another thread that it was not a subwoofer, merely a woofer. Incapable of reaching down low. Oh how very wrong they were. In fact it is better sounding that my old 15" sub. Mostly for the reason that I have what was once a 1200 quid amp on it and a DSP that for the 50 quid or so it cost is criminally capable. It was pee easy to tune, and then EQ for even more thundering bass.
Sadly I have not had time to make a video yet. Like I said, the hot water heater blew out and I had tons of stuff in front of the cupboard it is in as well as in the cupboard it is in (all of my PC spare parts, coolers, cases etc). Well all of that had to come out, and they have only temporarily fixed it. IE the top heater in the tank was a blown short so they disconnected it leaving just one working one. So the water does heat up, but it is slower and is costing me more money. They then sort of bailed, and thus I have parts bikes and crap littered around the flat and can not put it back yet because if I do I need to get it all out again. Problem being is I am leaving tomorrow and if I leave it I don't trust them to either move it or what not.
I also bought a load of home improvement stuff like a 35kg coffee table, large rug and etc. So that has eaten up all my time.