Project: Angel

name='Jim' said:
Dude thats not an Angel...thats a fu*king monster!

EDIT: Rename to 'Great White' in order tbh. One sniff of blood and that rig will eat you for breakfast.

No, that's too close to the name of a bankrupt watercoolers build iirc.;)
 
name='Jim' said:
Dude thats not an Angel...thats a fu*king monster!

EDIT: Rename to 'Great White' in order tbh. One sniff of blood and that rig will eat you for breakfast.

Is it me or is it that I see lots of sharp teeth. :D
 
Decided to give my pumps a little service:

Remove the stock top:

IMG_4129.jpg


Remove the magnet and the black stock O-ring:

IMG_4131.jpg


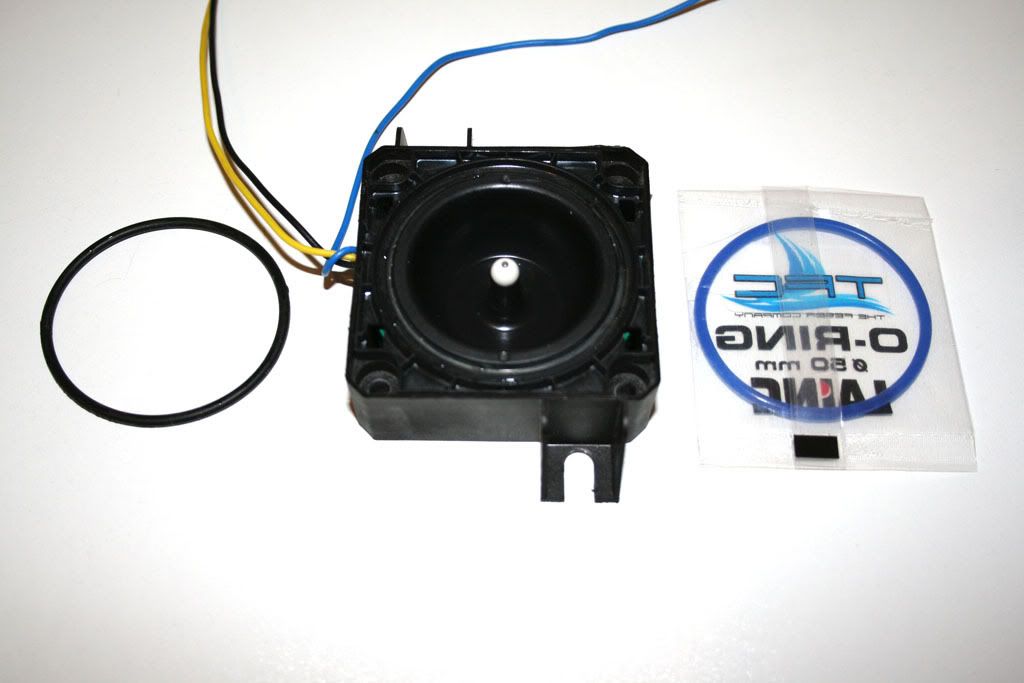
Fit new build matching O-ring:

IMG_4132.jpg


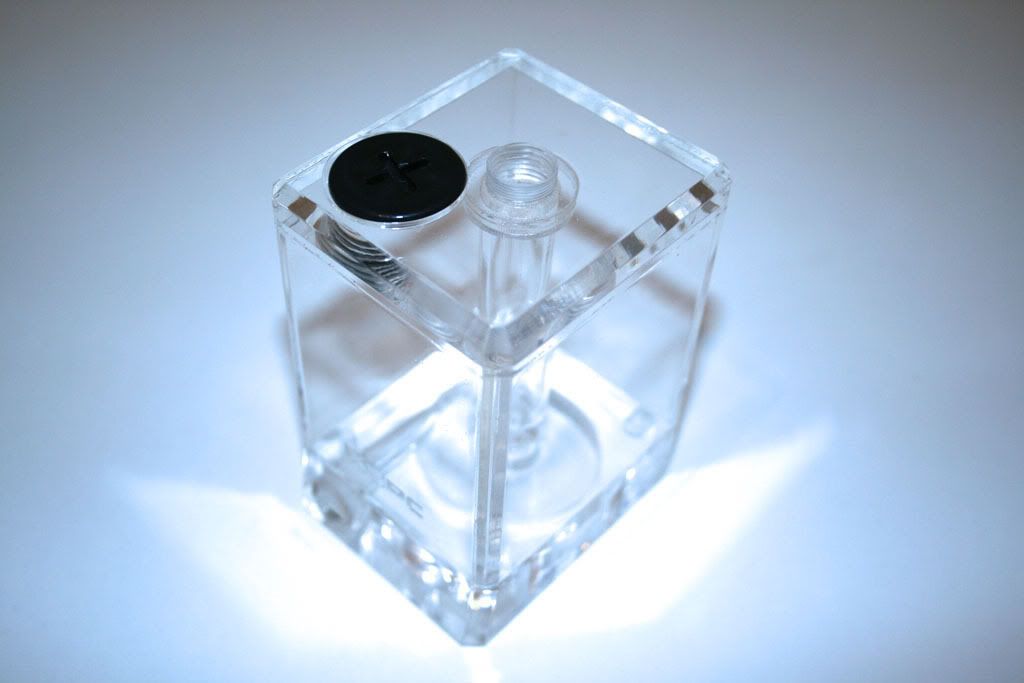
Take XSPC Reservoir top (best performing solution):

IMG_4133.jpg


Fit top to pump and check for correct and even O-ring compression:

IMG_4138.jpg


Rinse and repeat for 2nd 18w DDC pump:

IMG_4139.jpg


Add DDC res holder (custom):

IMG_4140.jpg


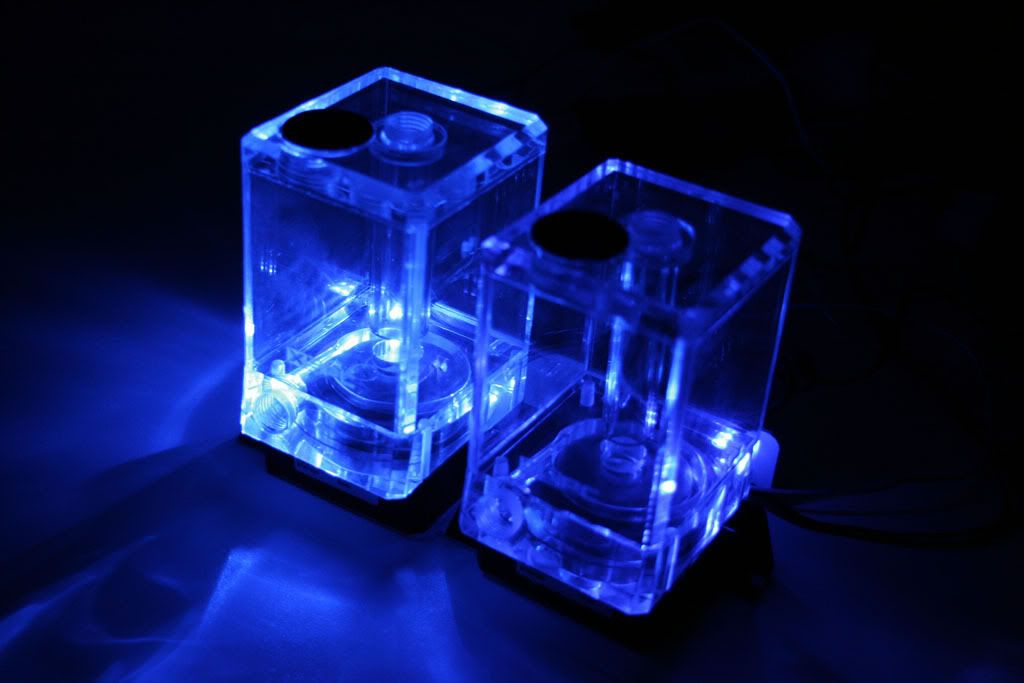
Add blue LED's

IMG_4142.jpg


Job done.

Just need barbs and braiding now :).
 
Finished of the other cooler tonight. If anyone is wondering what fans I used here they are:

IMG_4143.jpg


IMG_4146.jpg


Work well on a fan controller. Here's a Zalman I modded previously :D

IMG_4148.jpg


IMG_4145.jpg


Need to buy some more bit's now as I'm almost modded out :D
 
awesome build

love your build, MM did an amazing job on your case

and you have done a great job painting the rest of the parts as well

look forward to seeing the completed build
 
Ok, here's some snaps I took during my first battle with the PSU which might I add is pretty damn gorgeous to begin with. Sadly the black/yellow braid just dosn't hold with the theme of this build. Here's the PSU (Enermax 85+):

IMG_4168.jpg


IMG_4175.jpg


IMG_4173.jpg


IMG_4178.jpg


IMG_4176.jpg


Time to do some braiding...
 
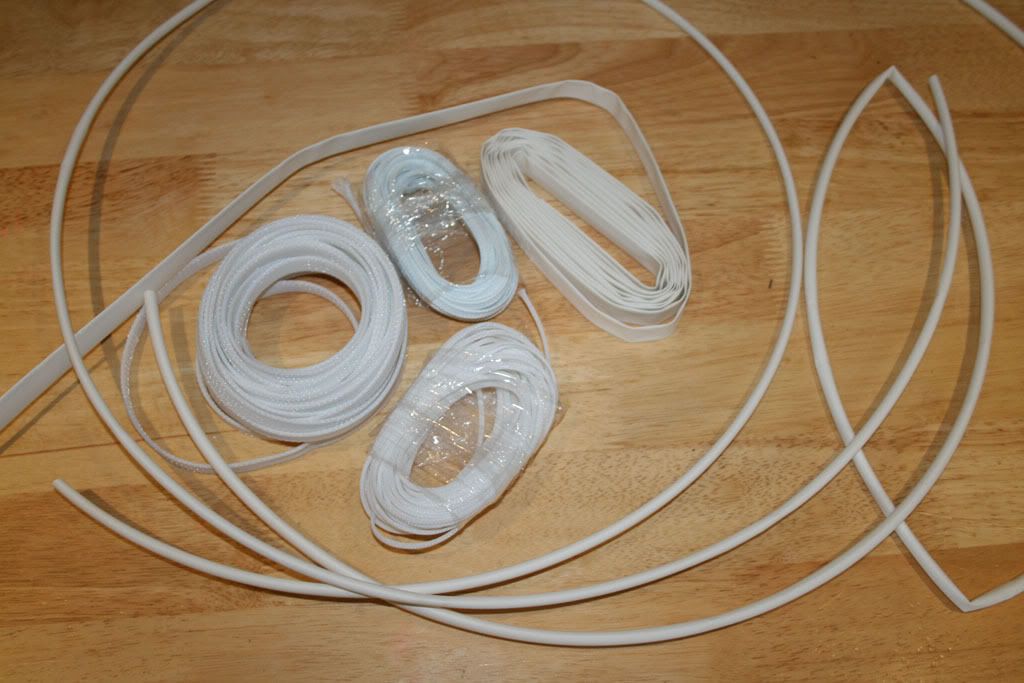
I originally planned on all white for the braid:

IMG_4181.jpg


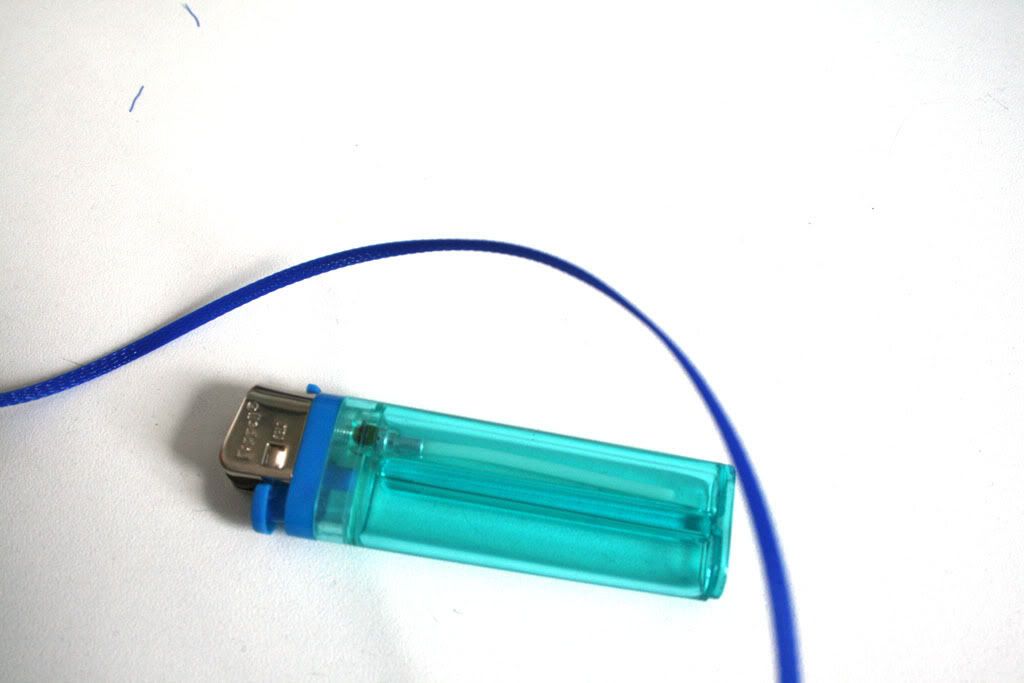
However the braid I got was not the best and showed alot of the colour of the cables through the braid. I should have gone for murdermod braid but meh. I could have gone the easy route and chosen black but every man and his dog is doing black so opted for blue.

For the ATX I opted to sleeve each cable individually in blue with the ends (the bit nearest the PSU split into 6x4 cables and braid them in blue which gave a neater, easier to manage bundle rather than the PSU exit looking like a rats nest of cables.

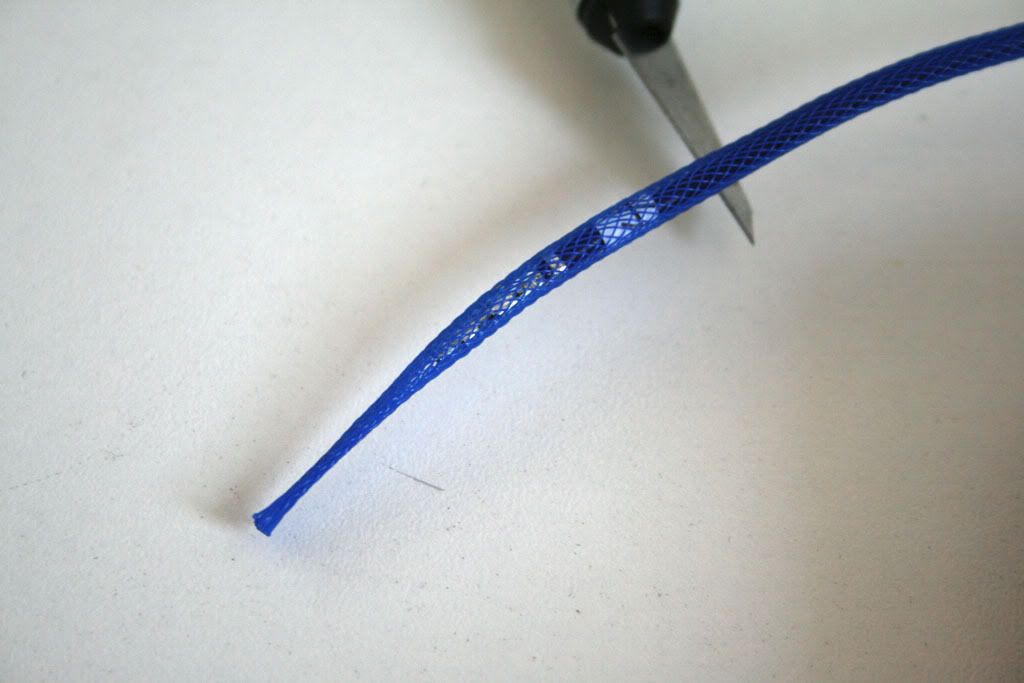
Heres the 3mm braid used:

IMG_4263.jpg


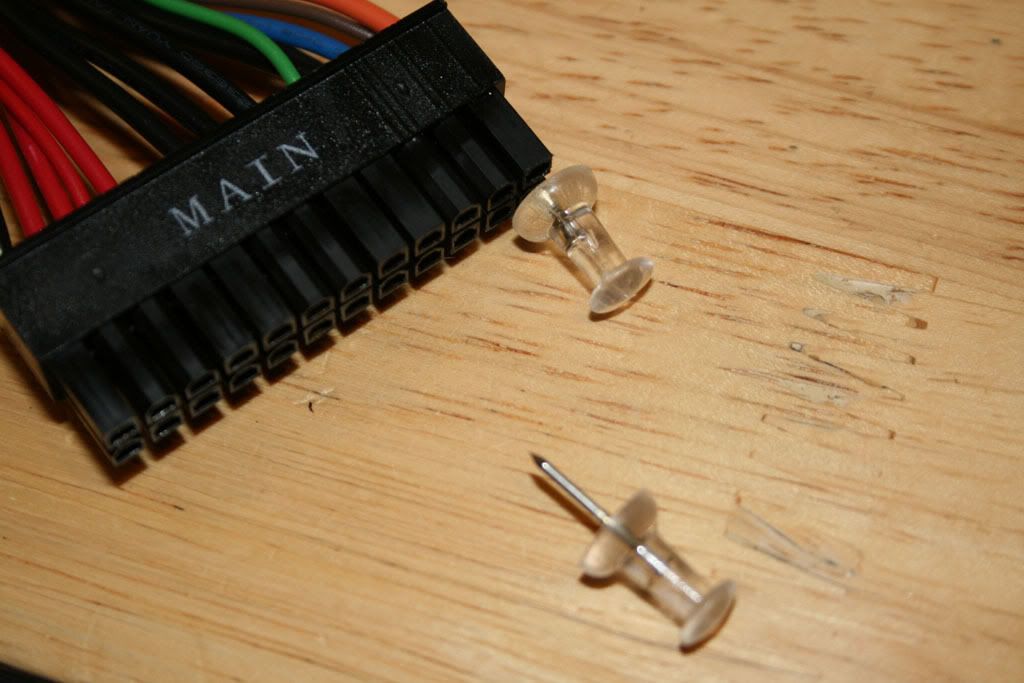
Unclasping the cables from the ATX block was a total PITA. Forget about using the pre-made tools, they snap after about four pins. Bring on the ghetto ATX pin remover :p:

IMG_4179.jpg


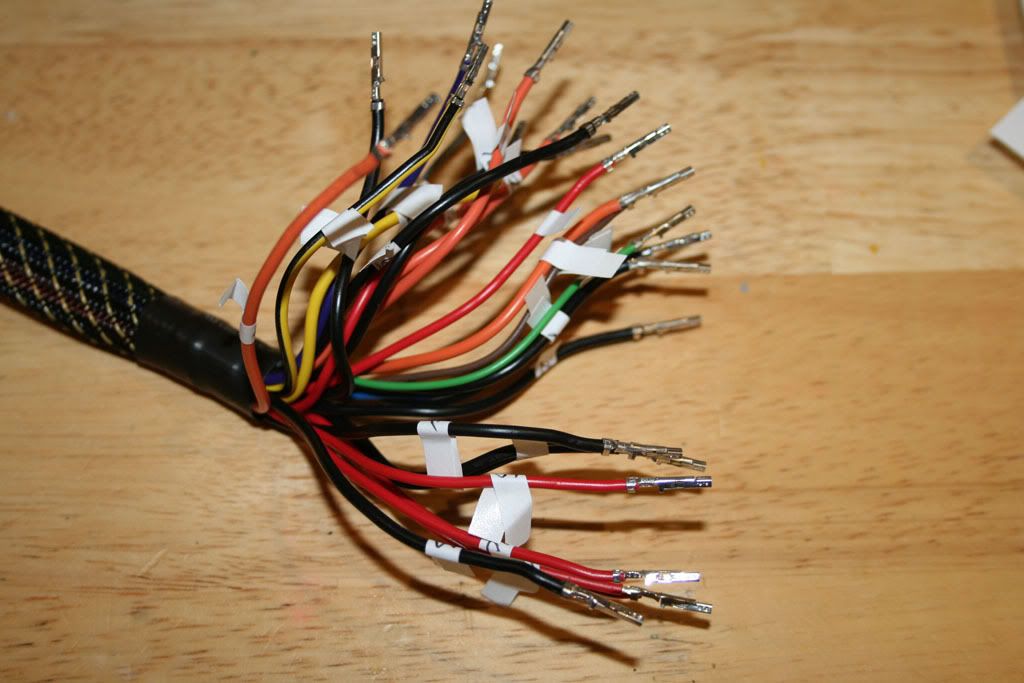
Each pin was painstakingly numbered so I knew which pin went where come rebuild time:

IMG_4180.jpg


Then I comenced the braiding:

IMG_4260.jpg


A whole lot of mess!

IMG_4264.jpg


Note some of the cables are frayed at the ends. These were trimmed before sealing with heatshrink.
 
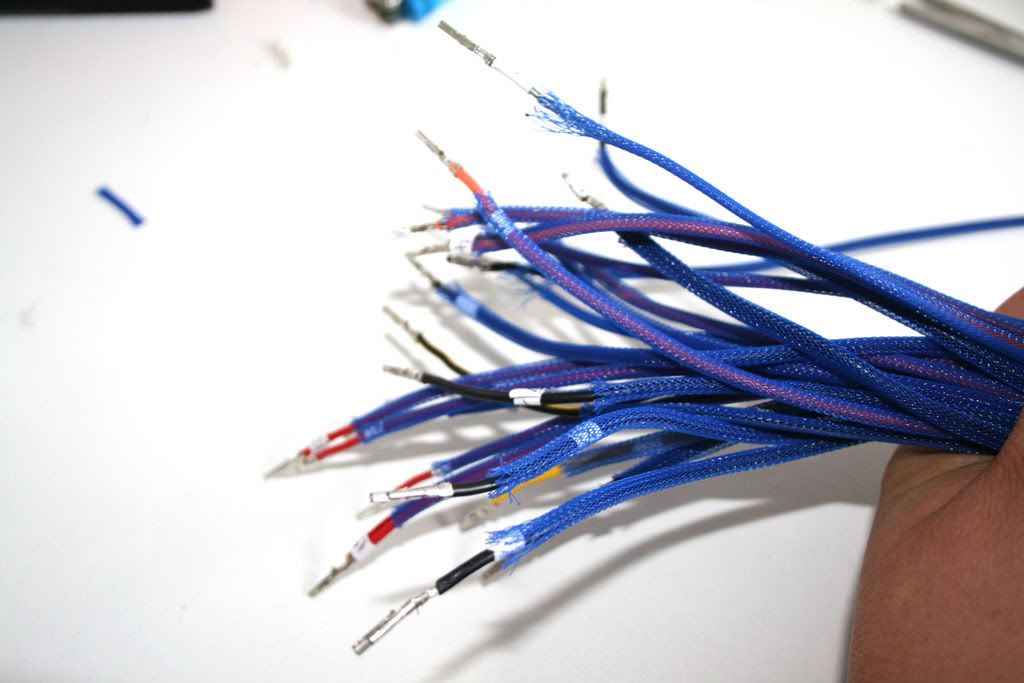
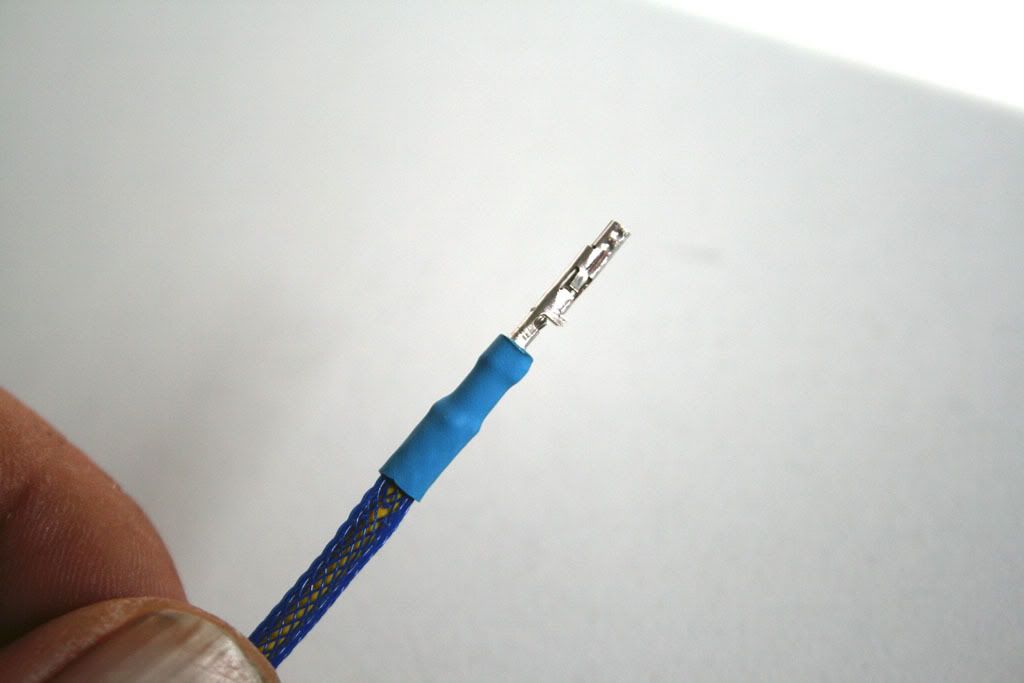
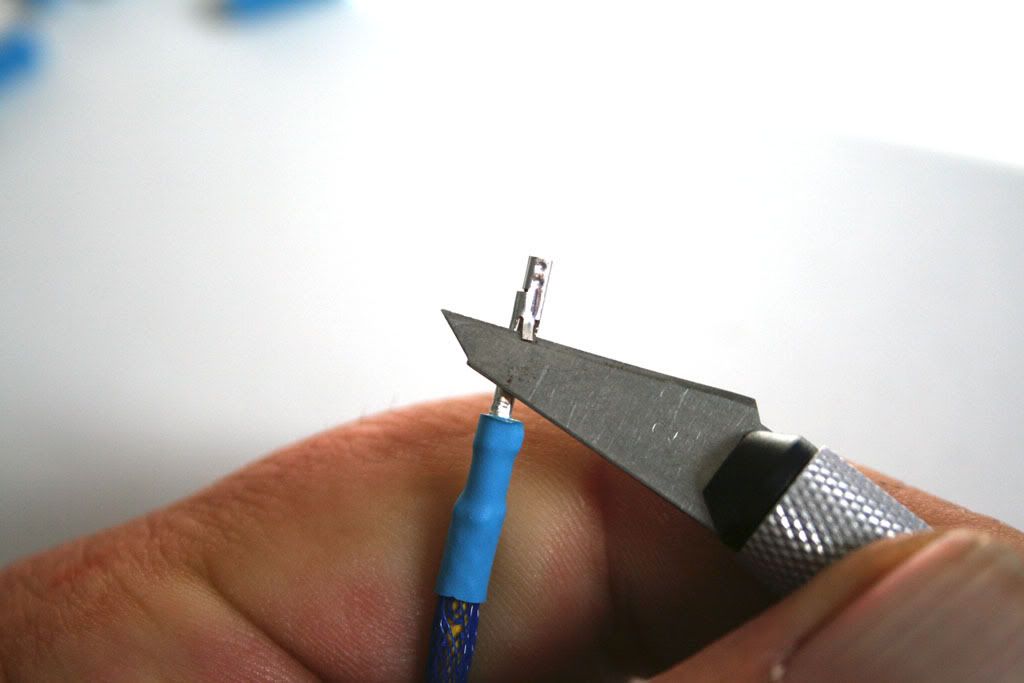
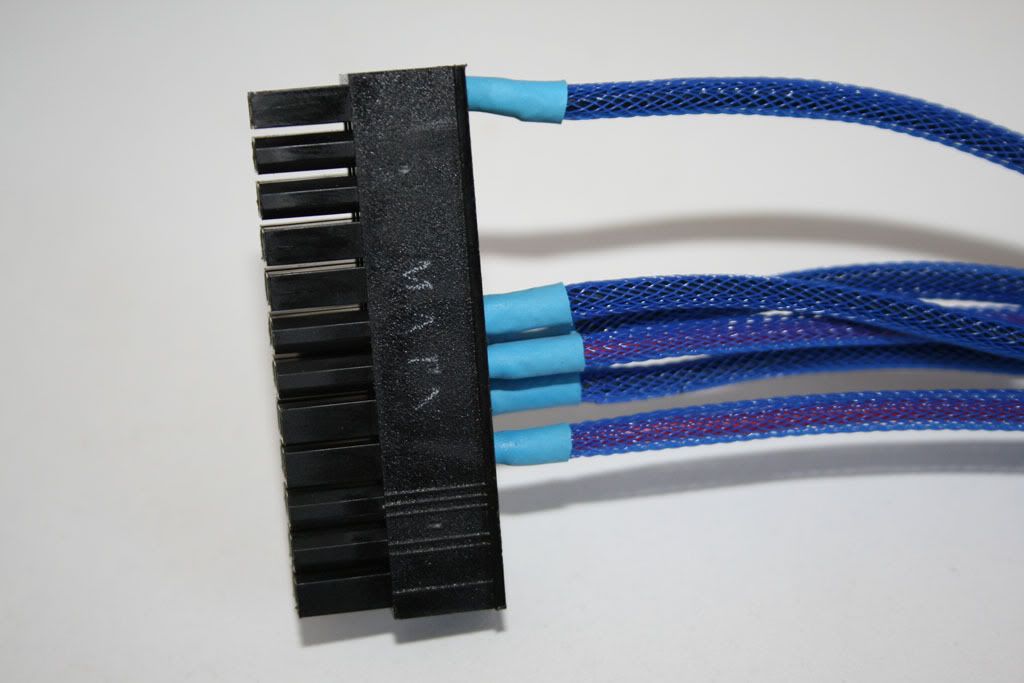
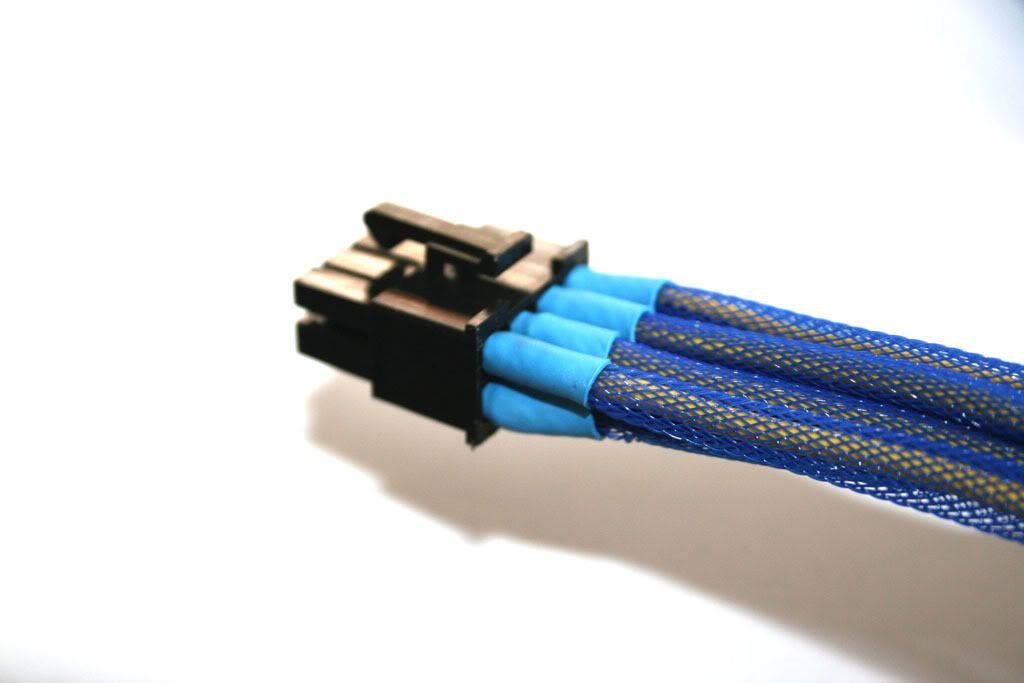
Here was the tricky part as I needed to judge how far up the pin to put the heatshrink so's not to interefere with putting the pin back in the block but also not to have any pesky cable colour showing. Here's the 'best fit' that worked for me:

IMG_4267.jpg


Once braidied up I then had the tedius job of realigning the barb on the pins (24x2!)

IMG_4268.jpg


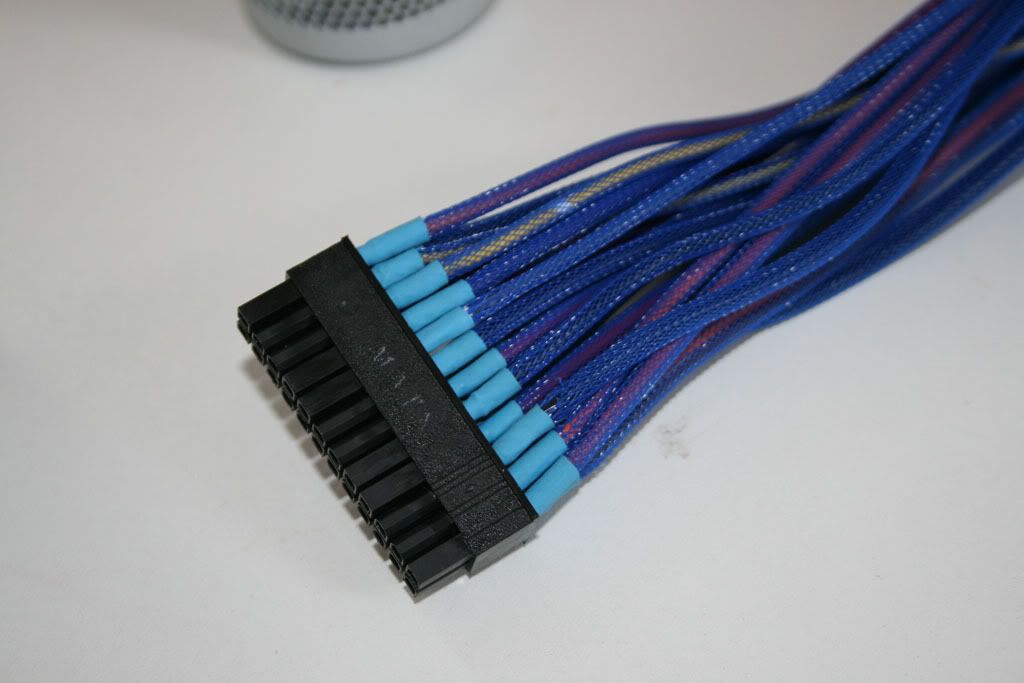
Getting there....

IMG_4265.jpg


Done (although need to trim some heatshrink to level it all out a little).

IMG_4266.jpg


Rinse and repeat for 8 Pin 12v:

IMG_4269.jpg


You can still see some colour through the cabling but it's not as bad under normal light, camera flash seems to have brought it out much more than you can see. Either way it's a helluva alot better than the white looked!.

Thats about it for now, still got alot of braiding to do, molex, SATA then all the misc wiring in the PC. I'll crack on with that once I get the feeling back in my fingers....sigh:(
 
more patience then this guy, but I guess as my daughter gets older, shes 3, the patience will come.

awesome job on the braiding though
 
Back
Top