Im well versed with the coloured bolts and ebay is normally my go to for a look round. I do love the hose clamps though so Ill nab that idea!
You are using an out of date browser. It may not display this or other websites correctly.
You should upgrade or use an alternative browser.
You should upgrade or use an alternative browser.
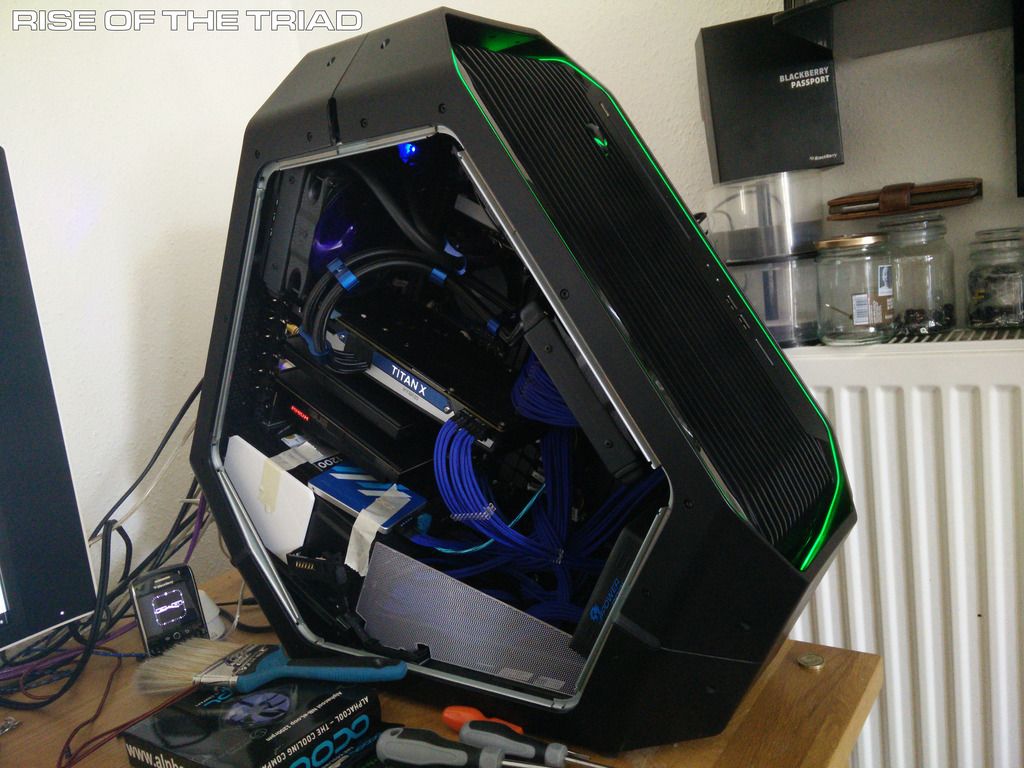
Rise of the triad, The 2014 Area 51
- Thread starter AlienALX
- Start date
AlienALX
Well-known member
Im well versed with the coloured bolts and ebay is normally my go to for a look round. I do love the hose clamps though so Ill nab that idea!
Aye those little details cost big money tbh. Worth it though. Normally I would bash out a set of PSU covers and so on in a few hours but this time I'm really thinking it through.
I have to remove the sound cards and paint the edges of the PCBs too which will take a while. Just loving putting in all of these little details though tbh.
The hideous SATA cable needs to go too. It looked nothing like that in pics (the horrible blue thing) but I've kinda hit a brick wall

I WANT this.

Bifenix Alchemy blue sata cable. Problem is try finding one ! the only place I can see them for sale is the USA and it will cost me around £25.
Thing is I've looked at pretty much every last sodding SATA cable and they're honking. So I may just have to bite the bullet *sigh*. I am going to make it so that there are two 2.5mm drive mounts atop the PSU. Not sure what sort of mechs I'm going to use but yeah, I want them swappable without having to turn the case around and piddle about on that side.
Doomslayer
New member
CableMod SATA3 Cable Blue see if you can find these
AlienALX
Well-known member
CableMod SATA3 Cable Blue see if you can find these
Red white and black only, however I could be persuaded by the black one if all else fails..
https://www.scan.co.uk/products/cablemod-sata-3-cable-30cm-black
Don't CM have a rep around here somewhere?
Doomslayer
New member
CableMod do have them for sale on there website.
https://cablemod.com/product/cablemod-sata-3-cable-blue/
But the blue cable is out of stock atm
https://cablemod.com/product/cablemod-sata-3-cable-blue/
But the blue cable is out of stock atm
AlienALX
Well-known member
Today was the day I have been dreading since I bought the rig. It's the one thing I have continually put off because I really had no ideas as to how to map out the area I want to cover without expensive tools.
I was going to do the "Edd China" method and use this.
Edd China Method explained. OK, so you basically use masking tape to shape the area and then draw around it with a black pen giving you the shape you require. Sadly that just wasn't working as the surface is 3D and not flat and so the masking tape was just flopping around all over the place. So I had to come up with plan B, and sadly I never took any pics of this being done because it was an idea that I wasn't sure would work.
In the end though it did work, and now I have this*
*note. The cable cut out square is too big and will be changed for the final piece.
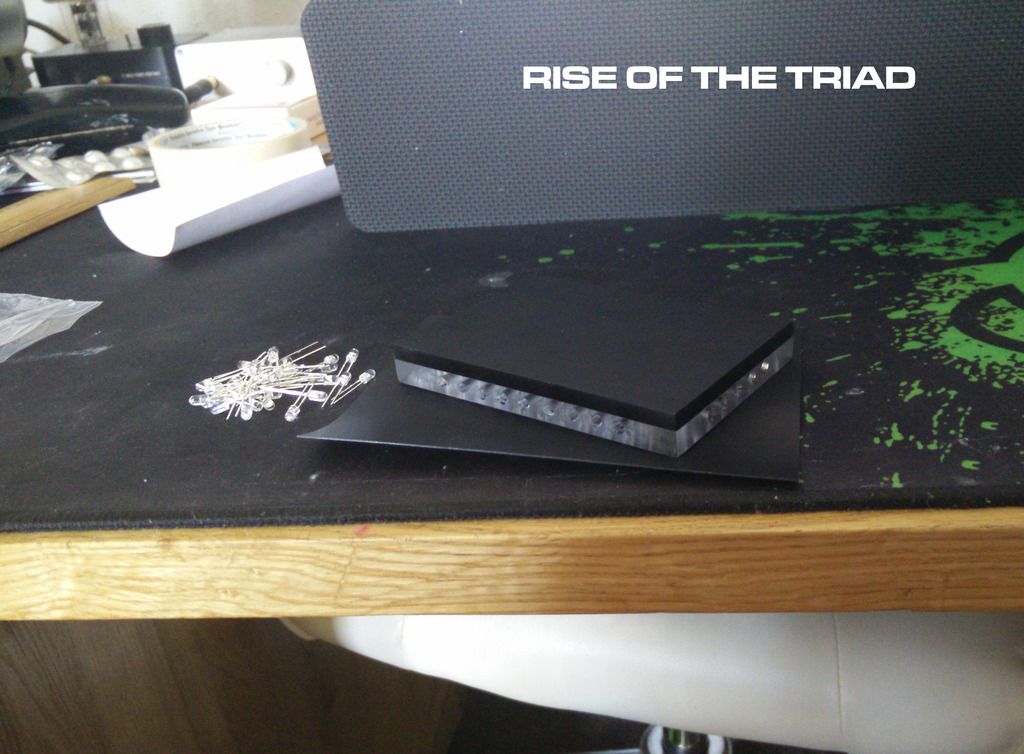
It's that "wooka wooka" plastic ! basically I just made a part for each turn and then at the end stapled and glued it all together. I'm super stoked with it because for the best part of a year I have had no ideas as to how I was going to do this so that it fitted really well.
OK so the next idea. This is one I have had going around in my head for a while now and I'm not quite decided on it yet. It will take testing to see in reality what it looks like but around the rig I want to basically label all of the areas using Alienware gyphs. However, I don't want them to be "RAWR IN YOUR FACE" I want it to be subtle enough so that if the light doesn't catch it it will be almost invisible.
Now I had a couple of options open to me here. The box itself will be either painted with matt black or covered in matt black vinyl and then the lettering can either be mirror black.
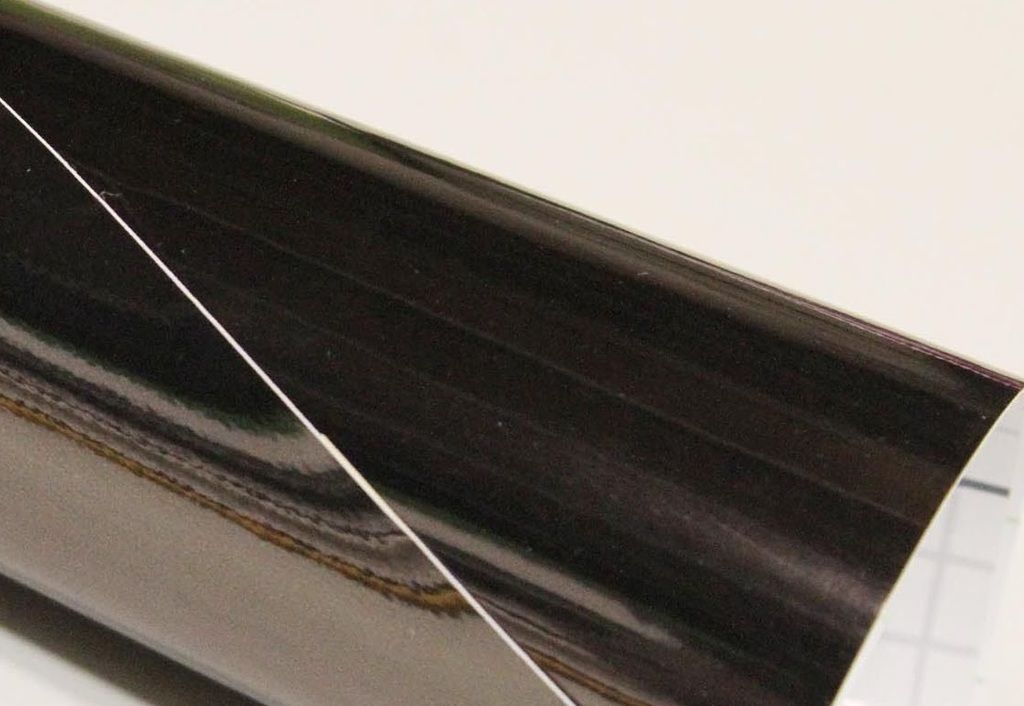
Or satin black vinyl which will obviously be far less apparent. I have ordered both, so will do some testing and see how it looks.
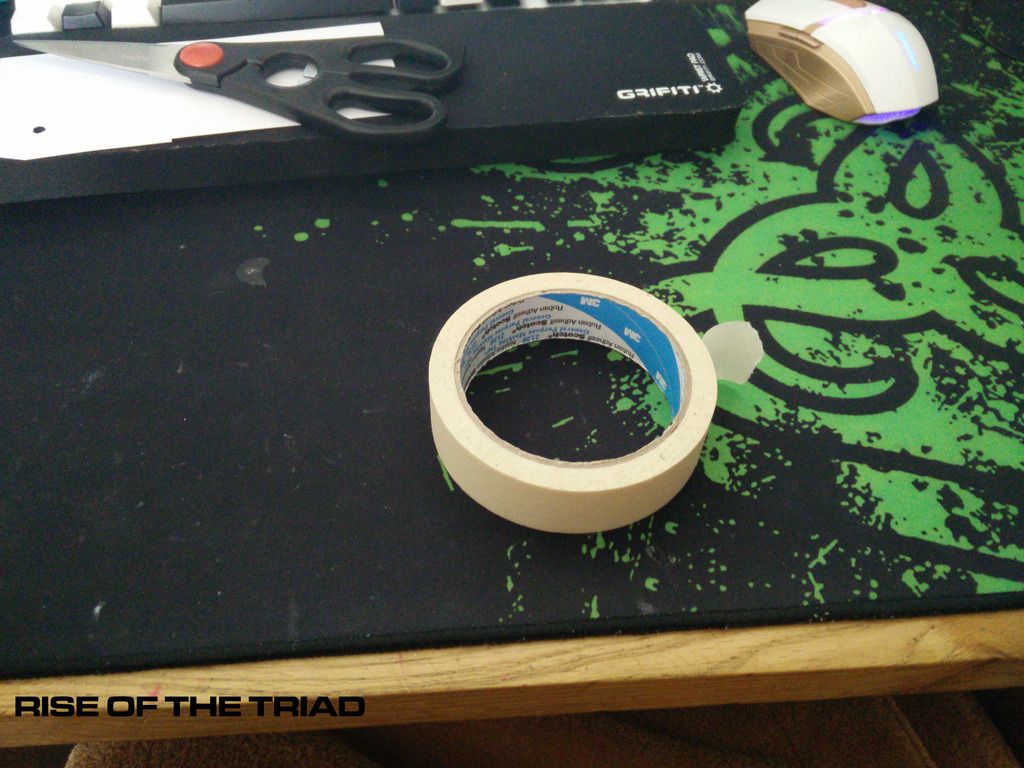
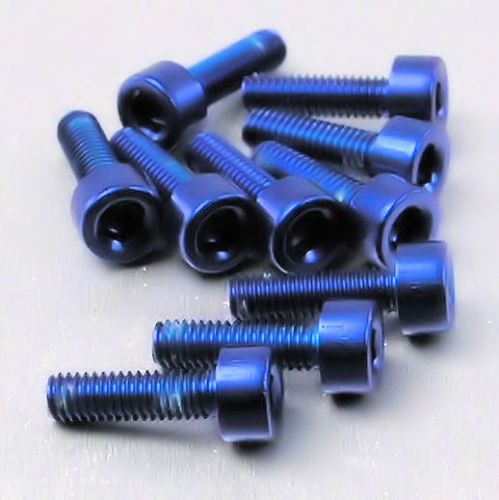
I've also ordered ten of these to hold the box together.
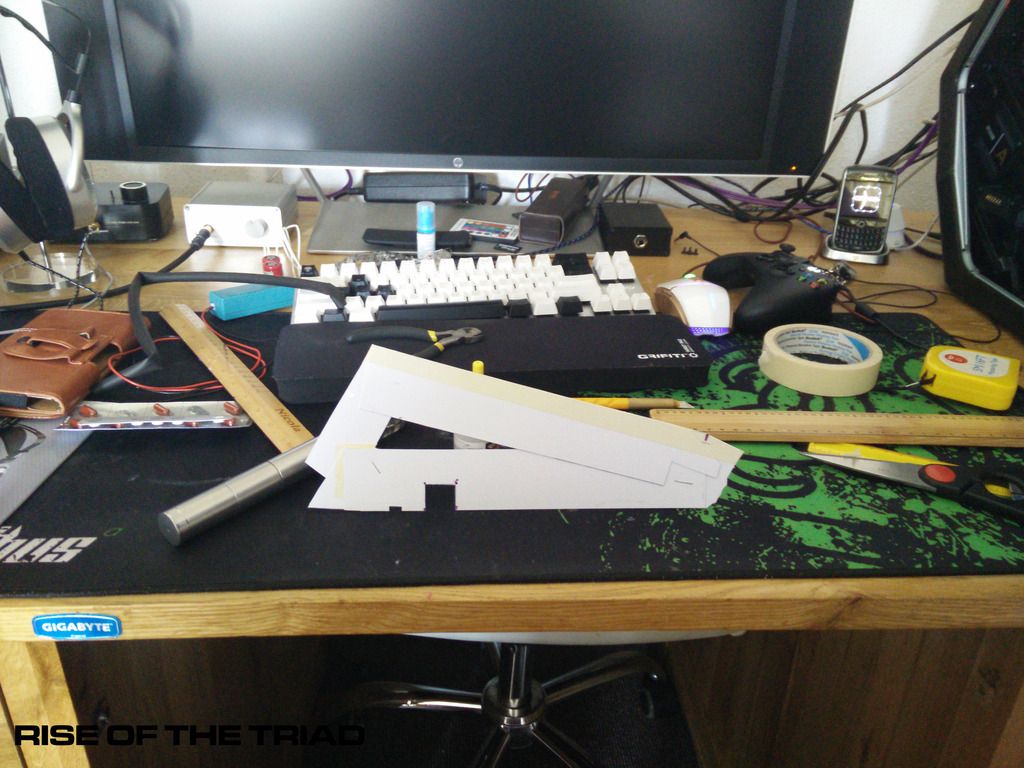
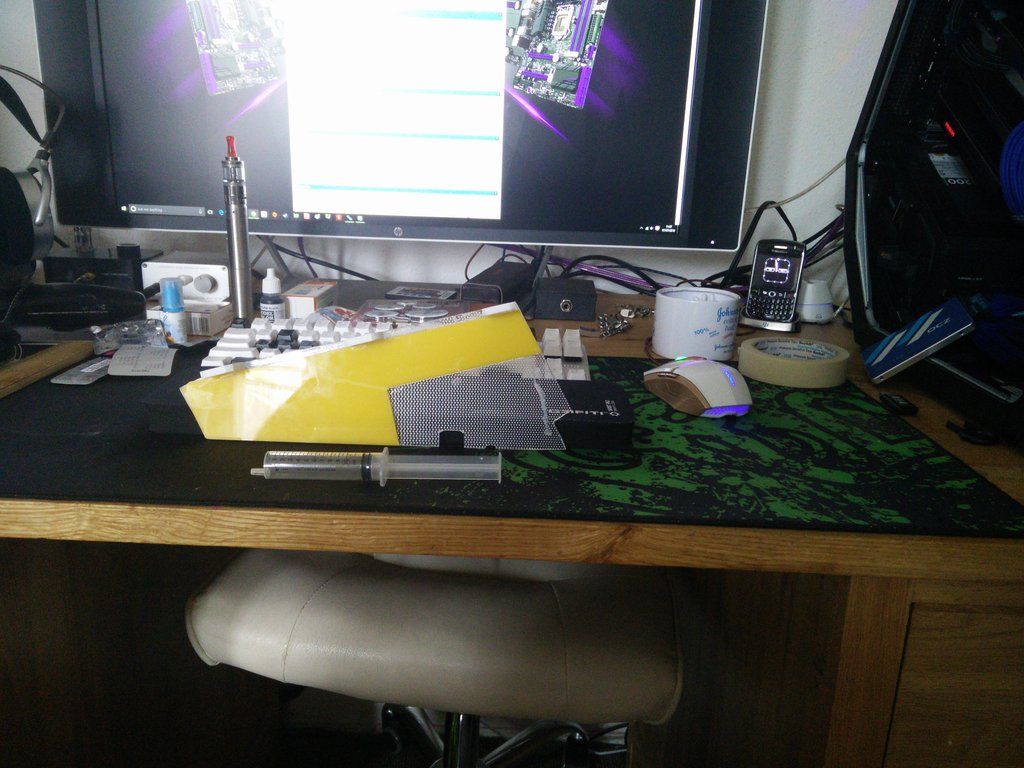
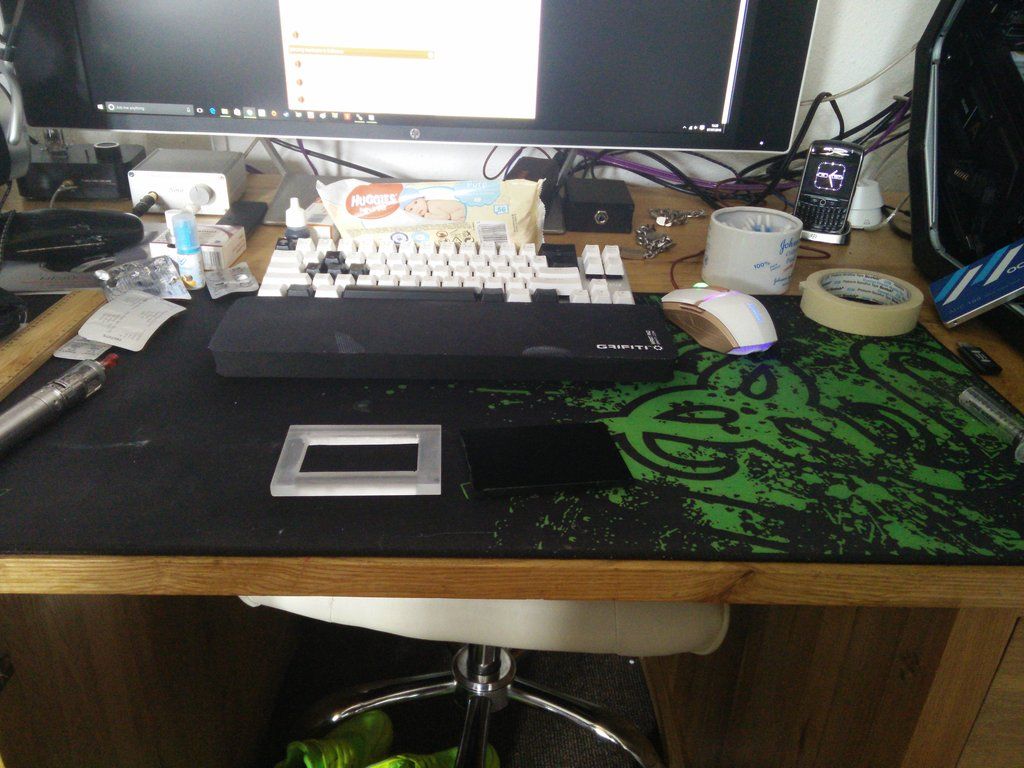
And for now I am just literally designing and making templates for all of the many cover panels the rig will use.
I was going to do the "Edd China" method and use this.

Edd China Method explained. OK, so you basically use masking tape to shape the area and then draw around it with a black pen giving you the shape you require. Sadly that just wasn't working as the surface is 3D and not flat and so the masking tape was just flopping around all over the place. So I had to come up with plan B, and sadly I never took any pics of this being done because it was an idea that I wasn't sure would work.
In the end though it did work, and now I have this*

*note. The cable cut out square is too big and will be changed for the final piece.
It's that "wooka wooka" plastic ! basically I just made a part for each turn and then at the end stapled and glued it all together. I'm super stoked with it because for the best part of a year I have had no ideas as to how I was going to do this so that it fitted really well.
OK so the next idea. This is one I have had going around in my head for a while now and I'm not quite decided on it yet. It will take testing to see in reality what it looks like but around the rig I want to basically label all of the areas using Alienware gyphs. However, I don't want them to be "RAWR IN YOUR FACE" I want it to be subtle enough so that if the light doesn't catch it it will be almost invisible.
Now I had a couple of options open to me here. The box itself will be either painted with matt black or covered in matt black vinyl and then the lettering can either be mirror black.

Or satin black vinyl which will obviously be far less apparent. I have ordered both, so will do some testing and see how it looks.
I've also ordered ten of these to hold the box together.

And for now I am just literally designing and making templates for all of the many cover panels the rig will use.
AlienALX
Well-known member
OK so the work continues ")
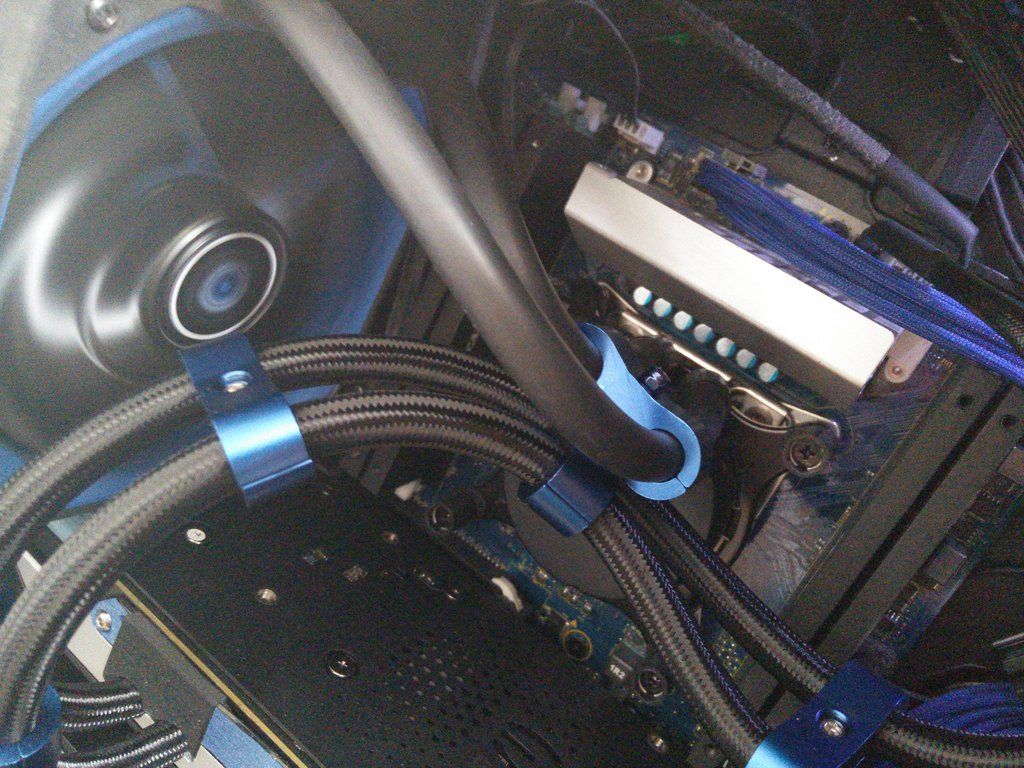
Firstly I have fitted the locking nut to the hose clamp assembly. This offers security
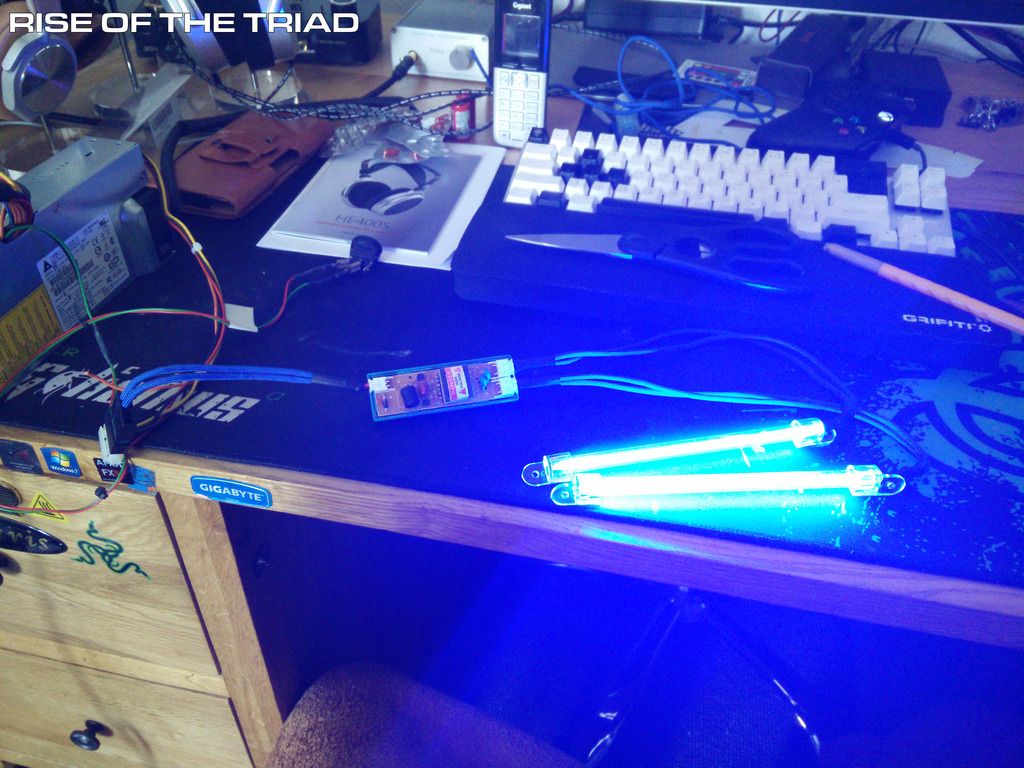
The 6" cathodes also arrived. I set to work
A little while later
Took the horrid light blue ballast apart and modded it.
Have to fix the scratch..
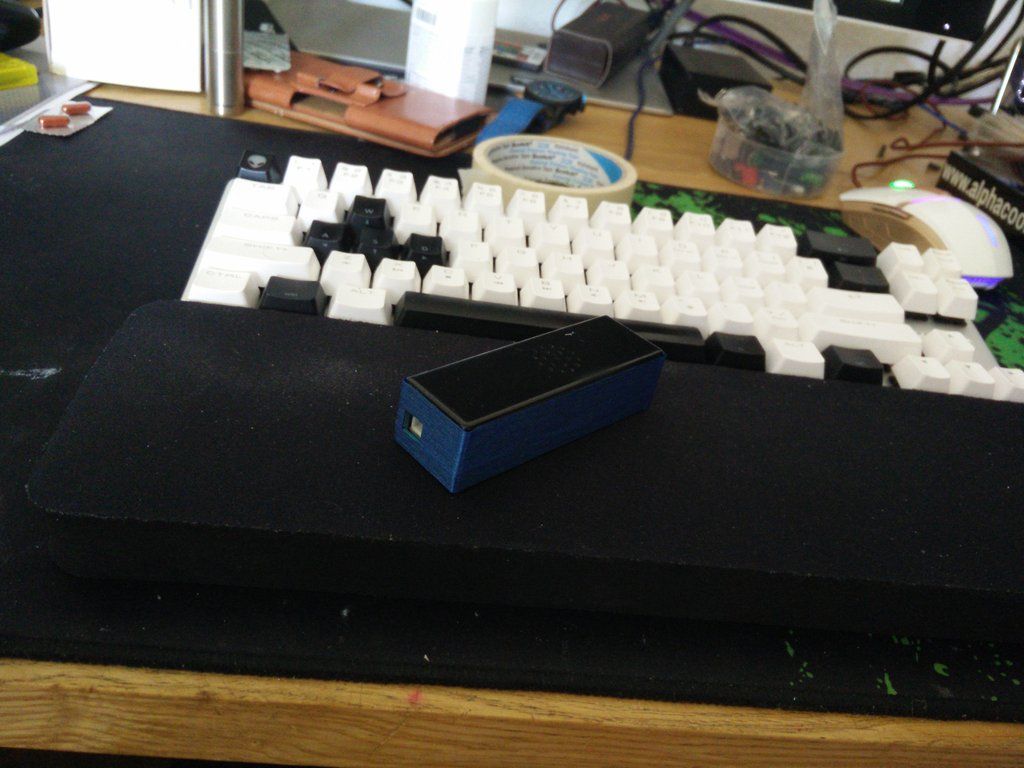
Any way, I have ordered two of these from HK. You'll see why later.
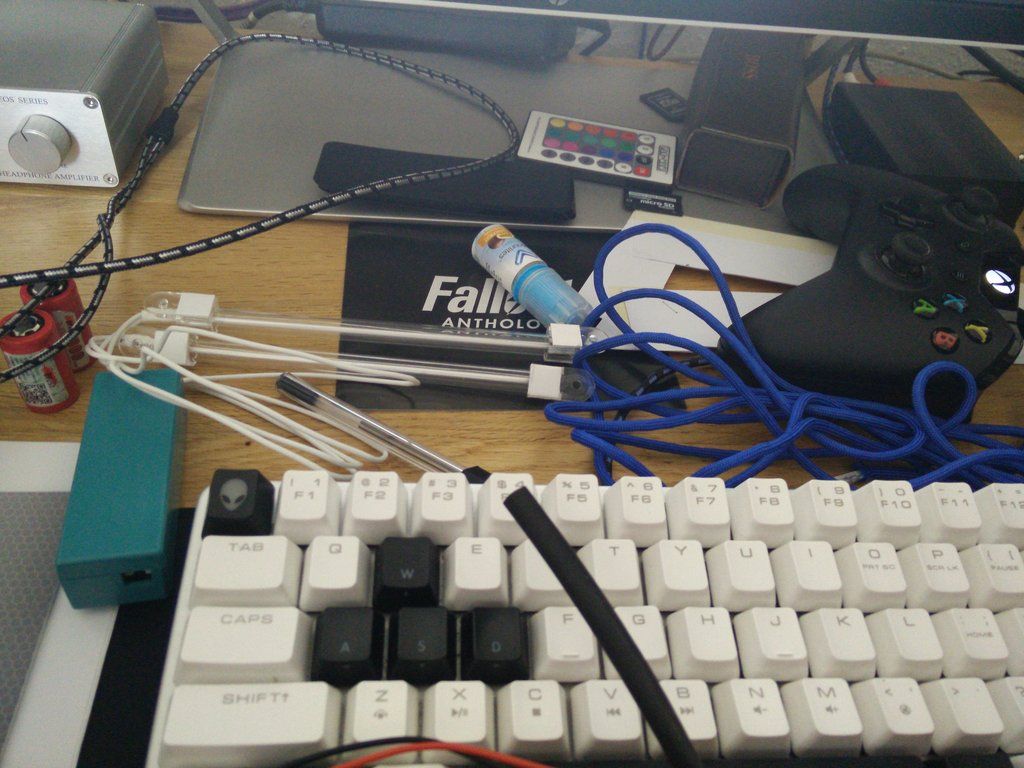
Random box of bits that have slowly been arriving
Started fitting the fans.
And making the cover panels. There will be around ten in total, here is the back PSU cover (the white one) and the side of the floor box.
There will also be a top PSU cover, SATA connector cover as well as any others. I believe Aston Martin refer to them as "beautification panels".
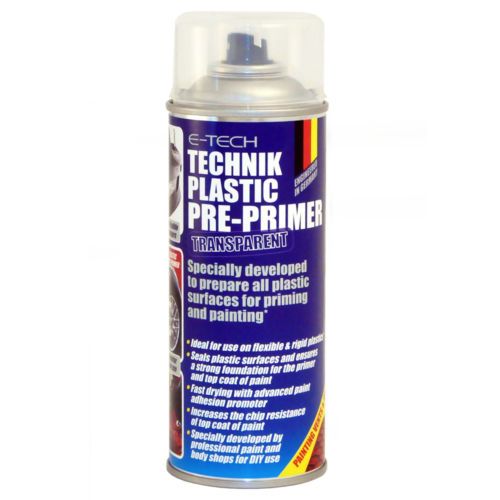
They are all being painted, though, so I ordered this as I am using both acrylic and plexi glass.
Firstly I have fitted the locking nut to the hose clamp assembly. This offers security

The 6" cathodes also arrived. I set to work


A little while later

Took the horrid light blue ballast apart and modded it.

Have to fix the scratch..
Any way, I have ordered two of these from HK. You'll see why later.

Random box of bits that have slowly been arriving

Started fitting the fans.

And making the cover panels. There will be around ten in total, here is the back PSU cover (the white one) and the side of the floor box.

There will also be a top PSU cover, SATA connector cover as well as any others. I believe Aston Martin refer to them as "beautification panels".
They are all being painted, though, so I ordered this as I am using both acrylic and plexi glass.

AlienALX
Well-known member
Ear infection
Well actually no, not ear infection ear tissue infection. I'm a bit obsessed with headphones, me. For the past couple of weeks I've had them on for around 16 hours a day. Any way, this time last year (when we had our warm week) I got an infection in my ear tissue from over using my cans. This year is no exception, and I've got it again (spread into my cheek too).
It aches like buggery, throbs like a goodun and itches like fire. It's the worst
Sucks too, 'cause my modding supplies had started to arrive slowly. I just feel so off balance though, as my left ear canal has basically swollen shut. So I'm partially deaf too and my balance has gone to crap.
I have now finished the stepped PSU top cover and have been playing with plastic weld. Great fun. Sadly the camera died just as I had finished those and I've been in bed for the past two days so no pics for now.
AlienALX
Well-known member
Ear infection confirmed. And it's bad too. So off I went to the docs yesterday arvo and was given the ear penis that squirts horrid vinegar (at least that's what it smells like) and have been told no work for a week and no headphones for a fortnight. That's like Chinese water torture to an aspie
Any way I have been having "side ideas". They're kinda like side quests in a RPG where you are concentrating on what you are doing but then you have an idea you want to use and so you basically stop what you are doing and spend ridiculous amounts of time on these "side mods".
I won't go into what the side mods are because some will not make it to the end (they're the ones that end up in the bin after about eight hours of cutting sanding and god knows what else) but a couple of them will definitely make it. I'm not going to talk about those either just yet as they may change
So yeah, apologies for boring post but I'm still waiting on deliveries. Side mods also cause you to order things at random times of the day over the course of about three days. The way my brain works is first to have an idea, then to fine tune how that idea will make it to fruition. You know? like the best way to do it, the easiest way to do it, what tools would make it easier and so on
Edit. More items ordered now.
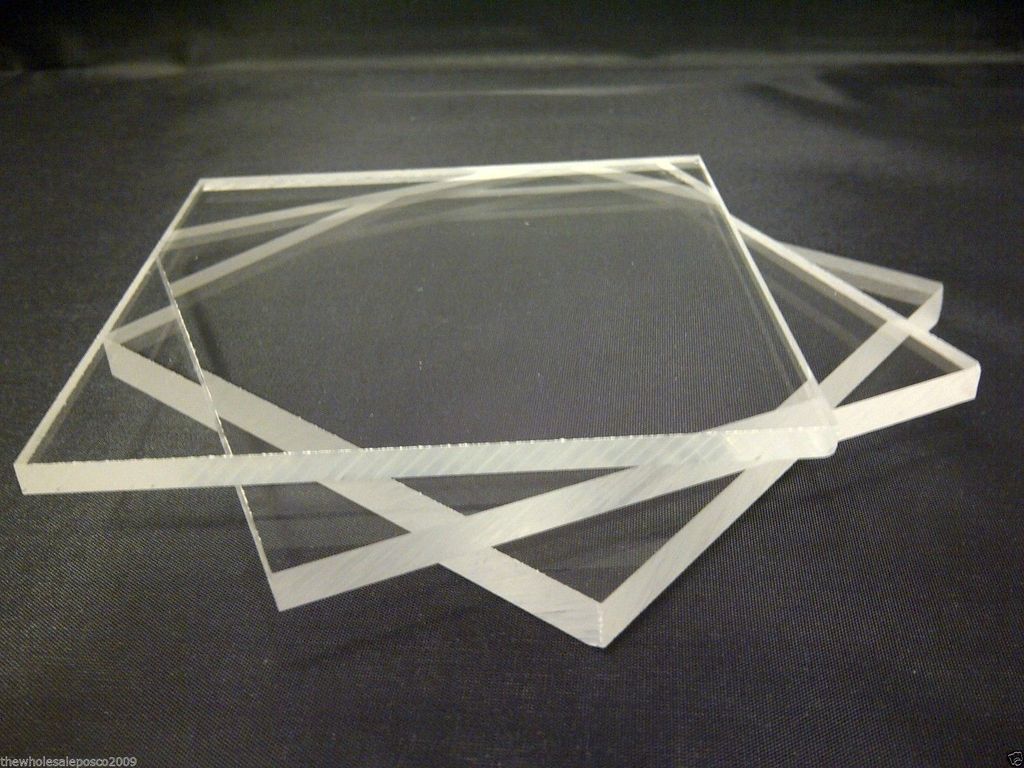
One 8mm slab of acrylic.
Which of course I can't cut with my existing blades as they're not big enough so these.

I've also got one of these now too, not sure how I did without it tbh.
It's like writing with a chisel, then realising you can do it with a pen.
I've been a pretty good boy so far. I've reused all of the off cuts and panels removed from other projects mostly. That's why it looks like ass ATM because I am using clear plexi (not acrylic) yellow 3mm, white and black 5mm and so on, there's even a bit of purple in there. Obviously working with this stuff is easiest when it's transparent so I have ordered an A3 sheet of 5mm smoked.

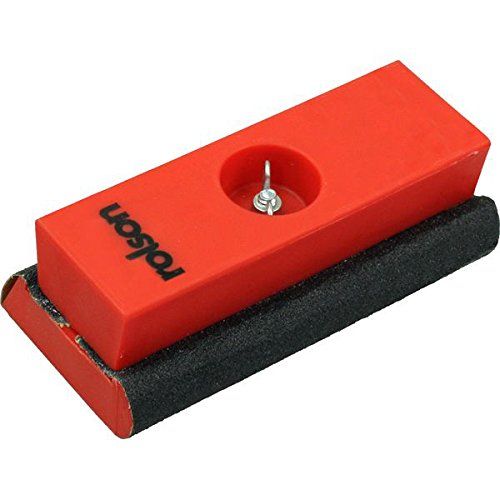
I also needed a decent sanding block, given these parts all need sanding and so on.
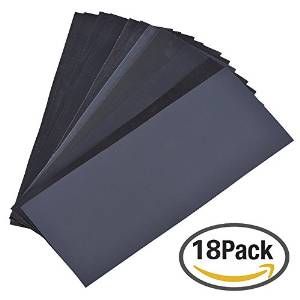
And plenty of wet and dry for prep.
I also had not read this properly.
And it seems it is not exactly primer. I know what it is, it's KO seal. Basically anything nasty that escapes from a surface is sealed down so it does not bleed through. I would say this is pretty important given I've used Frankenstein pieces of acrylic lol. I will need primer though as I mentioned before..
In a little bit I will grab my phone and take a few pics of the parts I've fabricated so far.
Any way I have been having "side ideas". They're kinda like side quests in a RPG where you are concentrating on what you are doing but then you have an idea you want to use and so you basically stop what you are doing and spend ridiculous amounts of time on these "side mods".
I won't go into what the side mods are because some will not make it to the end (they're the ones that end up in the bin after about eight hours of cutting sanding and god knows what else) but a couple of them will definitely make it. I'm not going to talk about those either just yet as they may change
So yeah, apologies for boring post but I'm still waiting on deliveries. Side mods also cause you to order things at random times of the day over the course of about three days. The way my brain works is first to have an idea, then to fine tune how that idea will make it to fruition. You know? like the best way to do it, the easiest way to do it, what tools would make it easier and so on
Edit. More items ordered now.
One 8mm slab of acrylic.

Which of course I can't cut with my existing blades as they're not big enough so these.

I've also got one of these now too, not sure how I did without it tbh.

It's like writing with a chisel, then realising you can do it with a pen.
I've been a pretty good boy so far. I've reused all of the off cuts and panels removed from other projects mostly. That's why it looks like ass ATM because I am using clear plexi (not acrylic) yellow 3mm, white and black 5mm and so on, there's even a bit of purple in there. Obviously working with this stuff is easiest when it's transparent so I have ordered an A3 sheet of 5mm smoked.

I also needed a decent sanding block, given these parts all need sanding and so on.

And plenty of wet and dry for prep.

I also had not read this properly.
And it seems it is not exactly primer. I know what it is, it's KO seal. Basically anything nasty that escapes from a surface is sealed down so it does not bleed through. I would say this is pretty important given I've used Frankenstein pieces of acrylic lol. I will need primer though as I mentioned before..
In a little bit I will grab my phone and take a few pics of the parts I've fabricated so far.
Last edited:
AlienALX
Well-known member
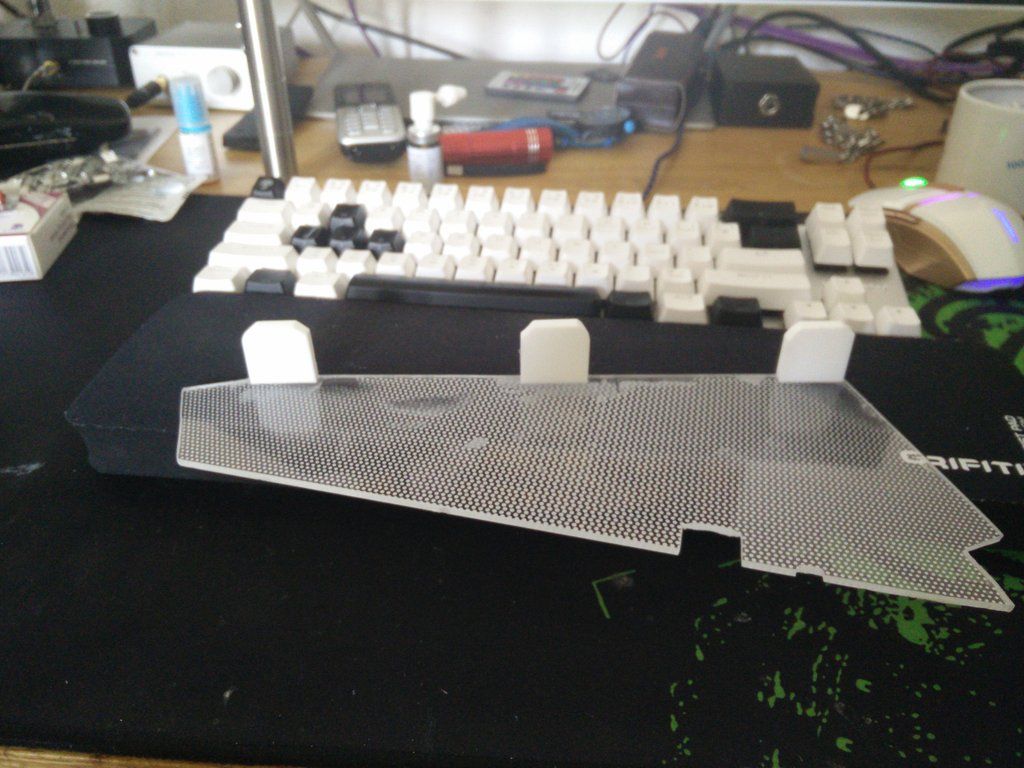
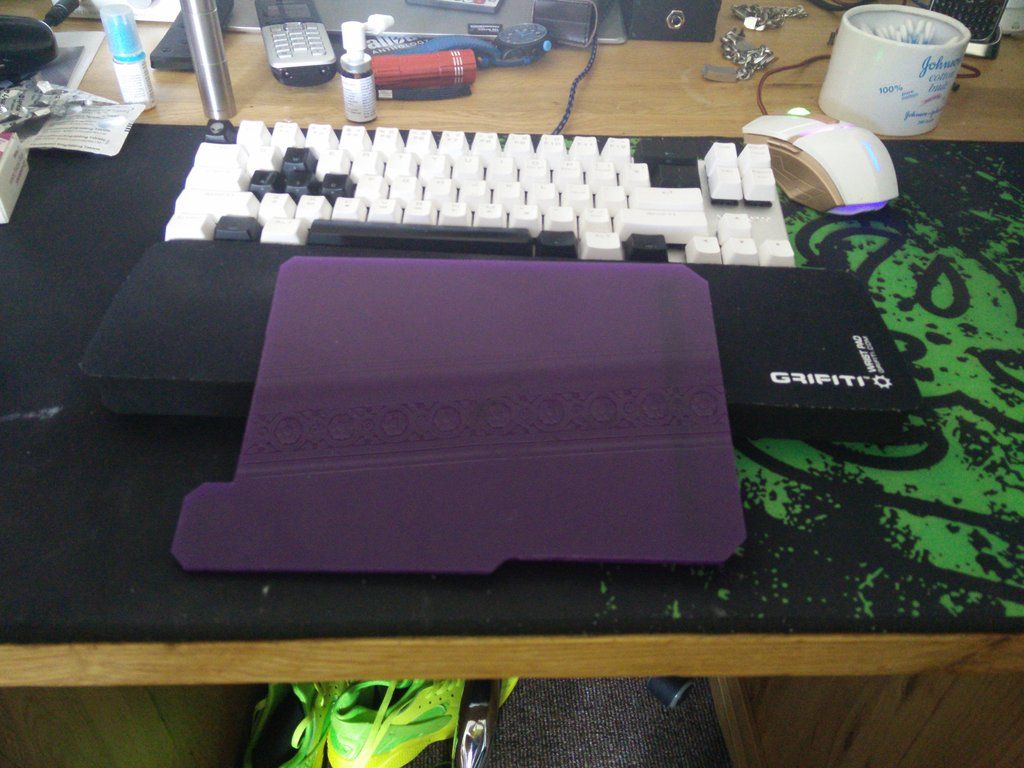
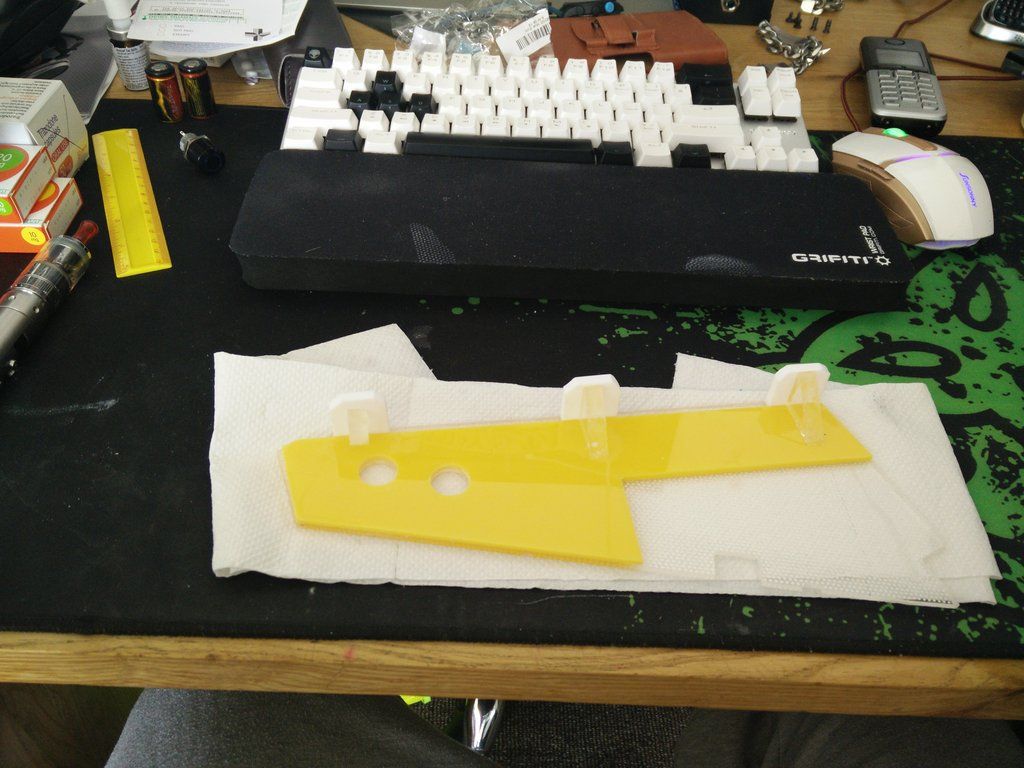
OK so here is where I am at. First of all there is the side of the box. This will hide all of the wires sitting in the bottom of the rig and the top for it will have Corsair grommets fitted (tbc out of that smoked 5mm).
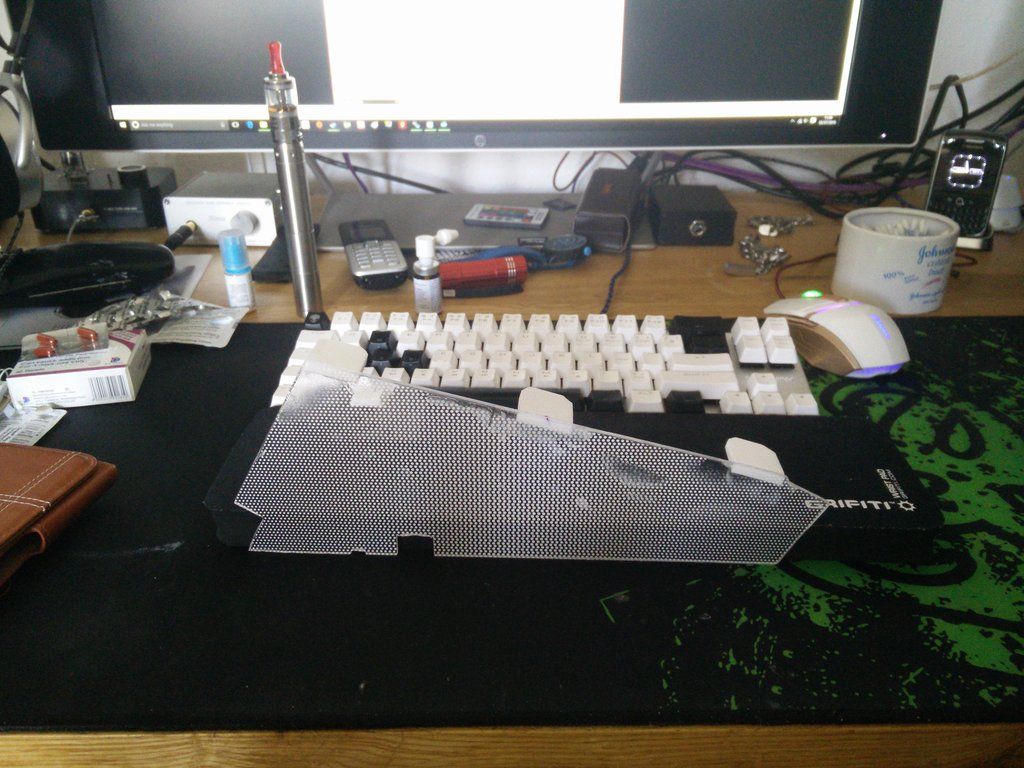
OK things to note. It looks like a dog's dinner atm. It would do. It has tiny little dots silk screened all over it and the plastic weld has melted them a bit. This will need serious sanding and prep, so ignore the fact it looks rough. You'll notice I have glued on three tabs. Well, not glued, welded. These will get 8mm block supports welded under them when I can cut the 8mm.
OK, so as you would have noted from an earlier post I have ordered two blue LED buttons. These are not momentary they are latched, which will allow me to control the internal lighting. However, the side piece where I want to mount them is 3mm plexi glass and this stuff is super brittle and usually cracks when you drill it. So, to counter that from happening I have marked out a 3mm acrylic support panel which will double the thickness.

As I say, it's going to look a lot worse before it looks better
Also cut now is the PSU top cover panel.
And parts have been welded on to make sure it stays where it should.
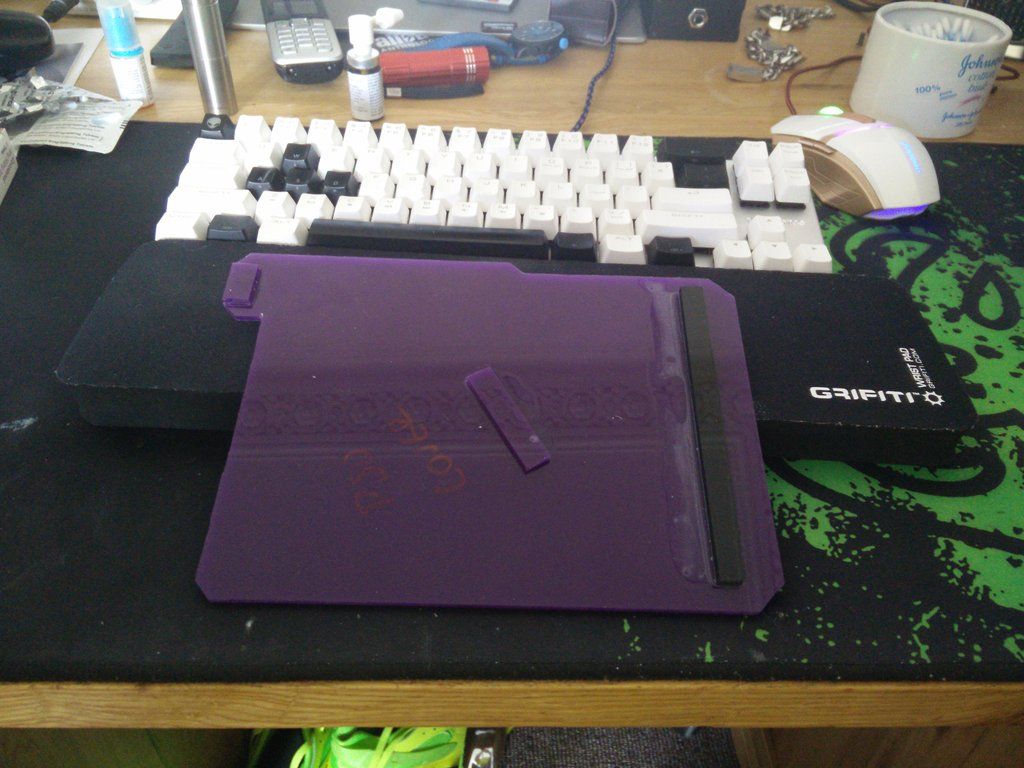
Again I have not even taken a piece of sandpaper to it yet because I do not have any. I would say there will be at least a whole day of prep once I am done making panels.
Two secret panels. One 5mm one 8mm. Just think UFO.

I have 50 3mm LEDs at my disposal for that
The last time I did a mod of this magnitude I used this stuff, which I will be using again.
And a sample of the finish.
I still have four or five cover panels to cut. Shame about this ear infection I was really enjoying myself

OK things to note. It looks like a dog's dinner atm. It would do. It has tiny little dots silk screened all over it and the plastic weld has melted them a bit. This will need serious sanding and prep, so ignore the fact it looks rough. You'll notice I have glued on three tabs. Well, not glued, welded. These will get 8mm block supports welded under them when I can cut the 8mm.

OK, so as you would have noted from an earlier post I have ordered two blue LED buttons. These are not momentary they are latched, which will allow me to control the internal lighting. However, the side piece where I want to mount them is 3mm plexi glass and this stuff is super brittle and usually cracks when you drill it. So, to counter that from happening I have marked out a 3mm acrylic support panel which will double the thickness.

As I say, it's going to look a lot worse before it looks better
Also cut now is the PSU top cover panel.

And parts have been welded on to make sure it stays where it should.

Again I have not even taken a piece of sandpaper to it yet because I do not have any. I would say there will be at least a whole day of prep once I am done making panels.
Two secret panels. One 5mm one 8mm. Just think UFO.

I have 50 3mm LEDs at my disposal for that
The last time I did a mod of this magnitude I used this stuff, which I will be using again.

And a sample of the finish.

I still have four or five cover panels to cut. Shame about this ear infection I was really enjoying myself
AlienALX
Well-known member
Not been able to do much due to waiting for stuff and having this ear infection but I soldiered on today.
Firstly I finished cutting the reinforcement piece for the side panel.
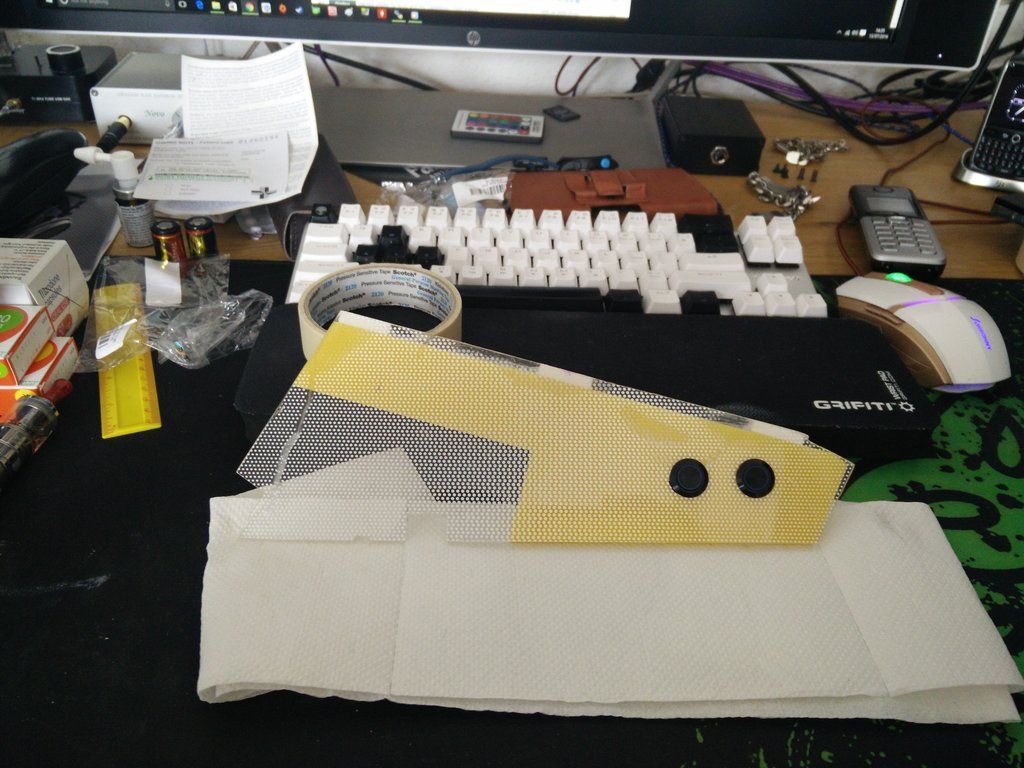
And then started work on the SSD-UFO.
An acrylic sandwich. I have since welded them together and sanded the edges flush ETC. I've got forearms like Popeye and I only just started with P400.
I kind of knew this part would take a while so I'm just taking my time.
Firstly I finished cutting the reinforcement piece for the side panel.

And then started work on the SSD-UFO.

An acrylic sandwich. I have since welded them together and sanded the edges flush ETC. I've got forearms like Popeye and I only just started with P400.
I kind of knew this part would take a while so I'm just taking my time.
AlienALX
Well-known member
More work on the SSD-UFO.
Yesterday I welded two pieces of acrylic together (8mm clear and 5mm black). I then sanded the edges flush which took about an hour. Then today I marked it up and drilled 28 3mm holes into it (5 on each small edge and 9 on each large edge, 8mm apart).
Then I've just spent the last hour going from 400-600-800-1000=1200-1500-2000-2500-3000 grit to get it almost transparent. I don't want it glass clear because it will show too much of the inner workings (28 3mm LEDs for a start).
The piece of thin material you see it resting on will be cut to size and will cover up the internals when it is all built and finished. Annoyingly I only added 25 LEDs to my original order so I have just ordered 25 more.
Once they arrive I can start fitting them and soldering
In the meantime later today I will start sanding the pieces ready for priming and so on.
AlienALX
Well-known member
Quick update. Not much been happening because I found out I had ordered 3v LEDs that pop if you give them 5v. I'd also ordered 25 more too. Turns out this was cheaper than replacing all of the LEDs.

Basically you feed it with 5v then adjust it to give you the desired voltage.
So I'm kinda stuck atm waiting on parts. I can't finish the panels because I need those two buttons and everything else is just sitting waiting to be worked on.

Basically you feed it with 5v then adjust it to give you the desired voltage.
So I'm kinda stuck atm waiting on parts. I can't finish the panels because I need those two buttons and everything else is just sitting waiting to be worked on.
AlienALX
Well-known member
OK so pretty much everything is here now. I am still waiting on some blue tint but that may not even end up getting used.
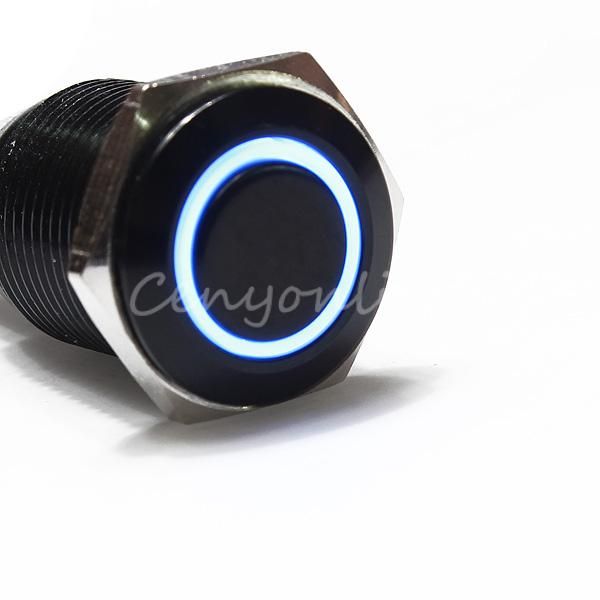
Today the vandal switches arrived from HK (£3.80 the pair, they're four times that EACH from UK vendors) and they're pretty snazzy. So I could finally cut the holes into the side panel to hold the switches. However, I had been very nervous about this because the outer skin is made from plexi glass and not acrylic. It tends to crack and split extremely easily. Thankfully though it was one of those jobs that just worked first time - phew, I'd put hours into that panel !
As you can see the final struts have also been cut and welded on. It should now be able to carry the quite heavy top panel without anything breaking off.
Here are the switches in situ.
They light up too, very happy with those ! and of course the finished SSD-UFO.

Today the vandal switches arrived from HK (£3.80 the pair, they're four times that EACH from UK vendors) and they're pretty snazzy. So I could finally cut the holes into the side panel to hold the switches. However, I had been very nervous about this because the outer skin is made from plexi glass and not acrylic. It tends to crack and split extremely easily. Thankfully though it was one of those jobs that just worked first time - phew, I'd put hours into that panel !

As you can see the final struts have also been cut and welded on. It should now be able to carry the quite heavy top panel without anything breaking off.
Here are the switches in situ.

They light up too, very happy with those ! and of course the finished SSD-UFO.

Tolemac
Active member
Quick update. Not much been happening because I found out I had ordered 3v LEDs that pop if you give them 5v. I'd also ordered 25 more too. Turns out this was cheaper than replacing all of the LEDs.
Basically you feed it with 5v then adjust it to give you the desired voltage.
So I'm kinda stuck atm waiting on parts. I can't finish the panels because I need those two buttons and everything else is just sitting waiting to be worked on.
So basically thats a chip full of resistors. Sorry mate but i'm an old nearly 50 fudger looking at what my old git taught me beside a railway line many many years ago
AlienALX
Well-known member
So basically thats a chip full of resistors. Sorry mate but i'm an old nearly 50 fudger looking at what my old git taught me beside a railway line many many years ago
Yes it's so I can control the current to the LEDs, even brightening and dimming them with it. I just need to order some more resistors for the amps, then I can start playing. Right now the UFO has four 5mm white LEDs in it but I will make it so that it can change colour either white or blue ! that should be fun
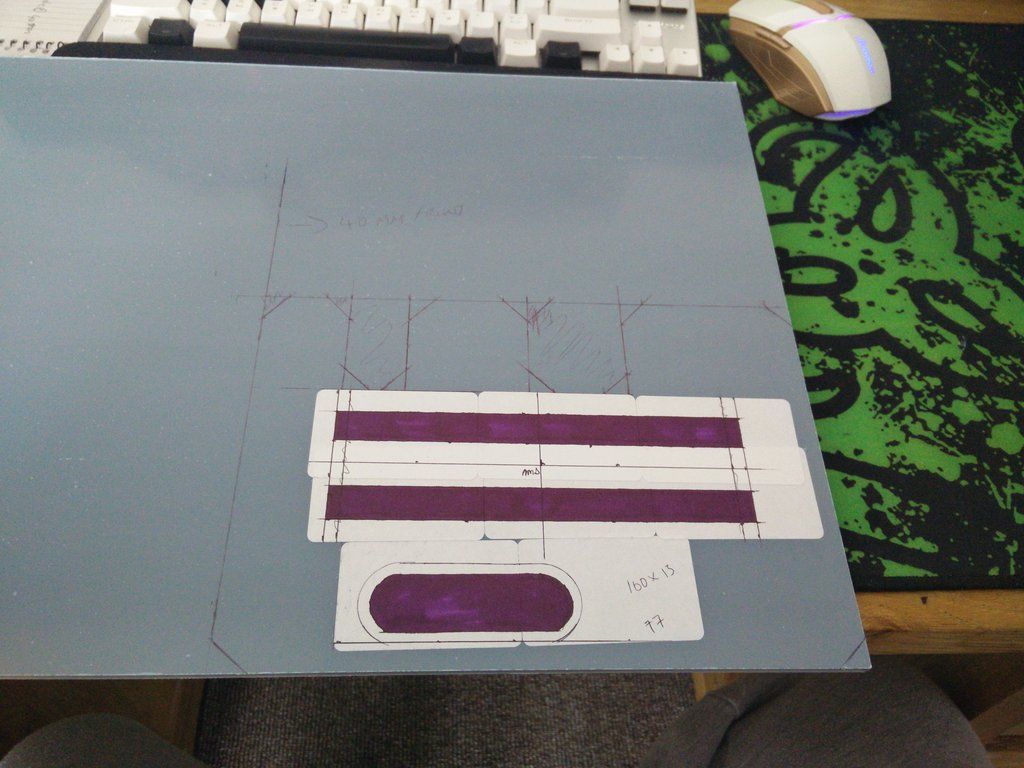
Today I finally did some rewiring inside the PC and straightened up the cables. They're all on cable ties ATM until they stop fighting or, end up being shoved into a channel that will hold them straight regardless.. Here is the top panel WIP so far, I've mapped out the areas that need to come out and drawn the cut hole for one of the cable management thingers.

And here you can see what I have done. Trim off one side by around 4mm then I will trim it to fit and glue it in once it's all painted.

Still lots to do because I had an idea that I want to basically sink the cathodes into the lid so they are flush and don't stick out. Shouldn't be too hard, just cut holes big enough for them to fall into then weld in some supports.
AlienALX
Well-known member
Last update of the day ! So I have now finished marking up the top panel. I made a couple of mistakes so I waited until everything was final then coloured in the areas to be cut with a sharpie (hence why I have stuck labels on it's easier to mark).
(complicated part).
OK, so as you can see I am going to cut rectangular holes in which the cathodes will be sunk so that they are flush. Problem is the blade I use to cut acrylic (diamond coated) is wider than the 13mm hole. So I am going to have to over cut the ends meaning I will need this.

And some spreaders.
And finally some double sided tape. I decided I am going to take the SSD UFO apart and make some changes to it.
I will probably start cutting tomorrow.

(complicated part).
OK, so as you can see I am going to cut rectangular holes in which the cathodes will be sunk so that they are flush. Problem is the blade I use to cut acrylic (diamond coated) is wider than the 13mm hole. So I am going to have to over cut the ends meaning I will need this.

And some spreaders.

And finally some double sided tape. I decided I am going to take the SSD UFO apart and make some changes to it.

I will probably start cutting tomorrow.

AlienALX
Well-known member
OK so here is where I am now after going to bed at 1am and then getting back out of bed at 2:30 to complete the structural work on the box.
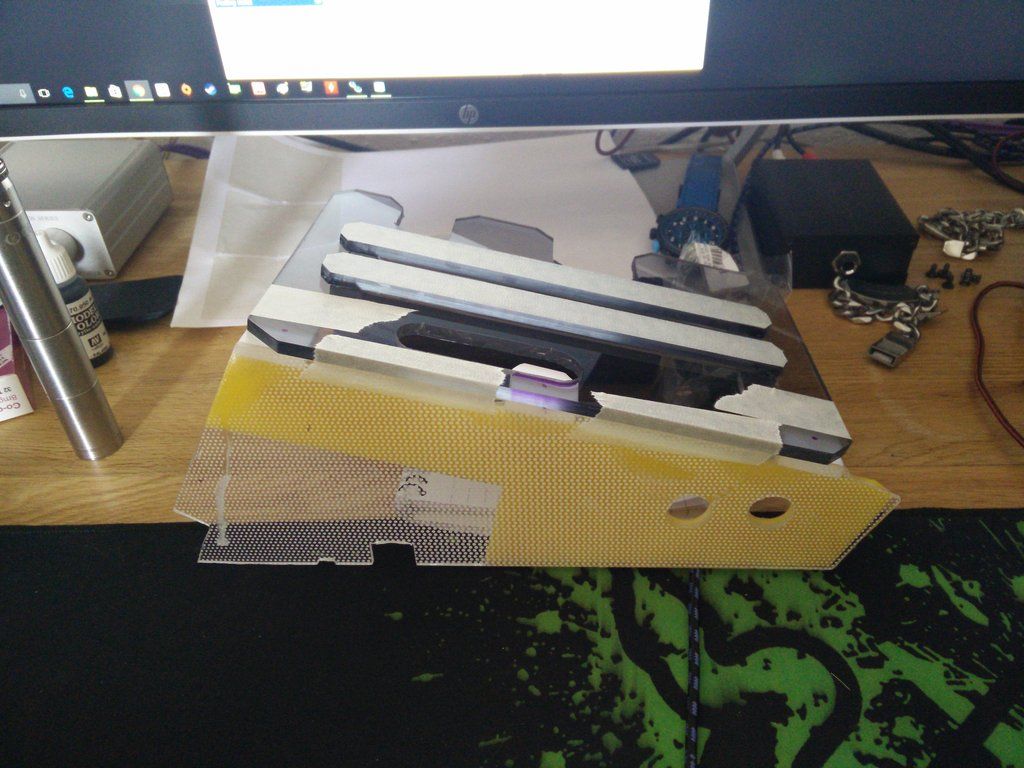
Now you can see why the rectangular holes do not matter. They are only there to allow the 6" cathode lights to sink through completely. You will also notice there are two pieces welded to the top. That now looks like this.
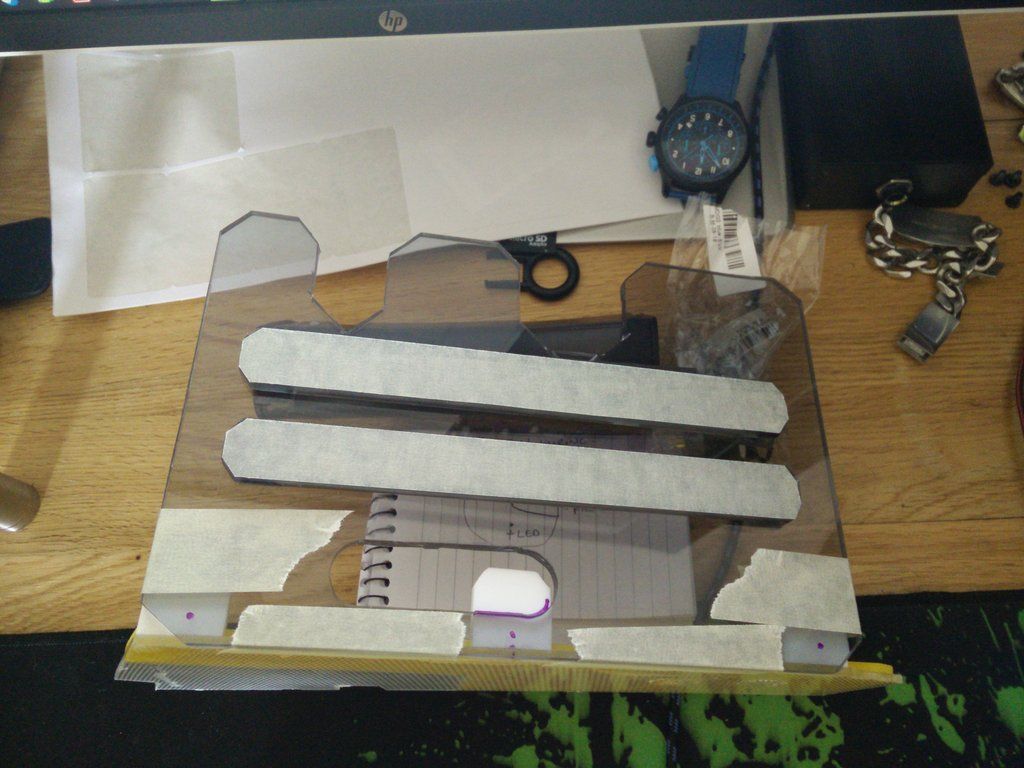
I originally planned to do this in one piece and to wrap around the cable grommet hole too but after spending a couple of hours designing things in Photoshop I decided on separate parts. Now you will note that the two strips are masked? that's because everything else you see will be painted apart from the very tops leaving those clear. I wanted it to be very *very* subtle as cathodes are like RAWR IN YOUR FACE so this was how I designed it.

There will only be a 3mm strip letting the light through. And going on top of them when it's painted will be these.
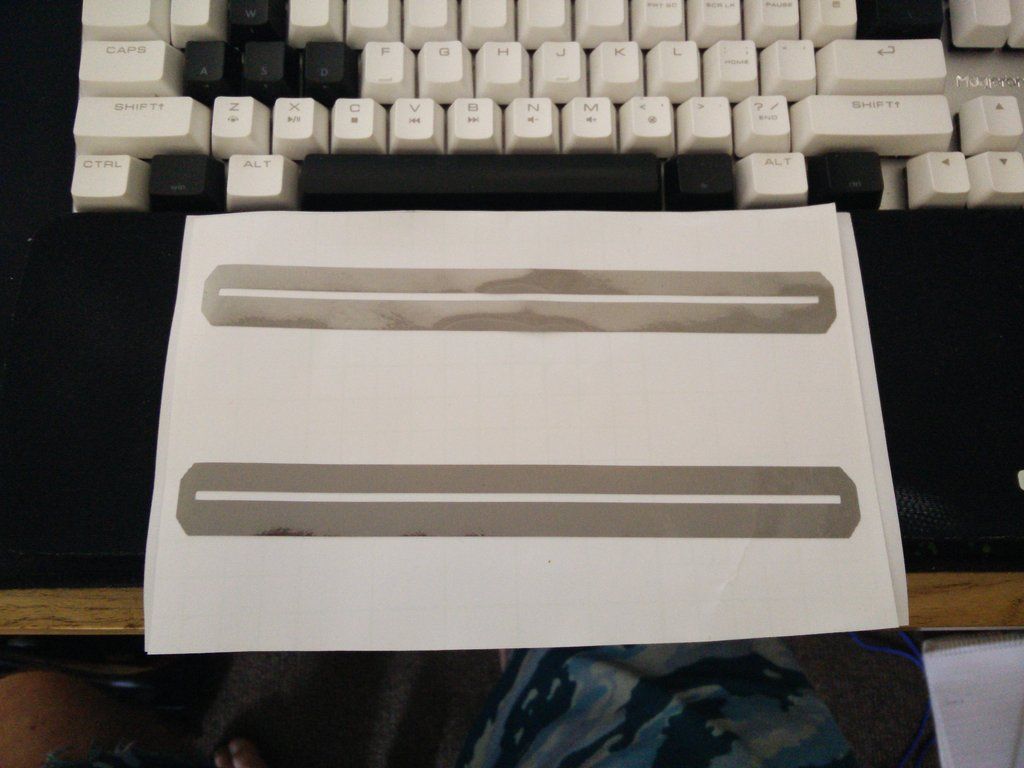
Basically I printed 2 off. One in black (to use as a cutting stencil) and one in the black chrome I mentioned earlier in the thread.
Later today I will be starting the 2-3 days of prep. Then I will fill, prep some more and keep working on cranking out these cover panels (two more to go at last count).
One I start getting paint on it will actually start to look like something
Oh yeah, and I buzzed the vandal switches last night and mapped all of the pins. No documentation pfft.
Oh yeah forgot to explain how the lights fit. At each end of the rectangle underneath I have welded on a post. This sinks them down flush so later today I will be doing all of the drilling/tapping (that's why it's taped together like that).