Warning : Massive post/s coming up.
Just to catch you all up. I have never ever finished a rig. Not on the modding side. I am aiming to completely finish this rig before moving house soon. So it's all hands on deck, but let me catch you up a bit.
First of all let me say that even dropping to 32" 1440p did not help the Furys much. They were still VRAM limited, even when I dropped back to one card. So I sold one of them, sold my Asus 760 Mars, sold a Titan Black (the last one) and bought the Titan X (£480) and a used 980 Hybrid kit (unused shroud) £40 and a back plate £17.
The 1080 was still a month away and I caught some one panic selling. In the end it all turned out good, because she's a demon clocker. Any way, without further ado here is the latest.
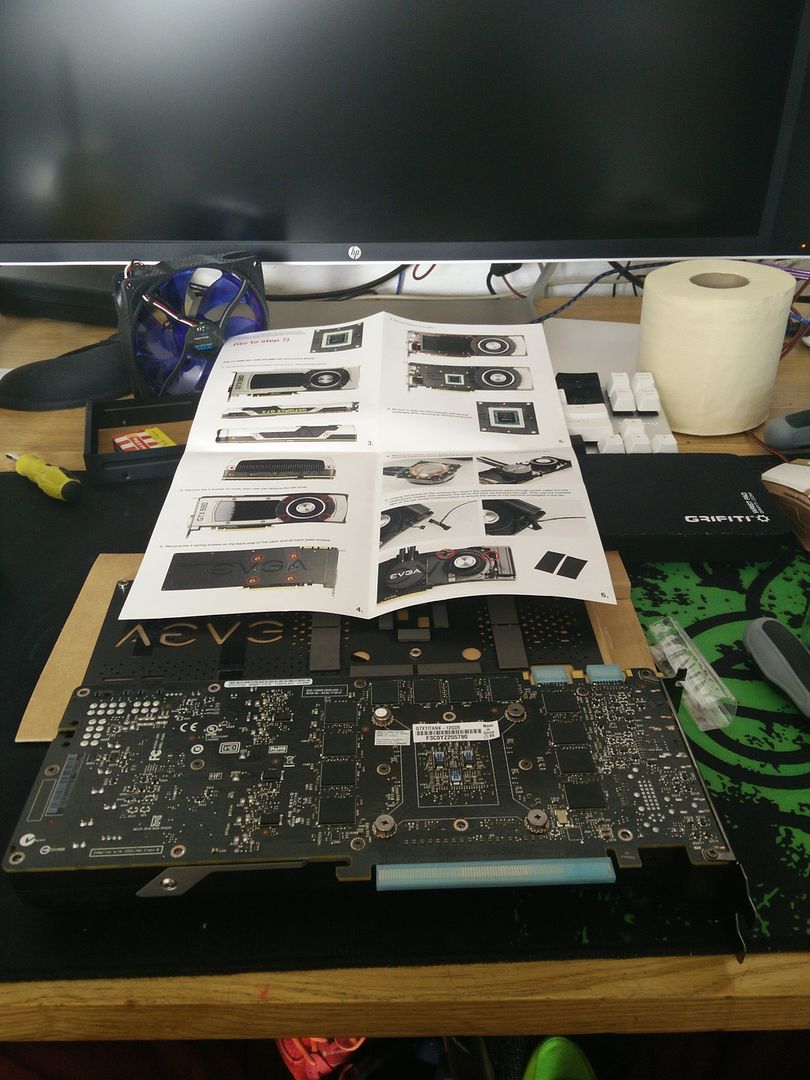
After suffering with two Fury X for about a year I decided enough was enough. Crossfire was crap and broken and even on a single card I was running short of VRAM. You don't even want to know what that's like... So I gave one Fury X to my wife and sold the other and ended up buying a Titan X for £480 recently. I also ordered a back plate from EVGA Europe (thanks guys, best packing of ever !) and bought a second hand Hybrid kit. Just one problem, it was the 980 version. So let's see what I did about that shall we?
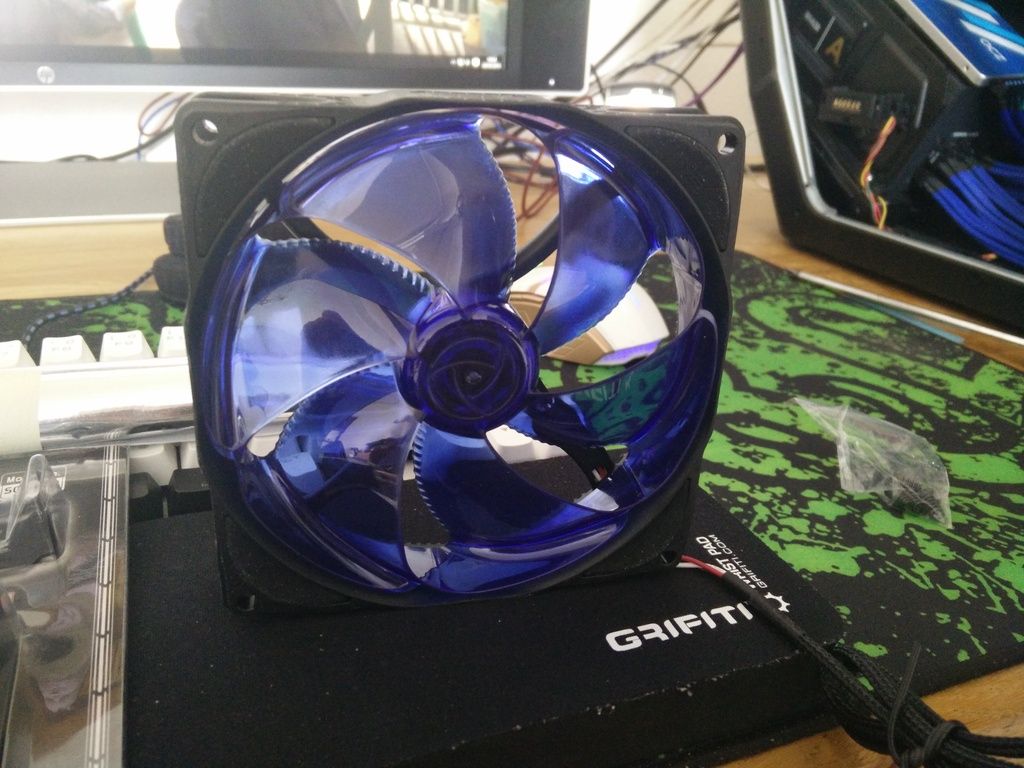
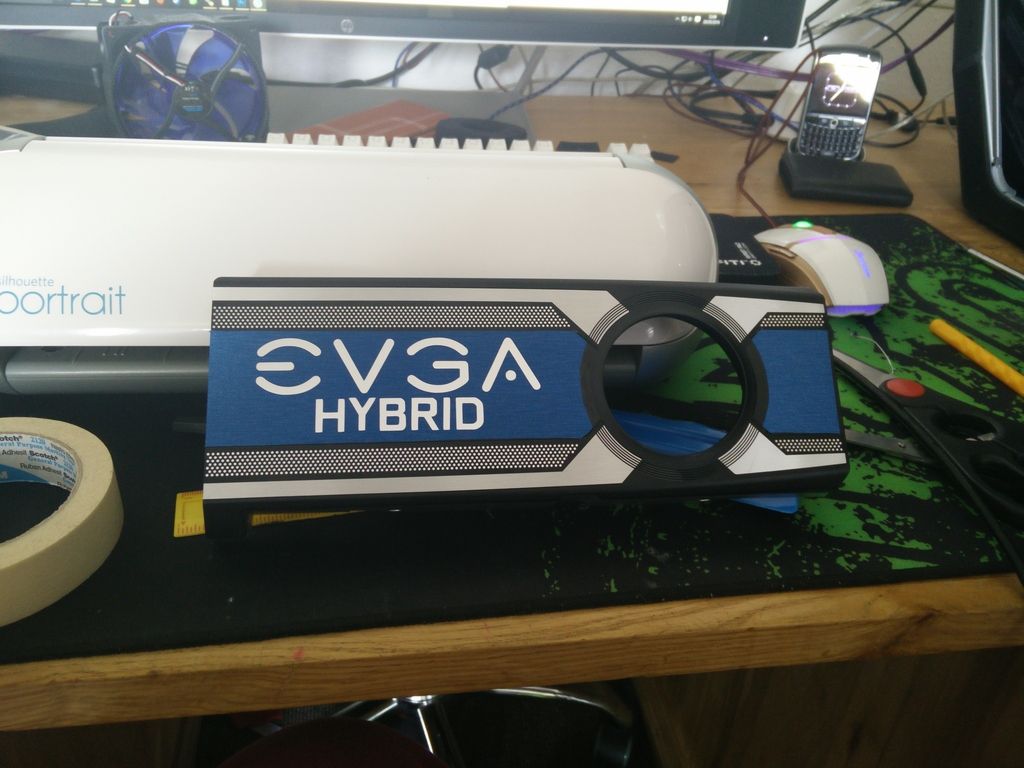
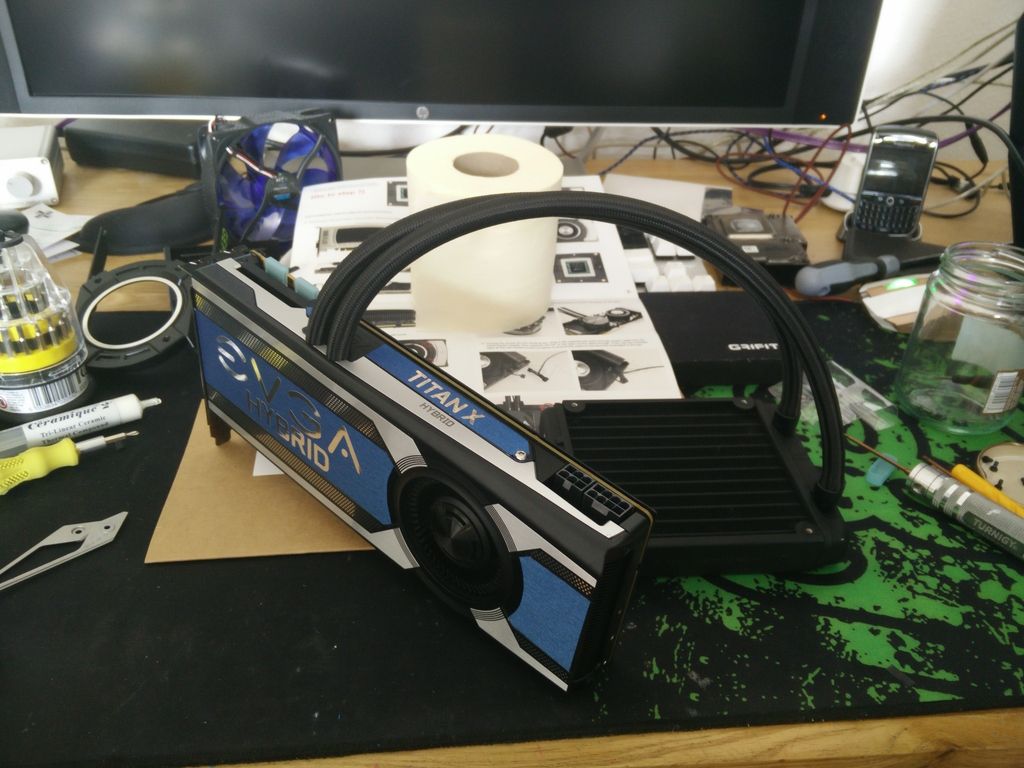
First of all I ordered some brushed alu in blue (it's vinyl with alu film on). I covered the areas on the card I thought looked best.
Here is a pic of that, though this was taken at night. I also covered part of the shoulder too, as you will see later.

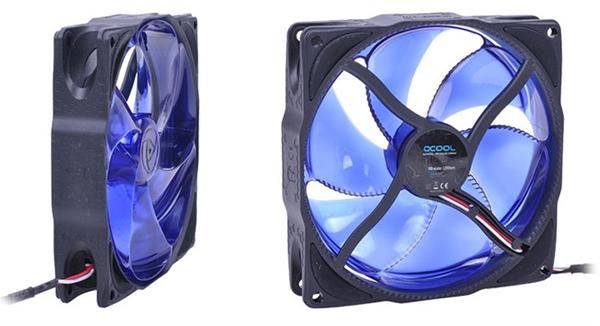
I did not want to use the stock fan as I heard they are very noisy. So I bought a Alphacool Eloop (same as Noiseblocker just come in colours) and a PCI slot fan controller.
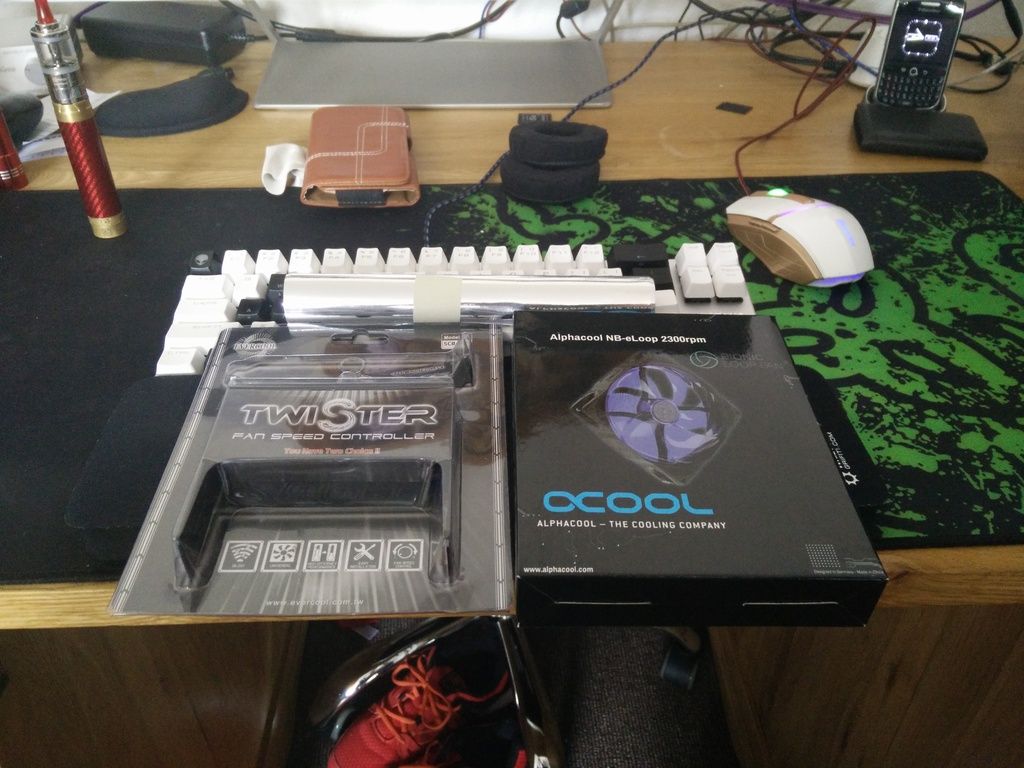
The fan.
And the controller. This was after I had taken it apart, desoldered all of the wires, braided them, modded it so the braids fitted it and then put it all back together.
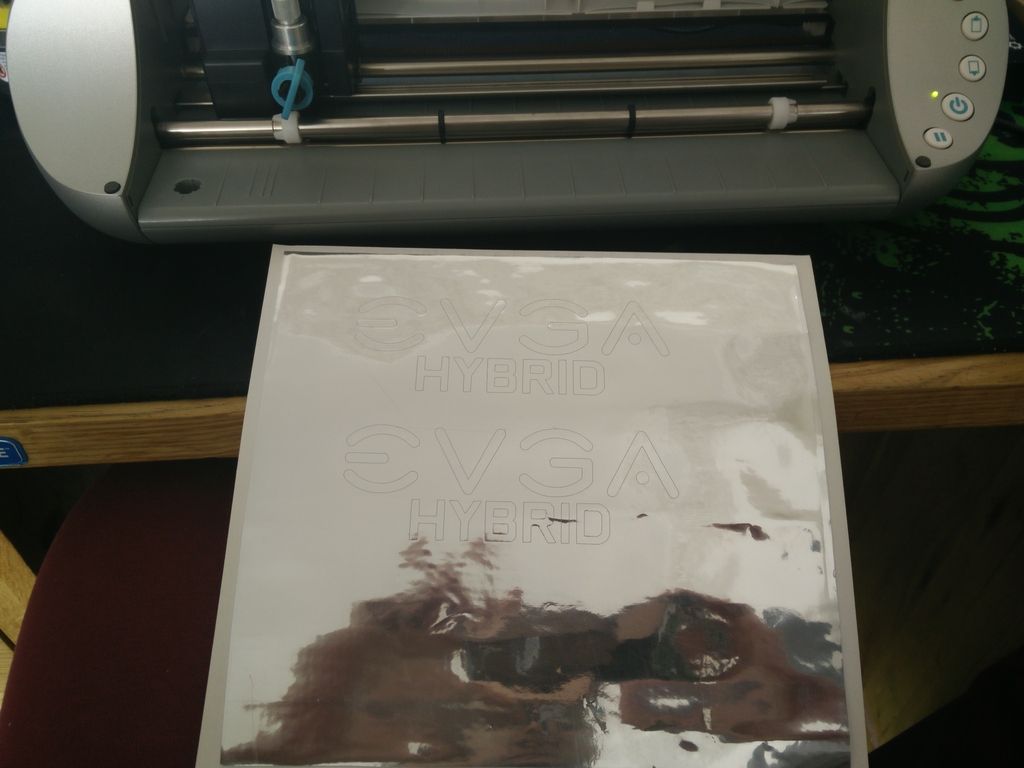
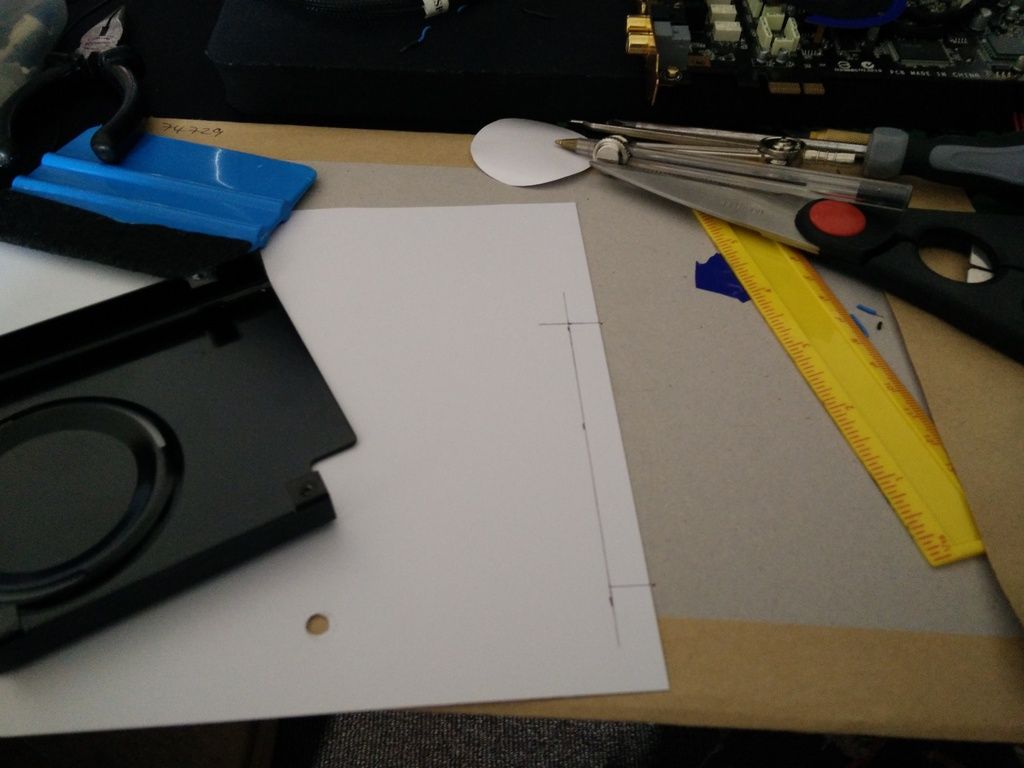
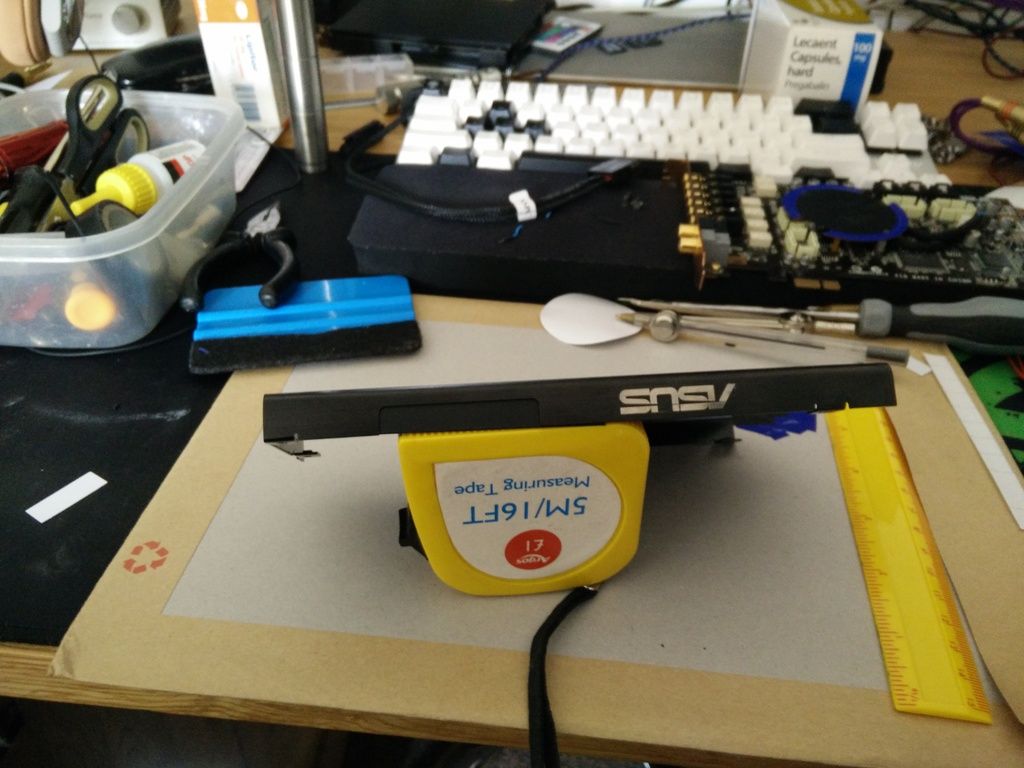
Then it was time to measure the shroud inner part.
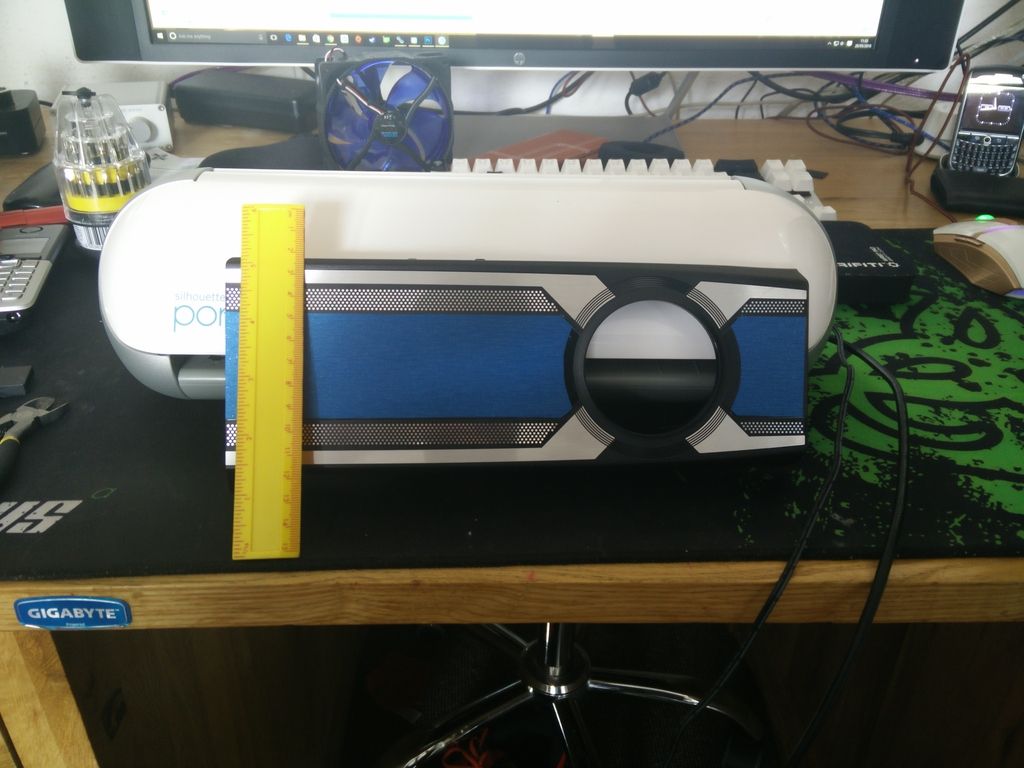
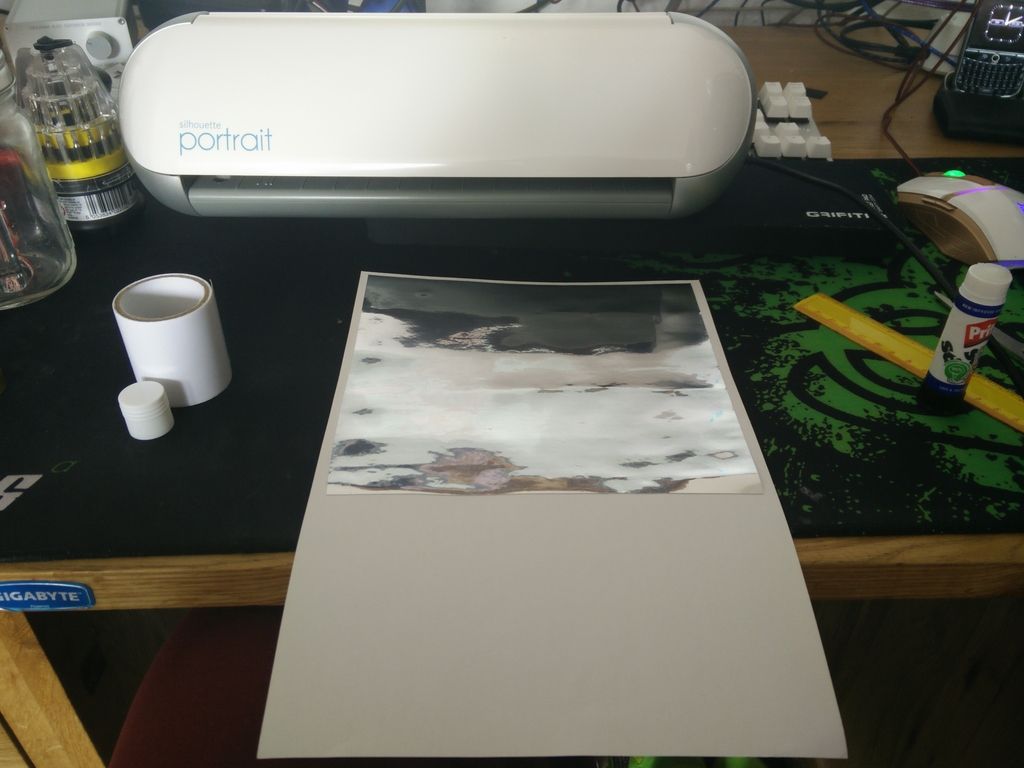
Chrome vinyl. This stuff is really slick and my plotter was having issues with it so I glued it down to some paper so the plotter could get a grip.
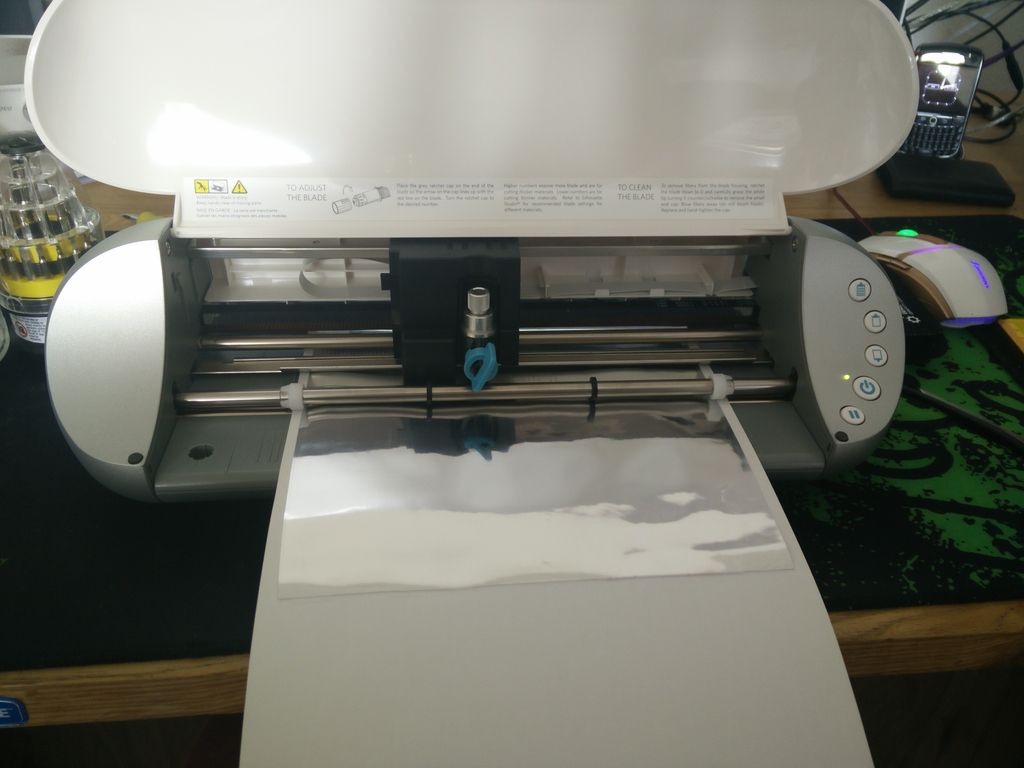
Load up the plotter...
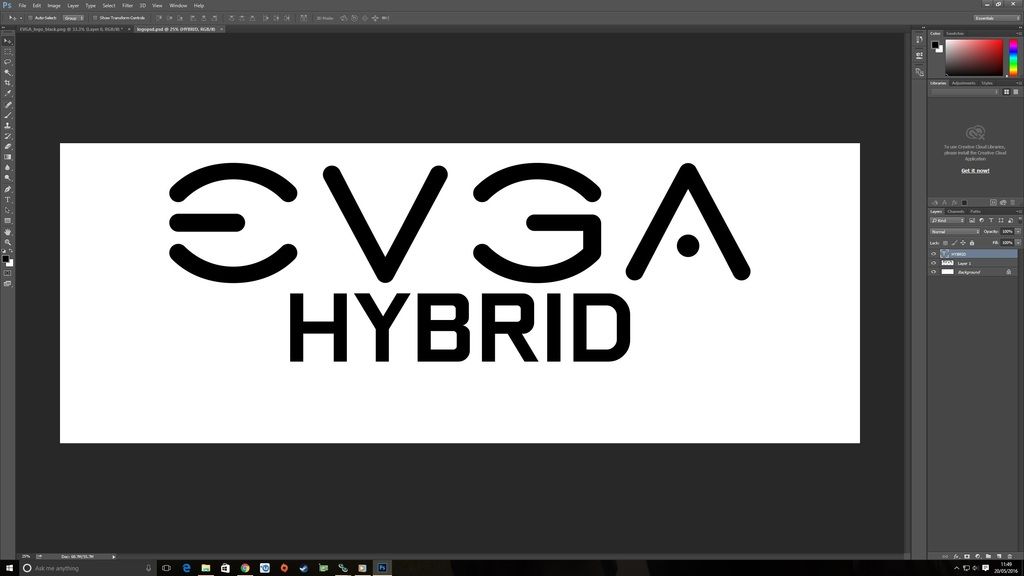
Then it was time to design what I wanted on there. Design.
Send to plotter..
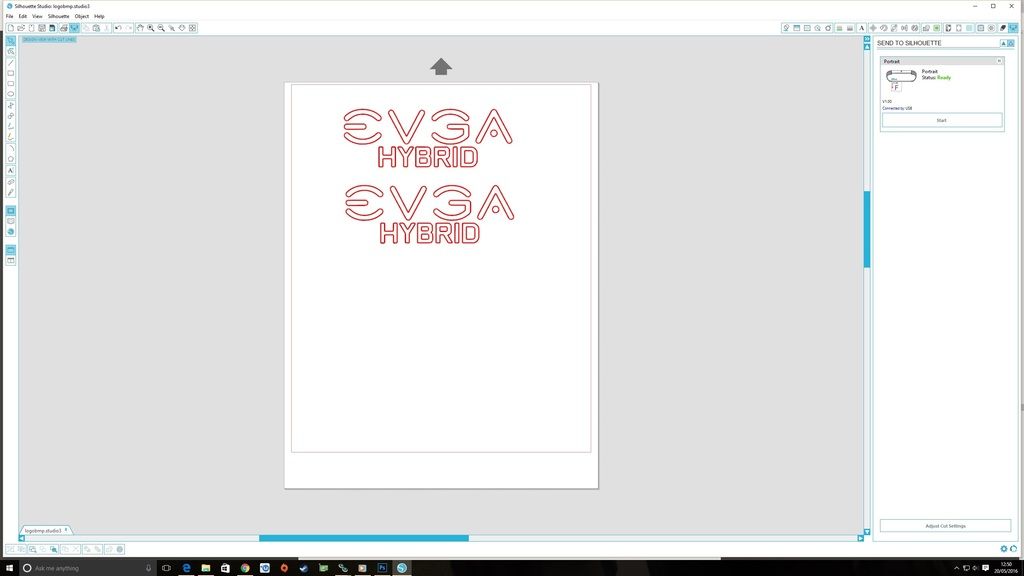
And then cut

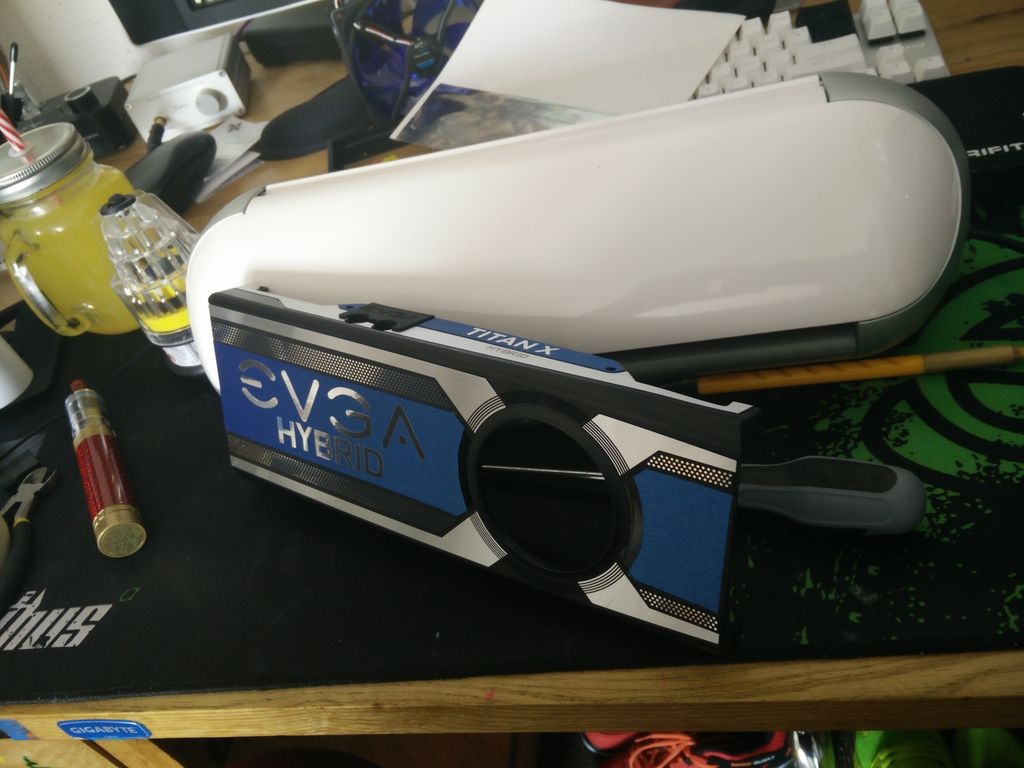
After lots of fiddly picking and swearing we have....
That's better.
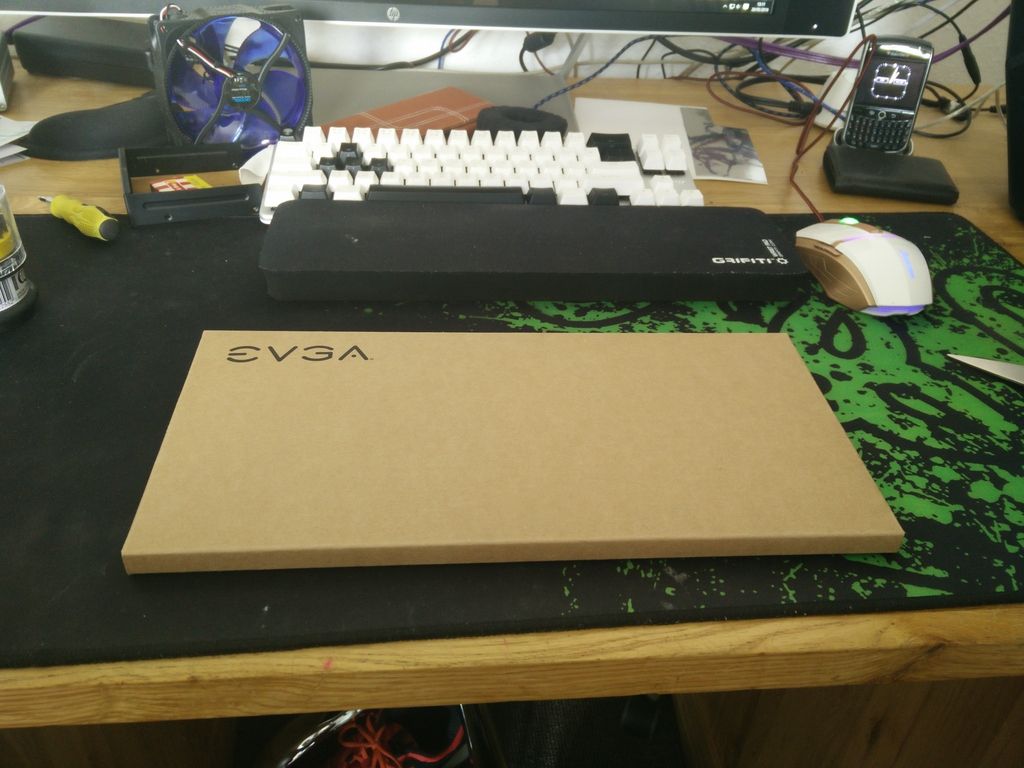
One shiny new back plate.
Erm....
Precisely one hour later.
And in.
Back plate.
And some quick and dirty overclocking.
http://www.3dmark.com/3dm/12101880?
--------------------------------------------------------------------------
Hi every one. I figured I would share my latest mods. Maybe to inspire some, maybe just to give you a few ideas I've discovered
")
First up - hose management. Yeah, I know that no one usually bothers trying to make AIOs look better they just look kinda crappy and that's it. I saw this about a week back now and liked the look.
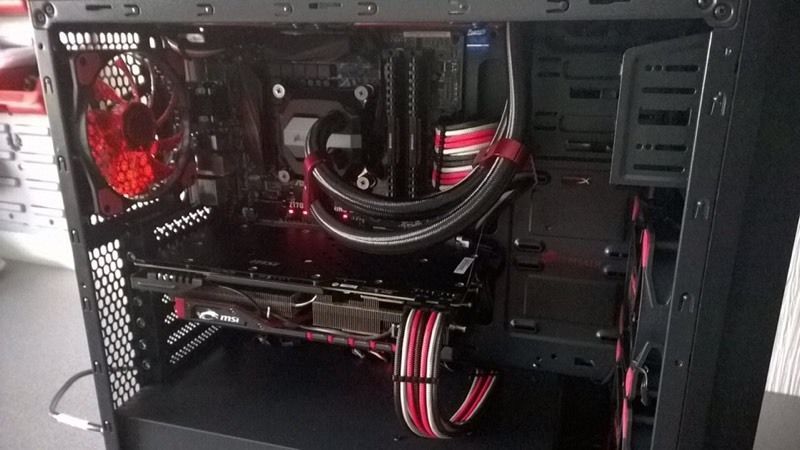
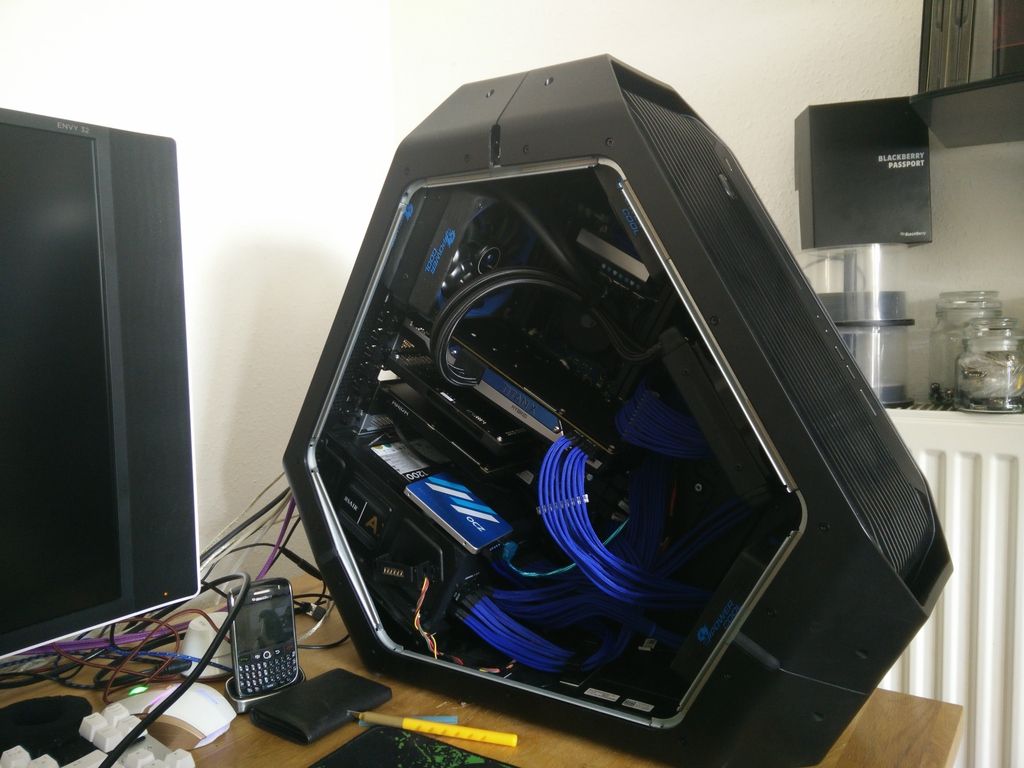
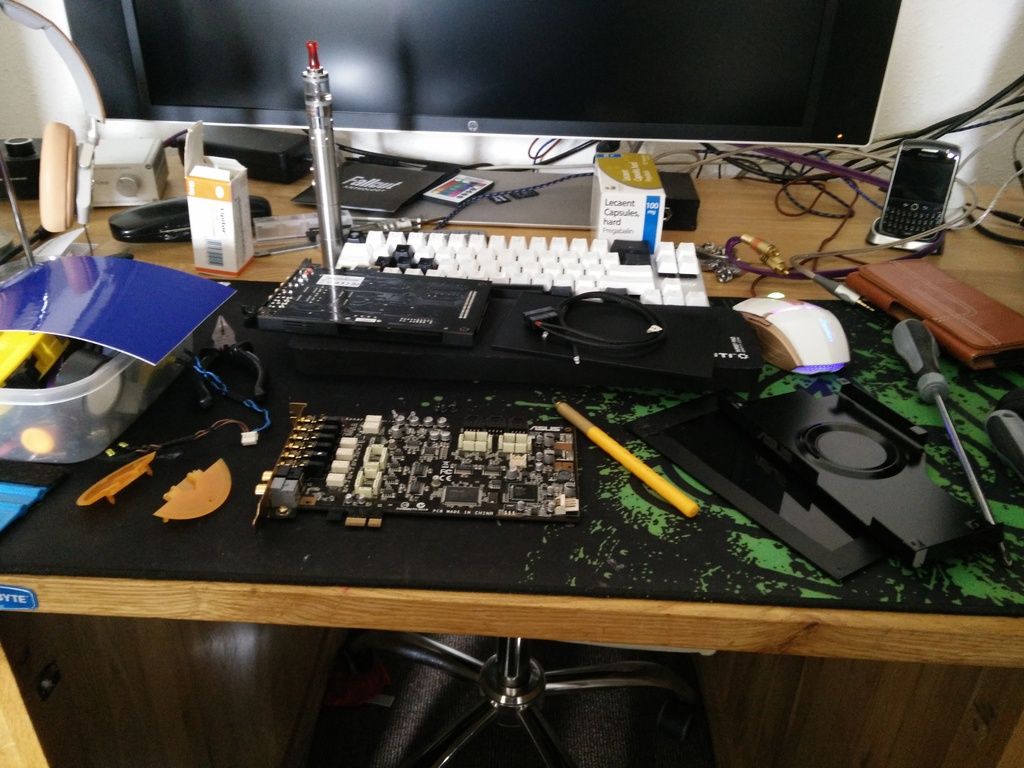
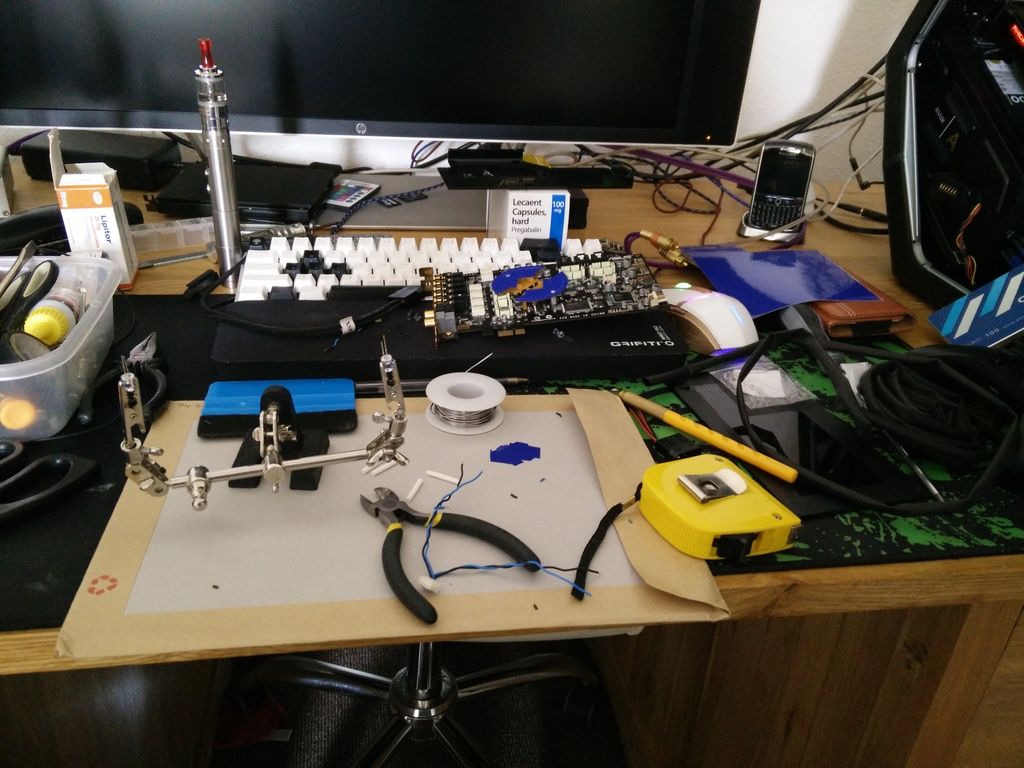
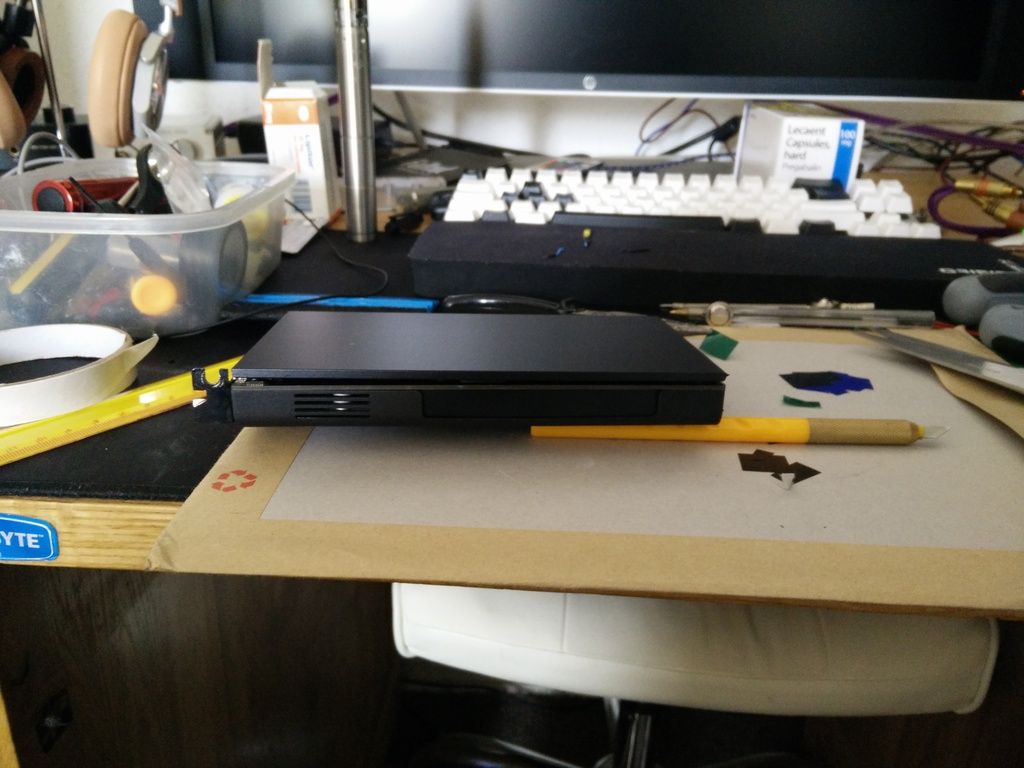
It's not my rig but it gave me a good idea. If you look closely at this pic -
You can see I have issues. Basically the radiator for the Hybrid on the Titan X needs to be fitted with the hoses at the top. It's so that it doesn't foul any of the wires. The problem is the hoses are very long and want to follow gravity and poke out of the side of the rig by about 5". That means I can't get the side back on unless I tie them to the hoses on the CPU AIO. And I don't like how that looks at all.
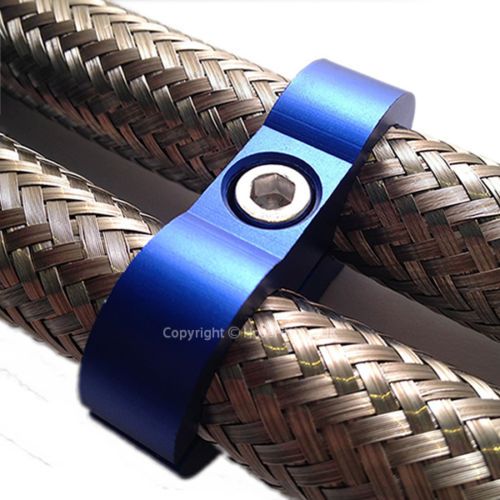
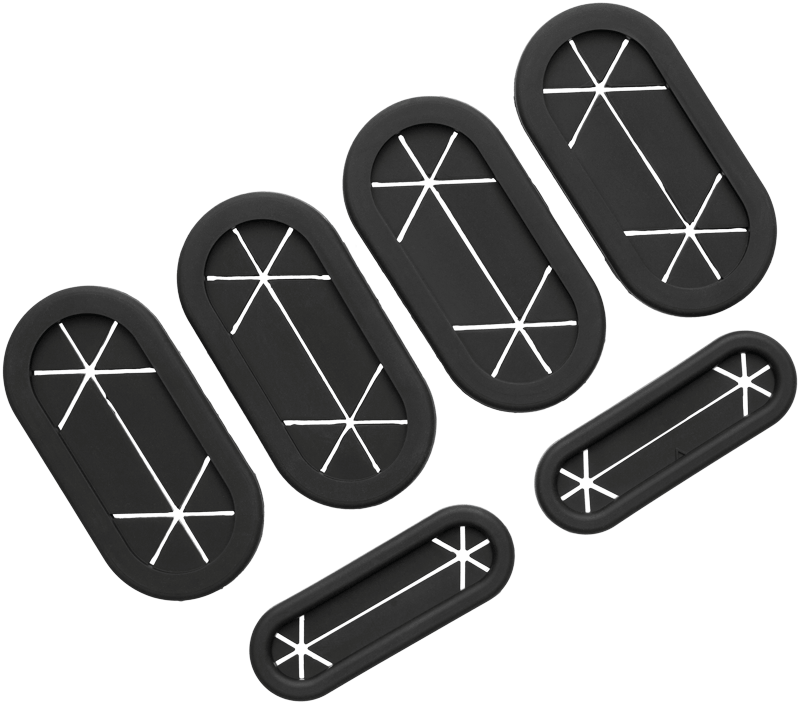
So, first thing to do was to find out what they actually are. It turns out they are hose clamps for nitrous systems on cars. Here they are here.
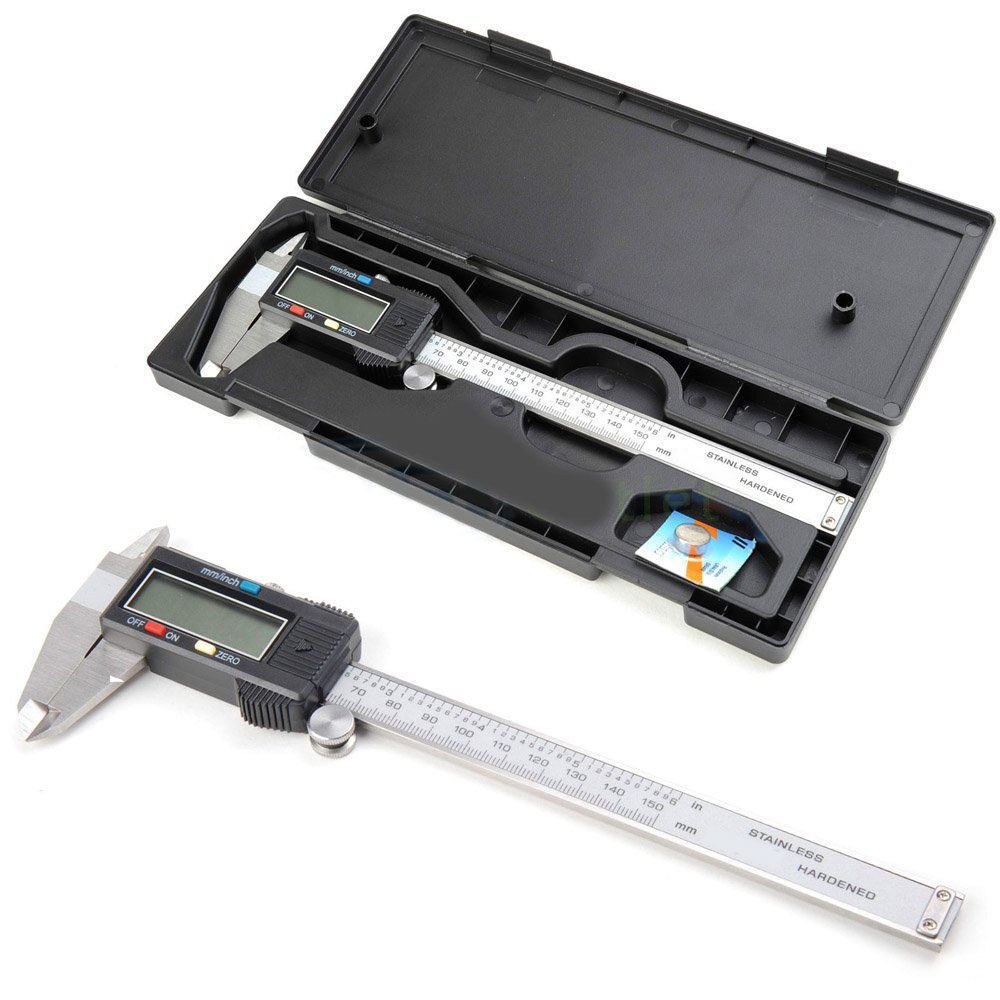
First up I needed to know what sizes I needed. So I ordered a set of vernier calipers.
Both AIOs are around 11mm, so I ordered 11mm clamps.
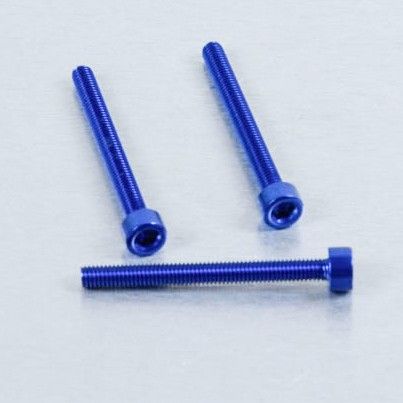
OK, so what I want to do is basically bolt straight through one into a second creating a + or X shape depending on how you look at it. Basically the hoses on the CPU AIO are around 90' in the opposite direction of the hoses on the Hybrid. So I am going to drill through one clamp so I can bolt all the way through two clamps. To do that I have ordered some specialised bolts.
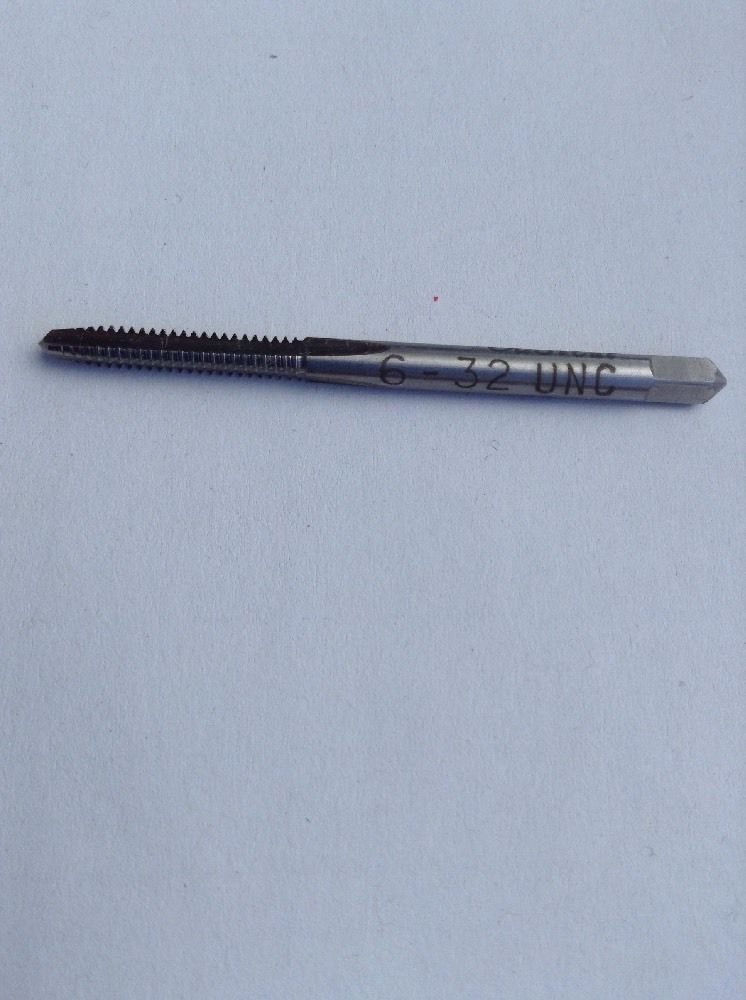
And a M3 tap. (not an actual M3 tap...)
I also need a spacer, because they do not butt up against one another.
TBH it's kinda hard to explain it (and I'm not so good at that any way) so just keep an eye on the log and it'll all eventually make sense.
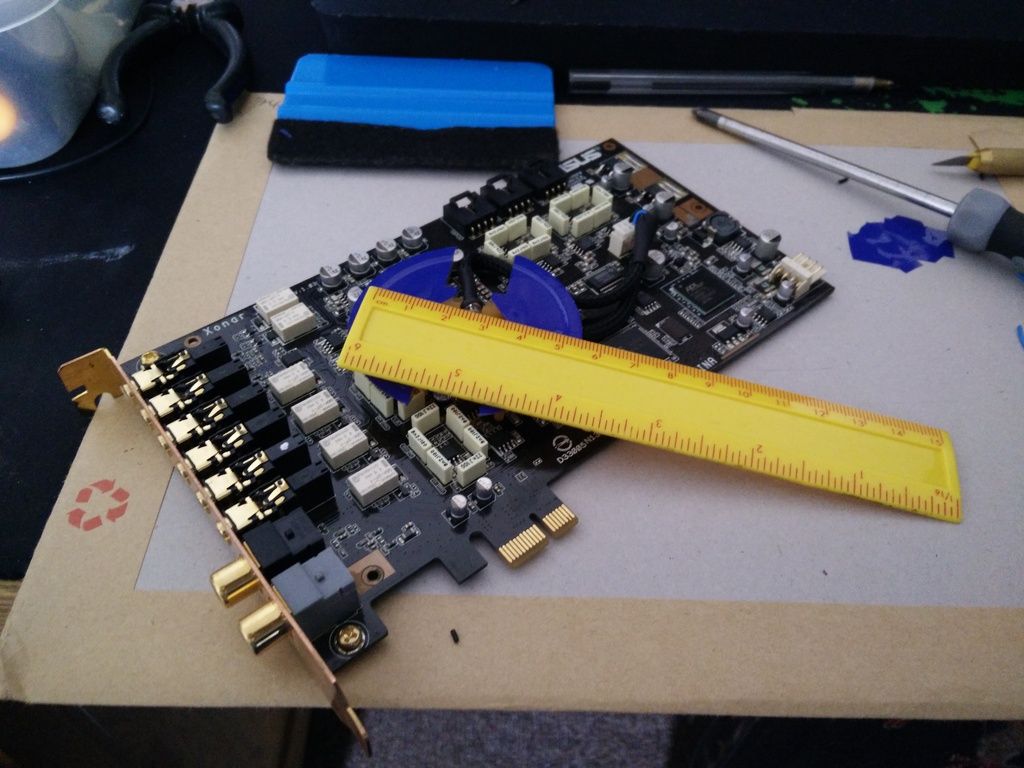
Moving onto the second part for today. Basically I want to make my rig look as clean as I possibly can. I mean tiny little details. So I decided that even though they looked far better with the back plates on, both of the sound cards did not look how I wanted them to look.
I am running an onboard Soundblaster Recon3D (going into one headphone amp) an Asus Xonar D2X (going into another headphone amp) a Soundblaster Titanium HD (going into yet another headphone amp) and a Asus Xonar U1 USB sound card that runs into the B&O speakers on my monitor and a Bose Acoustimass sub. Yeah, that's a lot of sound gear but that's what I have been doing lately more than anything else. Just chilling to music
So yeah, there were a few things that irked me about the sound cards. They were, in no particular order.
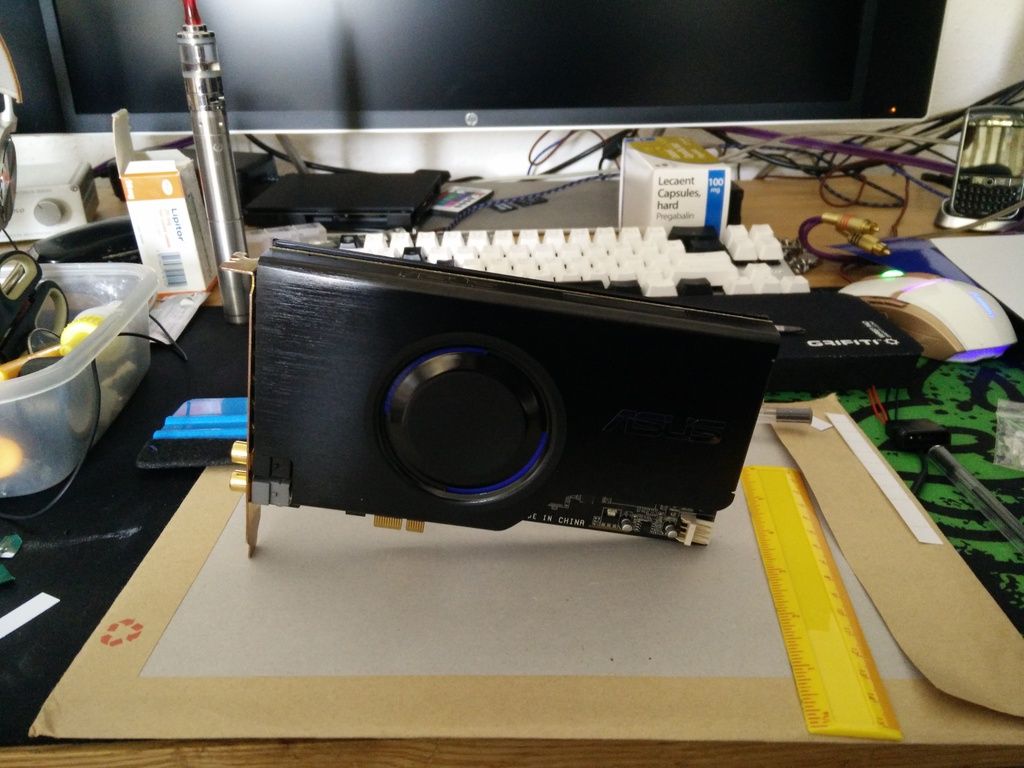
1. I will start with the D2X. First of all there's an orange disc/light diffuser inside the card. Fitted into it are four yellow LEDs. So there's a ring on the face of the sound card (cut out through the alu shield) that glows orange. Not only that but there's a hole cut out of the shroud along the spine so you can connect AUX devices and it too is ugly.
So let's deal with the Asus first. First mission, remove the back plate and take it all apart.
Then cover any viewable part of the orange with gloss blue. You won't see this when the sound card goes in but I don't care. It will also stop the orange disc glowing orange and lighting up the case in a pee colour.

I decided to use two 5mm blue LEDs, so got to work cutting off the yellow ones and soldering on the blue ones.
I then got out the braid and made my little LED cluster as tidy as I could.
Fit the modded parts.

Measure the disc size.
And then cut a double thick vinyl circle from matt black. This is solely to stop any bleed through the orange.

Then to address the nasty AUX connectors. I took out a sheet of flexible plastic. This is the stuff that goes "wooka wooka" when you flex it lol.
Mark.
Cut it out, cover in matt black vinyl and glue in place.
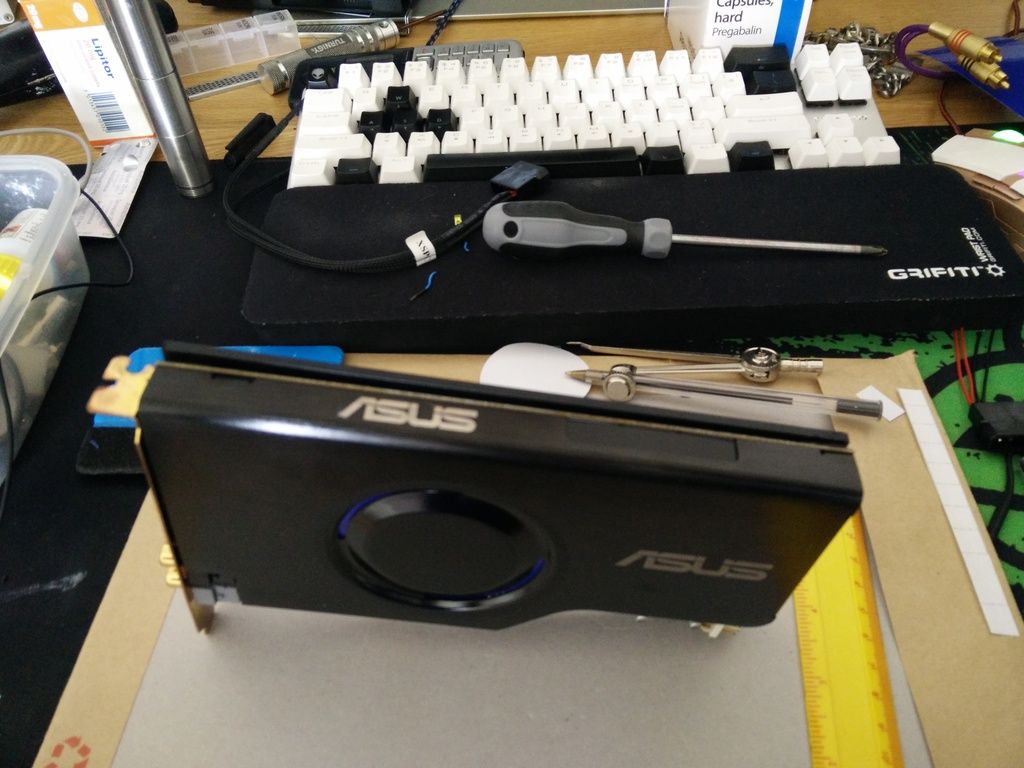
Noting now that the circular accent is no longer orange but blue.
And the spine looks a whole hell of a lot better than it did before.
OK. Now the Soundblaster XFI Titanium HD also had a huge hole along the spine. The only thing located in there was a front panel connector which would kinda look like poo if I used it and poo if I don't. Now sadly it wasn't recessed like the sockets on the Asus card so I had to get out the snippers and cut the connectors back so that a spine cover could fit in place. Here it is finished, using the same materials and process as the D2X.
And here they both are fitted back in the rig. The only thing bothering me now are the edges of the PCBs as they're clearly not black. I will address this at some point soon with some model paint and some ear buds. Shouldn't take too long. I'm holding back the rig pics because I have a couple of other mods going on that I don't want to show yet
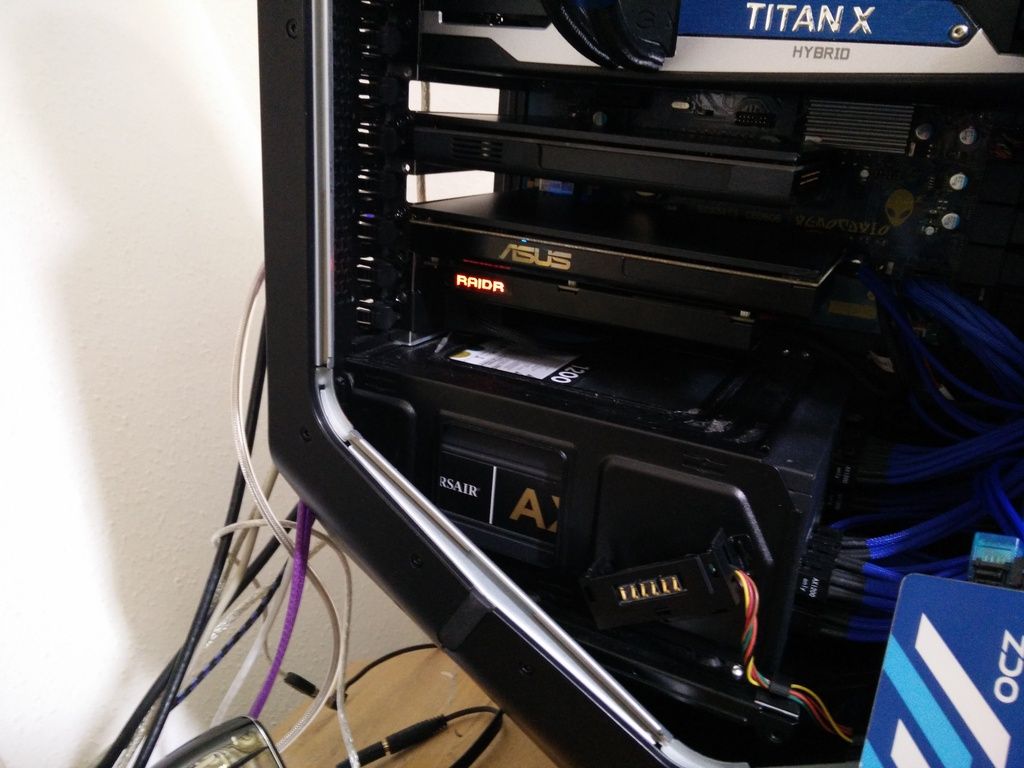
But yup, I modded two sound cards lol. Next up - modding the Asus RAIDR to get rid of that nasty red lettering.
--------------------------------------------------------------------------
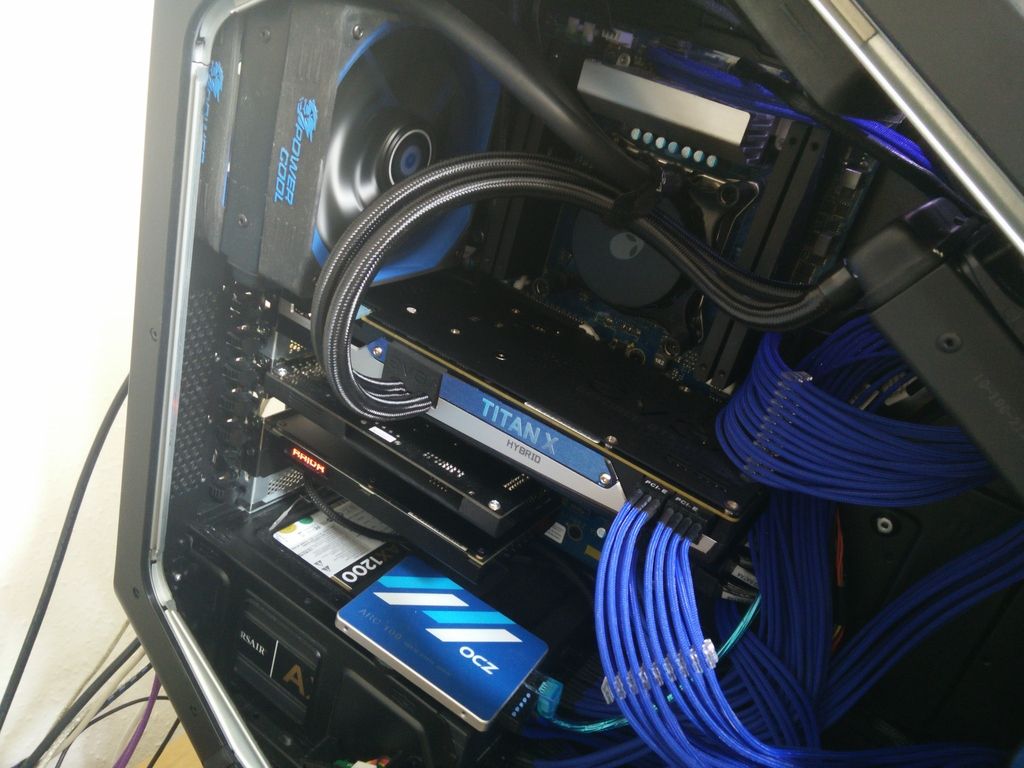
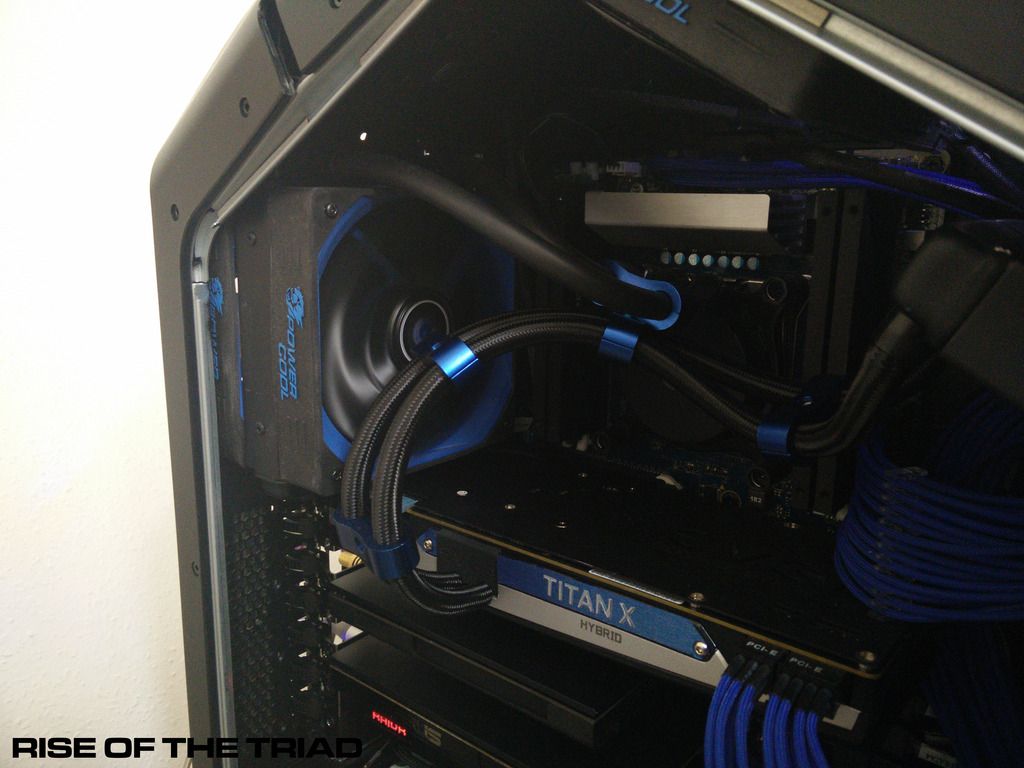
Hey guys what's up. I have now completed the hose dressing and I have to say not only does it look super nice but it has also pulled the GPU hoses back into the rig so I can now get the side on. Hurrah !
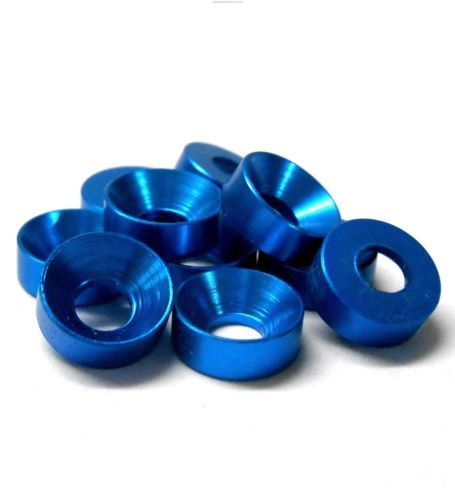
However, as I pointed out before I am now concentrating my efforts on even the most minute of detail. So of course, after I had tap cut the thread for the blue bolts and it stuck through by about 2mm I was not happy. However, the thread cut kind of loose so for safety (so it doesn't just all fall apart into the GPU) I have ordered one of these in blue.
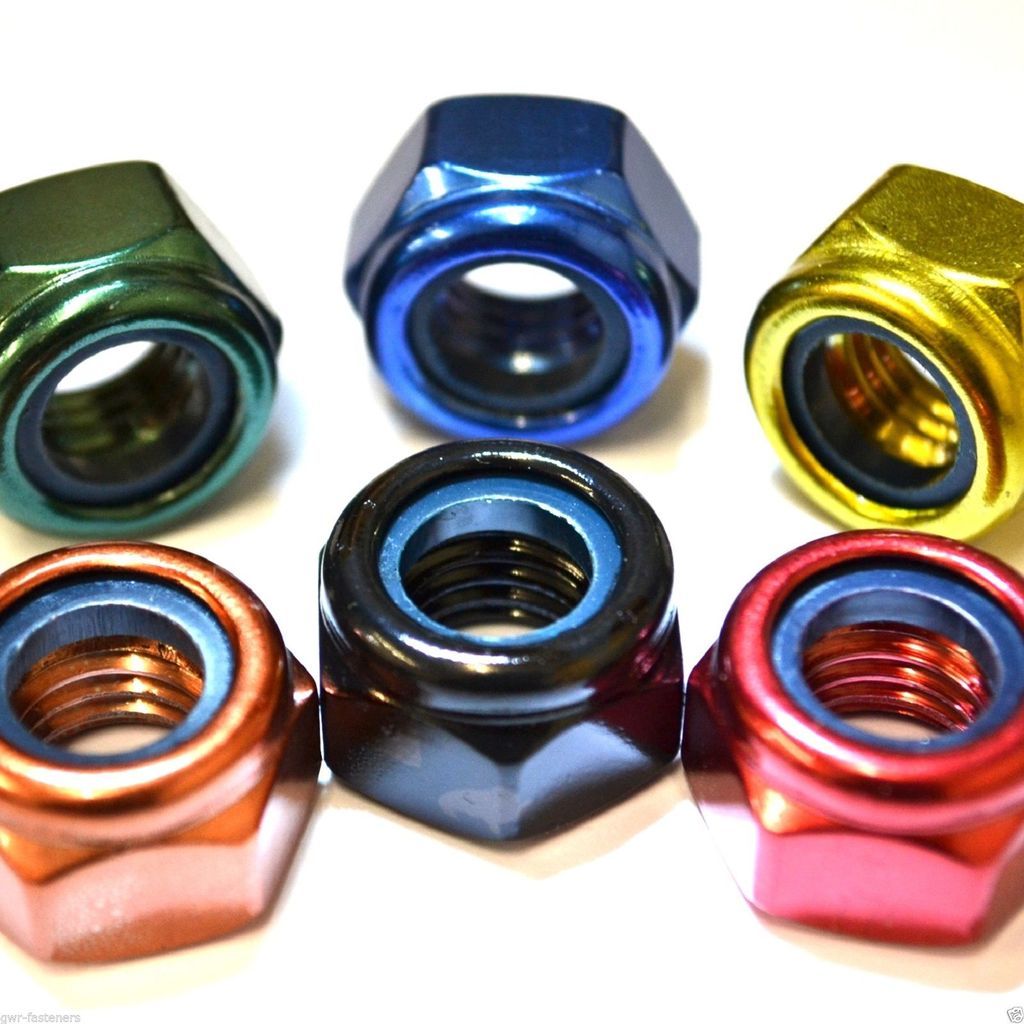
It's just a simple M3 locking nut. It cost me three quid.. For one nut.... Worth it though
In other news I have realised that due to the channel around the outer edges of the rig blue LED lighting will not be possible so I have ordered two 6" cathodes.
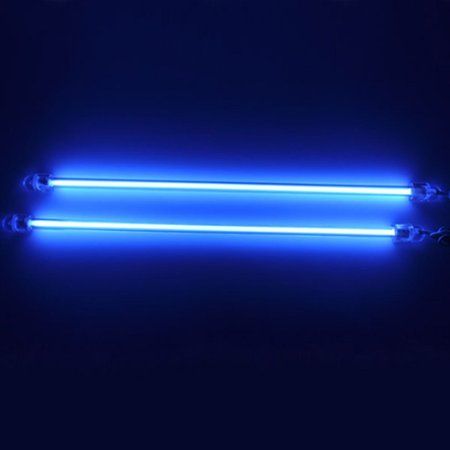
I know, white LEDs for show... I like coloured lighting though I think it looks far better in person than white does.
--------------------------------------------------------------------------------------------
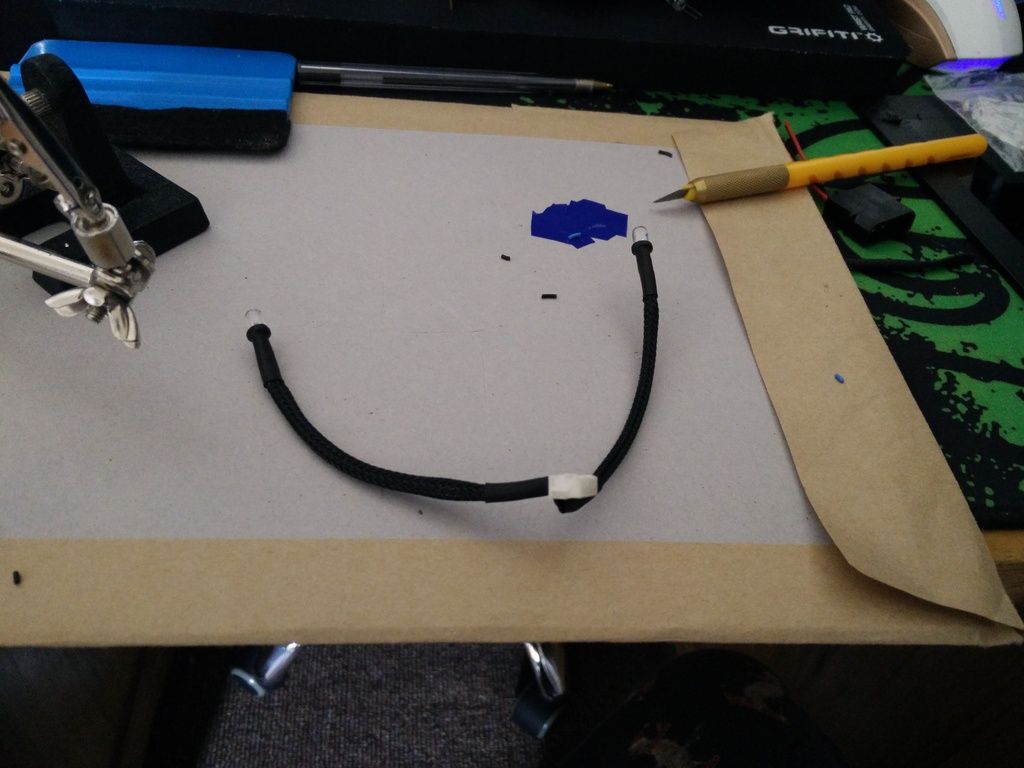
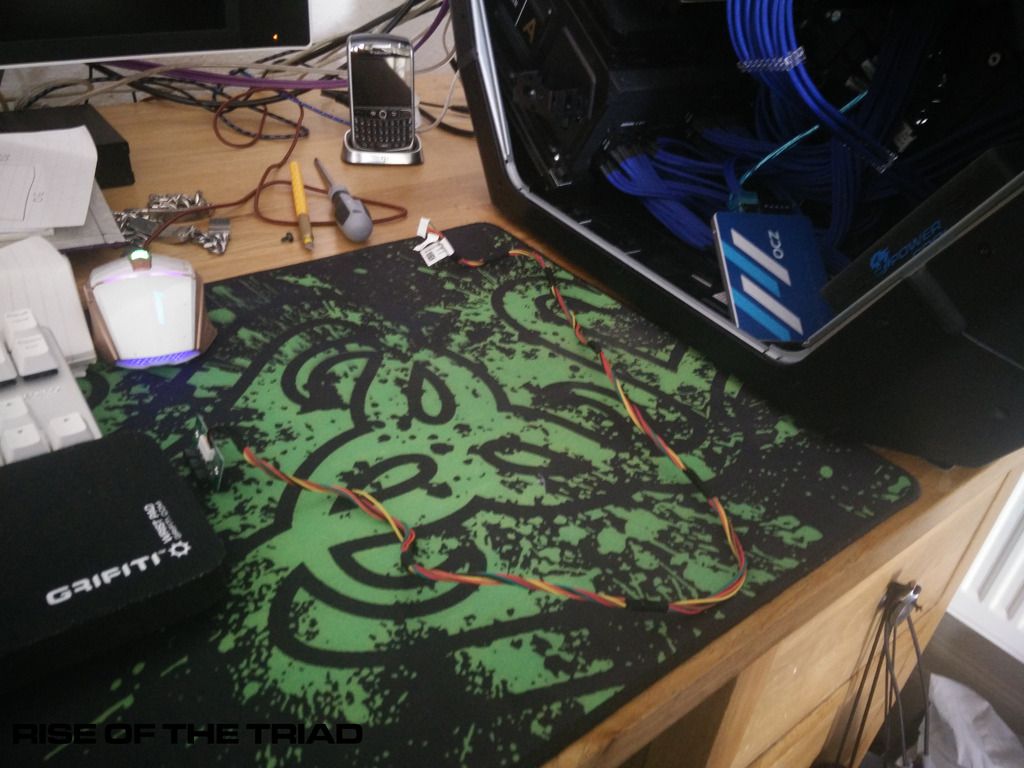
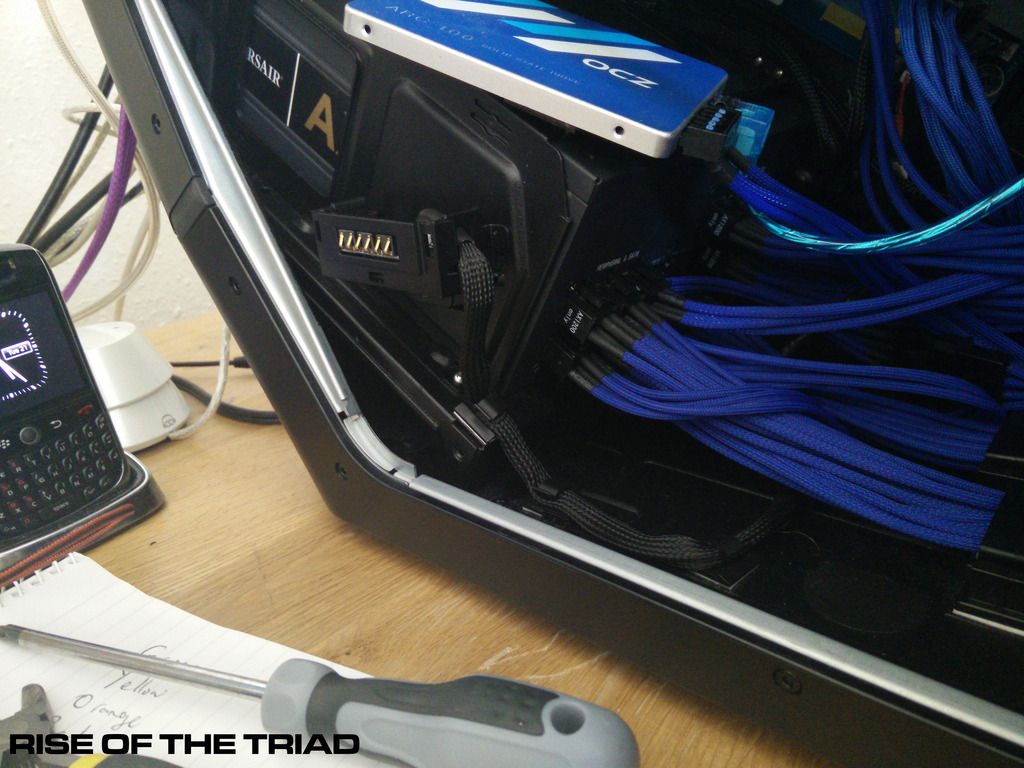
Today I decided to tackle a few jobs. There are certain parts of the PC that I don't like that I can change. Again, all minor details but I want them to be right. There is a side panel connector that fires up the LEDs and the cable looks like ass.
It's been bothering me for an entire year. So I figure what the heck I will just unplug the cable from the connector and braid it. Nice and simple... Wrong ! the cable is fixed to the connector and it's all one part. This meant about an hour of stripping down the case before I could get to this, the whole ruddy thing.
But man, so much better.
And hose clamp win. This has completely sorted out the hoses and they now sit inside the case where they belong without fouling the side panel when I fit it..
I've also decided that come next week I am going to replace all of the fans. The rubber gaskets on these fans are just dust magnets and very hard to clean as all that happens is the dust gets dragged across the rubber making it even worse. I still need the nut to cap off the bolt so it doesn't look nasty like it does now but there seems to be a long waiting time for them.
I am now in the process of beginning to sort out the PSU 'Box in' but I want to approach it differently to how I did it before and it will be in several pieces due to the shape etc.
----------------------------------------------------------------------------------------
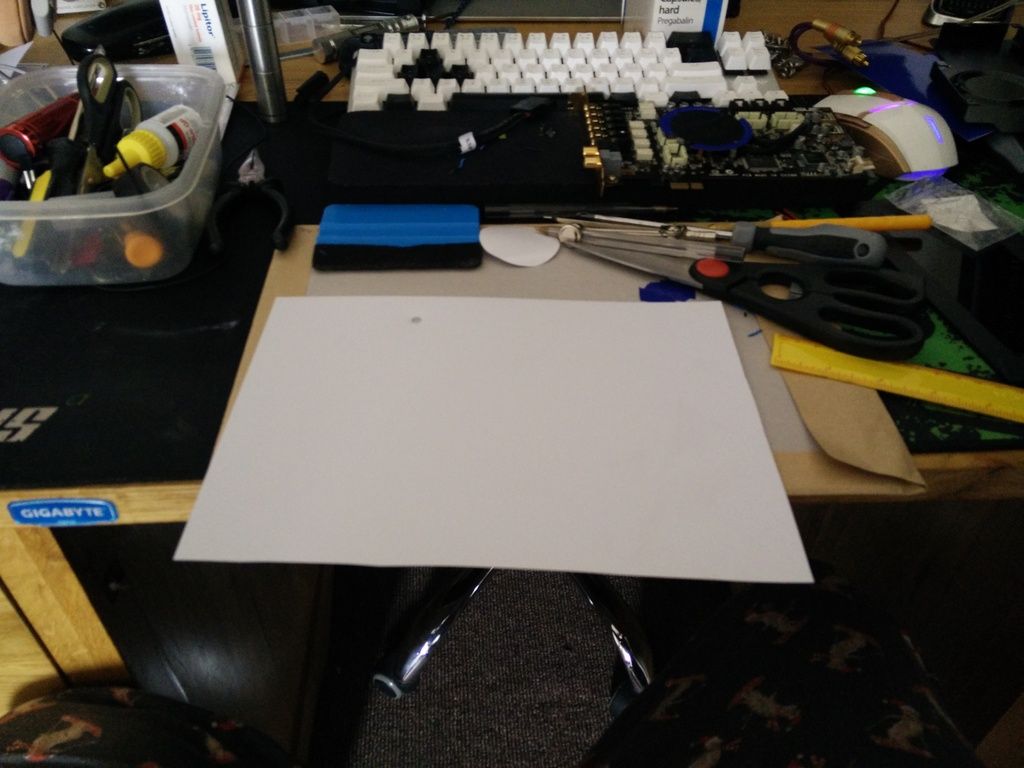
Hey all. I am still working some stuff out in my head. That as well as having a mound of marked out plastic sitting on my desk and tools etc.
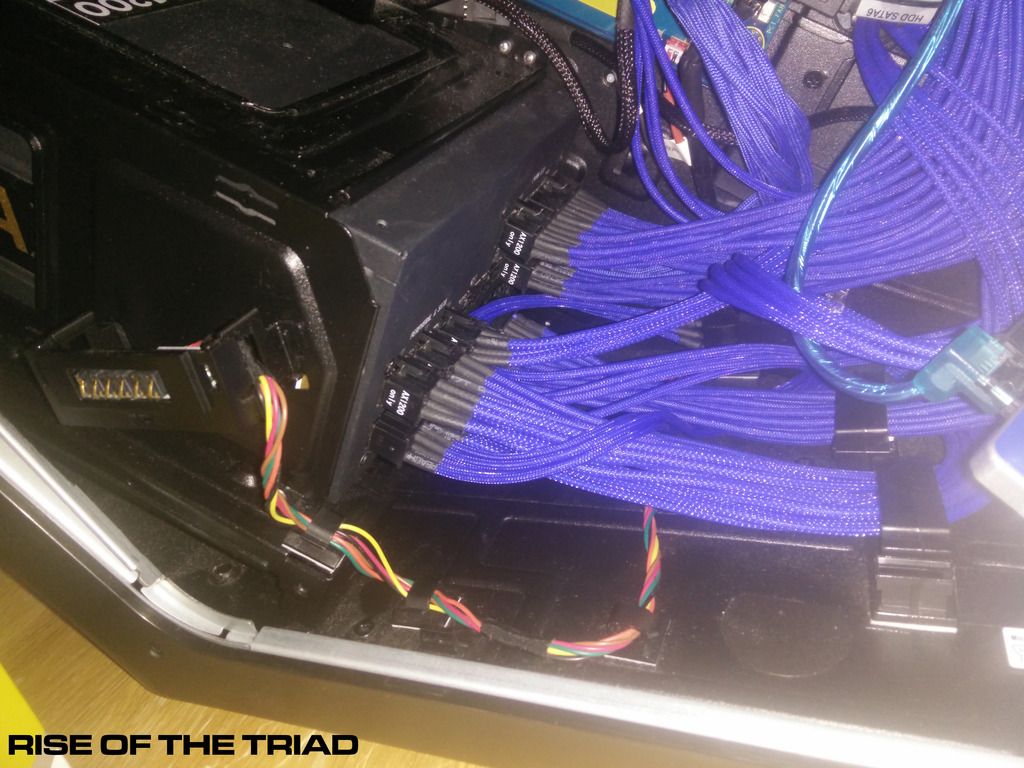
Any way, the shroud I am thinking about building is all well and good but I need a way to get the GPU cables out of it. All of the others can stay where they are but the GPU cables are kinda floating in space right now so they would need to be routed. And the problem is they need to come out of the shroud in some shape or form. Right now the cables look pretty tidy but if you look at the rig you can see how the GPU cables are.
So, I decided they will come out of the shroud at a set point and hopefully run in a nice straight line up to the GPU where they can be plugged in. Problem is how to make them look stock. It's about the detail again.....
After lots of searching high and low I finally found out that Corsair sell grommet sets for their cases. At a measly £3.99. Problem is they're out in the EU somewhere so the shipping is £8

Ah well. £12 for a stock look is fair enough I guess (cue muted grumbles). It's kinda like when I bought the EVGA back plate for $1 on sale and the shipping was £17
So that's them there. I had a bit of a splurge this month on headphone gear (addict, me) so funds were tight. Then I realised I have an enormous sheet of 5mm acrylic in the boot of the car that I was going to dump (the old windowed panel from the 2009). So yeah, that should provide me with more than enough material to make all of the pieces.
Also, talking of detail again. If you look closely you will see that the fets and VRMs are cooled by a large spiky heatsink with an odd plain alu cover on it. The reason I think it's a cover is because I *think* I can see two screws holding it down. Strange ! any way, if they are indeed screws then I will be taking that off and painting it black. If they are not screws I will fashion my own cover from alu sheet (got) and then paint that black and put it on with some double sided foam.
First job up though will be changing the fans out for these, which I've also ordered
In an effort to reduce the noise of the PC I have ordered three of those. The fourth is on a fan controller (it's 2300 RPM) and the others I ordered are 1200 RPM.
I am removing the push/pull from the CPU rad as I hardly ever overclock the CPU any way.
I now need to do some tests with 5mm acrylic to see if I can tap M3 threads into the edges of it without it splitting. If not I will have to glue it all up but I would rather use nice pretty blue bolts to hold it all together.


