Project: It "USED" to be a bit tight :O

Cheers. I'm surprised there isn't anything "off the shelf", but I've never seen anything on any of the water cooling stuff?

Well I didnt think I would need evem the brackets being as on every discription of the rad you get.

The M3 threads in the sides of the radiator are another new feature which promises greatly eased installation: These threads allow quick and rigid installation of the radiator in 5,25" drive bays.

However their are 2 tiny pin prick hole at the bottom of the sides. And these are definatly not M3 threaded holes. Howver it is easy to get around this as well.

However I do use the emachine shop A LOT for parts on my AE86. And I am going to sit down with a cuppatea and get some nice stainless steel brackets made. specifically for the rad. http://www.emachineshop.com/ It can wor out expencive sometimes. But they do make the stuff spot on to what ever you draw in their free cad software. and if they do make it slightly wrong. they refund you your money. and make the partagain and ship it for free.
 
you just made my day better. Thanks for the machine shop link. They just got a new customer
smile.gif


now I can get all the groovy stuff made that I can design, but dont have the tools to make
23.gif
 
you just made my day better. Thanks for the machine shop link. They just got a new customer
smile.gif


now I can get all the groovy stuff made that I can design, but dont have the tools to make
23.gif

No probs its very easy to use software as well. you first order is a nightmare to get all the details sorted out on. But once you have it saved it can make life alot easier. also you can sell your items on their store as well lol.

Anyway.

Having a quick draft up. here is a draft of the brackets i will be getting made up. They will be in 2mm thick 303 stainles steel with a brushed finish.

bracket.jpg


On a side note I am also getting this made up out of Copper. "can ya tell what it is yet?" lol

part2.jpg


part.jpg


Assem1.jpg


Squarepart1.jpg
 
Finished work earlie today. so decided to come home. and get to work desighning the bracket. to mount the rad in the drive bays properly.

decided to go for a full heing bracket rather than a few random ones mounted to it.

radbracket3.jpg


radbracket2.jpg


radbracket1.jpg


Also toyed with the idea of getting it made out of 4mm flexiglass. and then using LED's to light up the edges.
 
That's very cool. Why you can't get these commercially I have no idea?

Well if they work ok. I might get a load of them made up. Maybe a few with powdercoating on etc. And flog them off on fleabay or something. im sure their are some available but. Trualing through the internet looking for a silly bracket is not my idea of fun. Much more fun to plan and desighne your own lol.
 
Well if they work ok. I might get a load of them made up. Maybe a few with powdercoating on etc. And flog them off on fleabay or something. im sure their are some available but. Trualing through the internet looking for a silly bracket is not my idea of fun. Much more fun to plan and desighne your own lol.

Are you gonna design a 360 as well? - might be interested in one of those.
smile.gif
 
I have to say this is very impressive. I have one question, and I'm sure it's a painful one. How much has all this came up to? (excluding the kid?
smile.gif
).
 
I have to say this is very impressive. I have one question, and I'm sure it's a painful one. How much has all this came up to? (excluding the kid?
smile.gif
).

Not that much considering the cost of some systems. I think even with the new LED monitor. it is probably under £1400. Idealy I want the whole thing watercooled eventualy. As the onlything i can here in the the system is the GPU fans. So the sooner i get them watercooled as well the better. But that also means a better pump as well lol.
 
New stuffs................

SDC12283.jpg


nice mug for my tea.

SDC12285.jpg


new fittings........ finaly

SDC12294.jpg


SDC12290.jpg


SDC12295.jpg


SDC12300.jpg


New res, scraped the frozenq one. might stick it up in the FS section later on.

SDC12308.jpg


Got a new koolance pump, hopefully it works out ok, as it is the perfect shap for what i need
smile.gif


SDC12302.jpg


New fans, quiter and more powerfull than the nitrox ones i originaly brought.

SDC12309.jpg


SDC12310.jpg


SDC12312.jpg


More stuff on its way from special tech as well tommorow
smile.gif
 
I decided to do a little side panel modding this morning.

SDC12322.jpg


SDC12327.jpg


SDC12330.jpg


SDC12331.jpg


Once done it was time to start fixing the res and pump into place.

I was up till 3am last night trying to figure out a way to set everything out, as said above in the previus post having anougher small window cut into the side panel let me display the res.

I moved all of the watercooling over to the left hand side of the case, Purely because I did not want the tubing crossing over the GPU's. To some people it looked fine, But it was realy niggeling me.

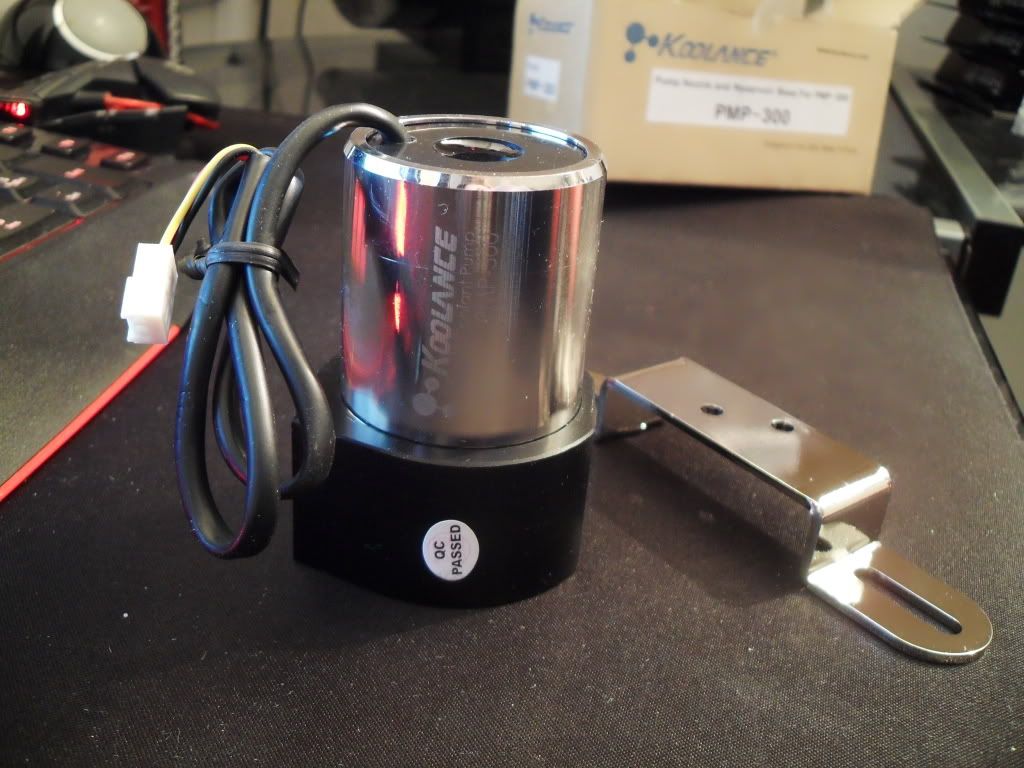
So the first thing I did, was mark out and drill 2 hole on the large beam that suport the drive bay of the case. This gave me enough room to mount the pump securely, and loose the need for long portions of tubing to get to the rad positioned into the drive bays.

SDC12336.jpg


The next job, was to mount the res at the bottom of the case. I had removed the last of the massive 180mm silverstone fans last night in preporation for today. I marked it out using my special superduper secret chalk And then drill the 2 holes I needed to mount the res.

SDC12337.jpg


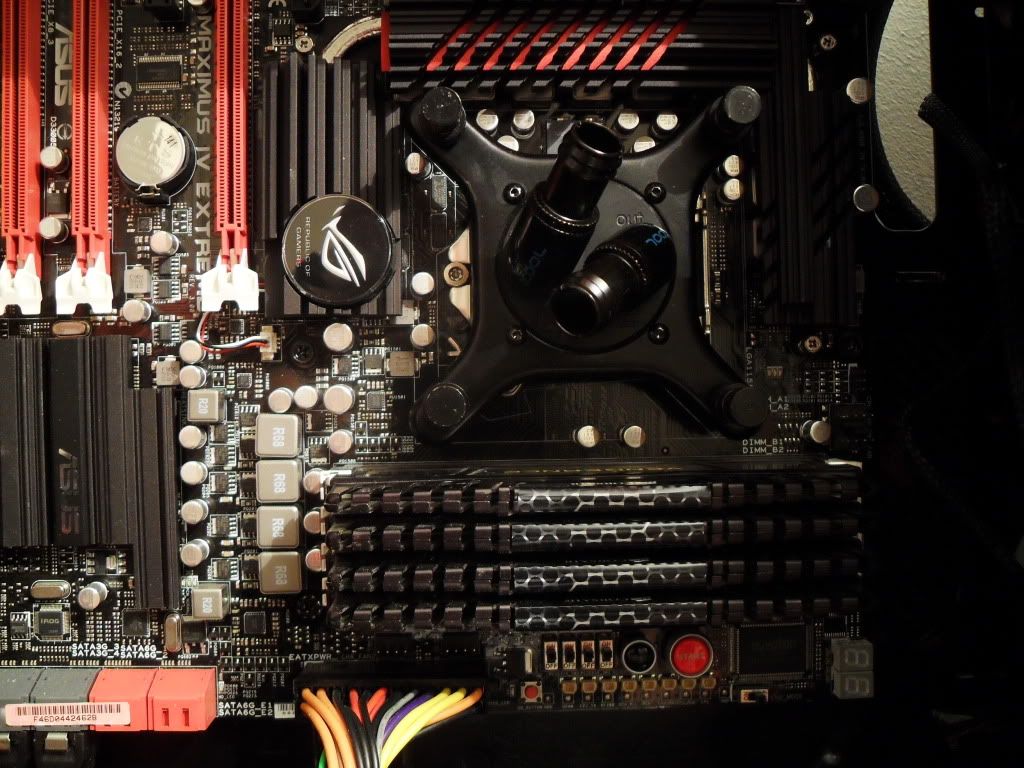
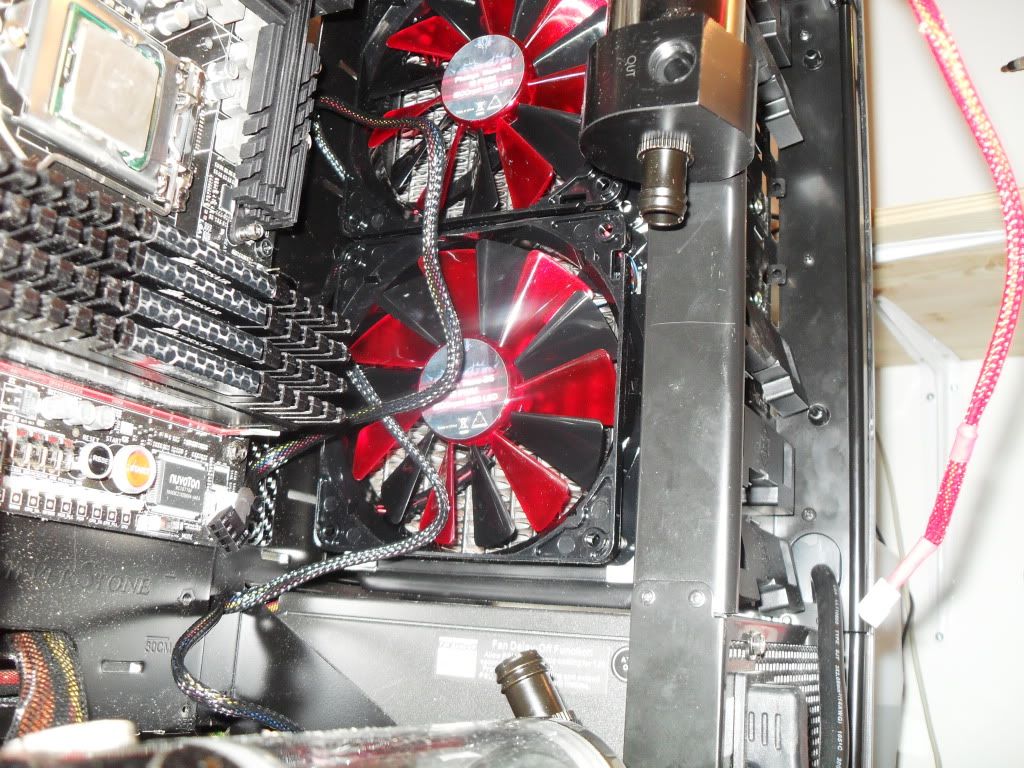
With the pump and res mounted I then installed some fitting to the CPU block, and mounted it to the chips socket.

SDC12340.jpg


SDC12342.jpg


SDC12349.jpg


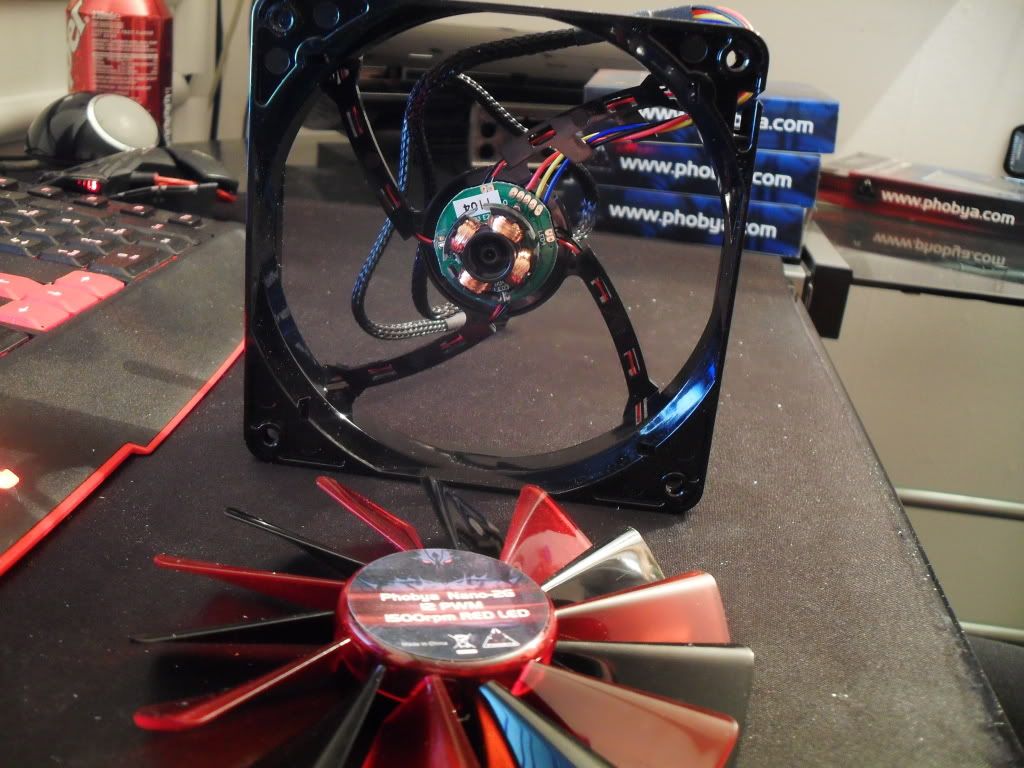
I then mounted to of the New phobya fans to the phobya g-changer. And then installed the rad into the drive bays.

SDC12343.jpg


SDC12345.jpg


SDC12317.jpg


I started to install the clear tubing, peice by peice and start away i begun to think how much better it looked than crossing over each other.

SDC12352.jpg


I mounted the last 2 phobya fans in the top and rear of the case.

SDC12348.jpg


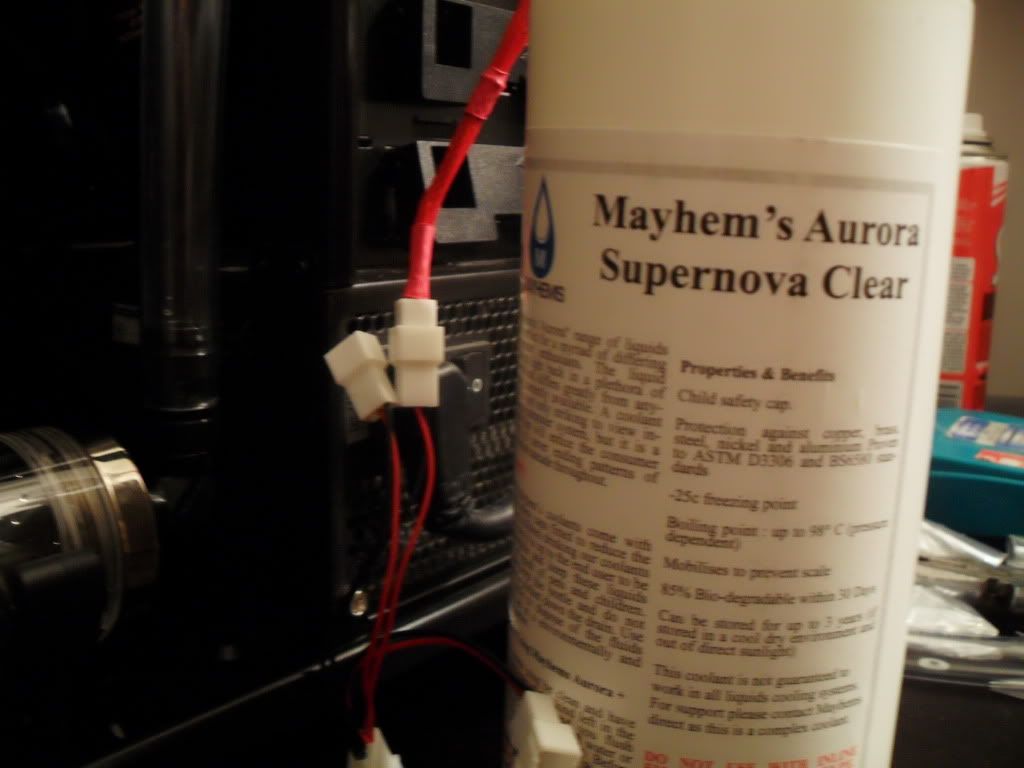
Then it was time to start filling up the system. I had allready washed out all of the blocks and the new tubing, with distilled water last night, so I couls get straight on with it today.

SDC12353.jpg


SDC12360-1.jpg


SDC12358.jpg


375434_10150561235735272_549355271_11272739_1028625103_n.jpg


388843_10150561237655272_549355271_11272747_1998008960_n.jpg


I did at this point make a Small video showing the clear supernova going in, And you are able to see it change to red. My camera doesnt realy take that good of a video, so i might see if i can borrow my m8's flip. As this coolant is just stunning.

Will try and get some better ones later on and i will setup a small tripod so they are not all over the plcase lol.

I have some other bits to do, mainly to the side panel. And i need to build a folse floor to hide the perforated one, where their was the two large fans installed. I also need to look at some other way to mount the res. As the large black brackets ruin the look.
 
That looks amazing mate, your rig has come a long way since you started
smile.gif

Thx m8, my next problem is how to squeeze anougher radiator into it to cool the 7970
smile.gif
as i dont think the g-changer will cope with the cpu and the gpu. especially when i stick the 2700k in their next week..
 
nice! well done, the liquid is impressive

u still got trouble getting the camera to focus? was you right?

The camera is doing ok, I found a new mode called buety shot. Works brilliantly in the daytime, However at night time under artificial light, it blends the shine marks in and makes the image pretty much blurred. And you have to use it on a tripod, Otherwise you end up with all sorts of blurry ness.

The misses has just brought a nikkon one, Hopefully that will be better.
 
Back
Top