Project: It "USED" to be a bit tight :O

Ok, well it all come to an end.

No dont worry it hasent blown up allready lol

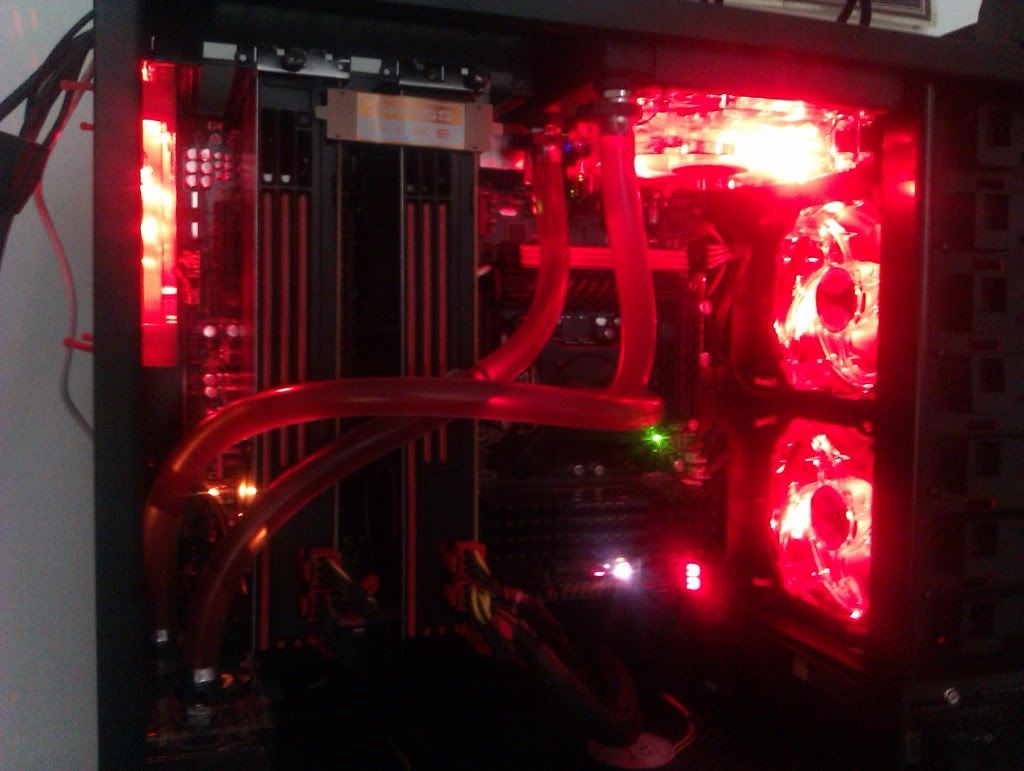
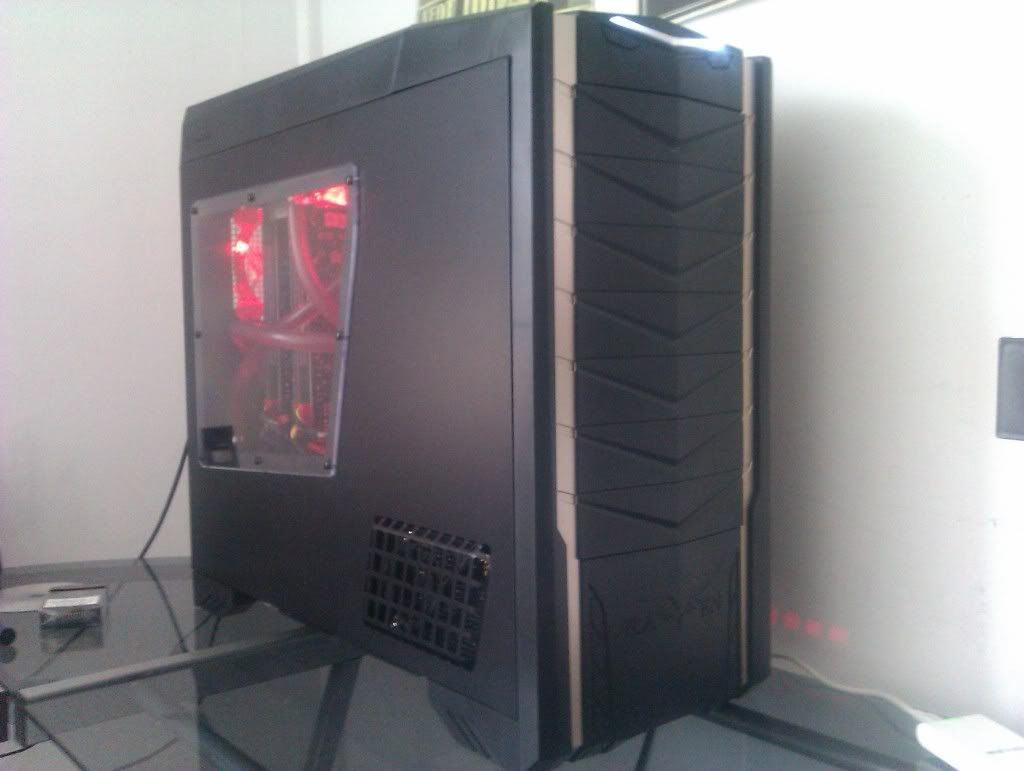
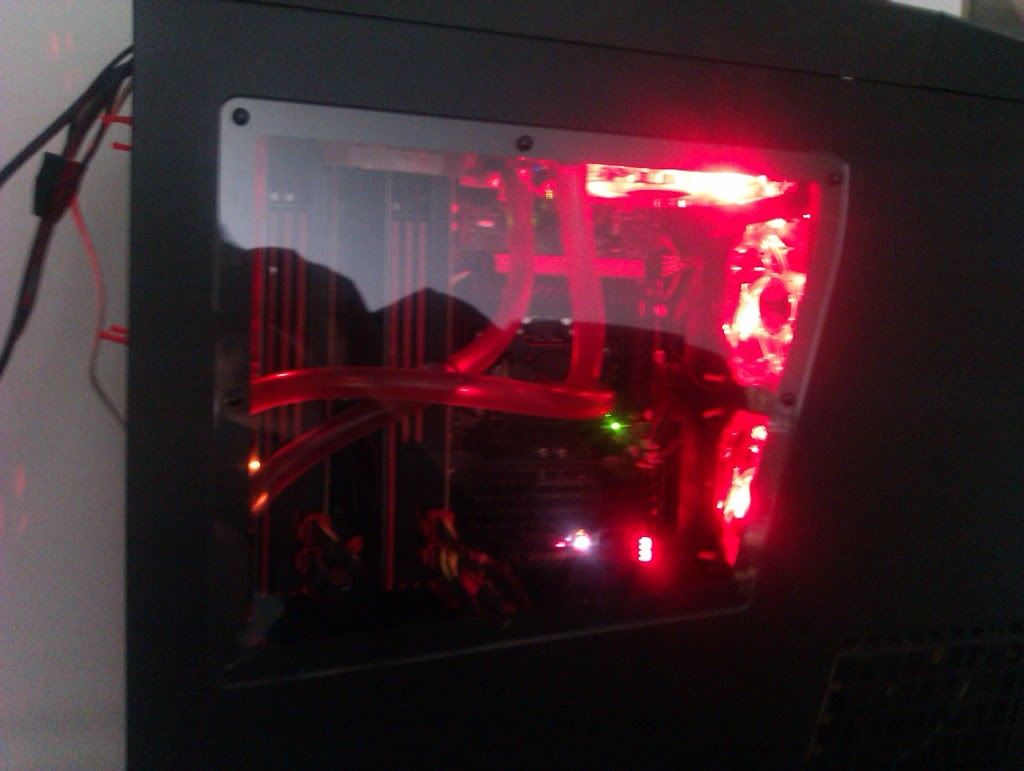
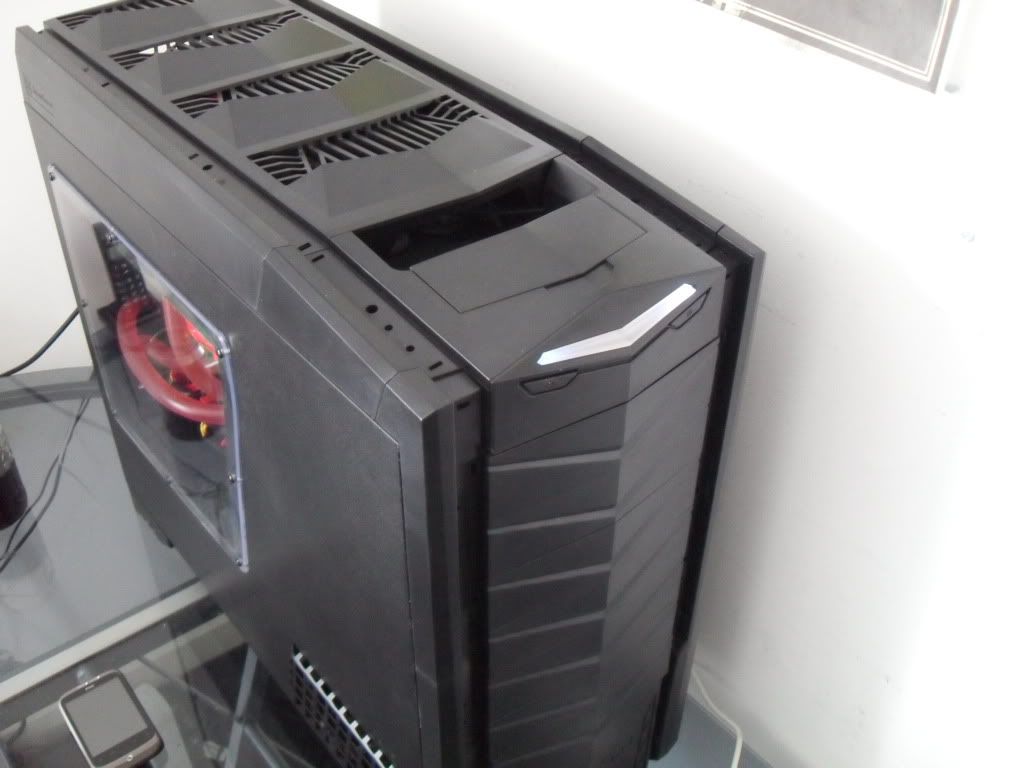
Basically. i am now having to run the case constantly without a sidepanel fitted. As playing games like Metro 2033 and other DX11 games. Are taking its toll on the PC and showing that Crowbaring in components into a tiny case. just because you love the case, just doe not work.

IT the 6870's that are the source of the problem. 2 massive slabs of copper kicking out hot air. in a tiny space was bound to be a bad idea. But after 2 months of putting up with it I have decided to go for a new case.

Now I would love to get the White raven RV02 but alas they decide to make the case the wrong way round lol.

So I am going to get the RV03 and order it tommorow after work. As I think that that is probably the best way to go when you have multi GPU's kicking out tons of hot air inside the case. At least this way the bottom card wont heat up the top card anymore.
 
Well the raven Turned up today with some nice new fans.

IMAG0029.jpg


The fans are Nitrox ones. I read a few reveiws on them. And they seamed like a good buy. I was going to go with the black and red Phobyia ones but they where double the price.

The fans all have anti fibration fittings. with a tooless desighn (zOMG i sounded like rodney renalds then)

IMAG0030.jpg


IMAG0031.jpg


Now for the Raven RV03

(i do apologise for the pics. The misses went out somewhere with her mates and robbed the camera Women ay. so they are all Mobile pics)

IMAG0023.jpg


IMAG0022.jpg


IMAG0024.jpg


This is the top of the case for people not in the know about the raven series of cases
ohmy.gif
I know right.

IMAG0025.jpg


The HDD cages (these bad boys are coming out).

IMAG0027.jpg


the right hand side of the case. these are all the optional mounting points for HDD's their is 60mm of space between the side manel and the motherboard tray. "Uber noms"

IMAG0028.jpg


Ok so first thing I did was remove the silverstone fan from the top of the case. and mount it on the right hand side panel to cool the back of the Motherboared.

IMAG0032.jpg


Next i mounted the fans and the motherboared.

IMAG0033.jpg


With the harddrive cages removed. You can slide these 2 fans forward or backwards. you can also mount enougher 2 120mm fans at the front as well.

IMAG0034.jpg


IMAG0036.jpg


Radiator and 120mm Fan mounted to the roof.

IMAG0035.jpg


Installed the Loop. And filled her back up. But hit a small snag with the GPU's the wire fromt he Powersupply (now situated at the front of the case are a very tight stretch. So I have had to order some pre modded extension cables from specialtech to sort this little hicup out.

IMAG0037.jpg


As you can see from the pic i hit my next snag. Because the twin fans are mounted at the rear of the drive enclosures. I had no where to put the res/pump. So I had to temporarily stick it to the rear of the case and it is blocking a bit of the large bottom fans.

IMAG0038.jpg


Well apart from a few little snags that I can get over with a few quid of parts. and maybe a dremel. The build went great. And the RV03 realy is a nice case.

I guess i will have to get some gaming in tonight to see if the situation has improved much with all the hot air from the GPU's now blowing out the top of the case.

a few finished photos.

IMAG0043.jpg


IMAG0042.jpg


IMAG0041.jpg


IMAG0039.jpg


IMAG0040.jpg


thx for reading.........again
rolleyes.gif
 
You would have got better temps on air than that small water system though dude
sad.gif


The 120 kits are pointless for anything that tiny stock clocked rigs :/
 
You would have got better temps on air than that small water system though dude
sad.gif


The 120 kits are pointless for anything that tiny stock clocked rigs :/

max temps I have had after an hour of Maximum stress on prime and with a 4.2ghz clock was 40/43/43/41 and that was in my old small case. The 120 kit does an awsome job of cooling the cpu. if i decide to Wc the gpu's then i will add a 240 rad at the front.

link to my review.

http://forum.overclock3d.net/index.php?/topic/36064-xspc-rasa-rs120-watercooling-kit/
 
What is your verdict on those red led fans? They look really nice.

I have to say I am pleasantly suprised with them.

They look realy nice (although these where not the ones that I wanted originaly. originaly I wanted this version.

1459936-a.jpg


But I settled for the all red ones.

a few specs of them.

Fan Speed: 900 rpm

Airflow: 68 CFM

Sound Level: 19 dB

I realy like them. They are near enough silent and move plenty of air around the case.

Normaly the back of fans look a bit dull but Nitrox did a good job to make them look less dull by adding some little flame looking bits to it.

One thing though. They are backwards to normal fans.

Normaly most fans blow the air out through the mounting side of the fan. But these blow air out of the front side (if that makes sence) As they spin conter clockwise instead of clockwise.

The anti vibe silicon corners are an excellent adition. and these can also be removed to mount to a radiator.

Anougher thing with them is that they are all equipped with excellent sleeving. so no more ugly wires exposed like some other fan manufacturers. A great product considering they only cost £4.87 each.

Their are some great colour choises too.

1459939-a.jpg


1459936-a.jpg


1459938-a.jpg


1459935-a.jpg


1459937-a.jpg


1459934-a.jpg
 
Cool, next time I'm in the market for some fans I'll definitely look at those - they look brill. Nice job on the build as well - that Raven is awesome.
 
Yeah those fans are cool. It's high time manus started showing some initiative on fans.

Lovely looking build there. I'll be playing with WC soon.
 
Spraying the stripes​

Well I have finally gotten around to spraying the gold stripes on the case.

Started off by removing the The gold stripes from the case itself.

Basically you need to remove the top panel. And push the clips from underneath.

Then there are 2 small strips next to the top panel where the USB and headphone jacks are. These can just be tugged off with a little bit of force. withough removing anything else.

After they are removed you can get to the front strips. These are a little tougher. and I would suggest removing the front panel if possible. But I managed it without doing this. I started buy pulling on the tops as these have a 90 degree bend at the top. Then giving it a bit of a wiggle. the strips released until you get to the lowest clip. because the strips thin here. I used a small flathead screwdriver. slid it down behined the strips and then gave the clips a little push. This released the last clips and freed the front strips.

With the strips removed the case looks rather bare.

SDC11864.jpg


SDC11865.jpg


SDC11866.jpg


Gave the strips a rub up with a scourer. and cleaned them using some soapy water. Rinsced them off and dried using a heat gun so the plastic was warmed for spraying.

SDC11868.jpg


Then i gave them a coating with Fast drying Acid etch Primer.

SDC11869.jpg


After 20 miniuts The primer was dry. and so I set about them wil some lovley Milano Red.

Waited 10 miniuts for that coat to dry. Gave them a quick rub up with a scourer again. And then gave them a finishing coat of Milano Red.

OOOOOO shiney.

SDC11871.jpg


So after the stripes had dried. i then bagan to fit them back to the case.

this is very simple. just push them in and they click back into place. And I am very happy with how they turned out.

SDC11873.jpg


SDC11874.jpg


SDC11875.jpg


In all honestly this case is great just for those stripes lol. what i mean is if you want blue interior. paint them blue. green? thats right paint them green. it such a simple mod to do to these cases to emulate what is on the inside in terms of looks.
 
Yeah the "champagne" strips put me off this case, but that mod really does finish off your theme - very nice.
 
Back
Top