ruthless_villain
New member
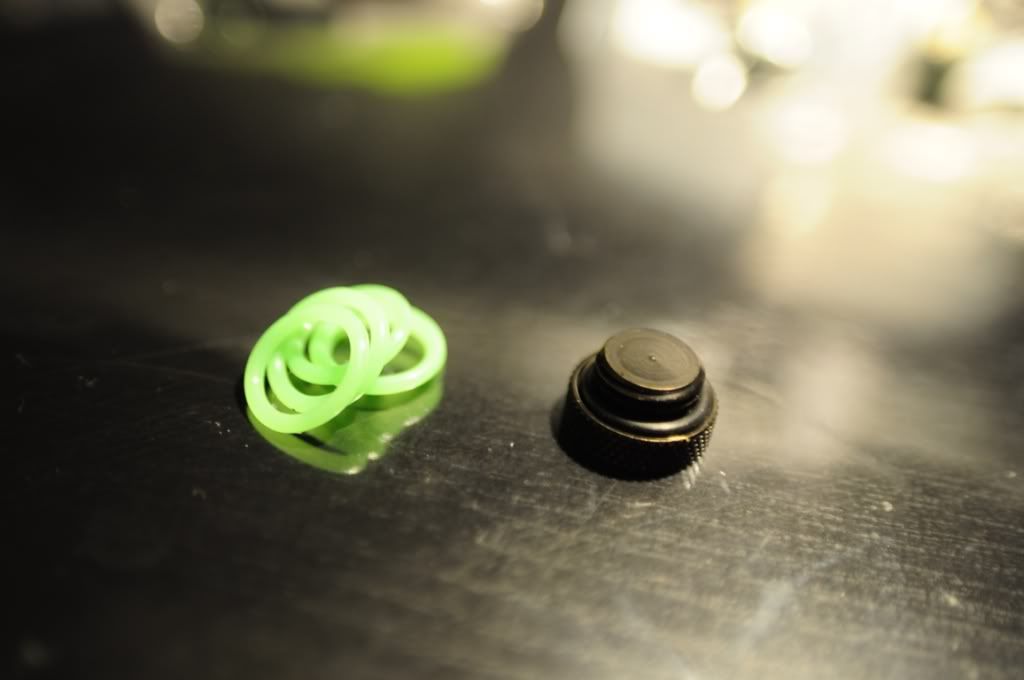
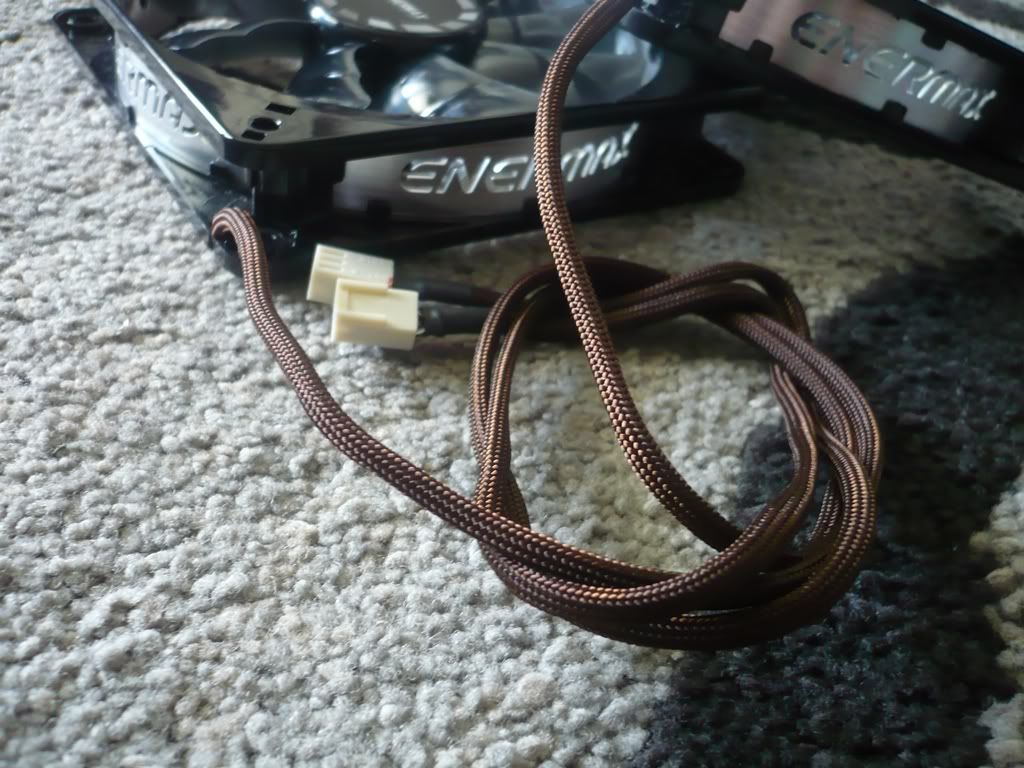
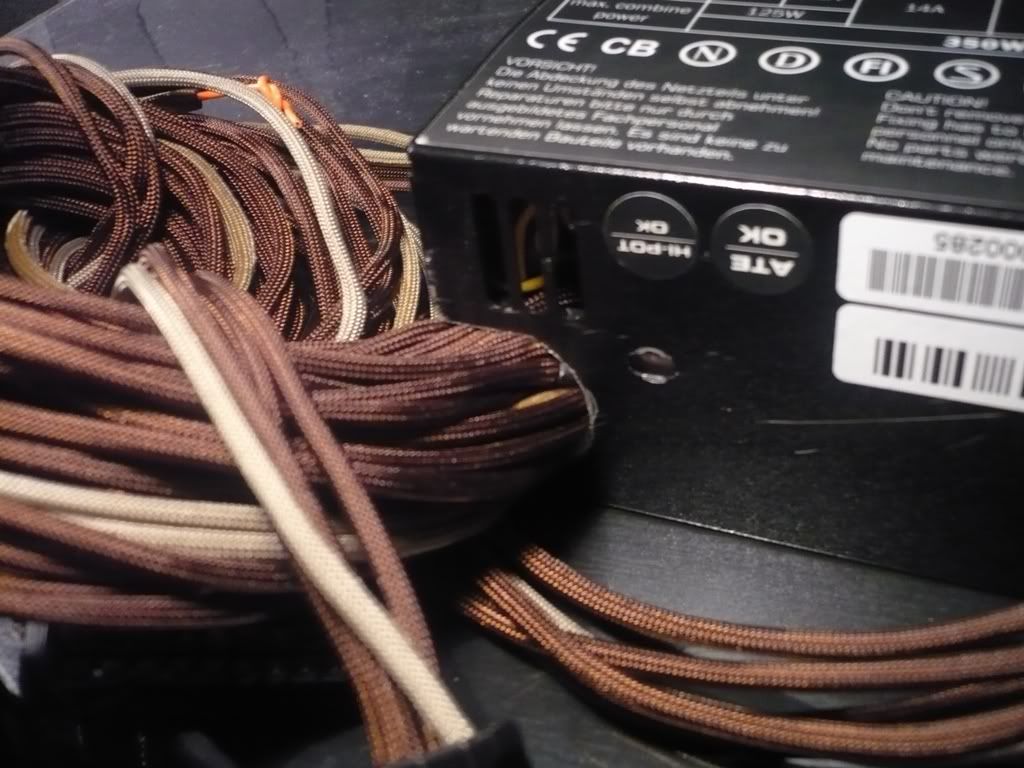
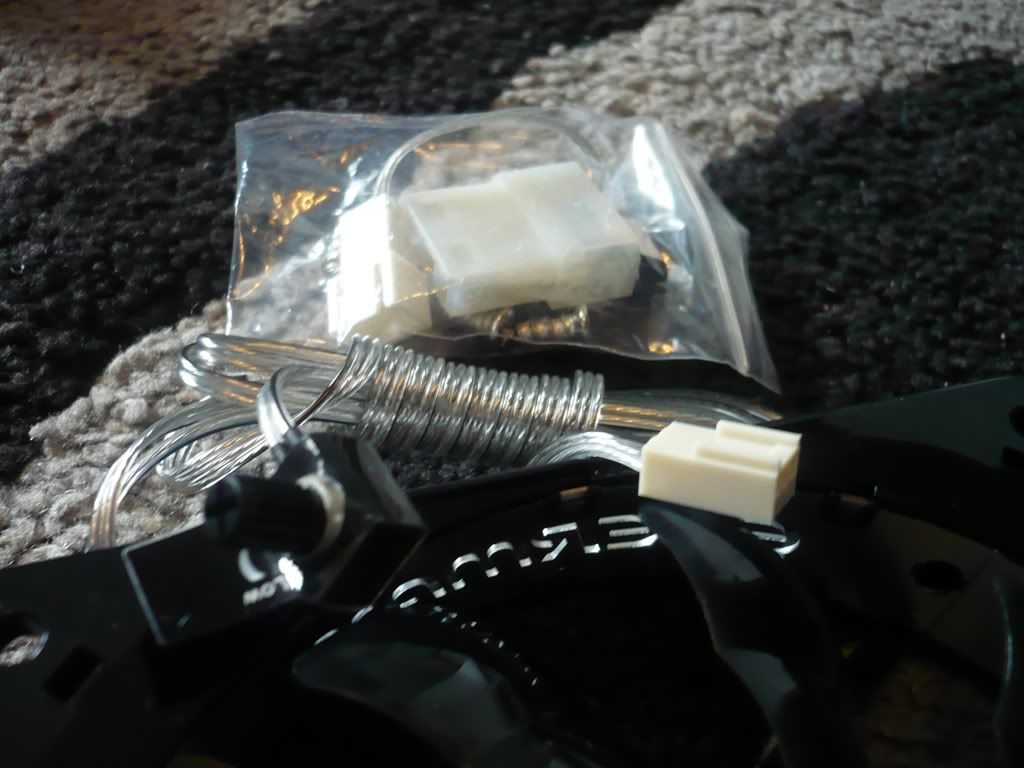
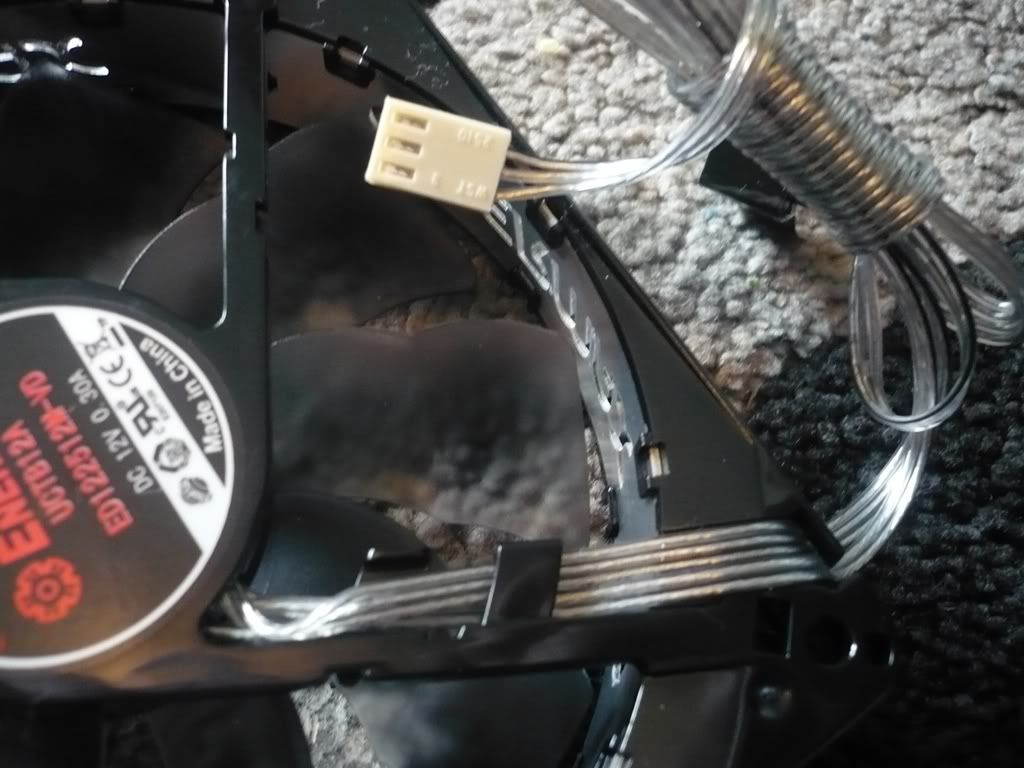
last question... where the hell is the heat shrink ?

last question... where the hell is the heat shrink ?
Ahh... so that's how you get the cable termination so clean. I like! I'll give your technique a try instead of me folding back sleeving over heatshrink.
last question... where the hell is the heat shrink ?
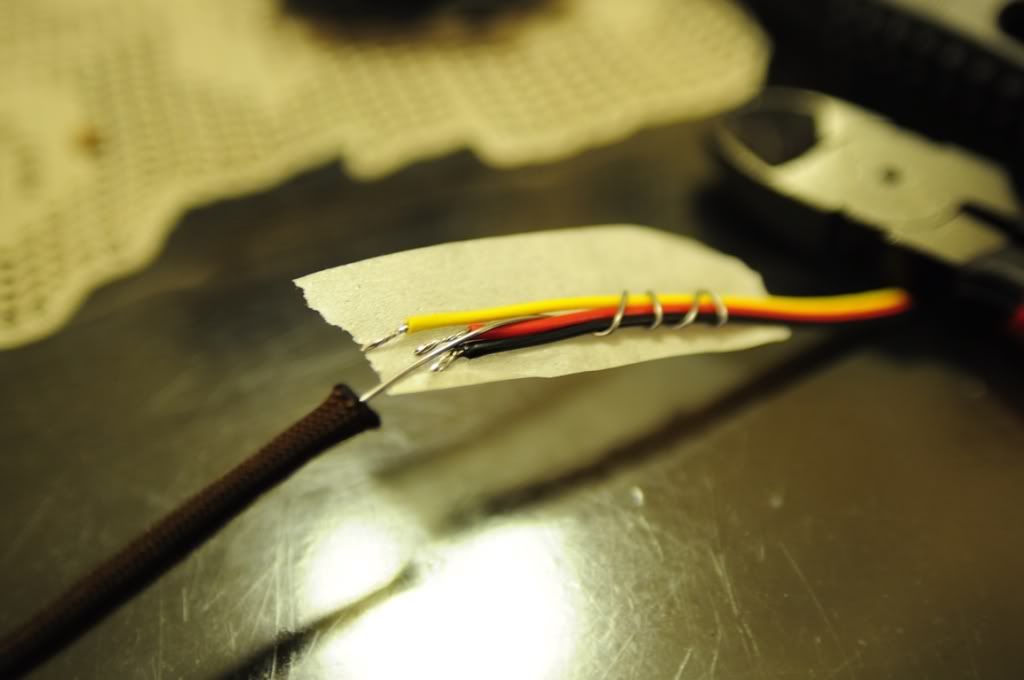
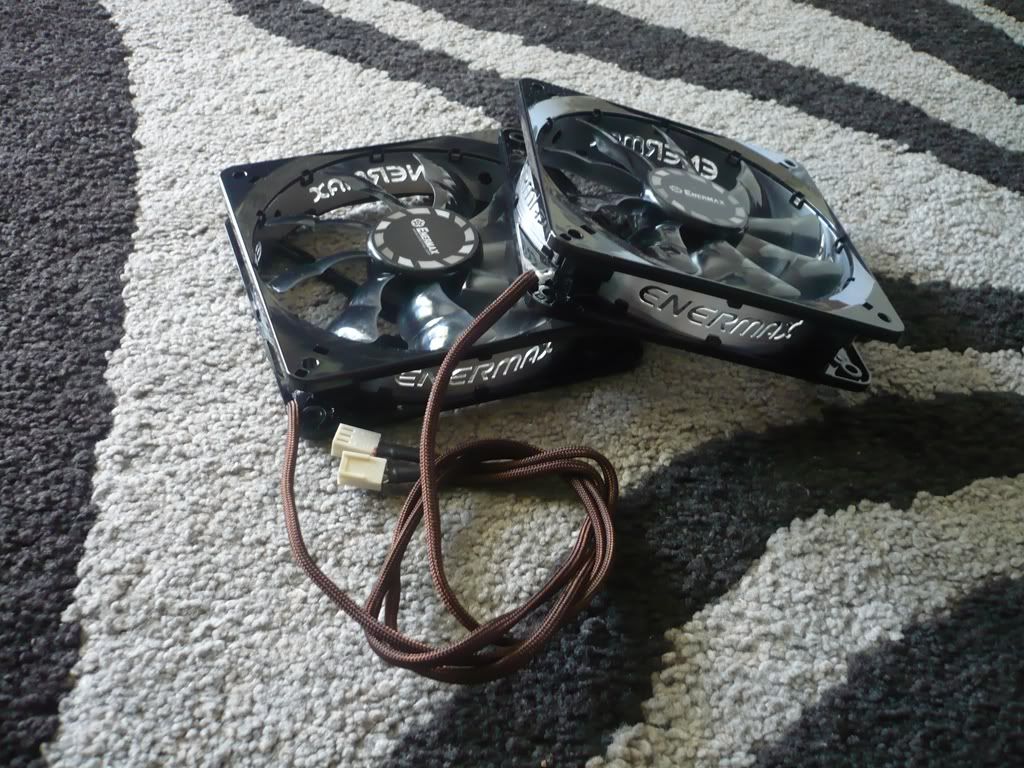
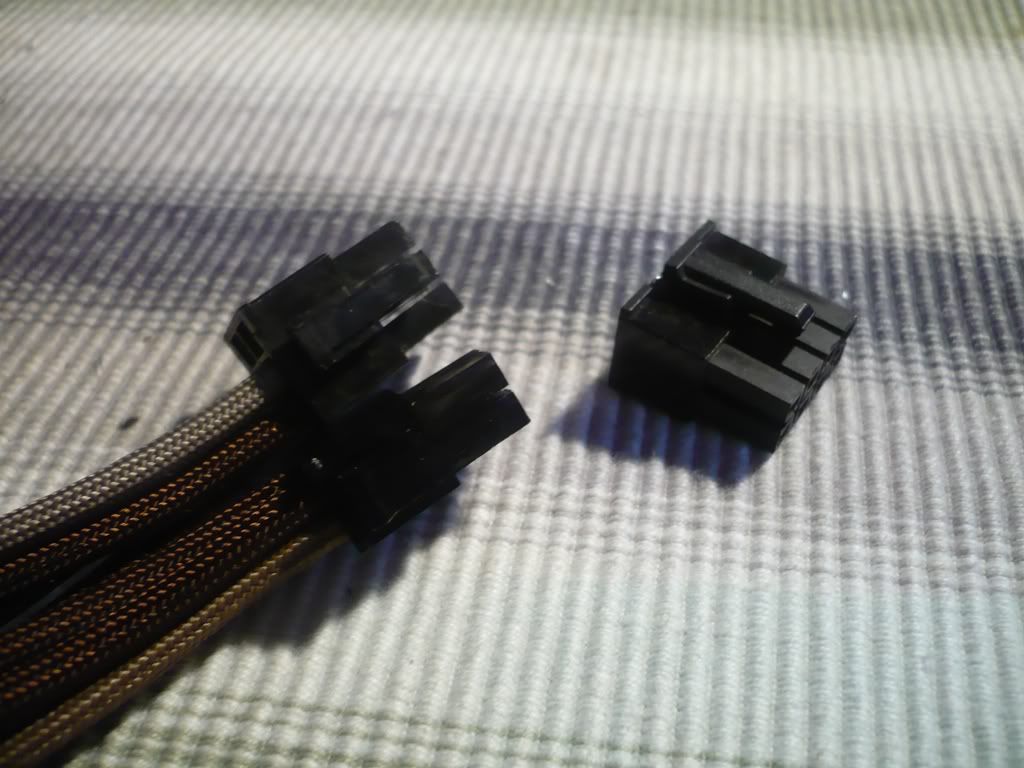
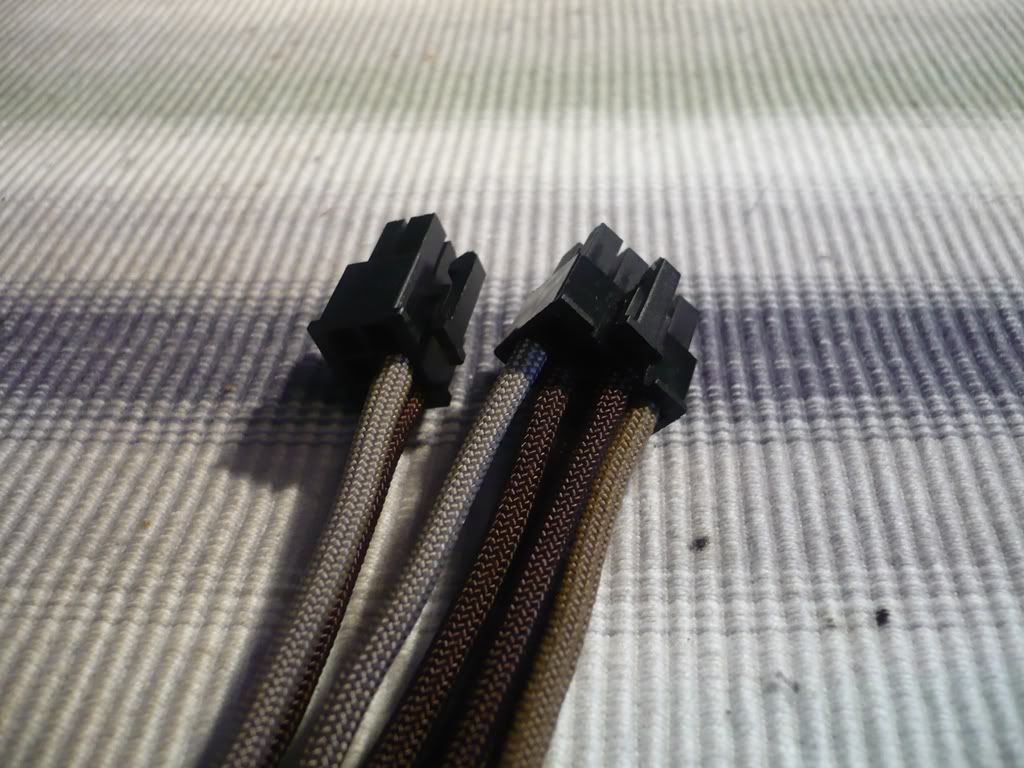
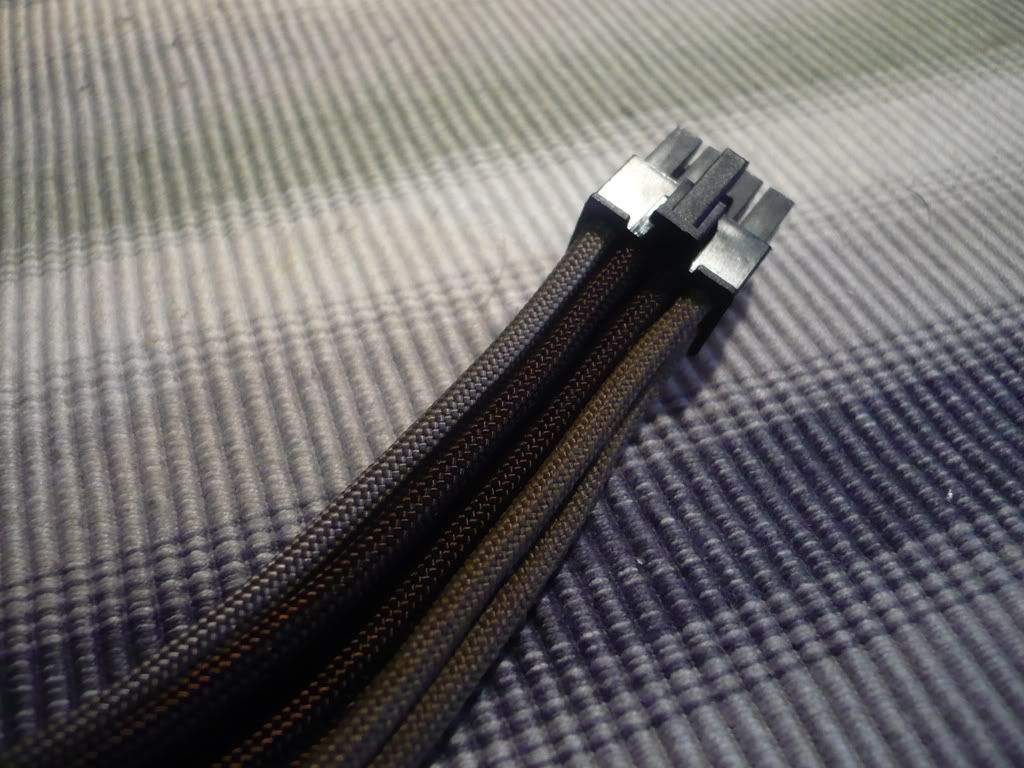
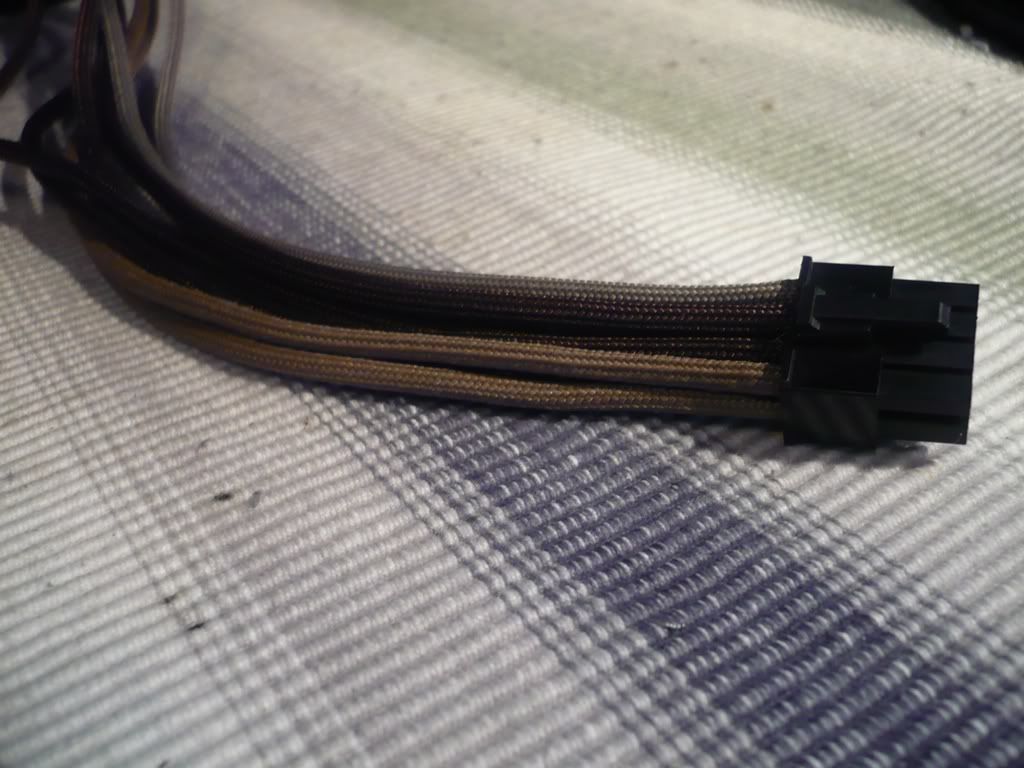
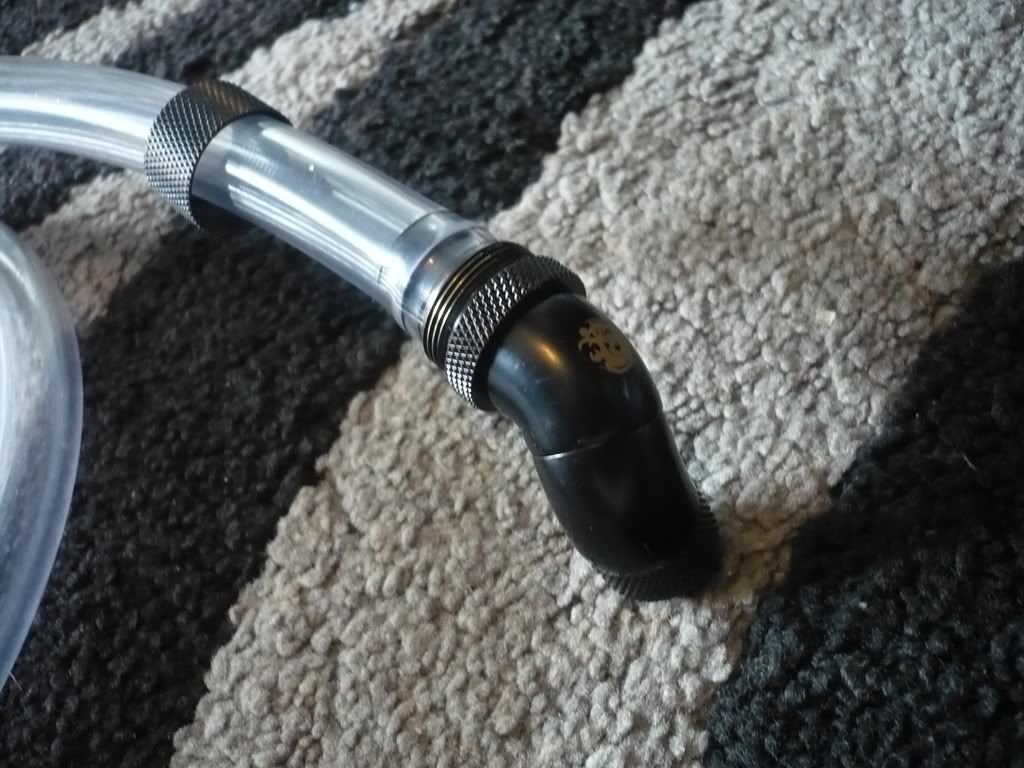
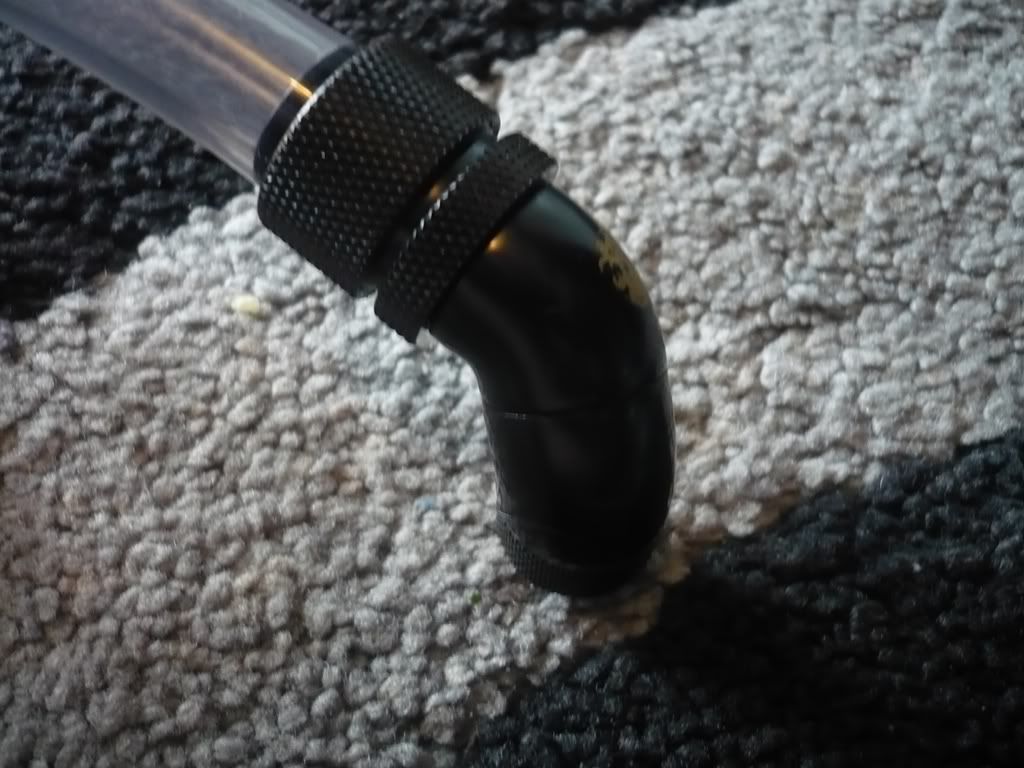
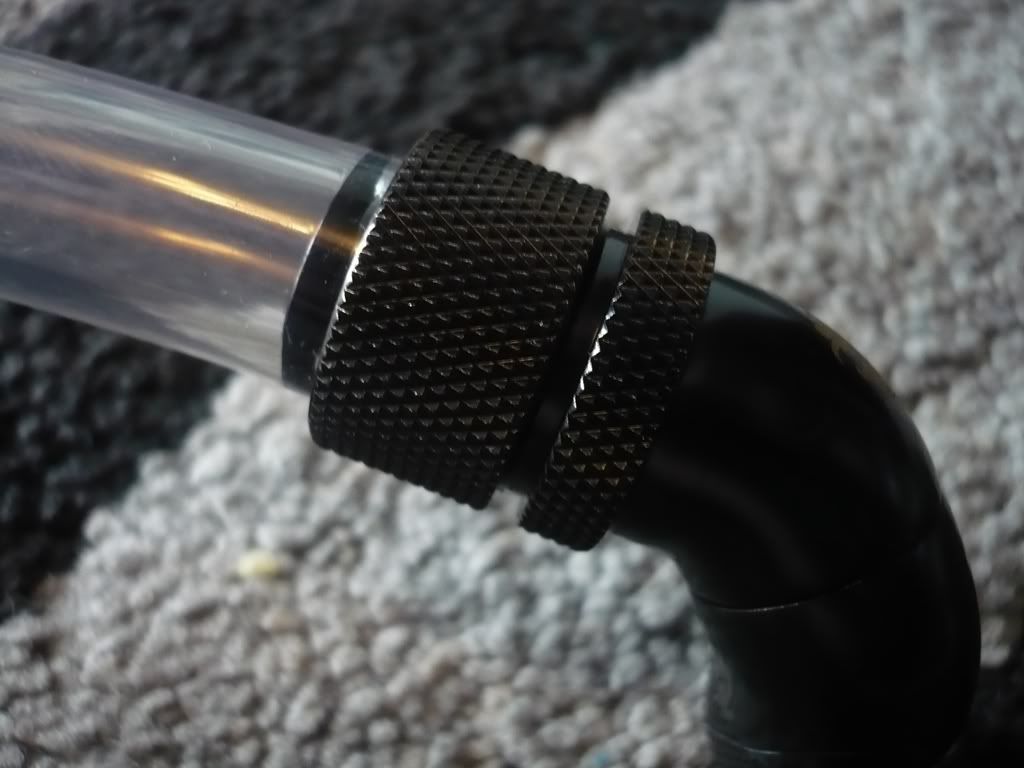
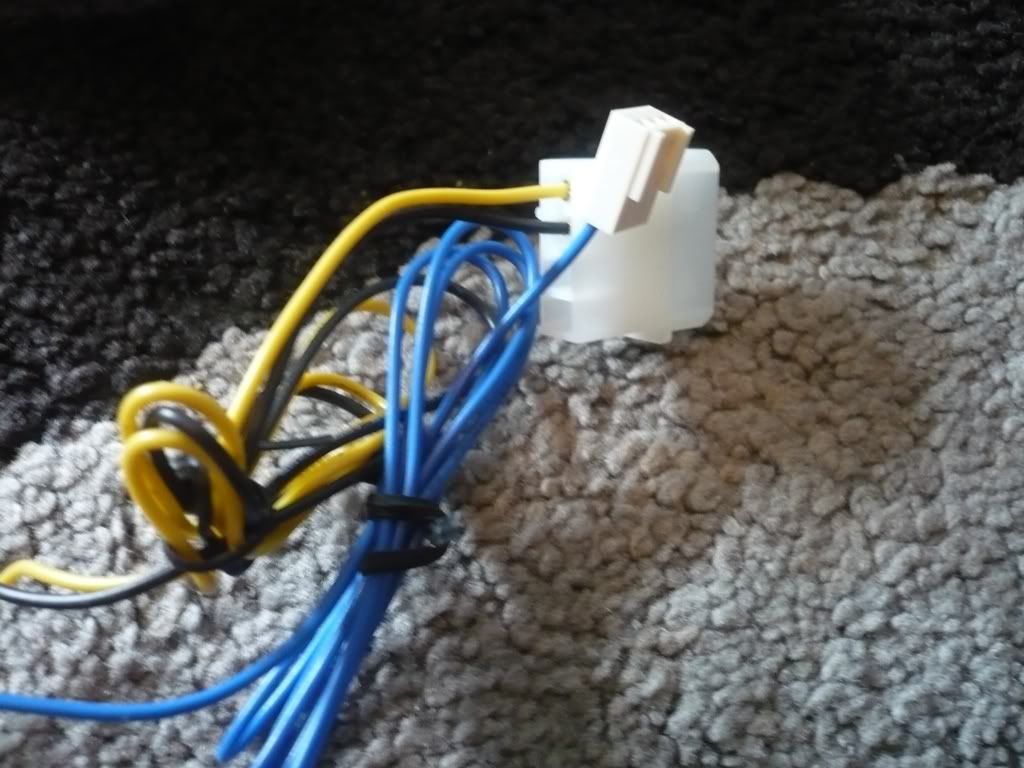
No heat shrink. He's crimping the pins directly over the wires and sleeving-paracord.
Looks great dude! And I really liked your previously sleeved blue and grey psukeep up the amazing work!
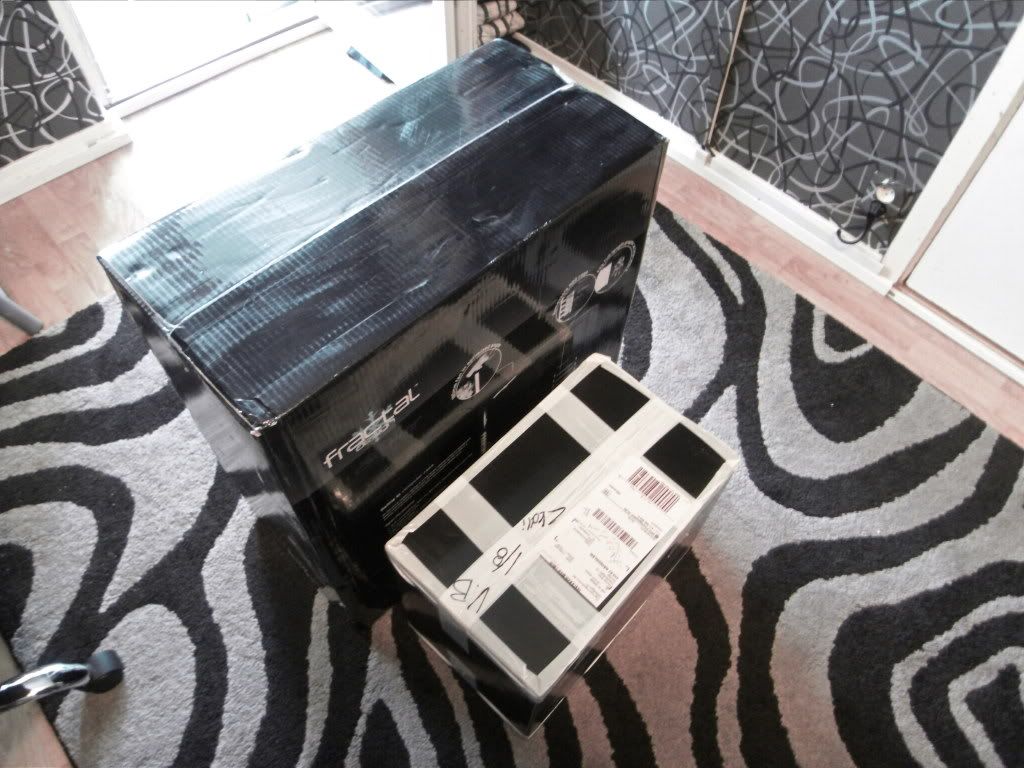
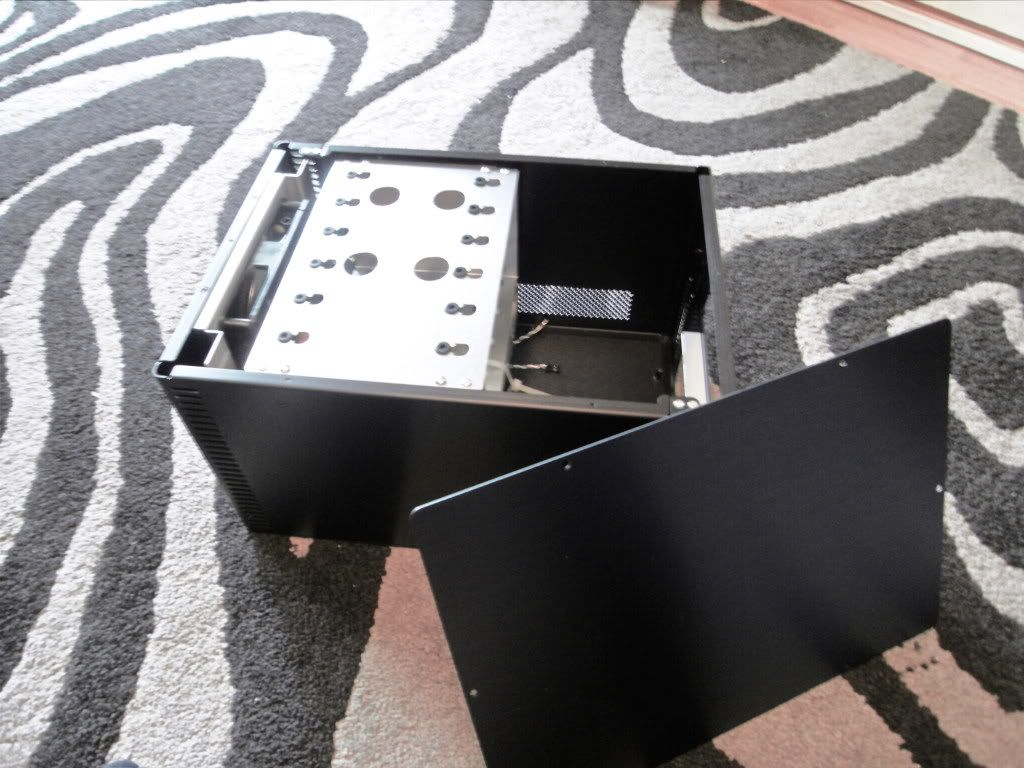
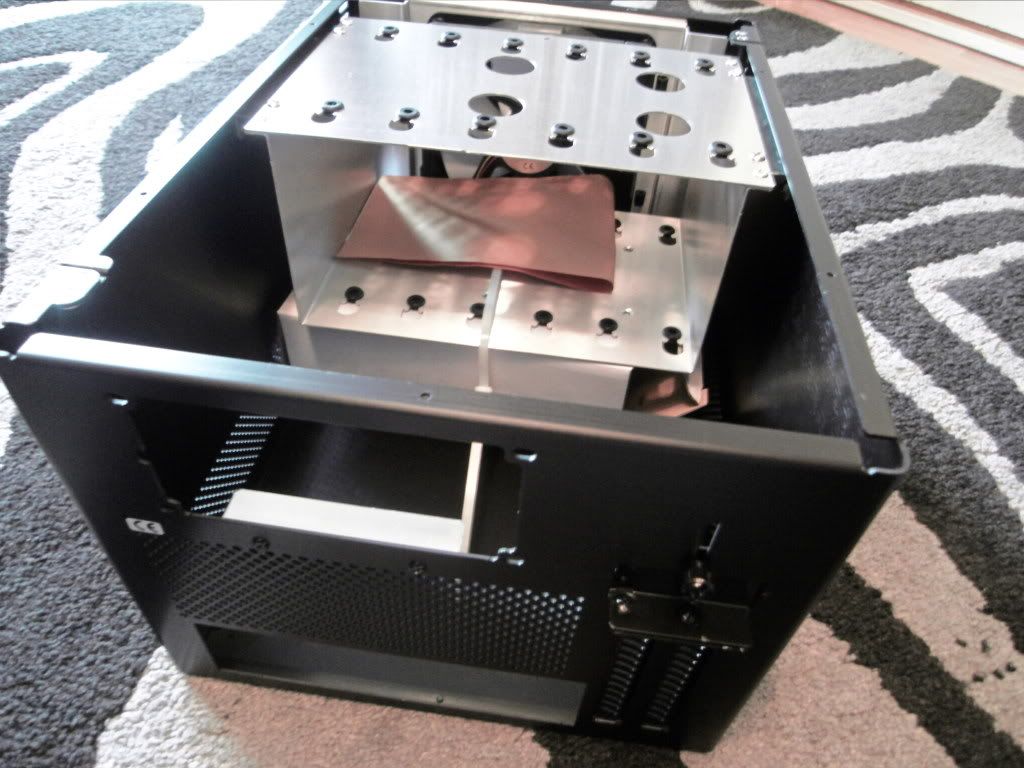
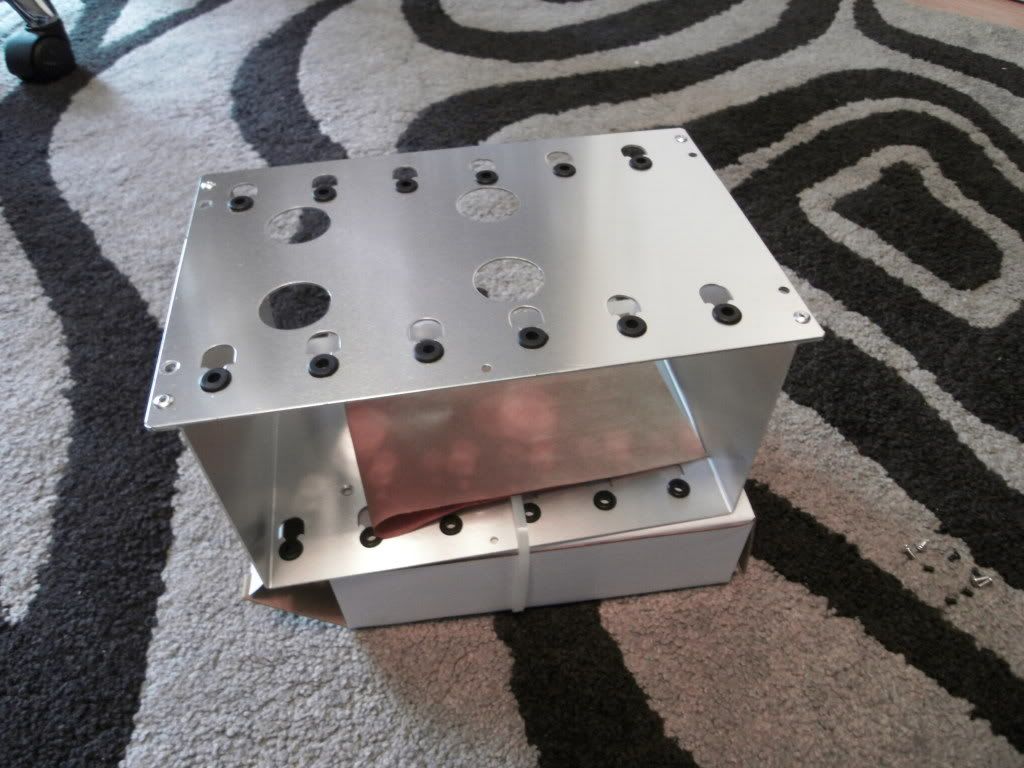
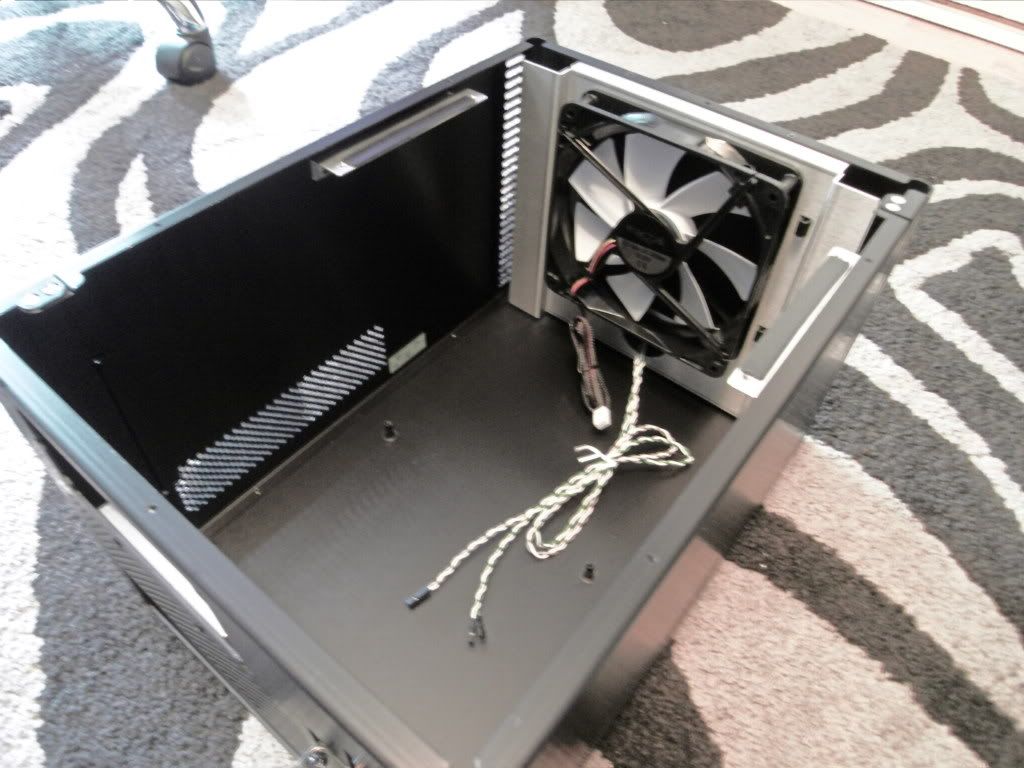
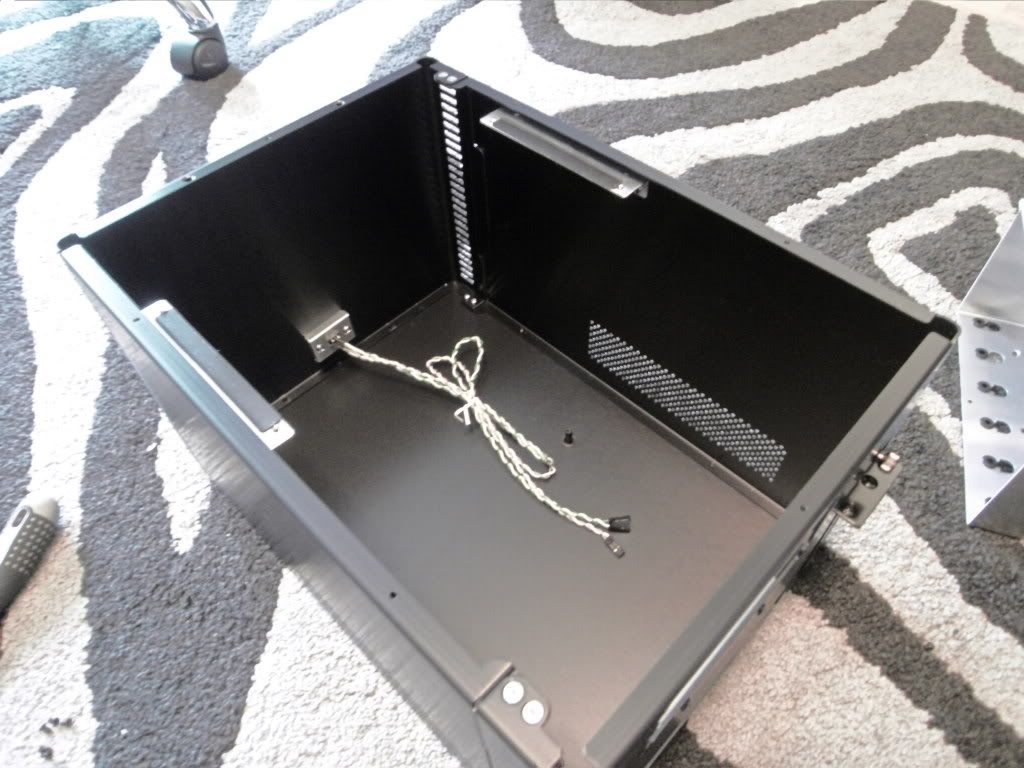
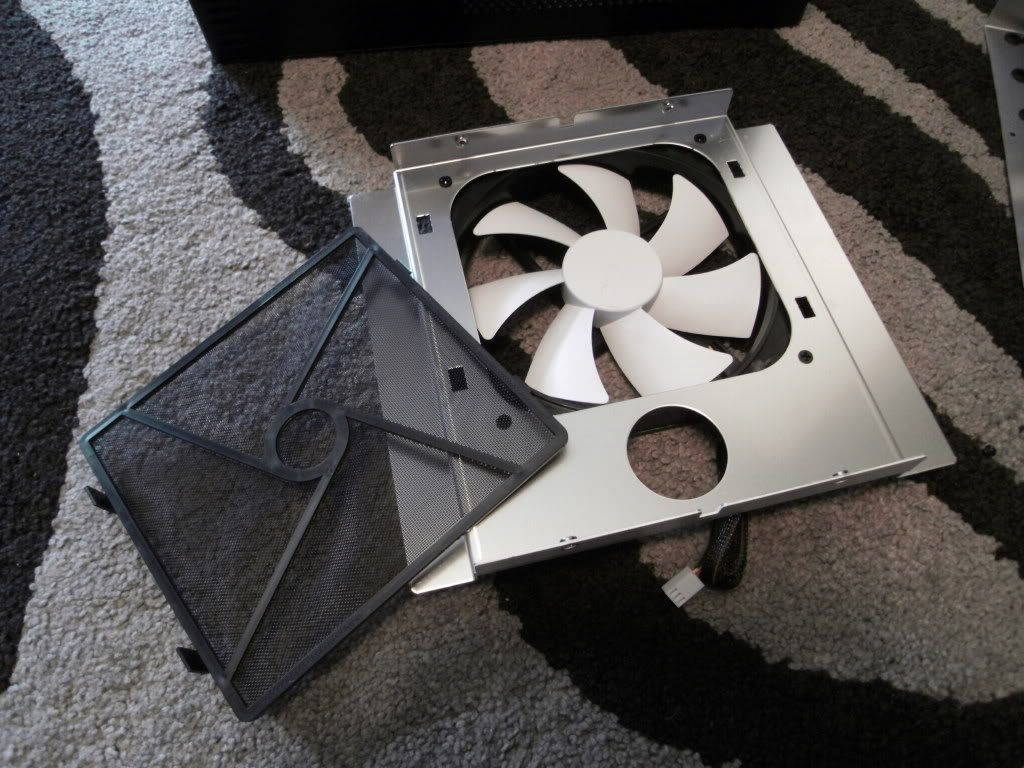
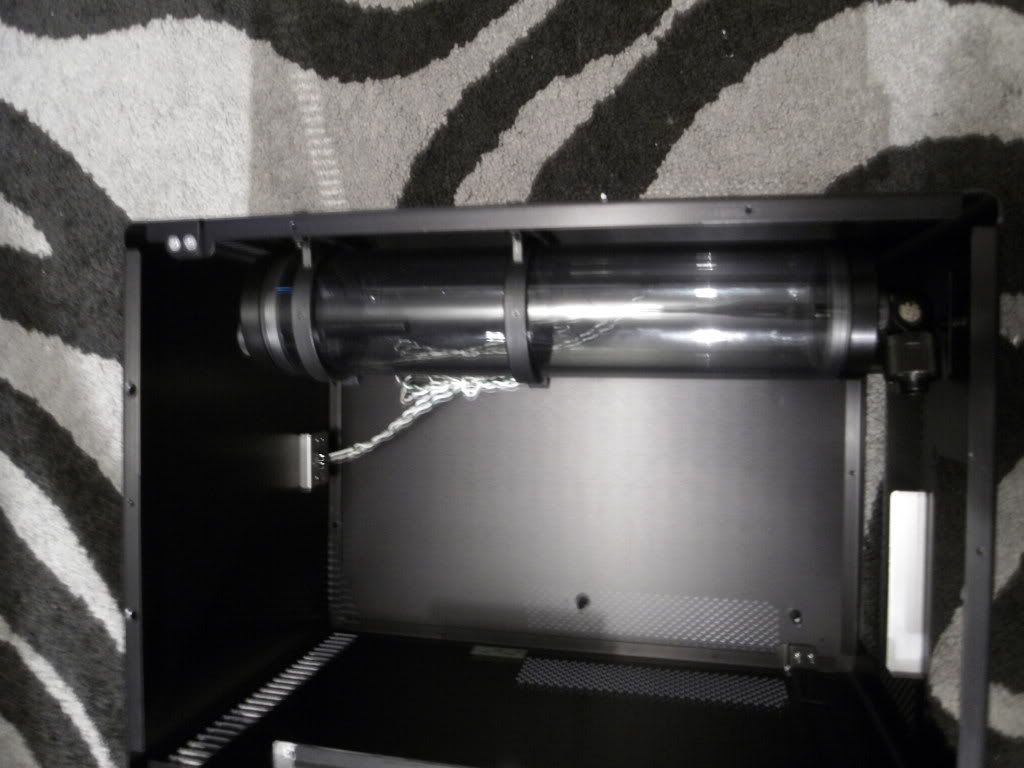
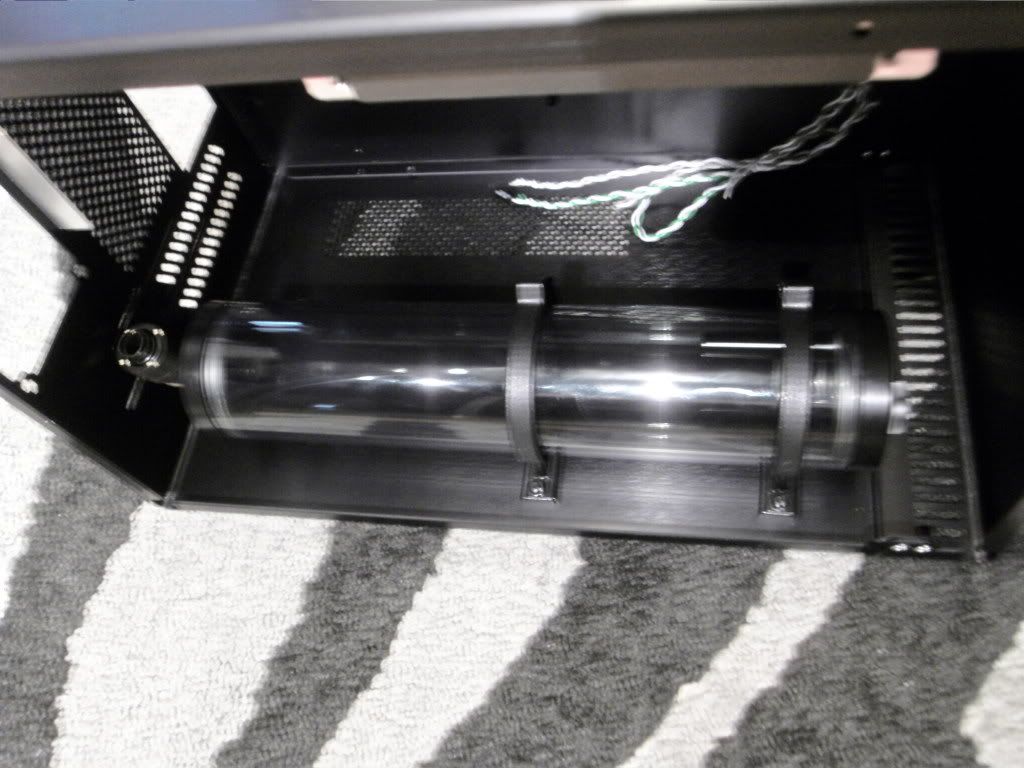
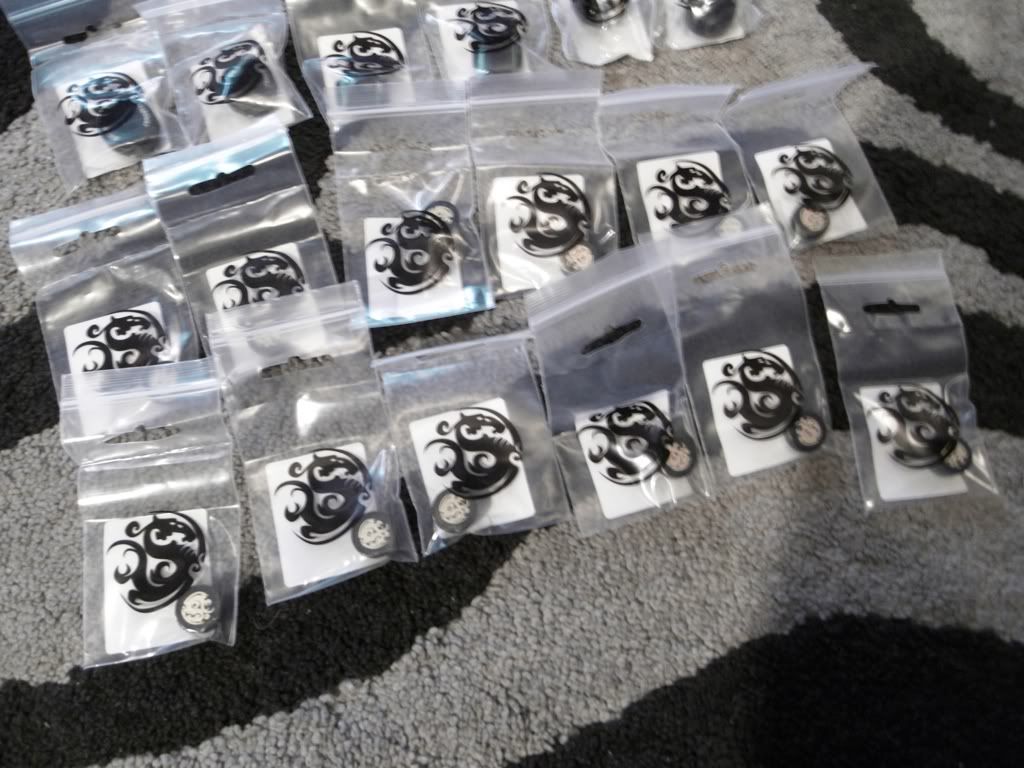
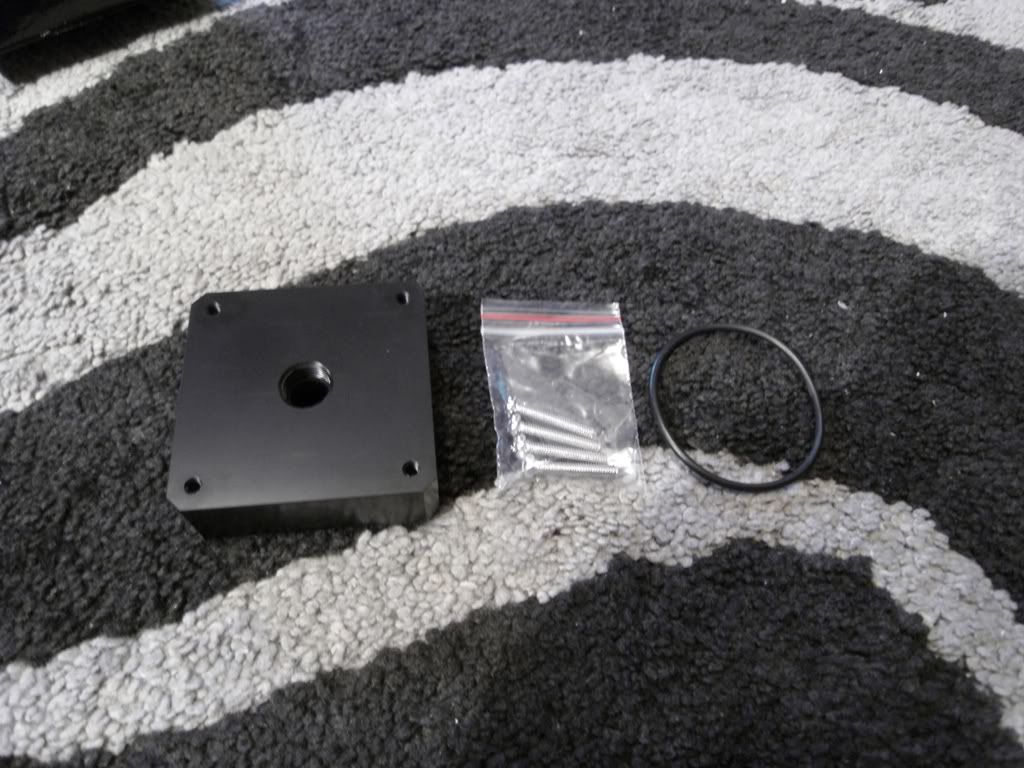
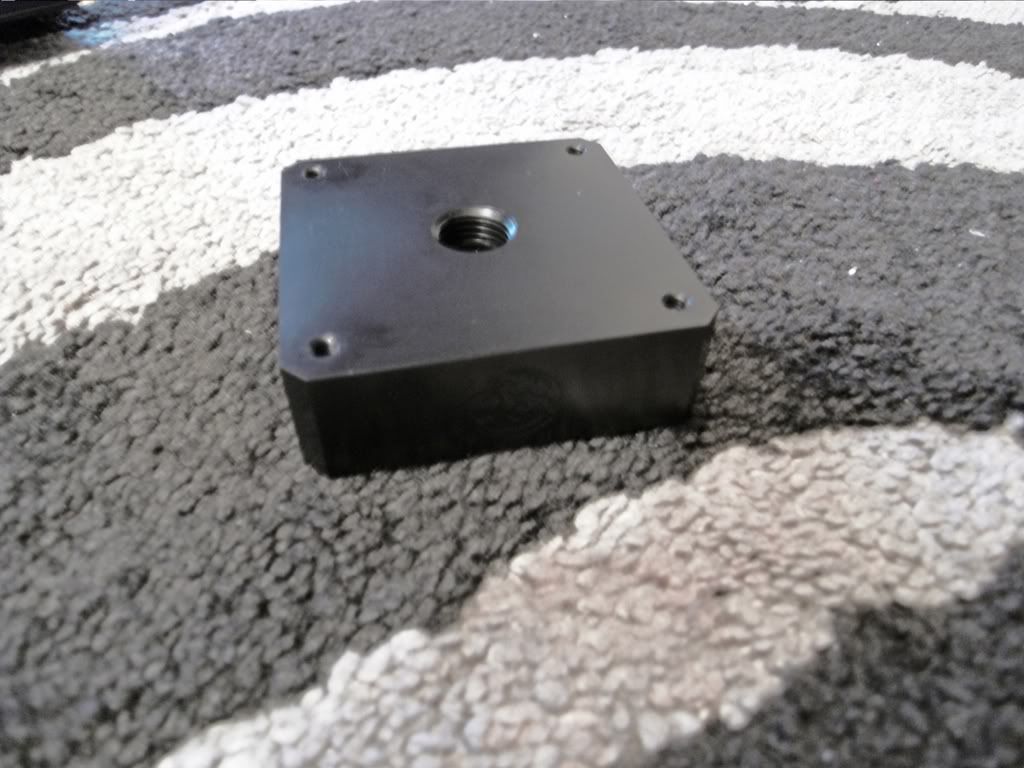
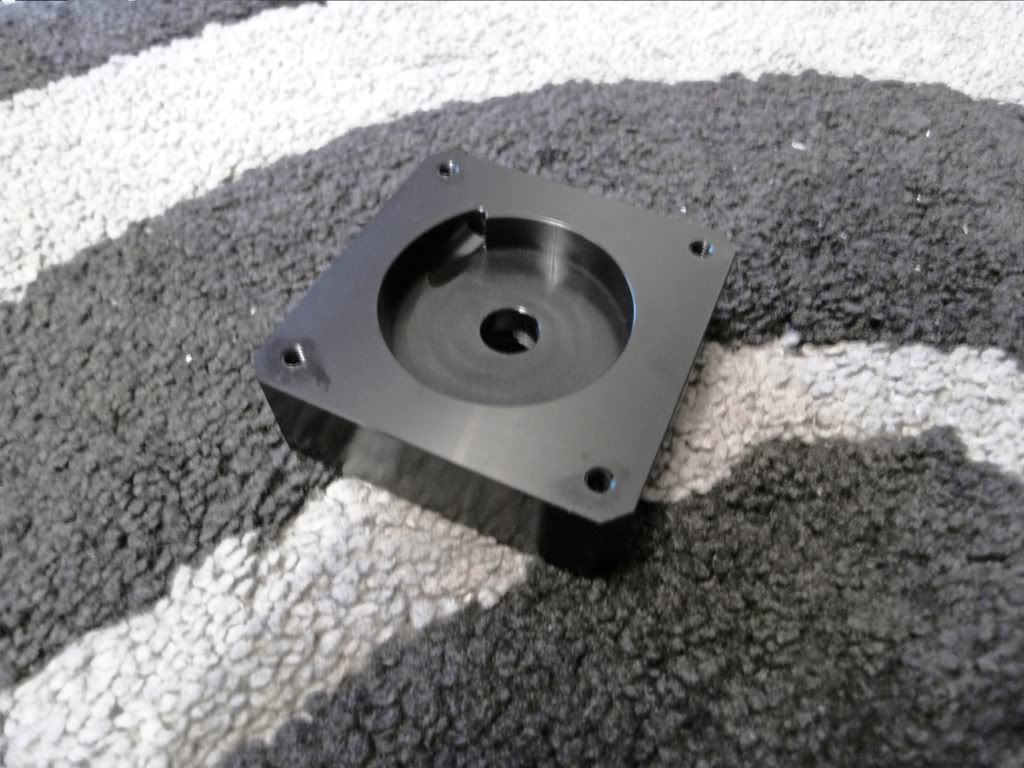
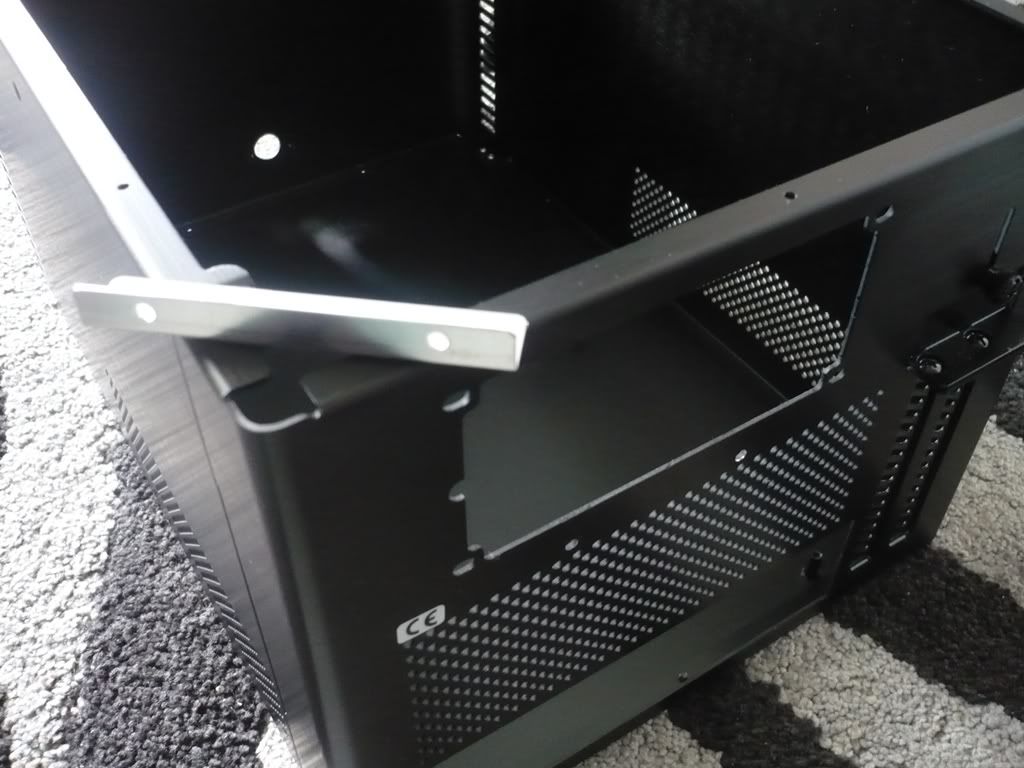
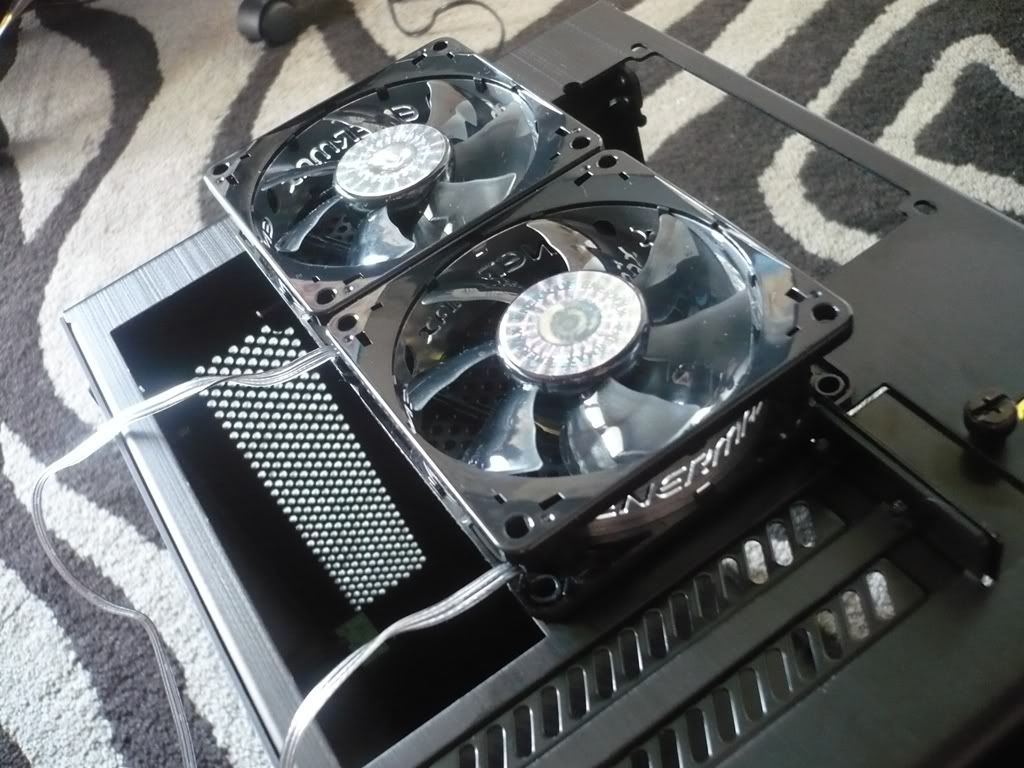
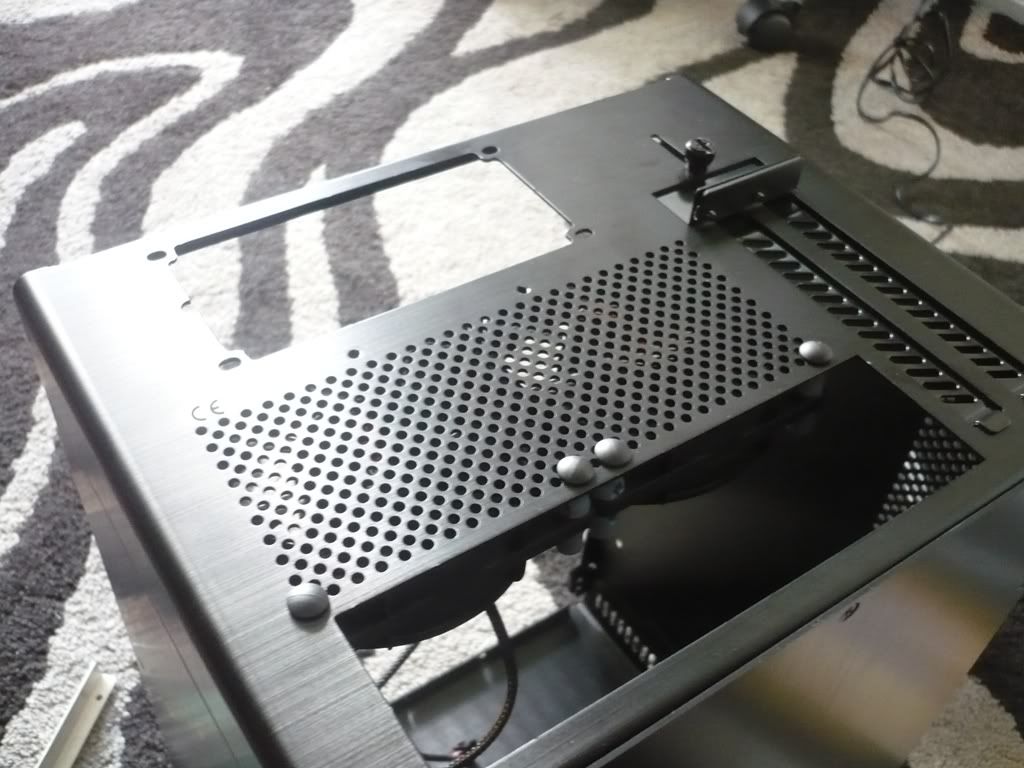
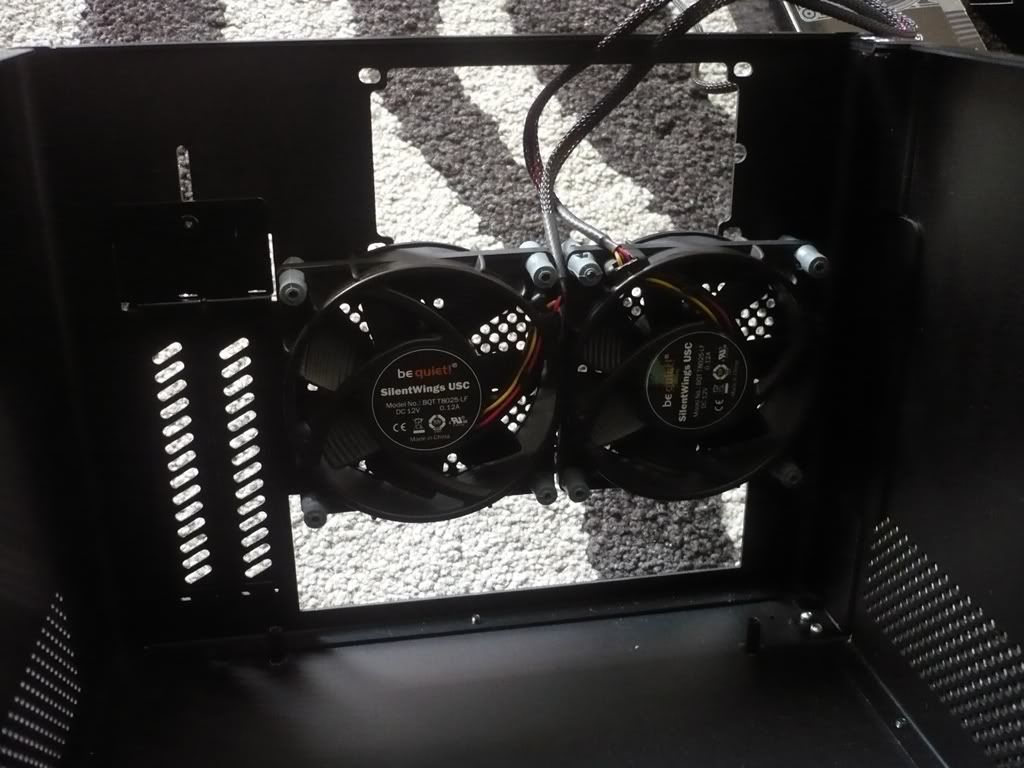
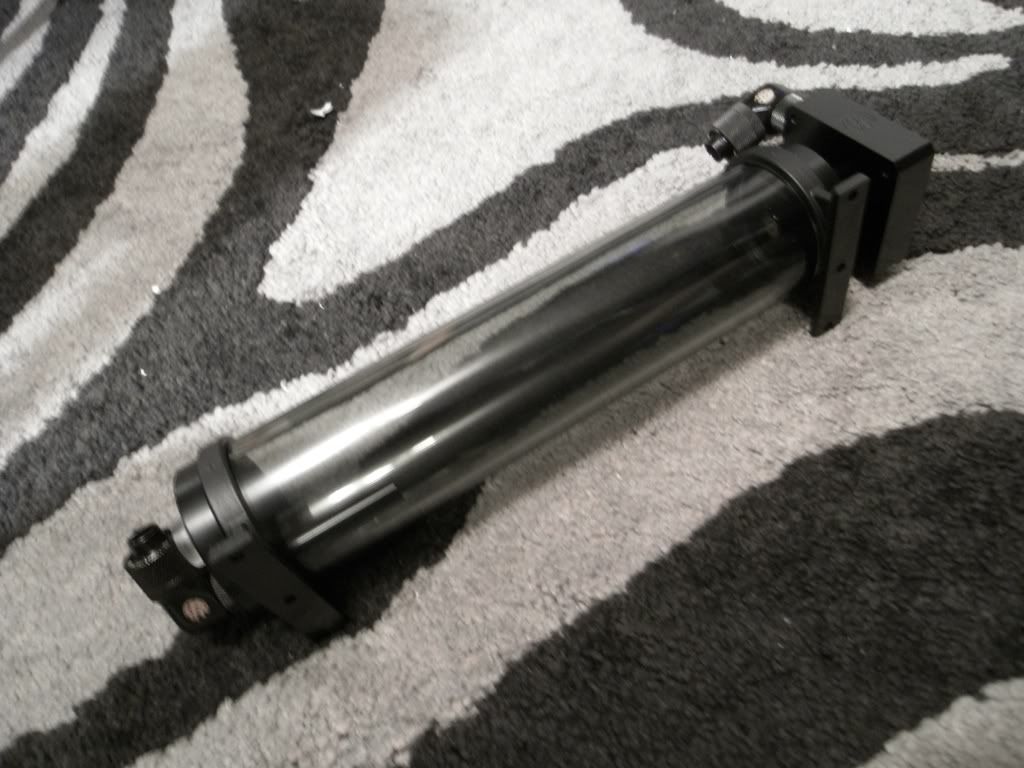
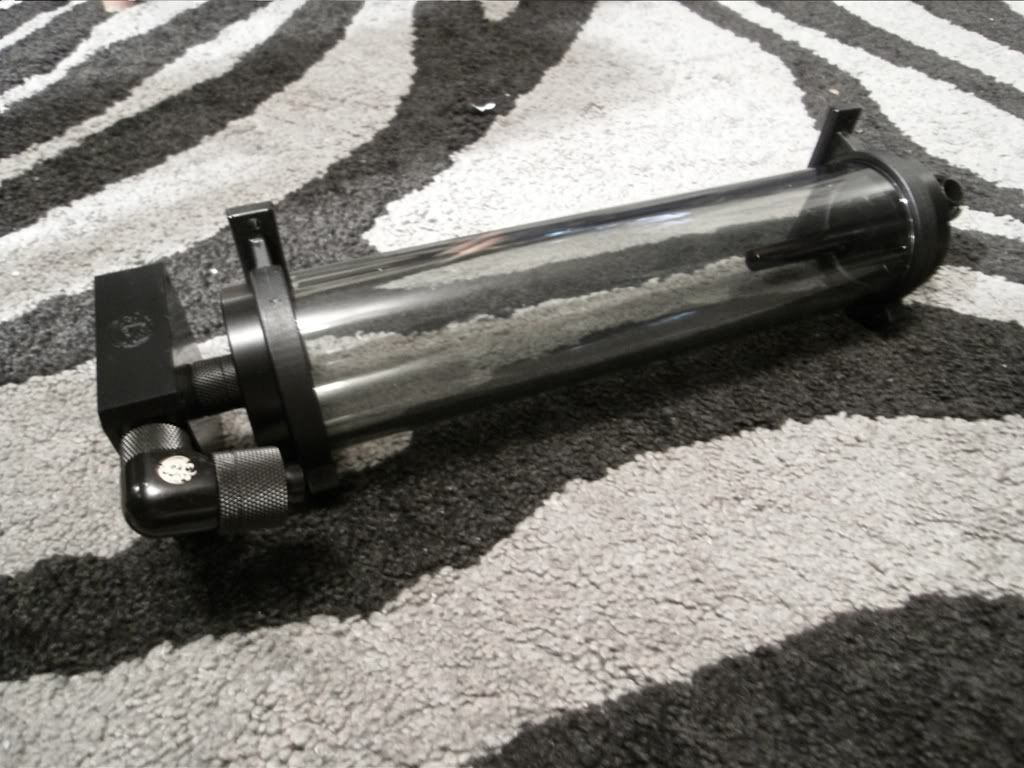
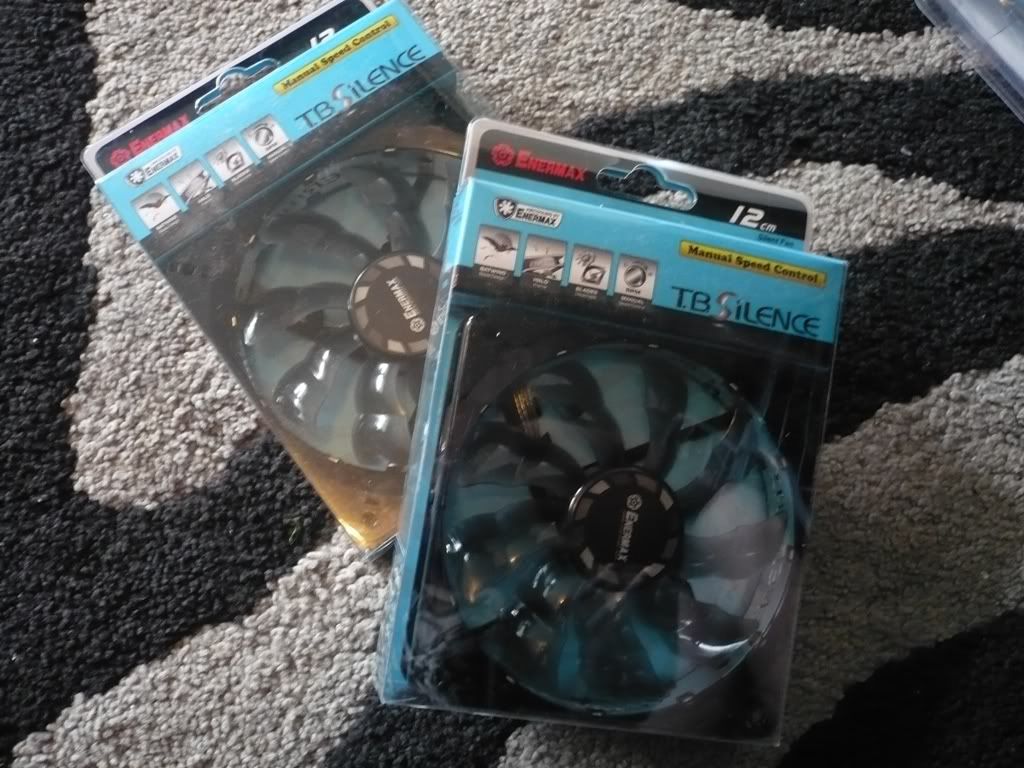
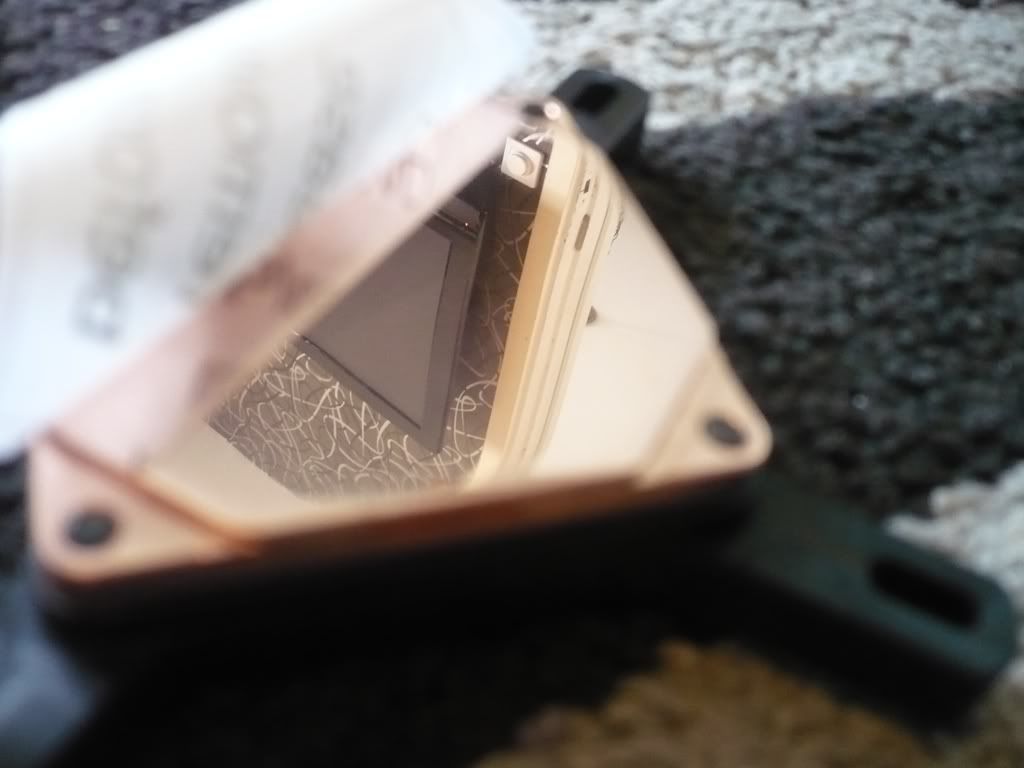
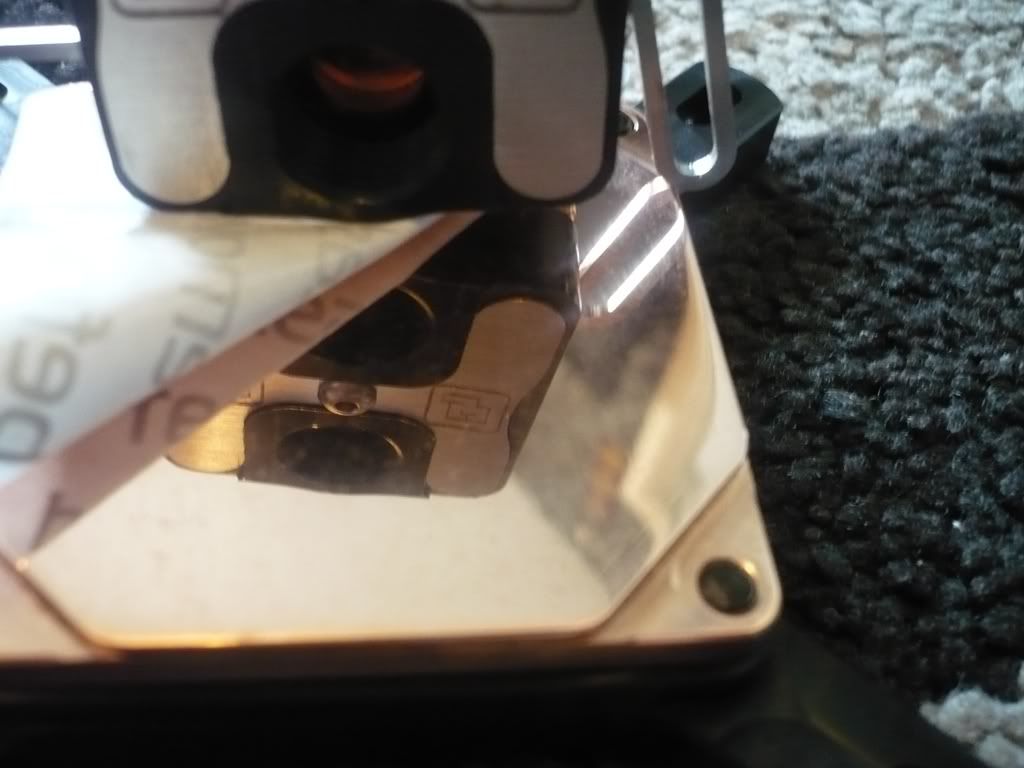
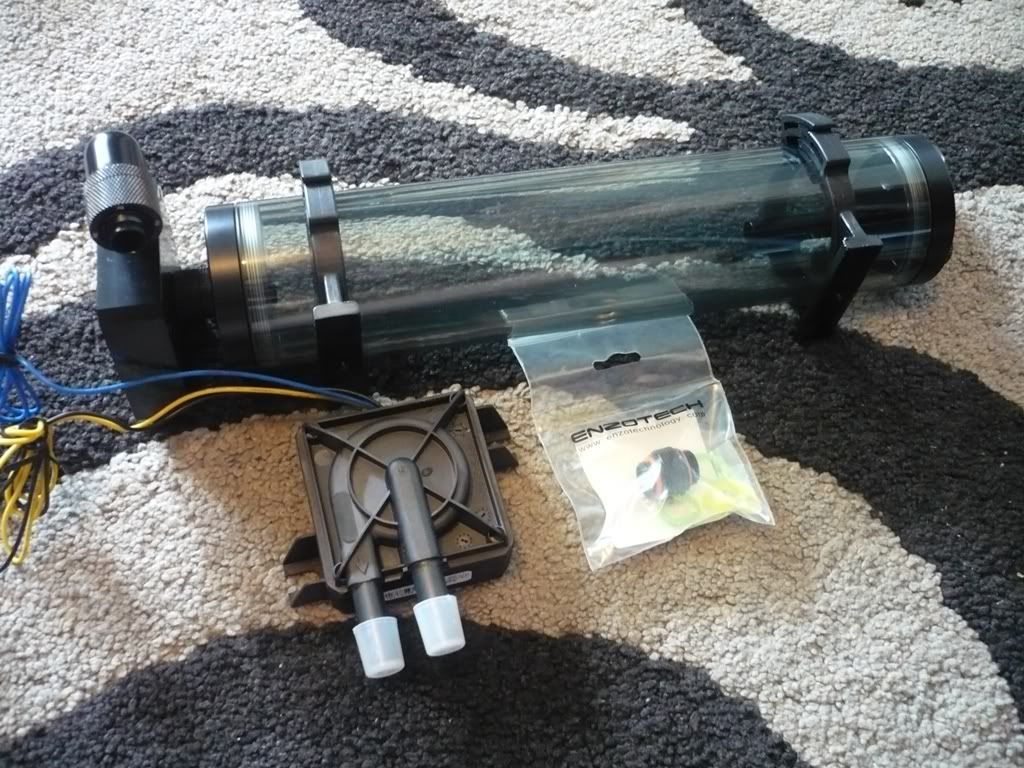
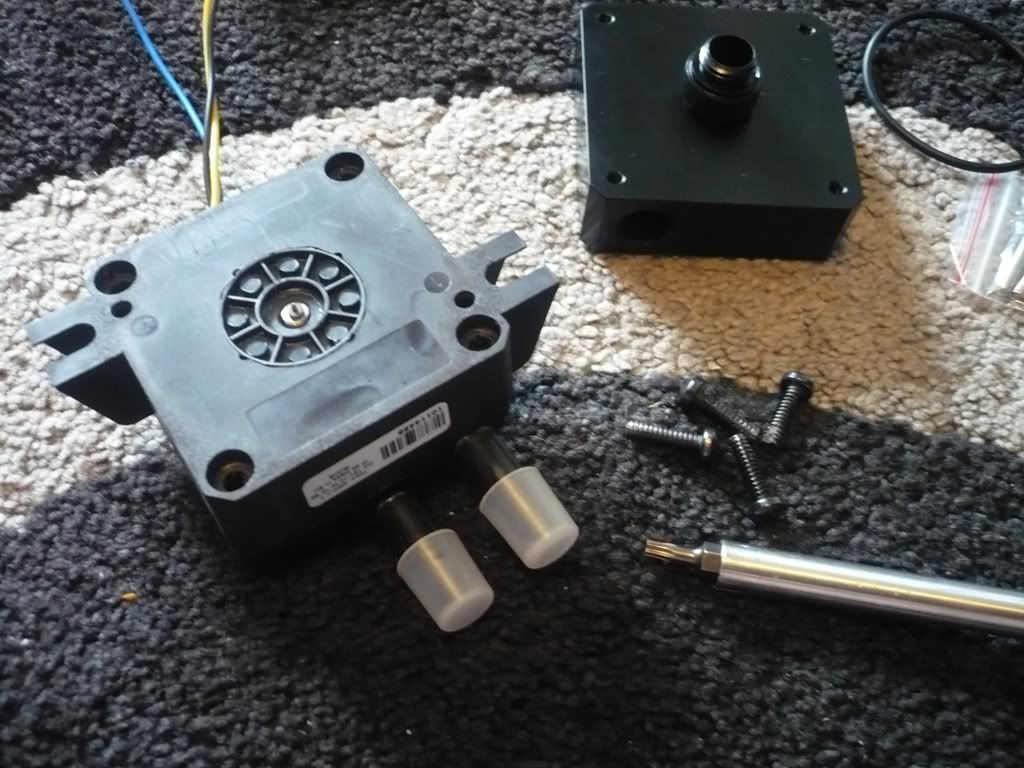
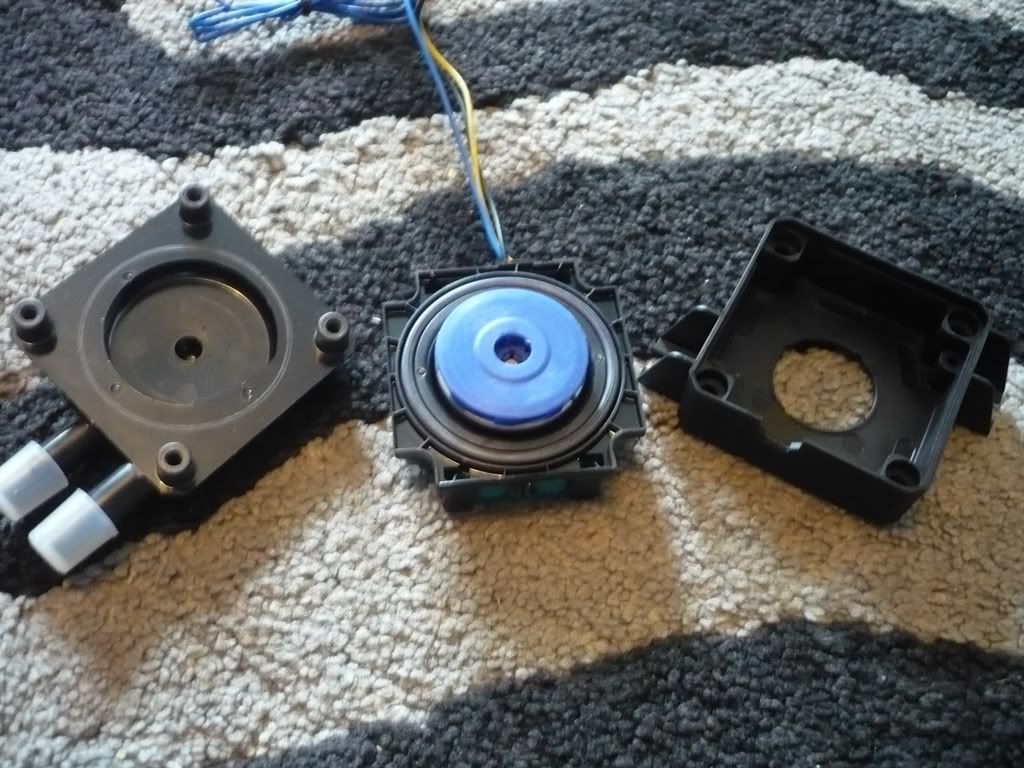
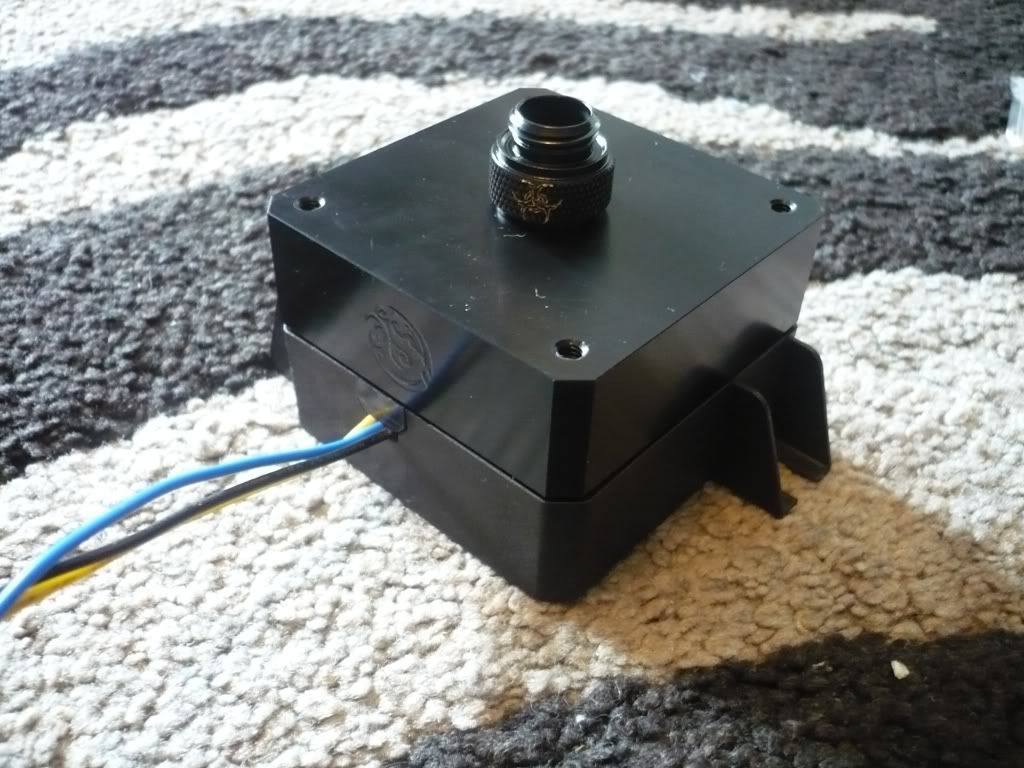
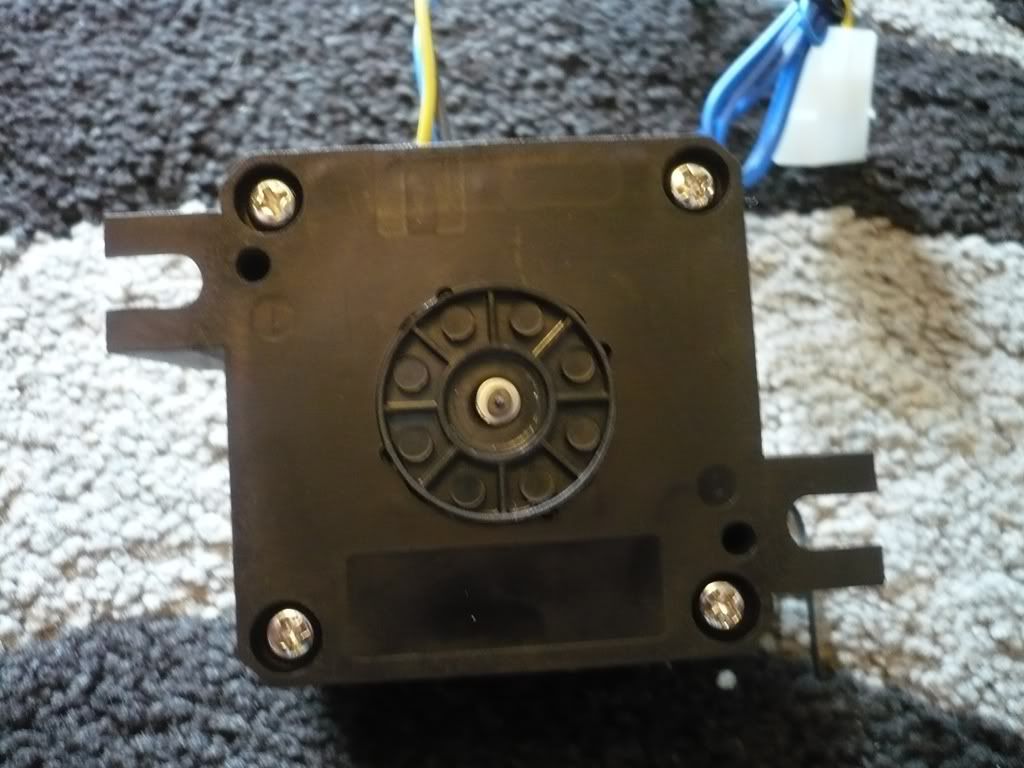
") I have also had time to strip the chassis on all parts and test fitted the reservoir a little, I will very shortly start modding process so you can keep up now ! Also has some Sleeving come to be made
I have also had time to strip the chassis on all parts and test fitted the reservoir a little, I will very shortly start modding process so you can keep up now ! Also has some Sleeving come to be made


It's looking like it should be a very good looking build. Can't wait to see the final outcome
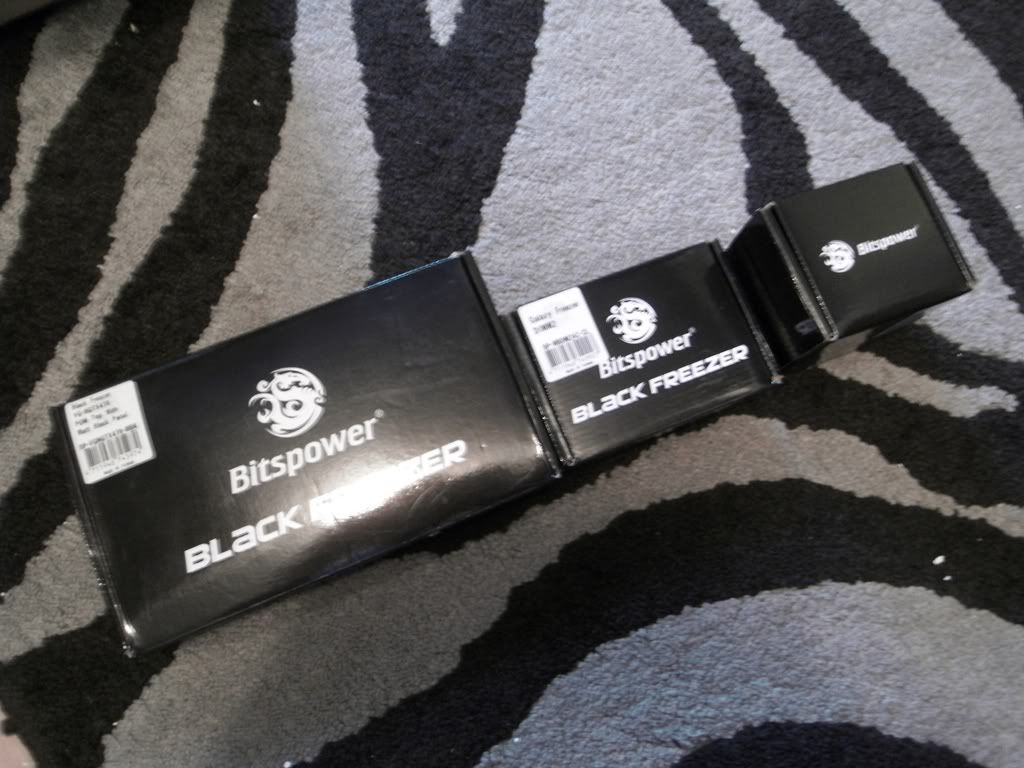
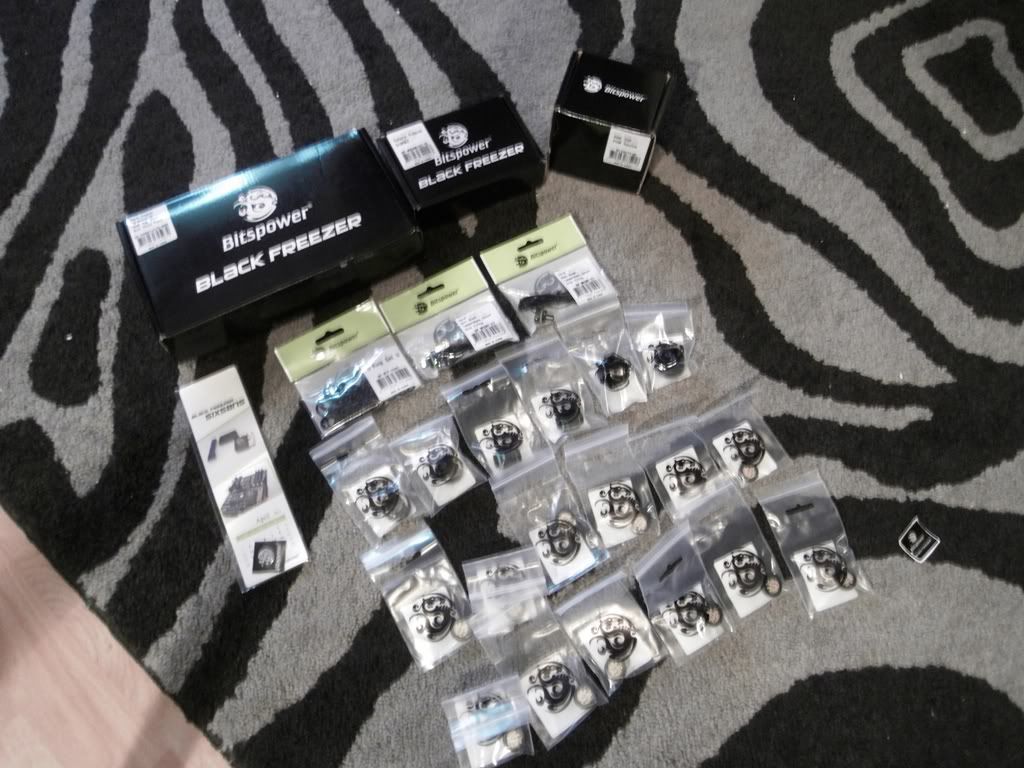
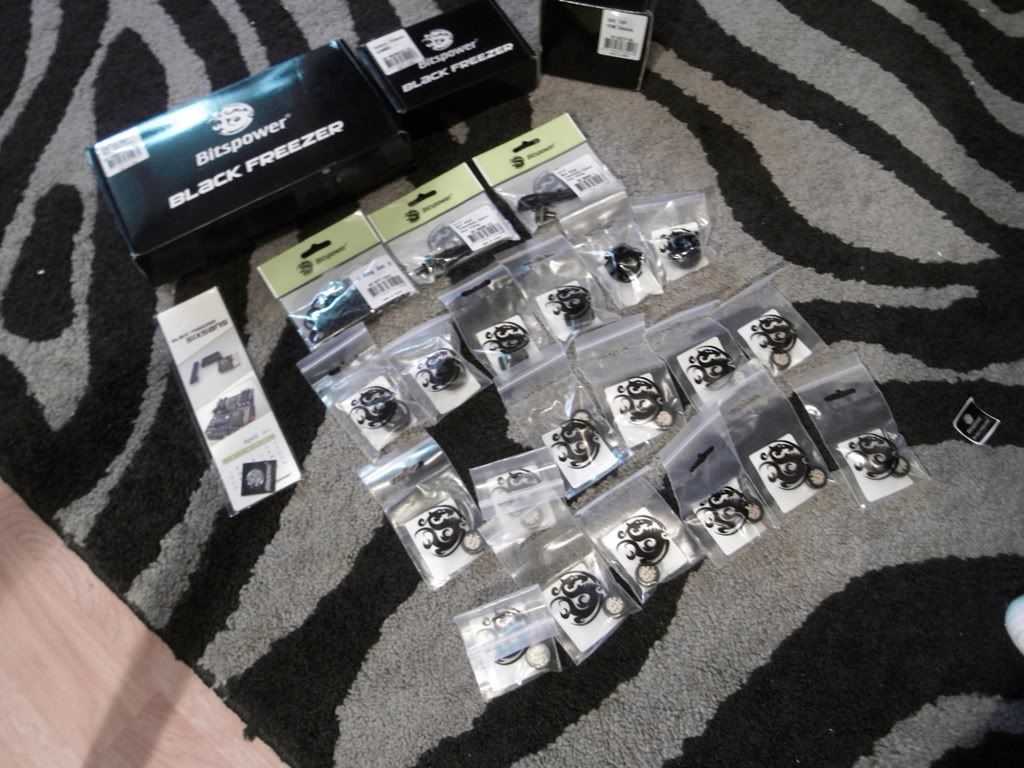
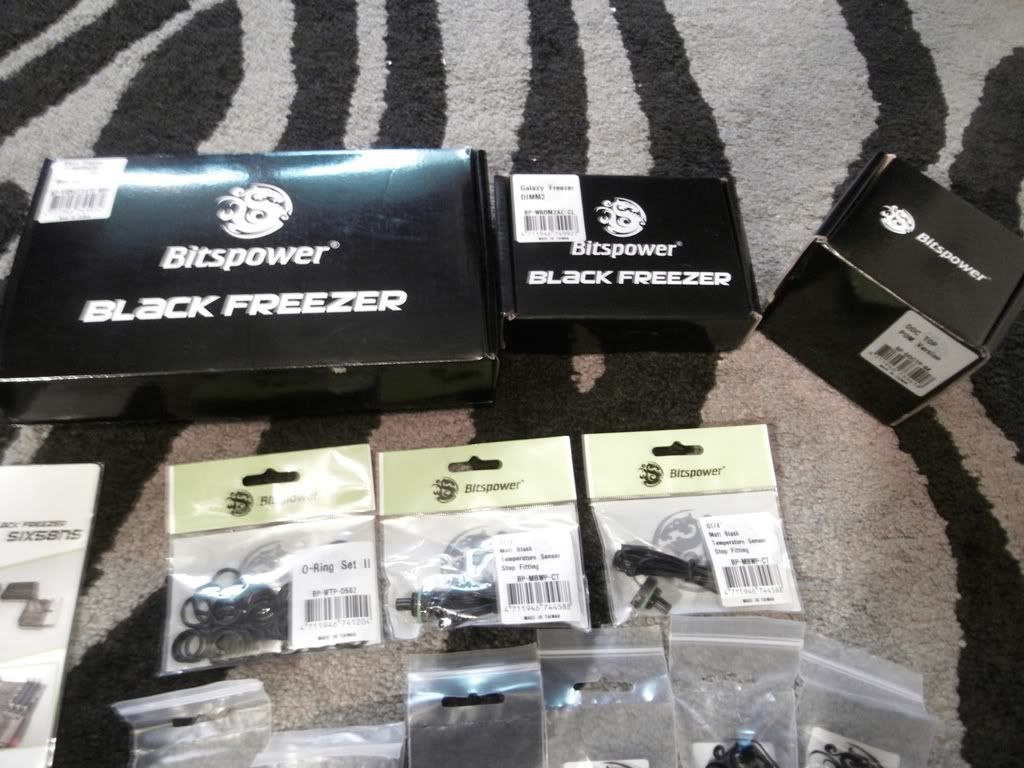
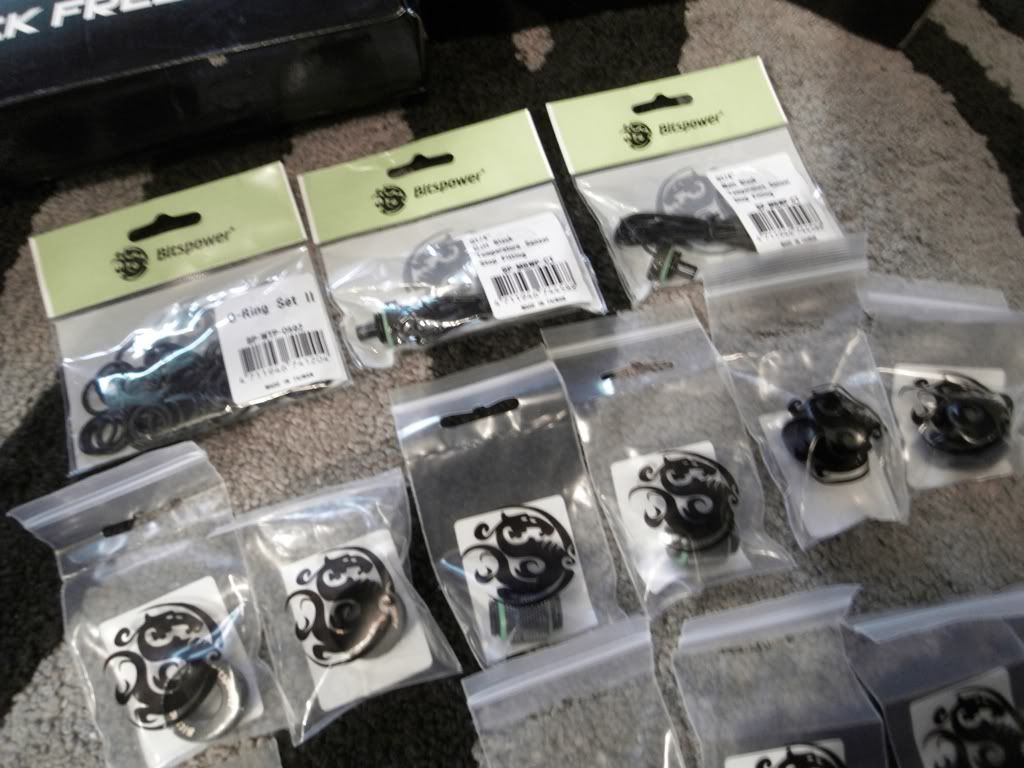
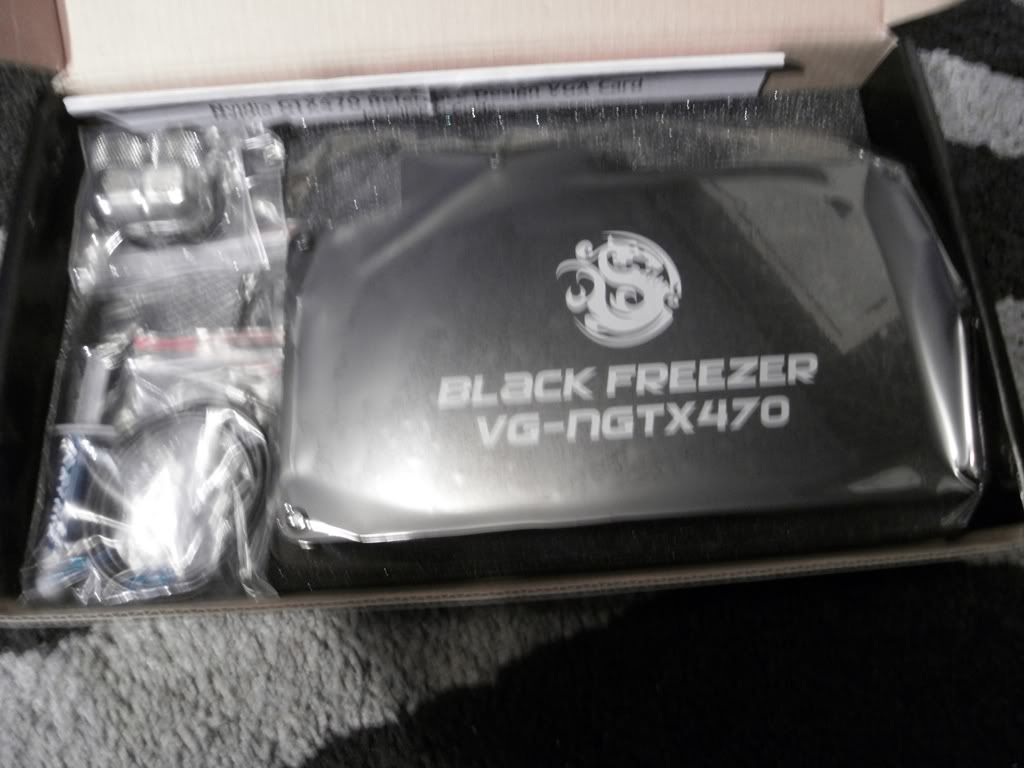
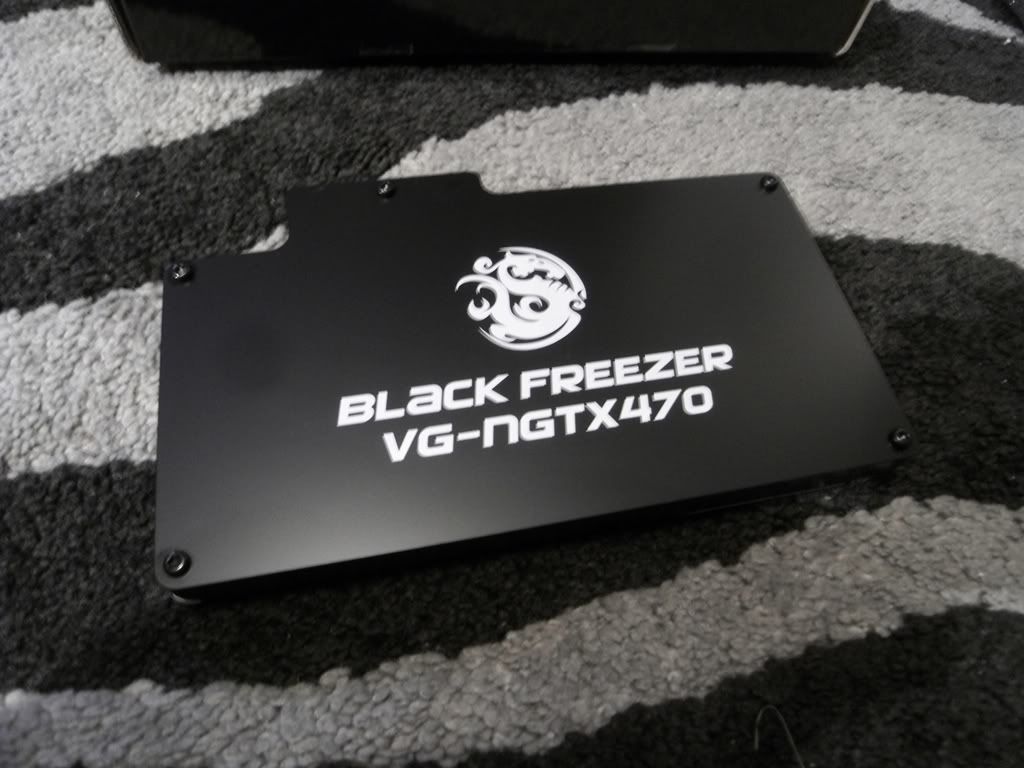
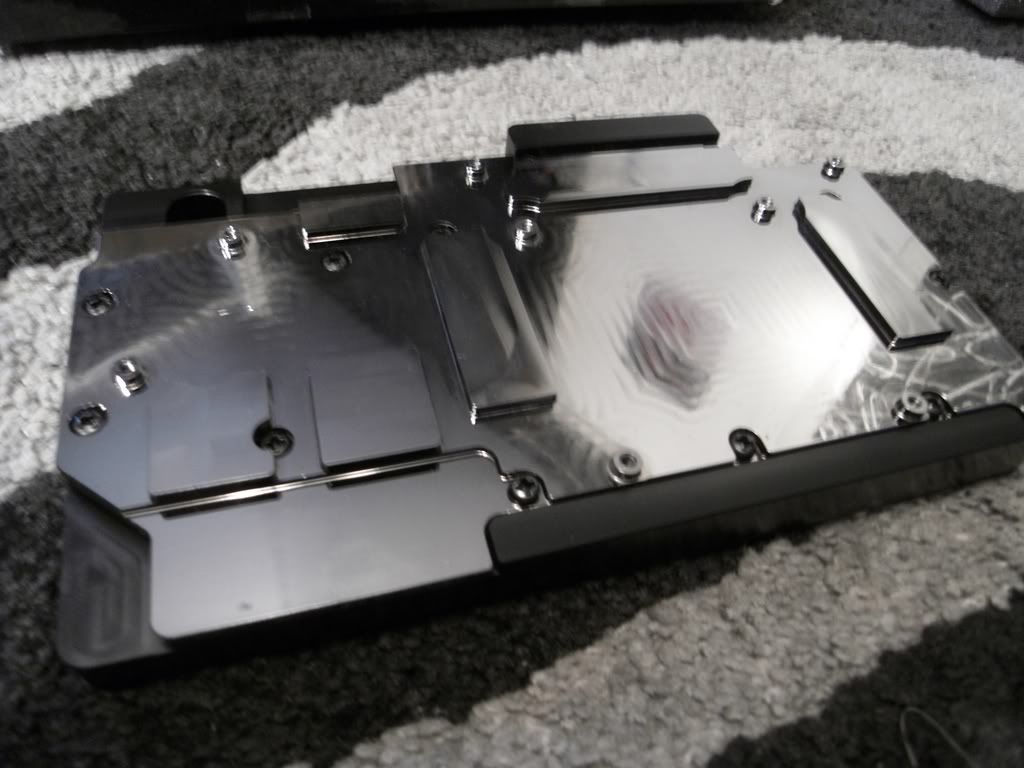
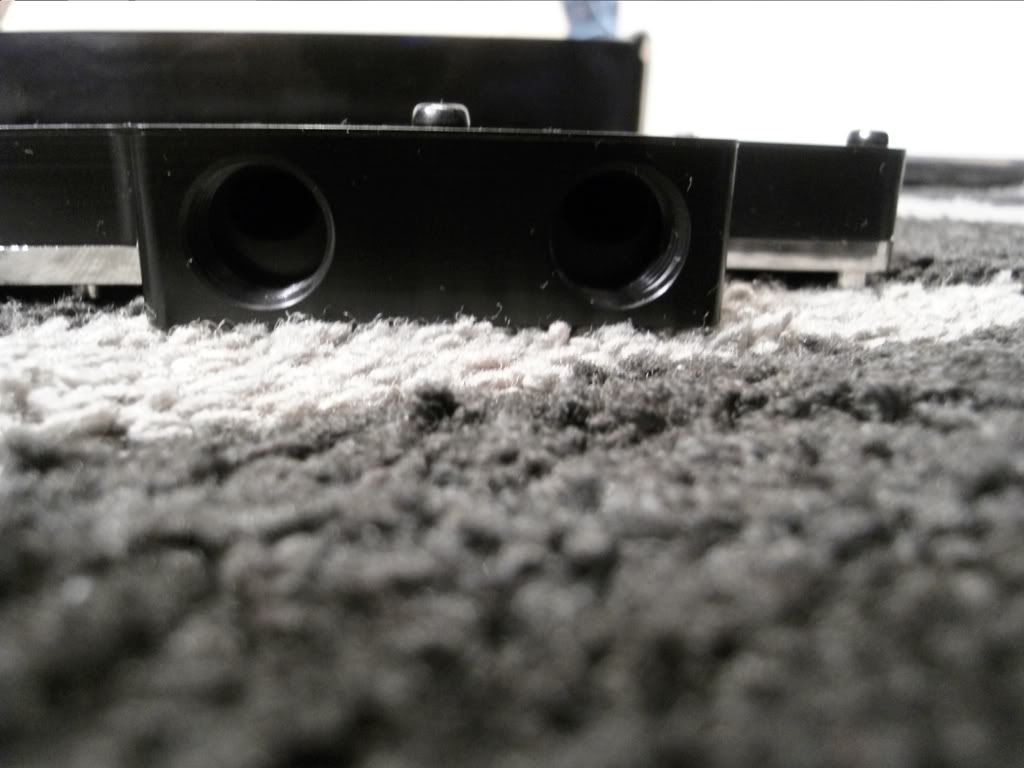
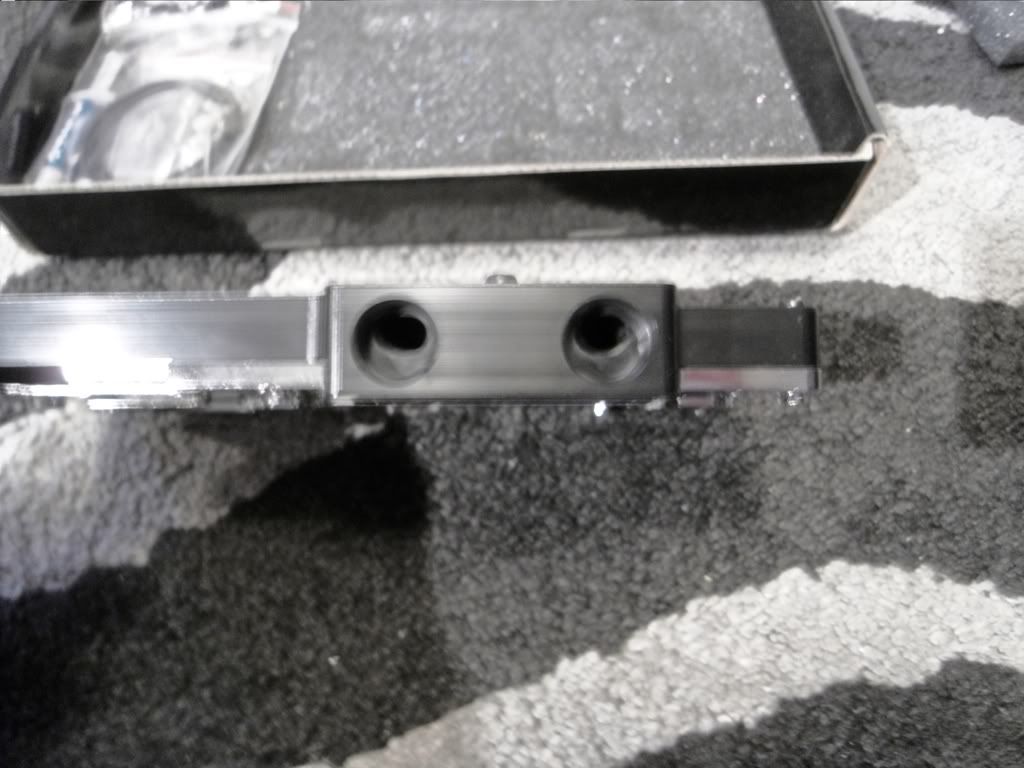
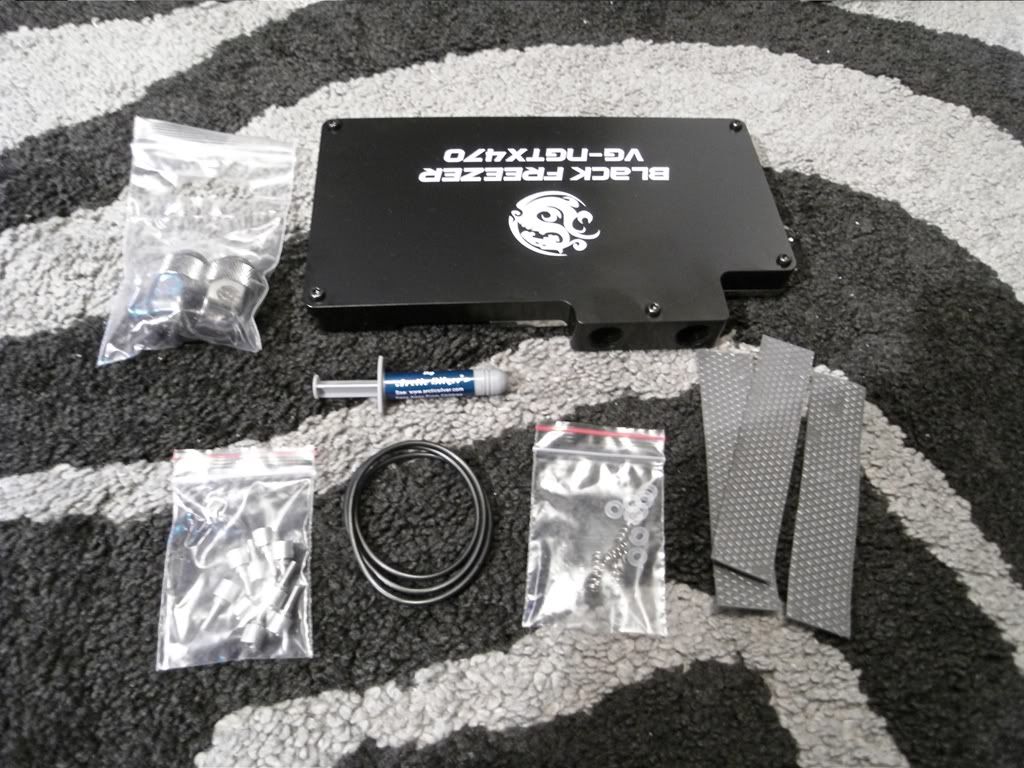
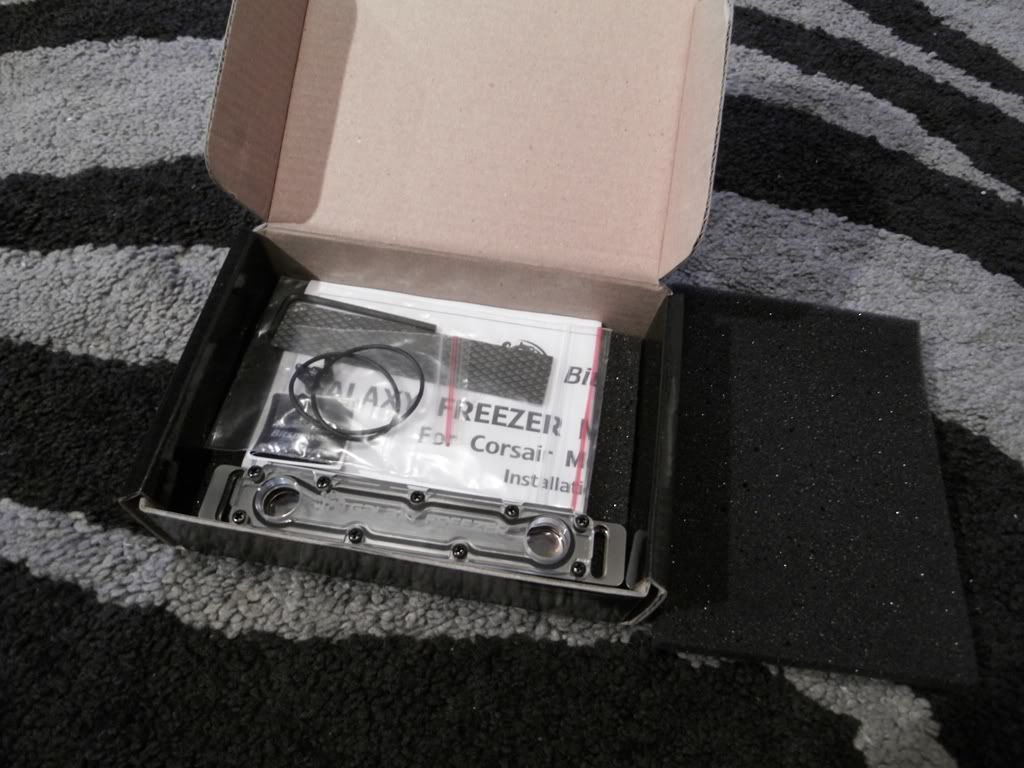
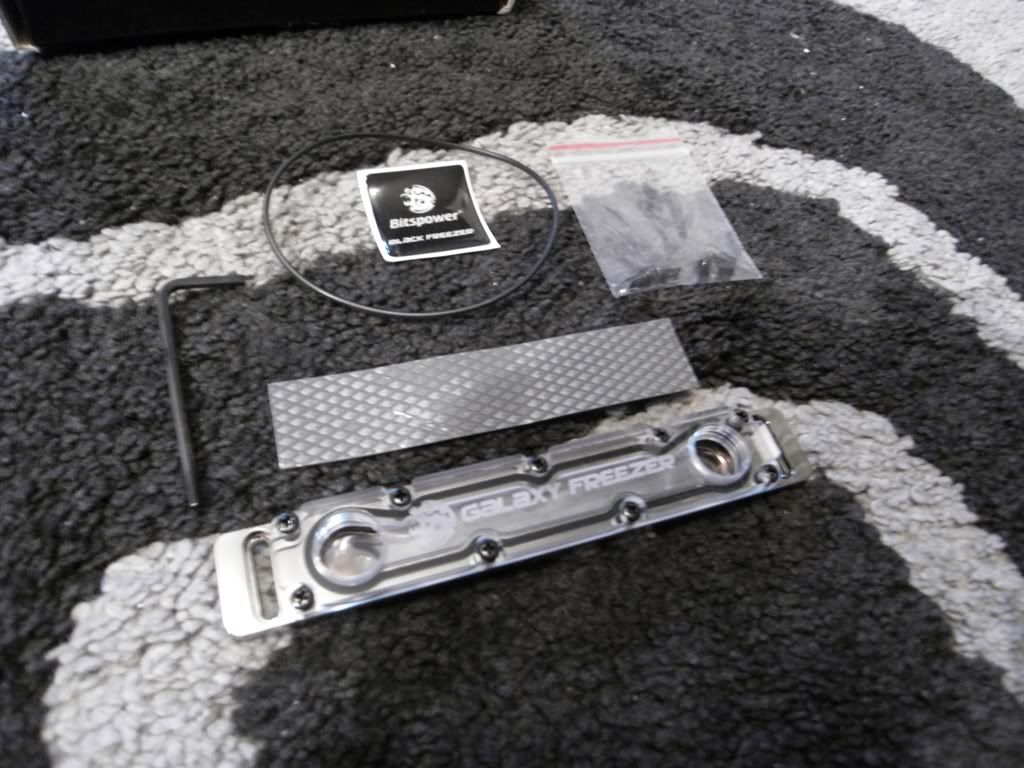
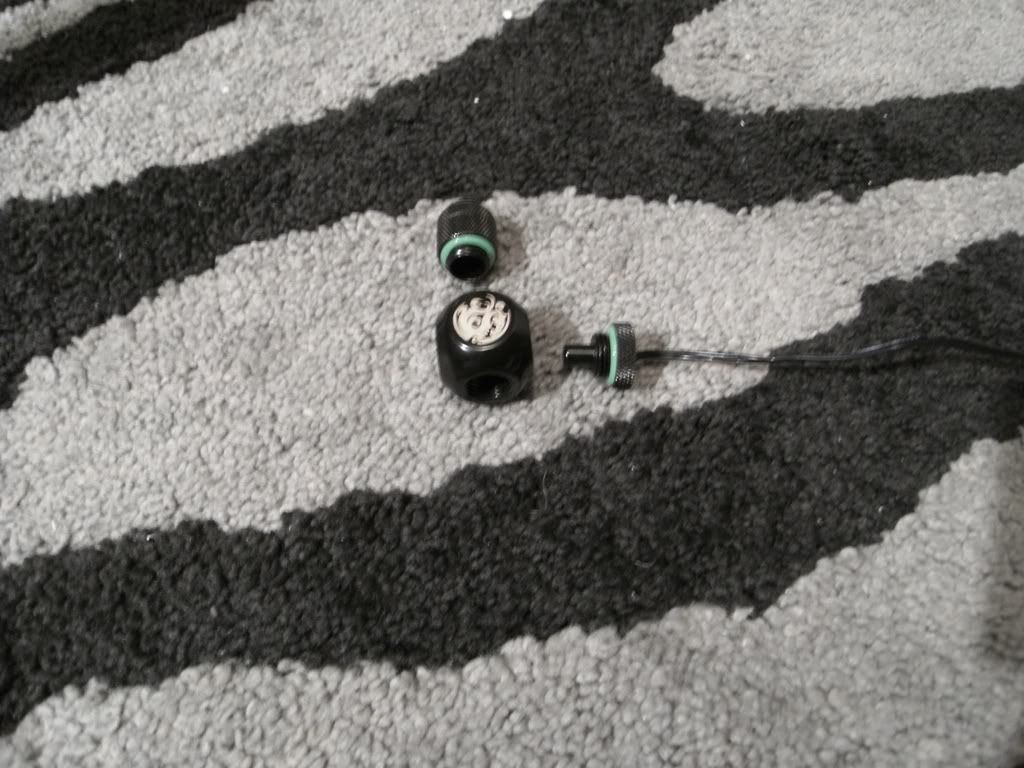
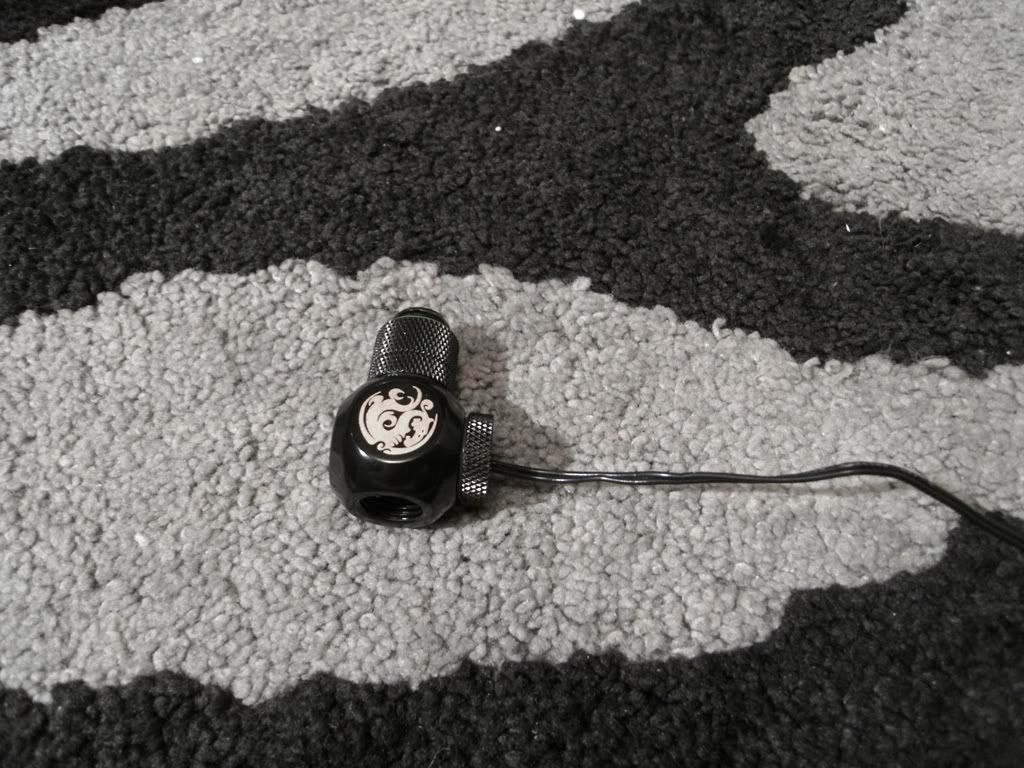
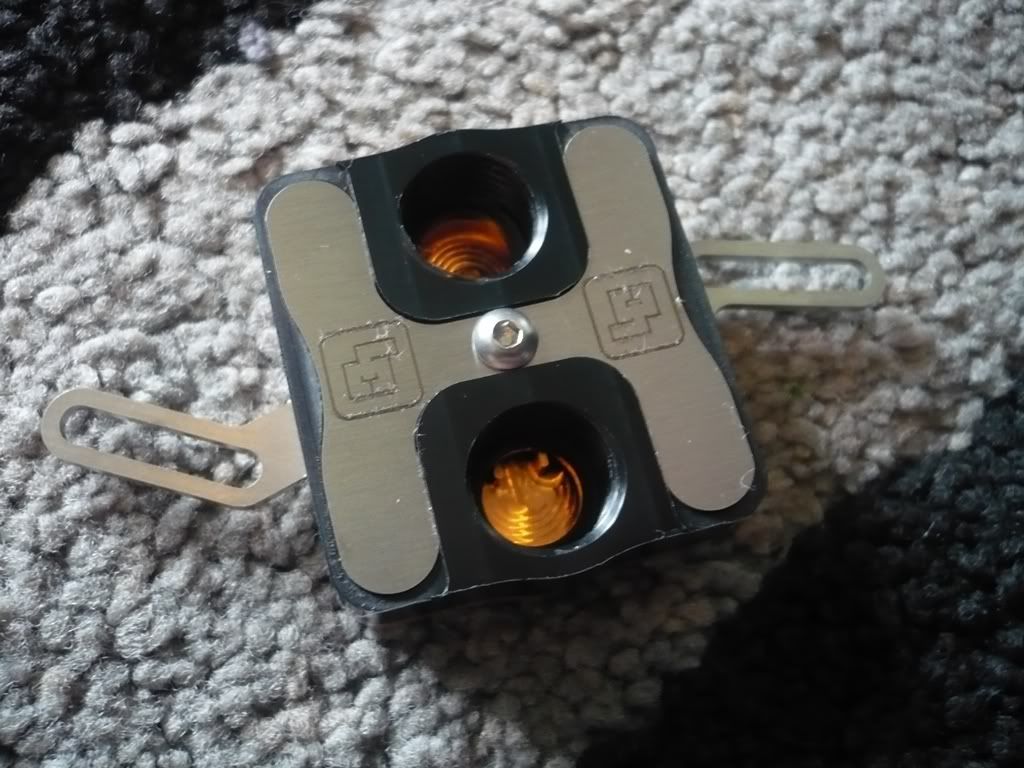
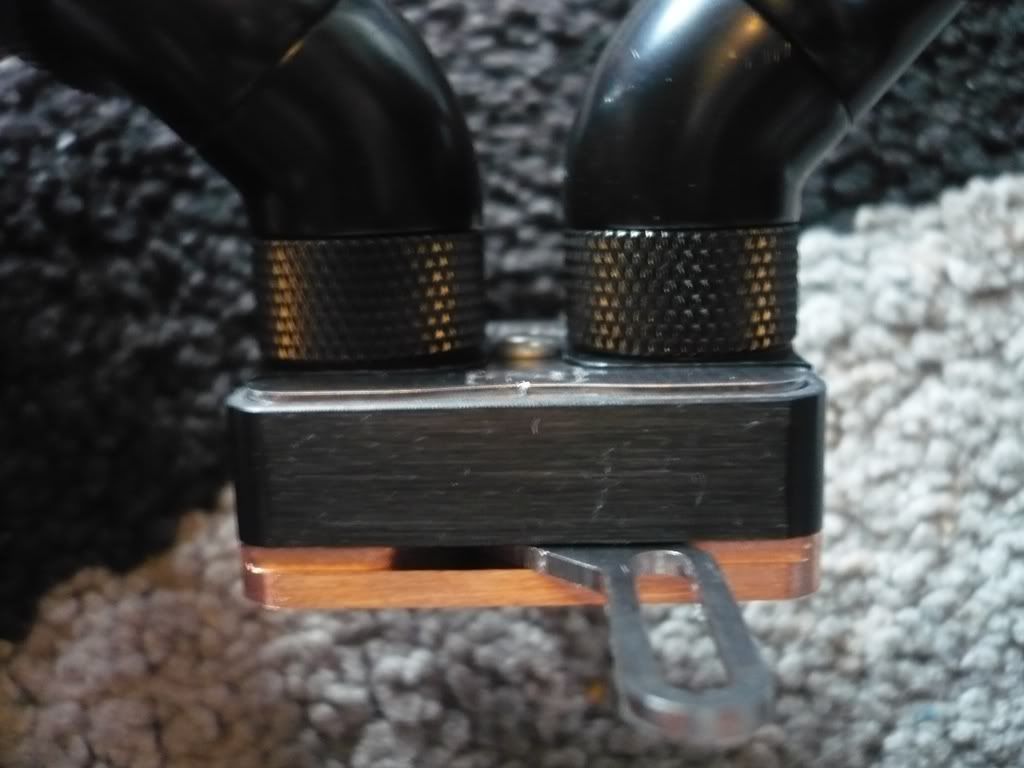
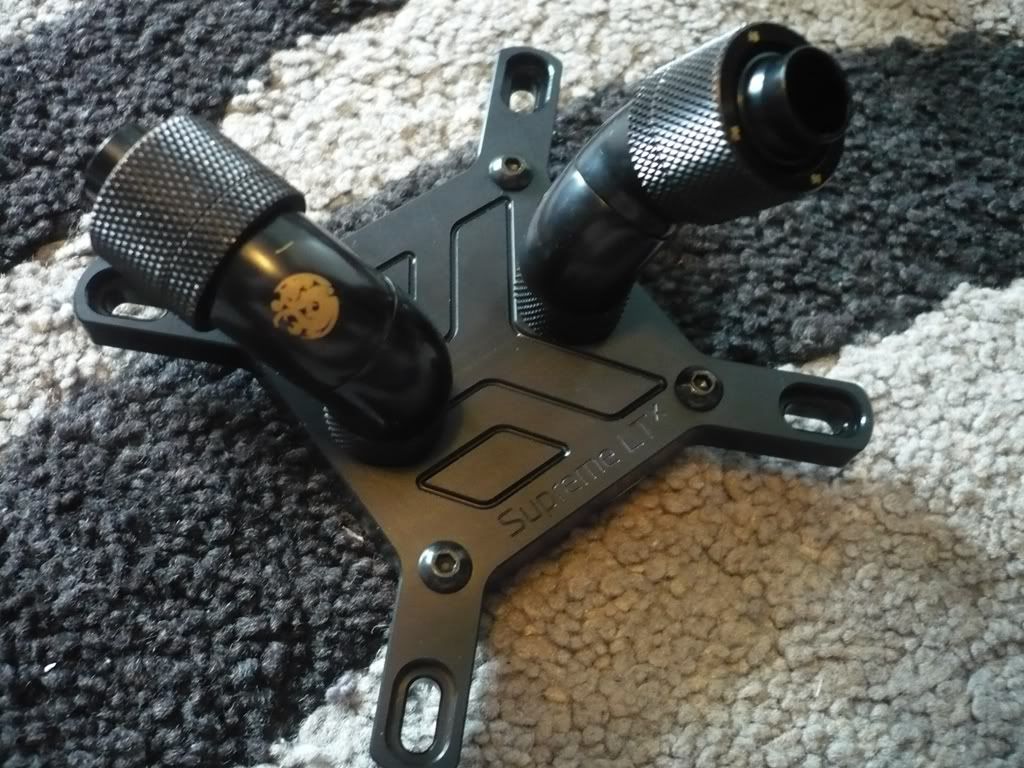
Oh man those Bitspower blocks are sexy! iWant please!
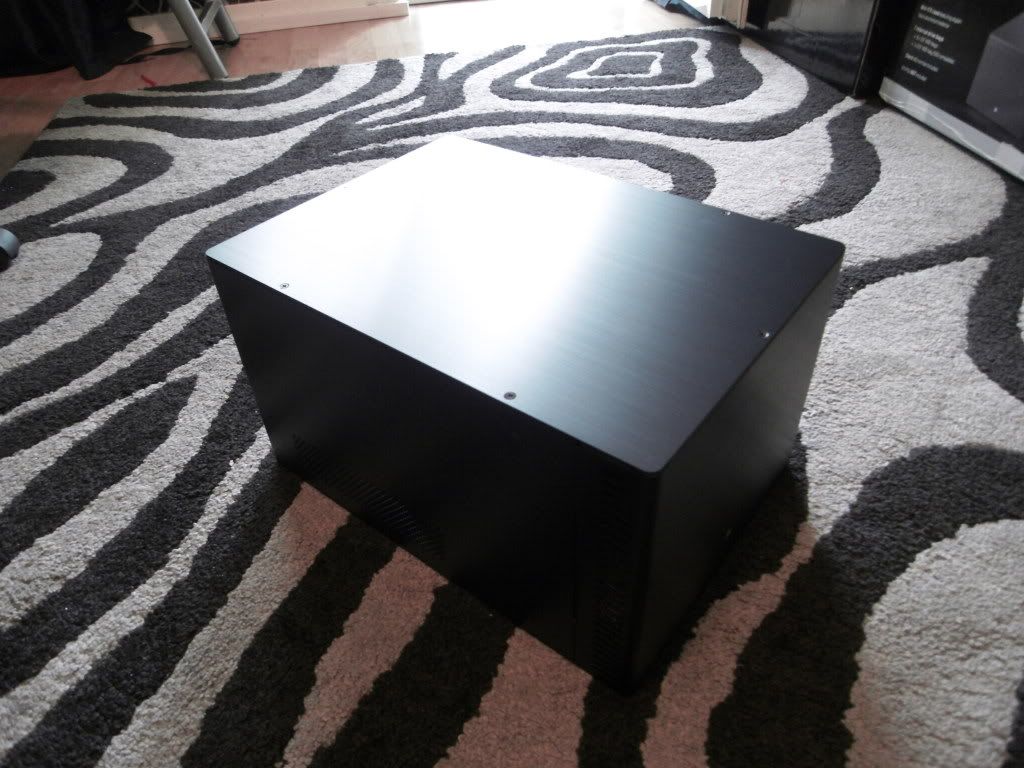
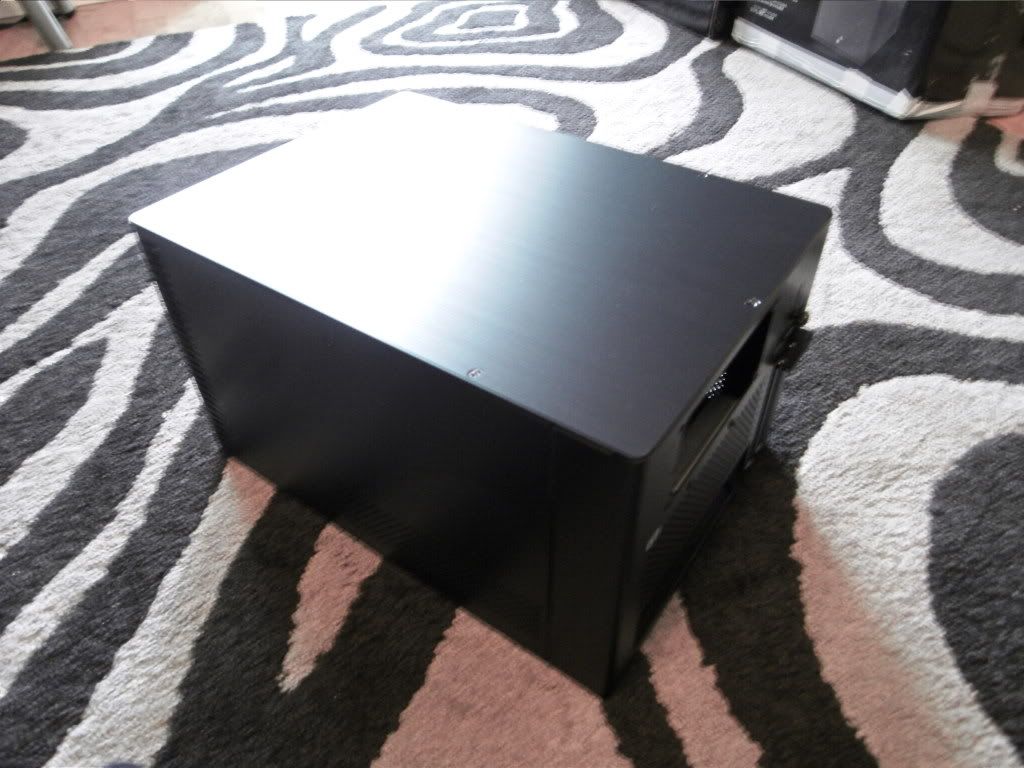
I'm loving the simplicity of the case.
Love the nylon braided cord,
I've been looking for ages for a braid like that as it's the closest I can see to the stuff Bitfenix use.
Never thought of using paracord though. I take it you just pull the fibres out from the inside?
Anyone know of a UK distributer for this stuff,
Love the nylon braided cord,
I've been looking for ages for a braid like that as it's the closest I can see to the stuff Bitfenix use.
Never thought of using paracord though. I take it you just pull the fibres out from the inside?
Anyone know of a UK distributer for this stuff,


Awfully small case there, mate! Hope it turns out the way you want it instead of cramped, hot and noisy. You're doing wonderful so far! Not many brown-based builds around
I've been reading up on this idea as well, and on another forum got some help.
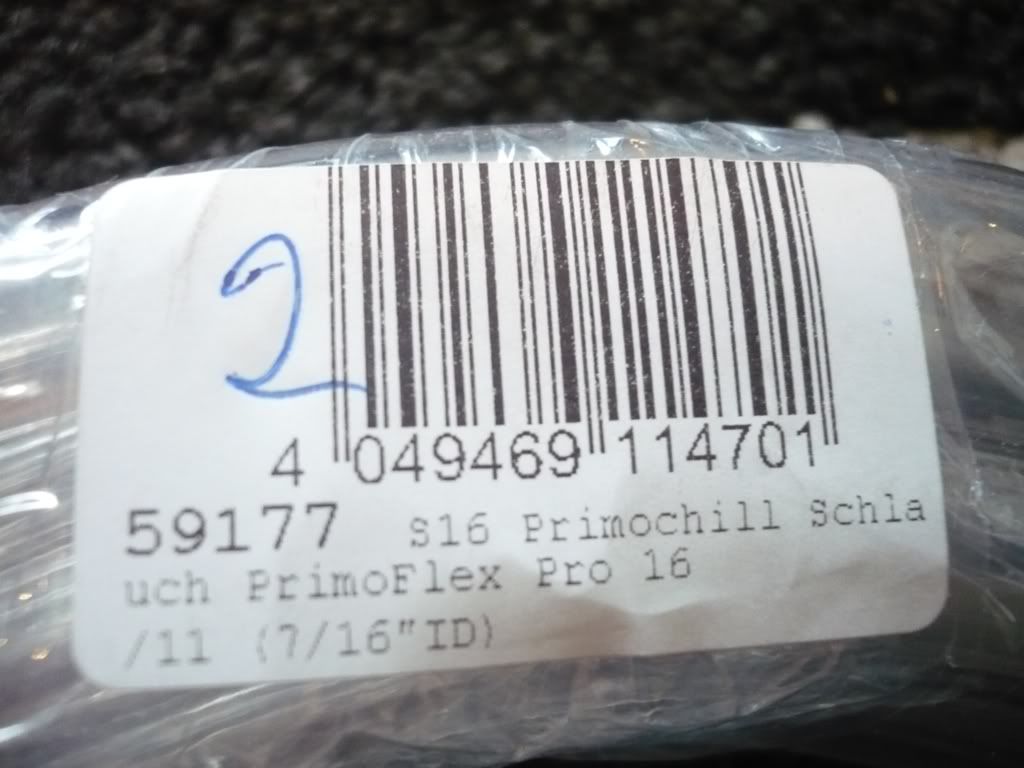
I was suggested this site for the paracord, and just the standard 4.5mm 3:1 ratio heatshrink.


Looks great so far. One question, how did you get sponsored?
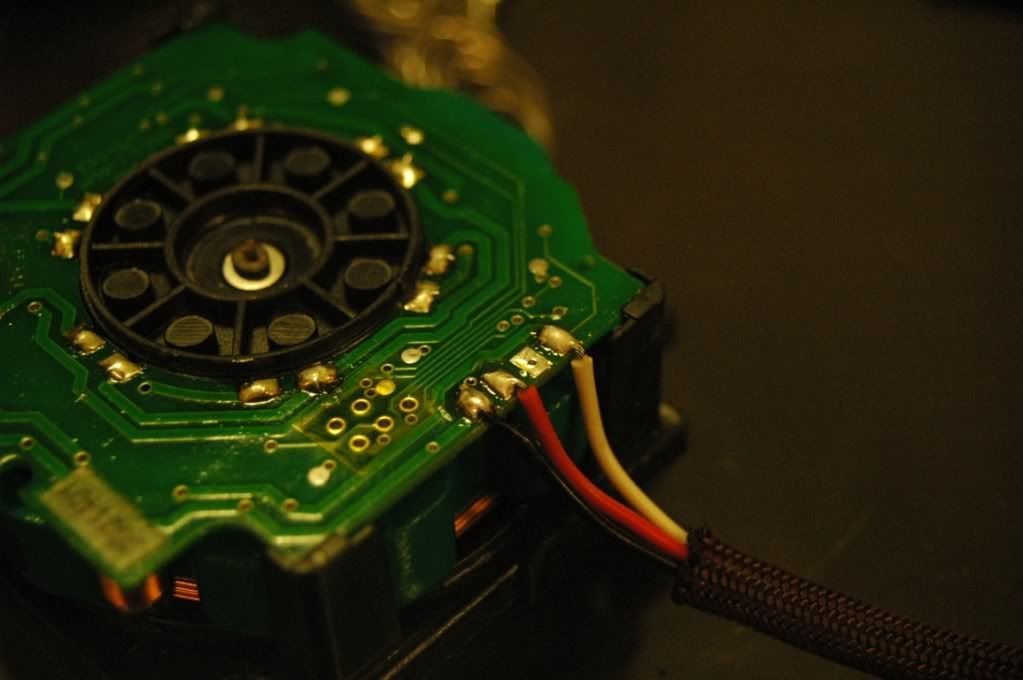
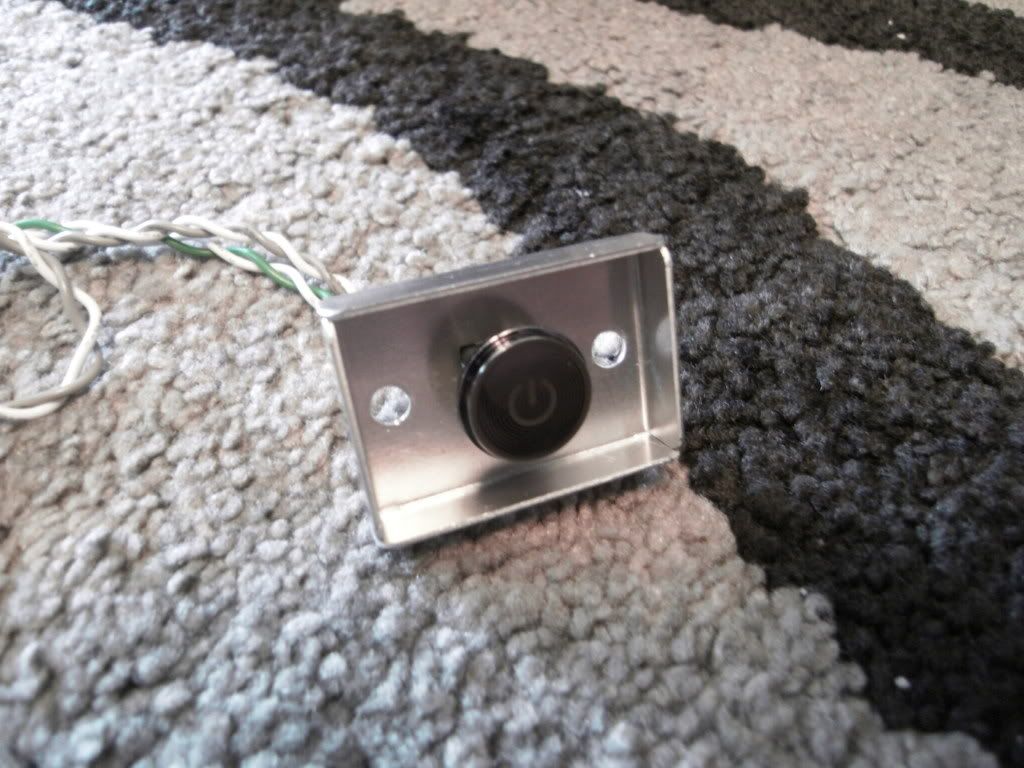
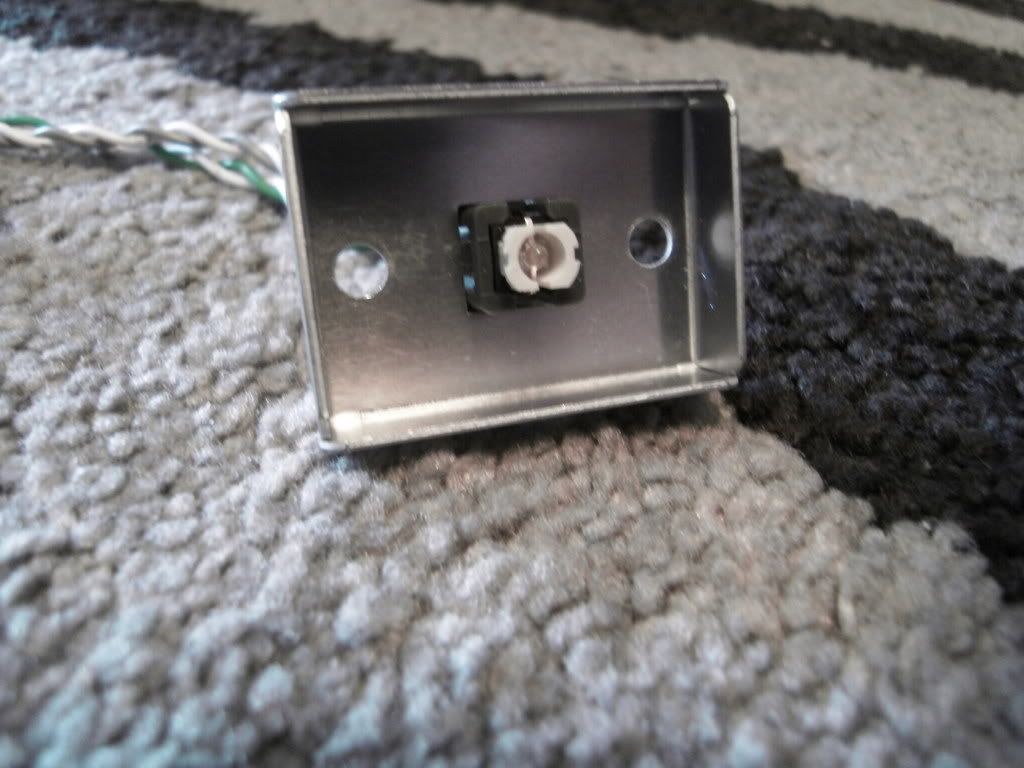
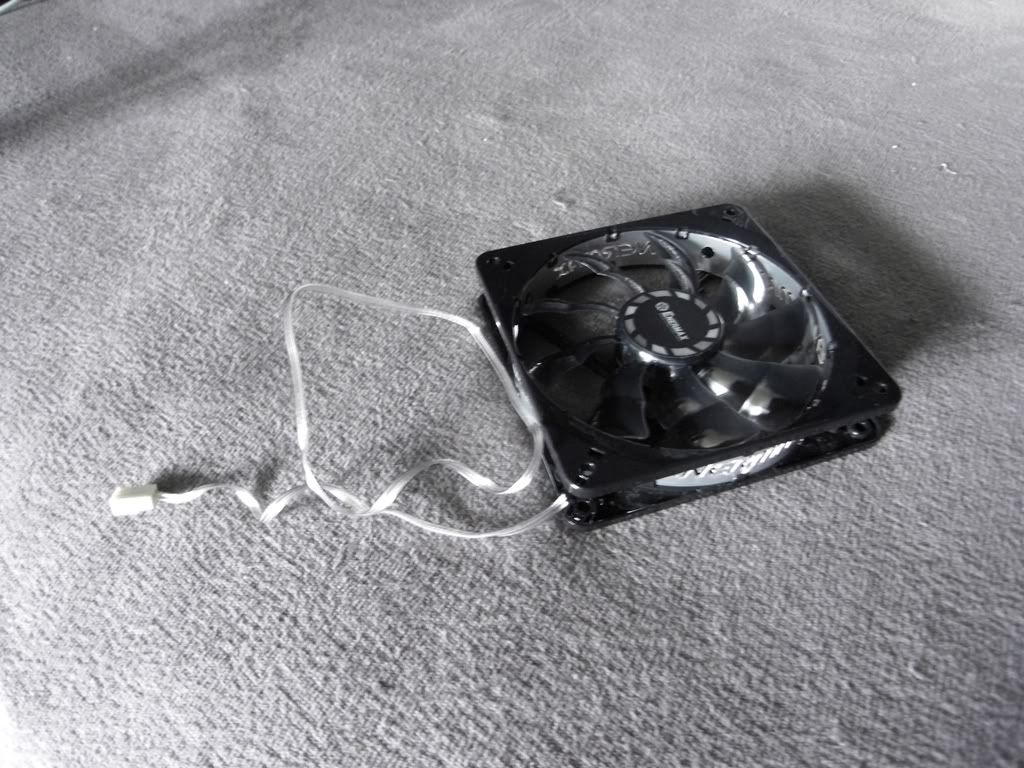
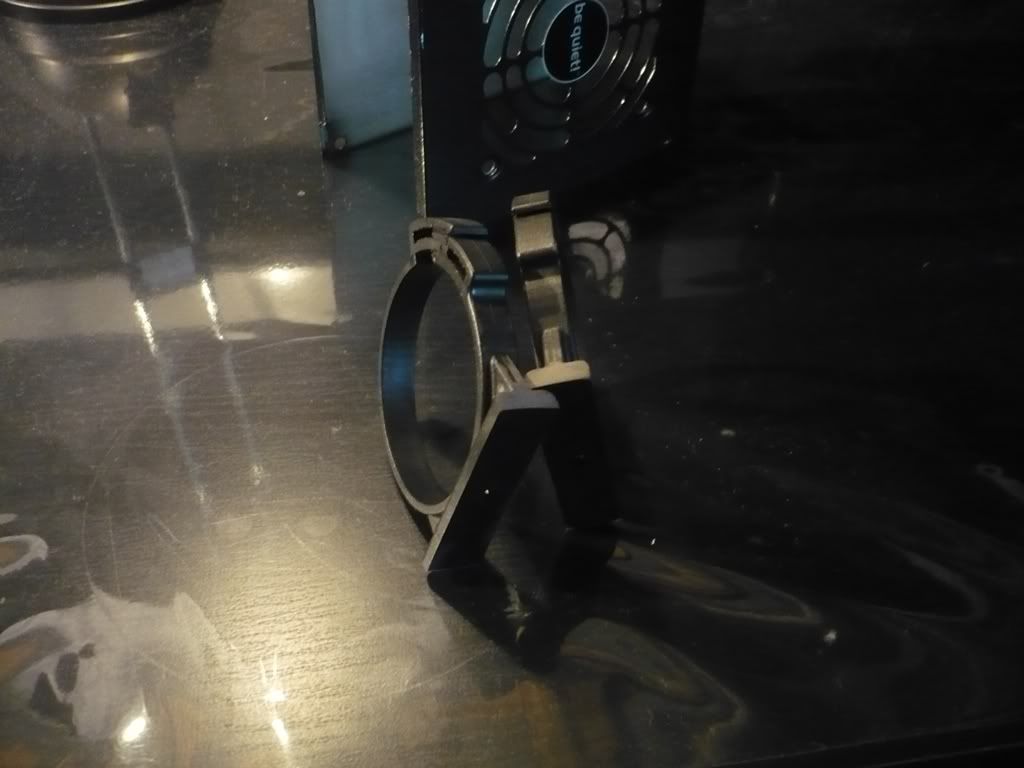
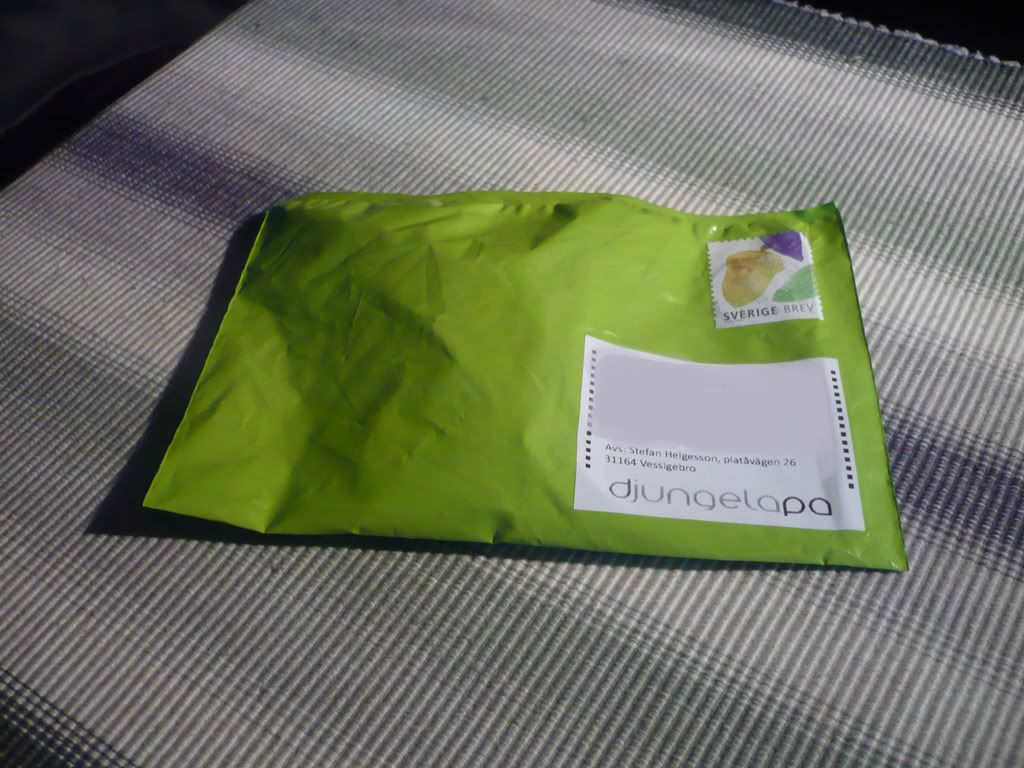
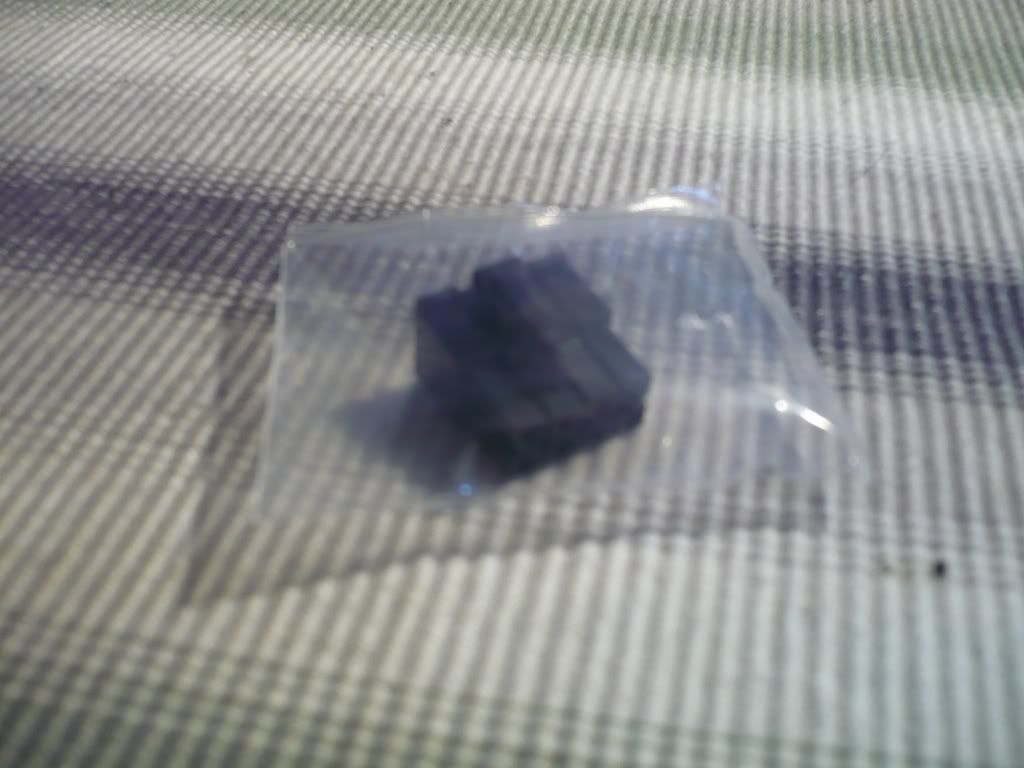
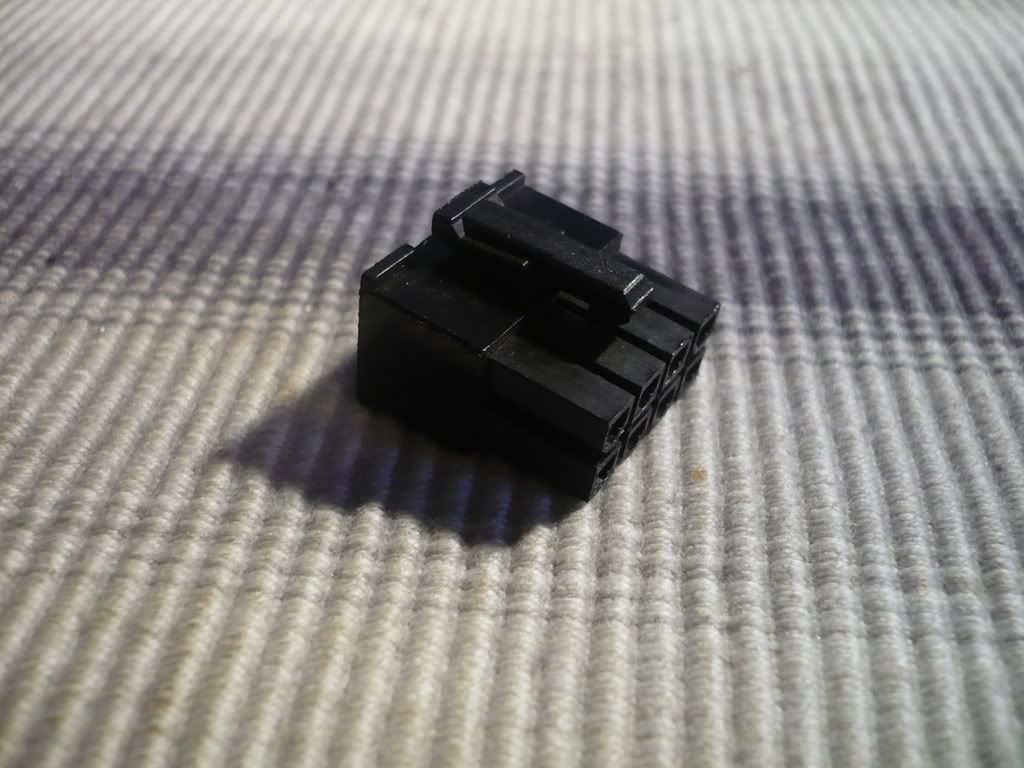
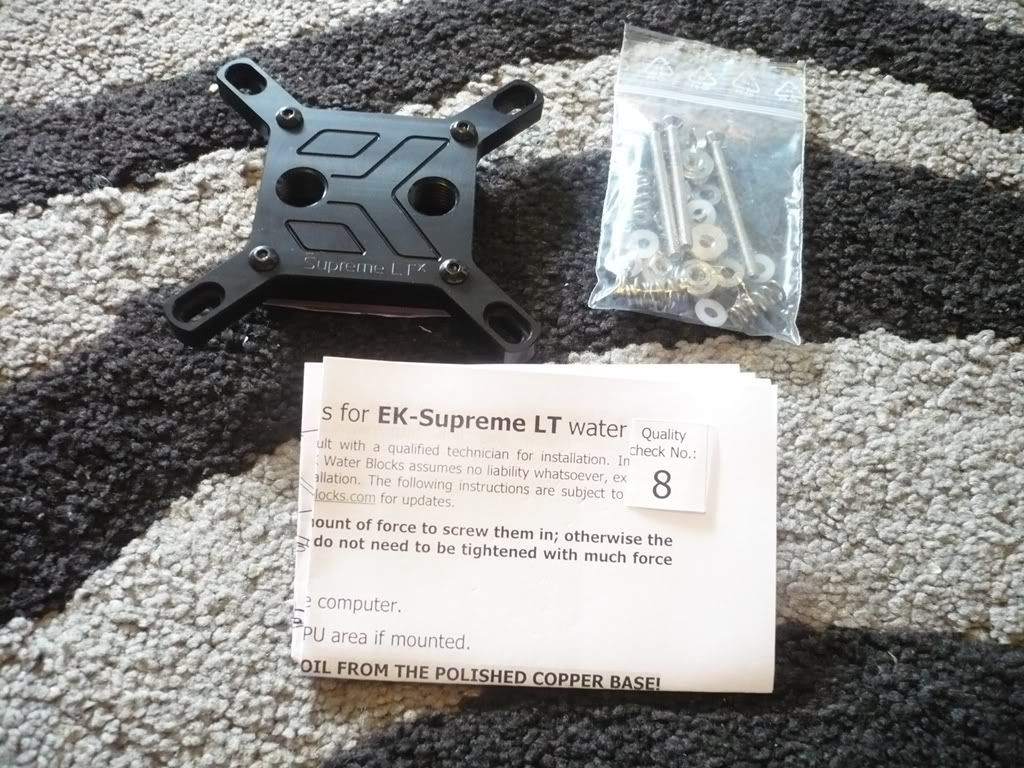
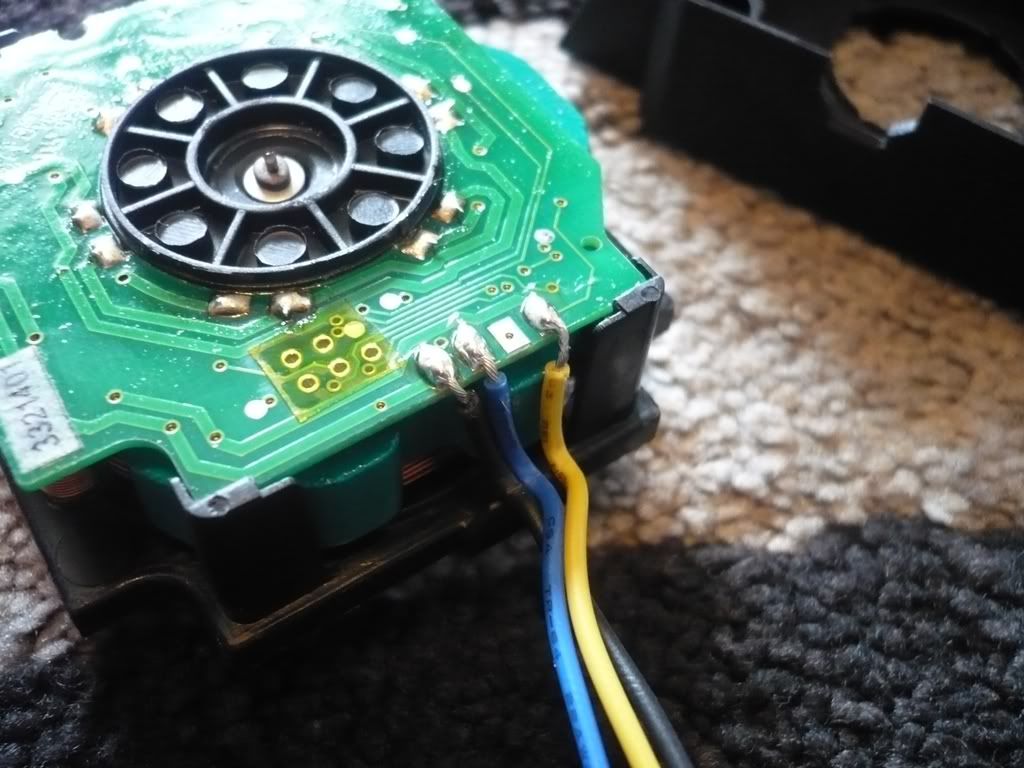
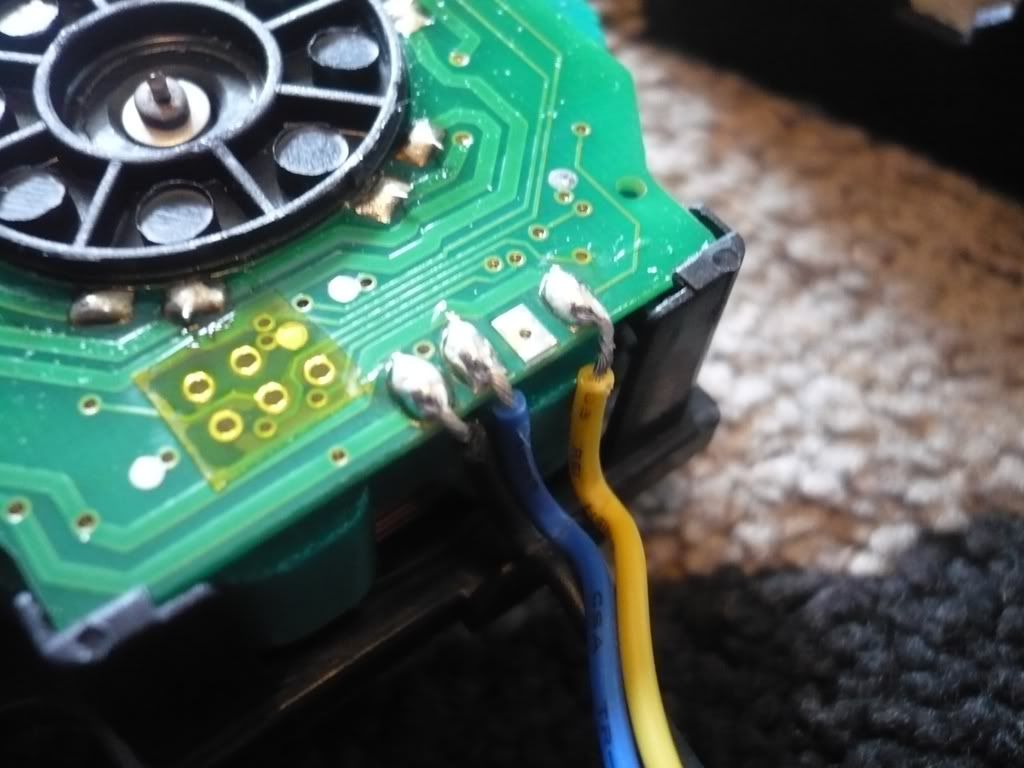
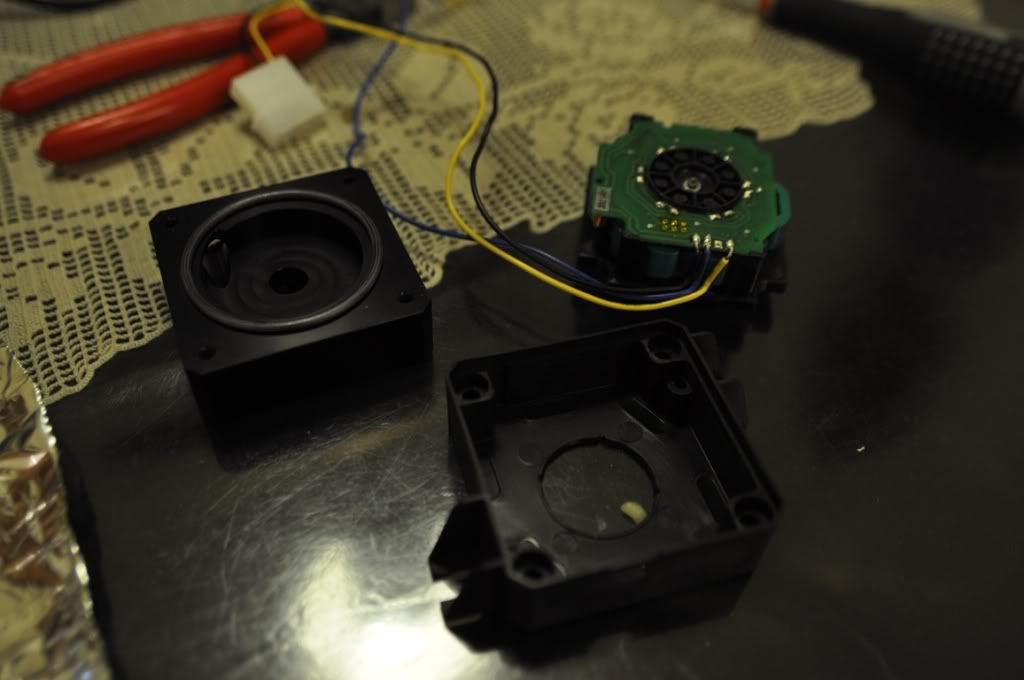
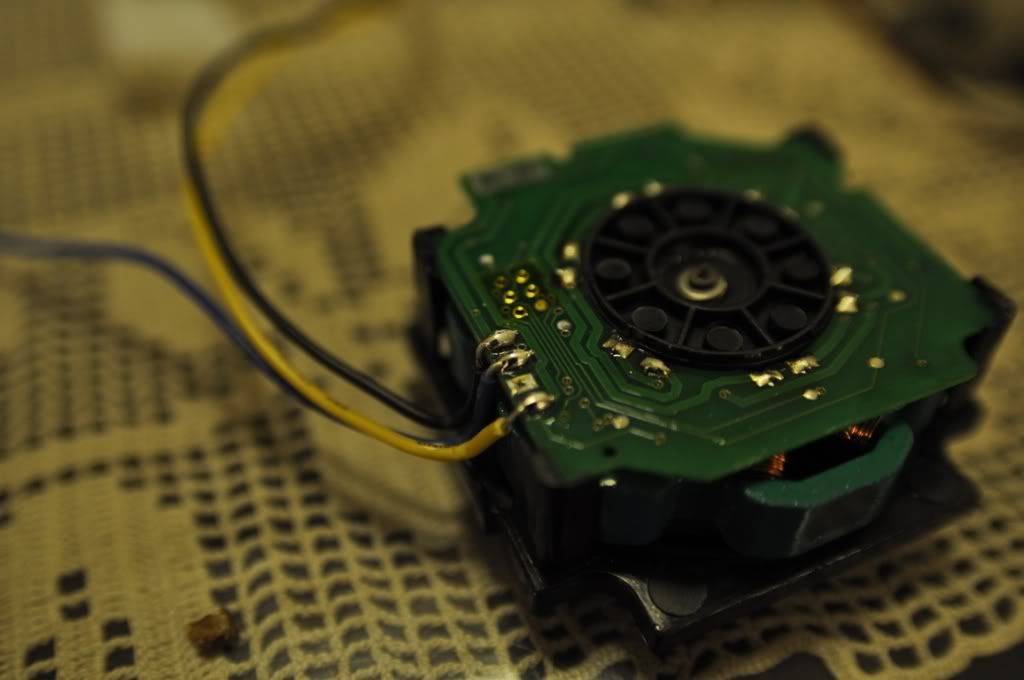
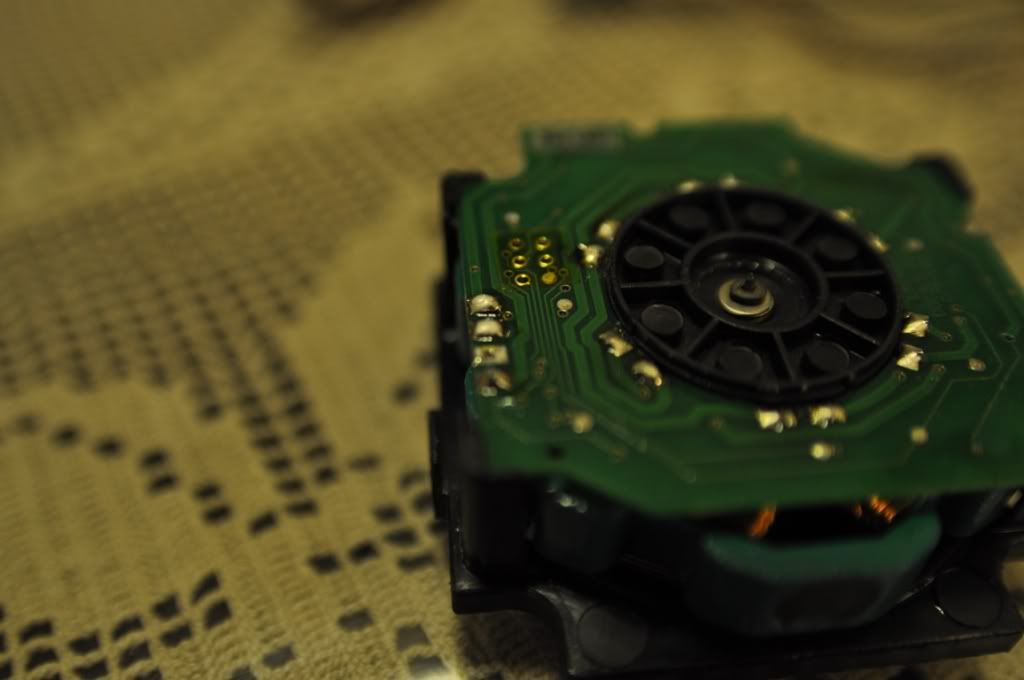
, got a 8pin CPU connector out of Stefan, which I needed to get everything ready for that matter, the last thing to do at PSU will be to attach the sata connectors and solder back the fan and I'm ready to go for that matter, I must not forget to apply some thermal compound on the one cooler before fitting out of resentment when it needs it !
 !
! 
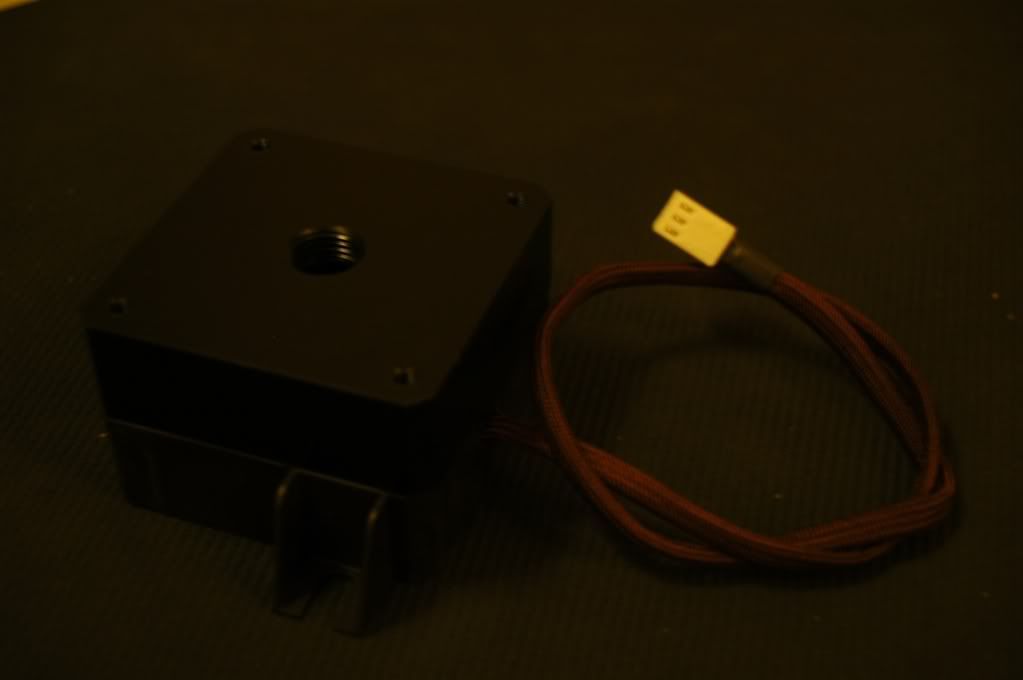
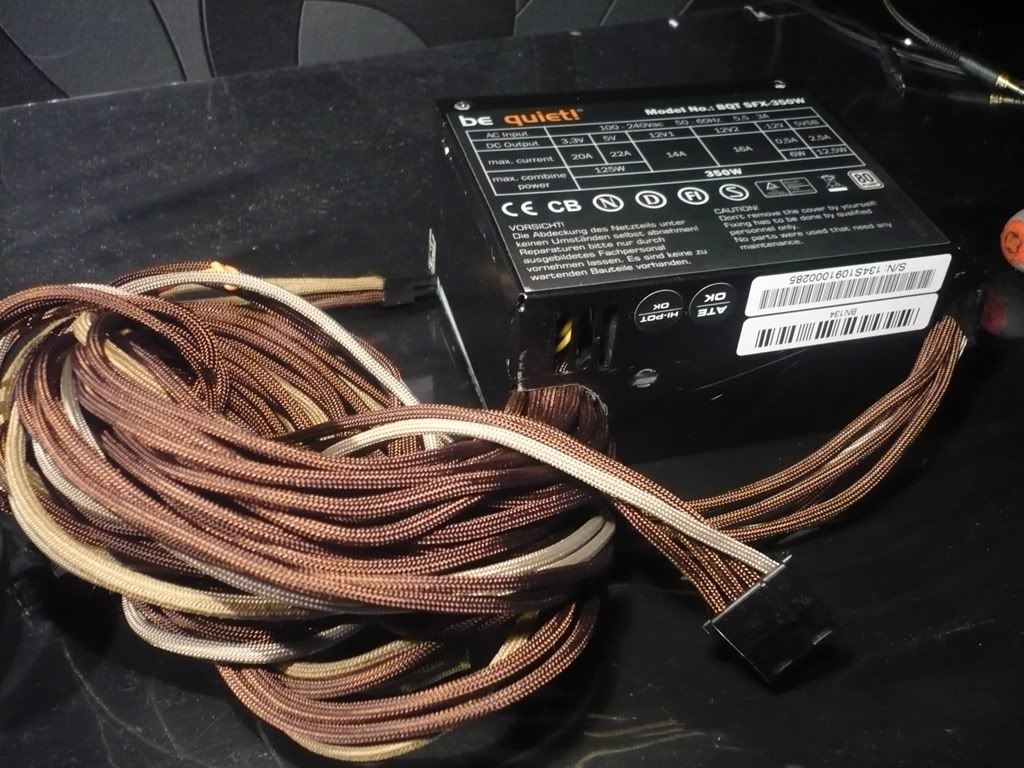 , the PSU will probably turn brown painted


 !
!


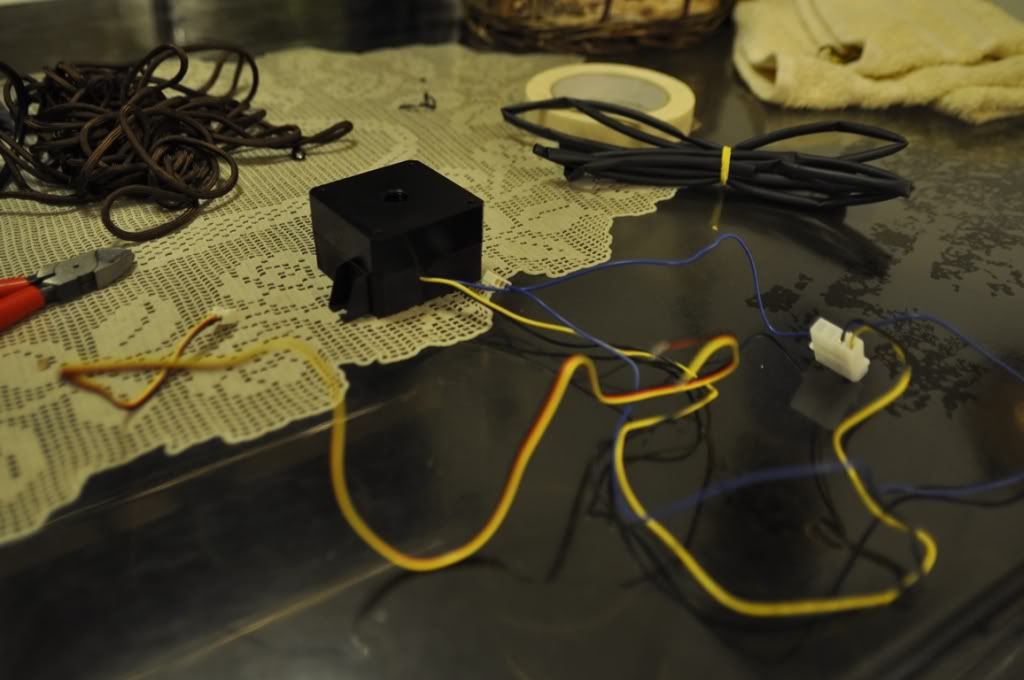
 , this is my technique at Sleeving with Paracord!