magicc8ball
New member
Hey OC3D this is my first build log and truly the first time I have modded a case. So any thoughts would be greatly appreciated

Build Components:
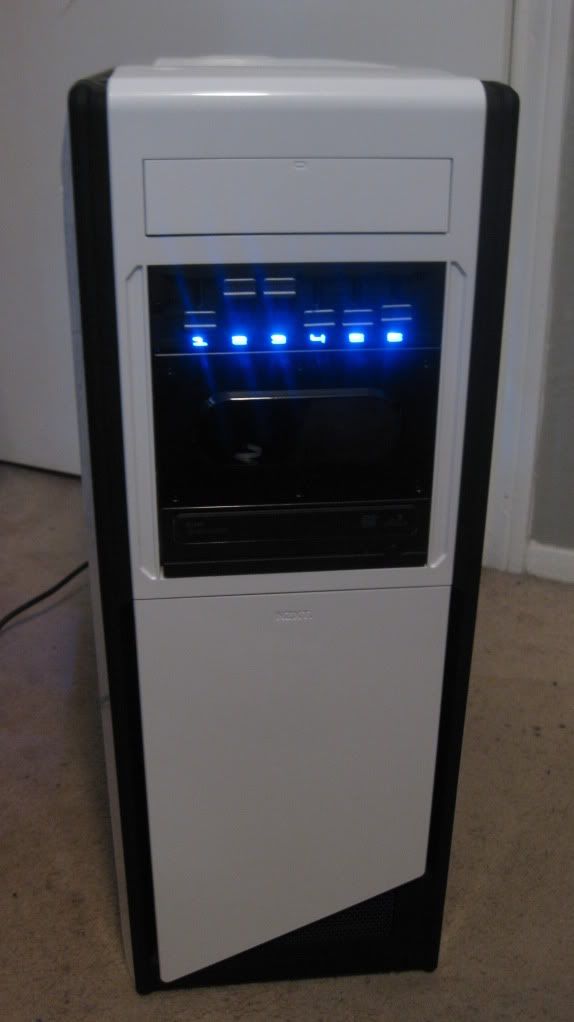
Case: NZXT Switch 810 White
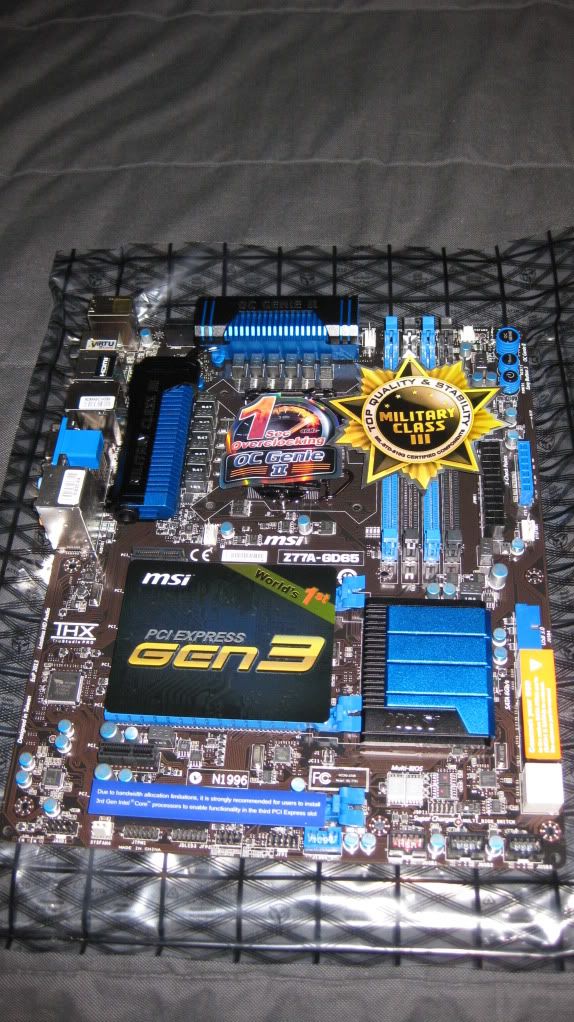
Motherboard: MSI Z77A GD65
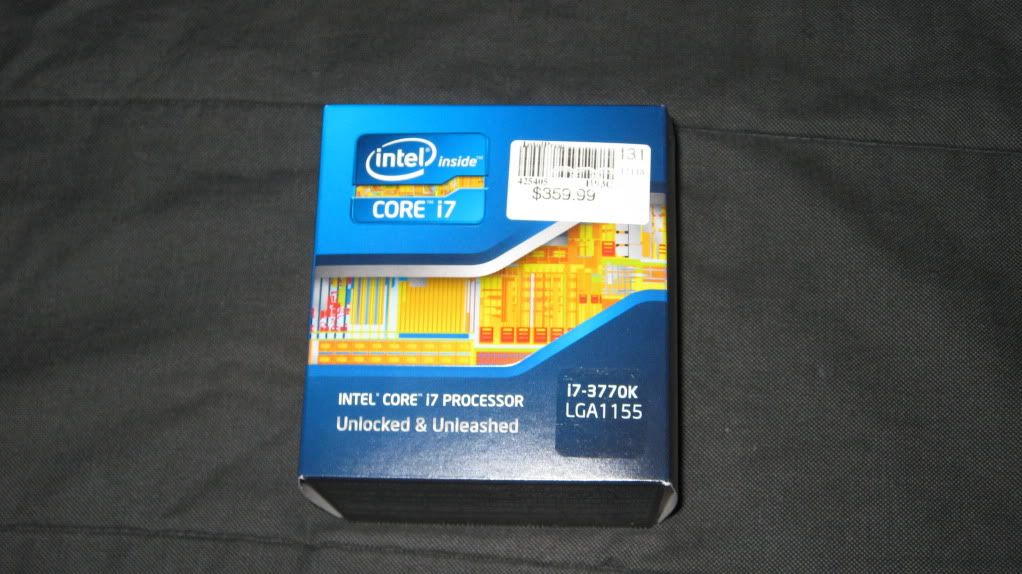
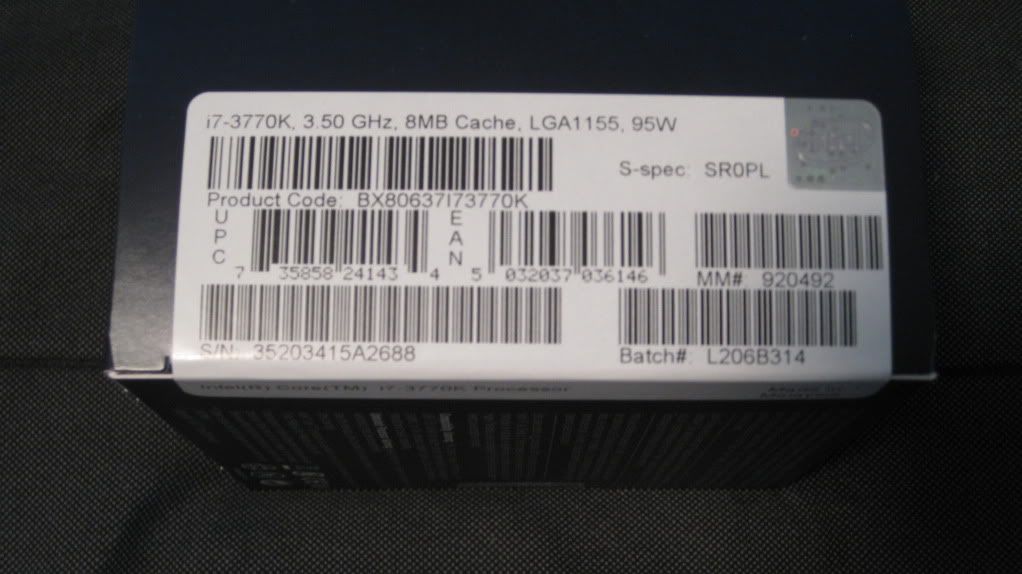
CPU: Intel 3770k
GPU: MSI 7970 Lightning
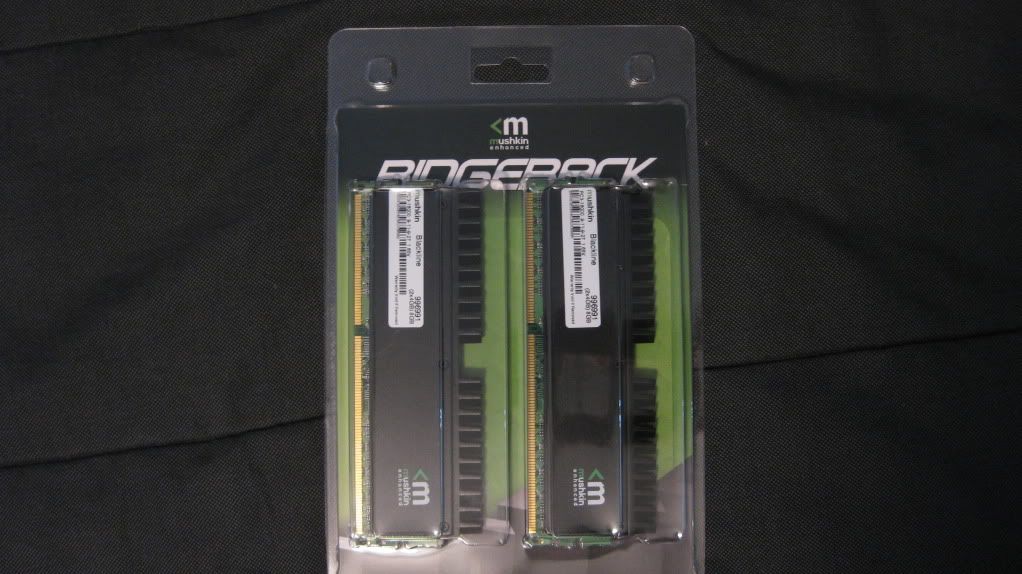
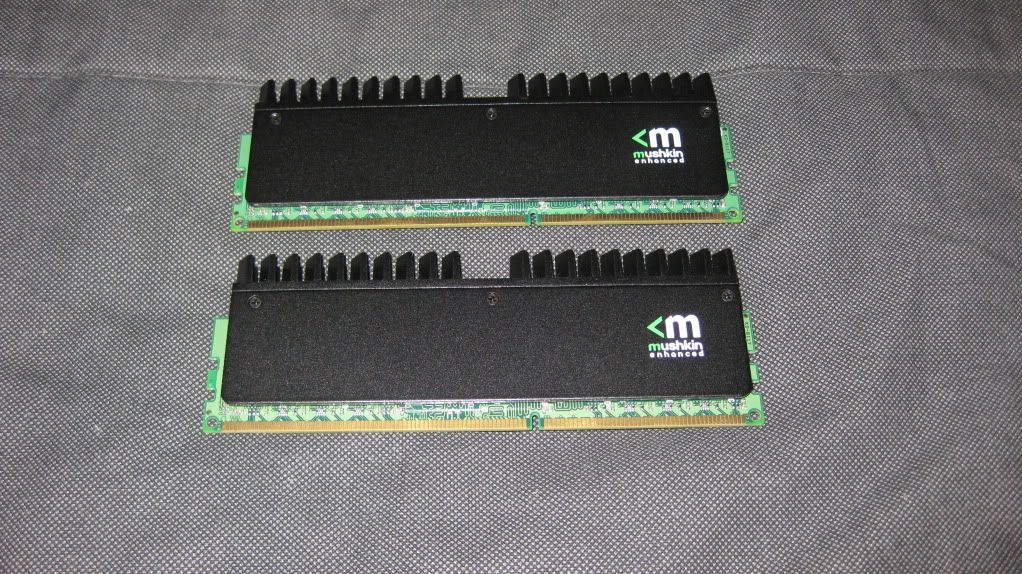
Memory: Mushkin Enhanced Ridgeback 8gb 2000mhz
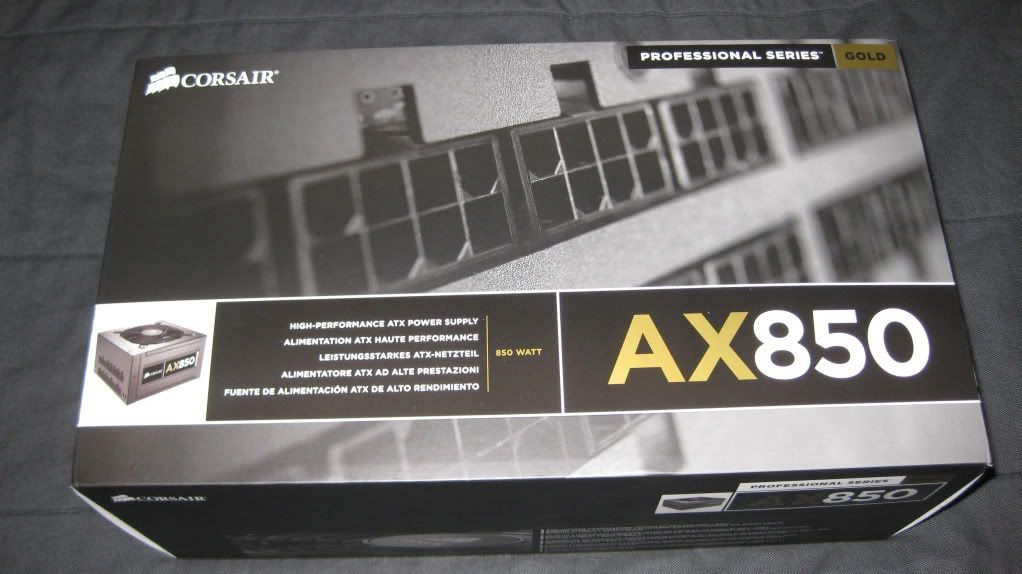
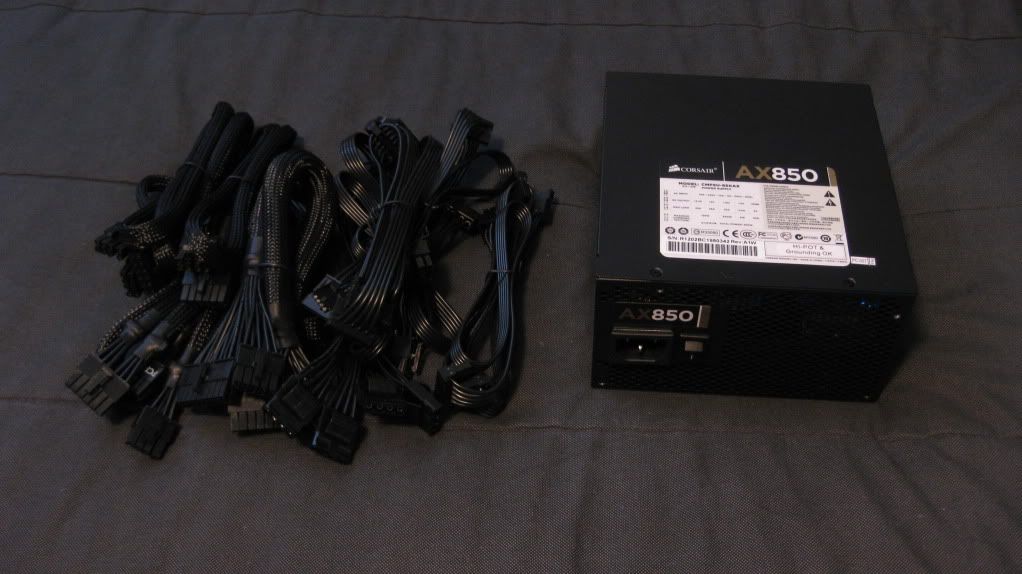
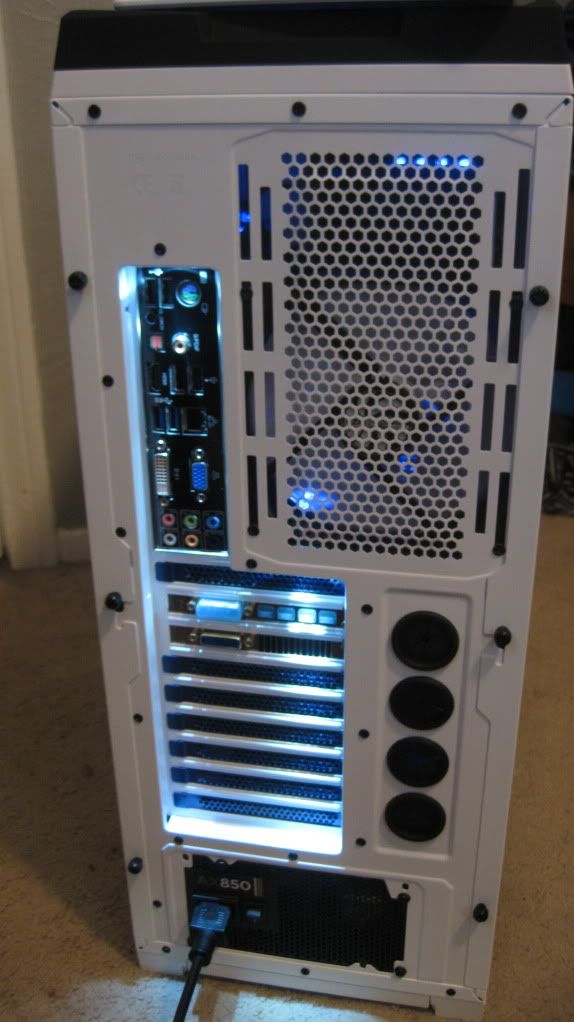
PSU: Corsair AX850
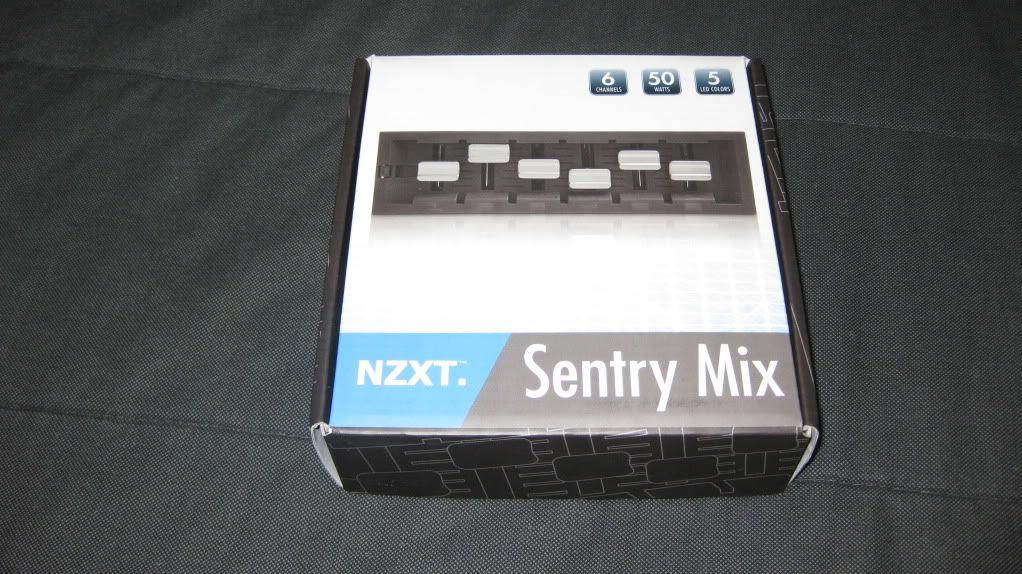
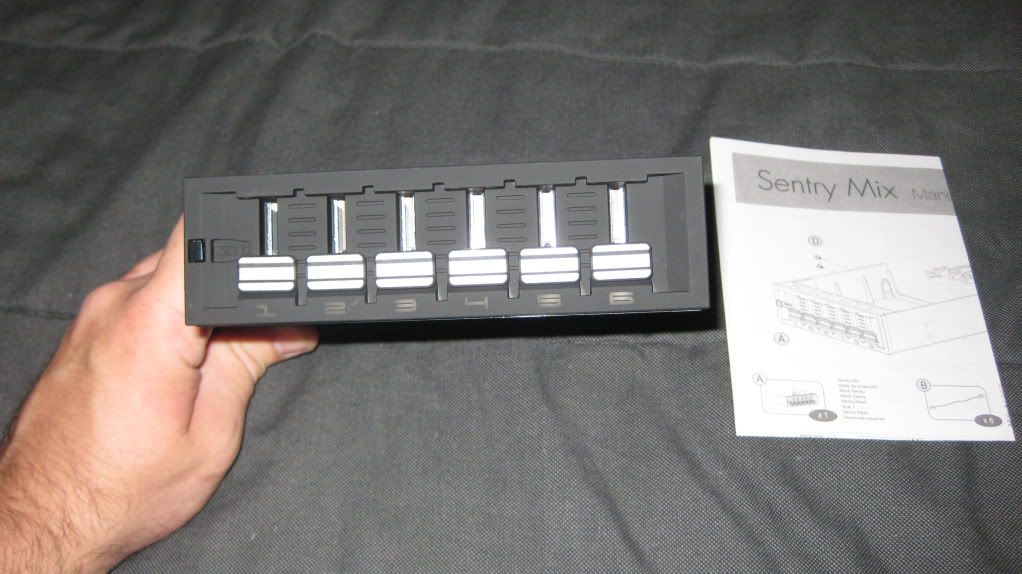
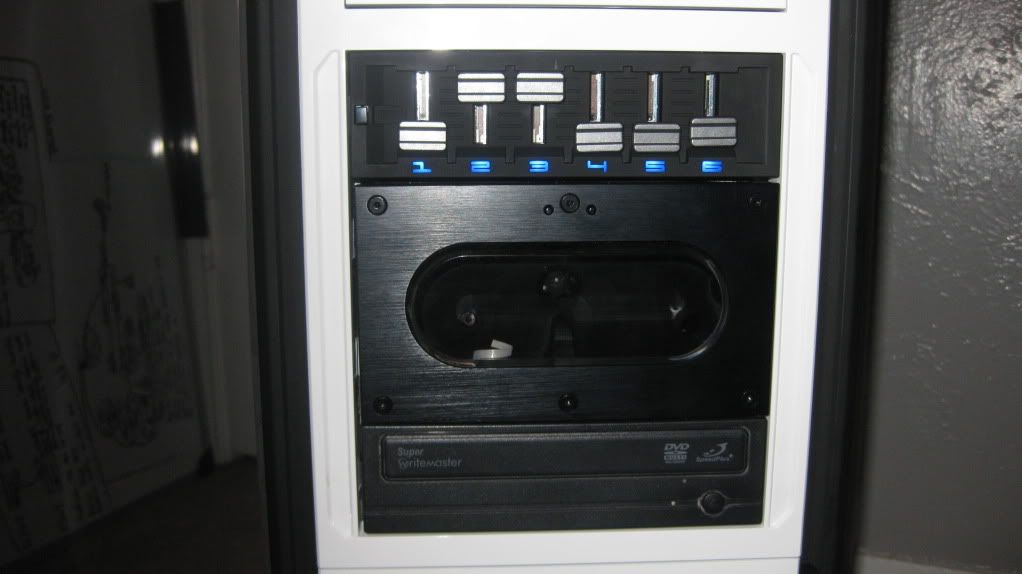
Fan Controller: NZXT Sentry Mix
SSD: 2 Corsair Force Gt 120 gig in raid 0
HDD: 1 1tb Seagate Barracuda Sata2
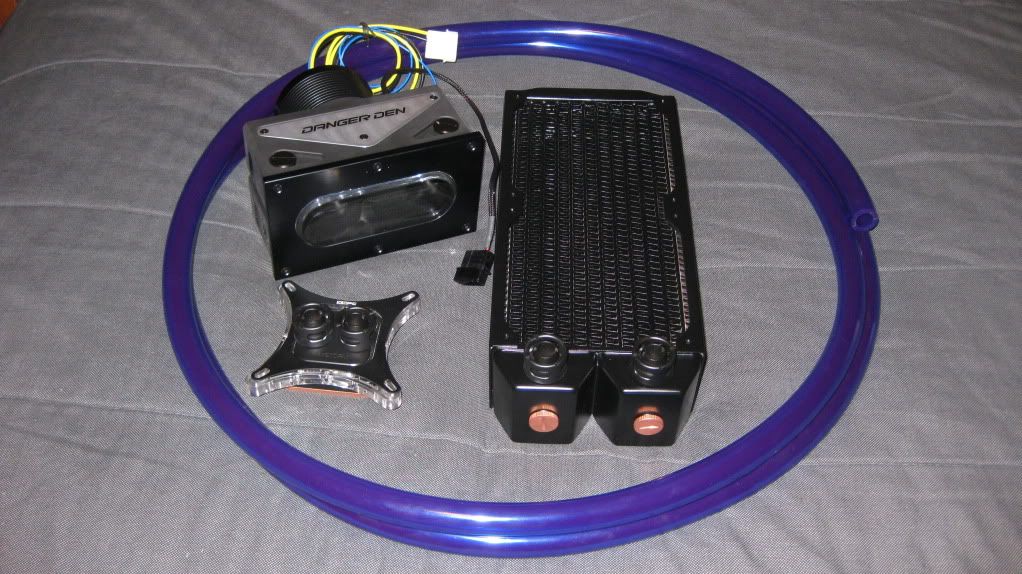
Water Loop:
CPU WB: XSPC Raystorm
Radiator: Alphacool 240mm UT60
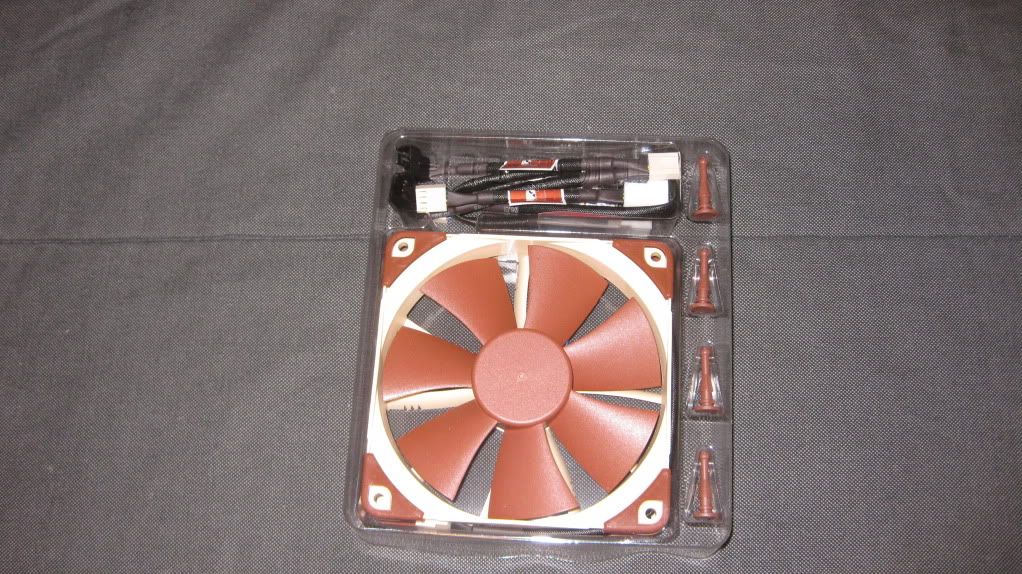
Fans: Noctua NFF 12’s
Reservoir: Danger Den Monsoon
Pump: Koolance PMP-450
Hose: Primoflex UV blue 1/2id 3/4od
Hose Fittings: Danger Den Monsoon Free center Compression
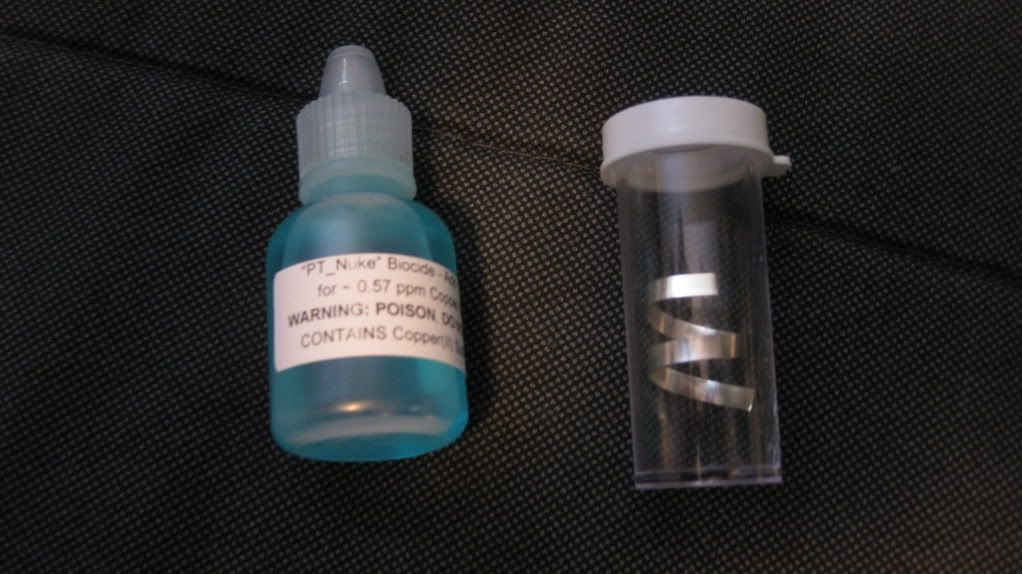
Coolant: Distilled Water, PT nuke and Silver Kill Coil
I just got everything in so time to get busy!
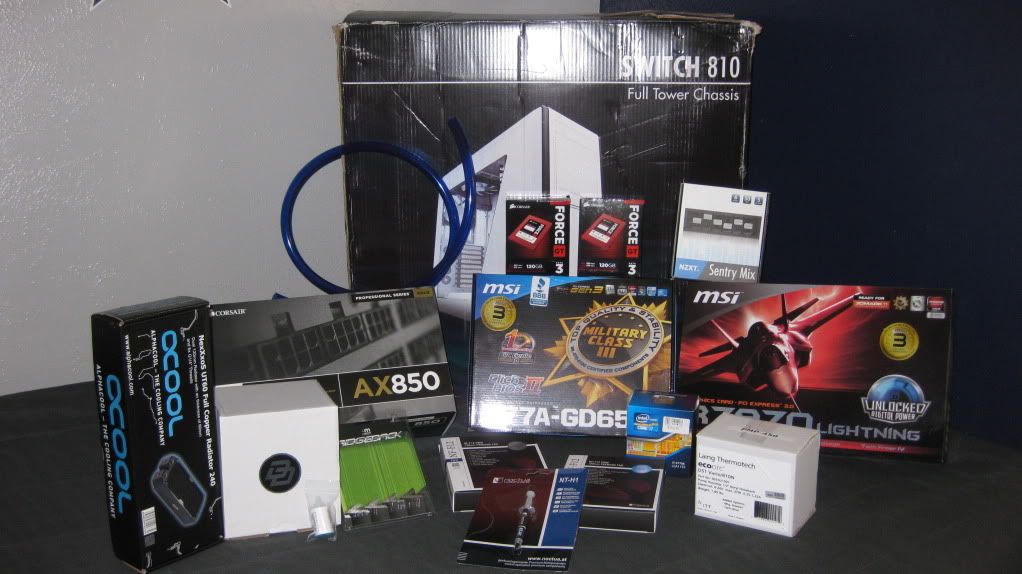
This is going to be a bad ass build if you ask me

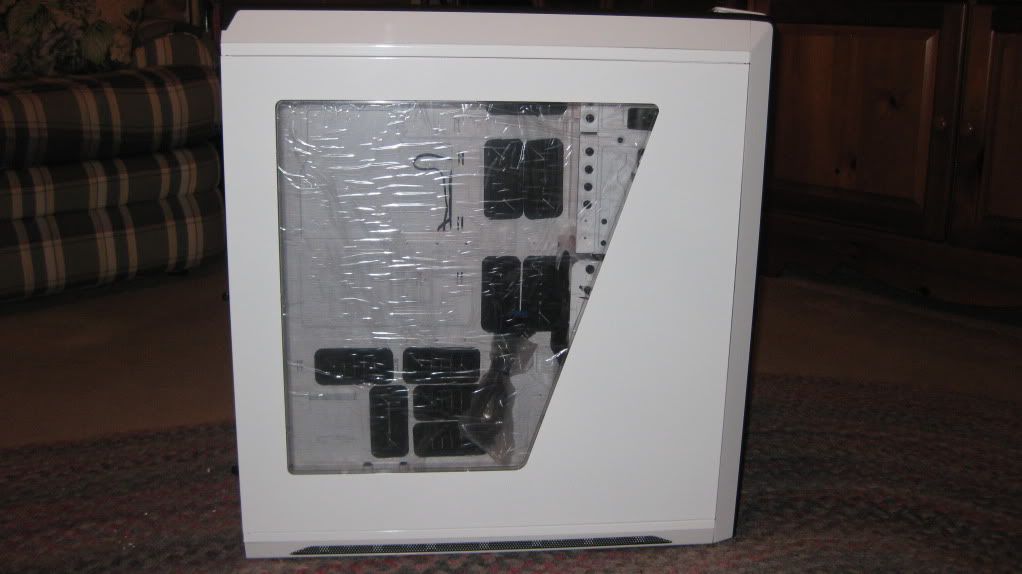


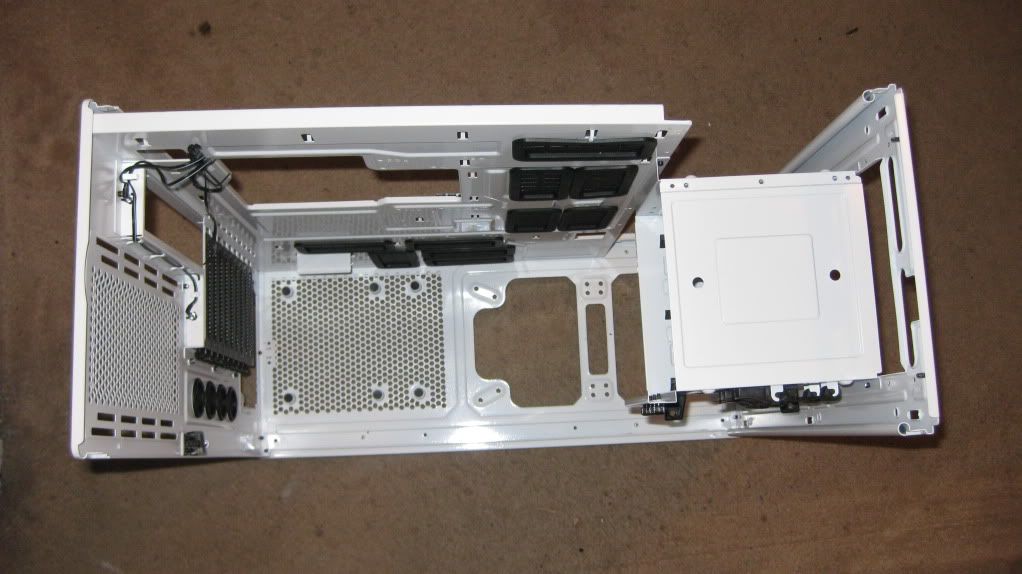
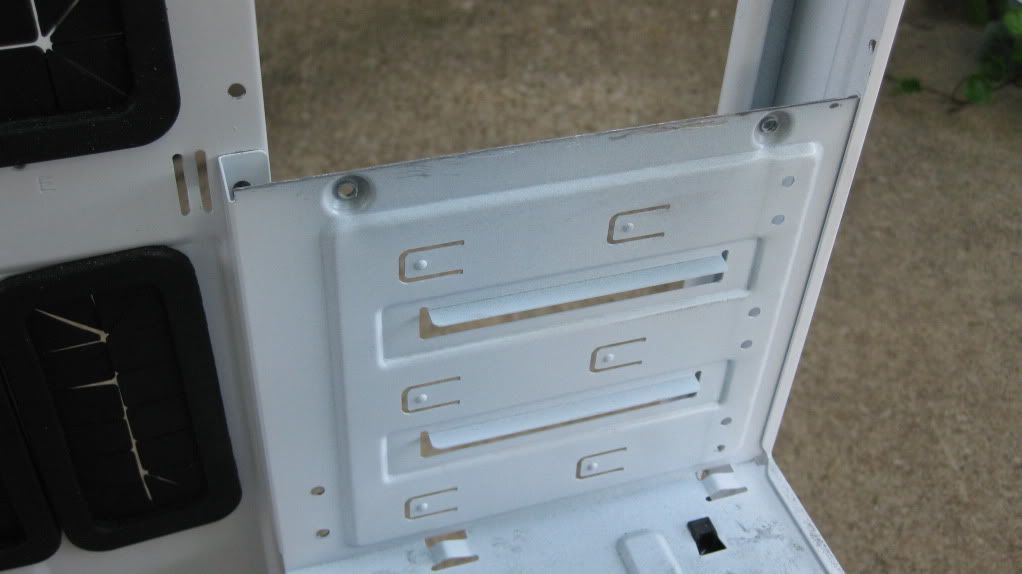
Everything is ready to pop into the case but the mods come first.

With the Koolance pump installed.
I tried to rotate it to landscape but it still posts in portrait...
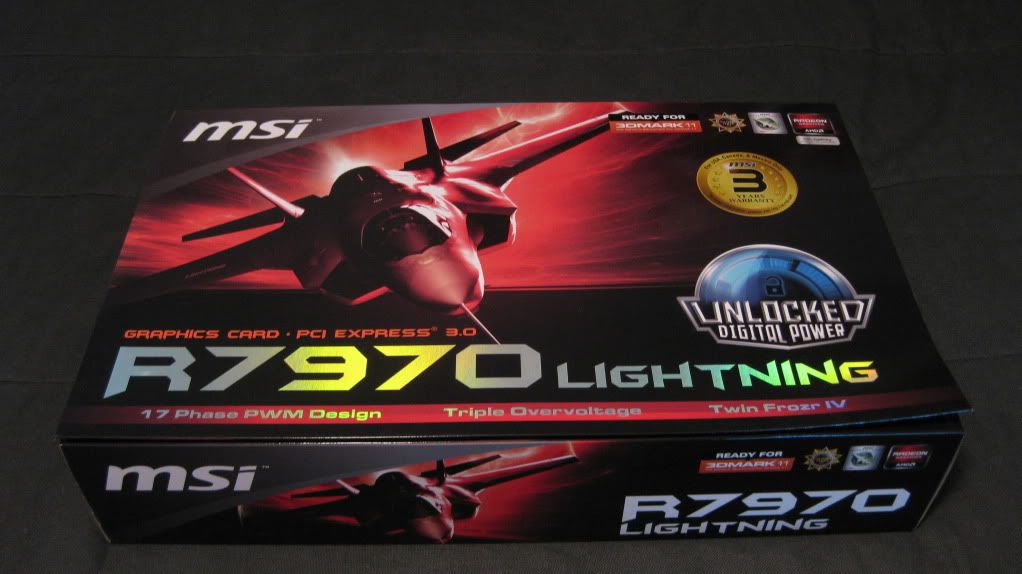

This card is HEAVY but damn is it fast!

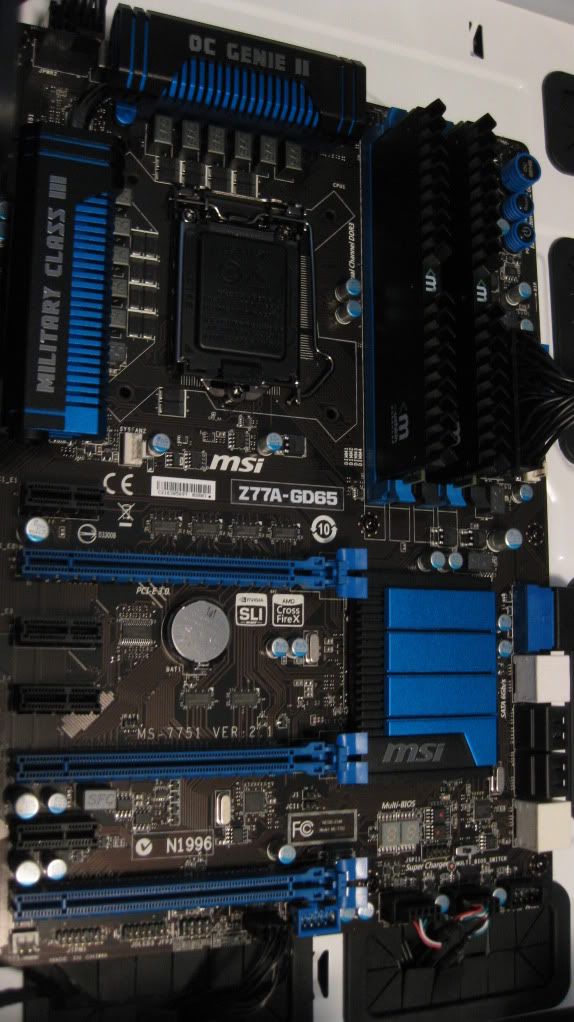
For those of you that will be using this board be careful when you are taking of the stickers. The backing on the stickers will come off and stay attached to the pci-e slots...

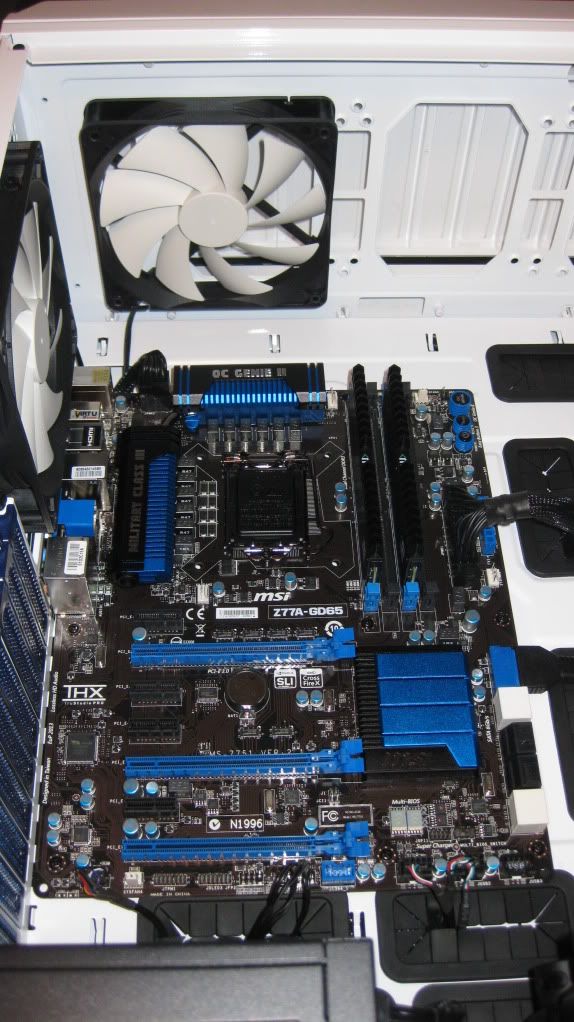
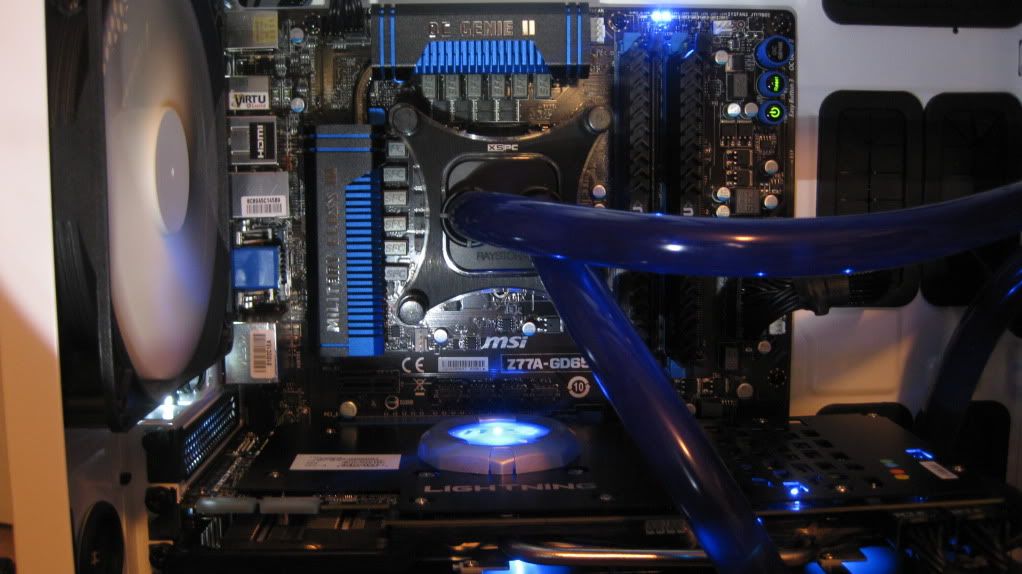
The best looking Z77 board IMHO. Pictures just do not do it justice.
The sticker says it is 95w TDP but every tool will tell you it is 77w TDP.
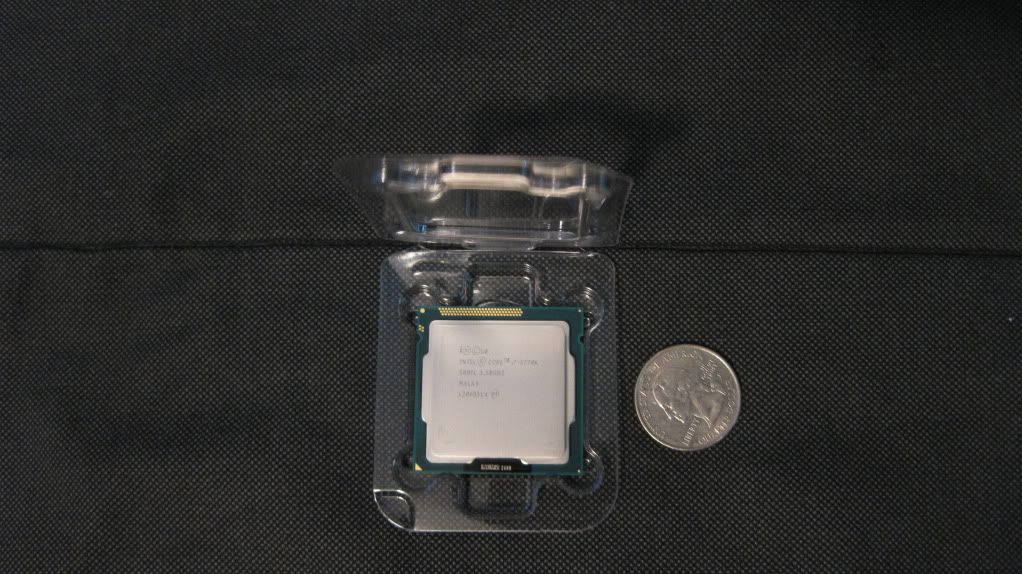
This thing is tiny! It is crazy what they are all fitting underneath the hood of the 3770k,
Same thing as above...

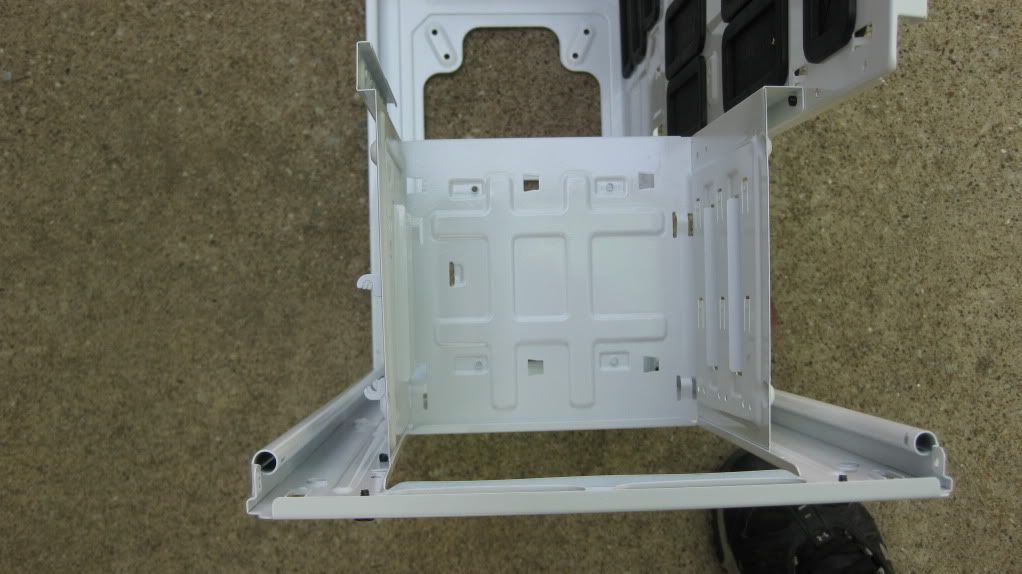
Time to start the mod on the case.

Everything has just been taking off and about to take it outside to start cutting.
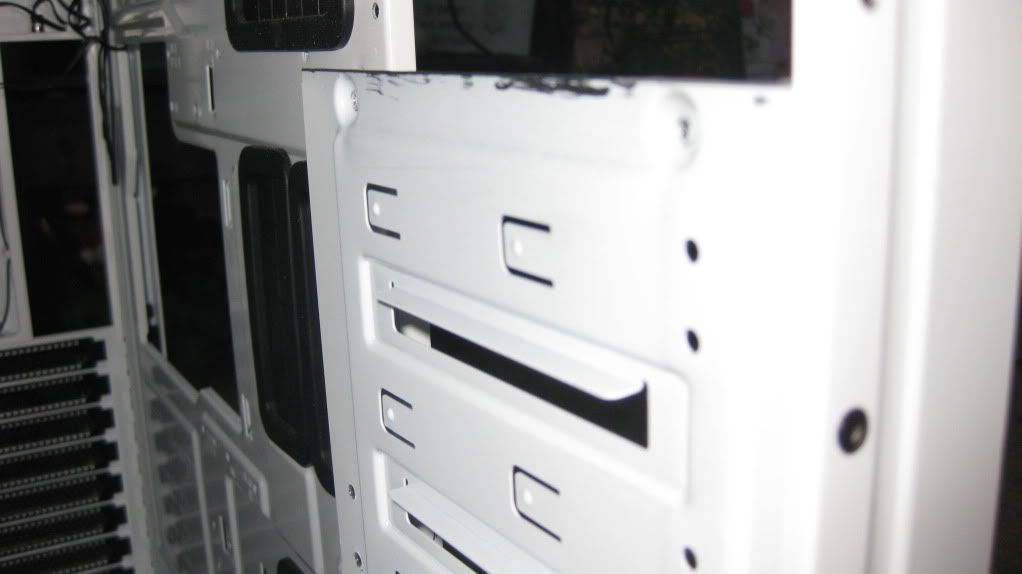
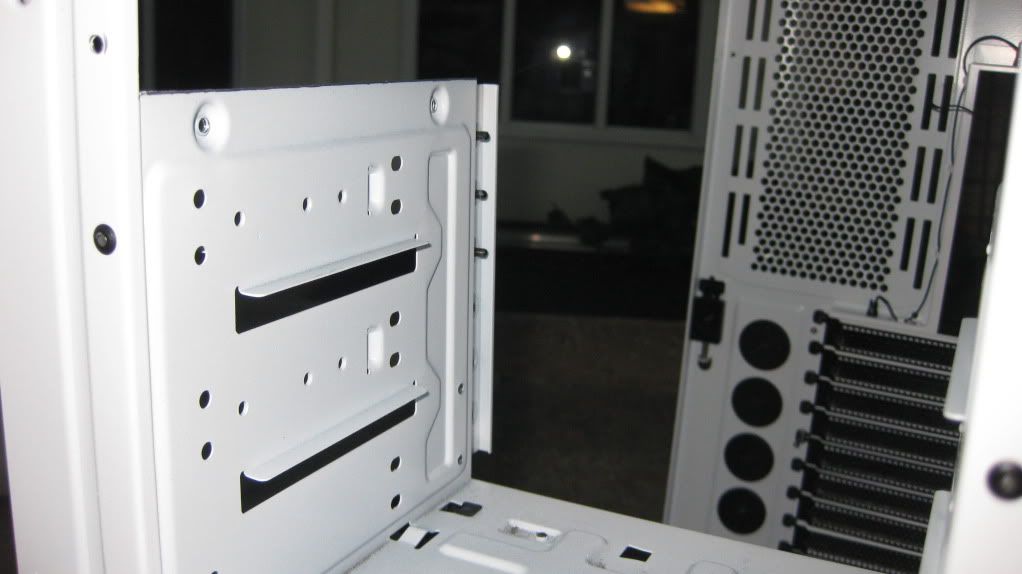
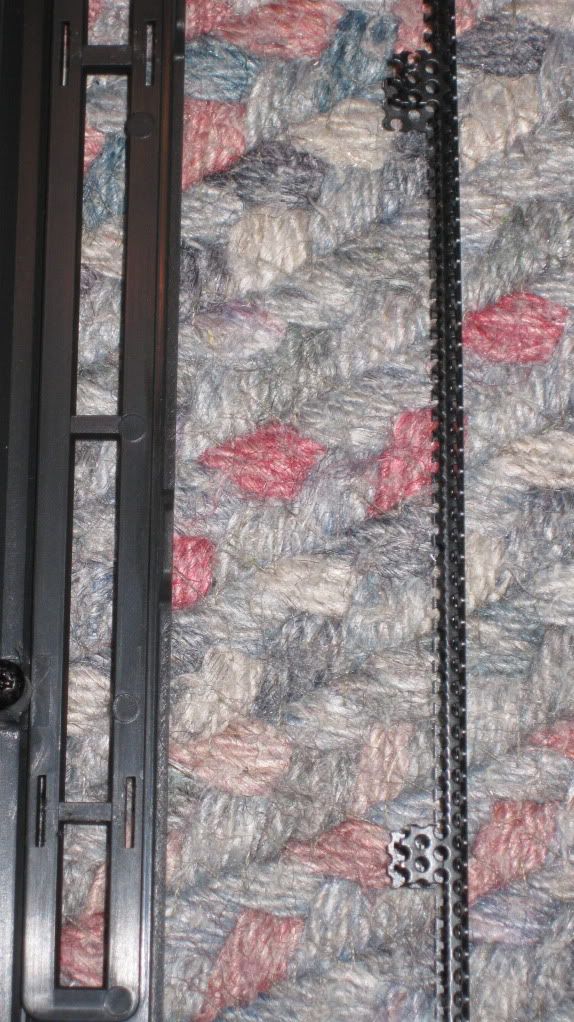
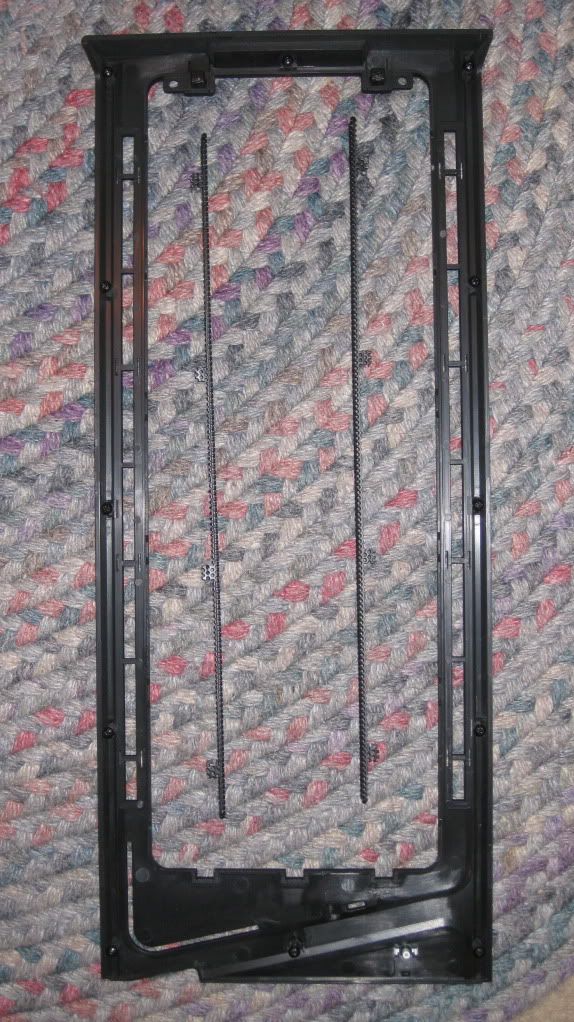
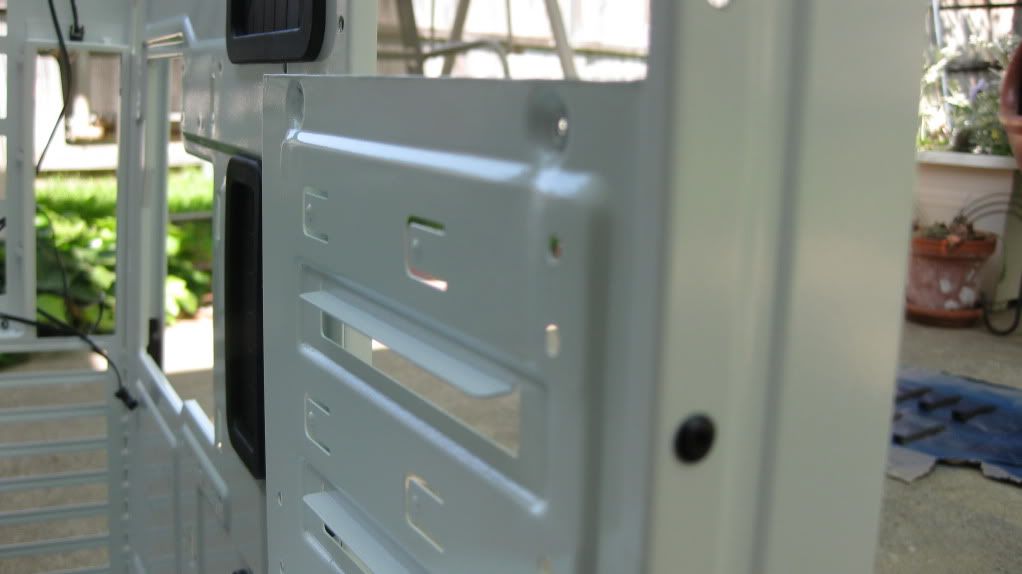
The only thing I am removing right now is the top plate of the 5.25 bay. Reason being is I will be installing a 420mm rad up top whenever EK comes out with the full cover block for my MSI 7970.
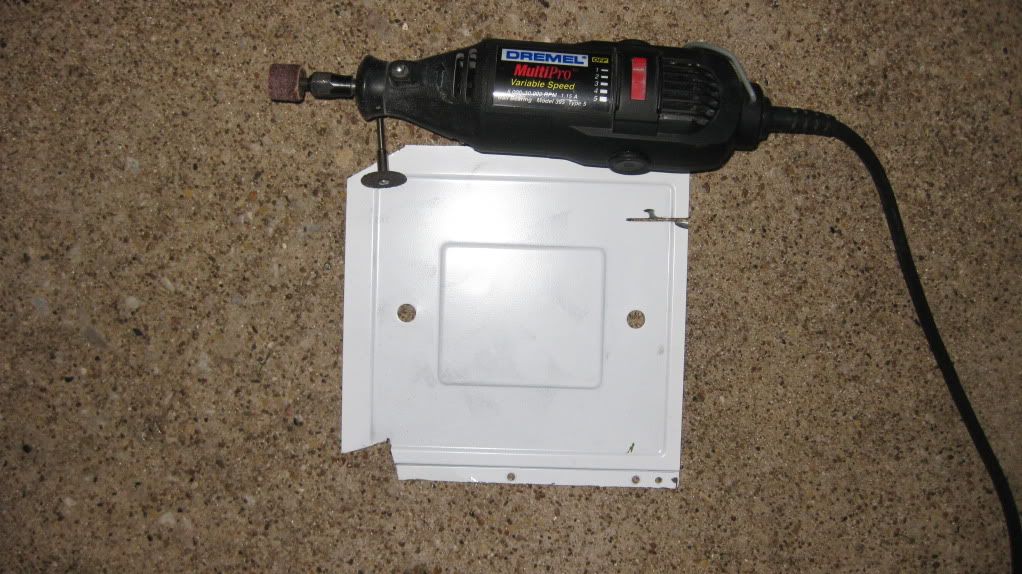
The disk on the dremel cut right through it all without a problem, hell I did not even have to replace the disk.
The grinder that is still installed in this picture did phenomenal as well took a little bit longer but turned out great!.
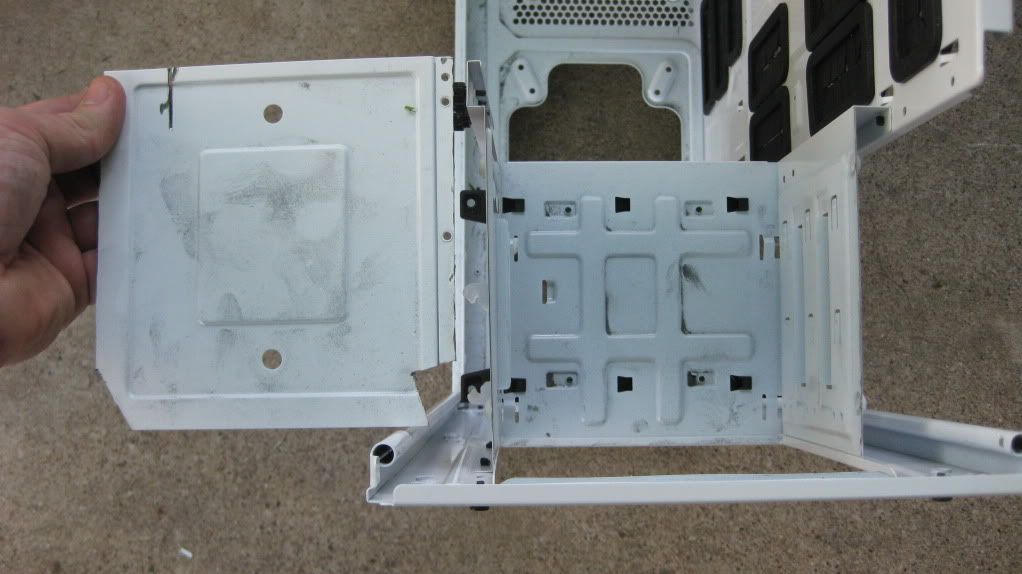
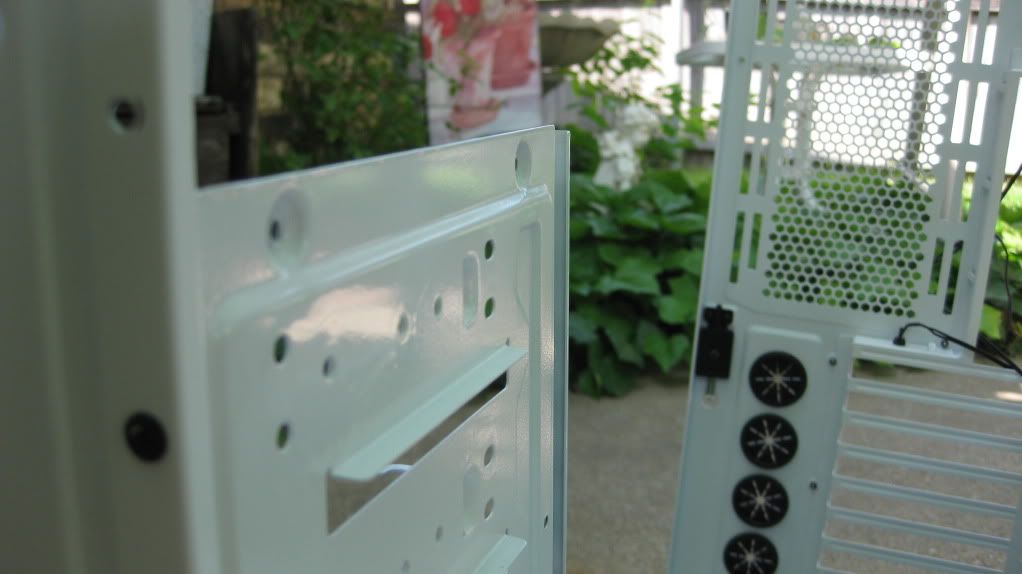
Here are some after pictures of the cutting.
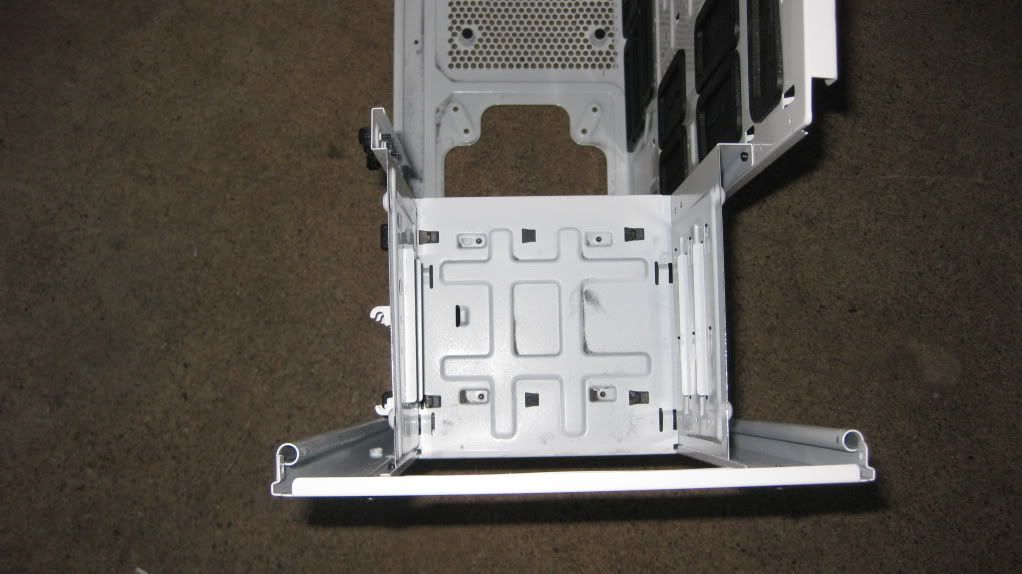
Sorry for the glare from the flash but it was dark and was difficult to get a good pic without the glare...
The edges turned out better than I expected. I just need to go get some paint and then get it painted and also paint all the mesh pieces a metallic blue.
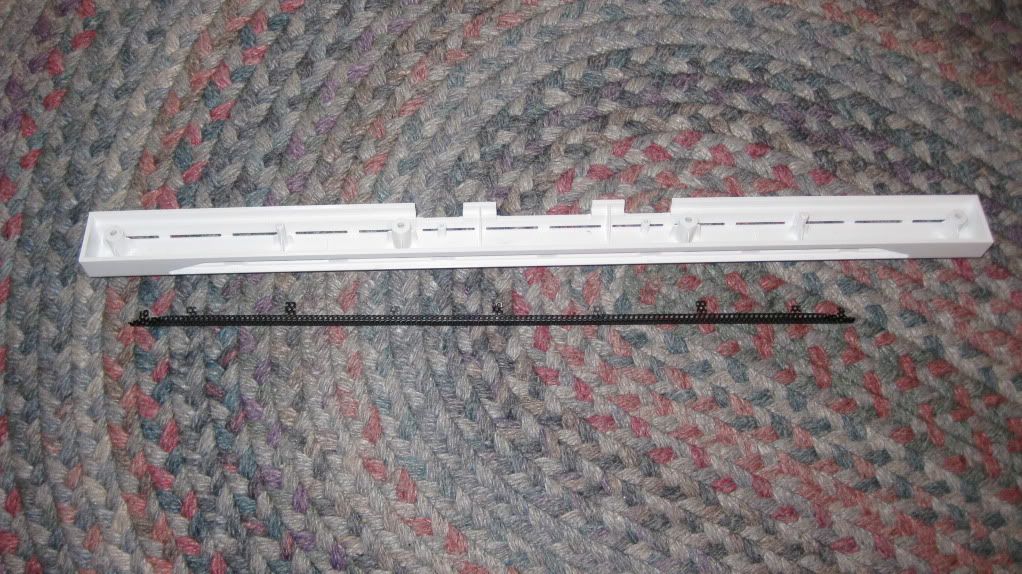
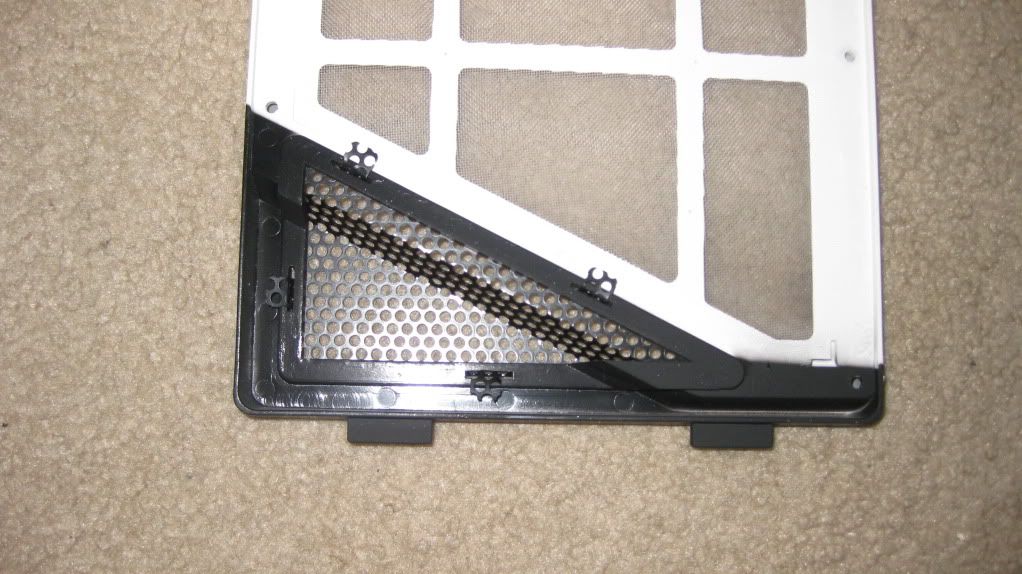
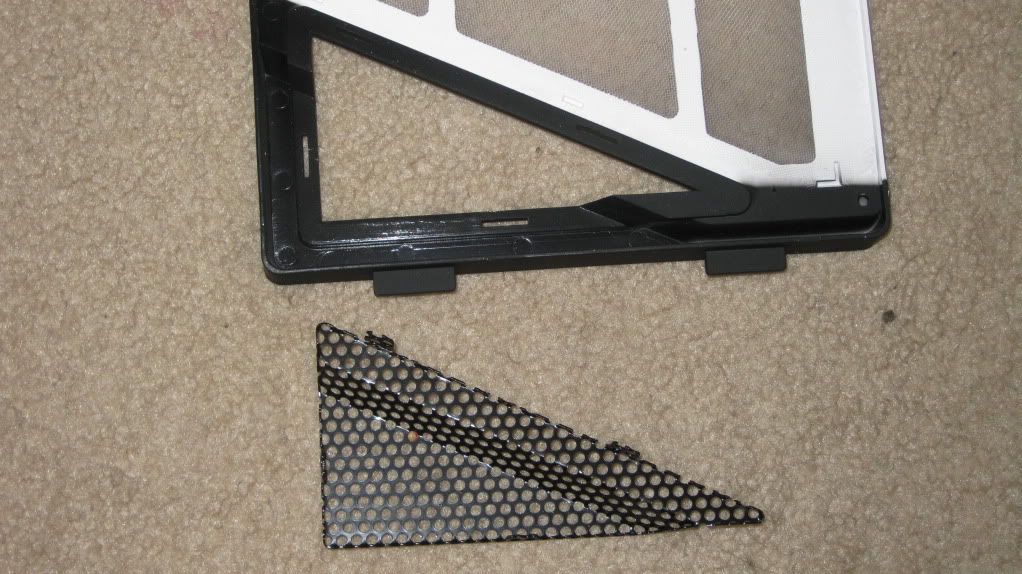
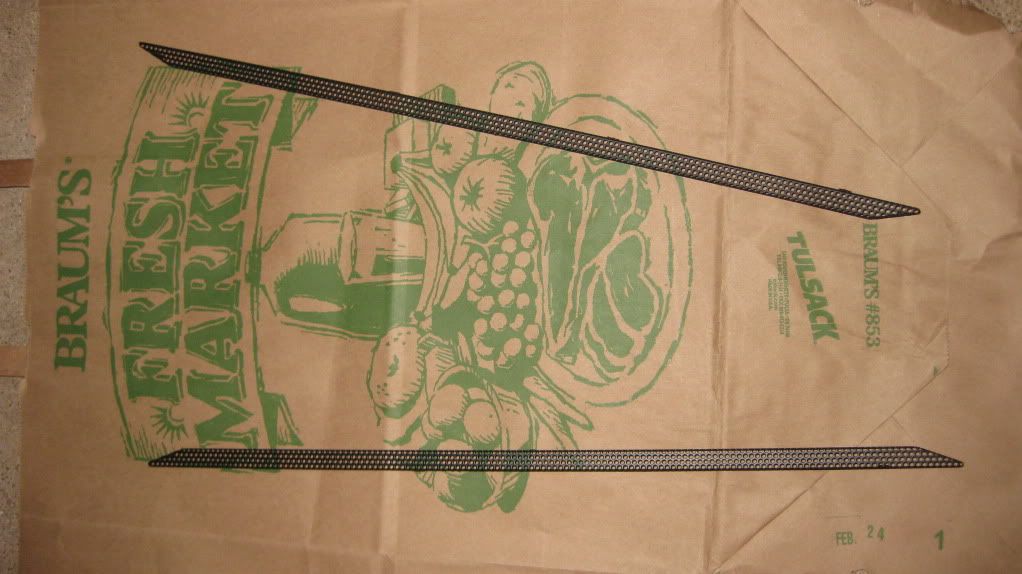
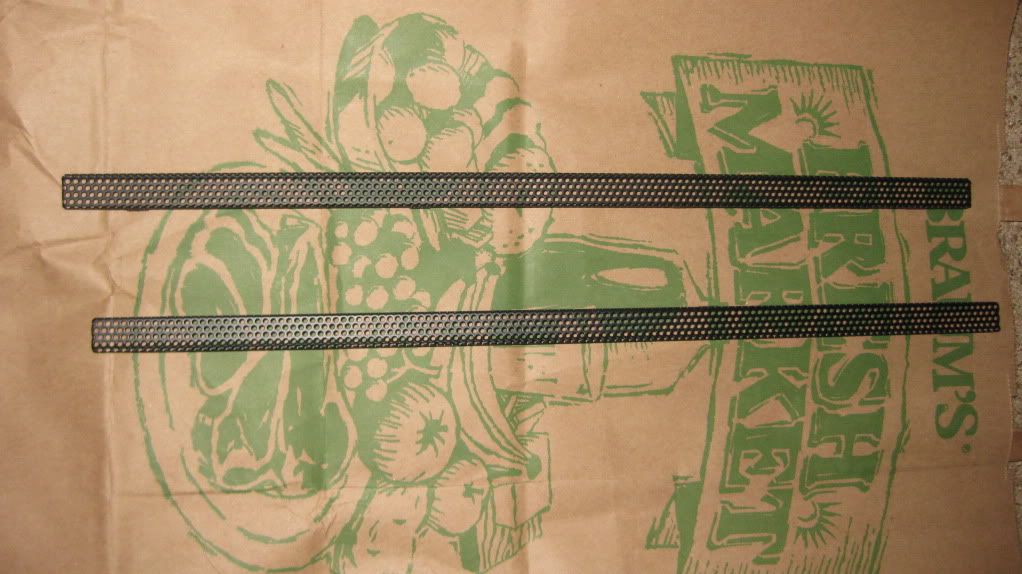
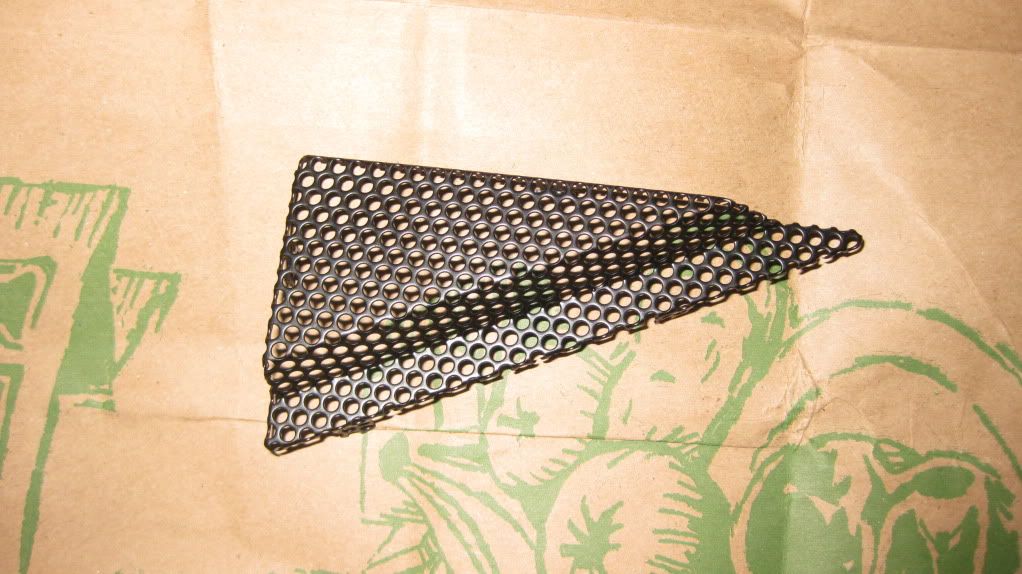
Removing all of the mesh from the plastic pieces was tedious due to how they were fitted. Each piece was attached to the plastic pieces by little mesh tabs, these tabs are easy to bend just cant bend them a lot or they might break...
Luckily none of my tabs broke but just a precaution you need to take when you do this.
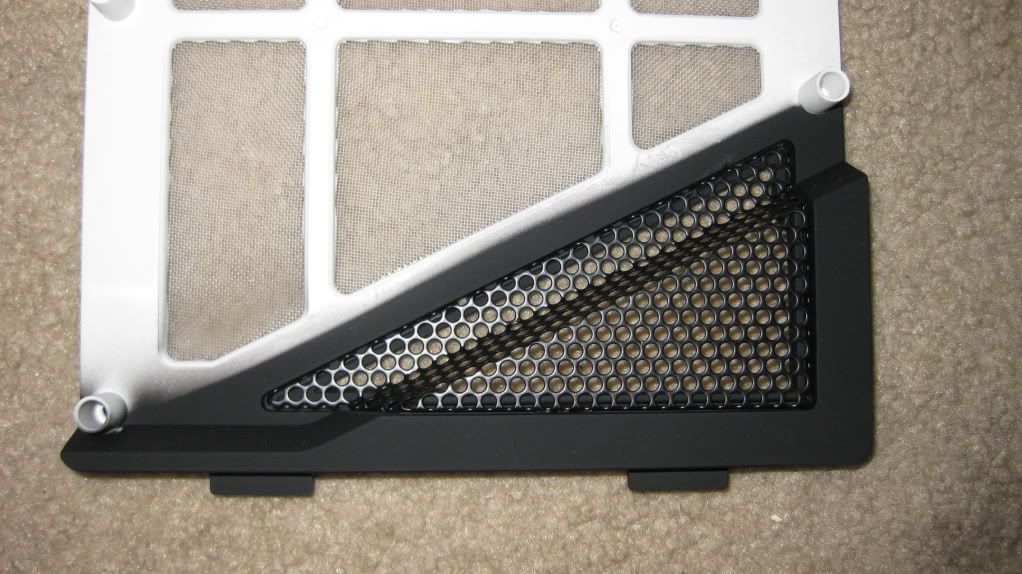
Some before and after pictures.

The feet of the case.
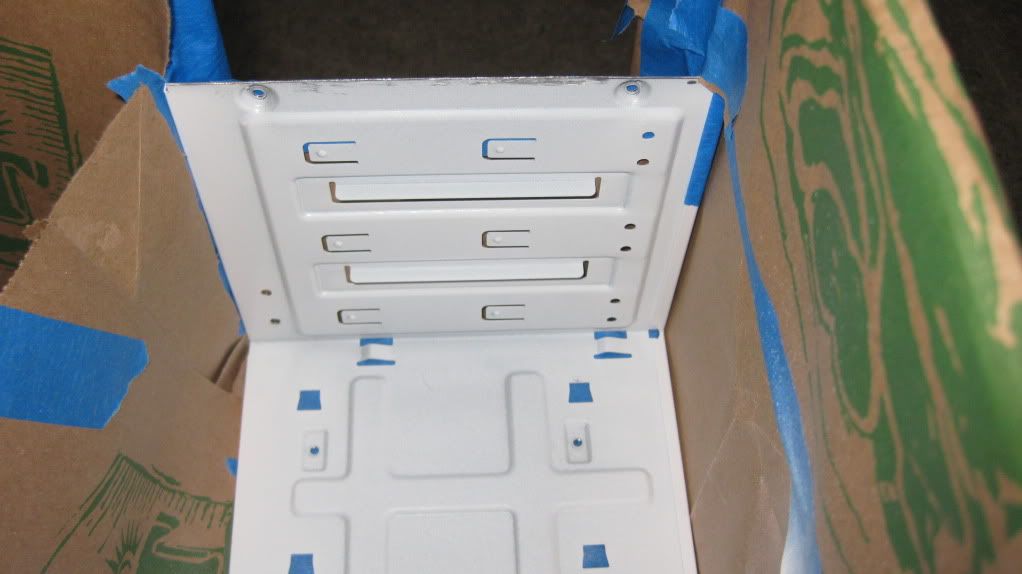
All taped up ready to paint!
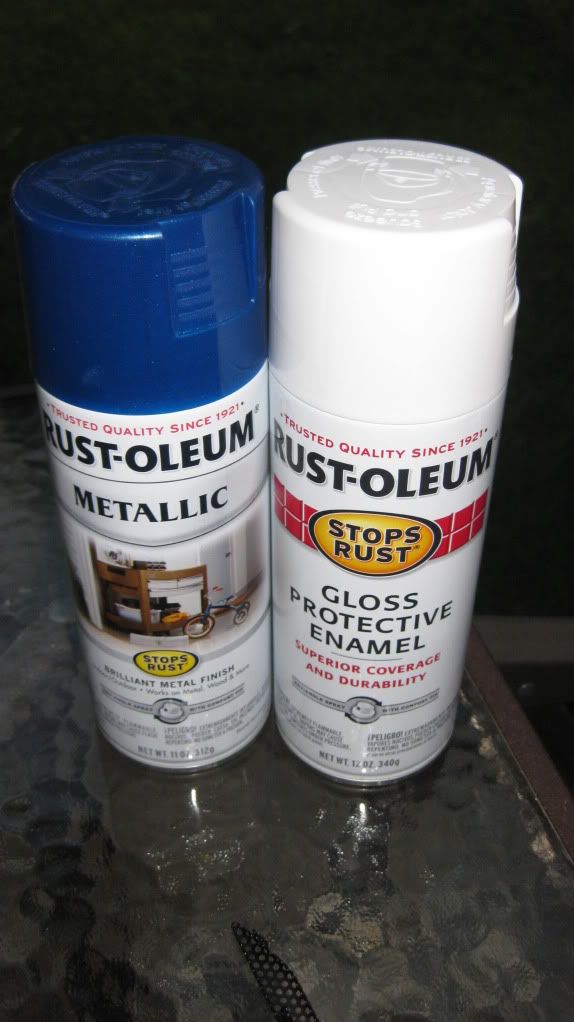
I used a glossy white enamel for durability and to match the glossy white finish.
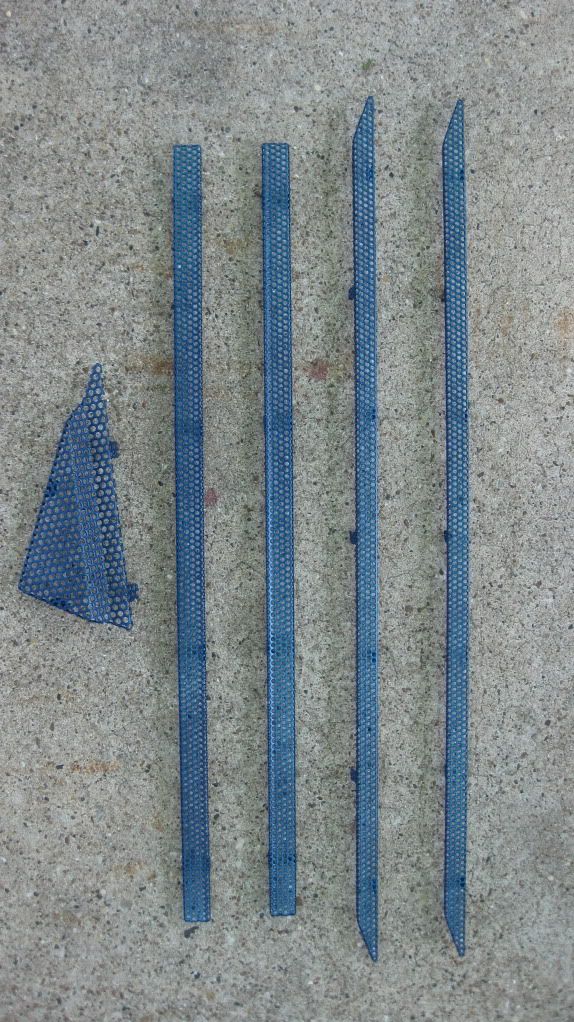
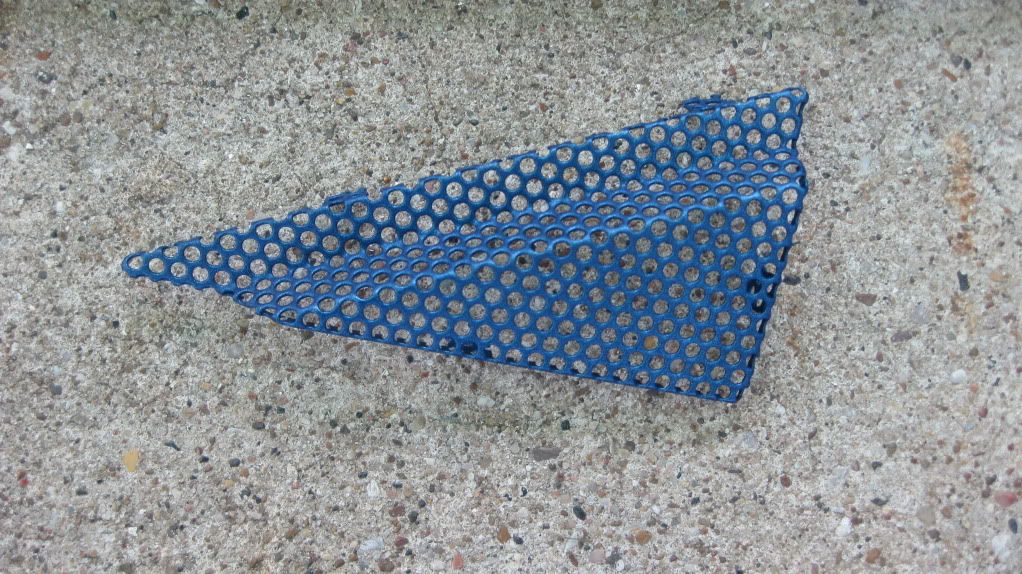
The blue is a metallic enamel as well. If I were to do it over again I would have probably gone with a lighter blue, as you will see later on it is a little hard to see the color when everything is put together.
All finished painting the case. Now to paint the mesh pieces.
Hmm I for some reason have lost the pictures of just the case put back together...
O well moving onto installing the components.
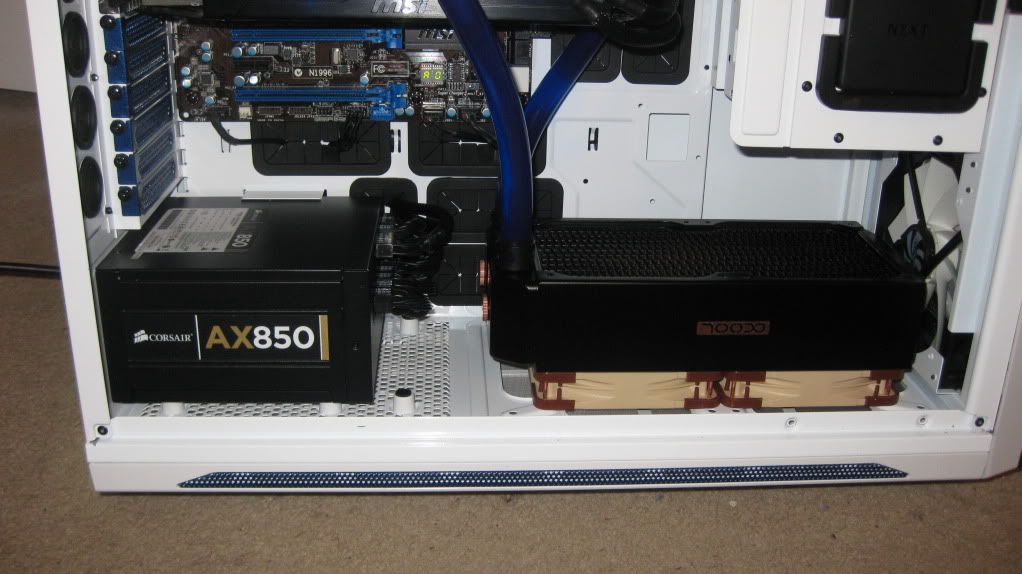
Installing the radiator was a bit of a pain to install. I am sure you all that have a water cooled rig have experienced that installing a rad on the bottom in a push config is difficult. Holding the rad and the fan in place while installing the screws... I finally got it and it does not look to bad except for the brown and cream colored fans lol...
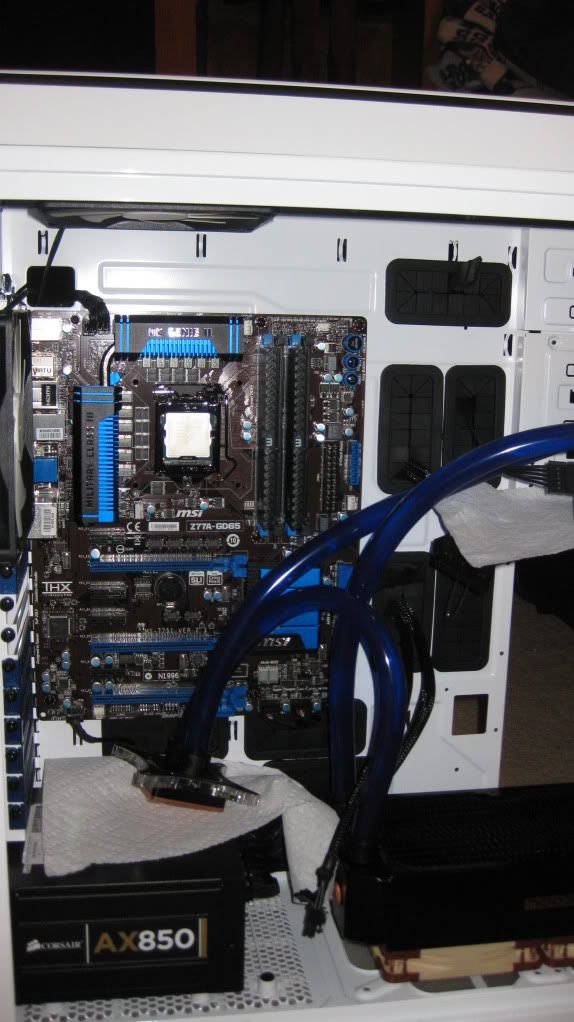
Leak tested for about 12 hrs in this layout and then I leaked tested for awhile long with the block mounted.
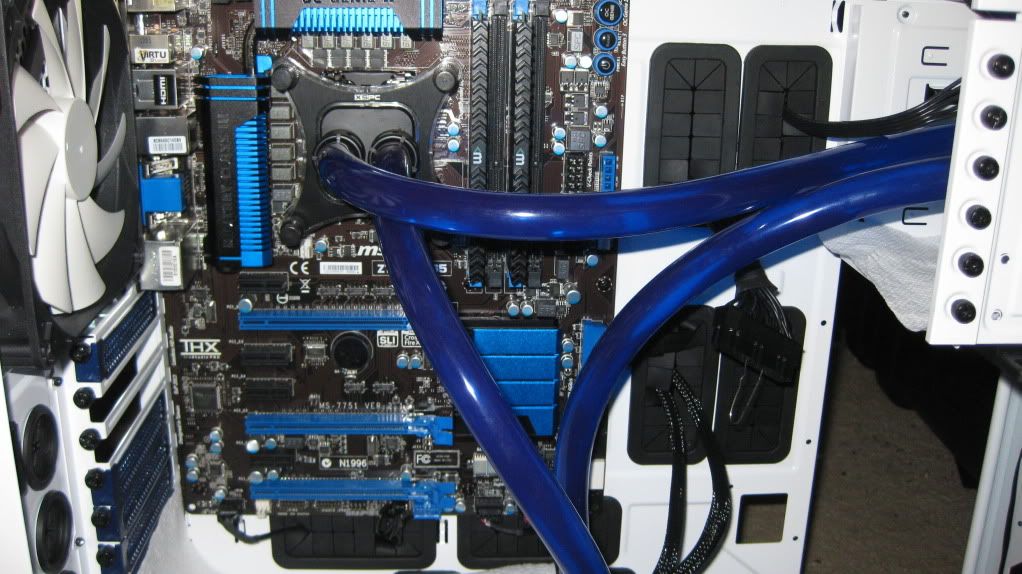
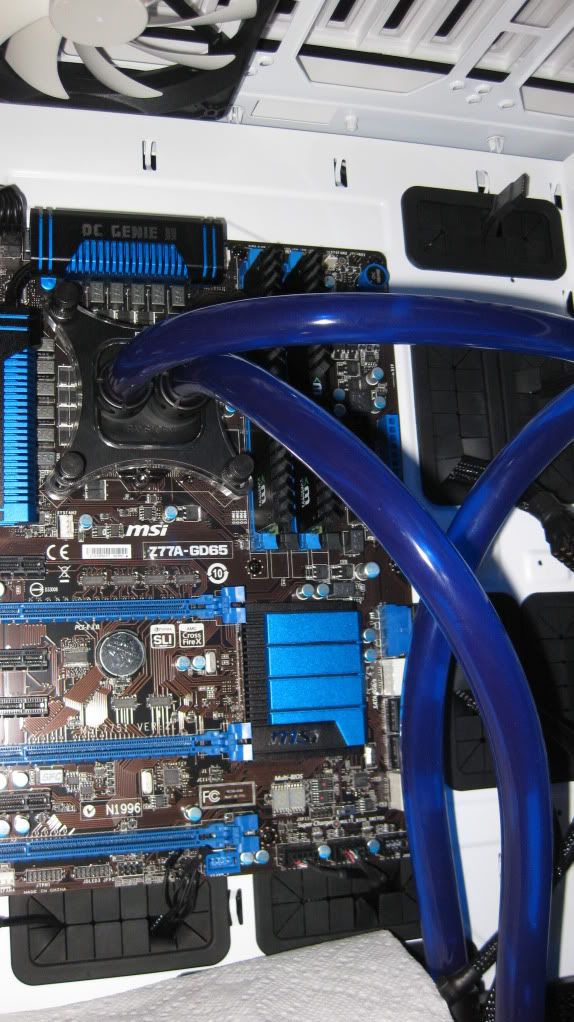
Finally done leak testing going to get the 7970 installed and boot here up.
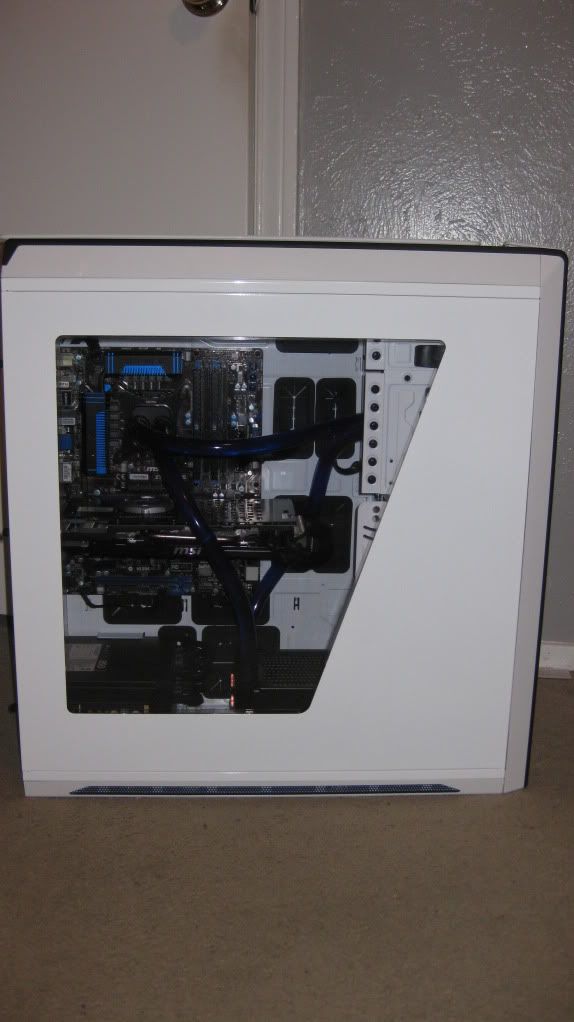


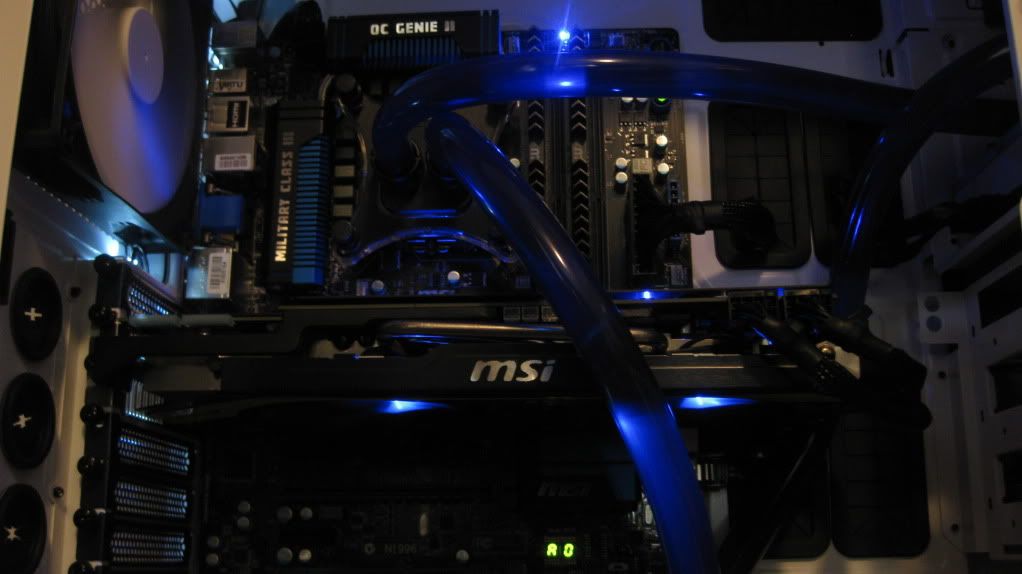
This is probably my favorite picture and will be come my background!
Well that is it for now.
Later on in the next couple of weeks I will be getting some mesh to install into the top of the case and also where the front intake is at.
I will be taking and cutting out the fan louvers on the top and then be routing out the front intake and then be installing the mesh that will be painted blue. Once that is done I will be running some blue led's to light the case up a little more.
So far what do you all think? This is my first build log so I am still figuring out how to go about it but I feel like it went great.
I cant wait to finish this one and do another one sometime in the future.
Build Components:
Case: NZXT Switch 810 White
Motherboard: MSI Z77A GD65
CPU: Intel 3770k
GPU: MSI 7970 Lightning
Memory: Mushkin Enhanced Ridgeback 8gb 2000mhz
PSU: Corsair AX850
Fan Controller: NZXT Sentry Mix
SSD: 2 Corsair Force Gt 120 gig in raid 0
HDD: 1 1tb Seagate Barracuda Sata2
Water Loop:
CPU WB: XSPC Raystorm
Radiator: Alphacool 240mm UT60
Fans: Noctua NFF 12’s
Reservoir: Danger Den Monsoon
Pump: Koolance PMP-450
Hose: Primoflex UV blue 1/2id 3/4od
Hose Fittings: Danger Den Monsoon Free center Compression
Coolant: Distilled Water, PT nuke and Silver Kill Coil
I just got everything in so time to get busy!
This is going to be a bad ass build if you ask me
Everything is ready to pop into the case but the mods come first.
With the Koolance pump installed.
I tried to rotate it to landscape but it still posts in portrait...
This card is HEAVY but damn is it fast!
For those of you that will be using this board be careful when you are taking of the stickers. The backing on the stickers will come off and stay attached to the pci-e slots...
The best looking Z77 board IMHO. Pictures just do not do it justice.
The sticker says it is 95w TDP but every tool will tell you it is 77w TDP.
This thing is tiny! It is crazy what they are all fitting underneath the hood of the 3770k,
Same thing as above...
Time to start the mod on the case.
Everything has just been taking off and about to take it outside to start cutting.
The only thing I am removing right now is the top plate of the 5.25 bay. Reason being is I will be installing a 420mm rad up top whenever EK comes out with the full cover block for my MSI 7970.
The disk on the dremel cut right through it all without a problem, hell I did not even have to replace the disk.
The grinder that is still installed in this picture did phenomenal as well took a little bit longer but turned out great!.
Here are some after pictures of the cutting.
Sorry for the glare from the flash but it was dark and was difficult to get a good pic without the glare...
The edges turned out better than I expected. I just need to go get some paint and then get it painted and also paint all the mesh pieces a metallic blue.
Removing all of the mesh from the plastic pieces was tedious due to how they were fitted. Each piece was attached to the plastic pieces by little mesh tabs, these tabs are easy to bend just cant bend them a lot or they might break...
Luckily none of my tabs broke but just a precaution you need to take when you do this.
Some before and after pictures.
The feet of the case.
All taped up ready to paint!
I used a glossy white enamel for durability and to match the glossy white finish.
The blue is a metallic enamel as well. If I were to do it over again I would have probably gone with a lighter blue, as you will see later on it is a little hard to see the color when everything is put together.
All finished painting the case. Now to paint the mesh pieces.
Hmm I for some reason have lost the pictures of just the case put back together...
O well moving onto installing the components.
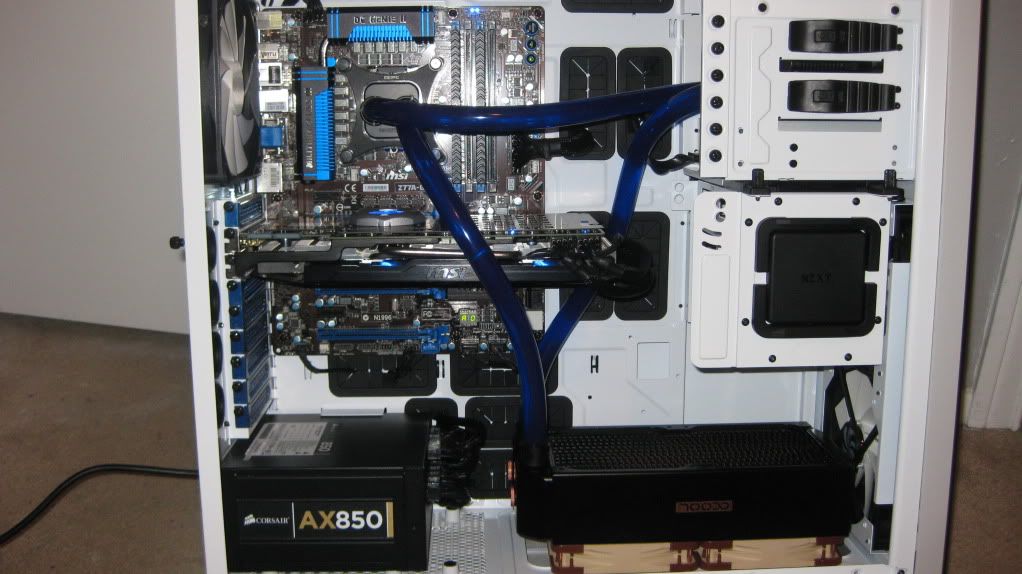
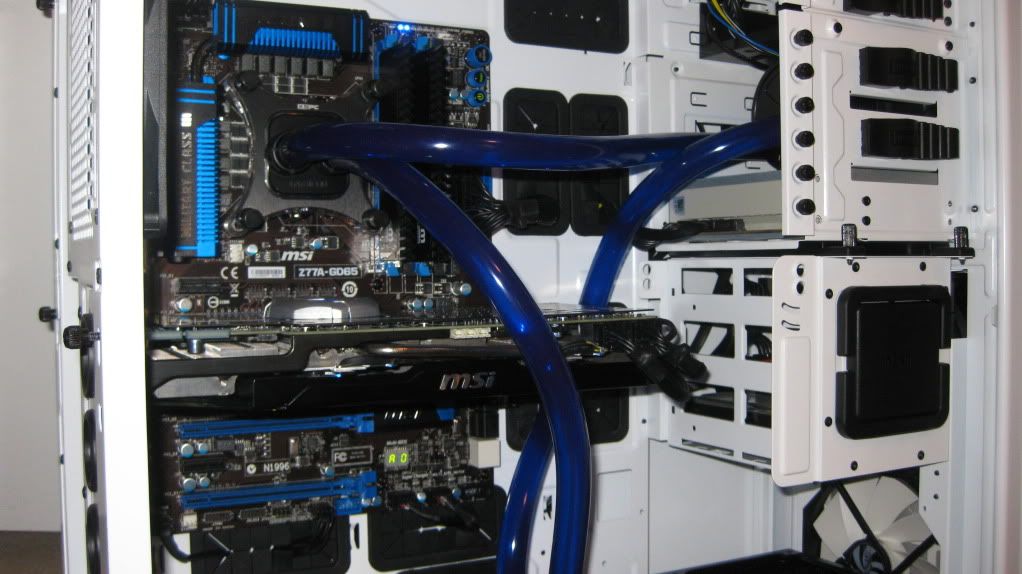
Installing the radiator was a bit of a pain to install. I am sure you all that have a water cooled rig have experienced that installing a rad on the bottom in a push config is difficult. Holding the rad and the fan in place while installing the screws... I finally got it and it does not look to bad except for the brown and cream colored fans lol...
Leak tested for about 12 hrs in this layout and then I leaked tested for awhile long with the block mounted.
Finally done leak testing going to get the 7970 installed and boot here up.
This is probably my favorite picture and will be come my background!
Well that is it for now.
Later on in the next couple of weeks I will be getting some mesh to install into the top of the case and also where the front intake is at.
I will be taking and cutting out the fan louvers on the top and then be routing out the front intake and then be installing the mesh that will be painted blue. Once that is done I will be running some blue led's to light the case up a little more.
So far what do you all think? This is my first build log so I am still figuring out how to go about it but I feel like it went great.
I cant wait to finish this one and do another one sometime in the future.


