You are using an out of date browser. It may not display this or other websites correctly.
You should upgrade or use an alternative browser.
You should upgrade or use an alternative browser.
MasterCase5 MOD: Project TRON
- Thread starter Deblow
- Start date
Excalabur50
Well-known member
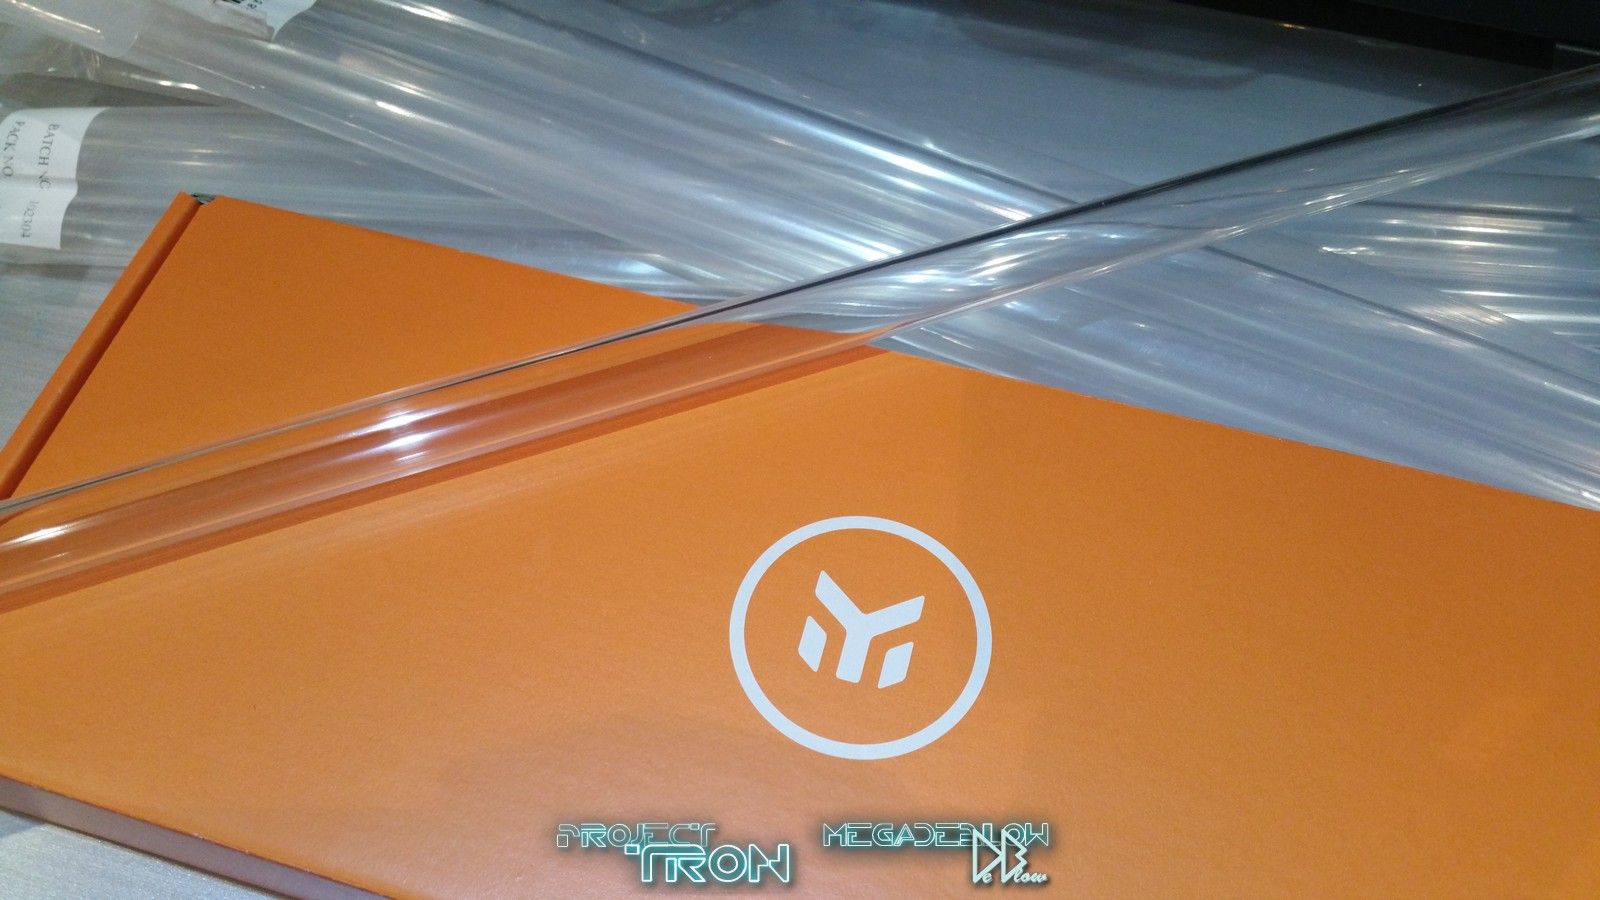
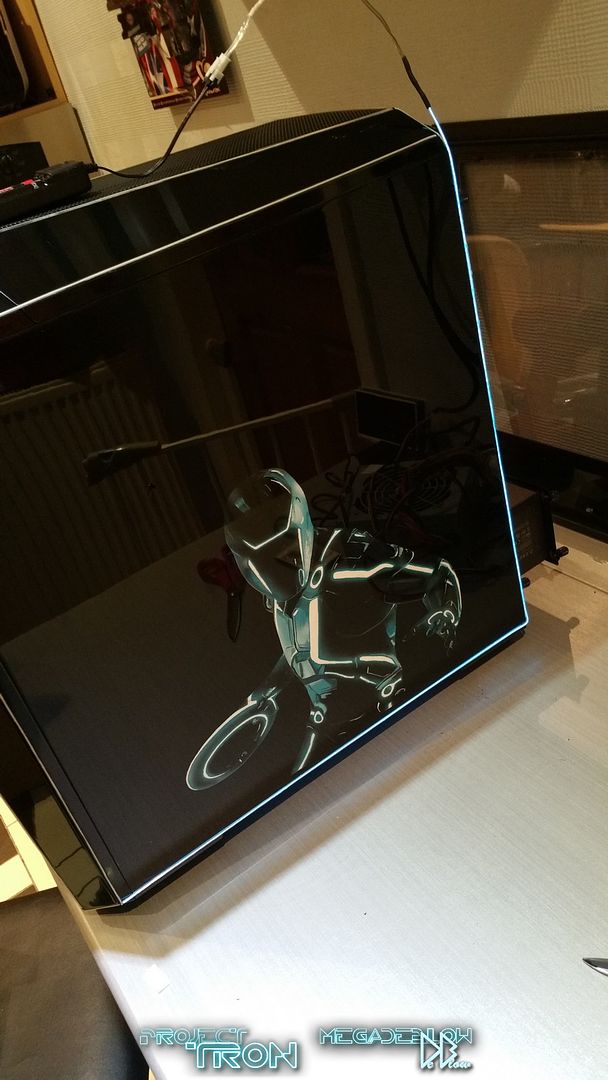
That panel looks truly lush especially with it being smoked
That panel looks so good I would rather be looking at that as the main window instead of seeing the pc inside.
Thanks alot, I think when its setup in my room I wont get to see any sides, running low on space

Holy AMAZEBALLS what a project!
... THAT'S IT! EL on EEEVVRRYYTTHHIINNGG!!
#ELTheWorld
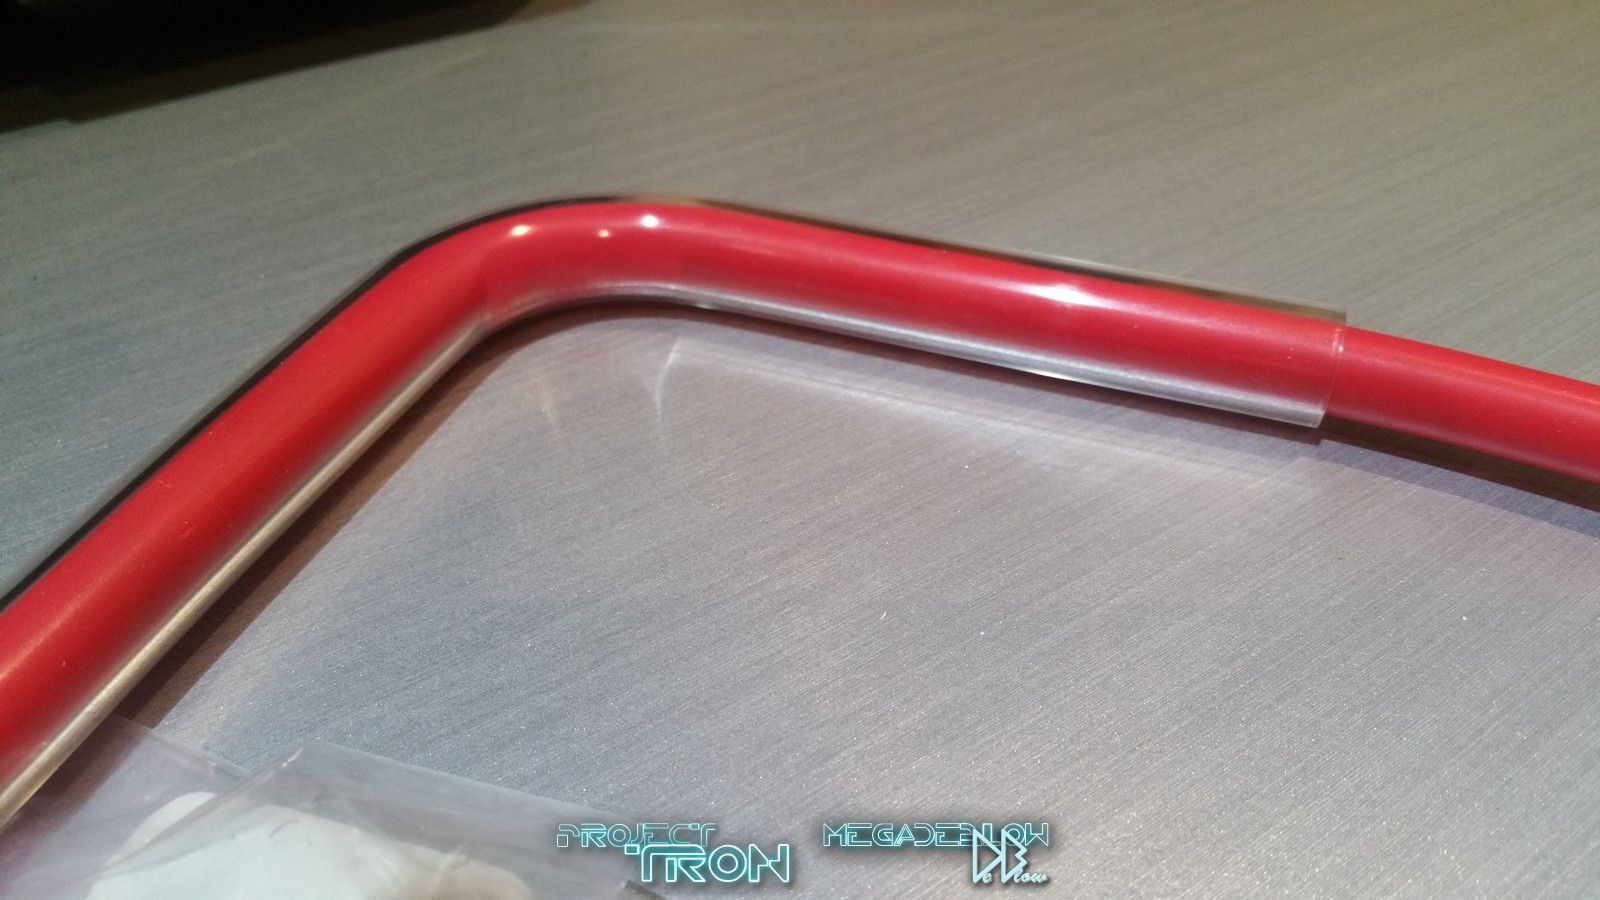
Seriously though. EL is definitely going in My Rig when I ever move it into my CaseLabs SMA8. I assume I can get it in Orange?
Thanks mate, yeah tbh most the reds look orange but its cheap enough to get a couple of test bits to double check.
That panel looks truly lush especially with it being smoked
Thank you mate, never got a "lush" before

Excalabur50
Well-known member
Here have three more....lush...lush...lush  In all seriousness though that's how it looks
In all seriousness though that's how it looksHere have three more....lush...lush...lush
lol thanks, sorry for the late reply, not been getting updates sent
___________________________________________________________________
Build Update....
Today has been a good day,they say good things come to those that wait
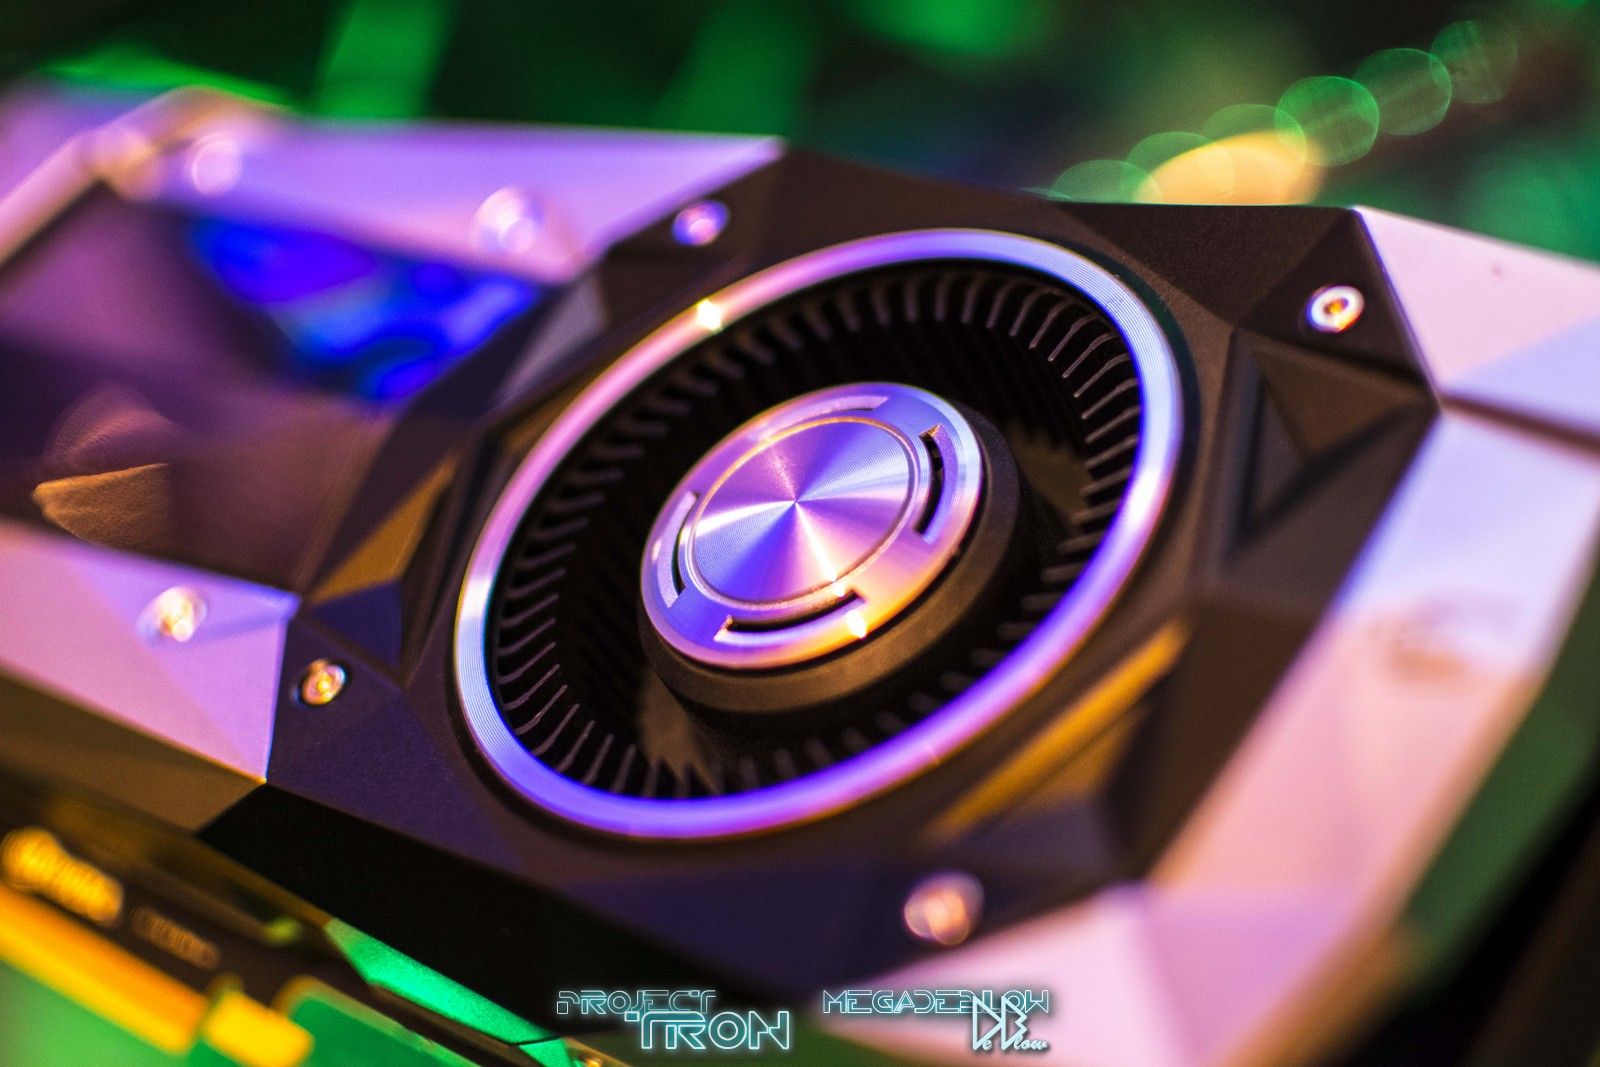
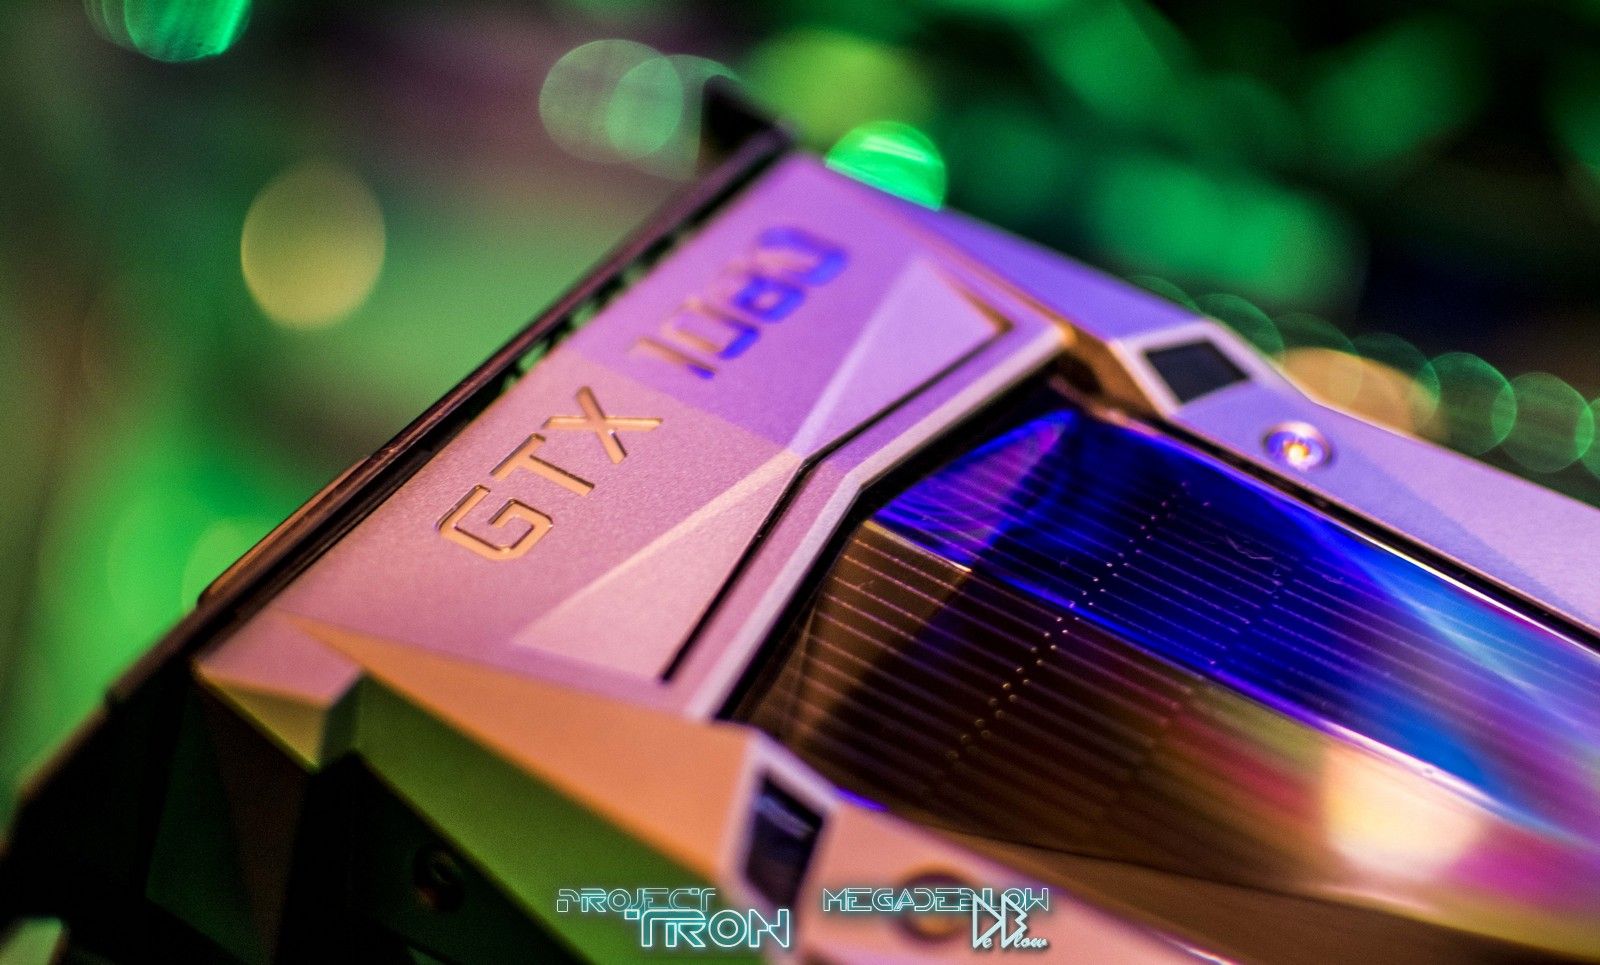
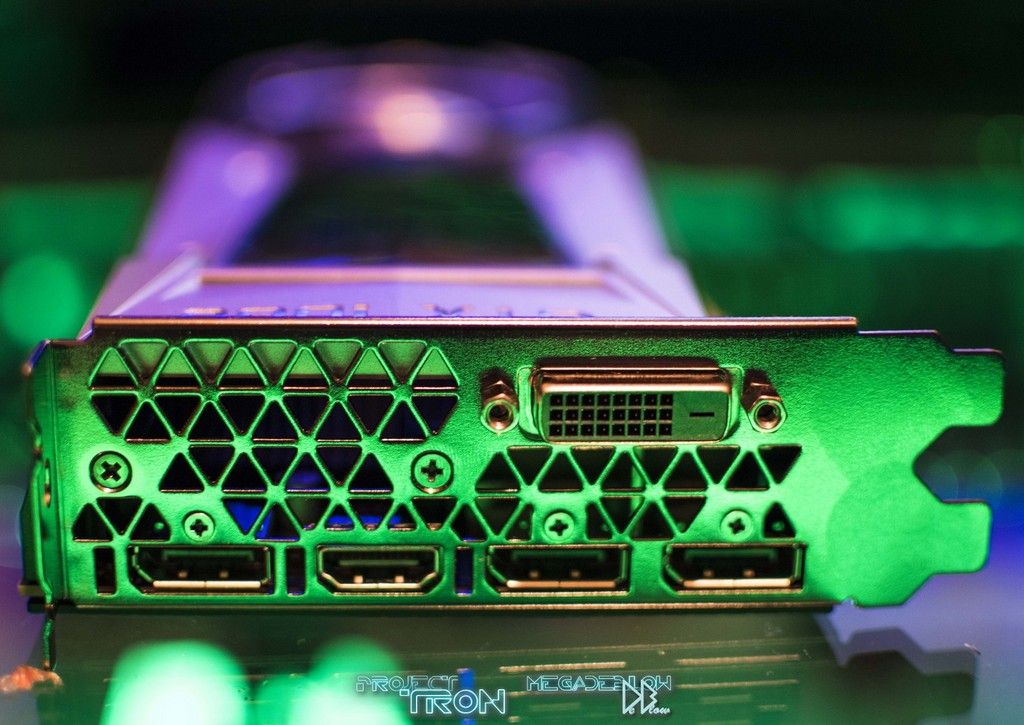
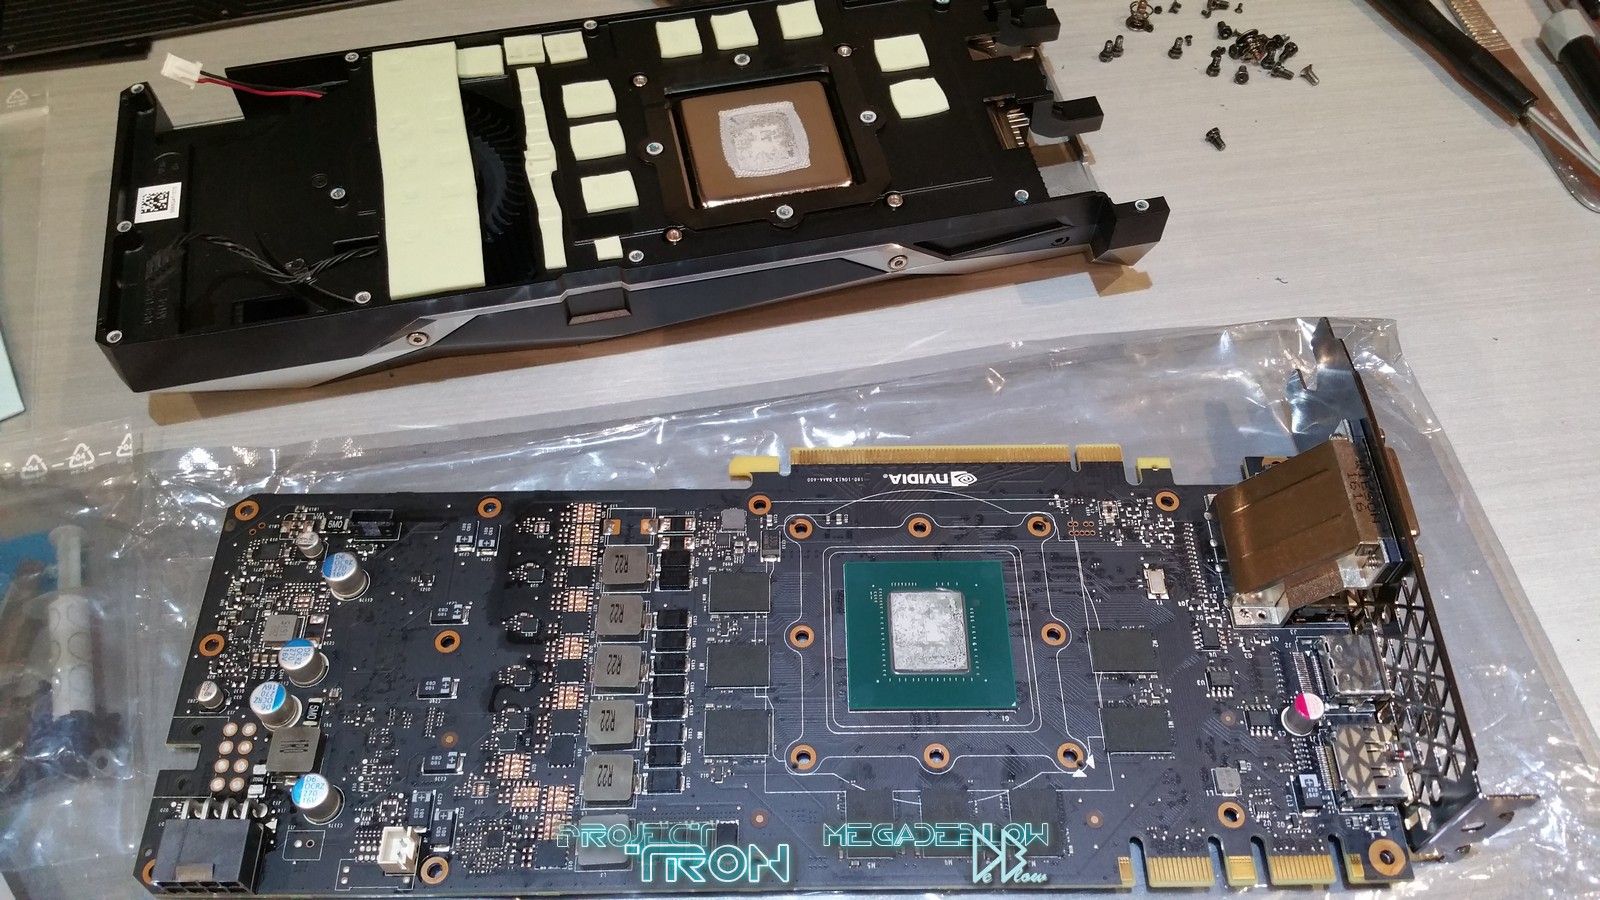
The final component for the Tron build has arrived, the sexy Nvidia GTX1080 Founders Edition GPU.
Next steps are, fit the GPU water block and start working on the wiring and plumbing so I can see what space I have and add some final touches.


Excalabur50
Well-known member
Great can't wait to see her finished
Great can't wait to see her finished
Me also, Thanks
")
I love these GPU coolers so much.. its sometimes a shame I replace them with waterblocks.
Was thinking the same, but then again we don't normally get to see the gpu due to it facing down in most cases, would think having it face up would be better for the temps :/
Me also, Thanks
Was thinking the same, but then again we don't normally get to see the gpu due to it facing down in most cases, would think having it face up would be better for the temps :/
Wouldnt make a difference with those coolers since the act as exhausts. Having face up would probably disrupt the air flow in the case slightly.
Wouldnt make a difference with those coolers since the act as exhausts. Having face up would probably disrupt the air flow in the case slightly.
True, temps vs looks, I would go with temps
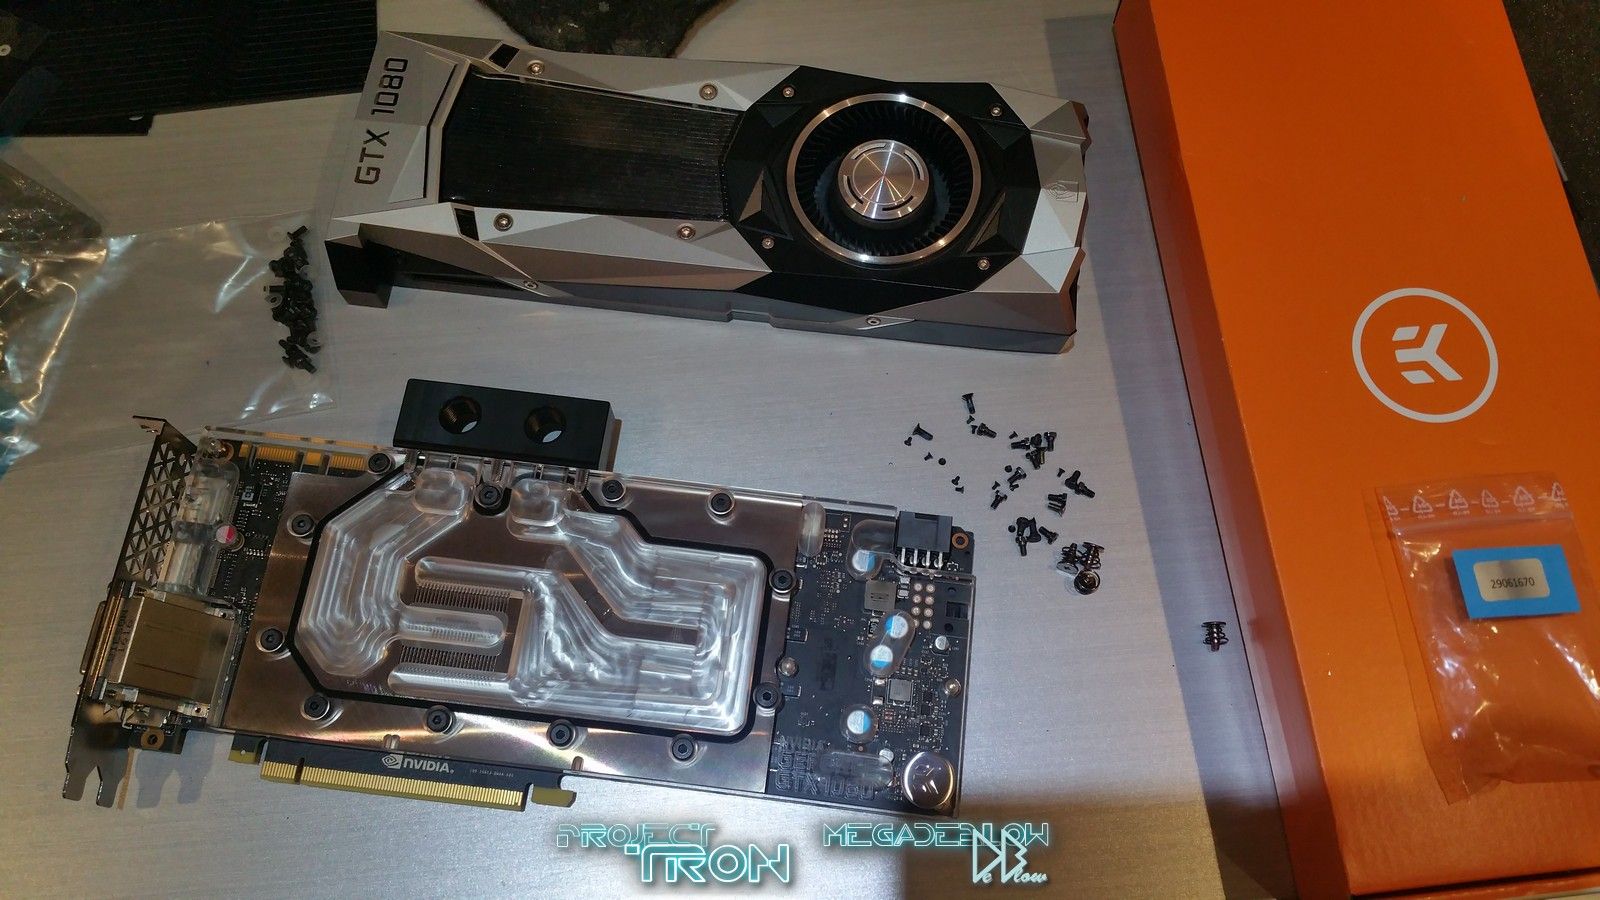
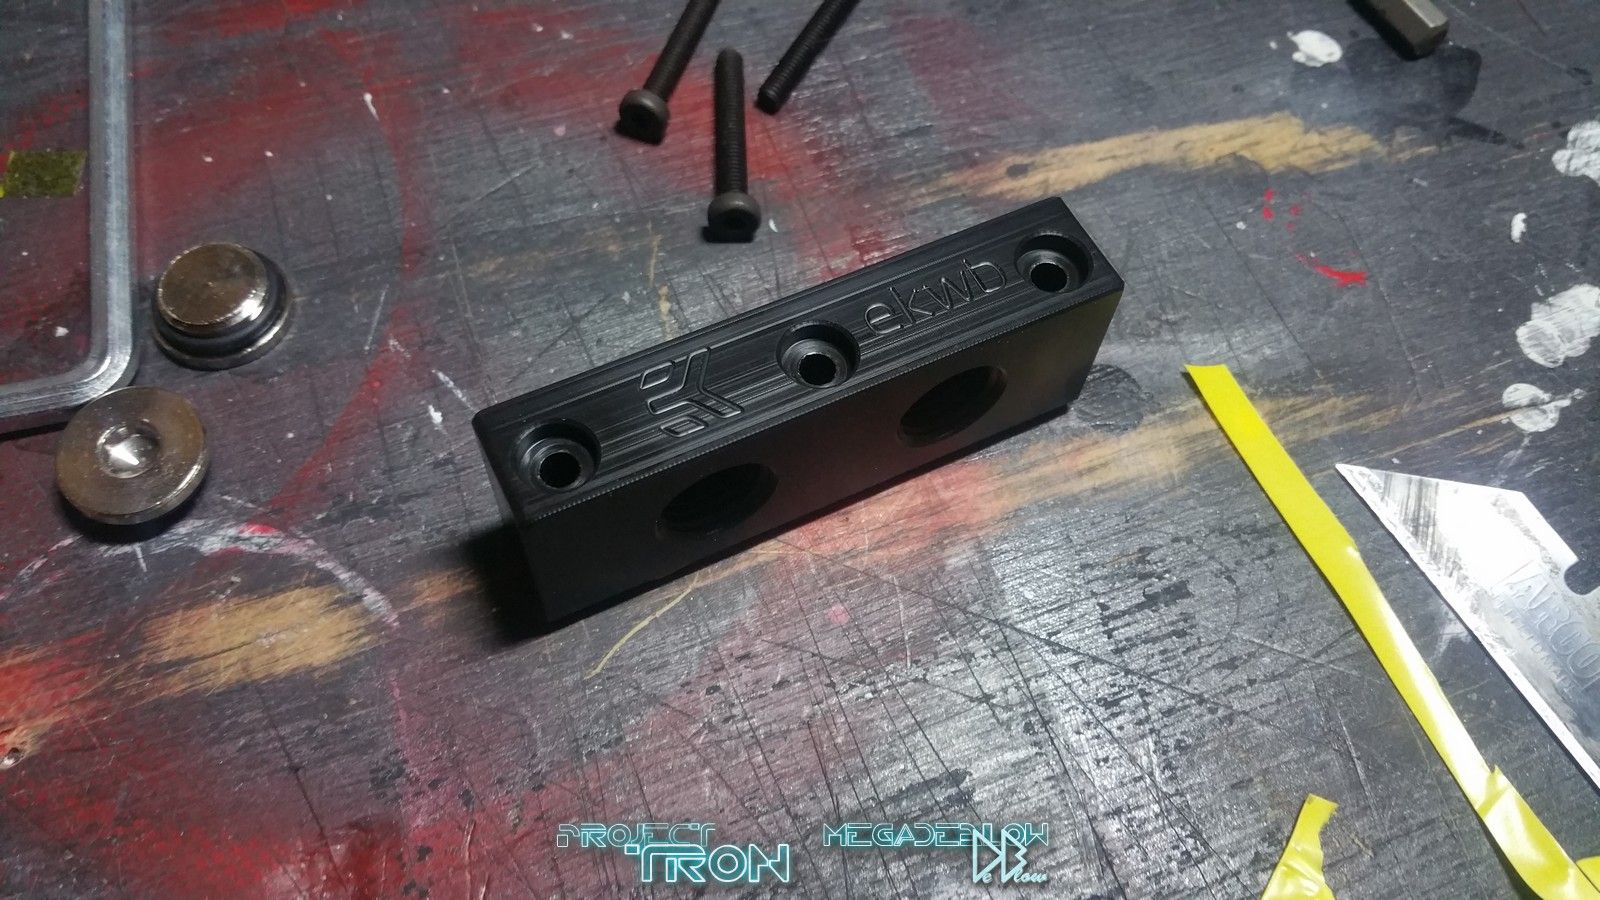
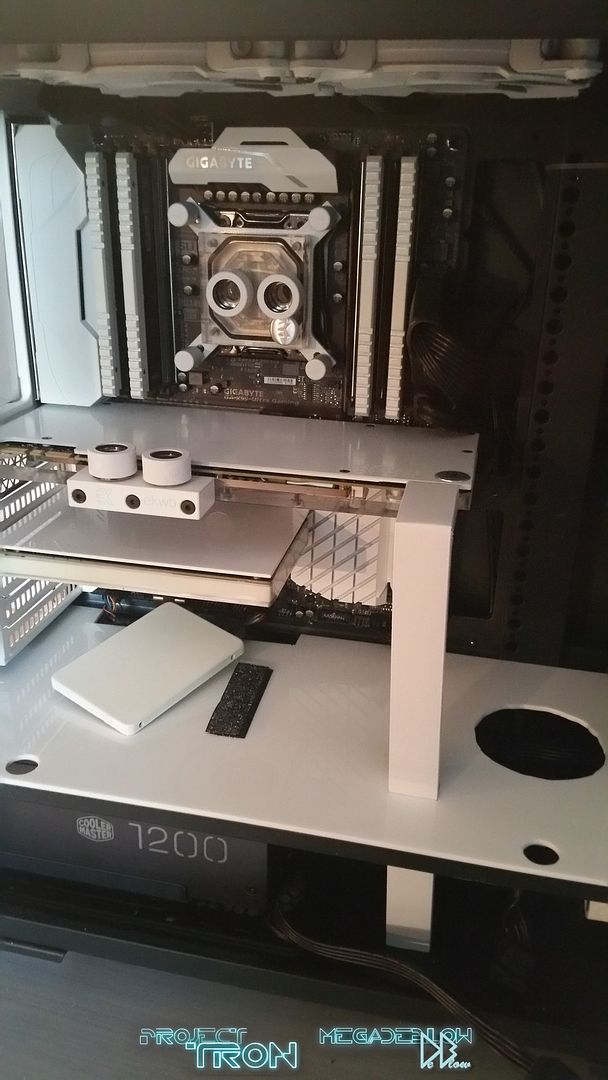
The water block has now been fitted to the 1080 along with the backplate I painted earlier in the log.
Fitting on the side still needs to be painted white.
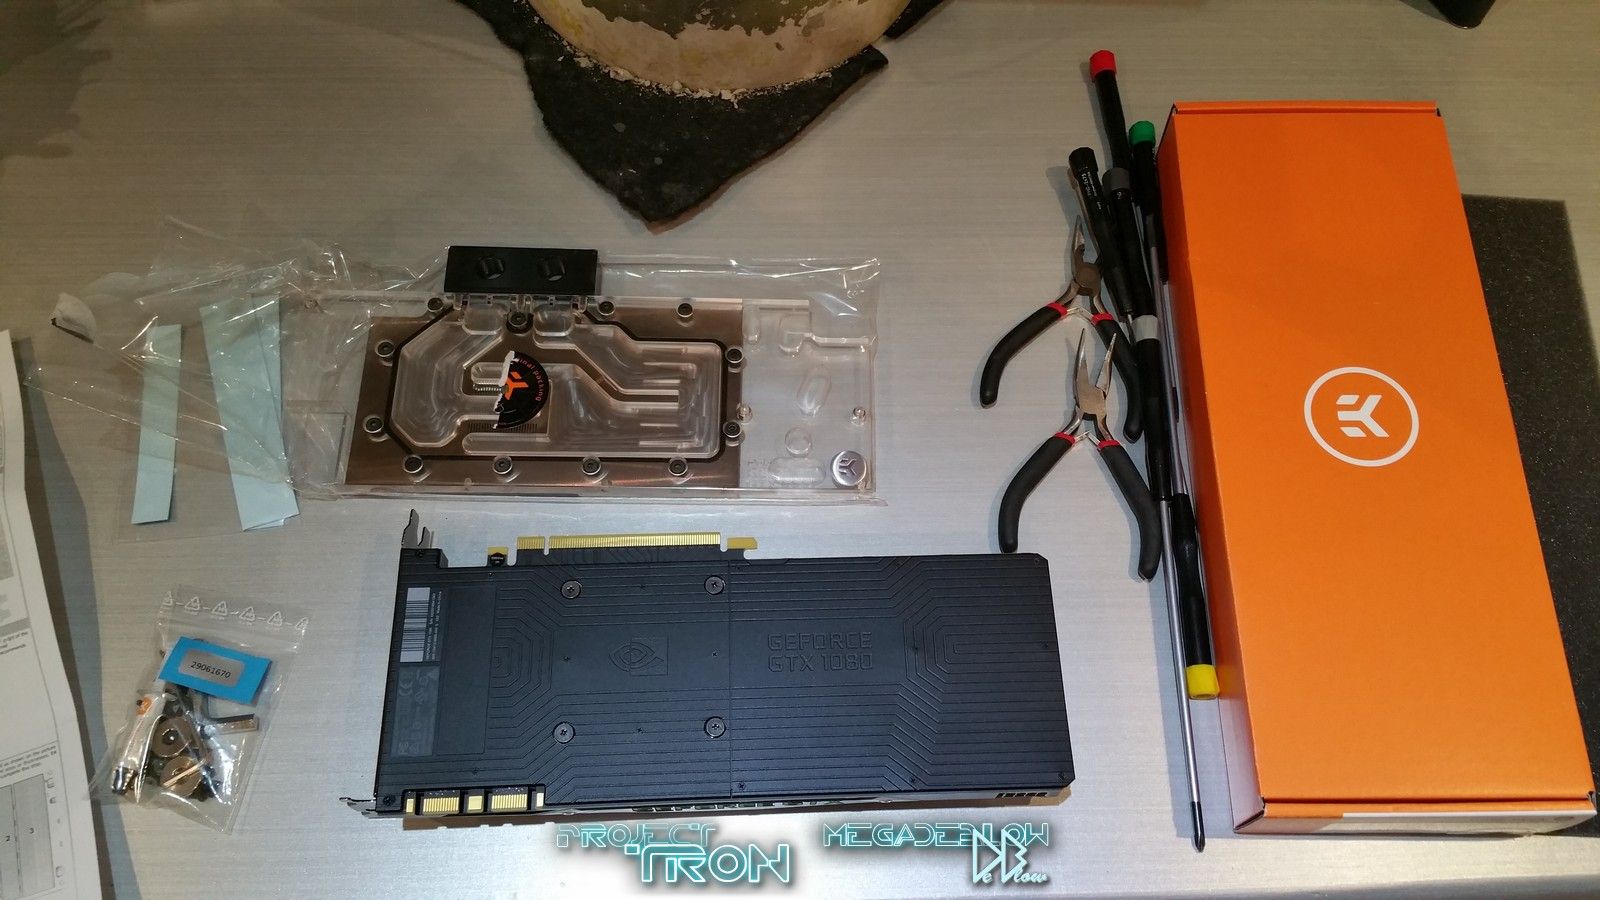
Plenty of spare screws and pads came with the EK FC1080 GTX, it's been one of the easiest blocks to fit.
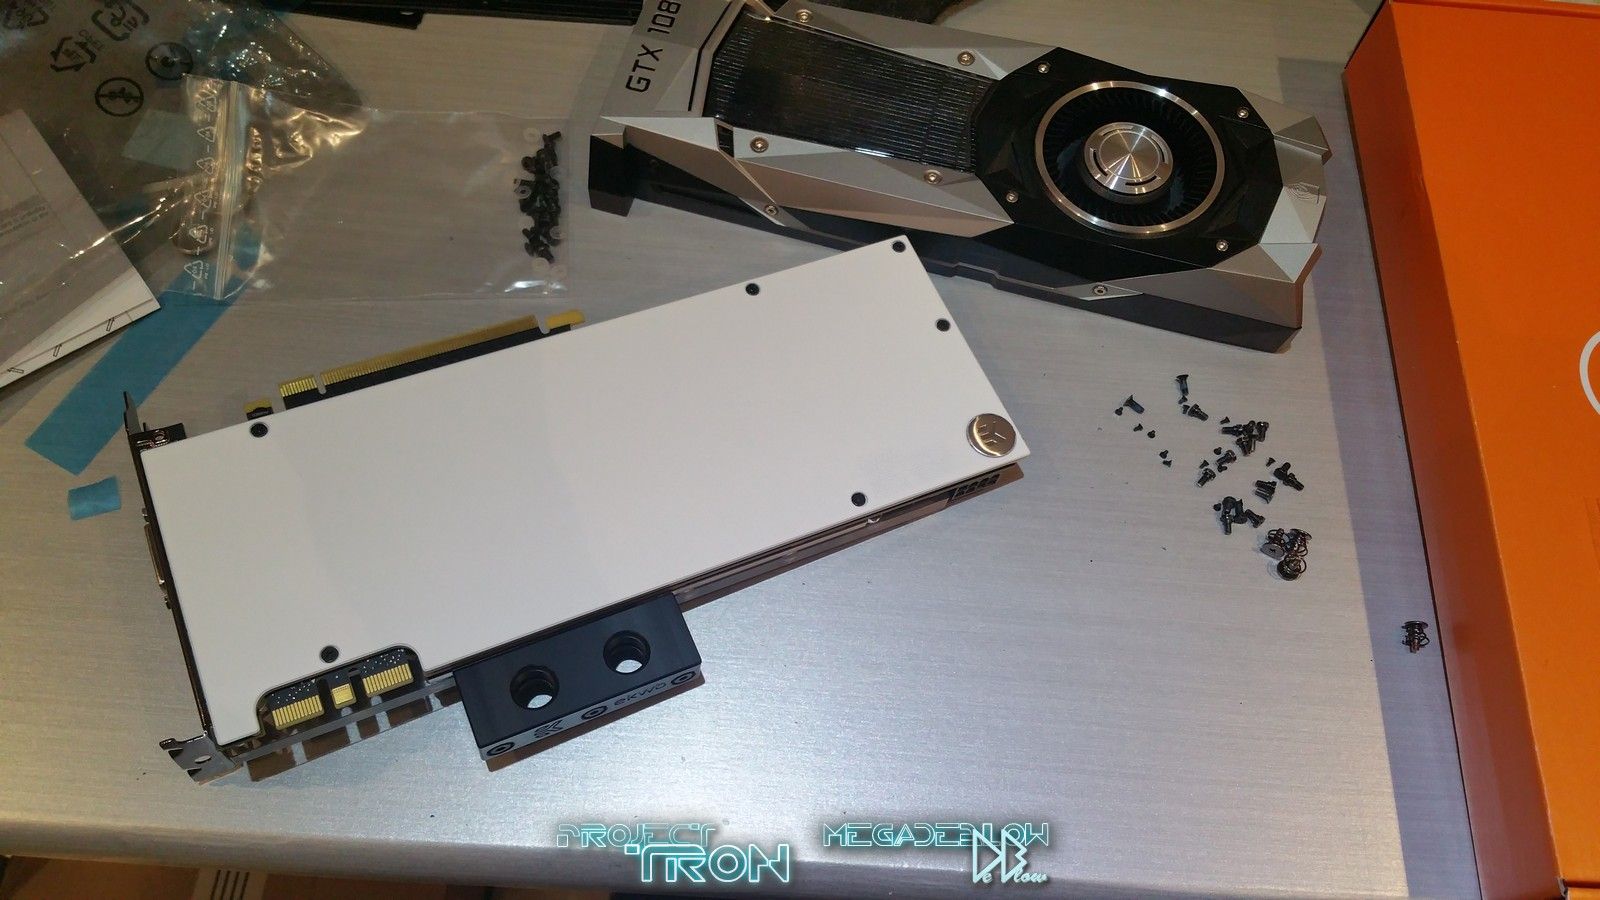
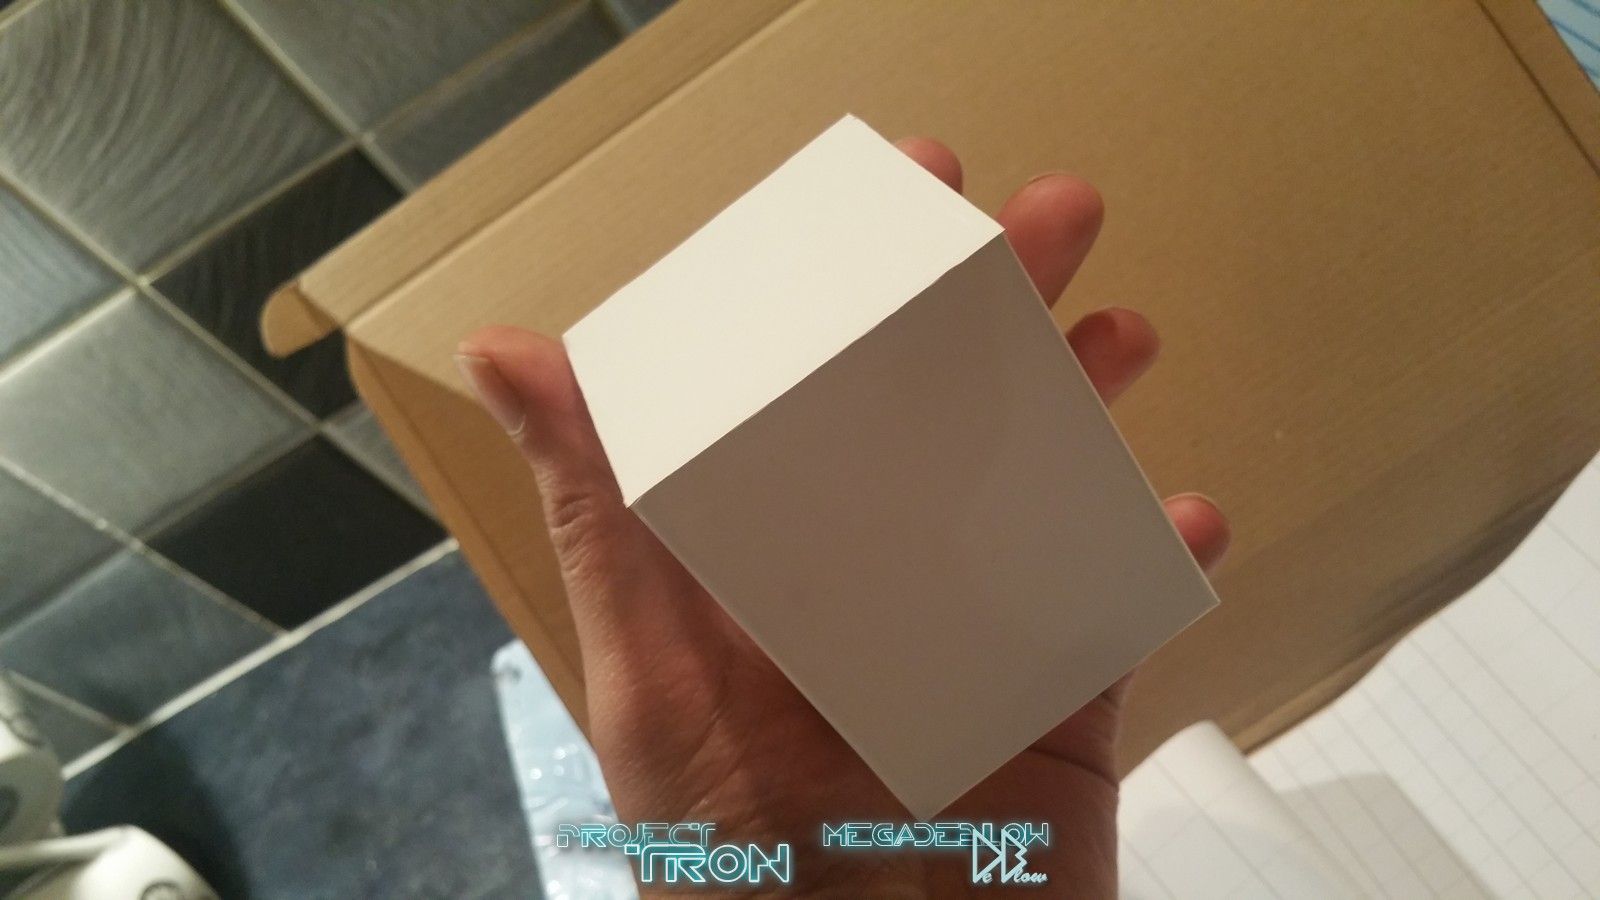
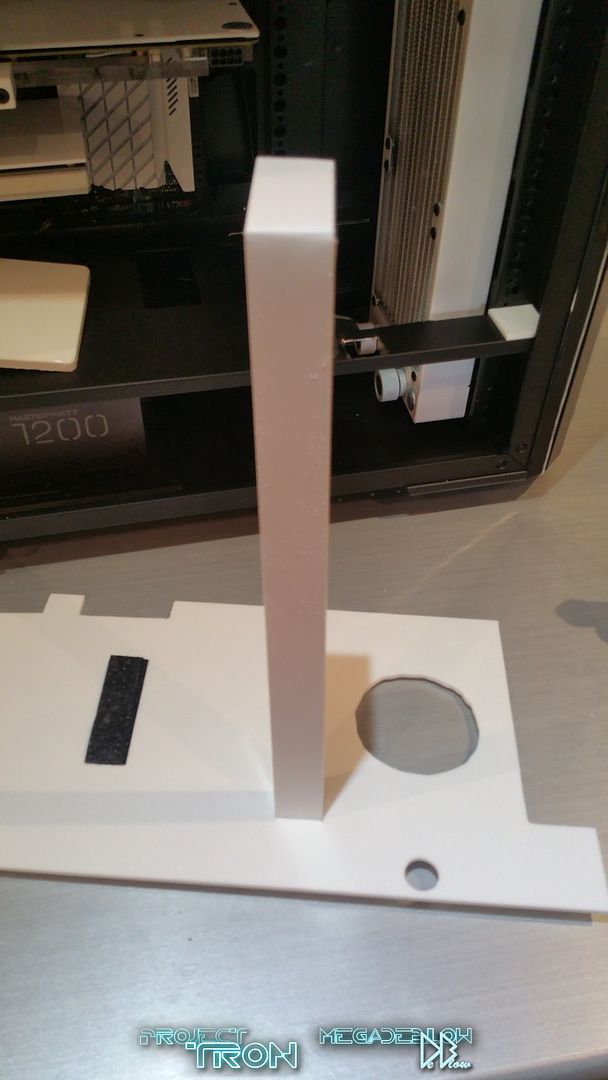
I'm now working on the cable covers for the MB power sockets and GPU, you will see in the last photo a small square pencil outline where the cable along with the cover will be going once cut.
Plan is to do away with cable sleeving as this is a Tron build and keep it as clean as possible with zero wires visible.
Fitting on the side still needs to be painted white.
Plenty of spare screws and pads came with the EK FC1080 GTX, it's been one of the easiest blocks to fit.
I'm now working on the cable covers for the MB power sockets and GPU, you will see in the last photo a small square pencil outline where the cable along with the cover will be going once cut.
Plan is to do away with cable sleeving as this is a Tron build and keep it as clean as possible with zero wires visible.
Last part of the water block painted to blend better with the other parts, until the lighting is completed I'm not sure if the screws
I left black on a couple of bits will stay black or if I will change them to white/blue.
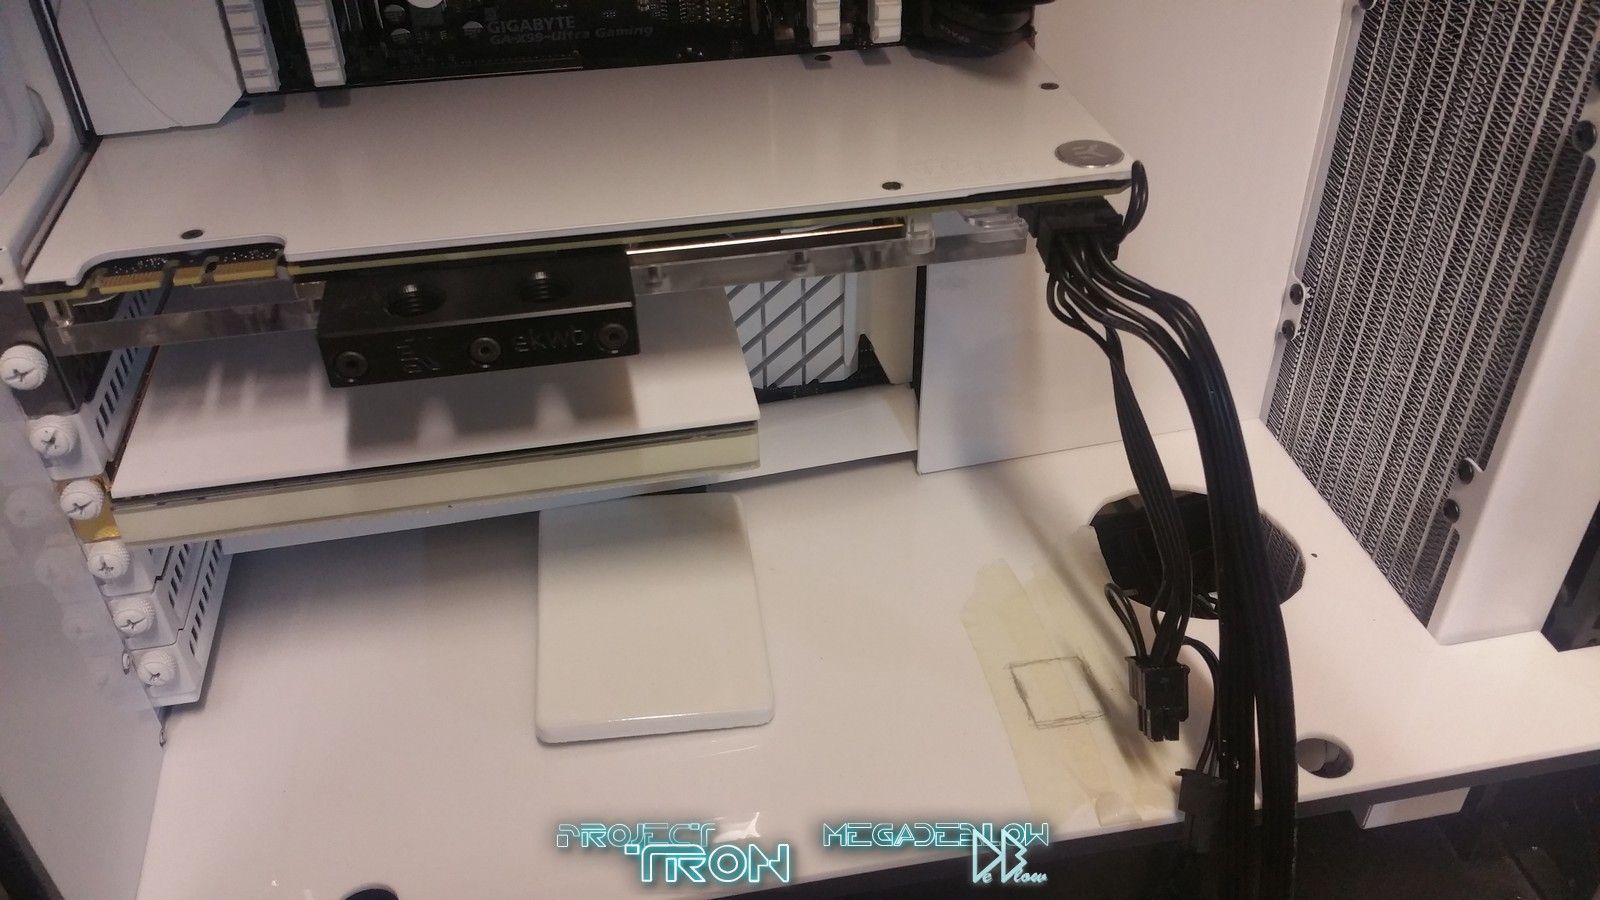
Once I got the GPU and fitted the waterblock I could start to plan the wiring and tubing, one important part of the build I wanted to happen was zero wires visible
for a very clean look and to keep in line with the Tron theme.
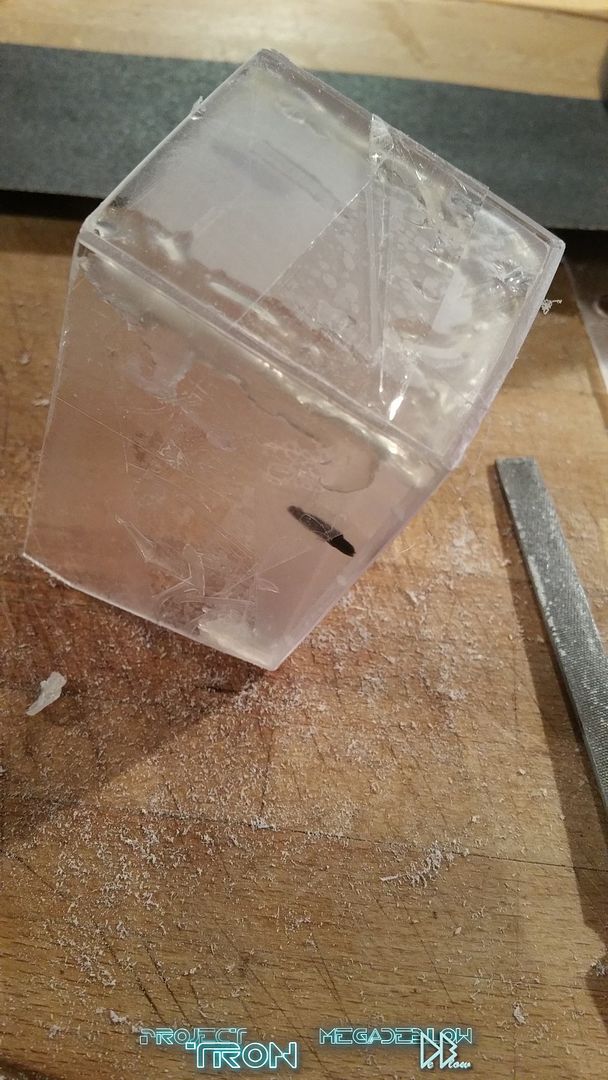
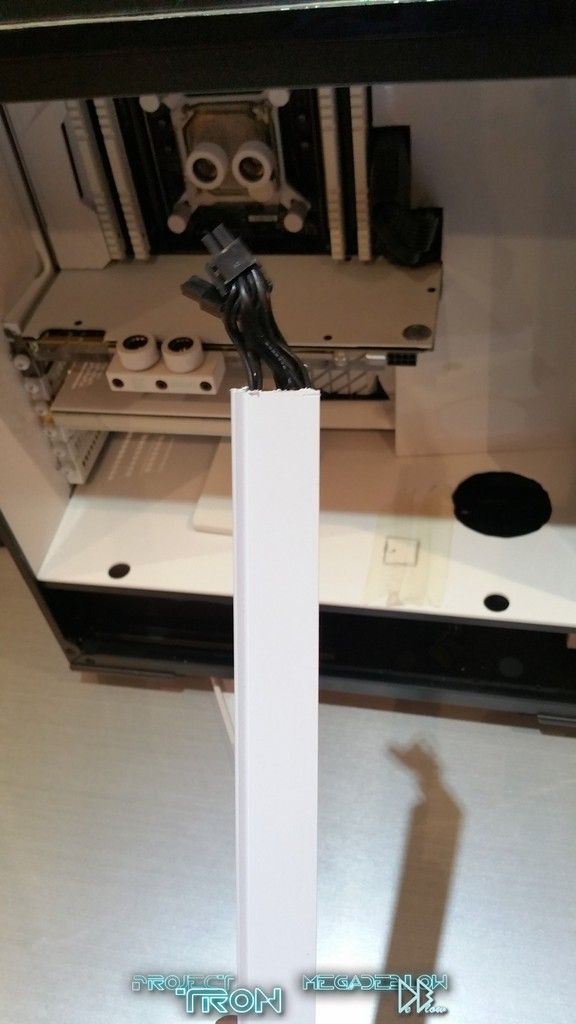
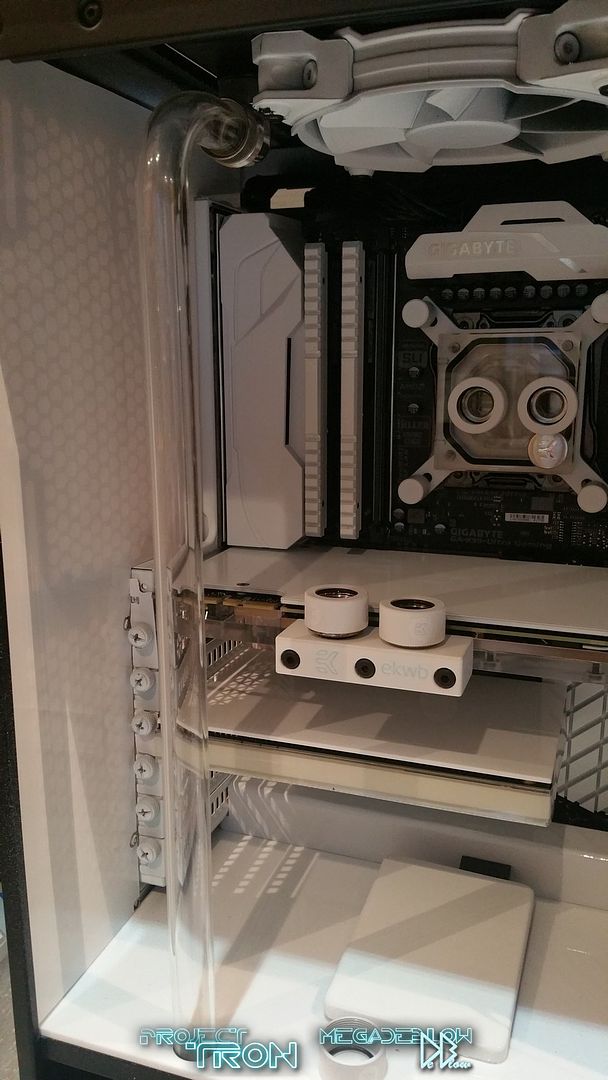
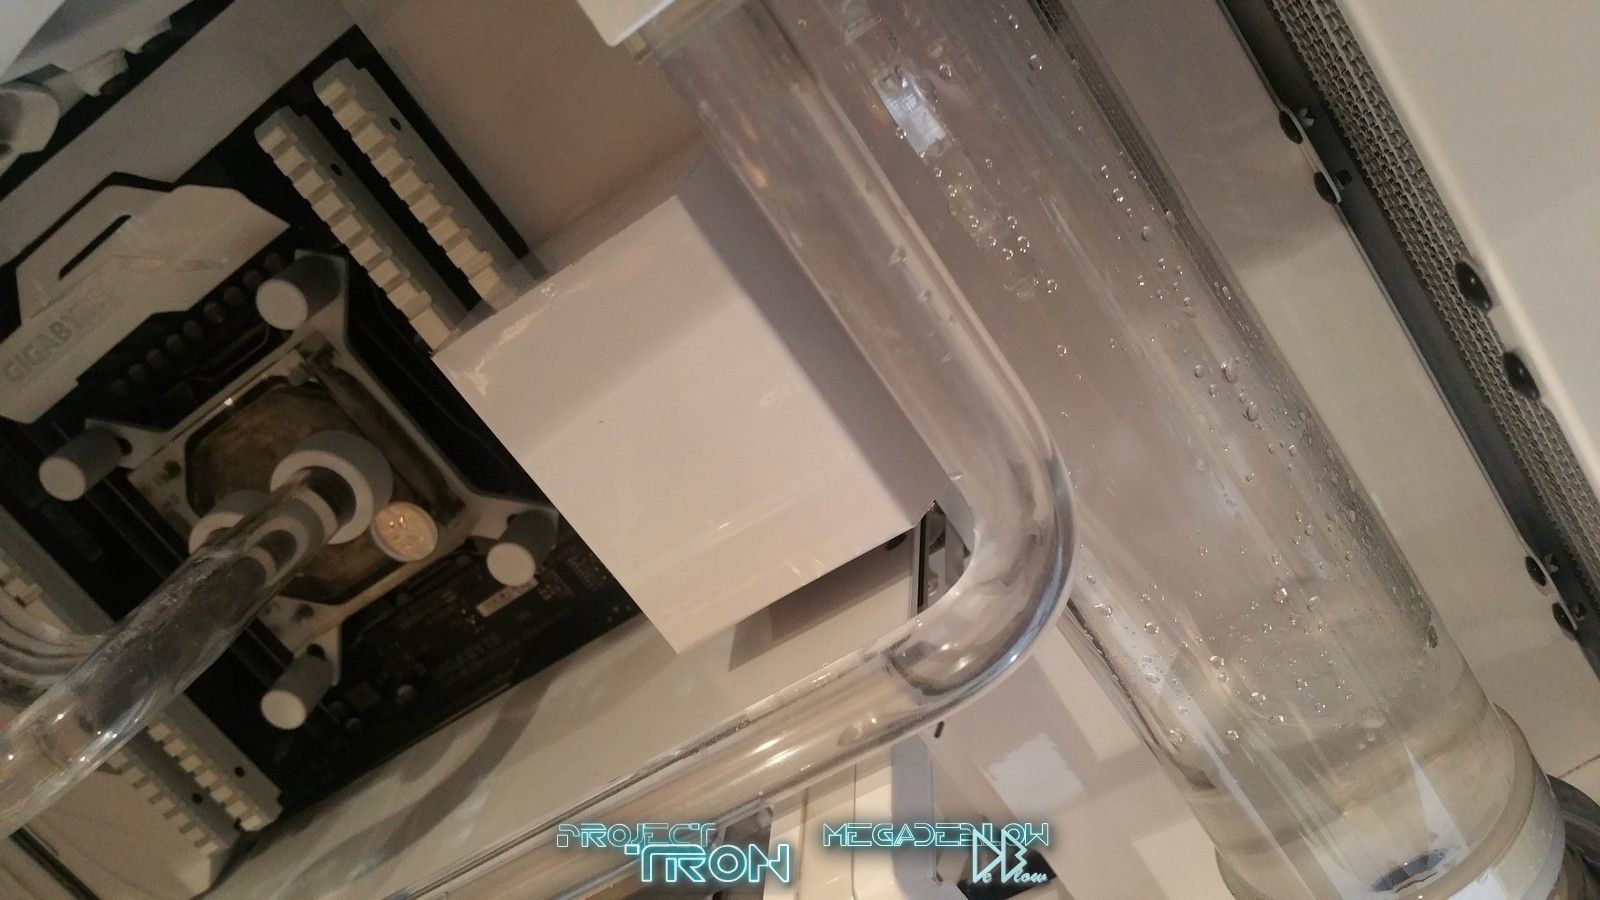
The biggest thing I had to cover was the main motherboard PSU socket and wires, made one by cutting and bending some clear acrylic followed
by some white wrap.
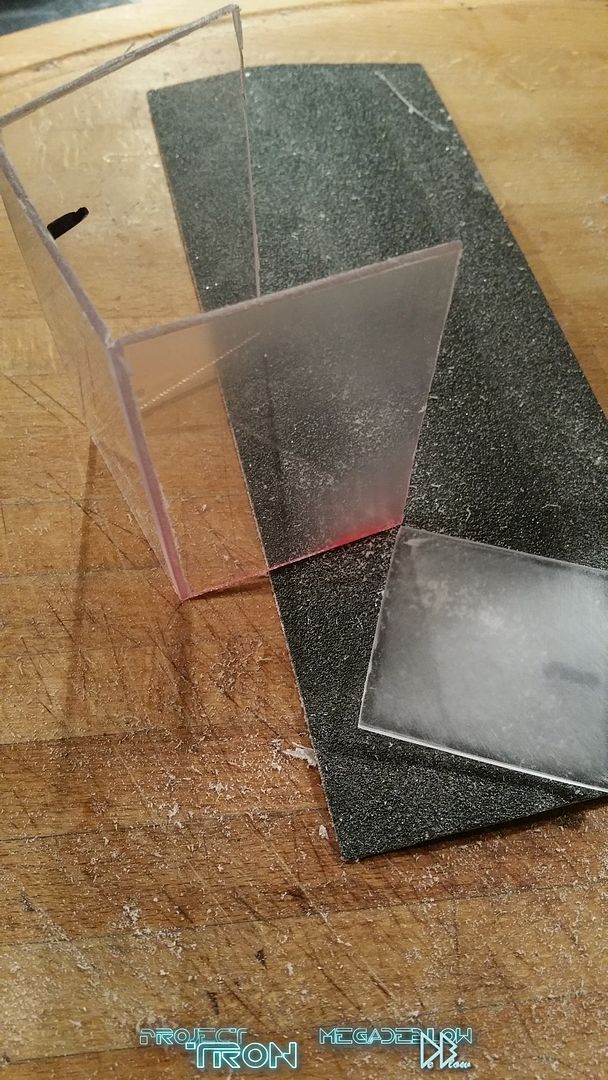
Taped together until the glue was set, used some clear just encase I decide to have the cover lit.
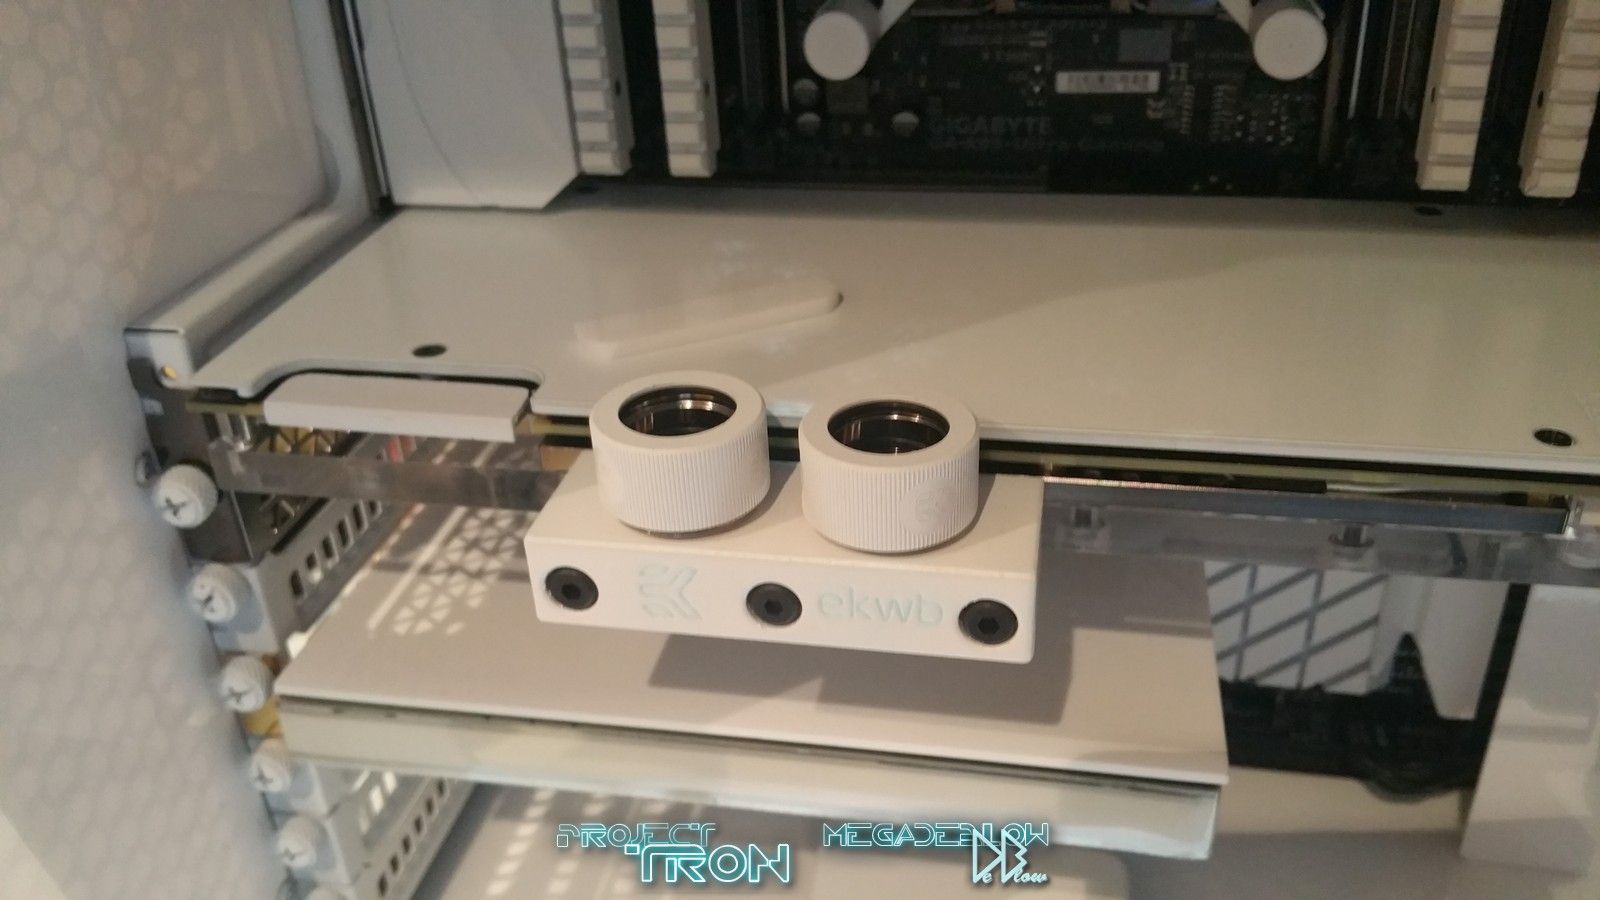
The next ugly wire in need of a cover was the GPU PCI-E.
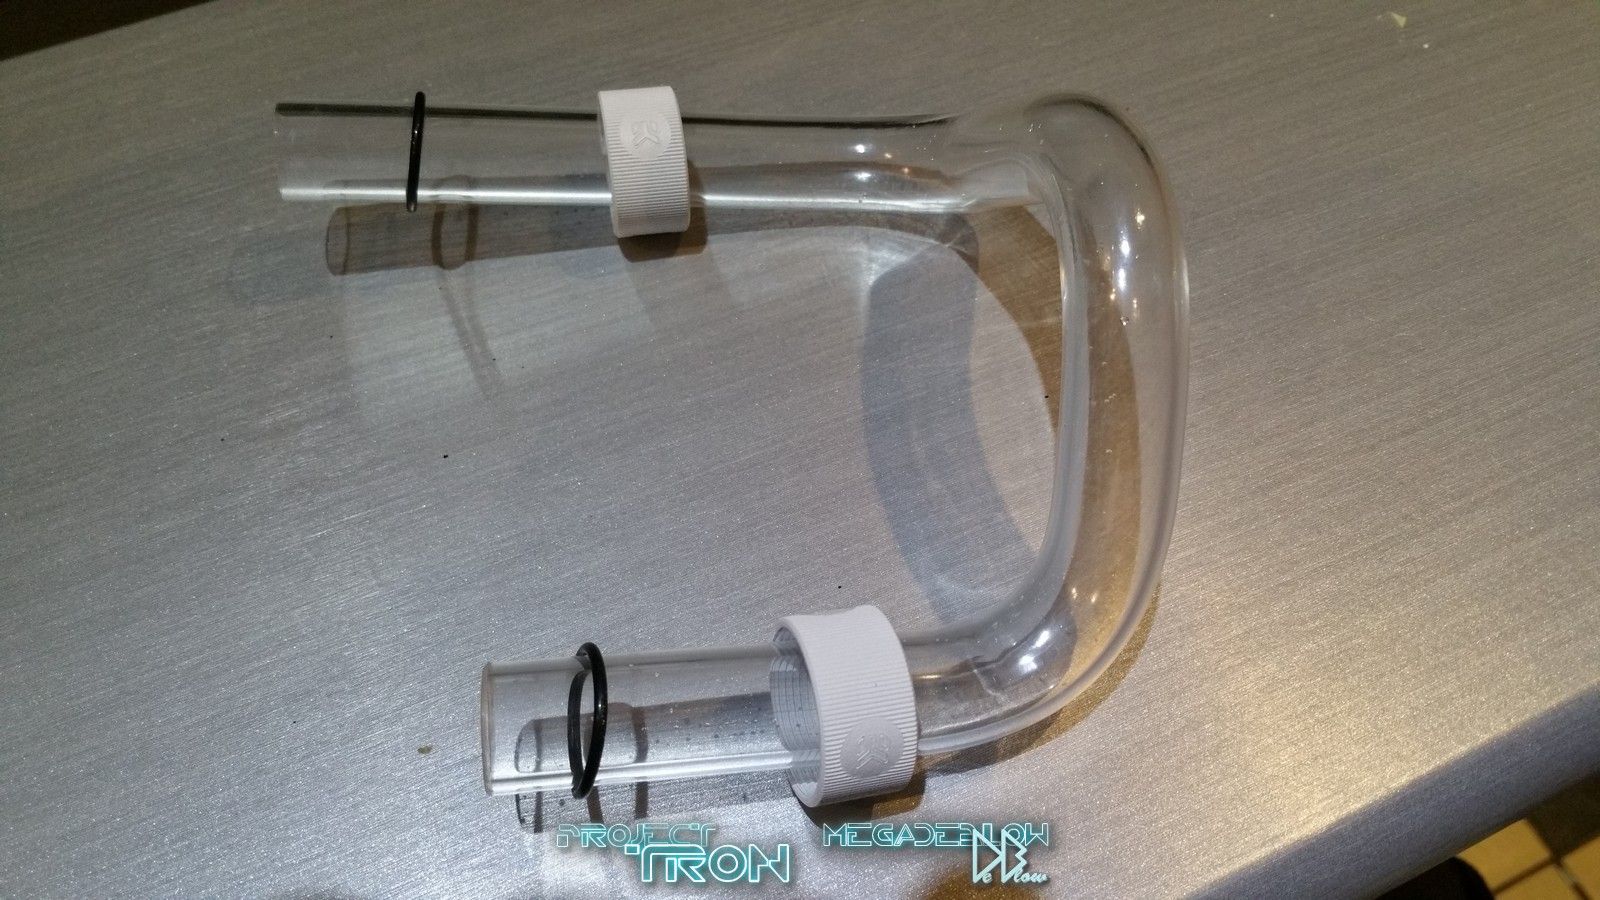
On to my first time with PETG hard tube, the one im using for this build is EK-HD PETG 2/16mmTube.
It's a lot more easy to work with (cutting and bending) than the normal acrylic hard tube and the only notable difference is slightly less shine
when I have them side by side.

Didn't order enough tube so until the extra tube arrives I moved on to the wiring and switches, only having 2 main switches for the Tron lighting, EL Tape / EL Wire, the other parts will by remote only.
I did try with some ring light switches as I have used on a couple of other builds, but the light just didn't look that great with the Tron design so went with plan switches.
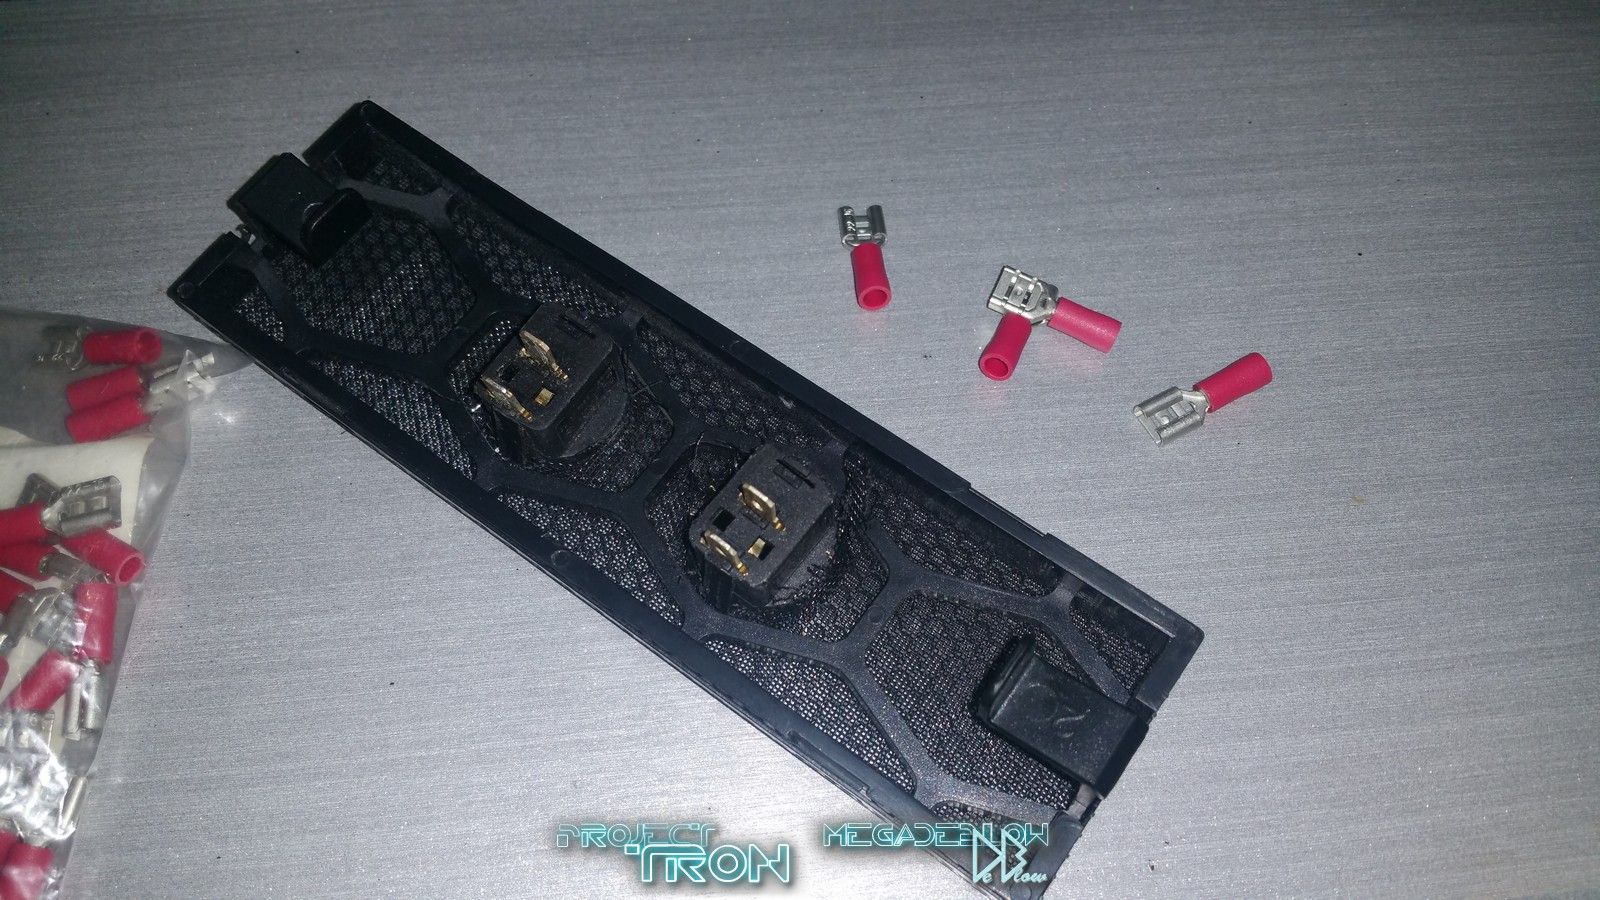
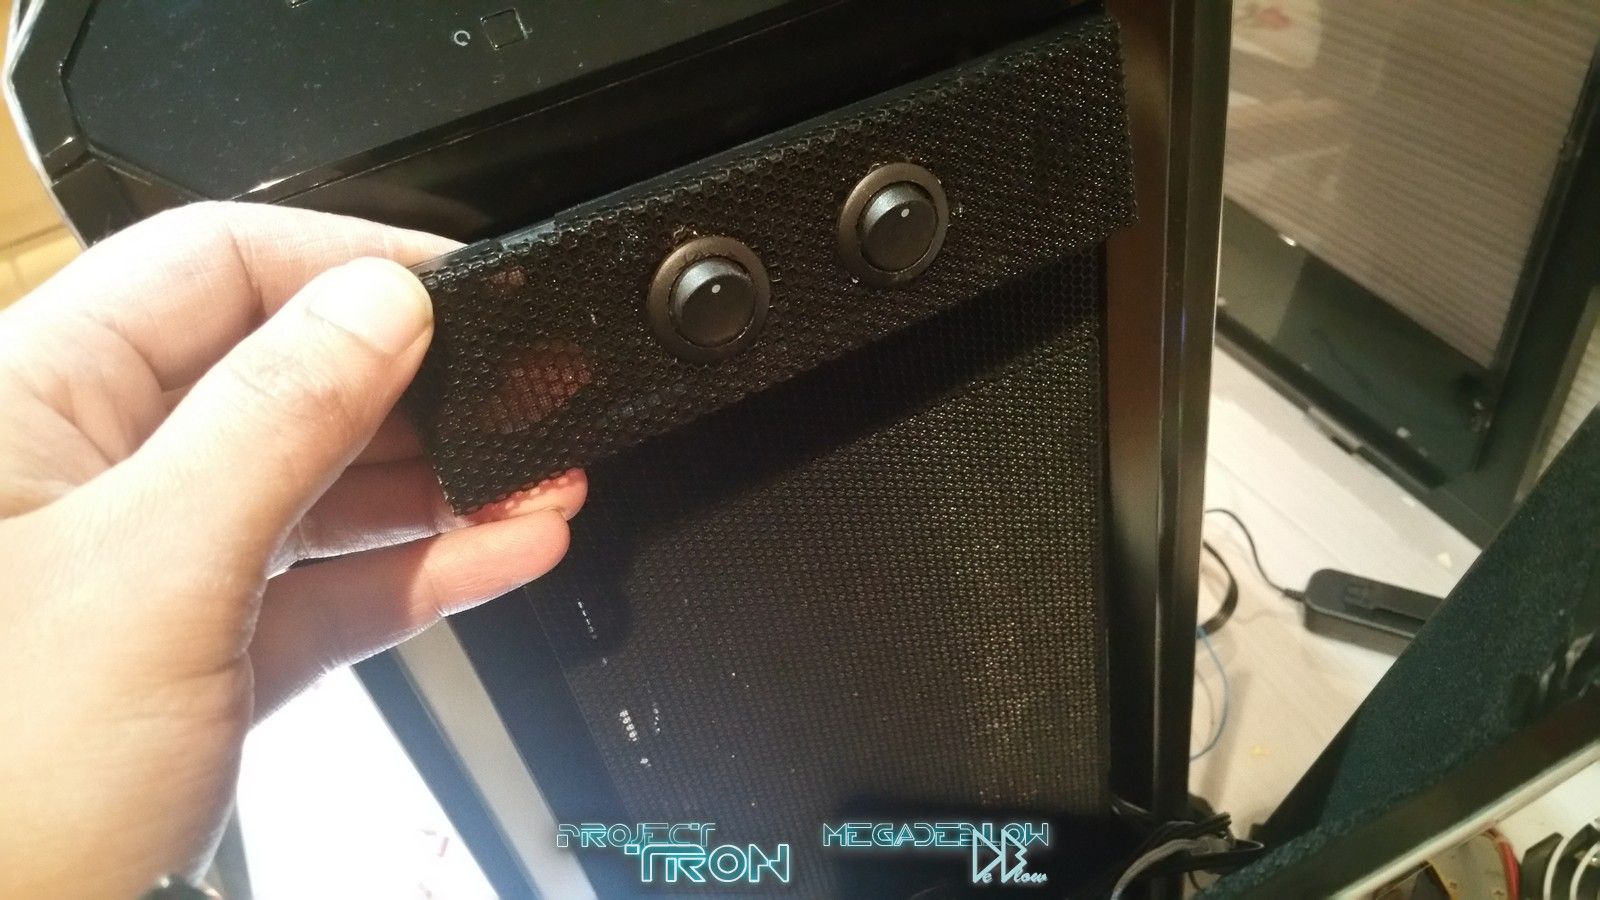
The switches can be placed/move to any of the 2x bays at the top of the case, for now there in the top slot.
The 2biginverters are from EL Wire&tape AKA wirecraft,the small one if from China, apart from the size you can also feel the deference in quality.
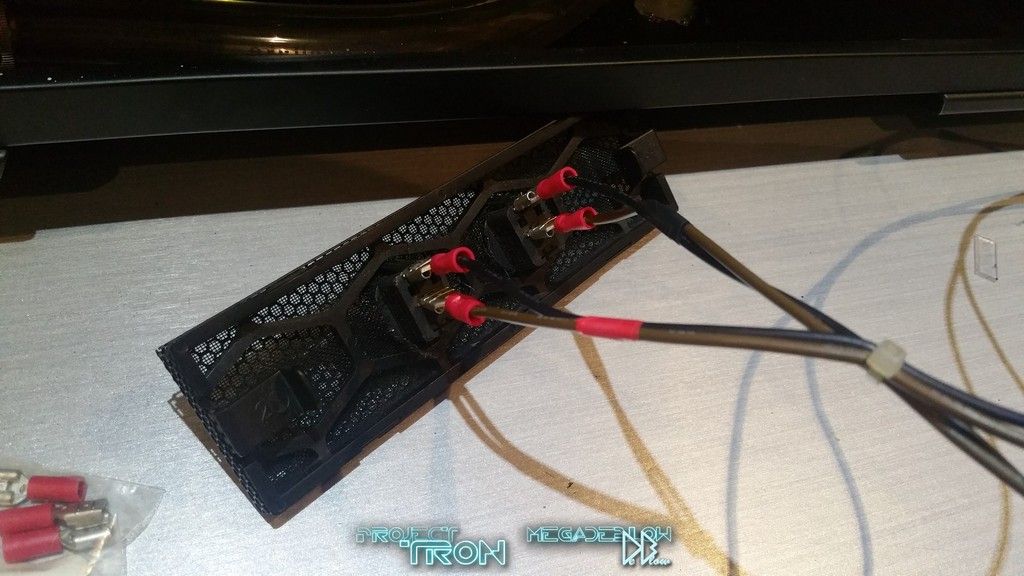
Switches are now connected to the inverters and working a treat.
Now I just have to add the last tube, fill with water to check all is well then play with the water colours I got from EK, and some other finaly touches.
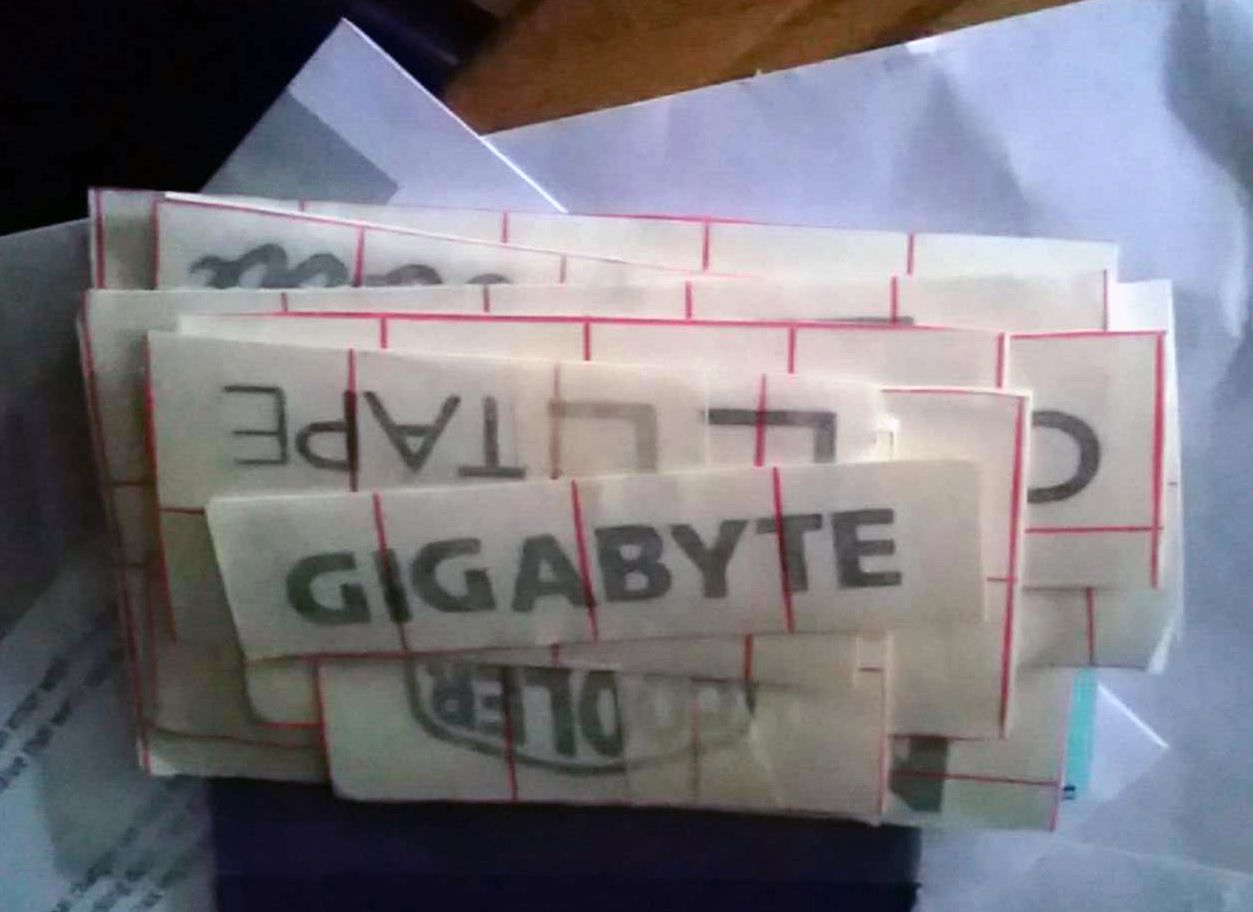
Also my good freind Marco atF3nix Mods iscutting me some last minuet logos. Thank you mate
So very soon after the Christmas break the project should be completed, I'm looking forward to testing out the 1080 mostly, especially with some VR games.
Have A Great Christmas & Fantastic New Year!
Rob (deblow) Deluce
I left black on a couple of bits will stay black or if I will change them to white/blue.
Once I got the GPU and fitted the waterblock I could start to plan the wiring and tubing, one important part of the build I wanted to happen was zero wires visible
for a very clean look and to keep in line with the Tron theme.
The biggest thing I had to cover was the main motherboard PSU socket and wires, made one by cutting and bending some clear acrylic followed
by some white wrap.
Taped together until the glue was set, used some clear just encase I decide to have the cover lit.
The next ugly wire in need of a cover was the GPU PCI-E.
On to my first time with PETG hard tube, the one im using for this build is EK-HD PETG 2/16mmTube.
It's a lot more easy to work with (cutting and bending) than the normal acrylic hard tube and the only notable difference is slightly less shine
when I have them side by side.
Didn't order enough tube so until the extra tube arrives I moved on to the wiring and switches, only having 2 main switches for the Tron lighting, EL Tape / EL Wire, the other parts will by remote only.
I did try with some ring light switches as I have used on a couple of other builds, but the light just didn't look that great with the Tron design so went with plan switches.
The switches can be placed/move to any of the 2x bays at the top of the case, for now there in the top slot.
The 2biginverters are from EL Wire&tape AKA wirecraft,the small one if from China, apart from the size you can also feel the deference in quality.
Switches are now connected to the inverters and working a treat.
Now I just have to add the last tube, fill with water to check all is well then play with the water colours I got from EK, and some other finaly touches.
Also my good freind Marco atF3nix Mods iscutting me some last minuet logos. Thank you mate
So very soon after the Christmas break the project should be completed, I'm looking forward to testing out the 1080 mostly, especially with some VR games.
Have A Great Christmas & Fantastic New Year!
Rob (deblow) Deluce
Rob, I've wanted to see a clean GPU solution for YEARS now, power wise! I had a similar idea, only I was thinking about running down the side of the GPU for a stealth look. But I never had the brains to implement it.
Thanks mate, this was the best solution I could make happen, the PCI-E wires are hard to work with when close to the card so was always going to have something sticking out, running wires down the side of the sound card worked, for the EL tape.
Just need to check for interference now, been trying to keep all the EL bits away from exposed parts.
crap-at-games
New member
Looking forward to see how this turns out loved your table build.
After a couple of delays I'm glad to report that the Tron project is complete!
I should have the final photos up during the next day or so, but today I just want to post some pics to completed the build log progress.
During the Christians holidays I finished of all the wiring but had to make a plan to light the sides panel edged but in a
way that would keep them removable for maintenance.
I'm using a the toughen tinted glass as the main window side and on the other side im using the panel I did the Tron airbrush work on, but I also
have a clear plastic panel and plane black so might be having a swap around now and then.
The back and bottom edges are attached to the panel and the other side are on the case its self.
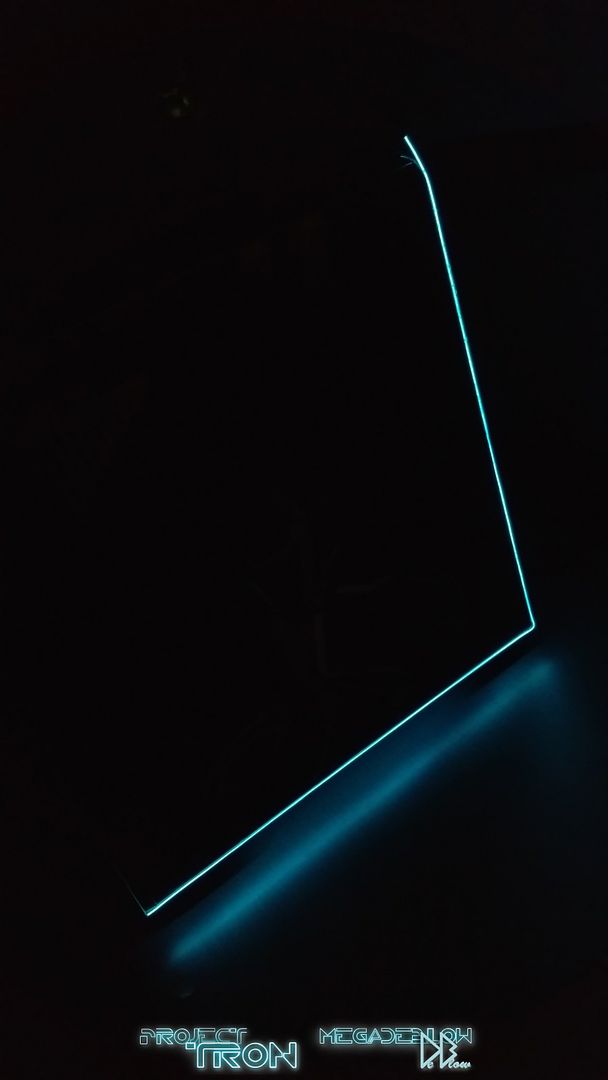

Once the wire was glued in to place I had to do a couple of quick release connections for both the side and I ran the wires behind a removable cover plate I made from some plexi.
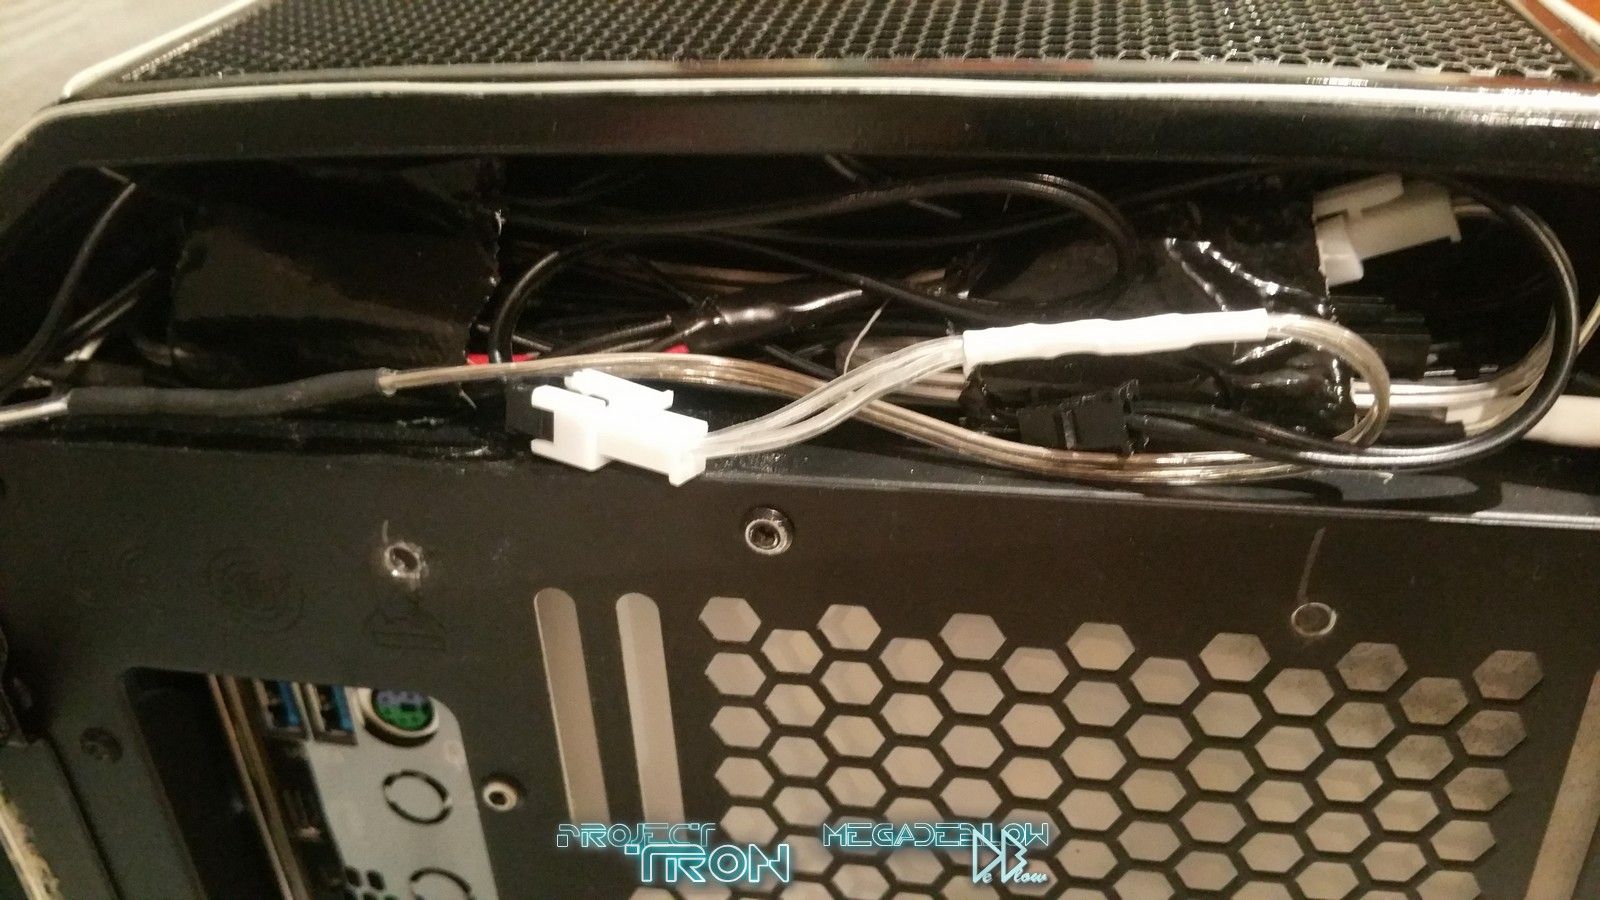
The logos for the bottom of the case also arrived this weekend so I finished of the PSU cover and added some lighting
very tight squeeze behind the logos as I have the PSU, wires, tubing and a quick release for swapping out the water.

Once I was happy with all the lighting I filled her up with some clear water to flush out any crap that might have got in during the build.
didn't take long to get the bubbles luckily
Filled up with some shades of blue and a white before decided to go with a pale blue.
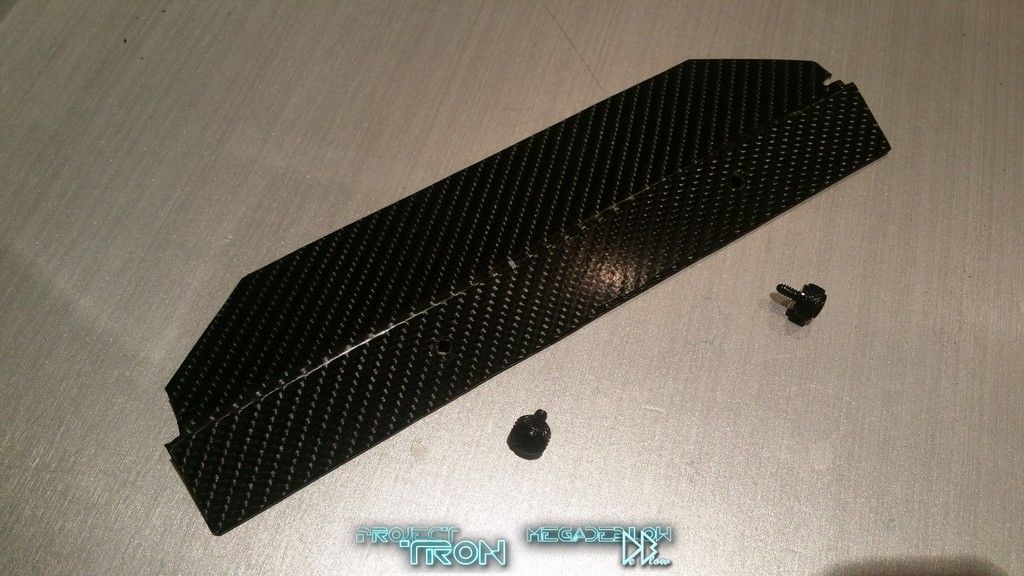
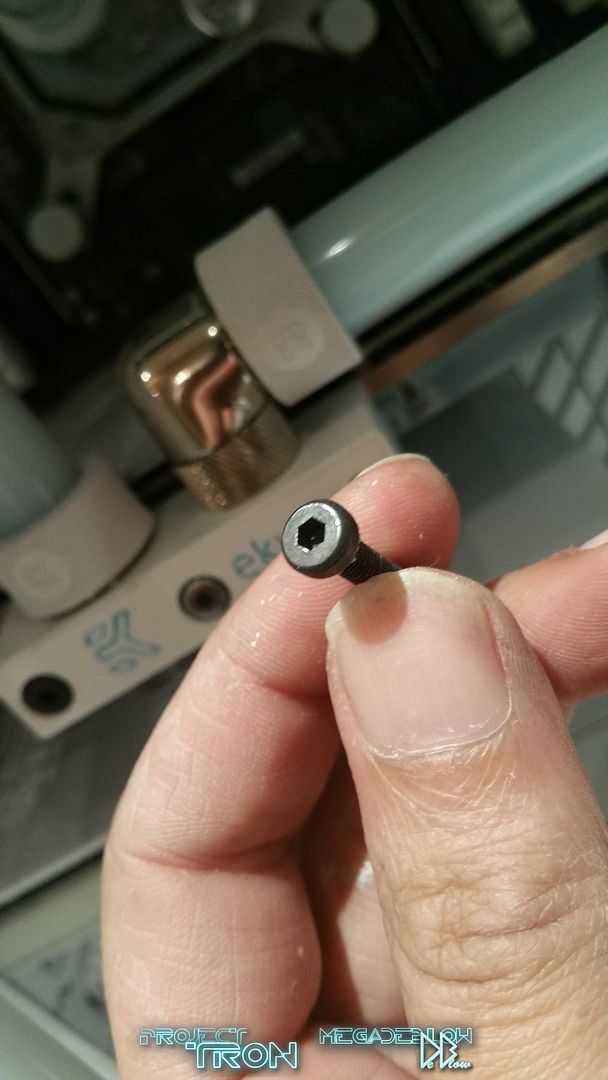
Also I mentioned earlier in the build that I wasn't sure if I would be sticking with black screws & bolts or painted them.
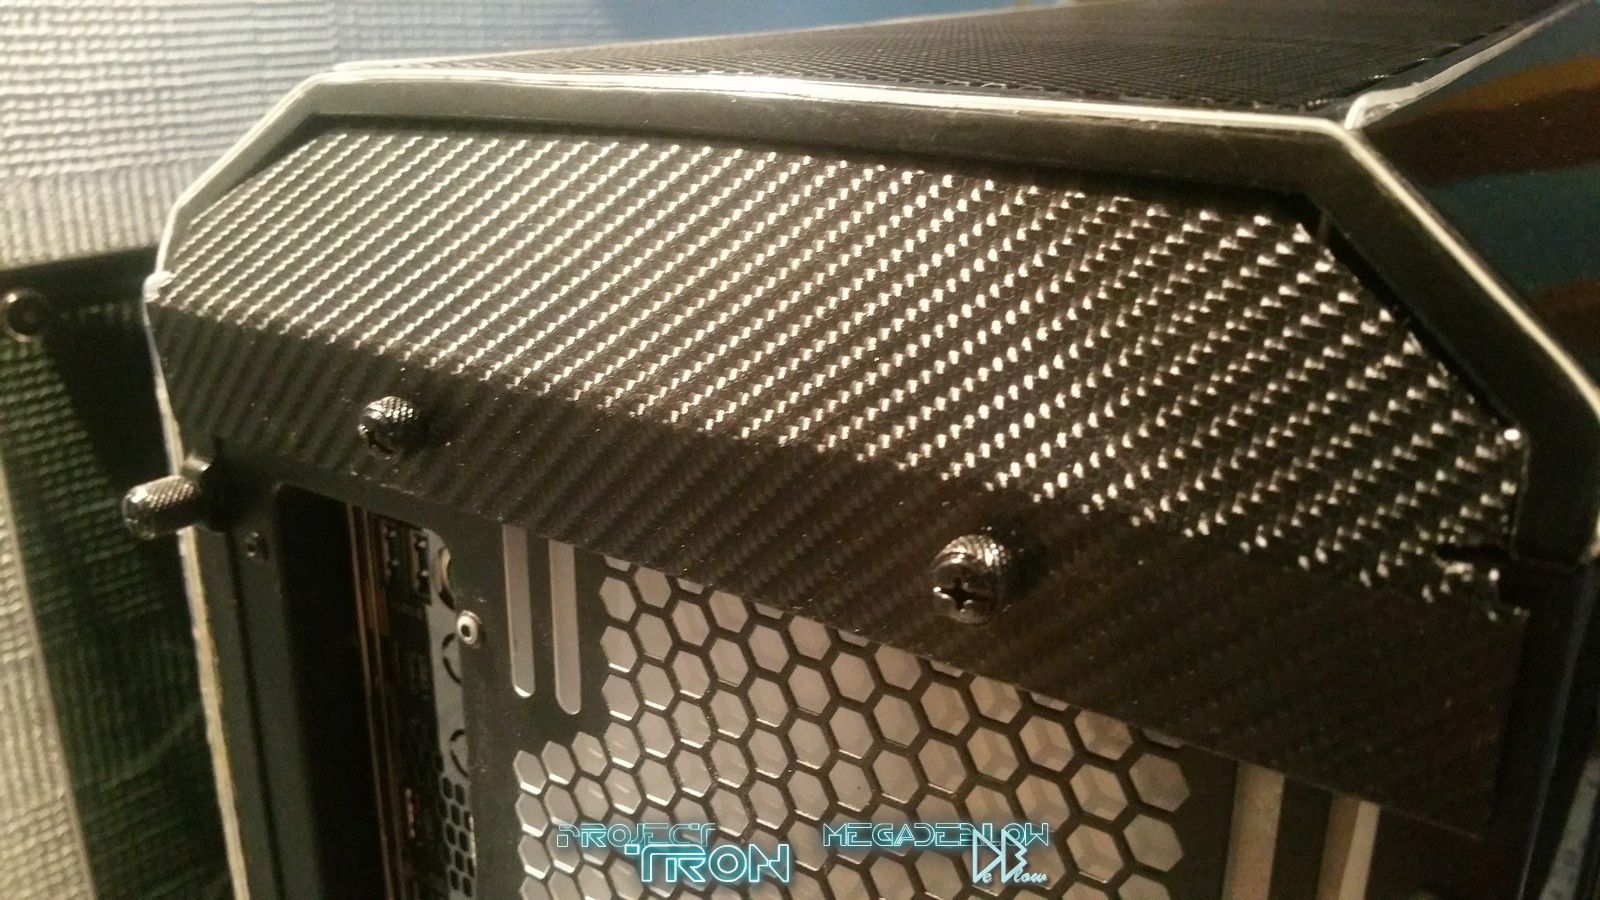
I did decided not to stick with black but instead of painting them I went ahead and polished
them to a nice chrome looking finish that matches up better to a couple of the EK fittings.

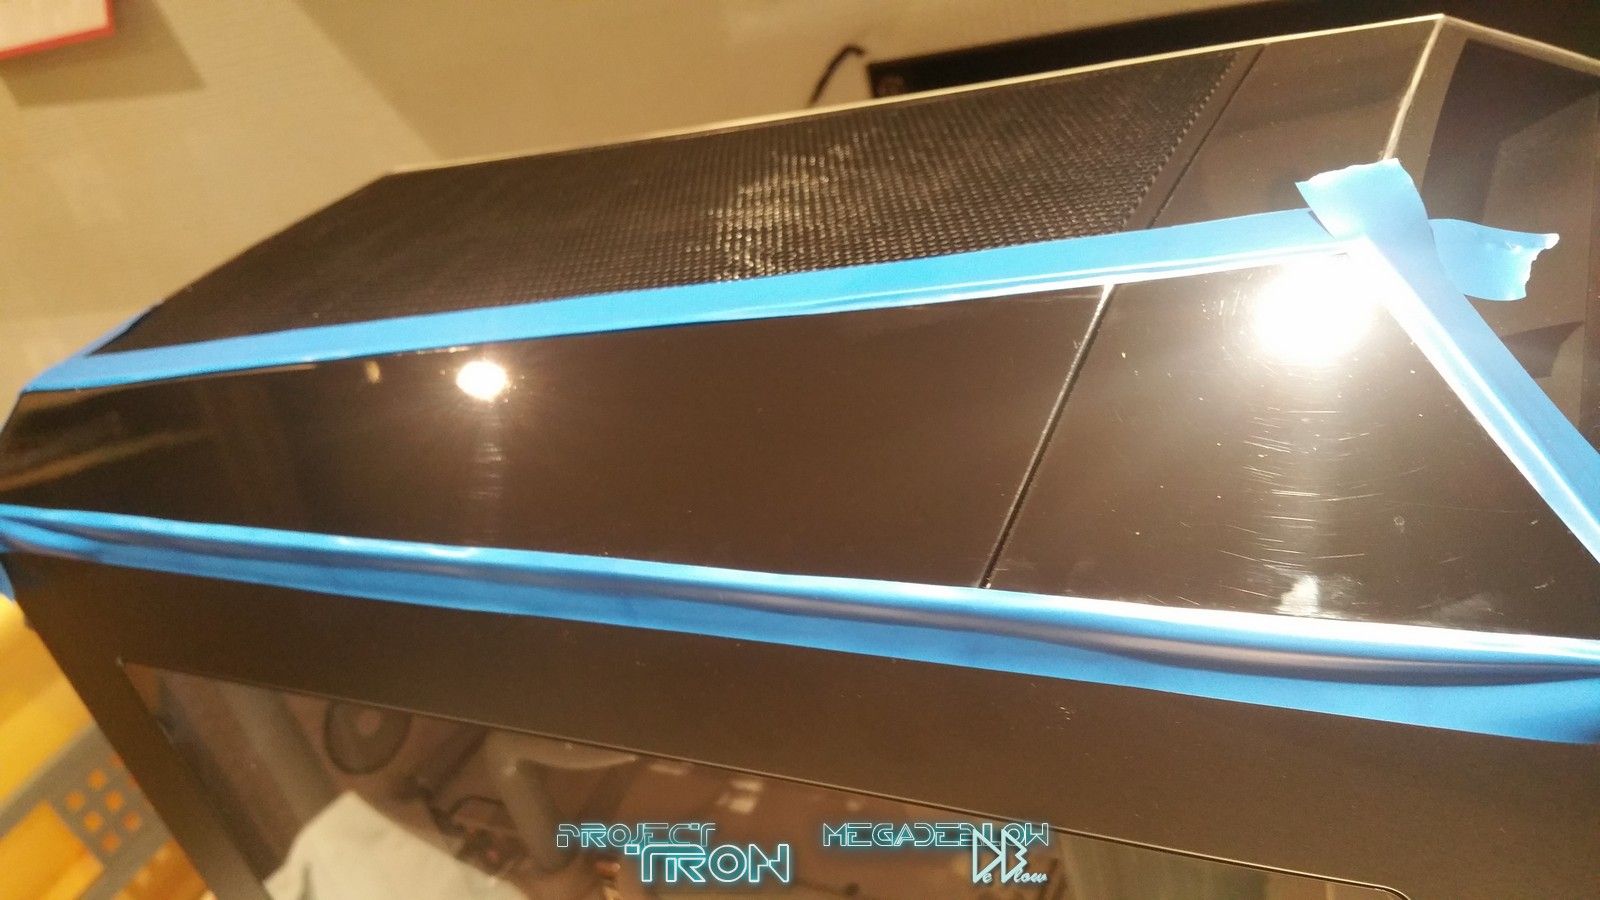
To finish of the build I covered all the delicate bits and gave the whole case another quick buff and polish as it had picked up some minor scratches
over the build progress as you can see under the light in the photo below.
So thats it for the build log, I will be back soon with the final photos and then eventually a video hopefully
I should have the final photos up during the next day or so, but today I just want to post some pics to completed the build log progress.
During the Christians holidays I finished of all the wiring but had to make a plan to light the sides panel edged but in a
way that would keep them removable for maintenance.
I'm using a the toughen tinted glass as the main window side and on the other side im using the panel I did the Tron airbrush work on, but I also
have a clear plastic panel and plane black so might be having a swap around now and then.
The back and bottom edges are attached to the panel and the other side are on the case its self.
Once the wire was glued in to place I had to do a couple of quick release connections for both the side and I ran the wires behind a removable cover plate I made from some plexi.
The logos for the bottom of the case also arrived this weekend so I finished of the PSU cover and added some lighting
very tight squeeze behind the logos as I have the PSU, wires, tubing and a quick release for swapping out the water.
Once I was happy with all the lighting I filled her up with some clear water to flush out any crap that might have got in during the build.
didn't take long to get the bubbles luckily
Filled up with some shades of blue and a white before decided to go with a pale blue.
Also I mentioned earlier in the build that I wasn't sure if I would be sticking with black screws & bolts or painted them.
I did decided not to stick with black but instead of painting them I went ahead and polished
them to a nice chrome looking finish that matches up better to a couple of the EK fittings.
To finish of the build I covered all the delicate bits and gave the whole case another quick buff and polish as it had picked up some minor scratches
over the build progress as you can see under the light in the photo below.
So thats it for the build log, I will be back soon with the final photos and then eventually a video hopefully
Last edited:
Cool, I look forward to your finished images.
Love the coolant colour
Thanks both, final photos incoming.
The coolant looks great, my 1st time with pastels and I started with a white, then blue then a mix to get the shade I have now, its that light that with the leds on I can make it
look white
under slightly warmer or cooler shades I can change the look more easy than I could with pure white and dark blue.
Similar threads
- Replies
- 1
- Views
- 161
- Replies
- 16
- Views
- 1K