MasterCase5 MOD: Project TRON

I hope this all works out for you, Ive seen some horror stories with these panels in the past!

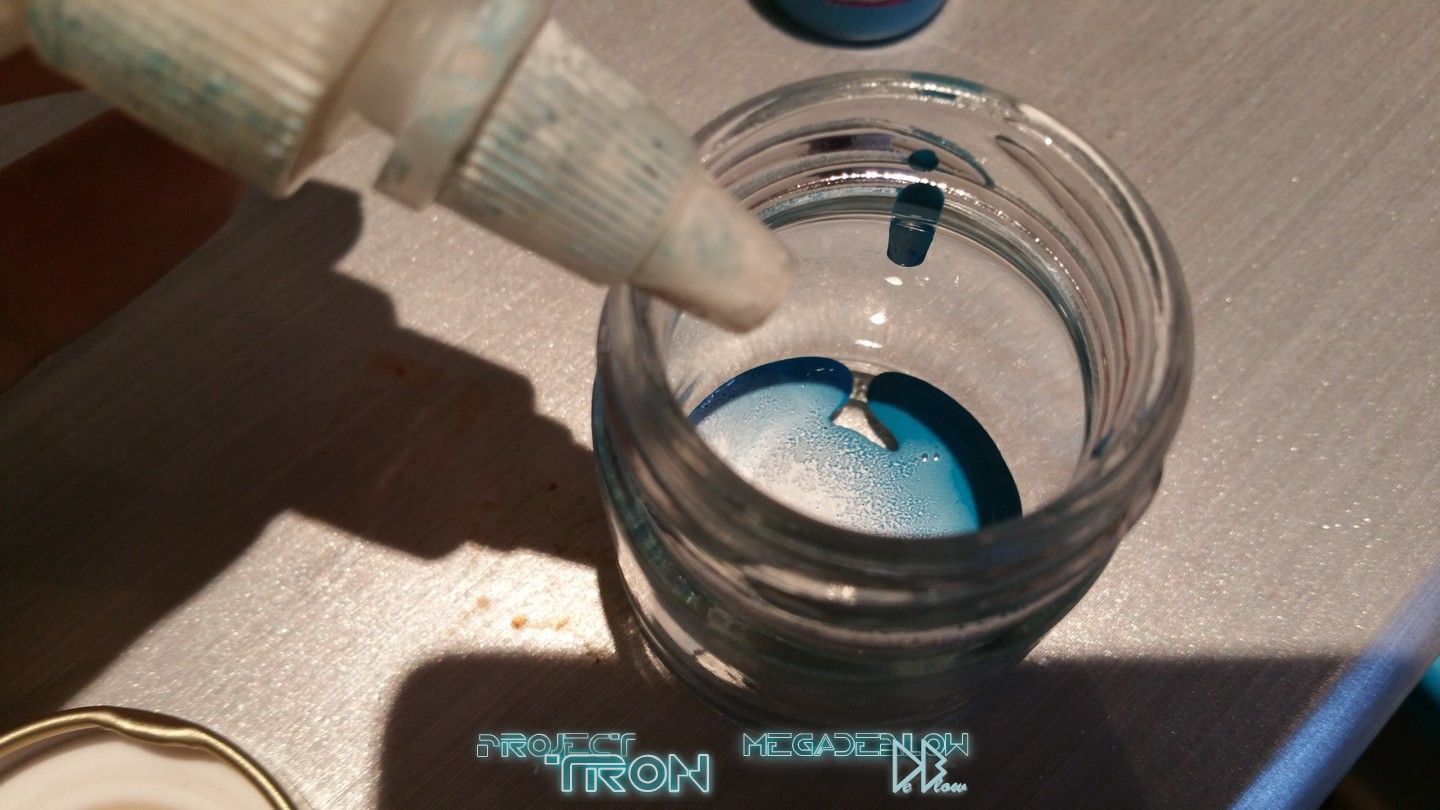
Thanks, yes I have spoken in depth with the guys at ELW&T, most common problem with the tapes are burning them out, this is because the power is to high for the amount of tape or bad connections.
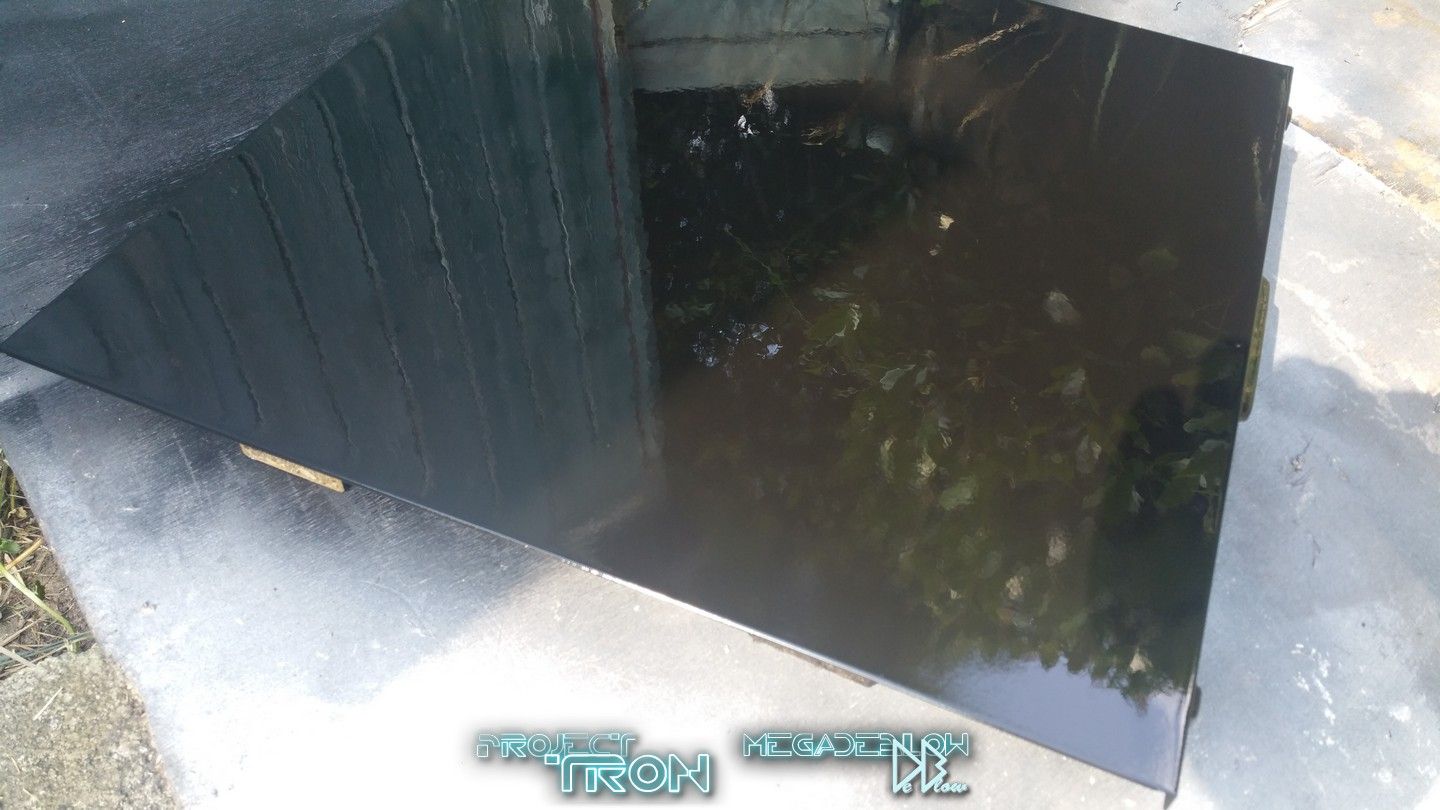
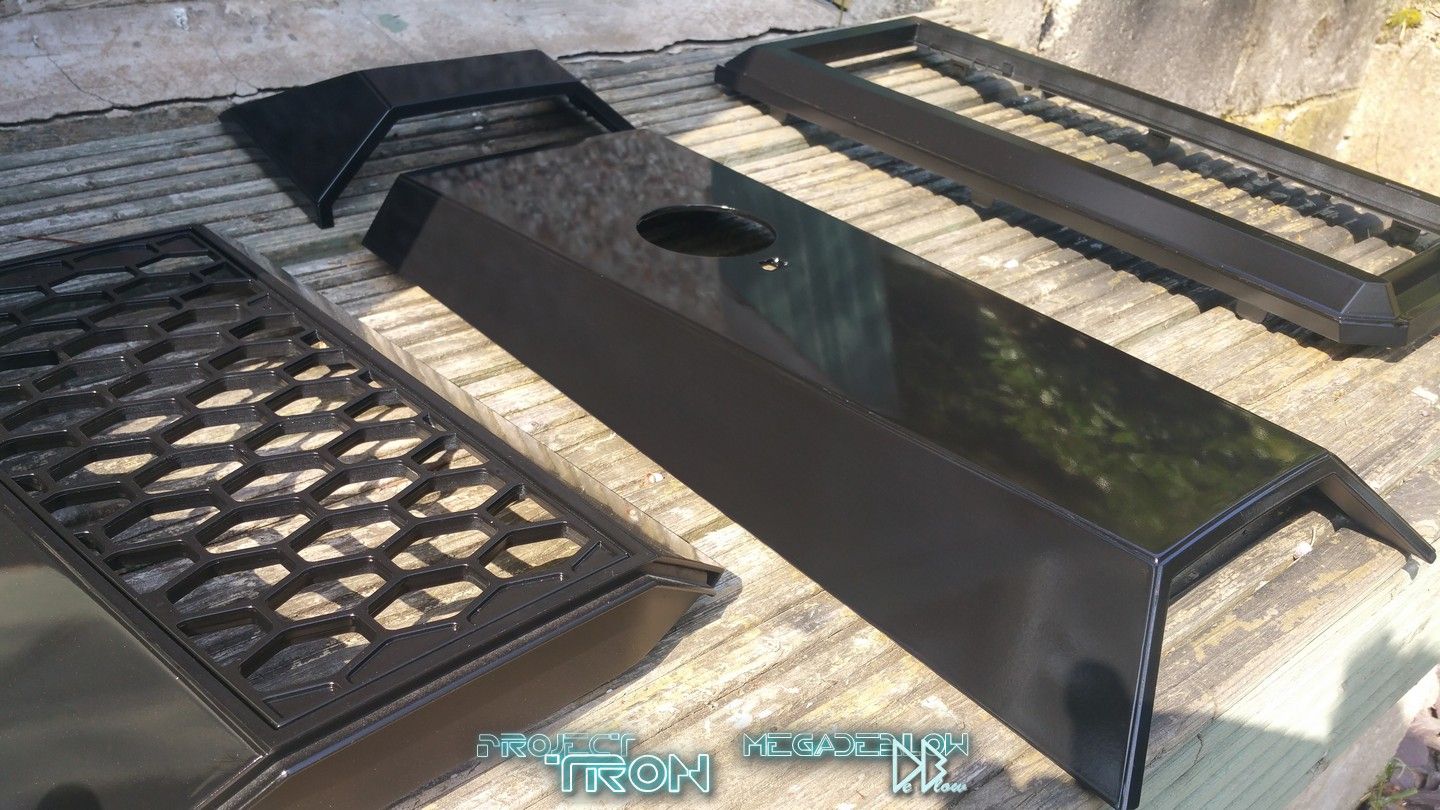
I've been playing with the tape for about a month and feel confident it will all go to plan :D

The EL wire as Alien below has just mentioned, has been around for some time now and
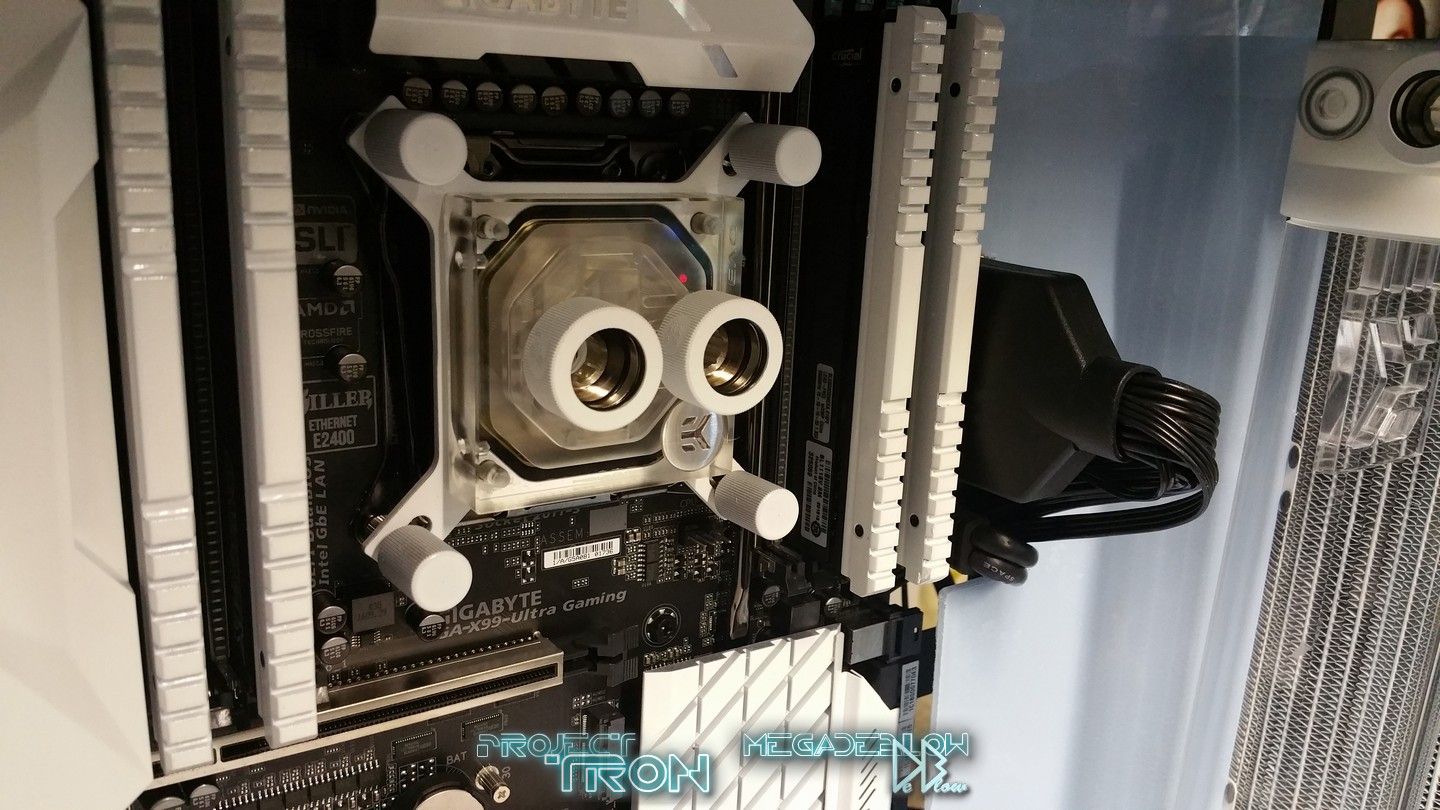
I know that should be perfect :)

EL wire. Haha I used that in my first mod in 2003 :D it was all the rage then.

Yeah, I was using it around the same time also :)
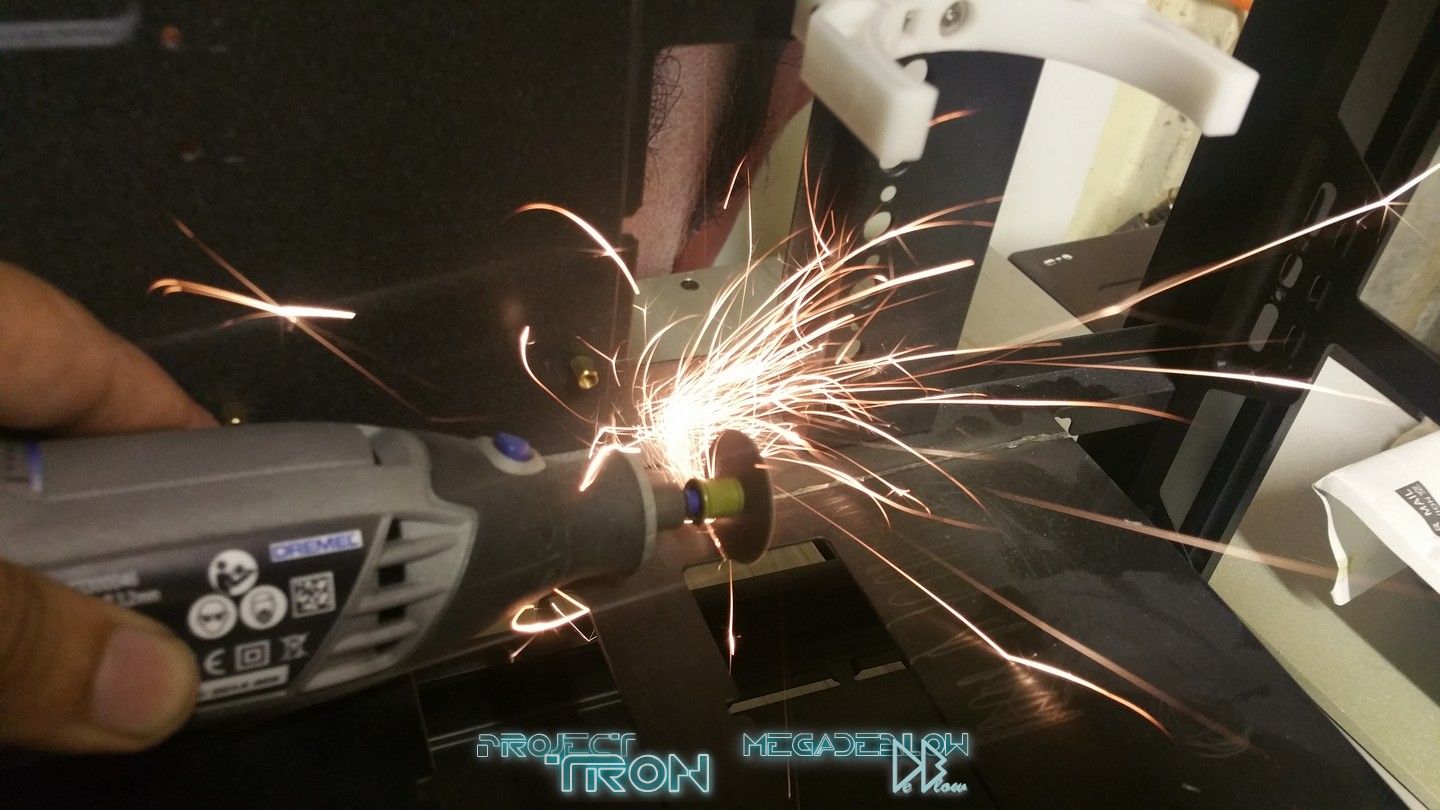
It's effective but sometimes tricky to stick in place without making the groves.

I think once im done with this build, any left over EL bits will be used to make my trainers glow lol
 
It's been a bad couple of weeks :(
Contracted Sepsis last week so was taken in to hospital, just in time they said.

I was really looking forward to maybe getting this build done in time for i58, but the chances are very low now,
I'm also still awaiting the GPU so that will hold me back.

The setbacks are not all bad though, this means I can spend a bit more time on the build and try something
that I was not going to attempt if the build was defiantly on track for completion in time for the show.

Had done some more paint work before my trip to hospital so I will upload them photos for you in the next update
along with some work I did yesterday.

I've also setup the components I have to check there all working as intended, so I'm happy to report the CPU, DDR, MB,
PSU and water pump are all running fine.


01_zpscamb2nv1.jpg


02_zpsxkxvzxha.jpg


The MB looks beautiful!
But the red will need to go and I plan to make a cover/covers for the MB.
I did get myself some white plexi, however I think I will now be using clear so the LEDs on the MB can still be seen,
if I paint most of the cover white and leave the parts covering the LEDs clear it should workout fine.

03_zpsioxqwjfo.jpg
 
Glad to hear you're on the mend :)

Watching this one with great interest now that mine is finished. Want to watch some one else getting callouses and burns etc :D
 
Glad to hear you're on the mend :)

Watching this one with great interest now that mine is finished. Want to watch some one else getting callouses and burns etc :D

Thanks, just seen yours and it looks nice mate :cool:
No burns as yet but still time lol
 
Only needed to paint the edges here as all the other parts will be covered.

04_zpszcwn53xe.jpg


05_zpskkpowqzb.jpg


Most the panels with the 1st coat of black.

08_zpswemat6ic.jpg


09_zpsrdo8rhwe.jpg


A quick wet sand ready for the 2nd coat of black, this will help show any high spots and imperfections in the
base, you will notice most of the edges are high due to the case design and primer buildup.

10_zpsqk8iaq5u.jpg


11_zpsdpqz5k1y.jpg


2nd and final black base, this was also sanded after it was dry before adding 2x top coats that will need a week
to harden before I can sand and polish, I hate orange peal on paintwork so its a must :)
When complete I'm hoping the black will look like glass.

12_zpsuqhhonbf.jpg


13_zps6c6gpmqm.jpg


14_zpstavjbuh0.jpg


15_zps0vfiu1aa.jpg


16_zpsnkwtnzzp.jpg


17_zpse0nrsuaf.jpg
 
Ok im back to work on the build after having a great weekend at the i58 event with some fellow modders and friends.

I've been doing bits here and there on the case as I'm waiting for painted parts to harden.

The base of the case is where I'll be having the pump, I decided to cut in to the PSU cover rather than
totally removing it as it will help keep the case strong and be a good support for the pump and other bits.

01_zpselagu660.jpg


02_zpsihar0ovw.jpg


I made some templates for the bottom and side that will be used to make some covers out of plexi, this will also be painted or wrapped in white later down the line.

03_zpsvr30bz4s.jpg


04_zps9my29l3y.jpg


Heres the panel cut to shape, all that's needed for now is a hole for the pump to sit in, some other cuts will be made after testing the layout.

05_zpstyg1tsns.jpg


06_zpsffahopfl.jpg


07_zpse1l05zbm.jpg


Now for the motherboard, its originally white, red and silver.
I removed all the parts I wanted to paint and covered the red with some white wrap, the white did't match good enough so I went all out and painted the parts white.

08_zpsgymzz7kq.jpg


09_zps52udonwh.jpg


I wont be using the whole southbridge cover, but I've kept the G1 silver part should I decide to use it somewhere later.

10_zpser4jgd1v.jpg


11_zpscpfw6m3d.jpg


The motherboard is looking nice and clean, the white should look great with the light blue lighting once completed.
I've also painted the RAM and some other parts like the EK waterblock shown in the photo below.
I will get some more photos of them and the other parts posted in the next update.

12_zps45udkut9.jpg
 
All the internal components and fittings are now painted, might add some more colour and or logos to them later in the build.
Tron is very polished and simple yet effective, so I want to keep this as clean as I can.

Here are some closer shots of the before and after CPU block.
01_zpstrerfr47.jpg

02_zpslldcqbty.jpg

03_zpsgptzwyqf.jpg


This is the backplate for the GTX1080 GPU, no white available so went ahead and painted a black one.
I will be adding something extra to this later.
04_zpsjpbsb1bs.jpg

05_zpsm0aqsnmt.jpg


Sound Cards repainted white with some added blue.
This wont really be seen as the card faces down, but I still wanted to have it matching and hopefully the
reflection will show once the bottom panel is added.
06_zpsidfkhizv.jpg

07_zpse4zkfdc6.jpg

08_zpsgt2w36gx.jpg

09_zpsw9umsymr.jpg

10_zpszr5znerq.jpg

11_zpsminjwtlt.jpg

12_zpsplq3lhzp.jpg

13_zpsdump21em.jpg


For the pump I just needed to paint the rubber padding and the metal bottom.
14_zpsijj6umhs.jpg

15_zpsos7ltfti.jpg

16_zpsqkumfnne.jpg


Here's the RAD, I think it looks great in white.
Wont be needing to paint the fans for this RAD as they will be hidden on the other side.
17_zpsbtnpvijr.jpg


This is the fans for the double RAD going on the top, as it will be seen on the inside of the case I painted them.
18_zpsvstdzvgm.jpg

19_zpsntfvohmp.jpg

20_zpsjxrnafj8.jpg
 
The most part of the internal layout.
Some painted with acrylic and plasti-dip for the rest.

20160829_165426_zpsspzx7fxx.jpg


I've made some covers for the bottom, sides and back that will all be painted white or wrapped once the wiring is done.
20160830_163525_zps4boebulk.jpg
 
Hmm, now that you have sprayed the radiator fins you might end up getting a faster buildup of dust than, before since dust particles are going to stick much easier now the fins have a rougher surface to them. You might want to keep an eye on that. Most usually tape off this area to protect the fins as much as possible.
 
Wow, just wow. Makes me want to be a better builder.

Thanks, if you love modding/building and keep at it you will only get better :)

Hmm, now that you have sprayed the radiator fins you might end up getting a faster buildup of dust than, before since dust particles are going to stick much easier now the fins have a rougher surface to them. You might want to keep an eye on that. Most usually tape off this area to protect the fins as much as possible.

Yeah, I taped them to start with but it looked bad so I did a fine mist over them, its gloss
so should sit nice one the fins and not be much of a problem with the help of the dust filter on the front.
If not, at least its east to get to with a vac :D

Attention To FREAKEN DETAIL. Damn bro nice work

Thanks, I fancy a smoothie for some reason ^_^
 
Back-plate for the sound card in place, used some velcro to hold it down as I will be needing to mess with it later in the build, its also a bit more tidy than using the screws on the card to hold it.


01_zps73zvuxzl.jpg


got this cutter some years back for my model making, helps add some detail to the plastic, also very useful for cutting the plexi :D

02_zpsevxvzp6q.jpg


03_zpsgh9czqz0.jpg


Bit wonky as it's not fastened in place just yet..
04_zpsps5u8of2.jpg

05_zpskjyiv5vt.jpg


Same again for the back cover.
06_zpsfe0sxwbj.jpg

07_zpsl8al1oxl.jpg

08_zpstity0bza.jpg

09_zpskqtk2ejy.jpg


Ordered some more white plexi, so most the parts will be re-cut using the old ones as a template.

10_zpsspg4obp2.jpg


After some testing I decided to have the RAD facing the standard way rather than upside down.
Just didn't have the room I wanted at the top for all the pipe and fittings.

11_zpshgk9irha.jpg
 
Sweet, I needs me one of those tools.. gotta love a bit of internal paneling to hide a multitude of sins. :lol: keep up the good work fella it's coming along beautifully.
 
Sweet, I needs me one of those tools.. gotta love a bit of internal paneling to hide a multitude of sins. :lol: keep up the good work fella it's coming along beautifully.

Thanks mate, yeah I need to hide all the wires =00=
 
This has been the best part of the build so far, the results from the extensive paint coats, sanding, buffing and polishing have paid off, by far the best paint finish I've achieved with gloss.

This has taken weeks, not a easy task especially with the sharp edged all over the panels making it very easy to take the paint of all the way down to the primer if not do perfect.

This is the result after the gloss had been put down.
Plenty of orange peal and although it looks shiny I cant stand the peal.

01_zpsx2eb5agh.jpg


So after the couple of weeks painting then sanding I got the gloss down and had to wait a week or so for the gloss to harden, then I carefully sanded down the gloss to get the surface as smooth as possible with paper.

04_zps2uhkafqs.jpg


my hands looked like I had been sat in the bath for 2 hours lol

03_zpshqixtc4b.jpg


Because I'm so happy with the result I will show you all a good handful of photos.
Hope you like the result as much as myself and the next update will be installing some of the EL bits.

12_zpsammnmvol.jpg

09_zpsrhfmmxzd.jpg

10_zpsegidh8iv.jpg

08_zpsnes5uvxu.jpg

05_zps9y7m7n0u.jpg
 
Back
Top