HELIOS (Caselabs SMH10 | black/copper | EVGA SR-2 | Geforce Titan) - by alpenwasser

LOL! You say the tubing cannot be bent. Why is that? I thought you could bend ANY tubing?

Well, you can bend it, but the bend radius would be extremely large. It's 16mm OD,
12 mm ID tubing, which makes 2 mm walls. Rather sturdy. :D

Reason being: While what I've seen so far of rigid tubing builds has been very impressive
and pretty, I have always been kinda bothered by the bulky fittings (similar to what Tom has
repeatedly mentioned when it comes to barbs vs compression fittings, but with rigid instead of
normal tubing). The 16 mm OD is quite flush (not 100%, but pretty close) to the fittings' widths,
which allows for a very sleek look IMHO, with the tubing being almost the same diameter as
the fittings are wide.

The 12 mm ID is required because I will cut G1/4" threads into it (or rather: I plan to have my
neighbour and his lathe do it for me). G1/4" (inner thread) requires an 11.8 mm hole, so it
should still work quite nicely. Then I should hopefully be able to screw it all together.
 
Holy crap, you put a ton of planning into this. Very impressive sir! Some days I WISH I had OCD like yours. :) Here I am running happily with 2 mismatching GPU blocks, one copper and one nickel plated. Obviously my OCD isn't even in the same UNIVERSE as yours! ;)
 
That's some scary pipe work, leakage possibilities.... place your bets now? I'm assuming you will be using rigid acrylic tubing hence the inability to bend them.
 
Holy crap, you put a ton of planning into this. Very impressive sir! Some days I WISH I had OCD like yours. :) Here I am running happily with 2 mismatching GPU blocks, one copper and one nickel plated. Obviously my OCD isn't even in the same UNIVERSE as yours! ;)

Haha, it hasn't always been this way, if you take a look at my previous rig (the one in the
Elysium), you can easily see some sweet non-OCD building. :D

But thanks! :)

That's some scary pipe work, leakage possibilities.... place your bets now? I'm assuming you will be using rigid acrylic tubing hence the inability to bend them.

Yeah, I'm probably going to order a few spare fittings in case I get a broken one. The connections
between the fittings and the pipes don't worry me too much though since they will be nicely
sealed by O-Rings on threaded inserts, not much can fail there unless I get a ruptured O-Ring
(should be avoidable with some proper care when putting things together).

But yeah, I'll definitely do a very extensive leak test on this before hitting the ON-switch.

And I'll be using copper (16 mm OD/12 mm ID), not acrylic.
 
lol, I don't know what to say about ur pipework but im sure it will look great when done :) That would give me a headache or a psycological meltdown :D
 
lol, I don't know what to say about ur pipework but im sure it will look great when done :) That would give me a headache or a psycological meltdown :D

Well, I must admit I'll certainly be glad once this is finally up and running.
done.gif
 
Those drawings make my brain hurt, but I understand them.. :P Can't wait to see this one going myself ;)
 
Those drawings make my brain hurt, but I understand them.. :P Can't wait to see this one going myself ;)


Yeah it definitely helps to have the actual object before you, the drawings are just
simplifications. And I'm very eager to finally get this up and running as well, thanks! :)
 
All I see are excuses... :P

Well, you're not completely wrong of course. I could break into his shop and start
working myself, but I have neither plans of committing B&E nor do I intend to screw
up my nice 70 CHF (48 GBP, 77 USD, 57 EUR) copper pipe by operating a lathe with
which I'm utterly unfamiliar (let alone damage the lathe :rolleyes: ).

Besides, I'm still not yet 100% done with planning the loop, so I haven't ordered the
fittings yet. :o

It's funny, the officer's school I went to actually had as its motto "No excuses!", which
could lead to some rather hilariously sweating recruits when we'd screwed up and
were being chewed out by our instructors.
sweating.gif


Anyway... back to drawing pipes.
 
Colour-Coordinating the Raystorms

Colour-Coordinating the Raystorms


OK, as you have already seen, I have polished the Raystorms (although there are still some
fine scratches which I need to get out at this point). I've never really been a fan of the alu
in the bracket, so I thought I'd paint it black. I must admit that I screwed up the paint job
a bit, so this is just temporary, but it should give you some idea of what I'm going for and
how it might eventually look.

(click image for full res)


Even though I'm very happy with the colour combo on this, I'm still not sure if I actually like
the shape of the bracket, and I am seriously considering making my own. However, I have
so far not been able to come up with any satisfactory ideas, so I'm open for suggestions
on that one (I can't promise you I'll follow them, but I will be grateful nonetheless ;)).


Cheers,
-aw
 
Yeah, could be re-done but I like the idea, a lot :)

Oh, so do I, I'm just not happy with the implementation yet. But I thought I'd throw
it out there and see if something inspirational comes back. :)


EDIT
On another note: I can't edit the original post anymore, it's locked, so no more updates
to the Table of Contents.
 
your not machining one from copper and inlaying the black into it then:p

Hehe, the thought has crossed my mind, but I think outright replicating the stock one wouldn't
quite look right because of the inner part of the bracket which shows through between the block's
top and the faceplate, I think it would make the block look a bit too massive (because you'd
have one central area of copper which would be quite a bit larger than the block's top itself)
and I quite like its current proportions.

But yeah, I am definitely considering doing something with copper, and just making the entire
thing out of copper has not been completely dismissed yet. ;)
 
Backplate & Teaser

New Table of Contents

Since I can't edit the first post anymore, this post will also serve as the new table of contents.

  1. Colour-Coordinating the Raystorms
  2. Deciding on a Backplate & Small Teaser
  3. 2013-OCT-13: The EVGA SR-2 Black Editon
  4. 2013-OCT-28: Requesting Opinions on Fittings...
  5. 2013-OCT-29: Colour-Coordinating the RAM Blocks


Deciding on a Backplate, Small Teaser


As some of you may know, the Xeon sockets come with a slightly different mounting system
than the normal LGA1366 (at least as far as I can tell, I've never owned a normal 1366 board).
Basically, the backplate is an integral part of the mounting system, something like LGA2011 I think.

The neat thing about this is that the bolts which are used by the Raystorm mounting system
have compatible threads (M3), so if I want I can use the stock Raystorm bolts with the stock
Xeon backplate. However, from what I've been able to tell, most people who have an SR-2 seem
to be using the backplates which come with their coolers, so I thought I'd take a closer look at
the backplate which comes with the Raystorm, compare the two and then make the decision.

This is one of the Raystorm's bolts. It's a rather convenient mounting system I must admit.
XSPC did a good job on that one IMO.

(click image for full res)


Taking the socket apart is as easy as undoing four Torx nuts:

(click image for full res)


The top part separated from the backplate. You can see the threads coming through the PCB
to which the top part of the bracket is attached.

(click image for full res)


The top bracket by itself:

(click image for full res)


And the backplate. I must say I was rather impressed by this, it is a very solid piece of metal.
The four threads are an integral part of the backplate.

(click image for full res)


(click image for full res)


The Raystorm backplate is made from significantly thinner metal, but has some contours
shaped into it to give it more strength. As those of you who know your mechanics may know,
this is a very effective technique and can significantly increase the strength of a sheet of metal
(or anything, really).

(click image for full res)


Still, the difference in thickness between the two plates is pretty noticeable. I have therefore
decided to go with the stock Xeon backplate for now.

(click image for full res)


Also, a small teaser for what's to come (it's not done yet in this pic by any stretch, just FYI ;)):

(click image for full res)
 
Last edited:
The EVGA SR-2 Black Edition

The EVGA SR-2 Black Edition


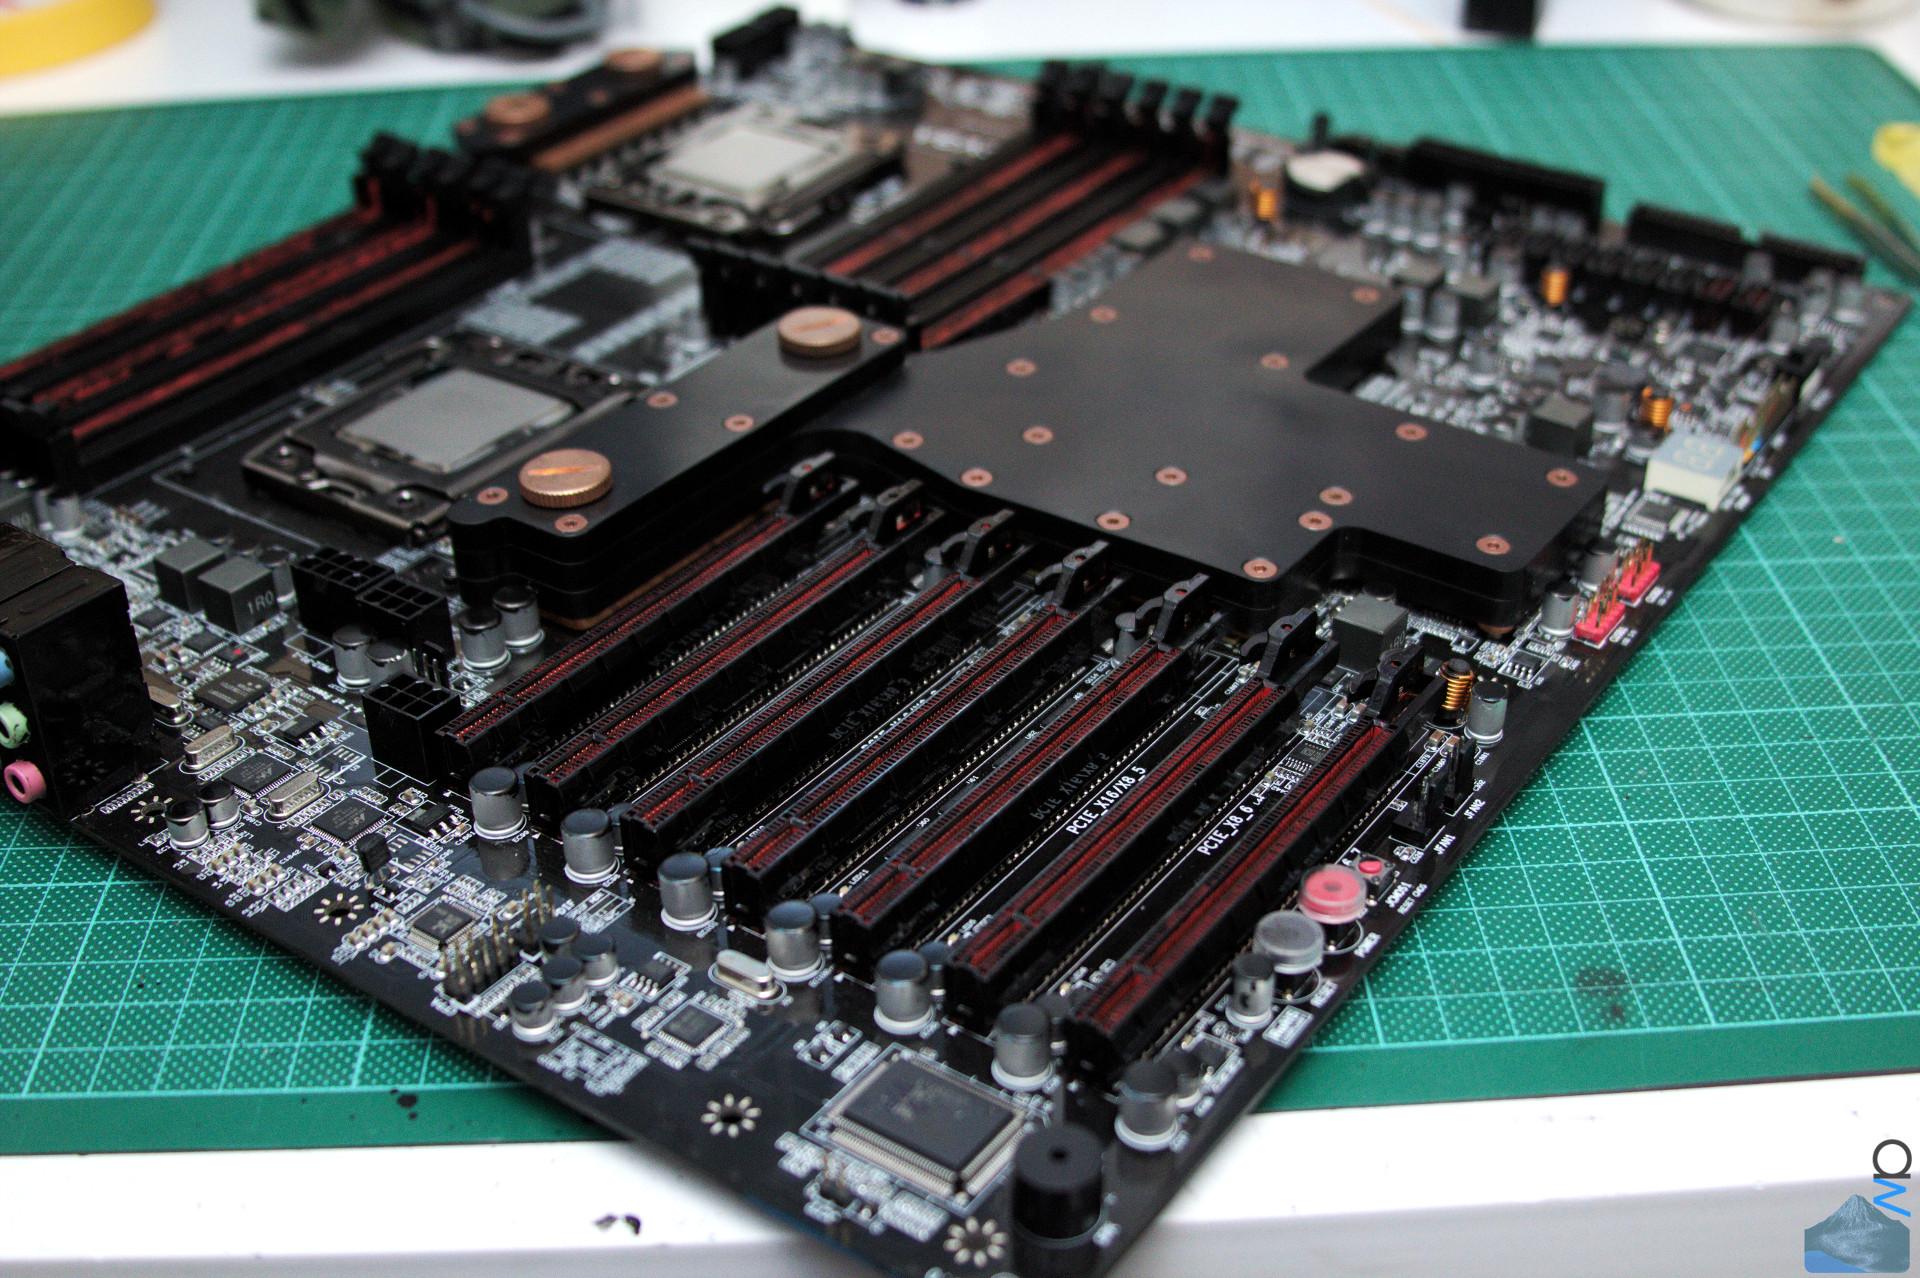
Right then. I think most of us will agree that the SR-2 is a rather smexy piece of hardware. However, two
things:
  • 1. The "red" on the PCI and RAM slots is more red-salmon than red. It's not downright ugly, but
    it's not a very nice shade of red IMO.
  • 2. Even if it were, red does not at all fit into my colour scheme.

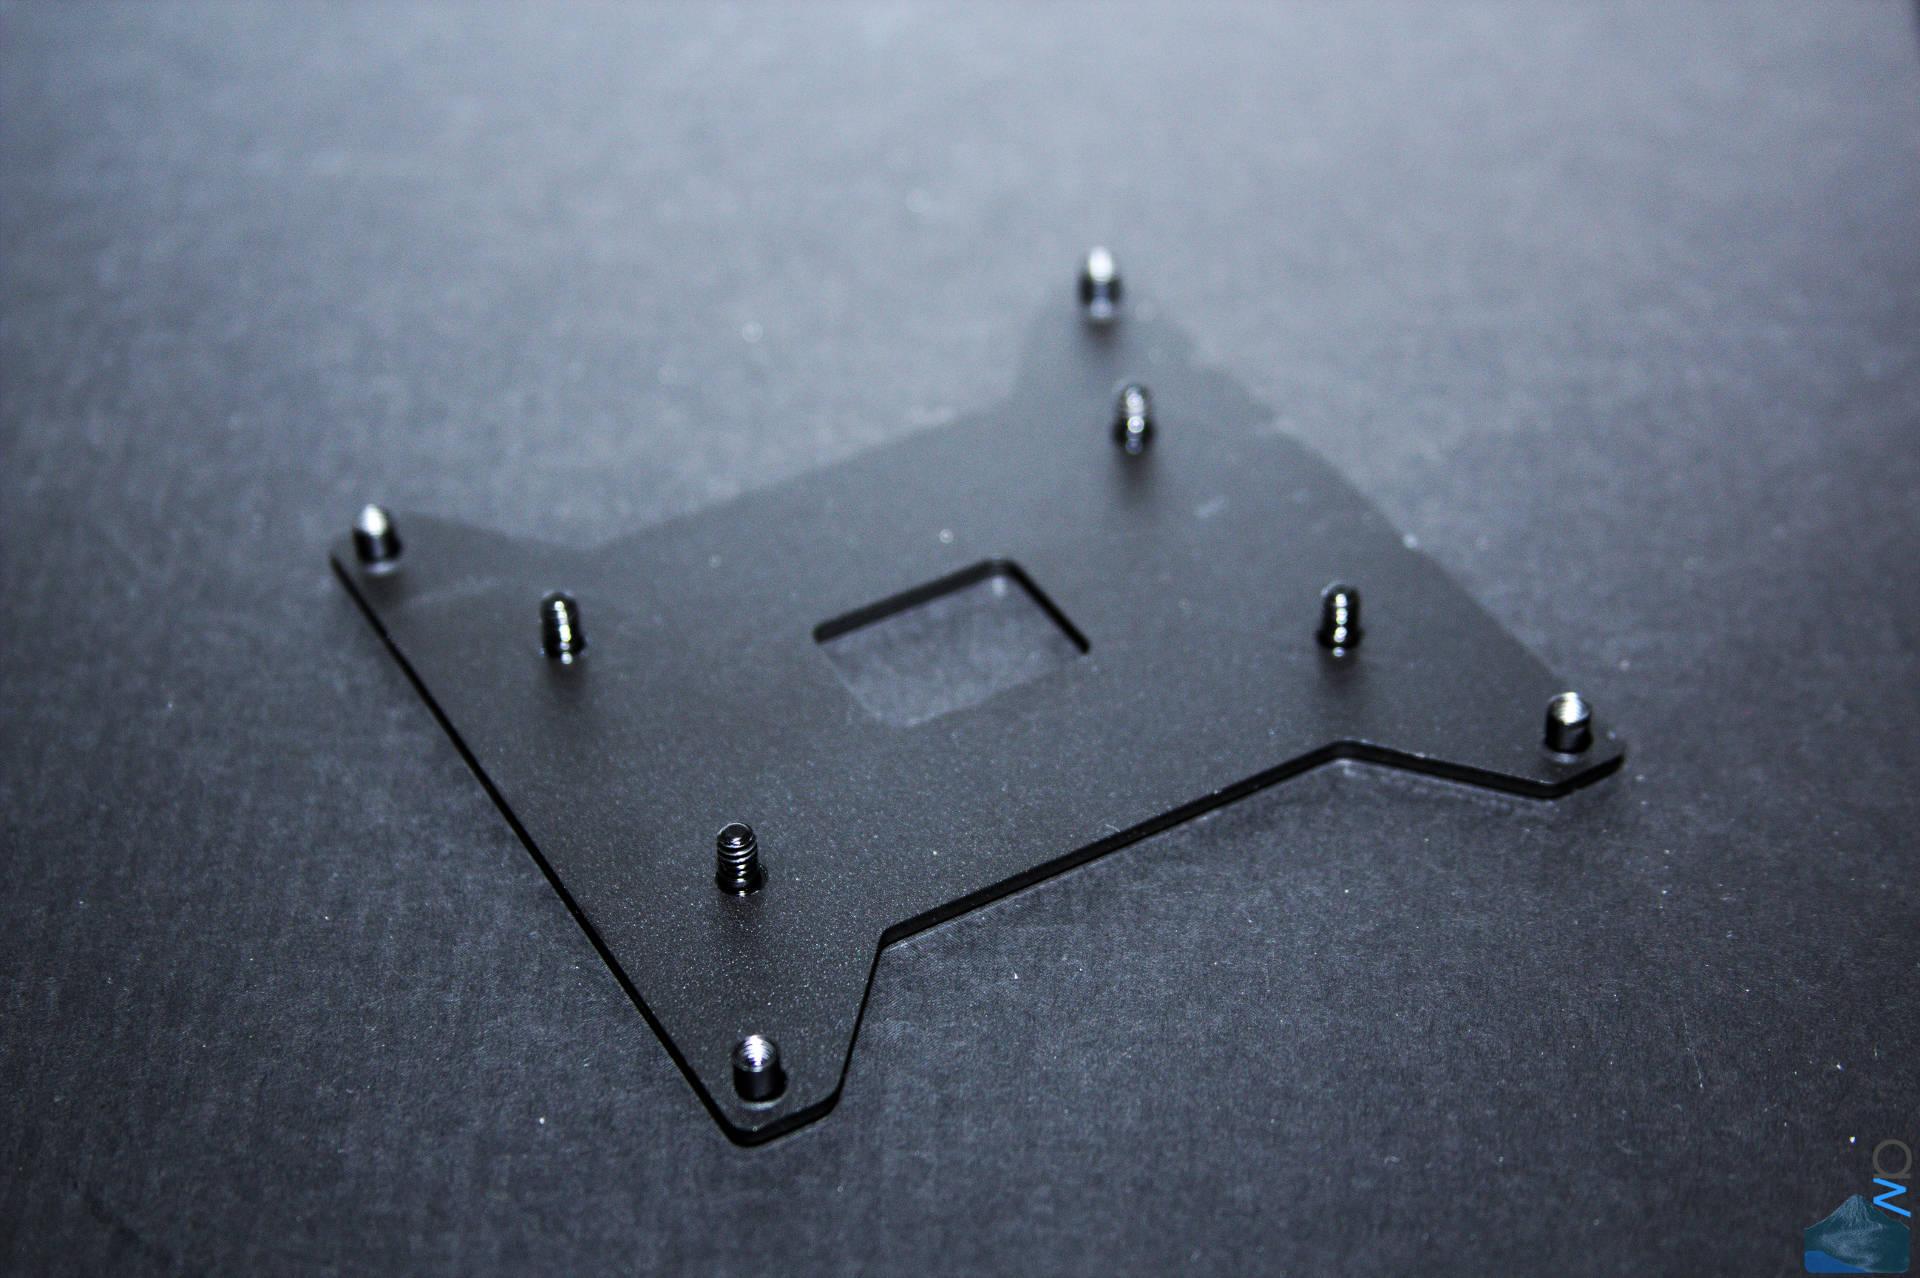
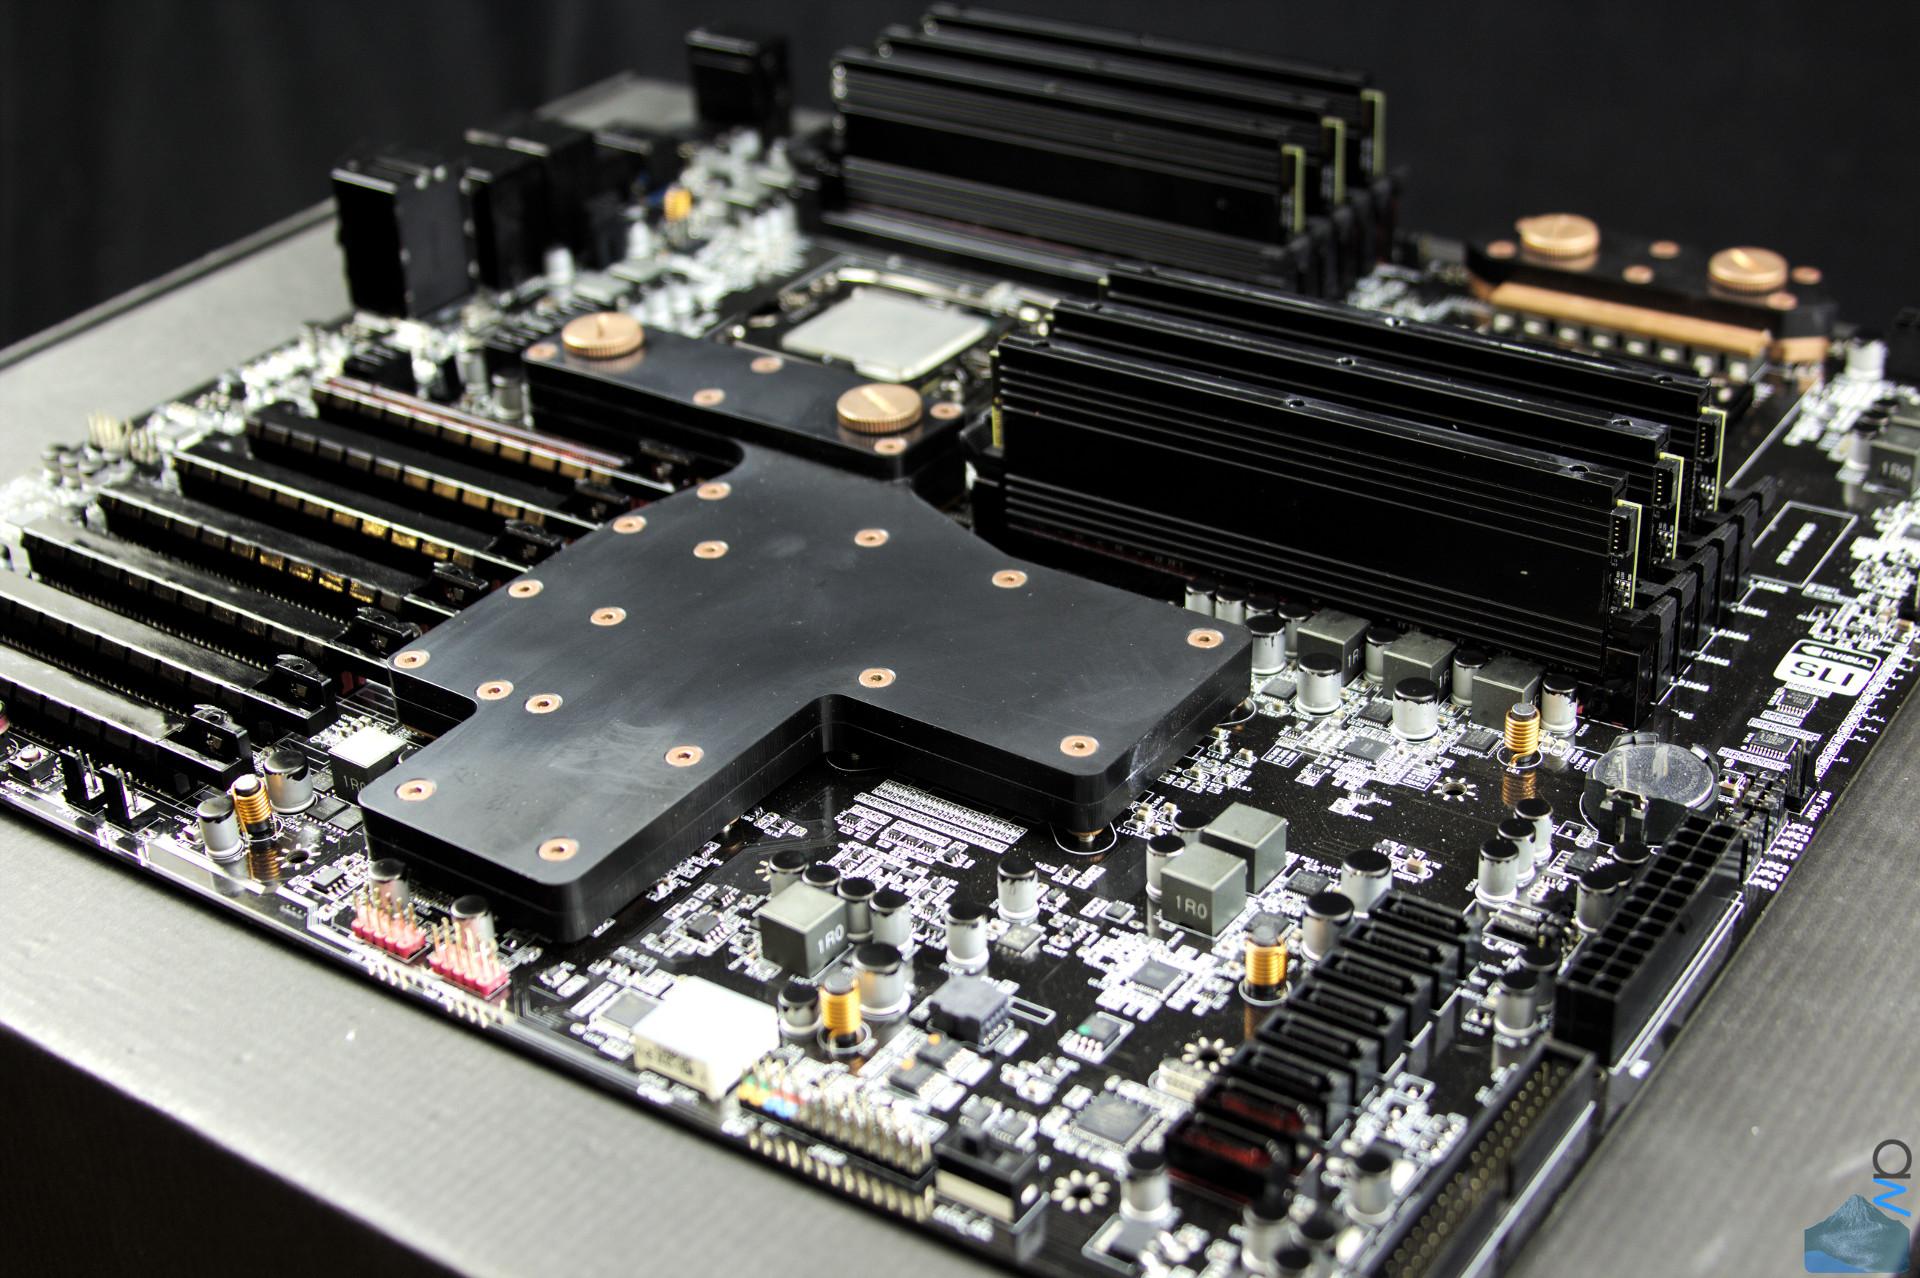
So, measures had to be taken. But first, a few images of the stock board, just because I can:

(click image for full res)


(click image for full res)


(click image for full res)


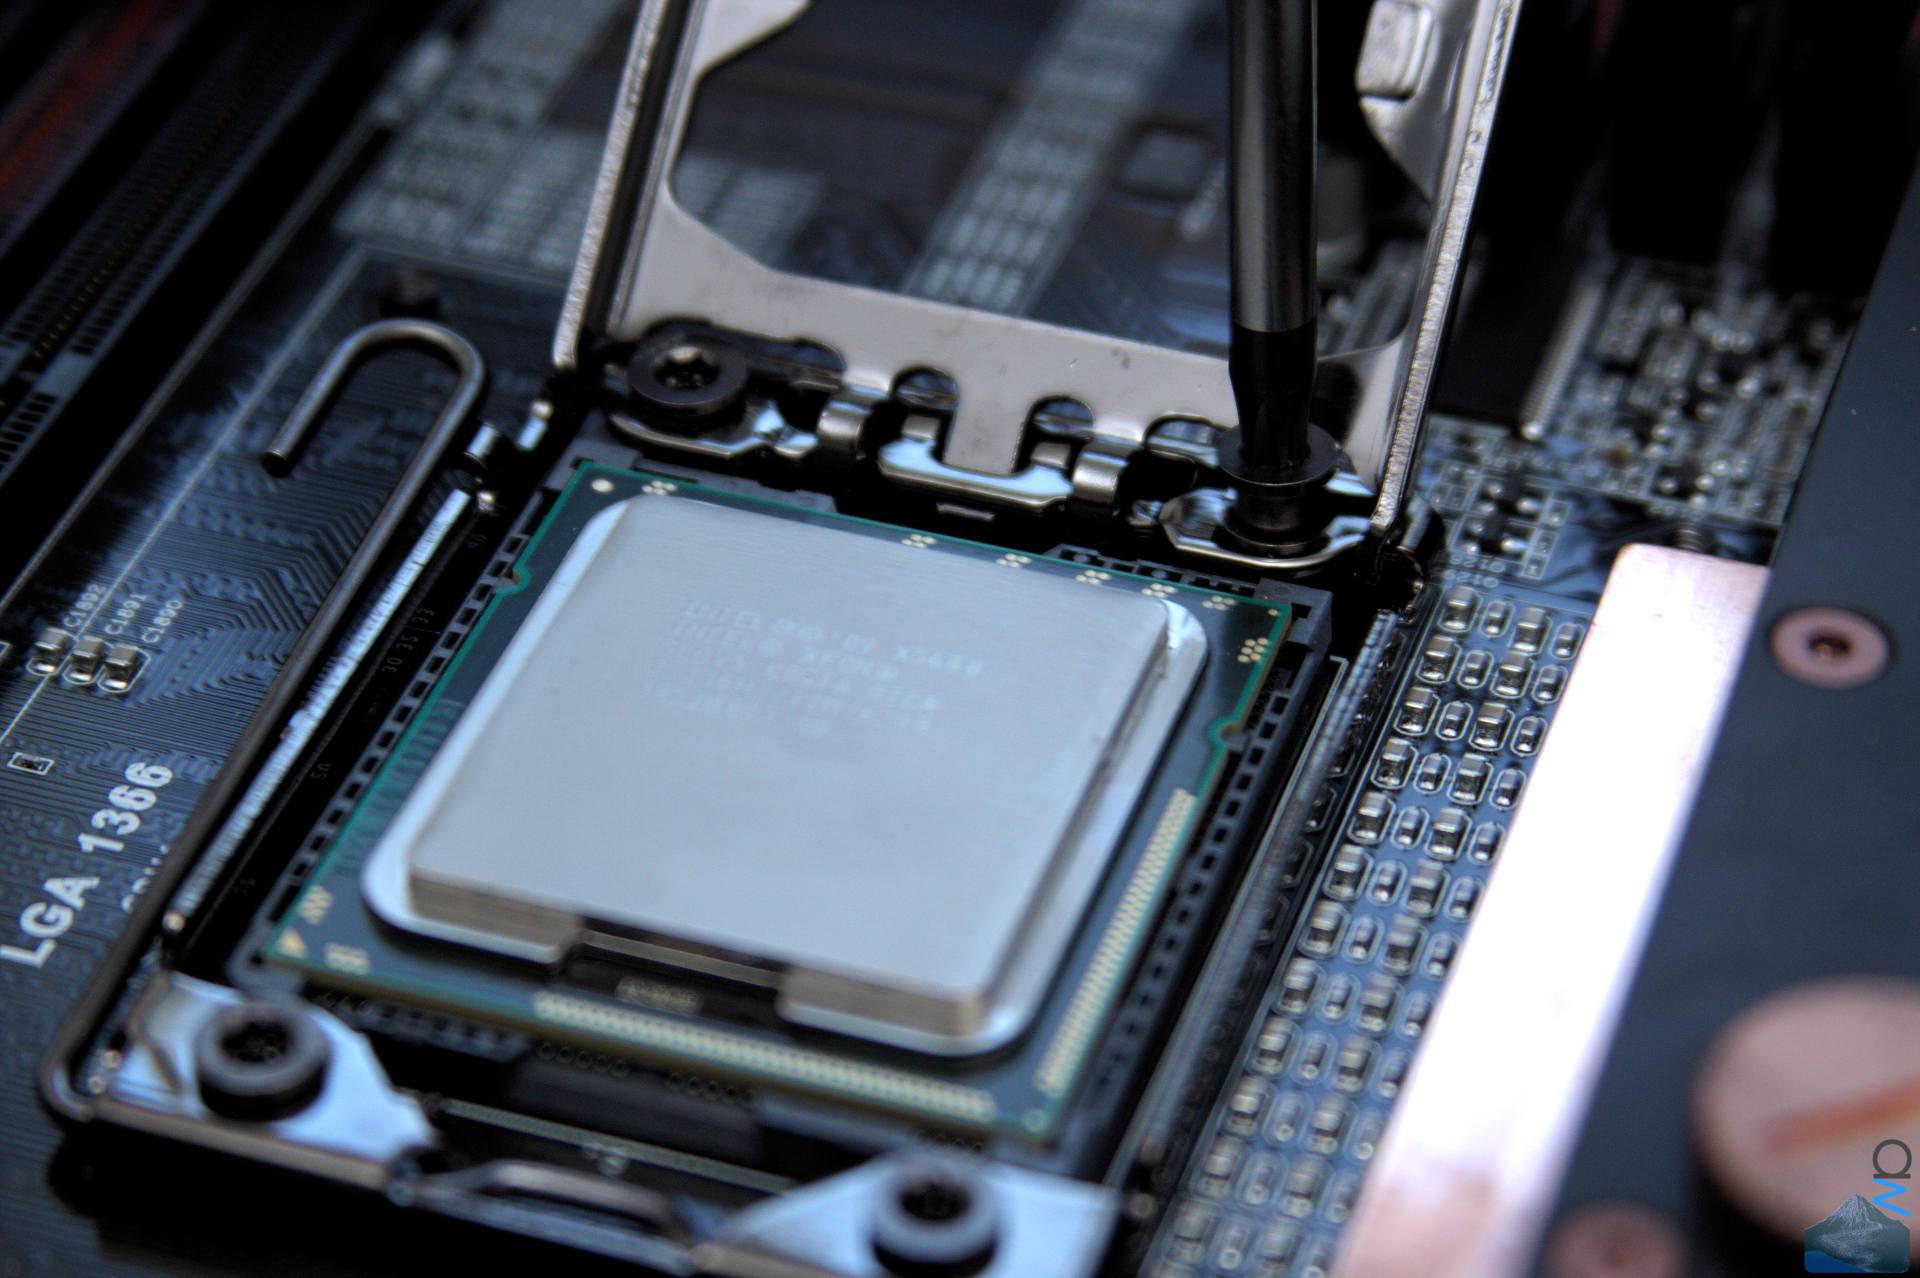
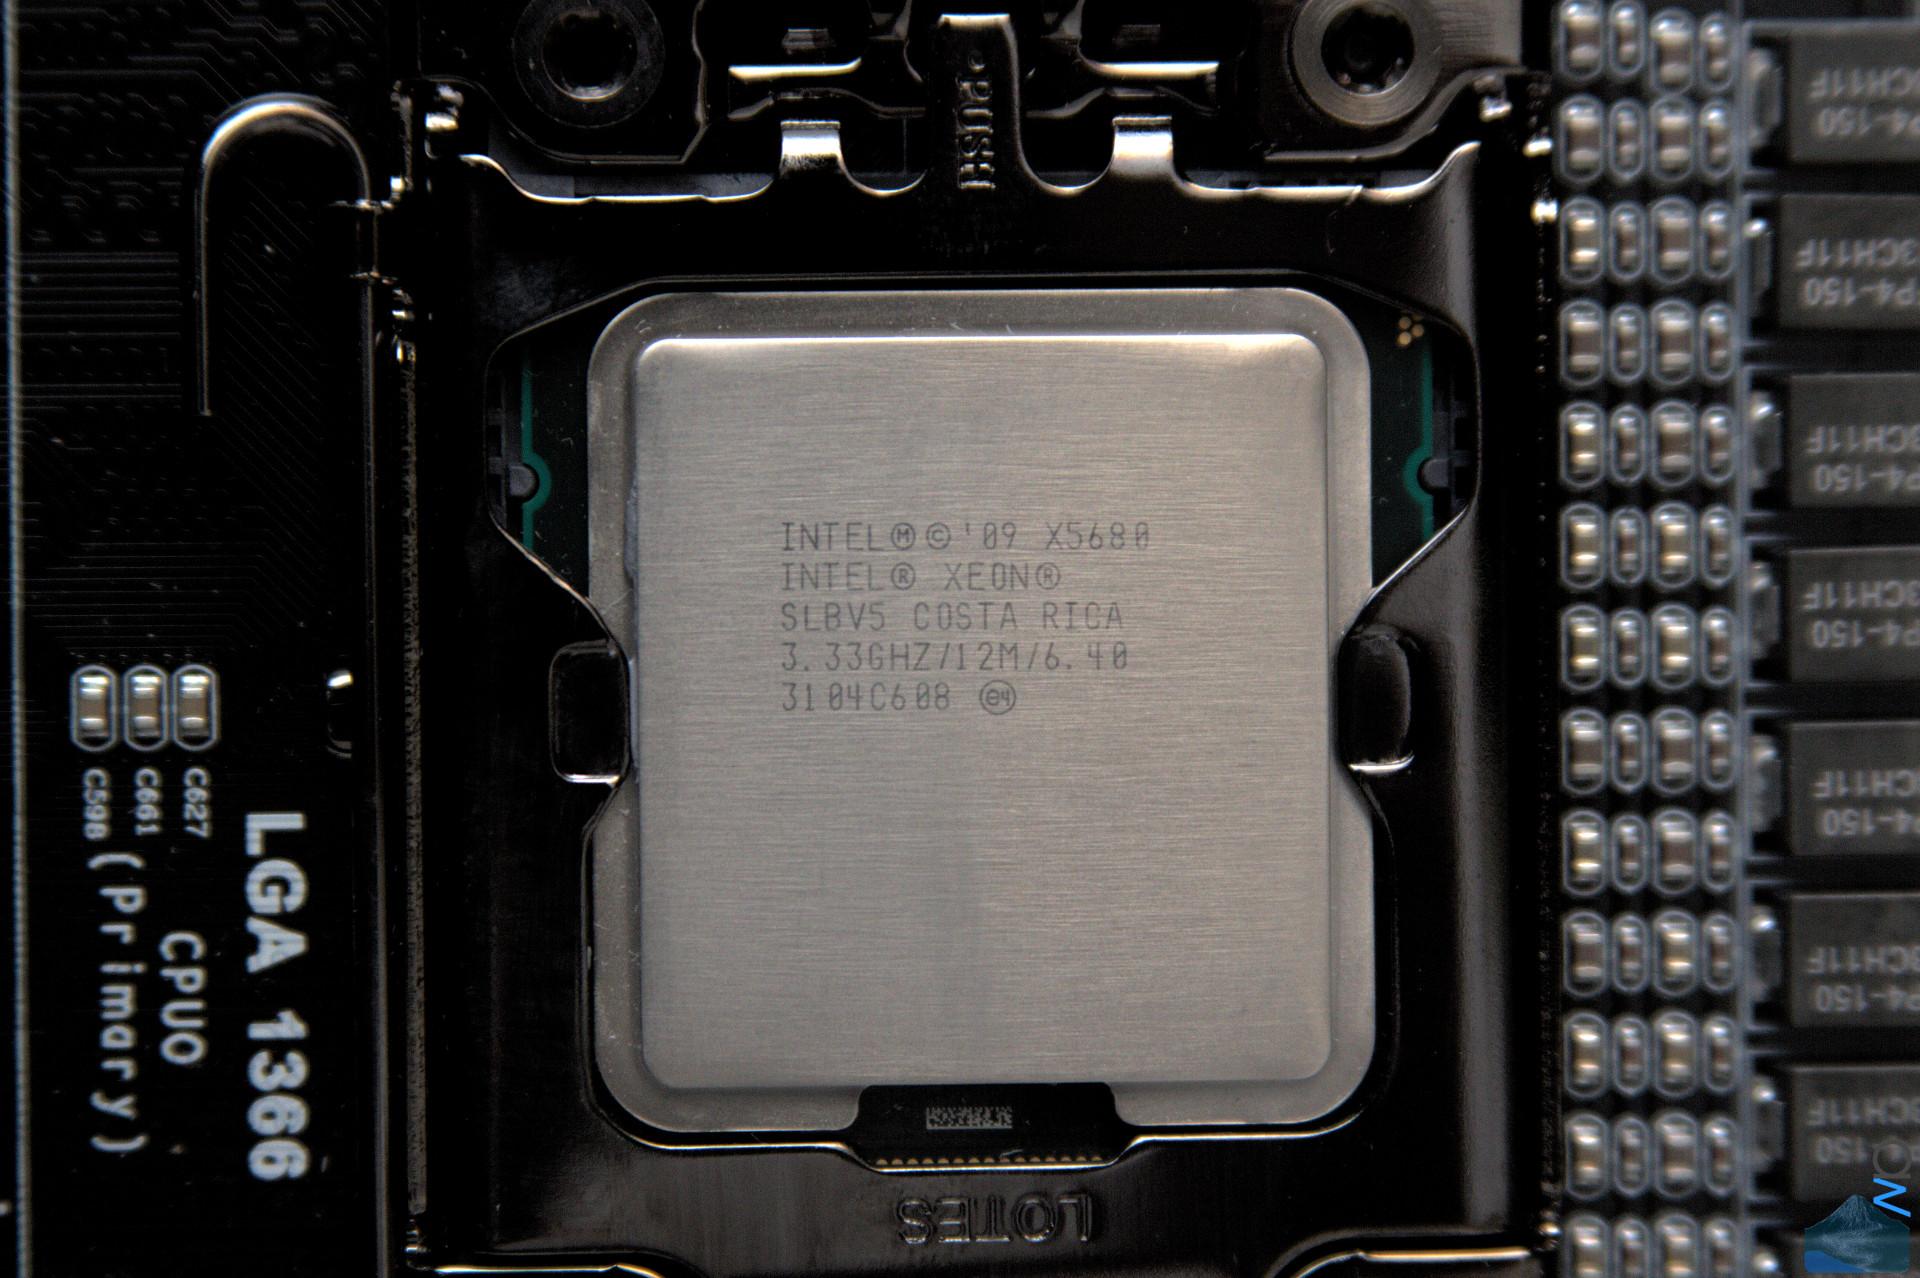
Also, since we're here anyway: Yeah, I really do have some X5680's in there. :D

(click image for full res)


After consulting with my technical committee...

(click image for full res)


...I first tried out using 3M 1080 car wrap on the PCI-E slots. It didn't actually work too badly, but
it just didn't look right. I'm not sure why TBH, something was just off about it. So, the decision was
taken to paint most of the red bits of the board. In cooperation with some Humbrol Enamel Paint
(and some paint thinner, not pictured, because this stuff is rather gloopy).

Credit goes to Gary Wain (G-Dubs) on the OC3D forum and his NZXSPC build log for the idea.

(click image for full res)


After the first two coats of paint/thinner mixture it looked like this:

(click image for full res)


Now, no matter how well and thoroughly I paint the board, I was never going to be painting the insides
of the PCI-E and the RAM slots. I have actually heard of a guy doing this with spray paint and then just
yanking a board in and out a few times (therefore scraping off the paint again), but I wasn't willing to
risk my board on that. So, I had to devise a different plan, because the red here was still bothering me
quite a bit.

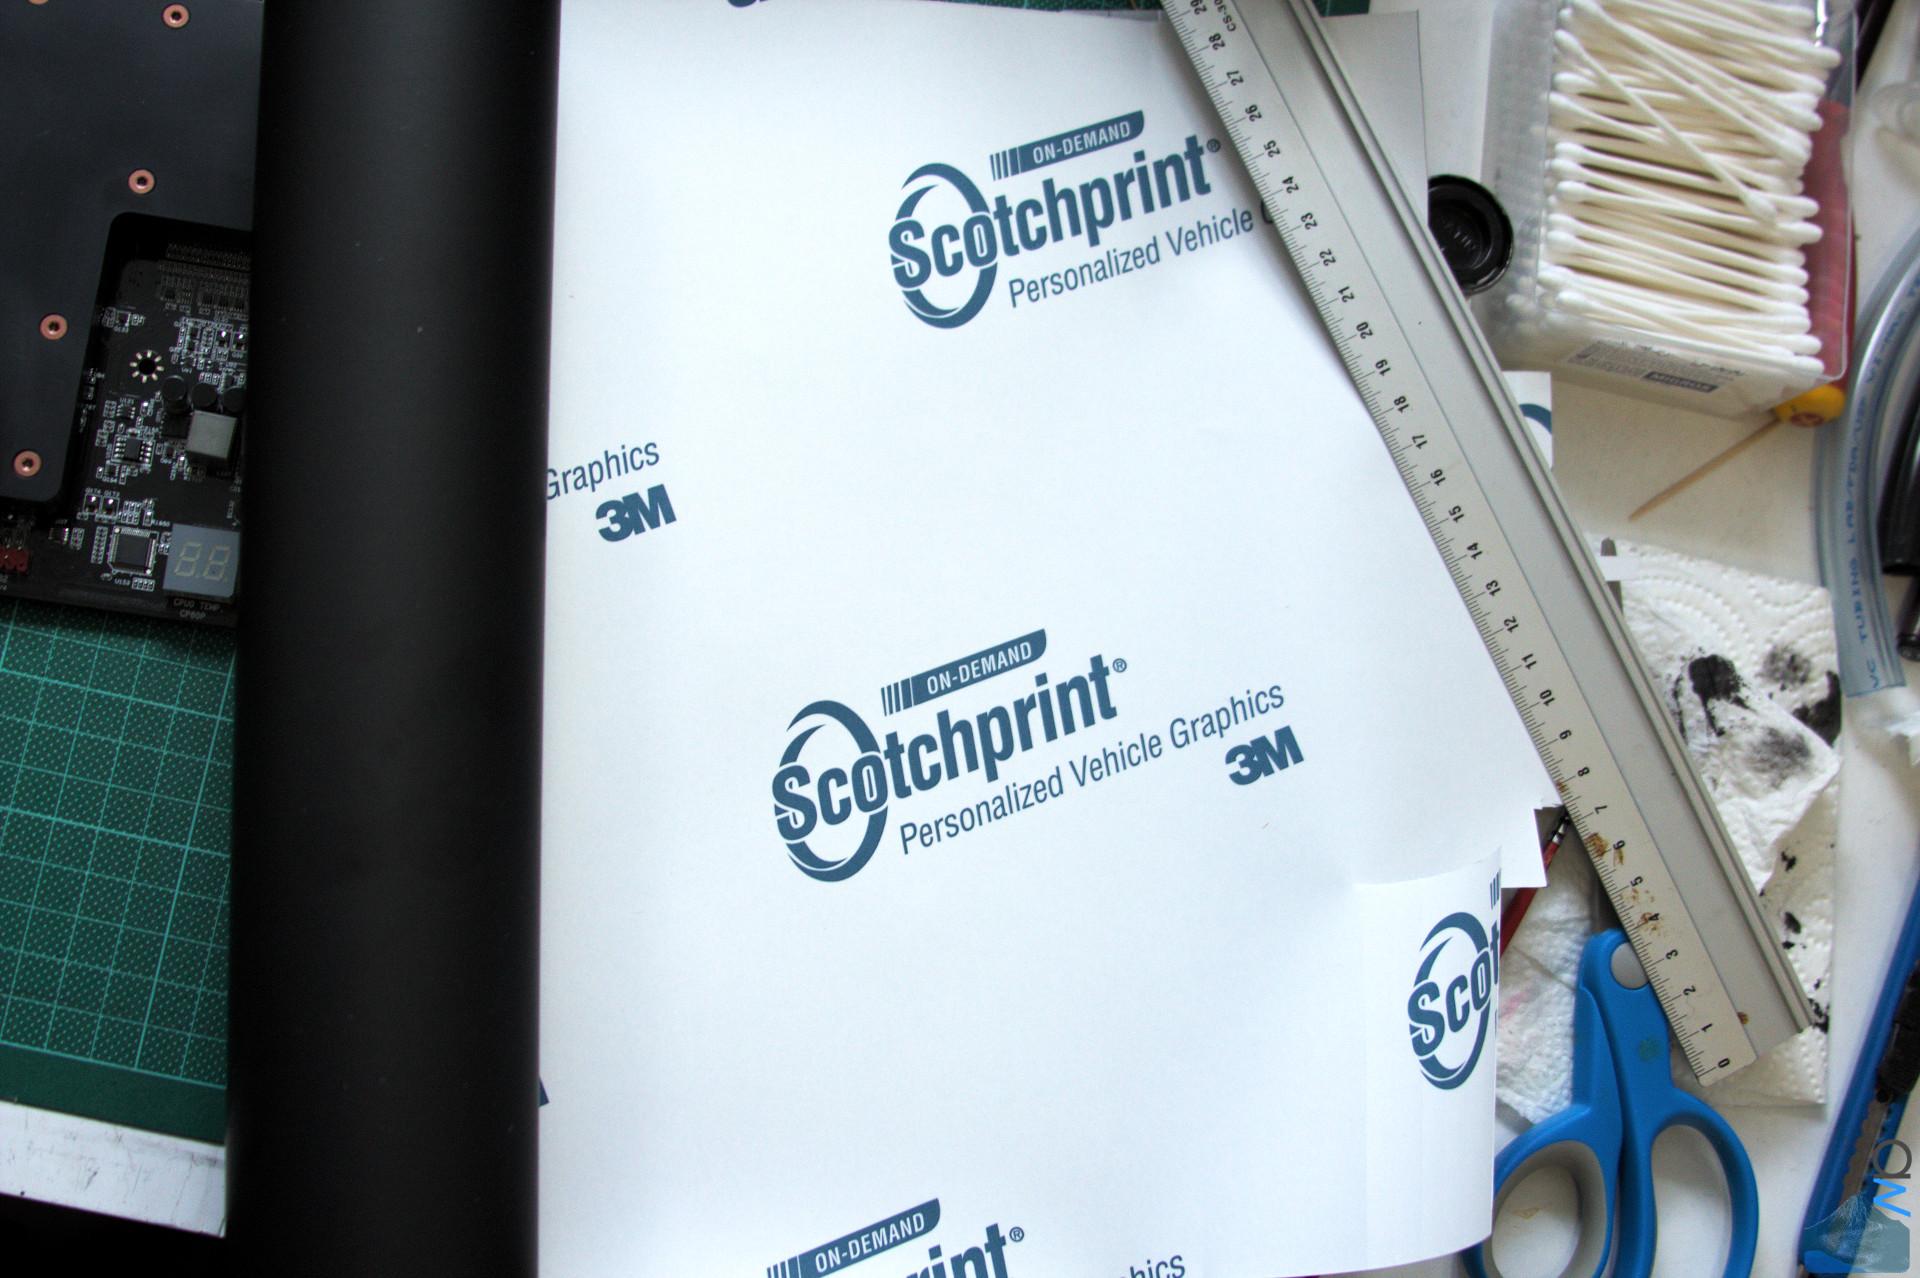
Therefore: 3M to the rescue!

(click image for full res)


The idea was just to cover the top sides of the PCI-E slots. This also allows me to just take off the wrap
again if I ever need to use more slots.
thumb.gif


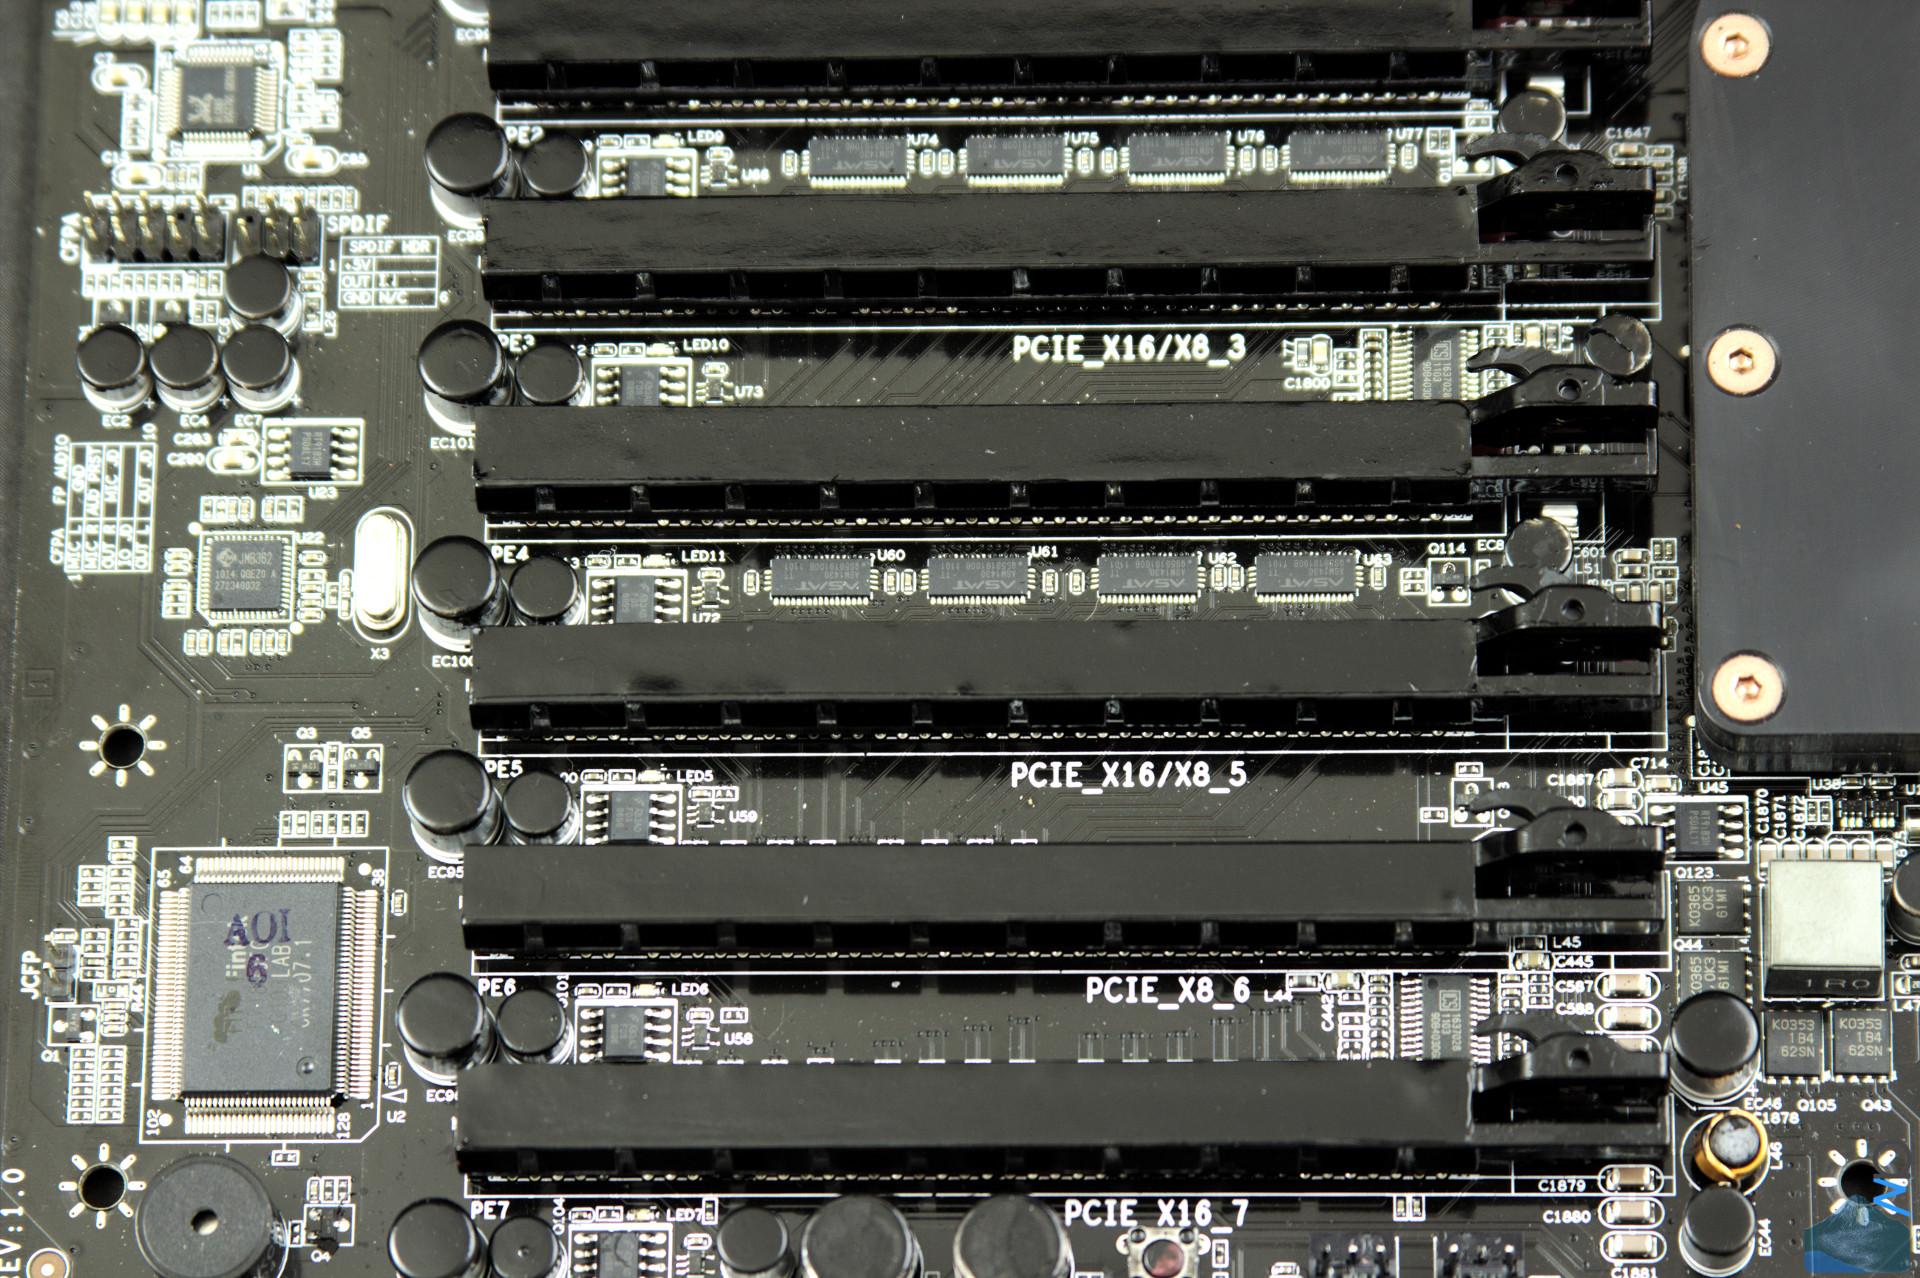
After wrapping the PCI-E slots, I also painted them with the Humbrol mixture to have the same shade of
black everywhere (this pic is still without the Humbrol layer though).

(click image for full res)


Of course, the IO area also got a good dose of paint. You'll notice the paint hasn't properly covered
everything, even after three coats. I don't have any primer for this paint, and I can't/won't use and spray
primer, so it will have to stay this way. Since it's only on the parts which you won't see once the board
is inside the case (can't get the necessary angle of sight), this doesn't bother me that much and I probably
won't further try to fix it.


(click image for full res)


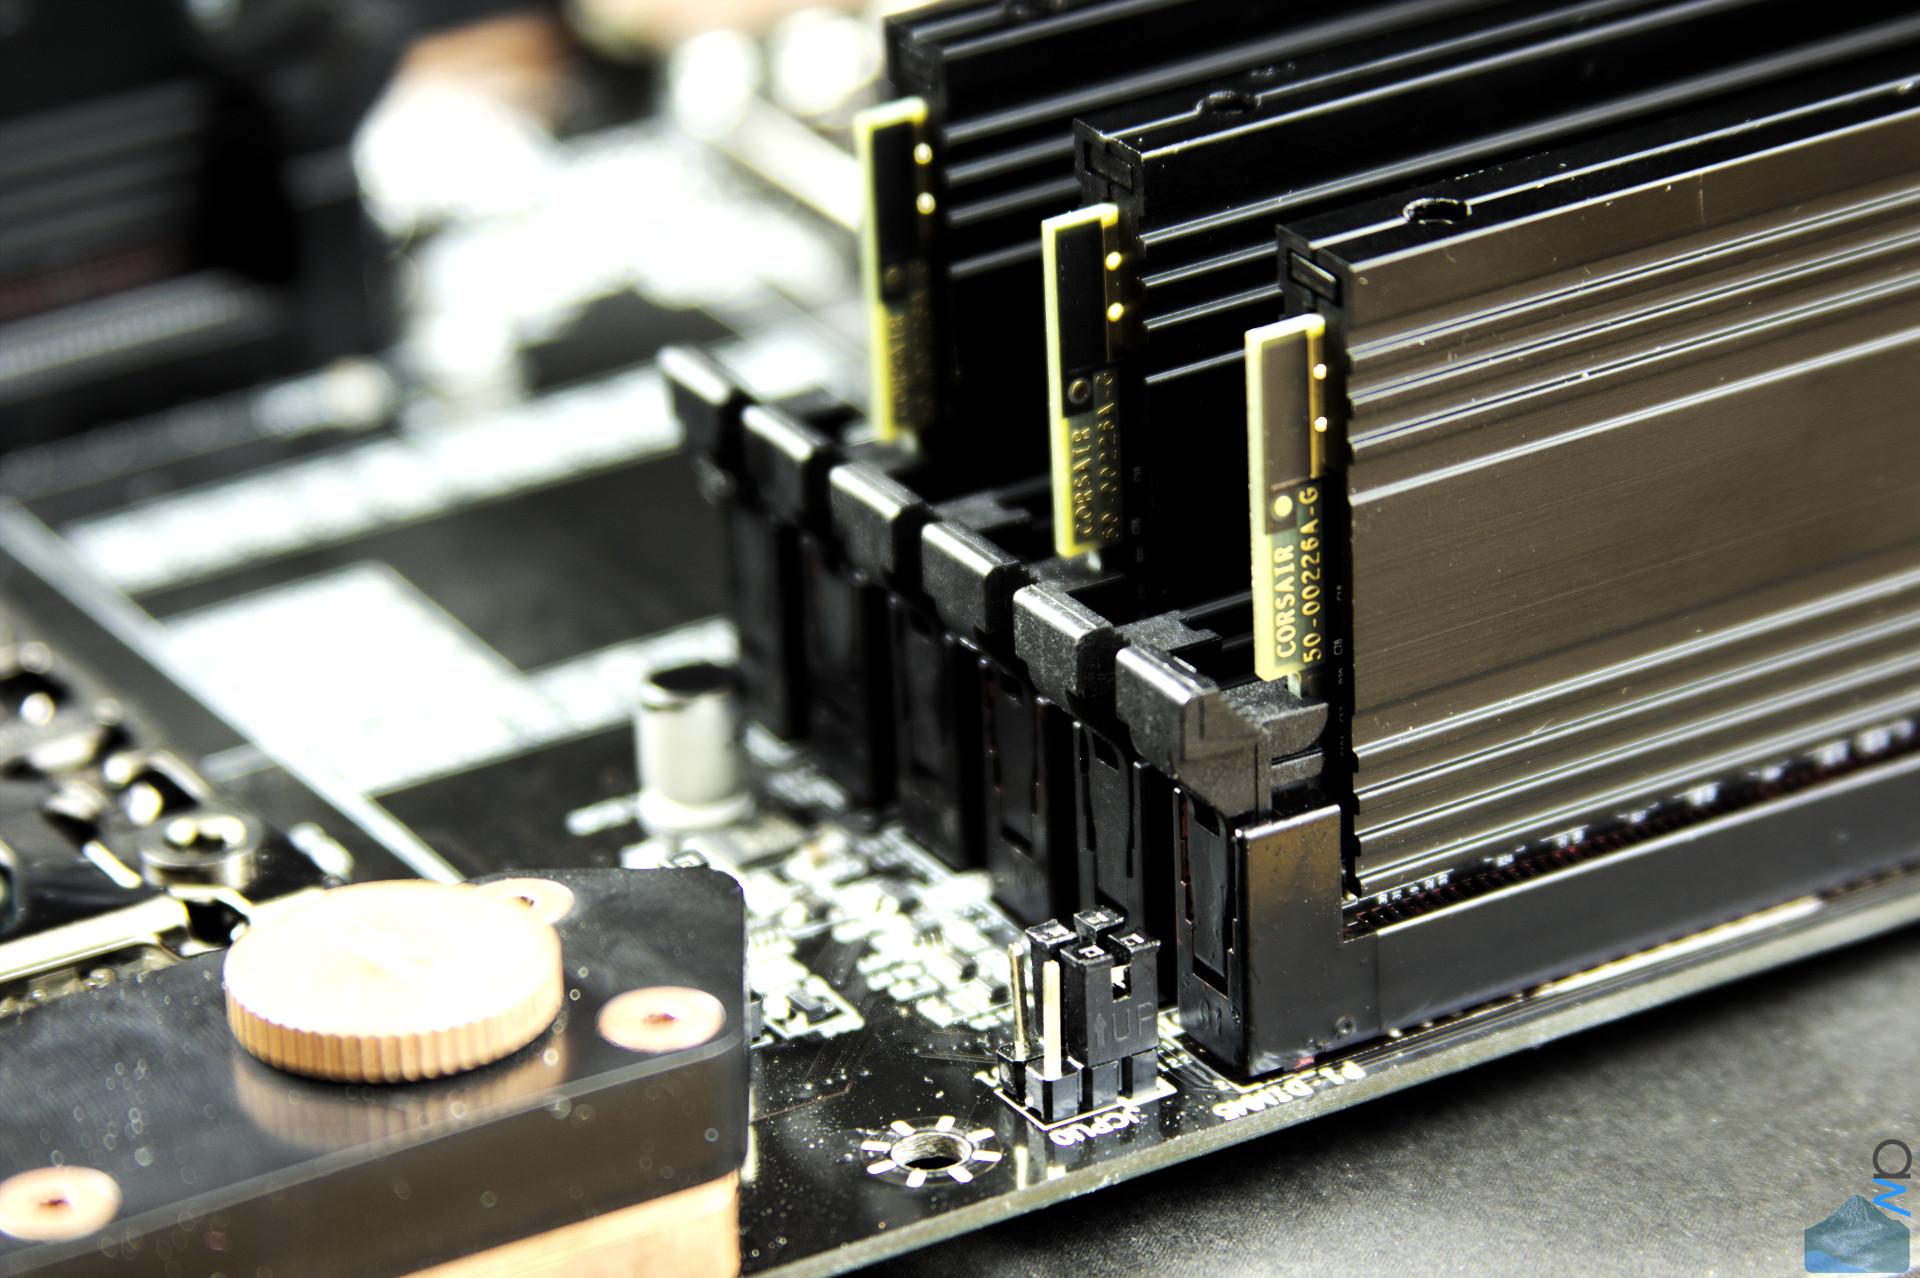
The same applies to the RAM slots: The bits which are still red either can't be covered or will be hidden due
to angle of sight and/or the RAM water blocks. So don't panic. ;)

(click image for full res)


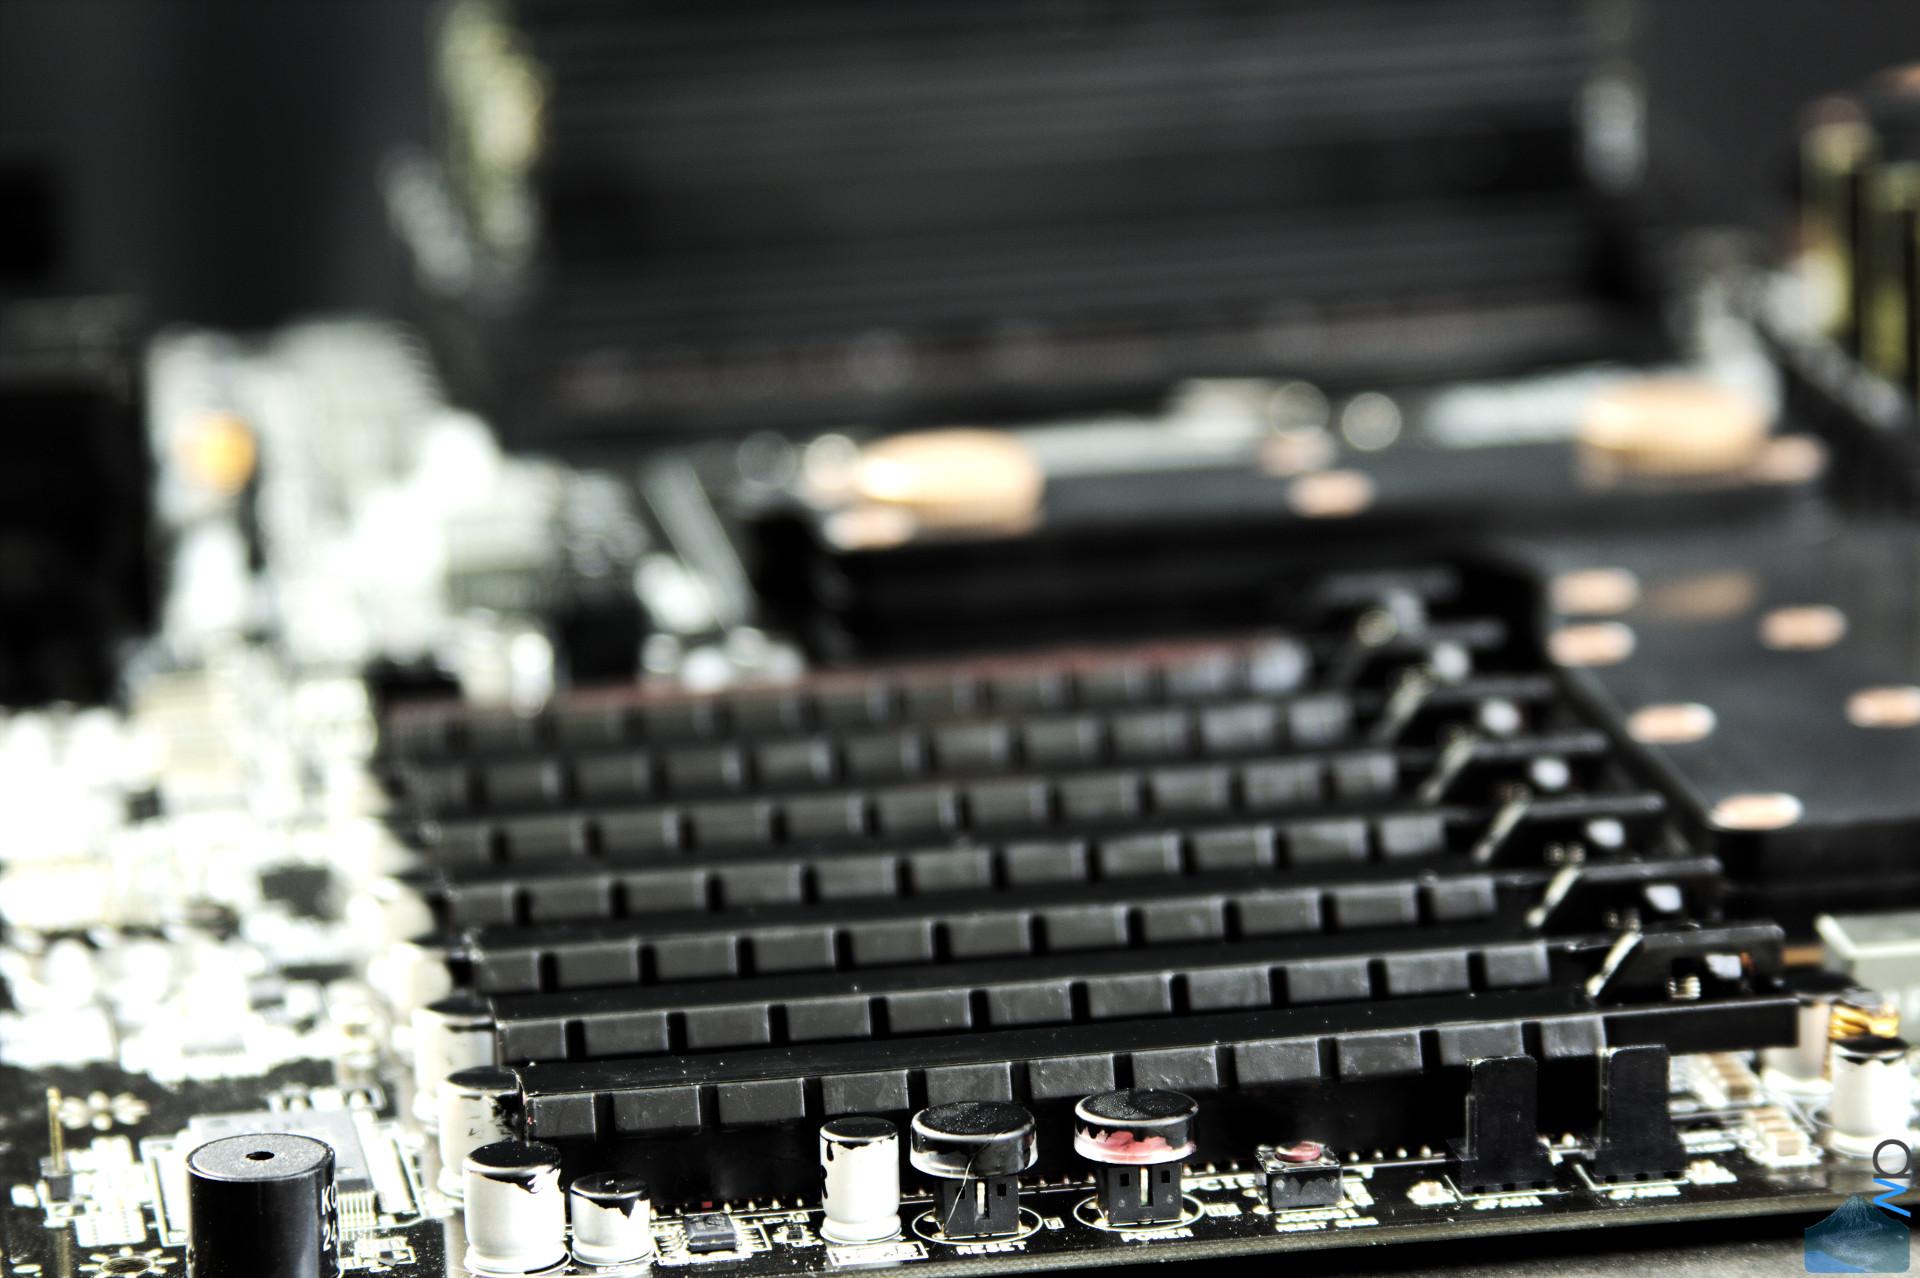
And a few close-up shots of the PCI-E slots:

(click image for full res)


(click image for full res)


(click image for full res)


And the board in its glorious entirety. The PCI-E slots which isn't covered will of course be used
by the Titan.

(click image for full res)


(click image for full res)


Imperfections

You'll notice the odd imperfection here and there (for example, the caps and power/reset are
only painted on their tops). Regarding the caps: I don't want to completely cover them in paint
for thermal reasons, and the reset/power switches will be hidden anyway (behind the top radiator).
Any imperfections which are still visible and actually bothering me once it's all mounted in the
case will be corrected later.

Also, keep in mind that most of the imperfections do not stick out at you IRL at all, but I made
sure to have very good lighting for taking the pictures, otherwise you wouldn't have really be able
to see what's going on with all that black on the board.


Now I just hope the board is still OK. I did test the board on Friday and it ran OK, let's hope that
hasn't changed.
sweating.gif


So long,
-aw
 
Last edited:
i am so glad my mpower's pci-e slots are black, else you would've just planted another very time consuming idea in my head.
 
Back
Top