Thats a lot of hours but you can tell that by the detail and craftmanship in the build

Hehe, yeah, it's a hobby, right?
Anyway, update!
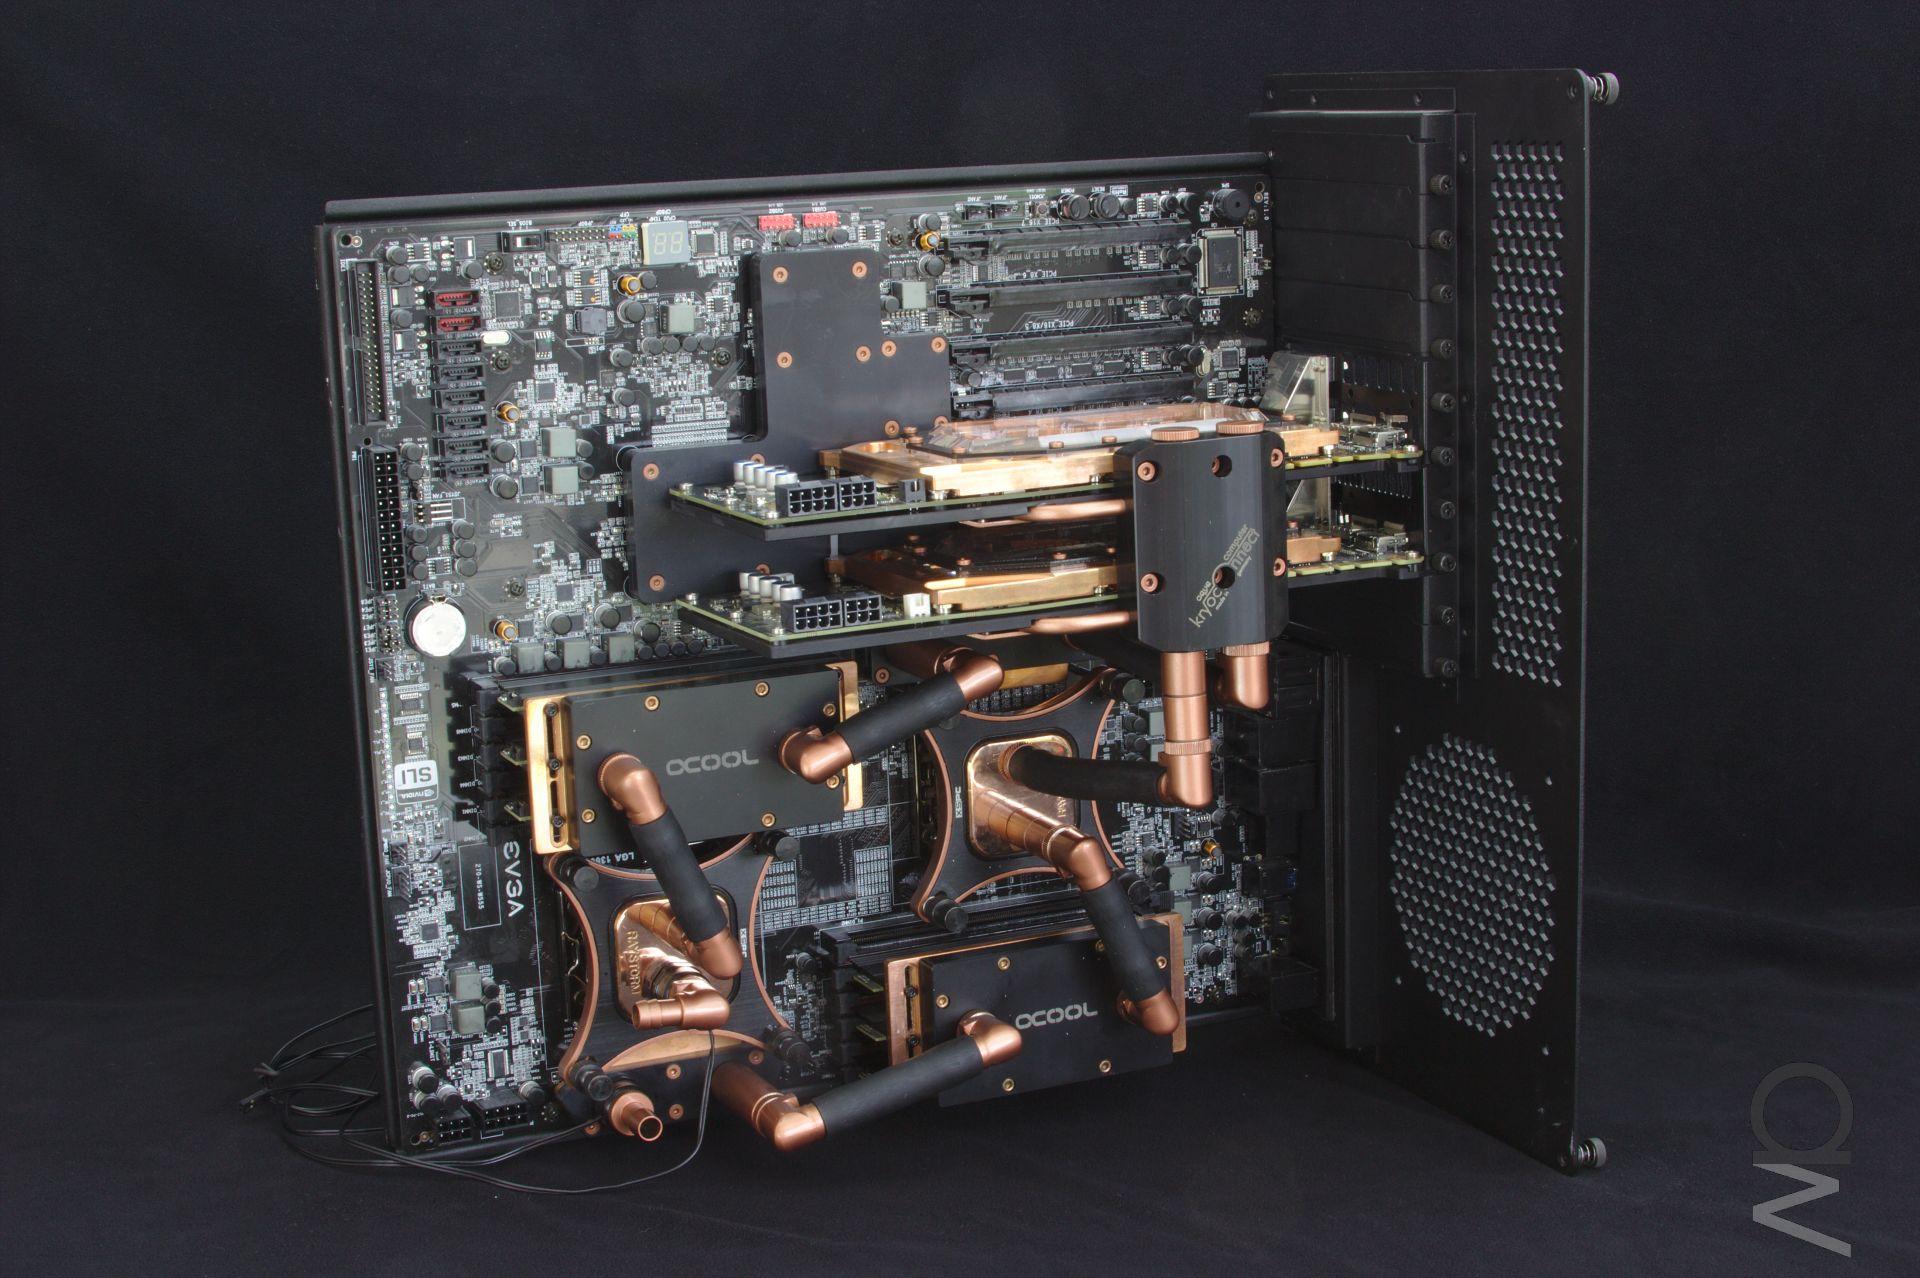
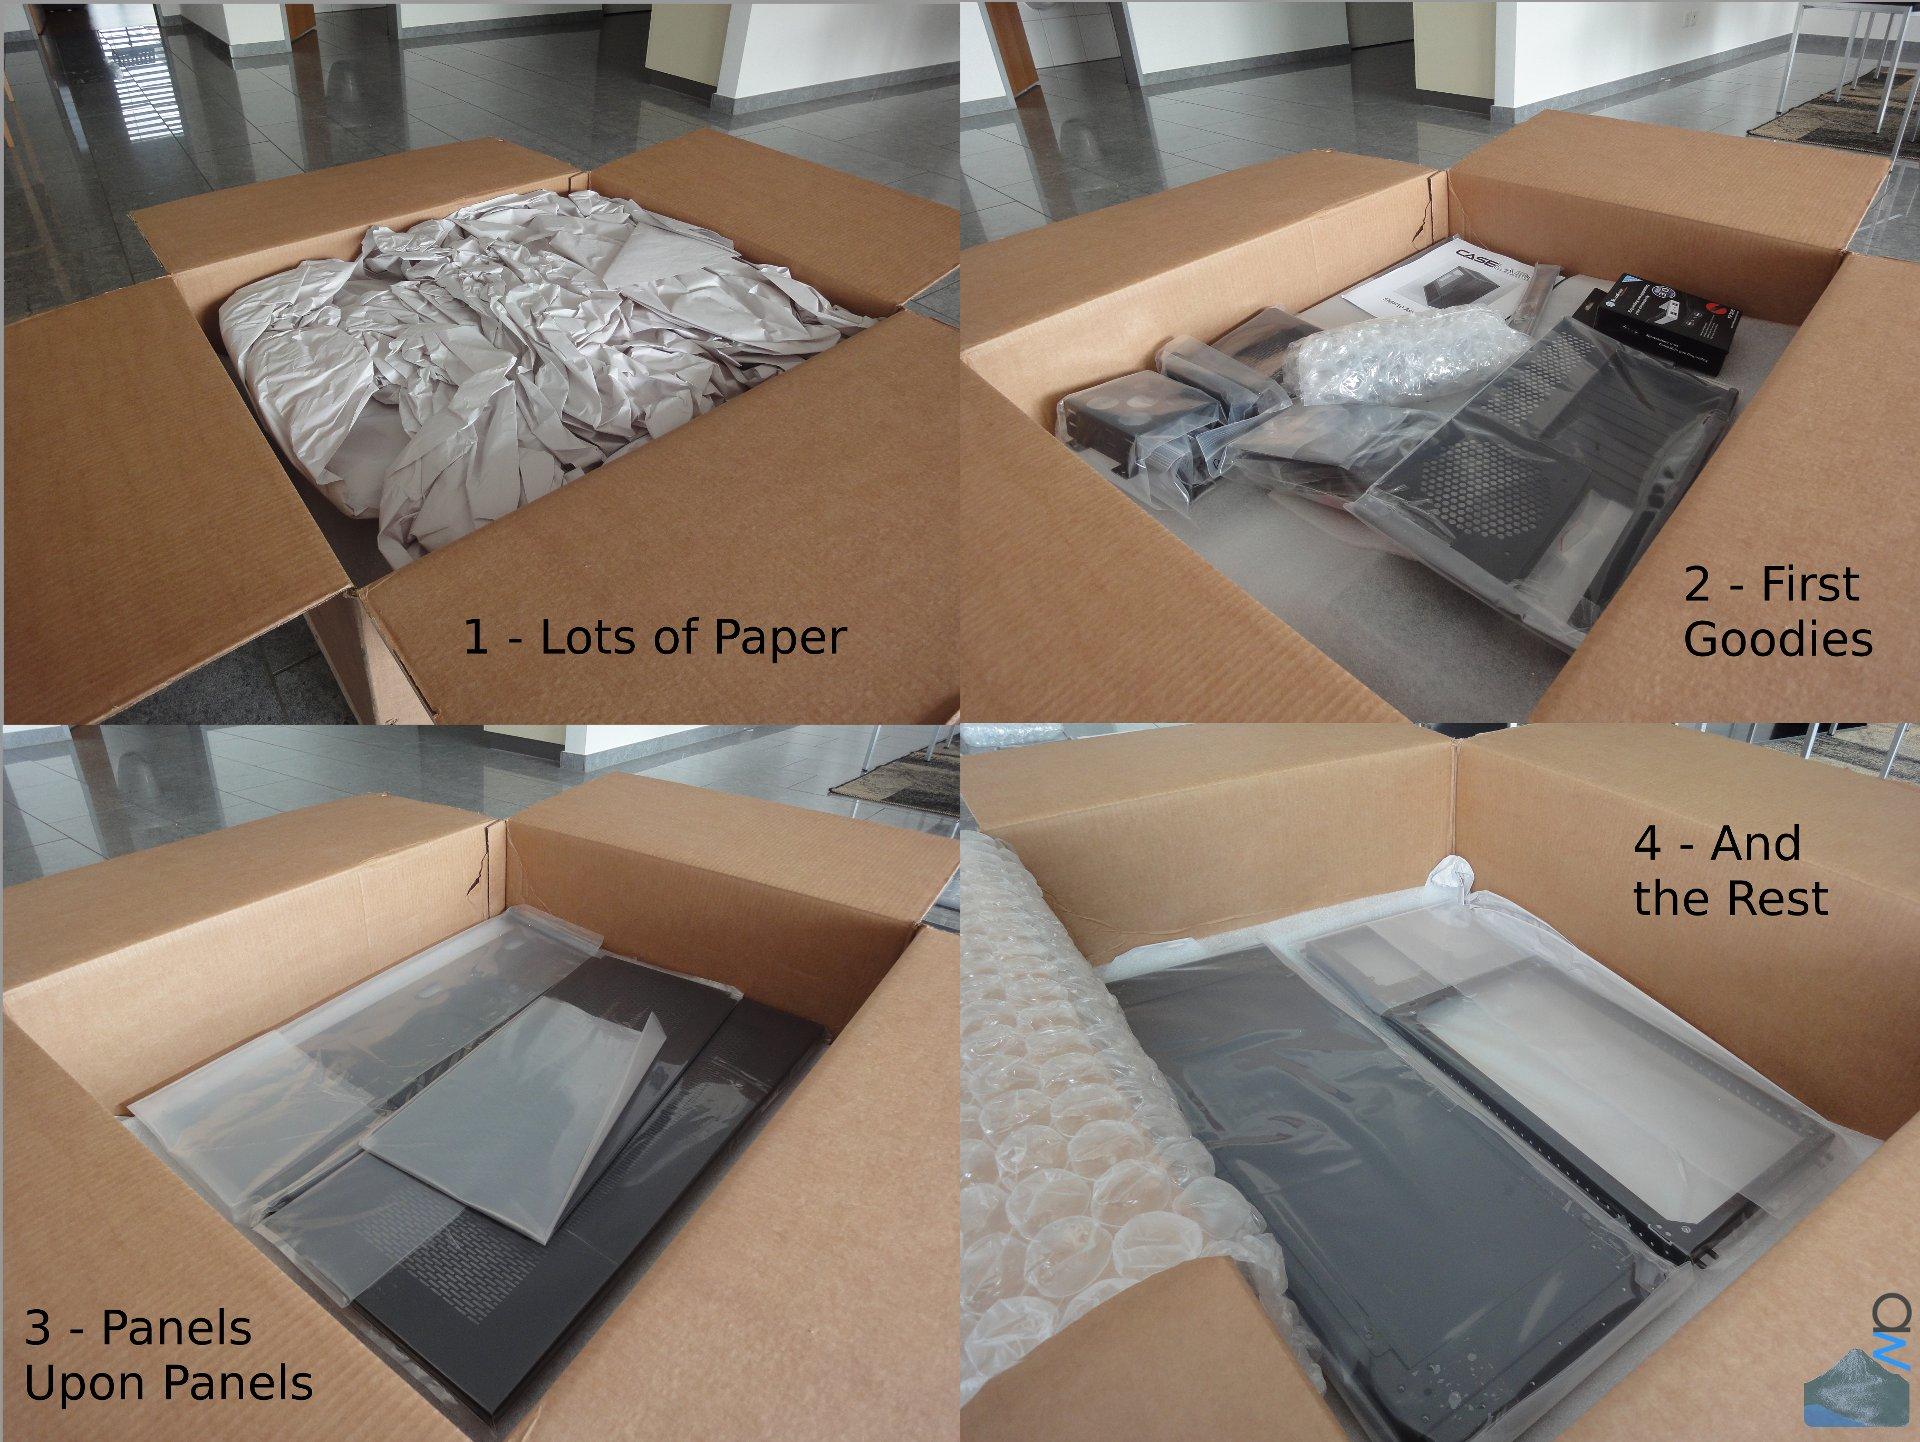
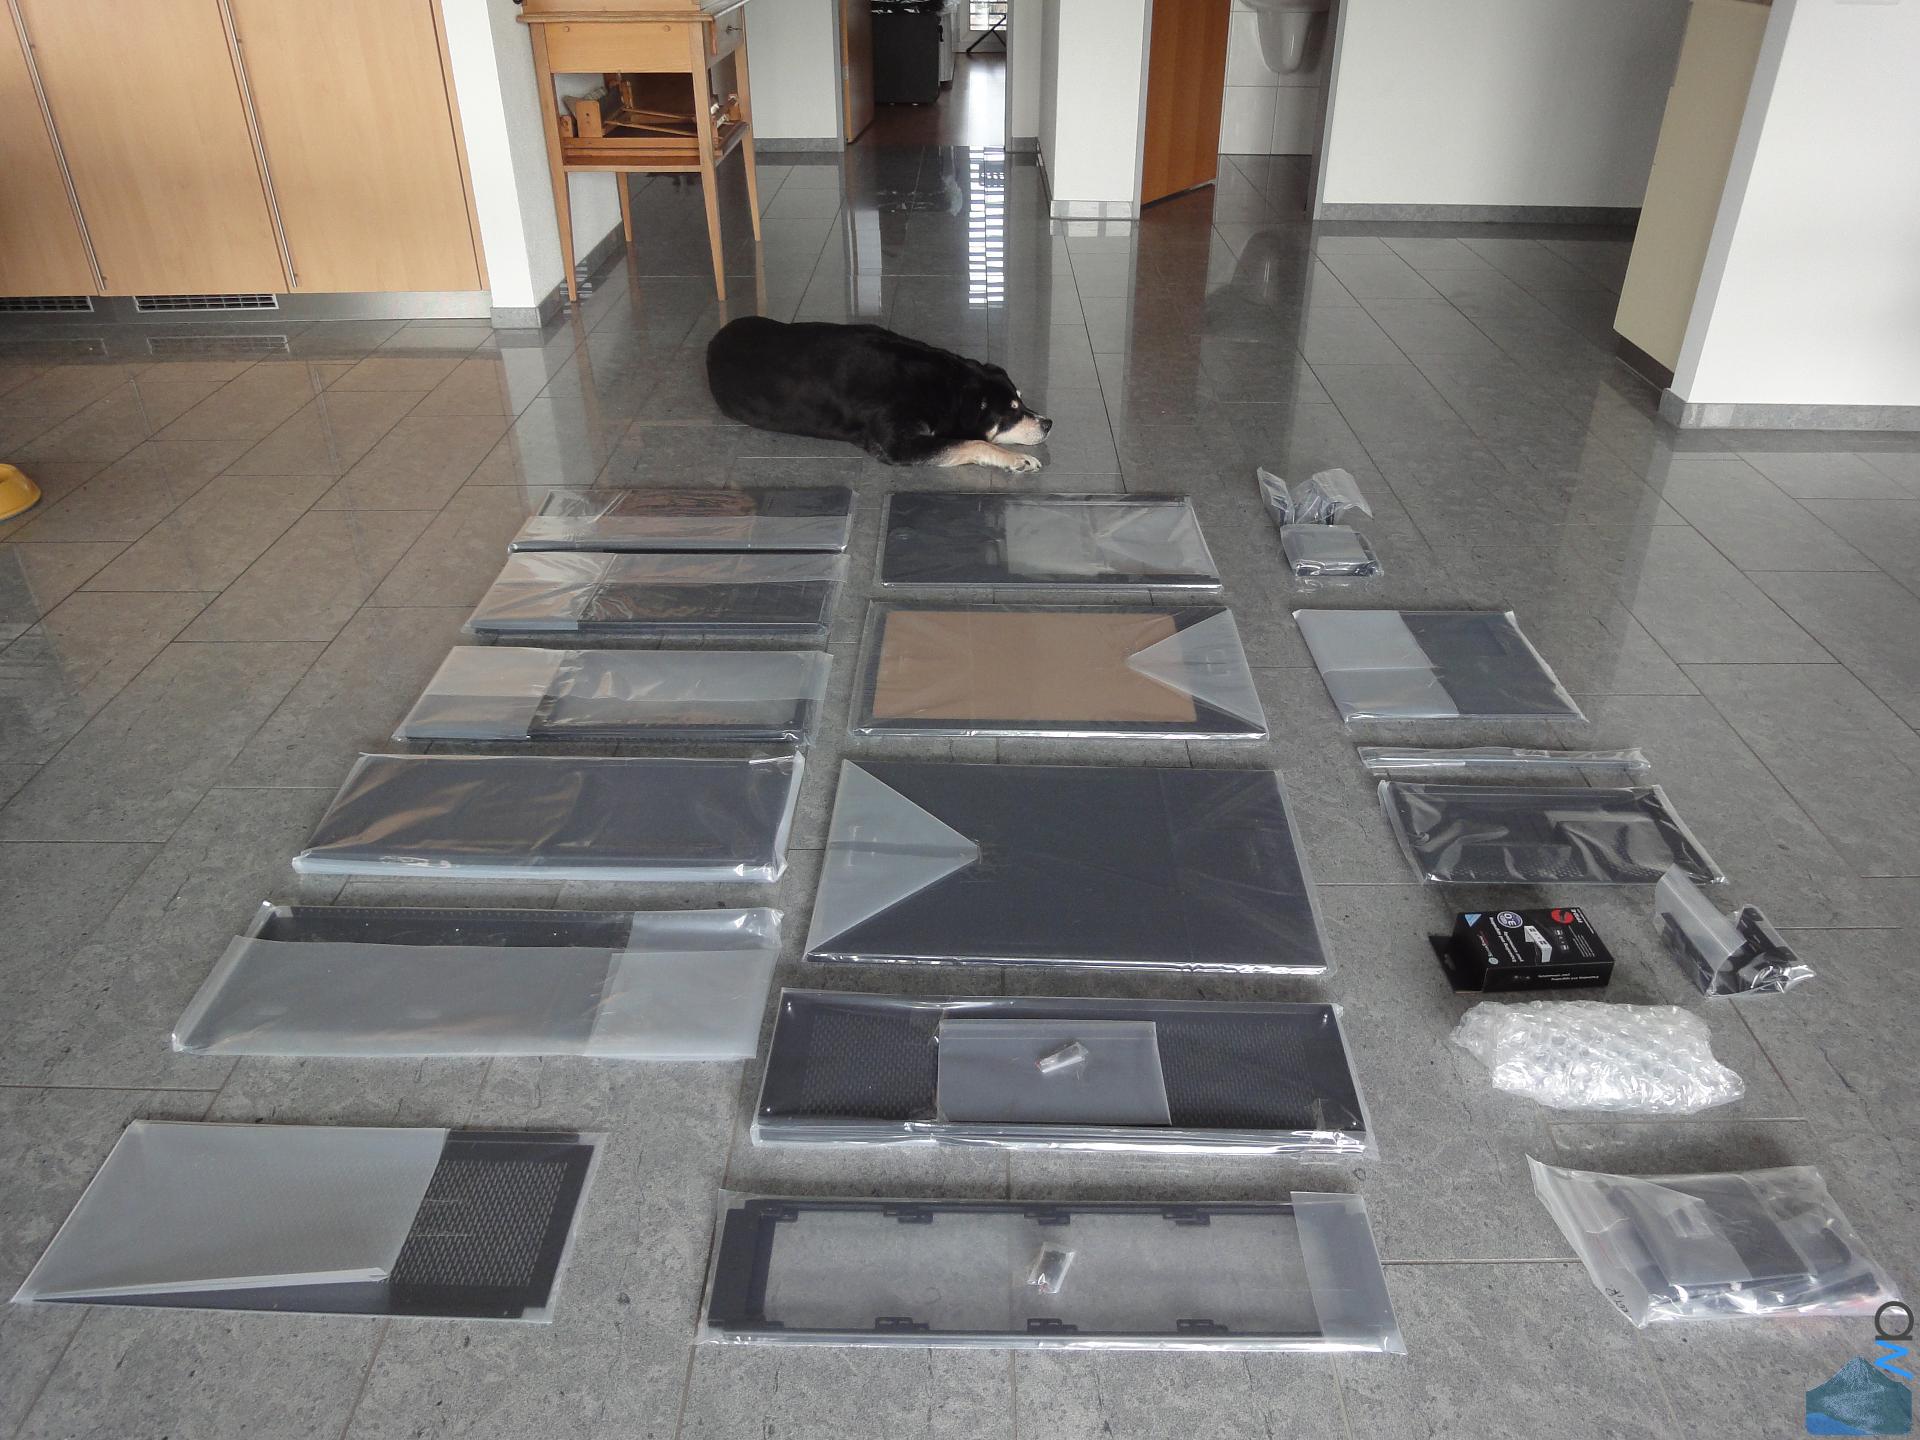
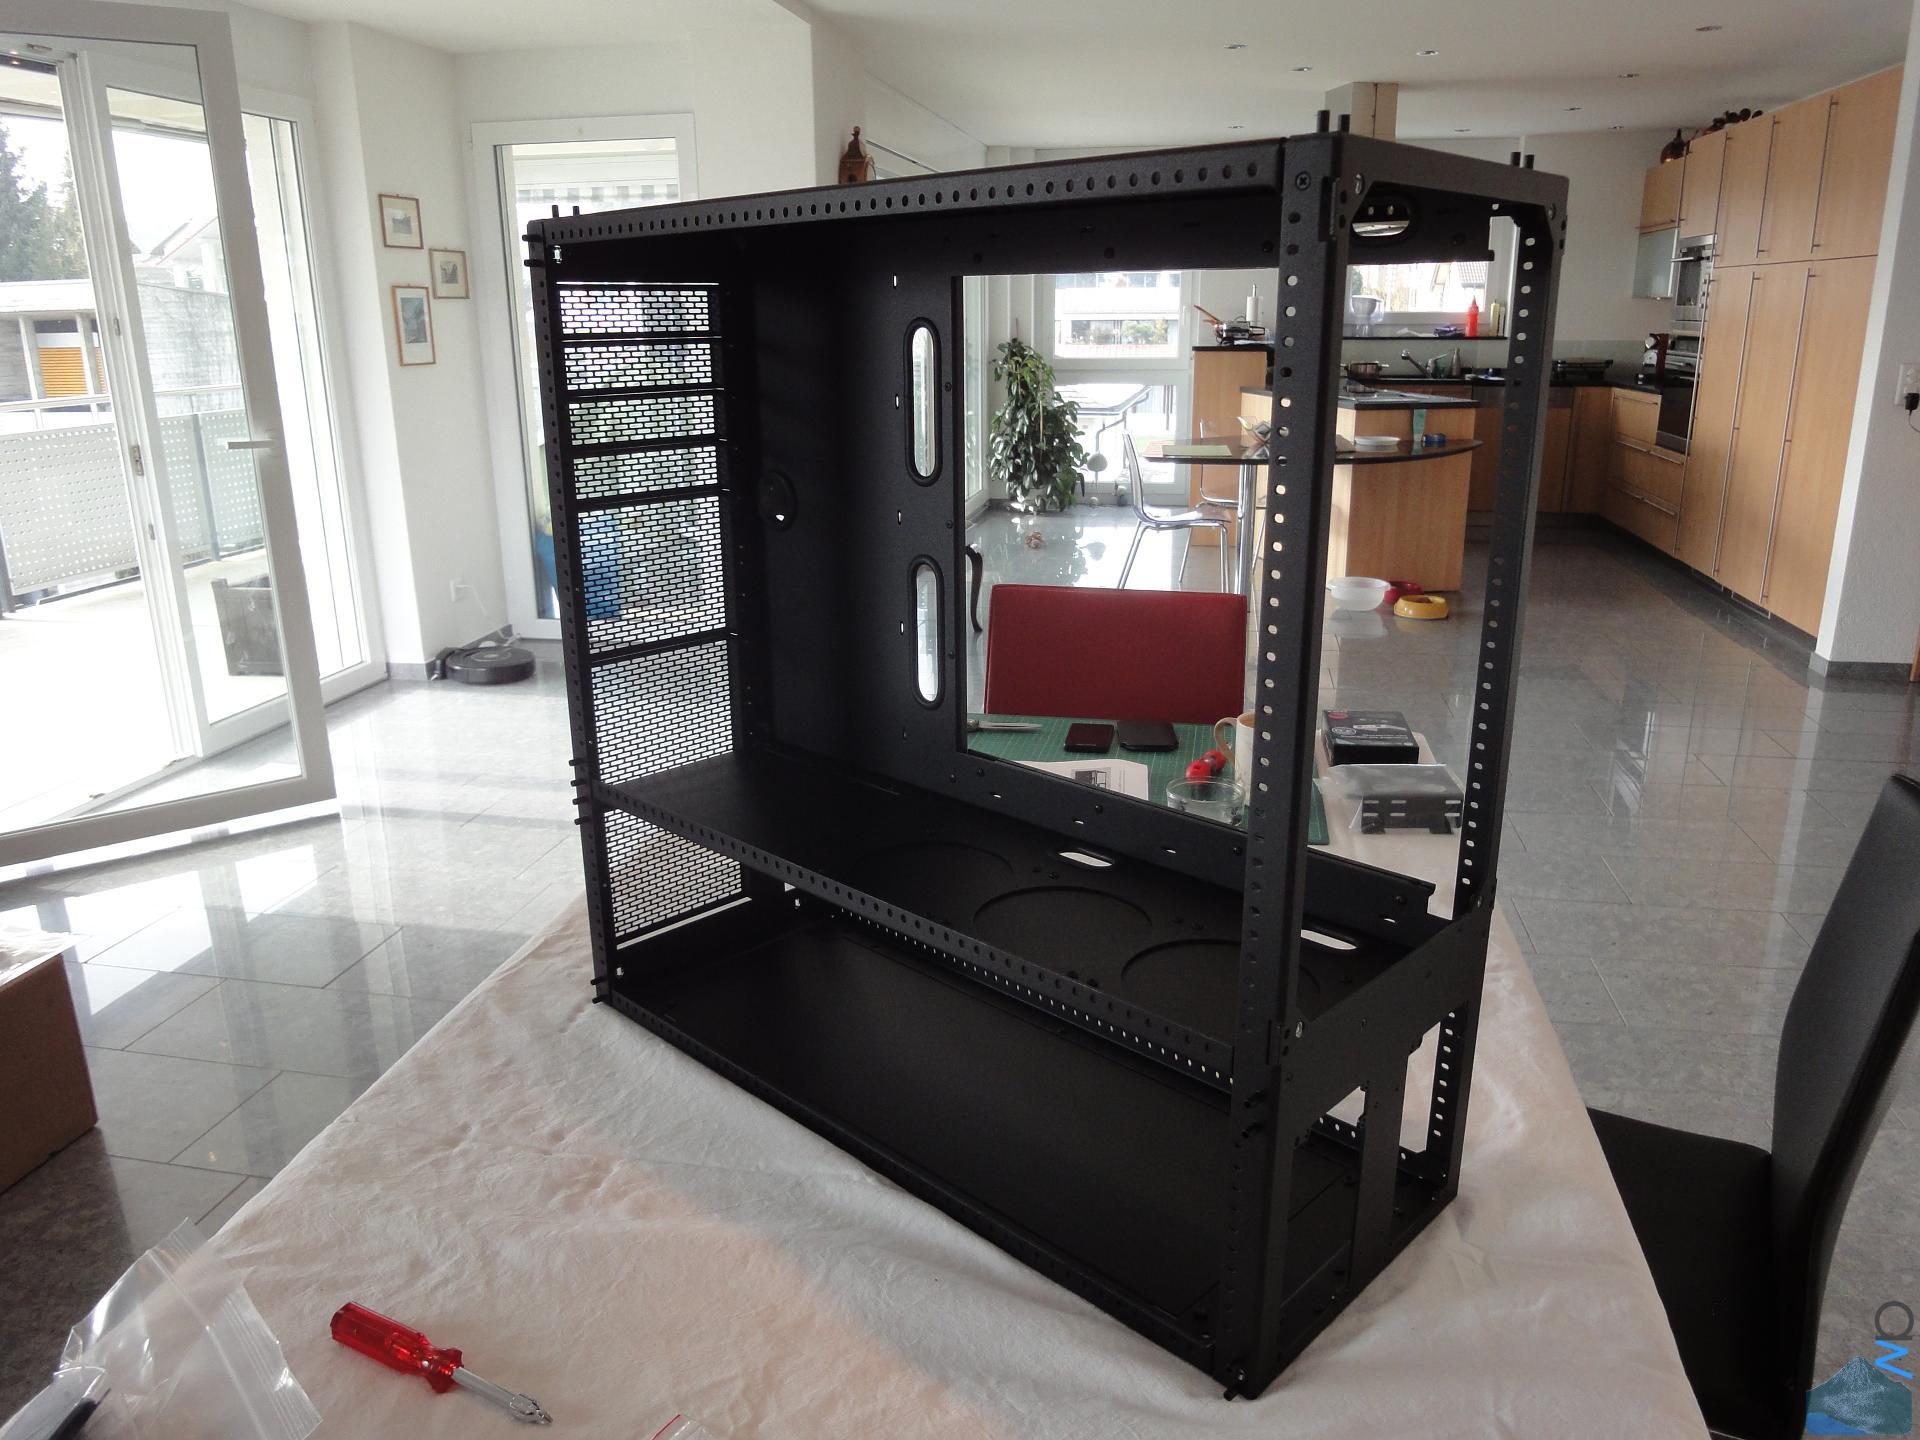
Assembled!
Finally managed to put it together.
")
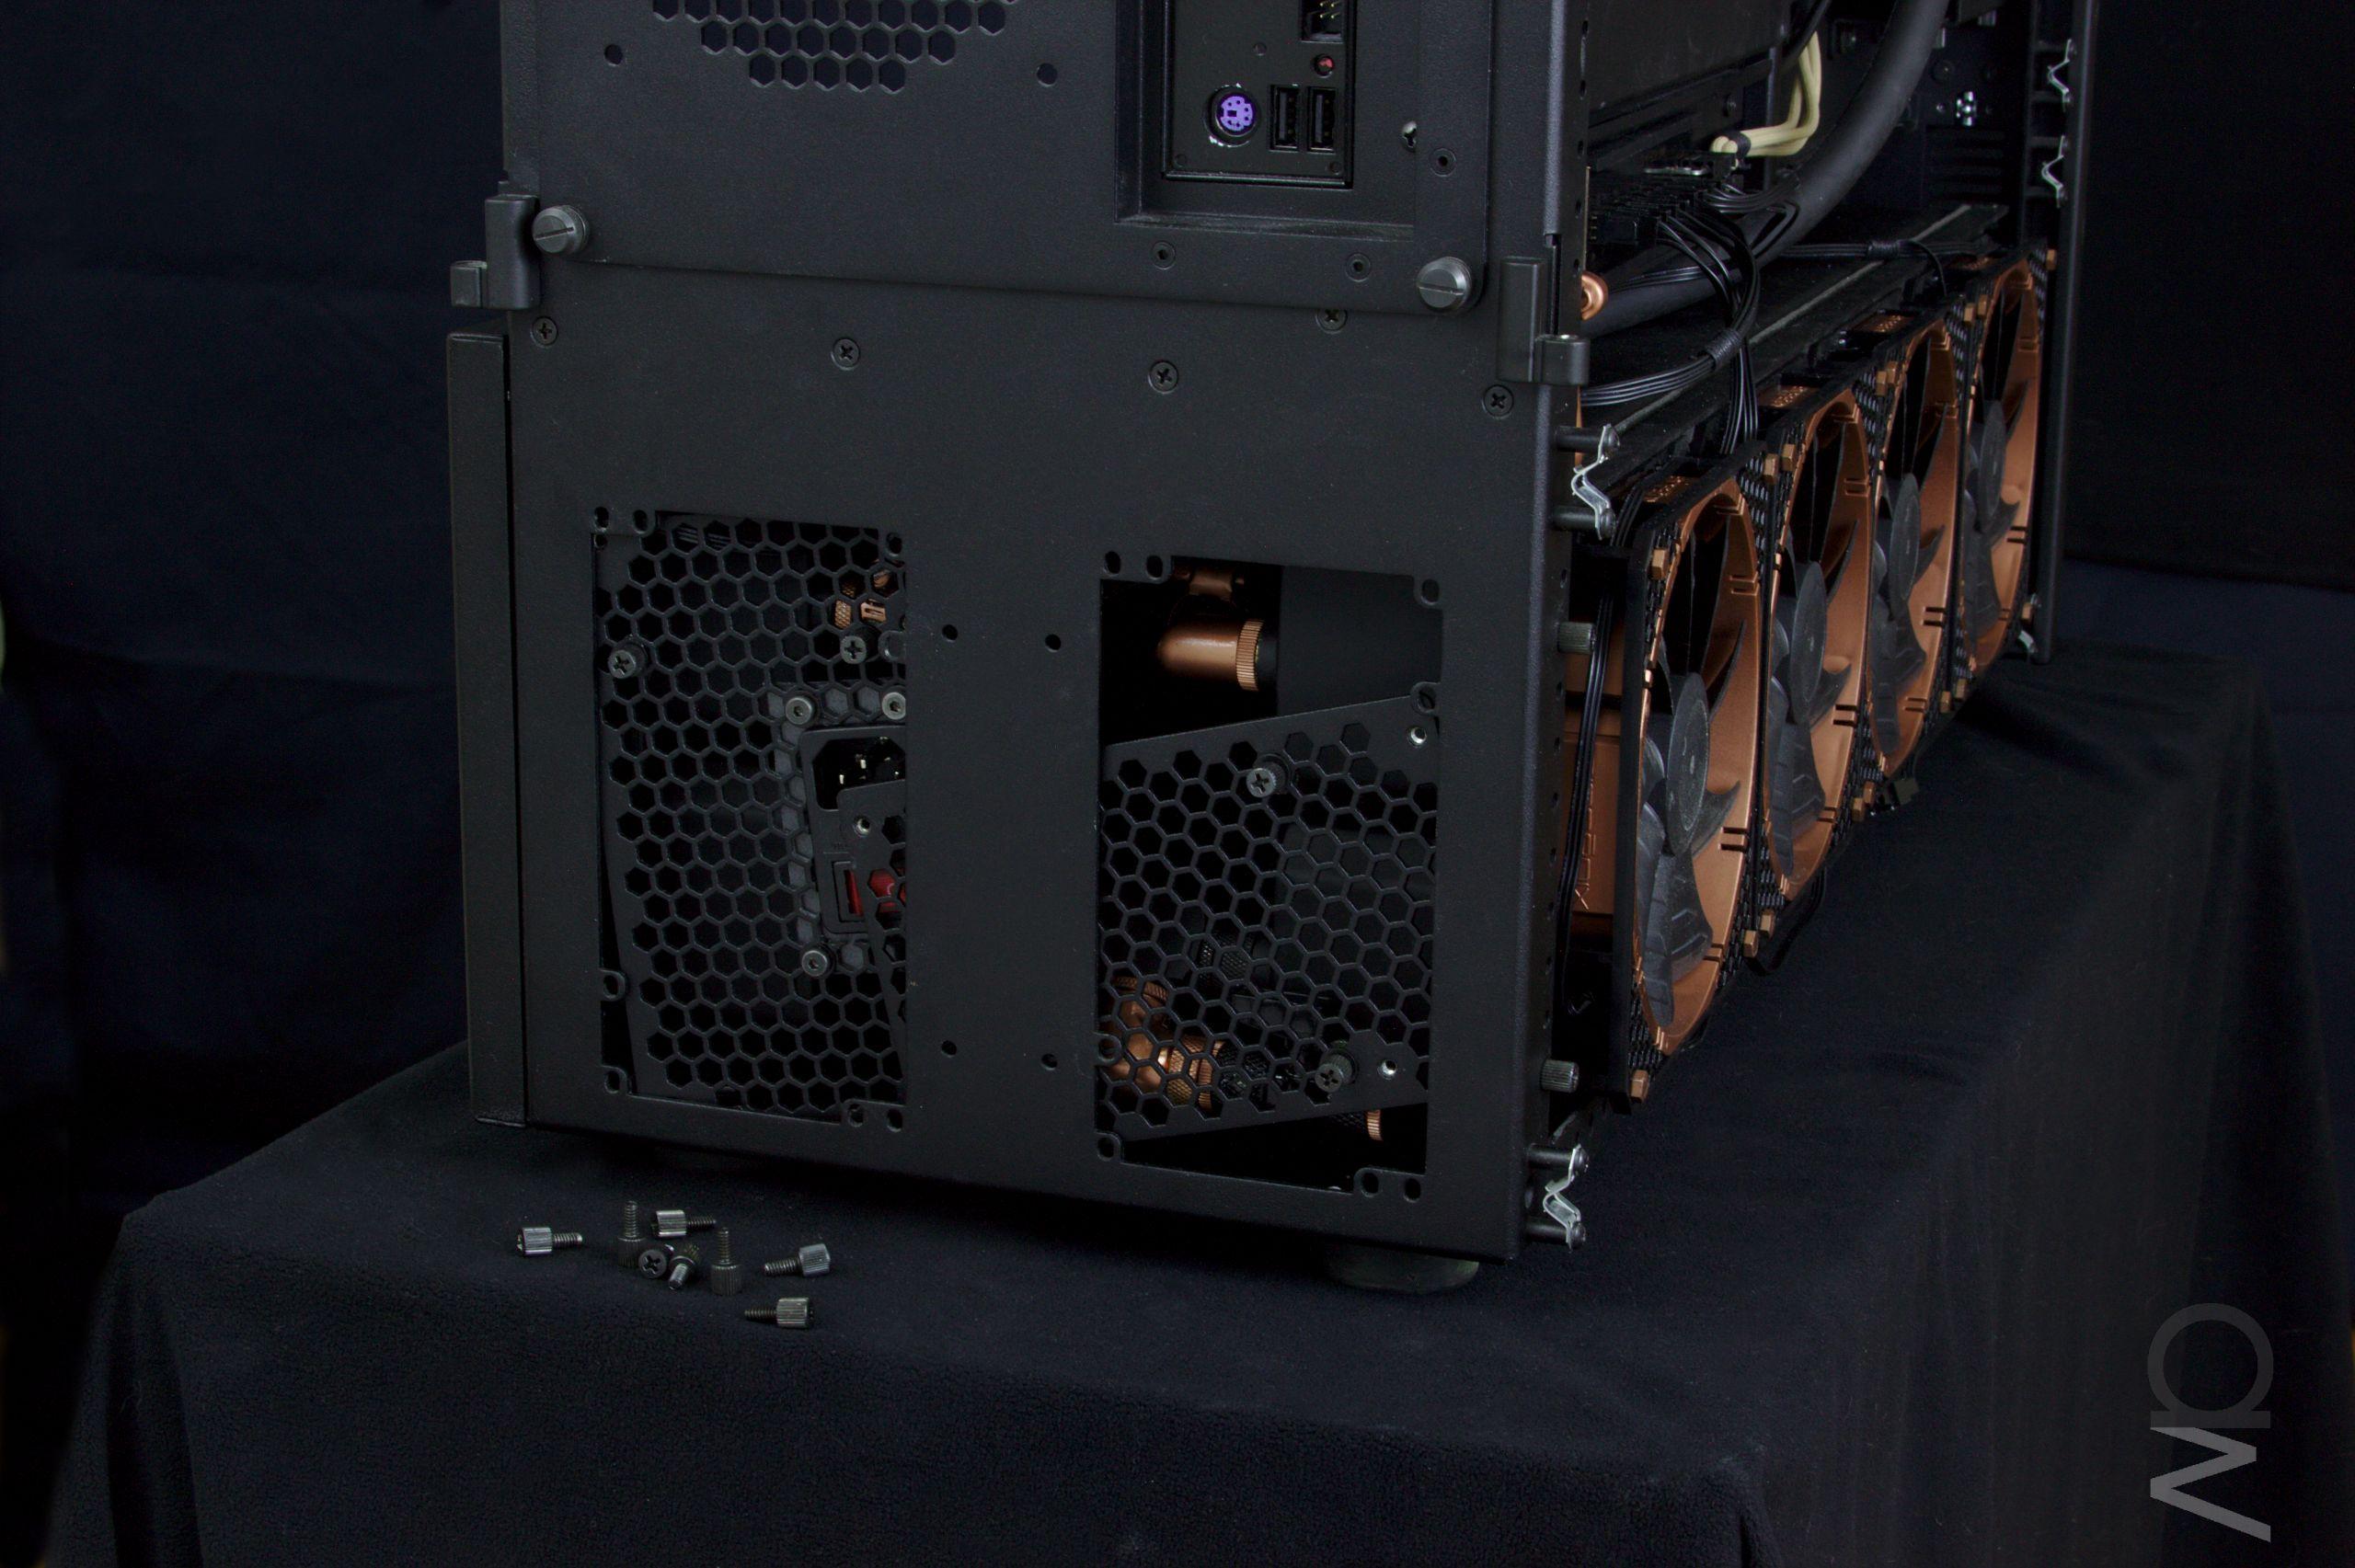
Hit a bit of a snag with my plan for the power delivery. I have a plug at the back
of the case to which I've soldered a cable which then goes to the PSU via a 90-degree
angled plug. Unfortunately the plug I'd bought turned out to be a bit too big and I
could no longer mount the radiator. I could have raised the PSU, but don't have the
correct standoffs at hand, so instead I got very lucky and found a molded 90-degree
angled connector which is more compact. It goes to the other side, but the cable can
be bent around in a generous loop and it sill works. Disaster averted.
(click image for full res)
 (click image for full res)
 (click image for full res)

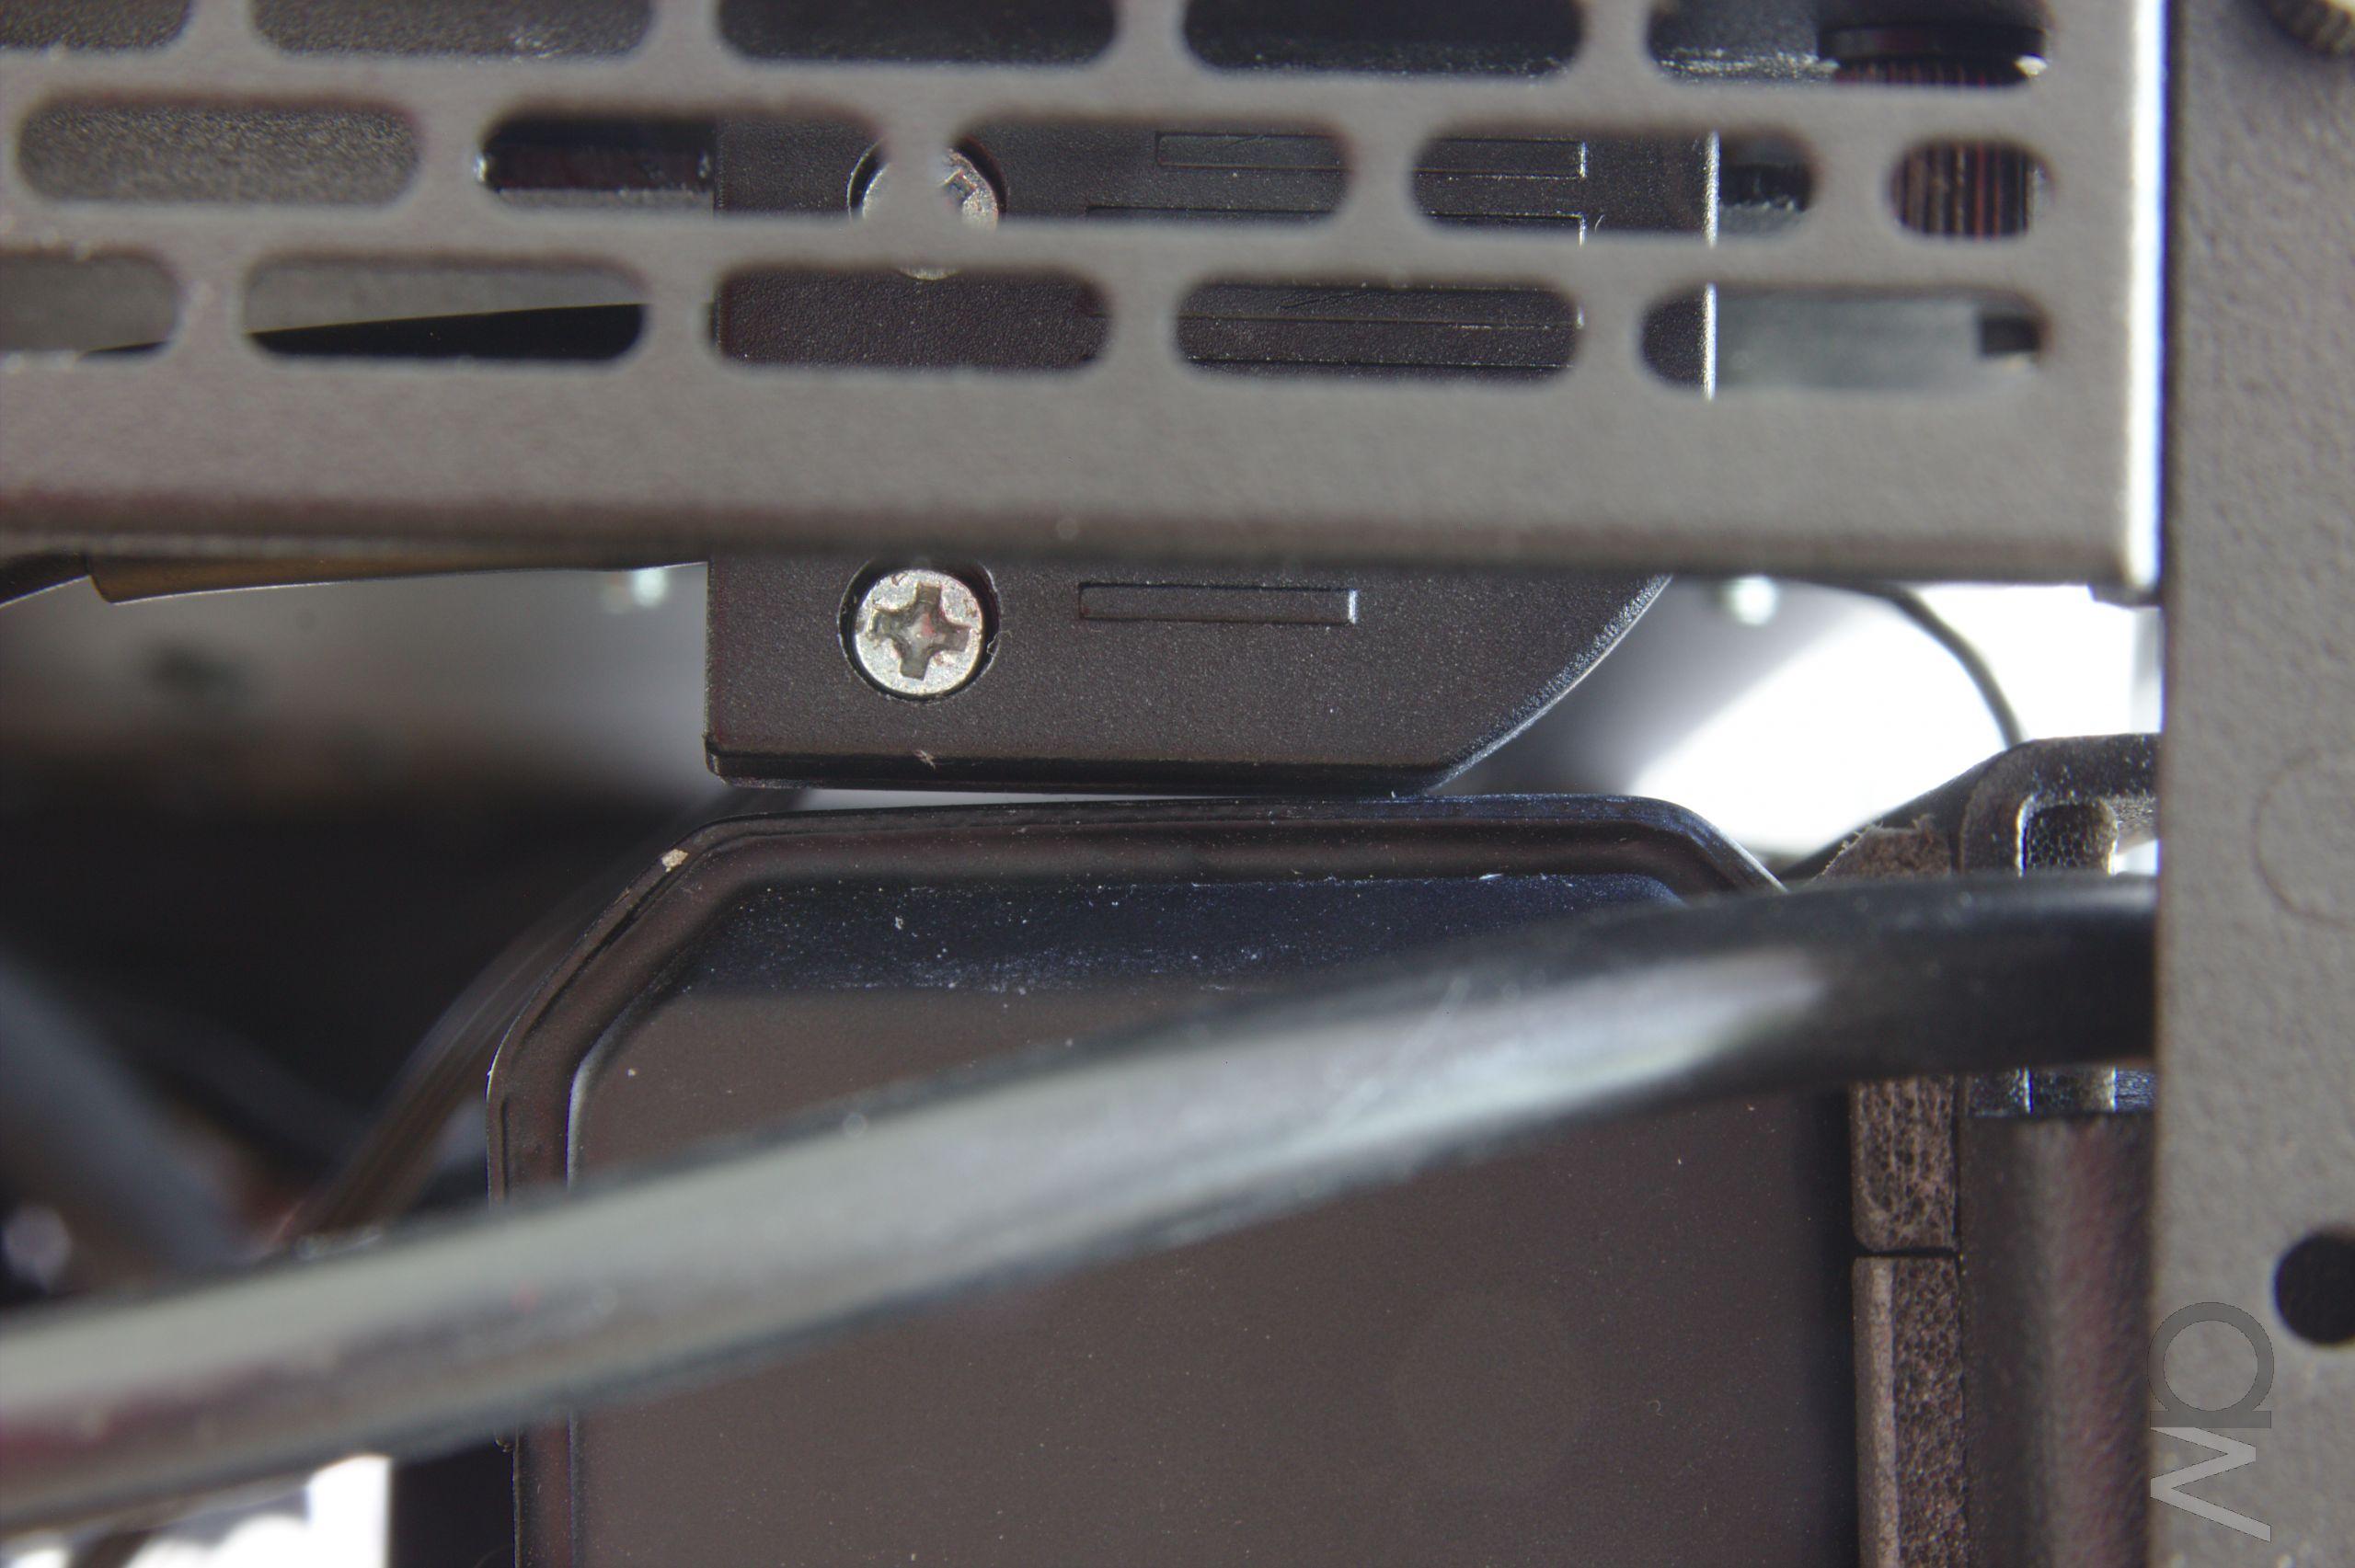
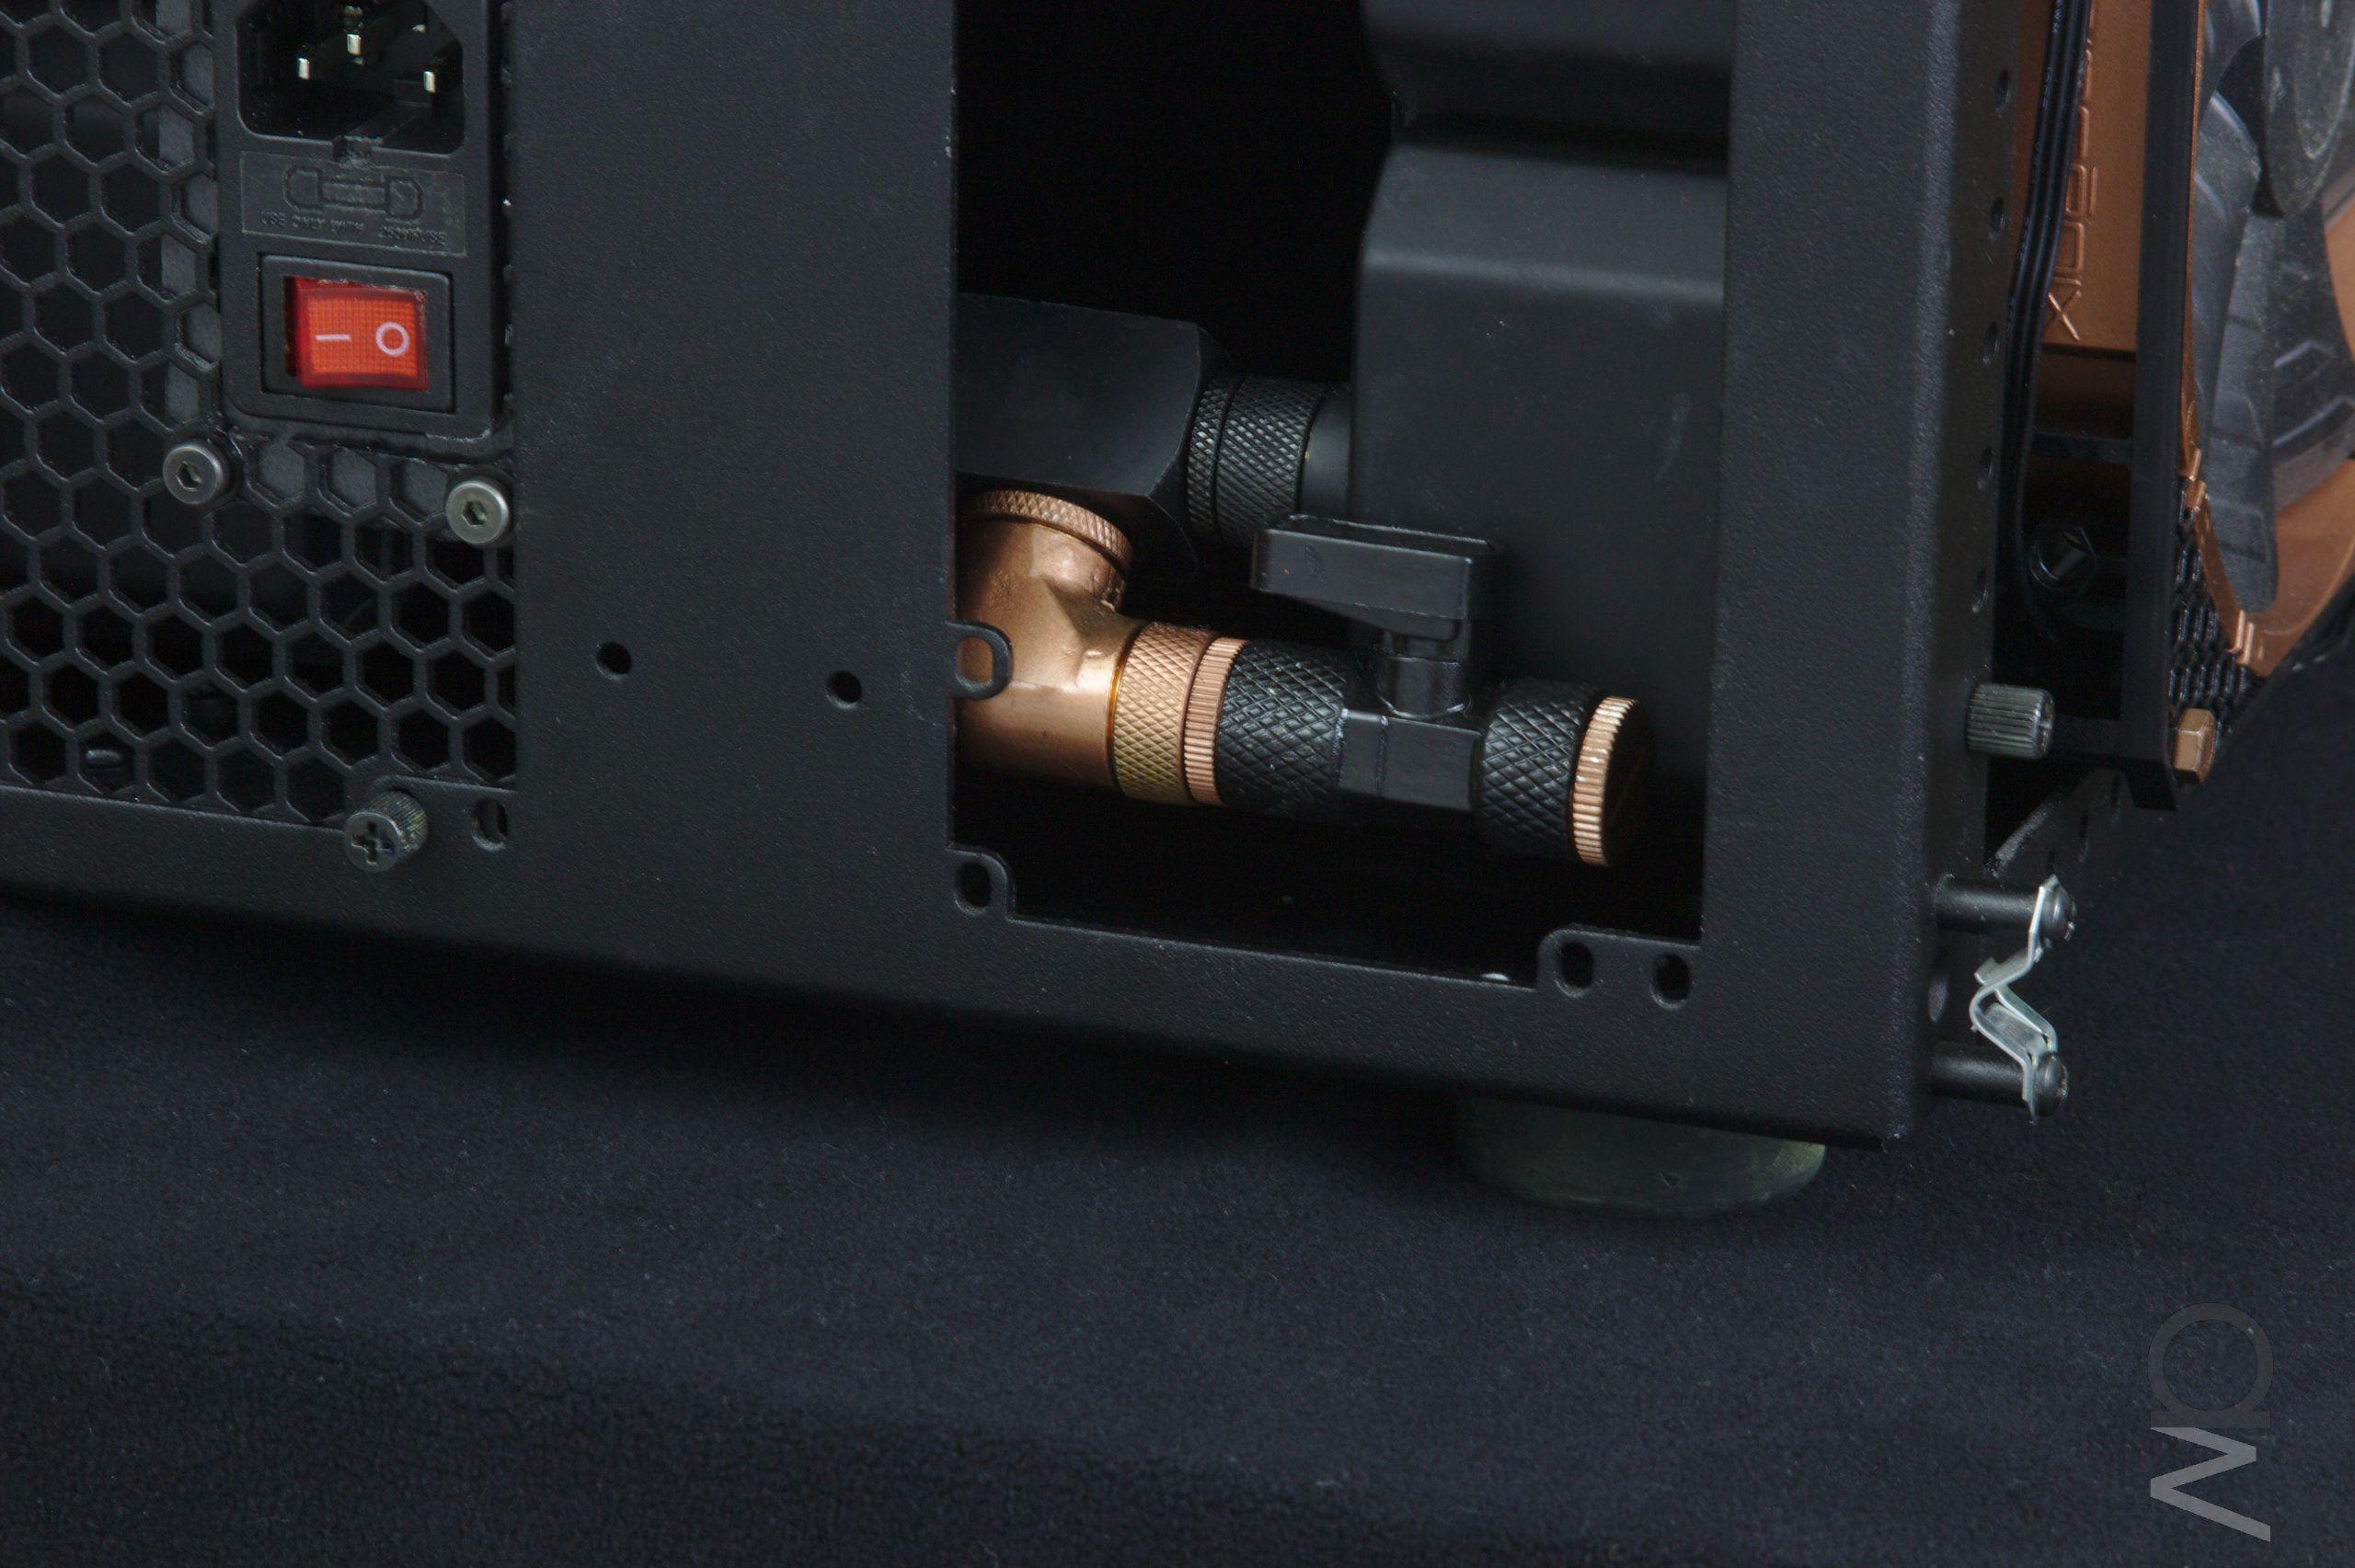
The drain is the usual principle: T-connector, ball valve. However, in order to be
able to hide it away inside the case, the lever on the valve actually needs to be
in the
open position, hence the additional stop fitting on the valve.
Draining the system works pretty well, I get most of the fluid out (it uses about
1.5 litres it seems.
)
(click image for full res)
 (click image for full res)

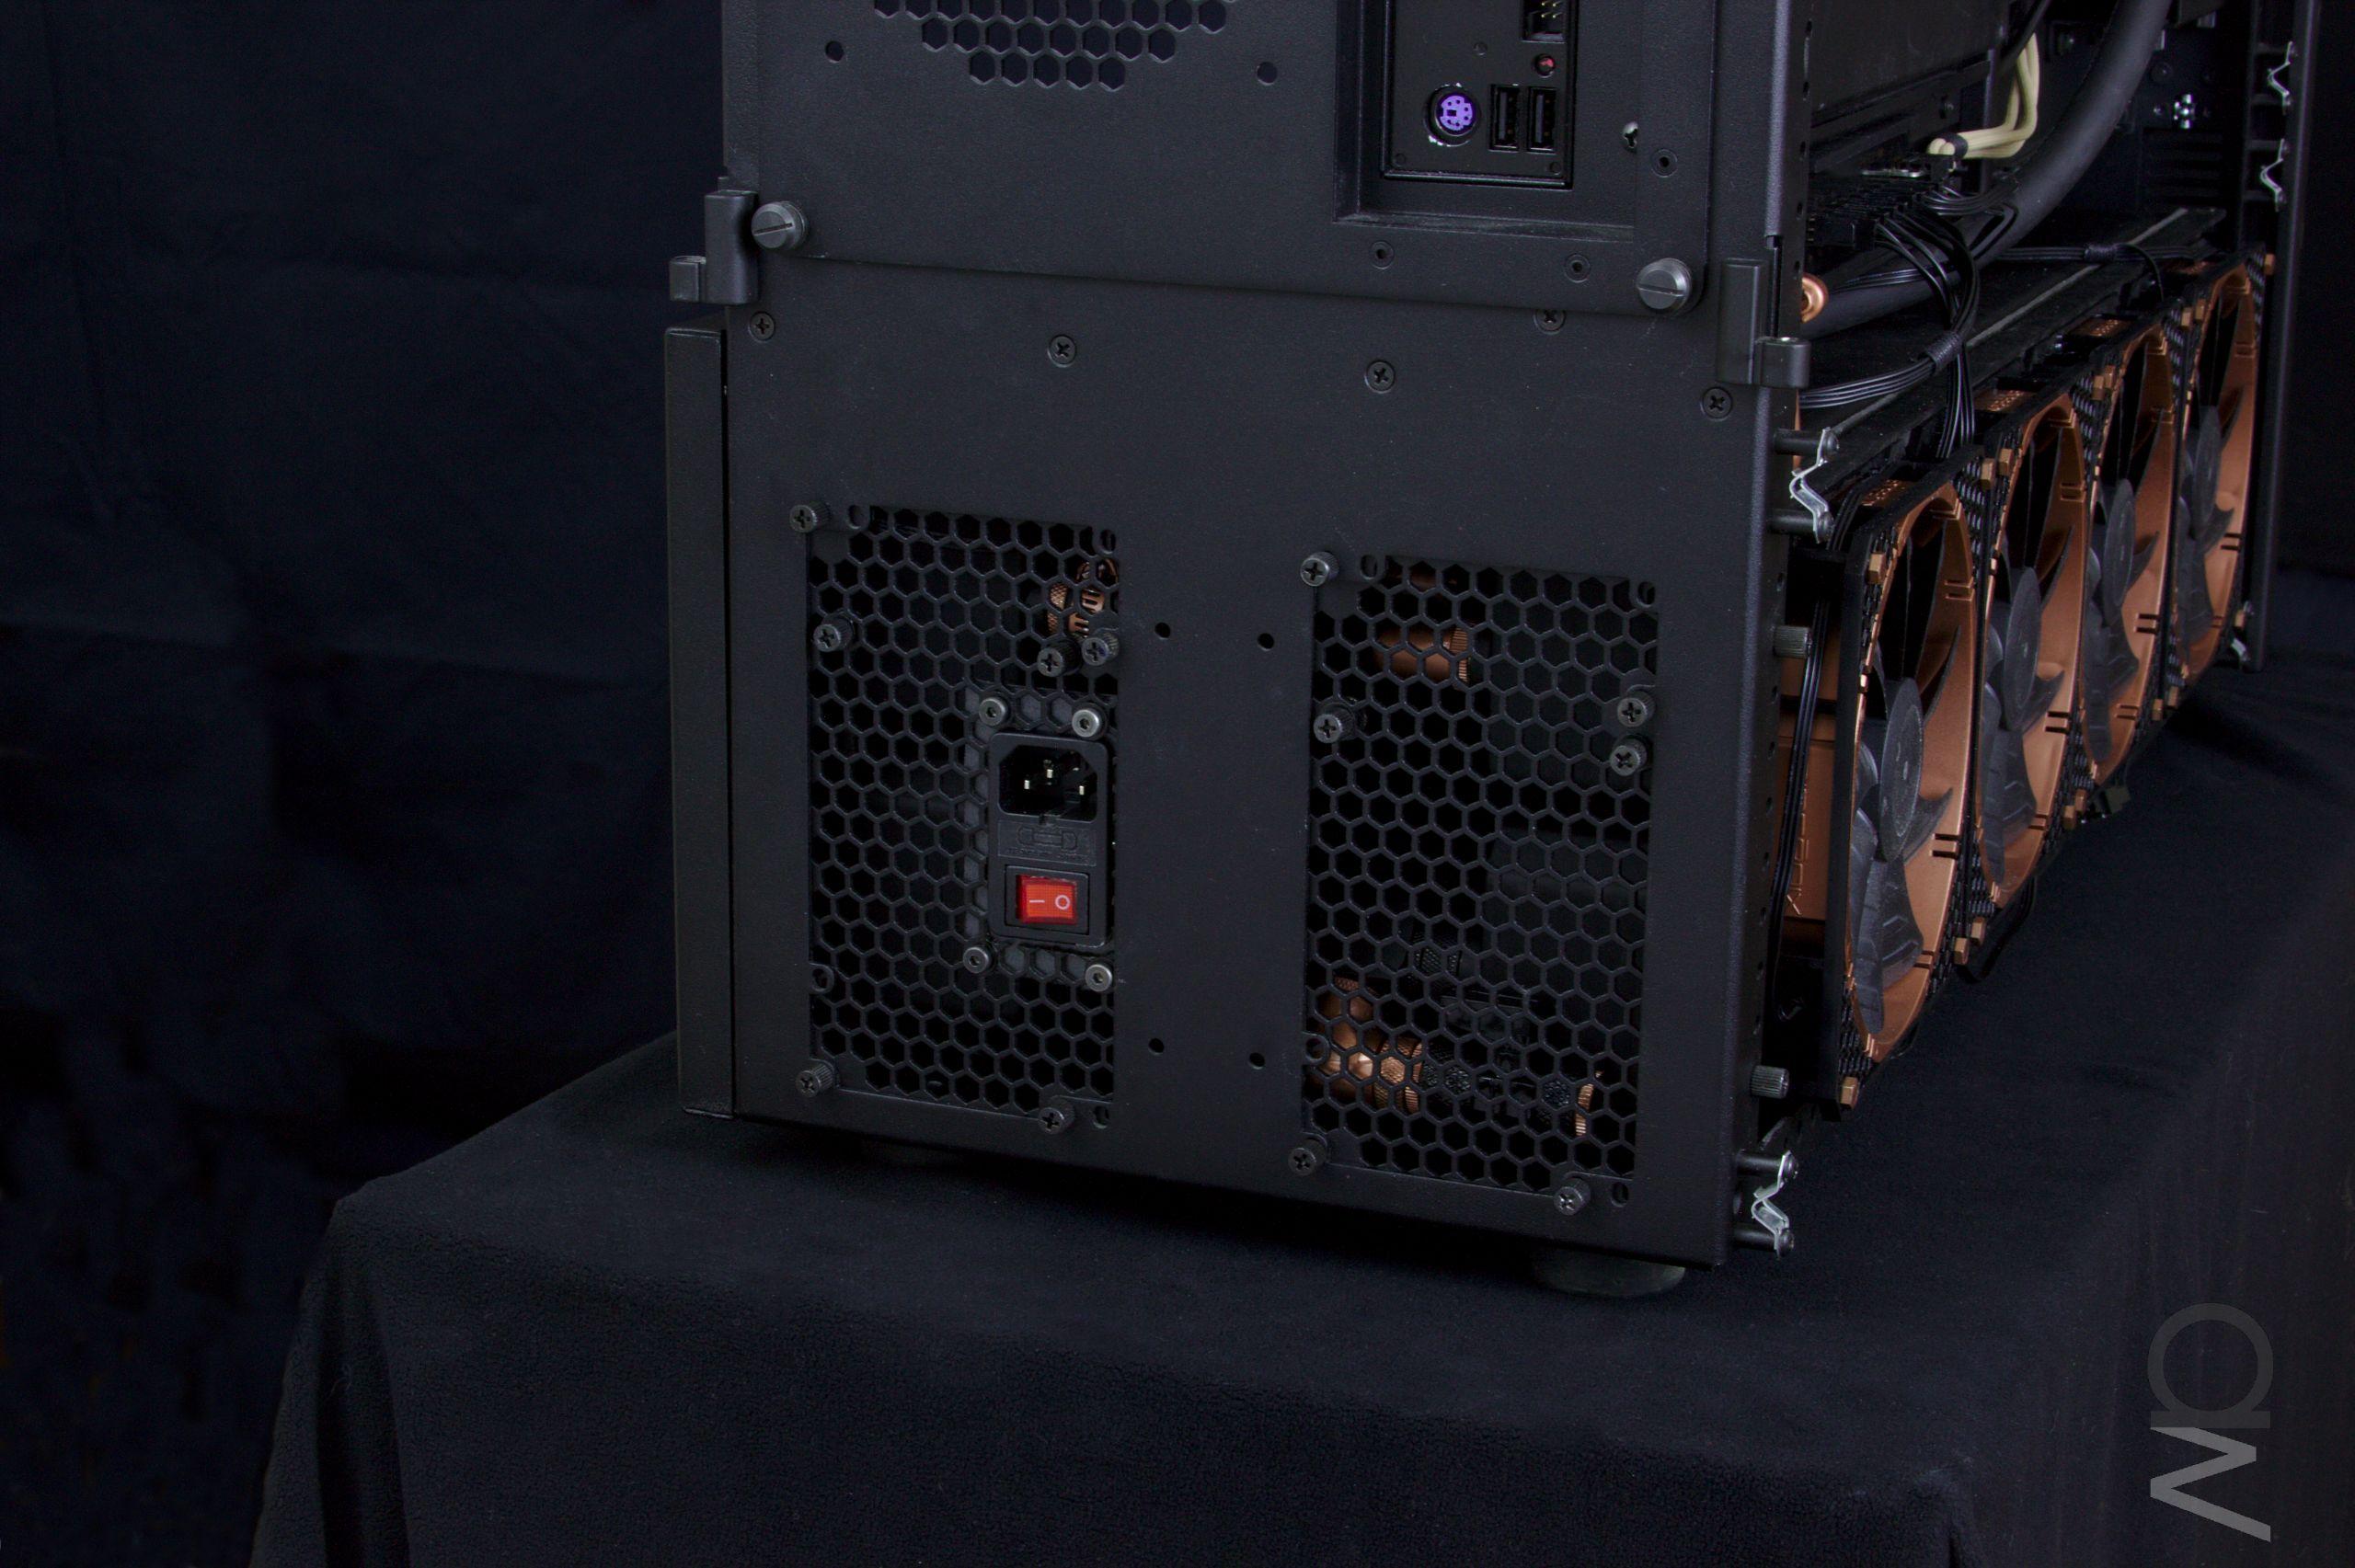
The process for closing it all up is a bit cumbersome, but such is life. I have to
unmount the other PSU cover in order to be able to get the plug's side's cover in,
then remount them both. I've mounted some additional thumb screws to the covers to
that I can hold on to them while bolting them to the case. Works pretty well.
(click image for full res)
 (click image for full res)

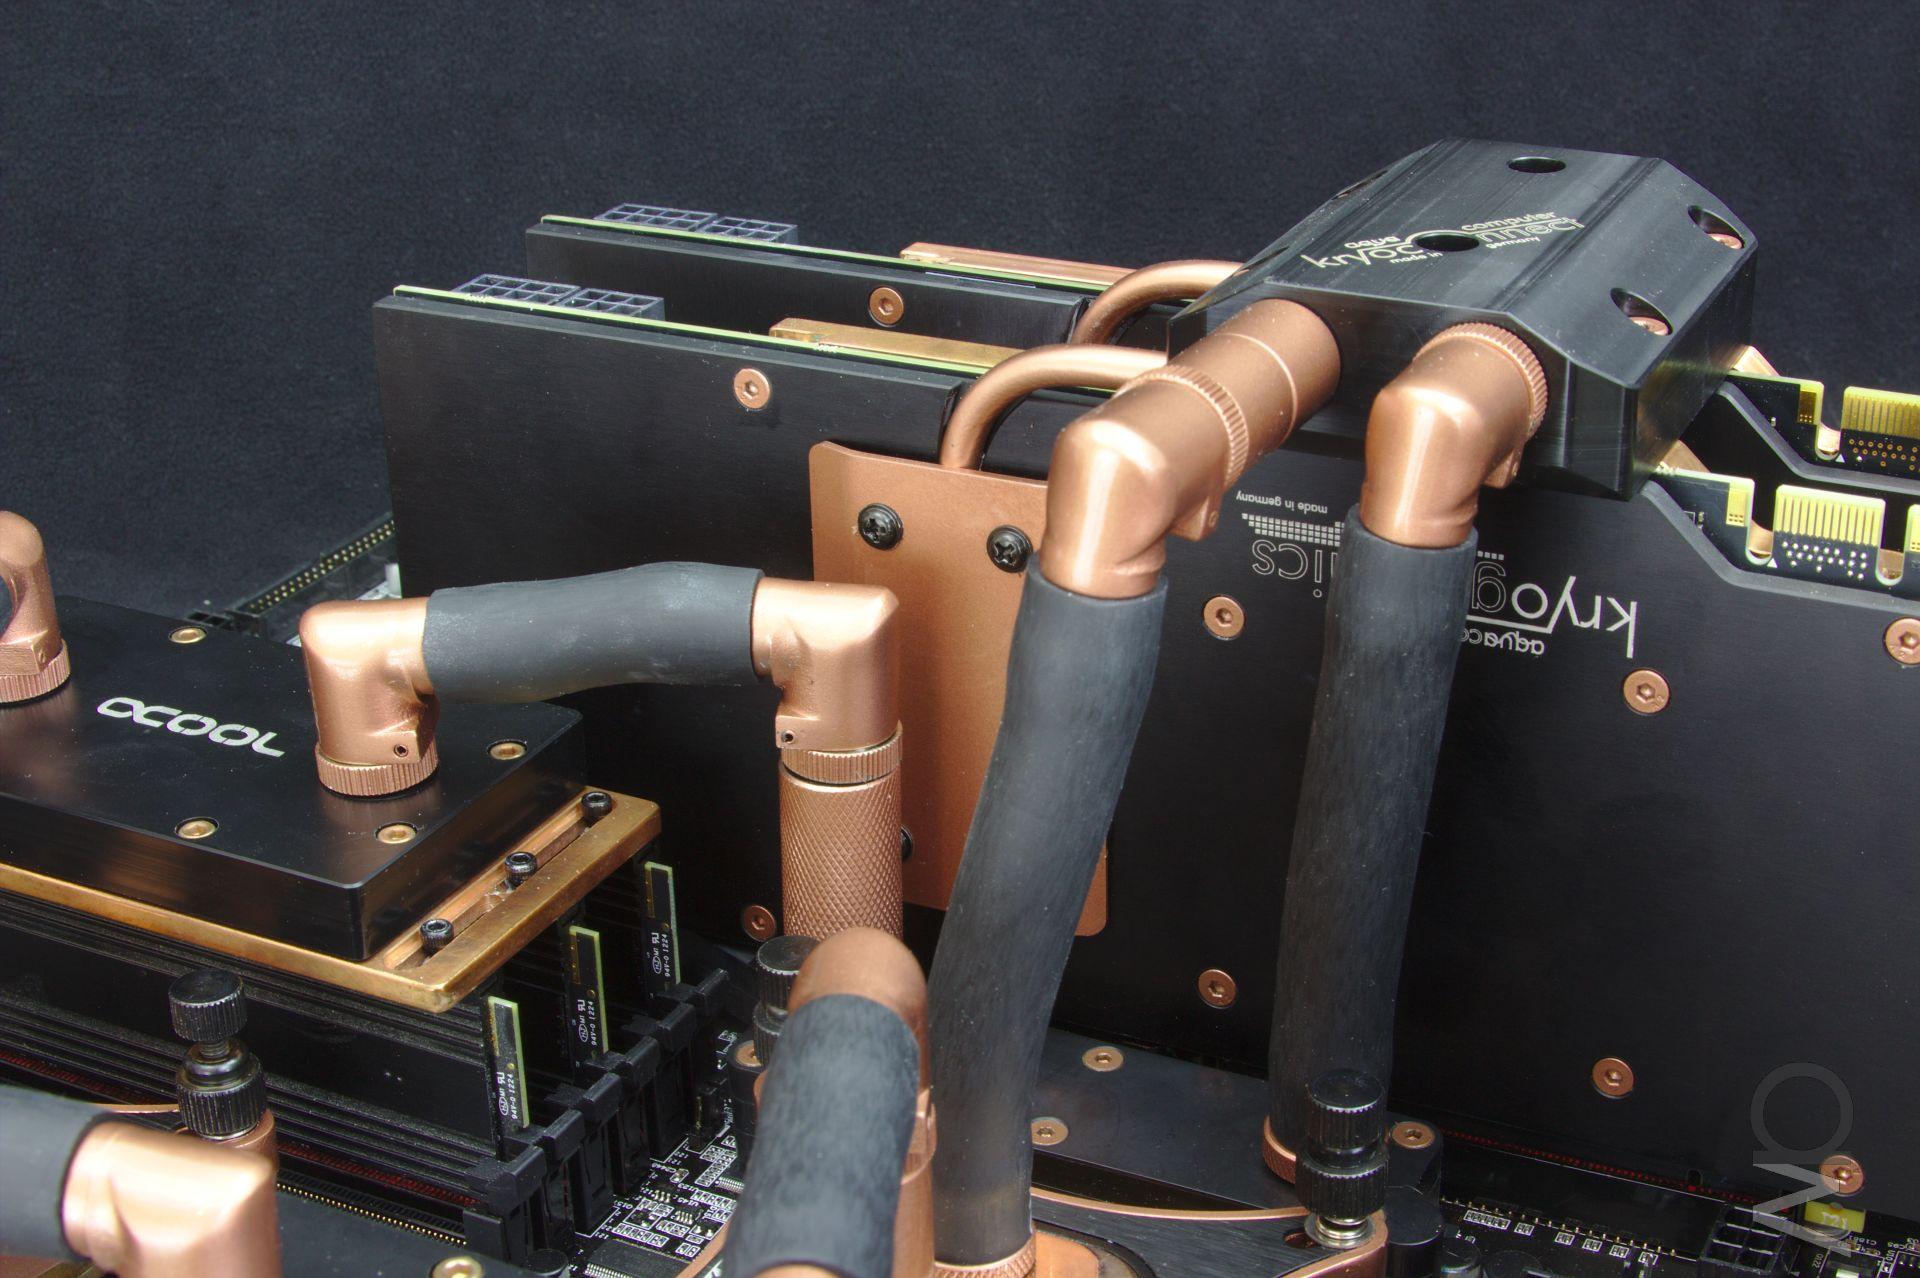
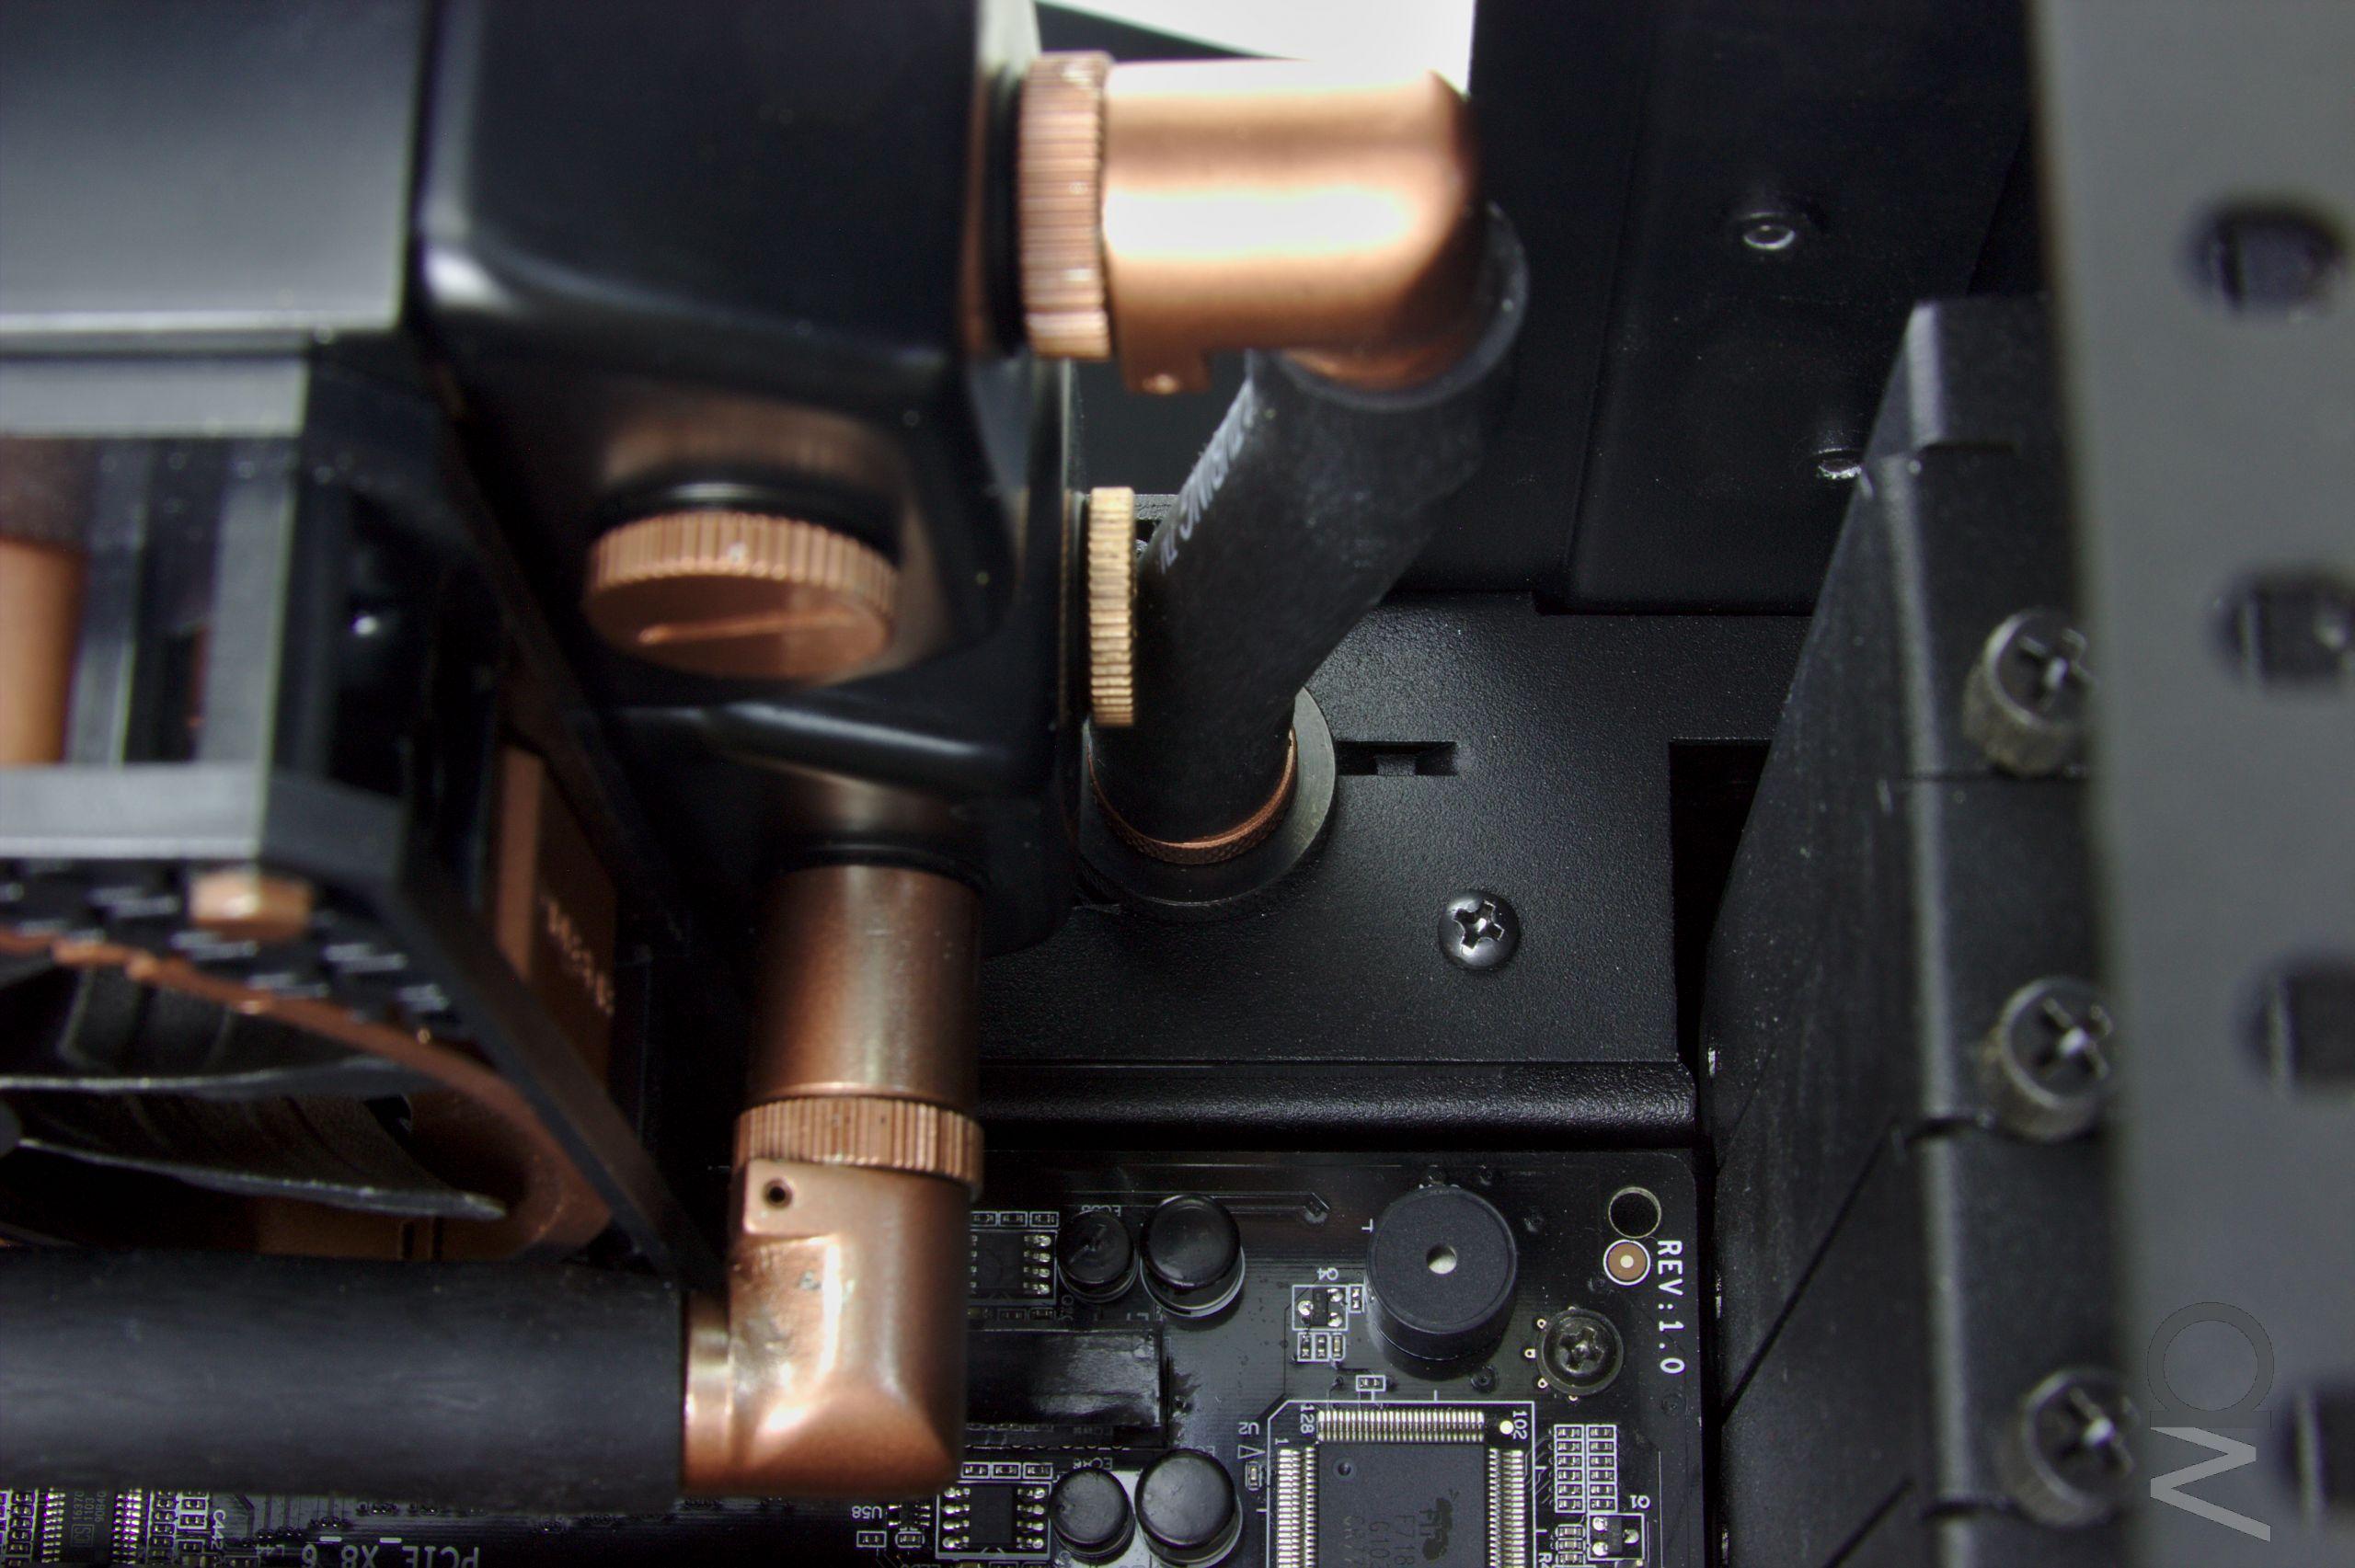
The passthrough from the pump to the back side and the bottom radiators. The thing
with a wire is an inline temperature sensor.
(click image for full res)

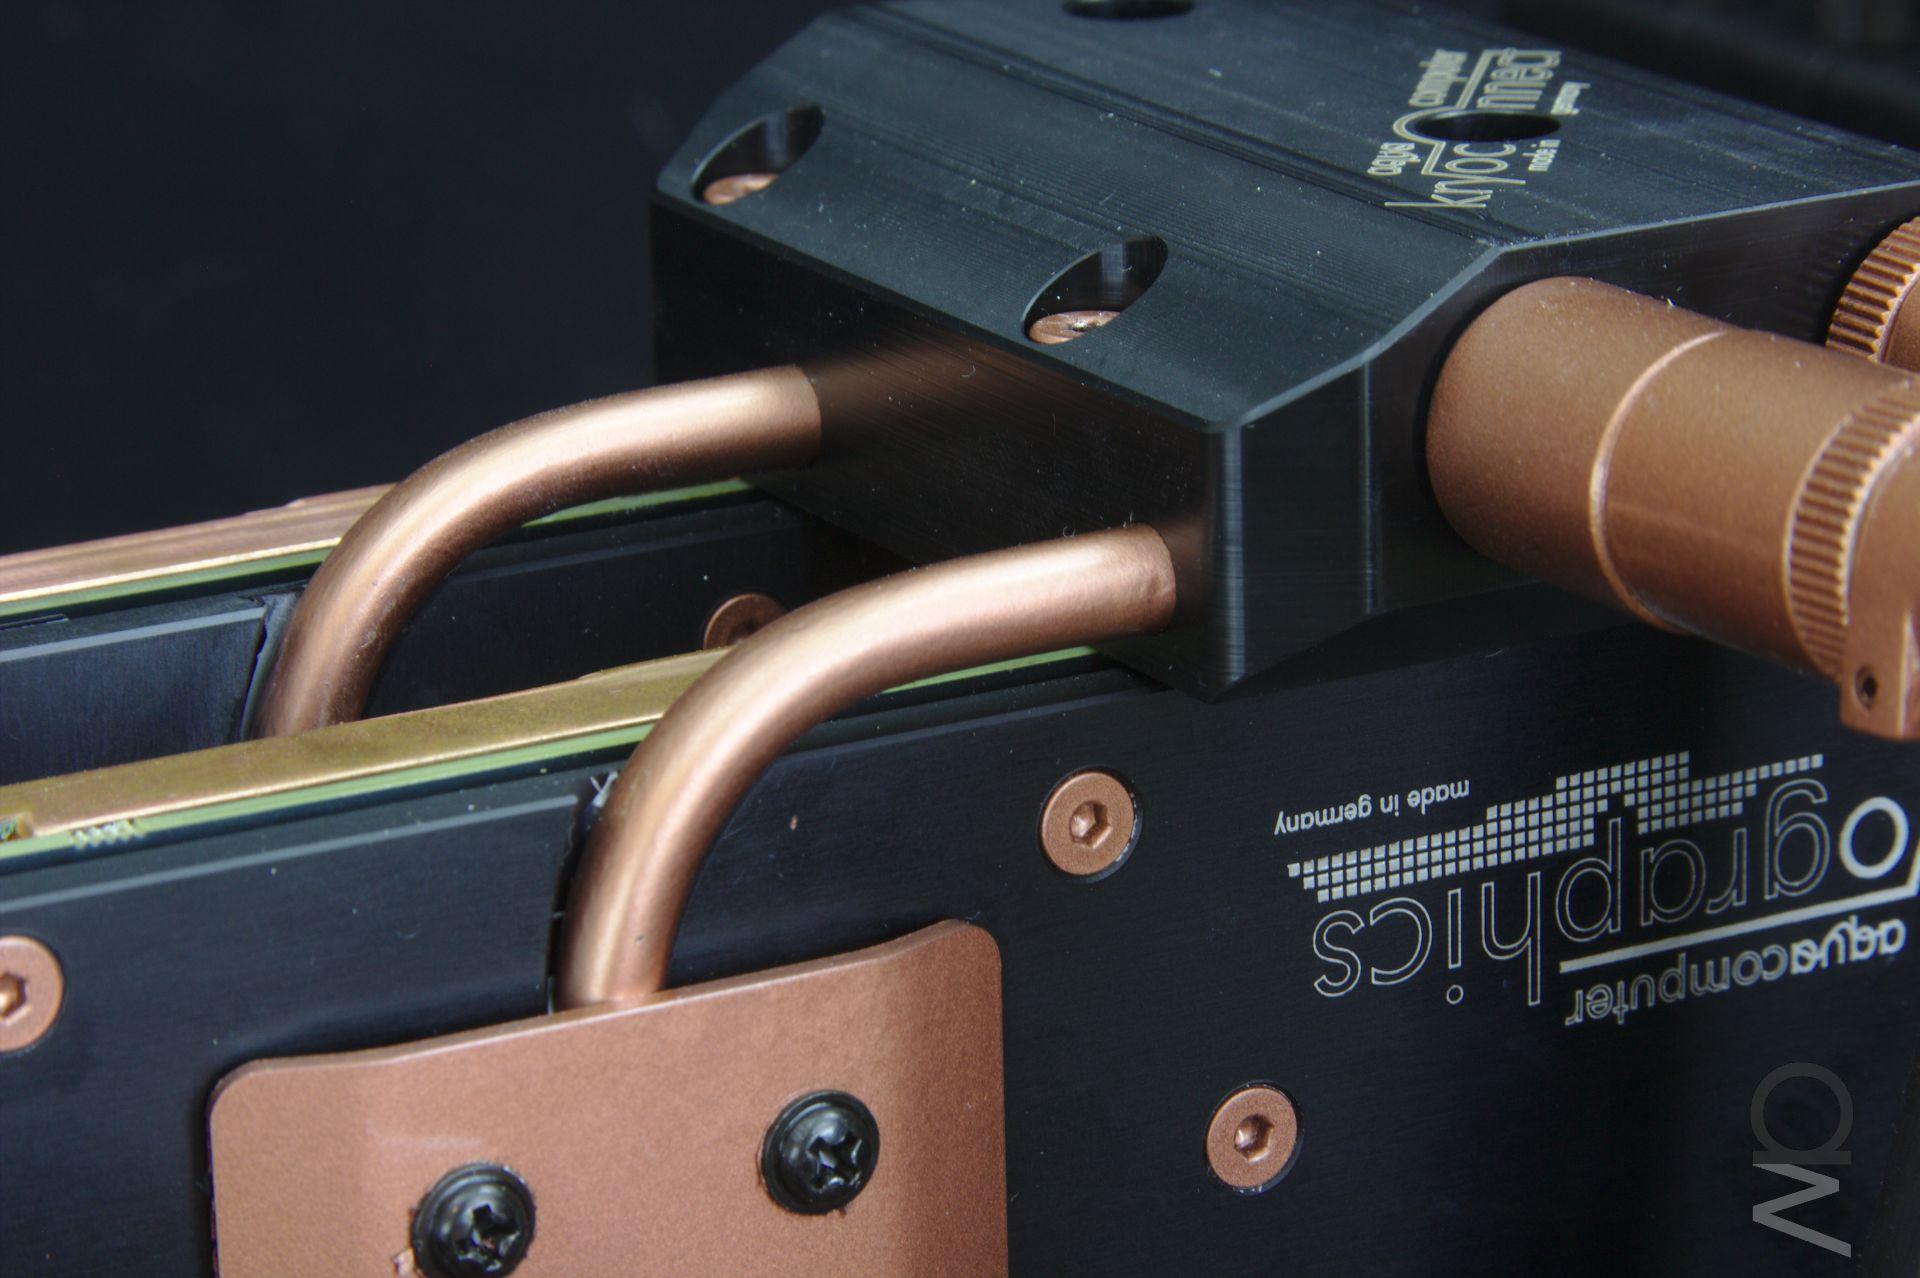
From the bottom radiators we go up to the top radiator via a passthrough fitting.
I had to enlargen the hole in the case by about 20 mm in one direction so that it
all fits, otherwise the fitting on the radiator's side collides with the rad.
(click image for full res)
 (click image for full res)

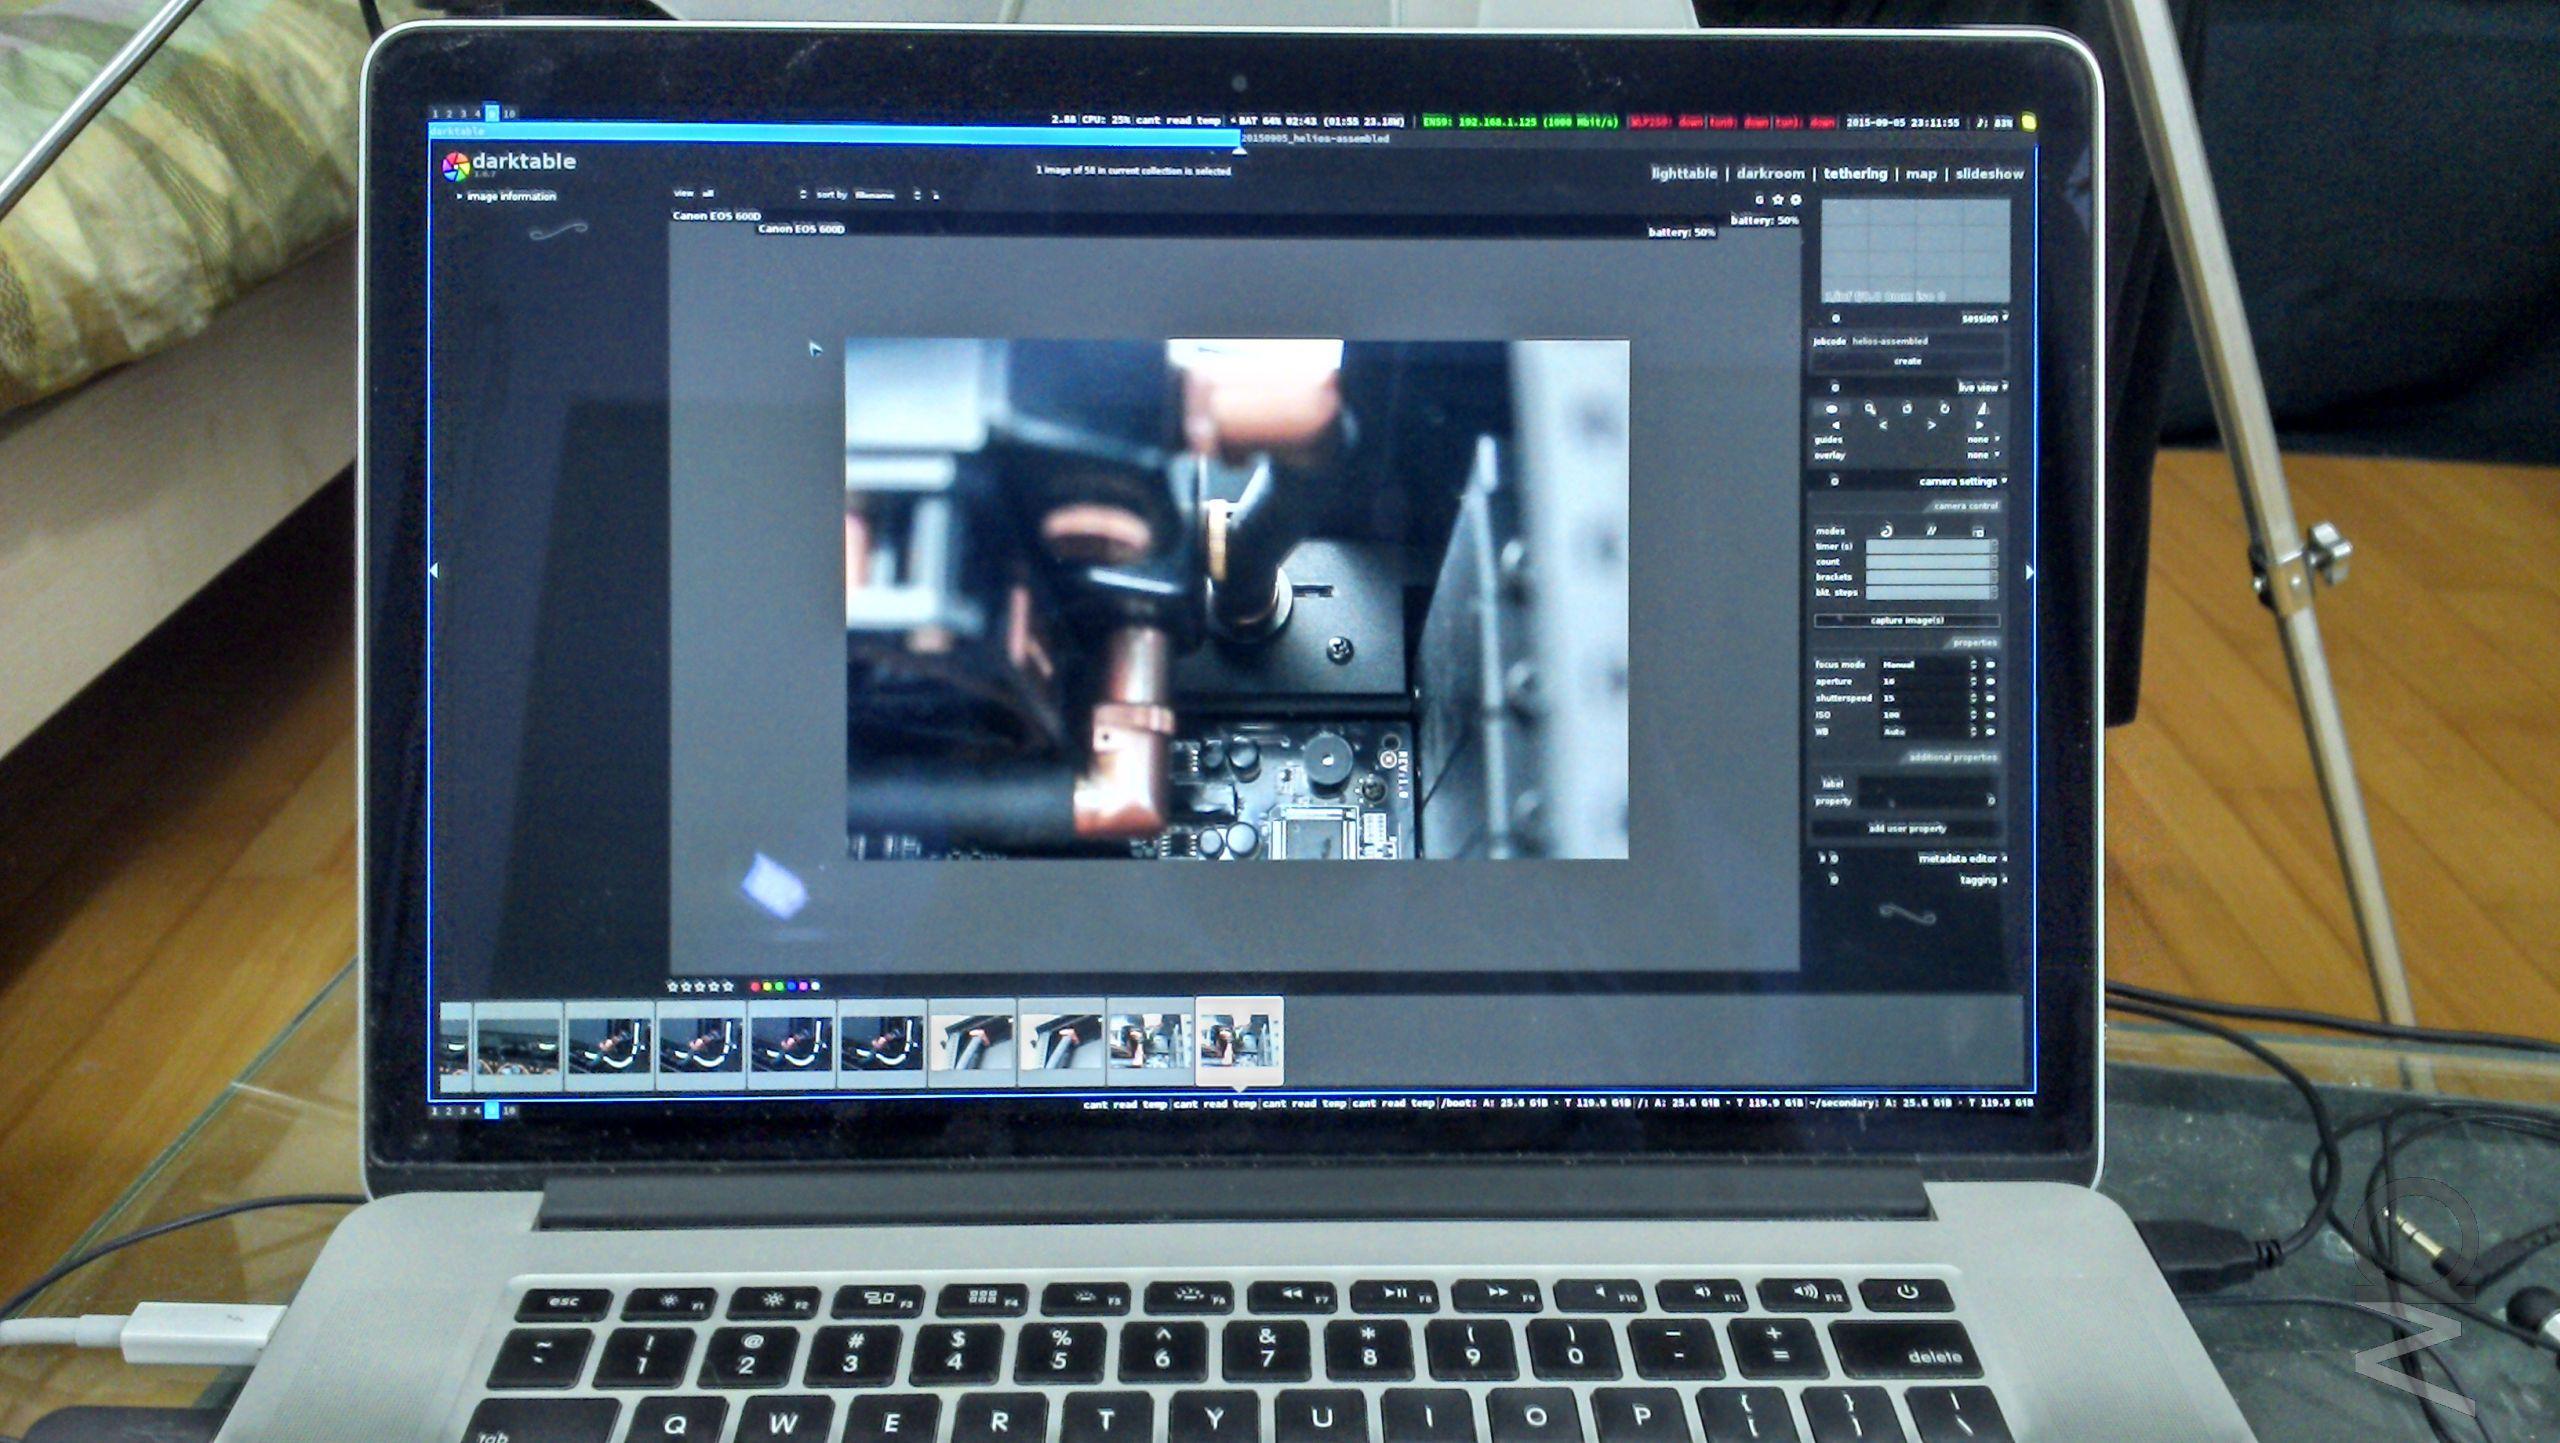
To give you an impression of the trouble I go through for some of the pics, this
is the lighting setup for the picture above.
(click image for full res)

Tethering the Canon 600D (Rebel T3 or something like that for those who have those
model numbers) to my laptop (Linux) via Darktable works very nicely, pretty comfy to
work with.
(click image for full res)
 (click image for full res)
 (click image for full res)

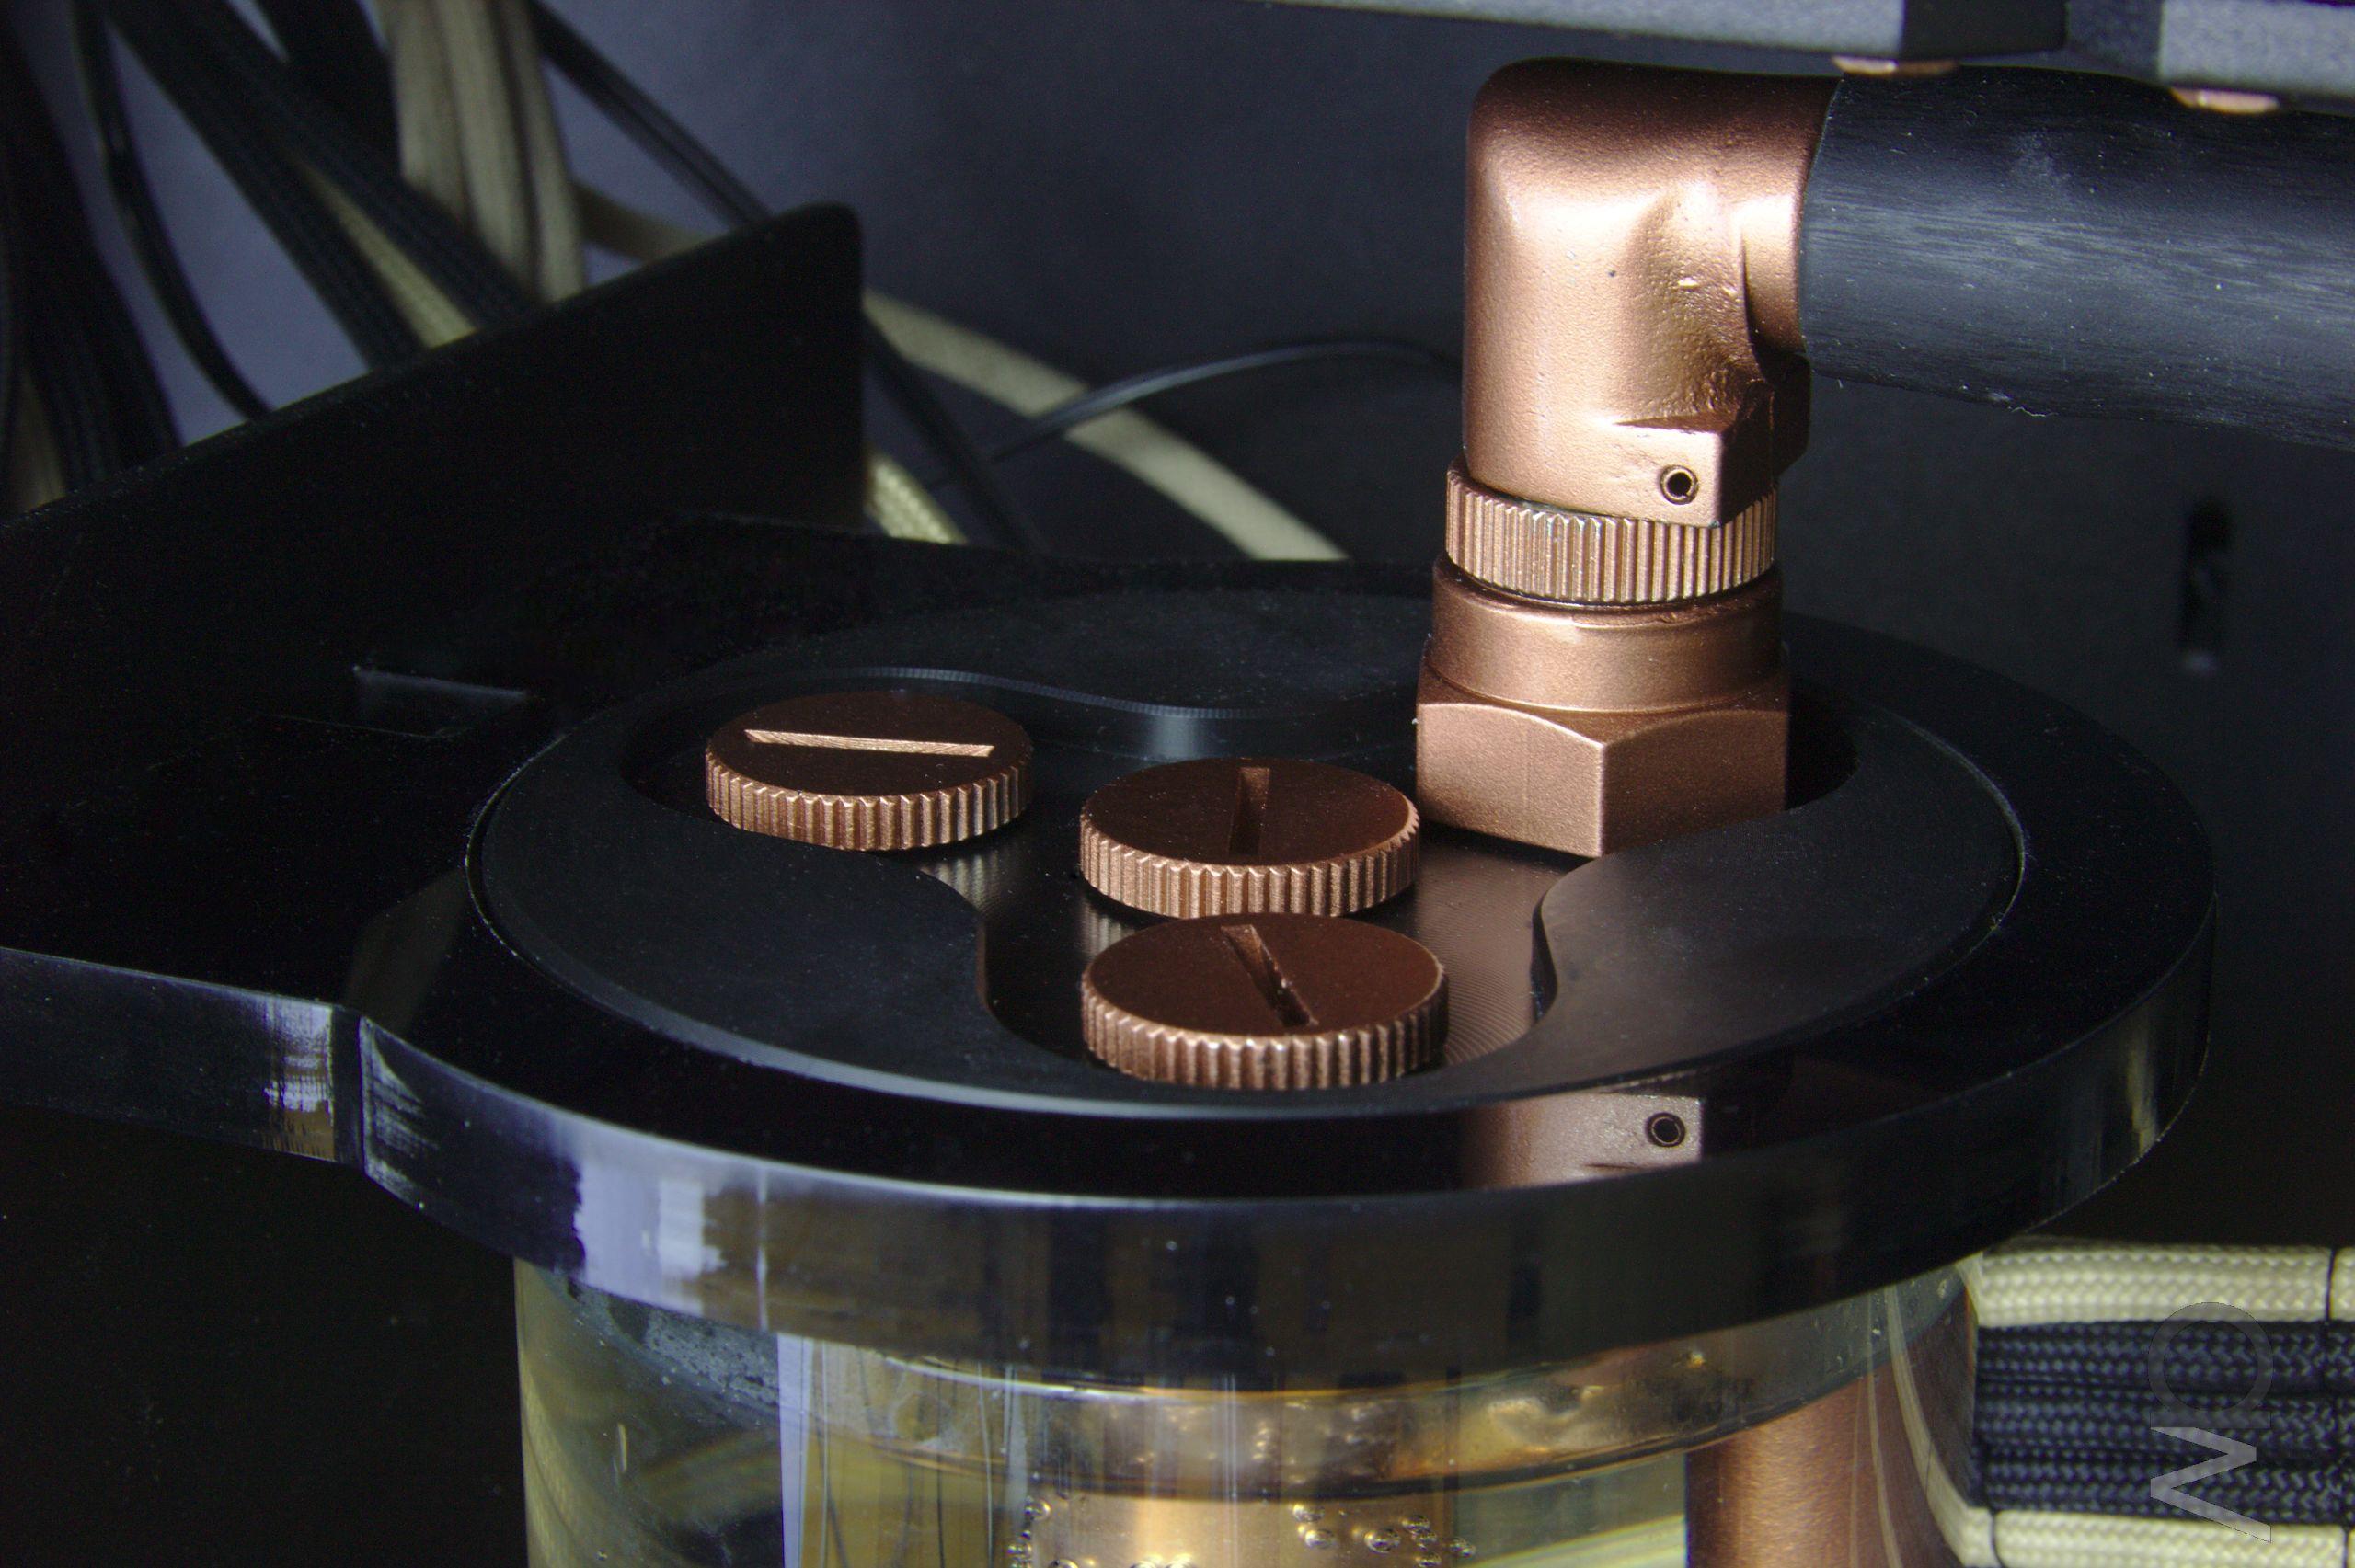
The reservoir has an inline tube to bring the feed below the coolant's surface level.
(click image for full res)
 (click image for full res)
 (click image for full res)

I'm not yet happy with how this looks, will be redoing the loop at least in this
area. But I need to ponder a bit first on how to go about this, and now that it's
up and running and the semester is about to start again I'm not in too big of a
hurry.
(click image for full res)
 (click image for full res)
 (click image for full res)

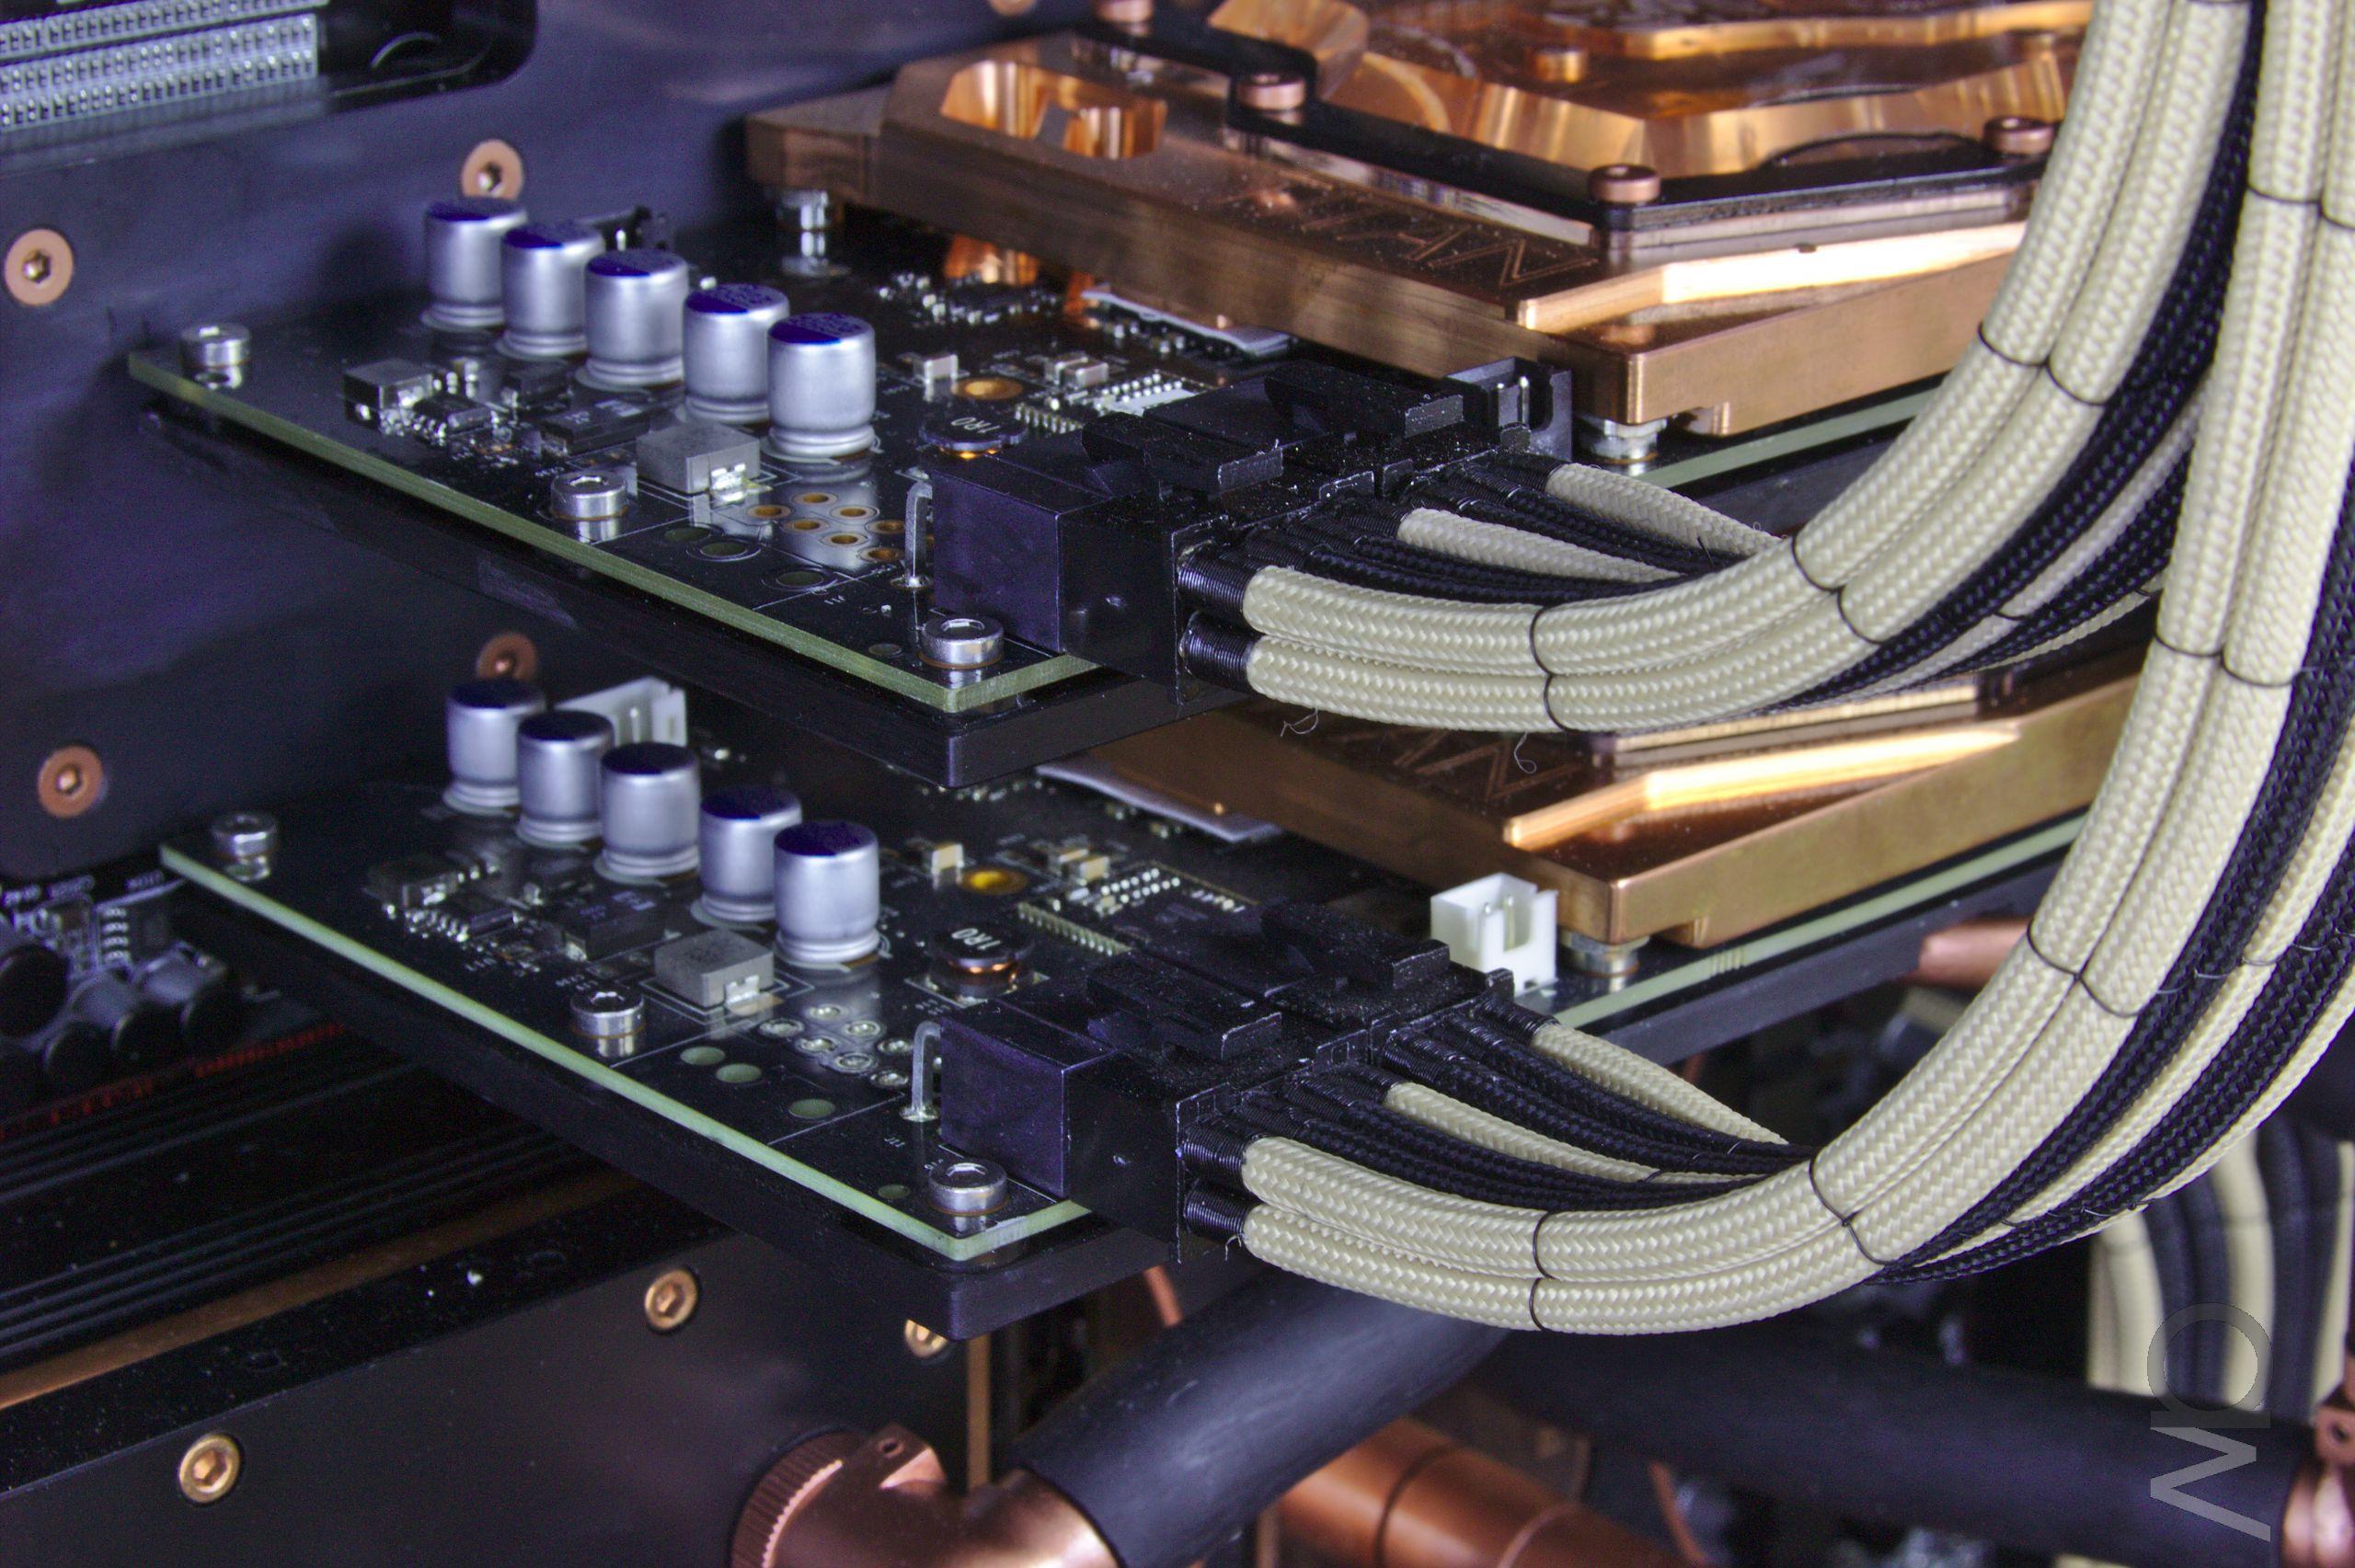
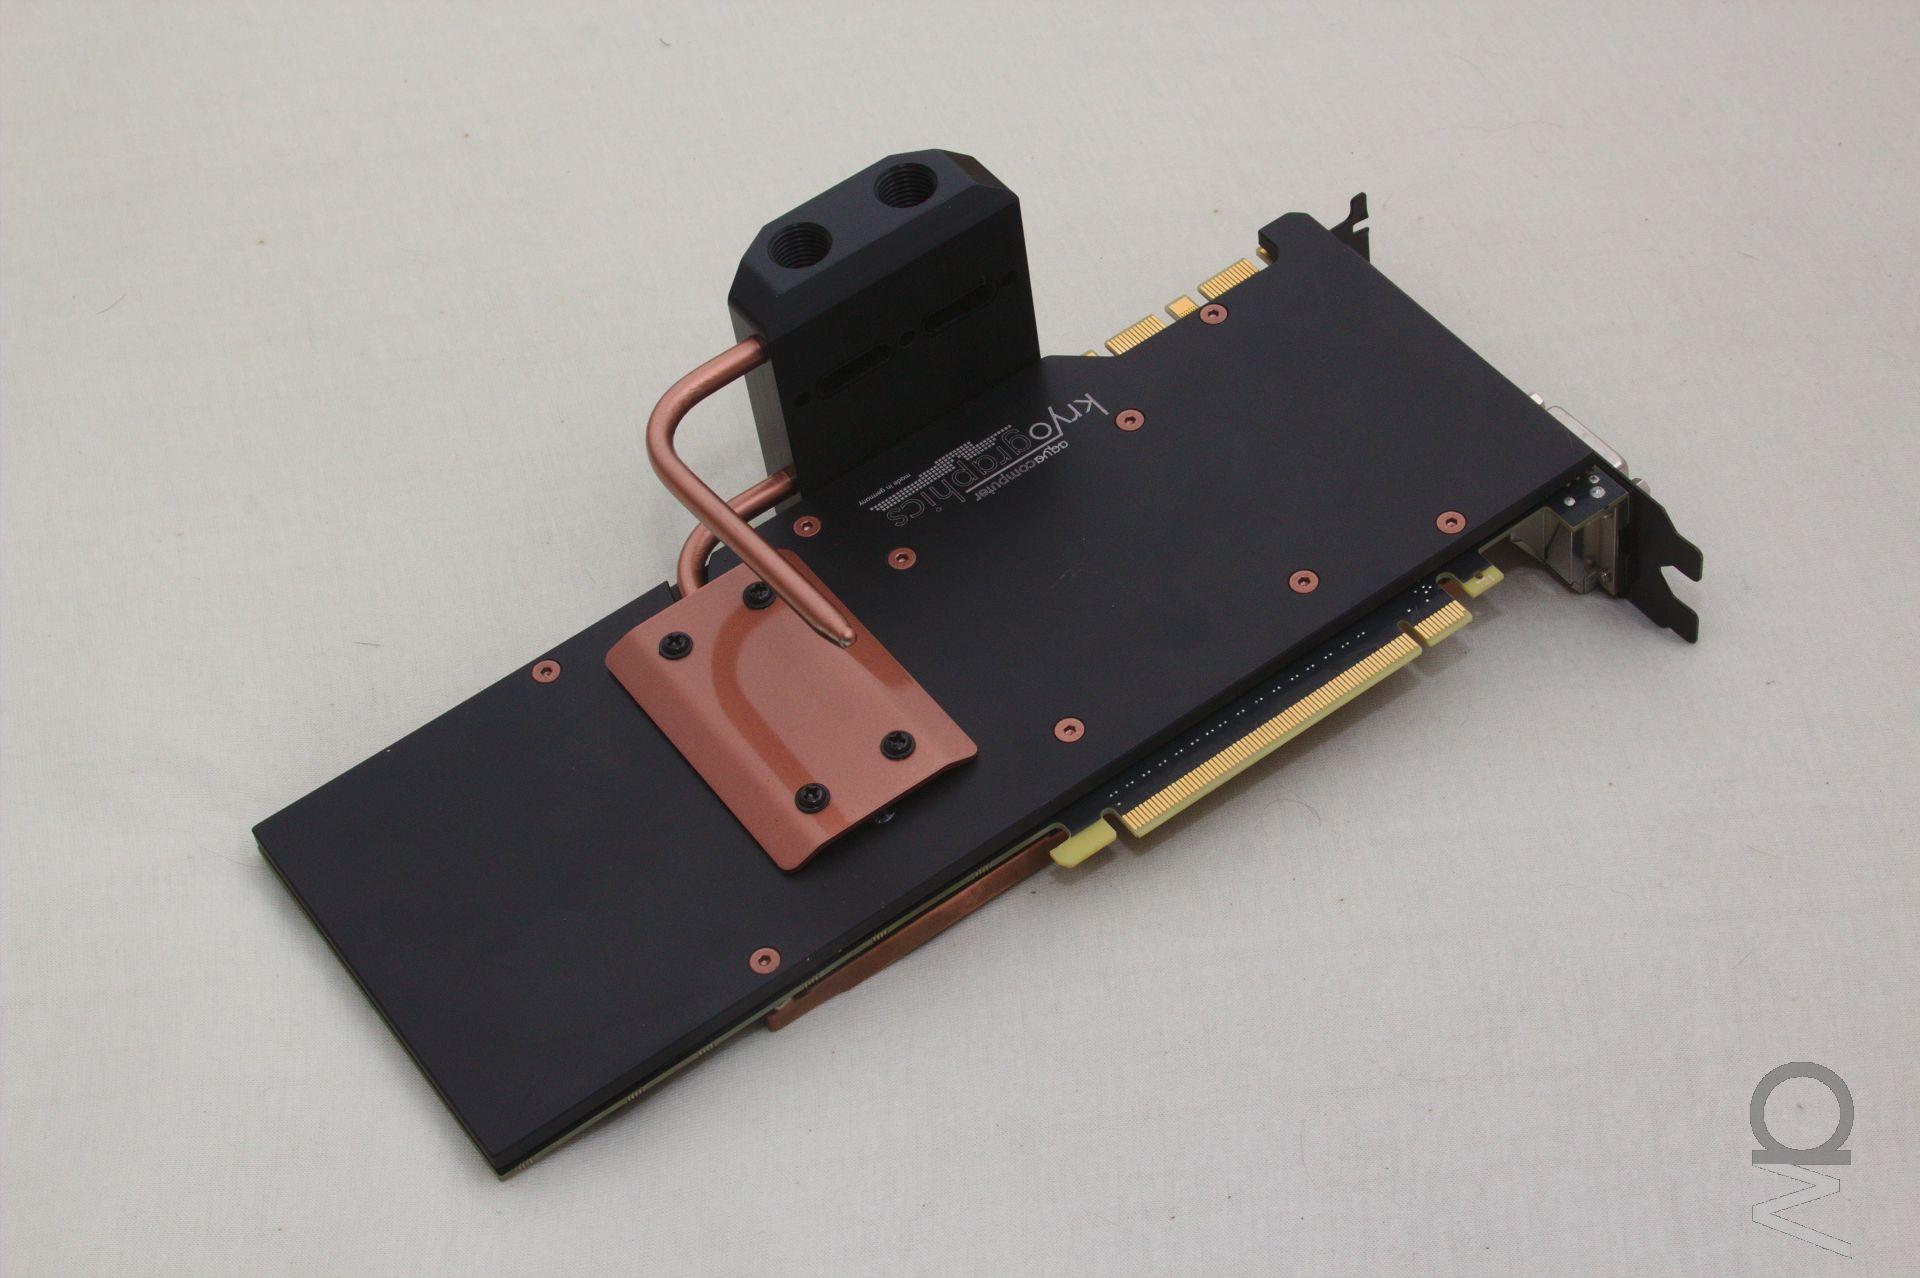
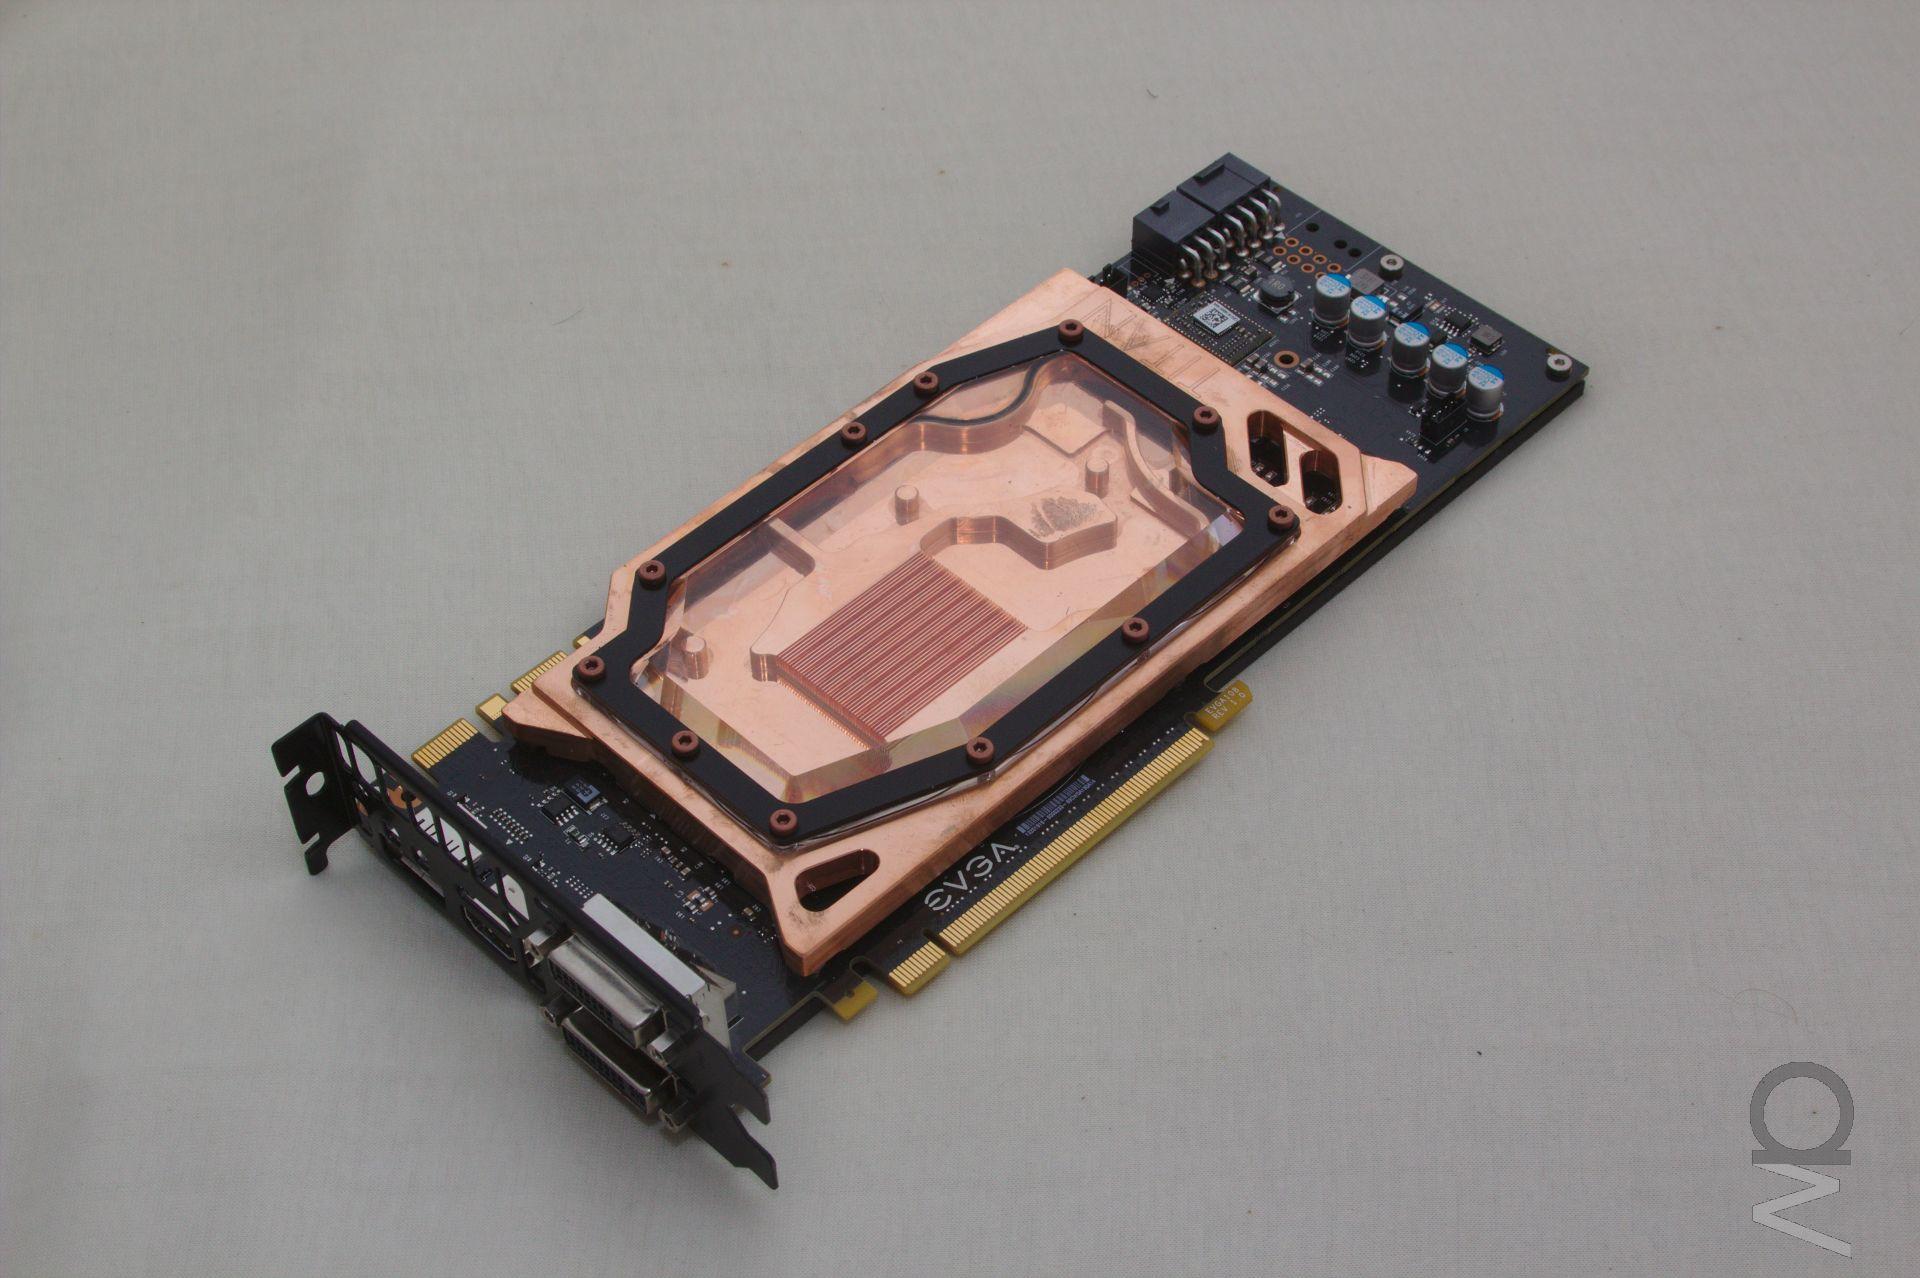
The black painted brackets for the GPUs. 780 is the top one, Titan on the bottom.
(click image for full res)

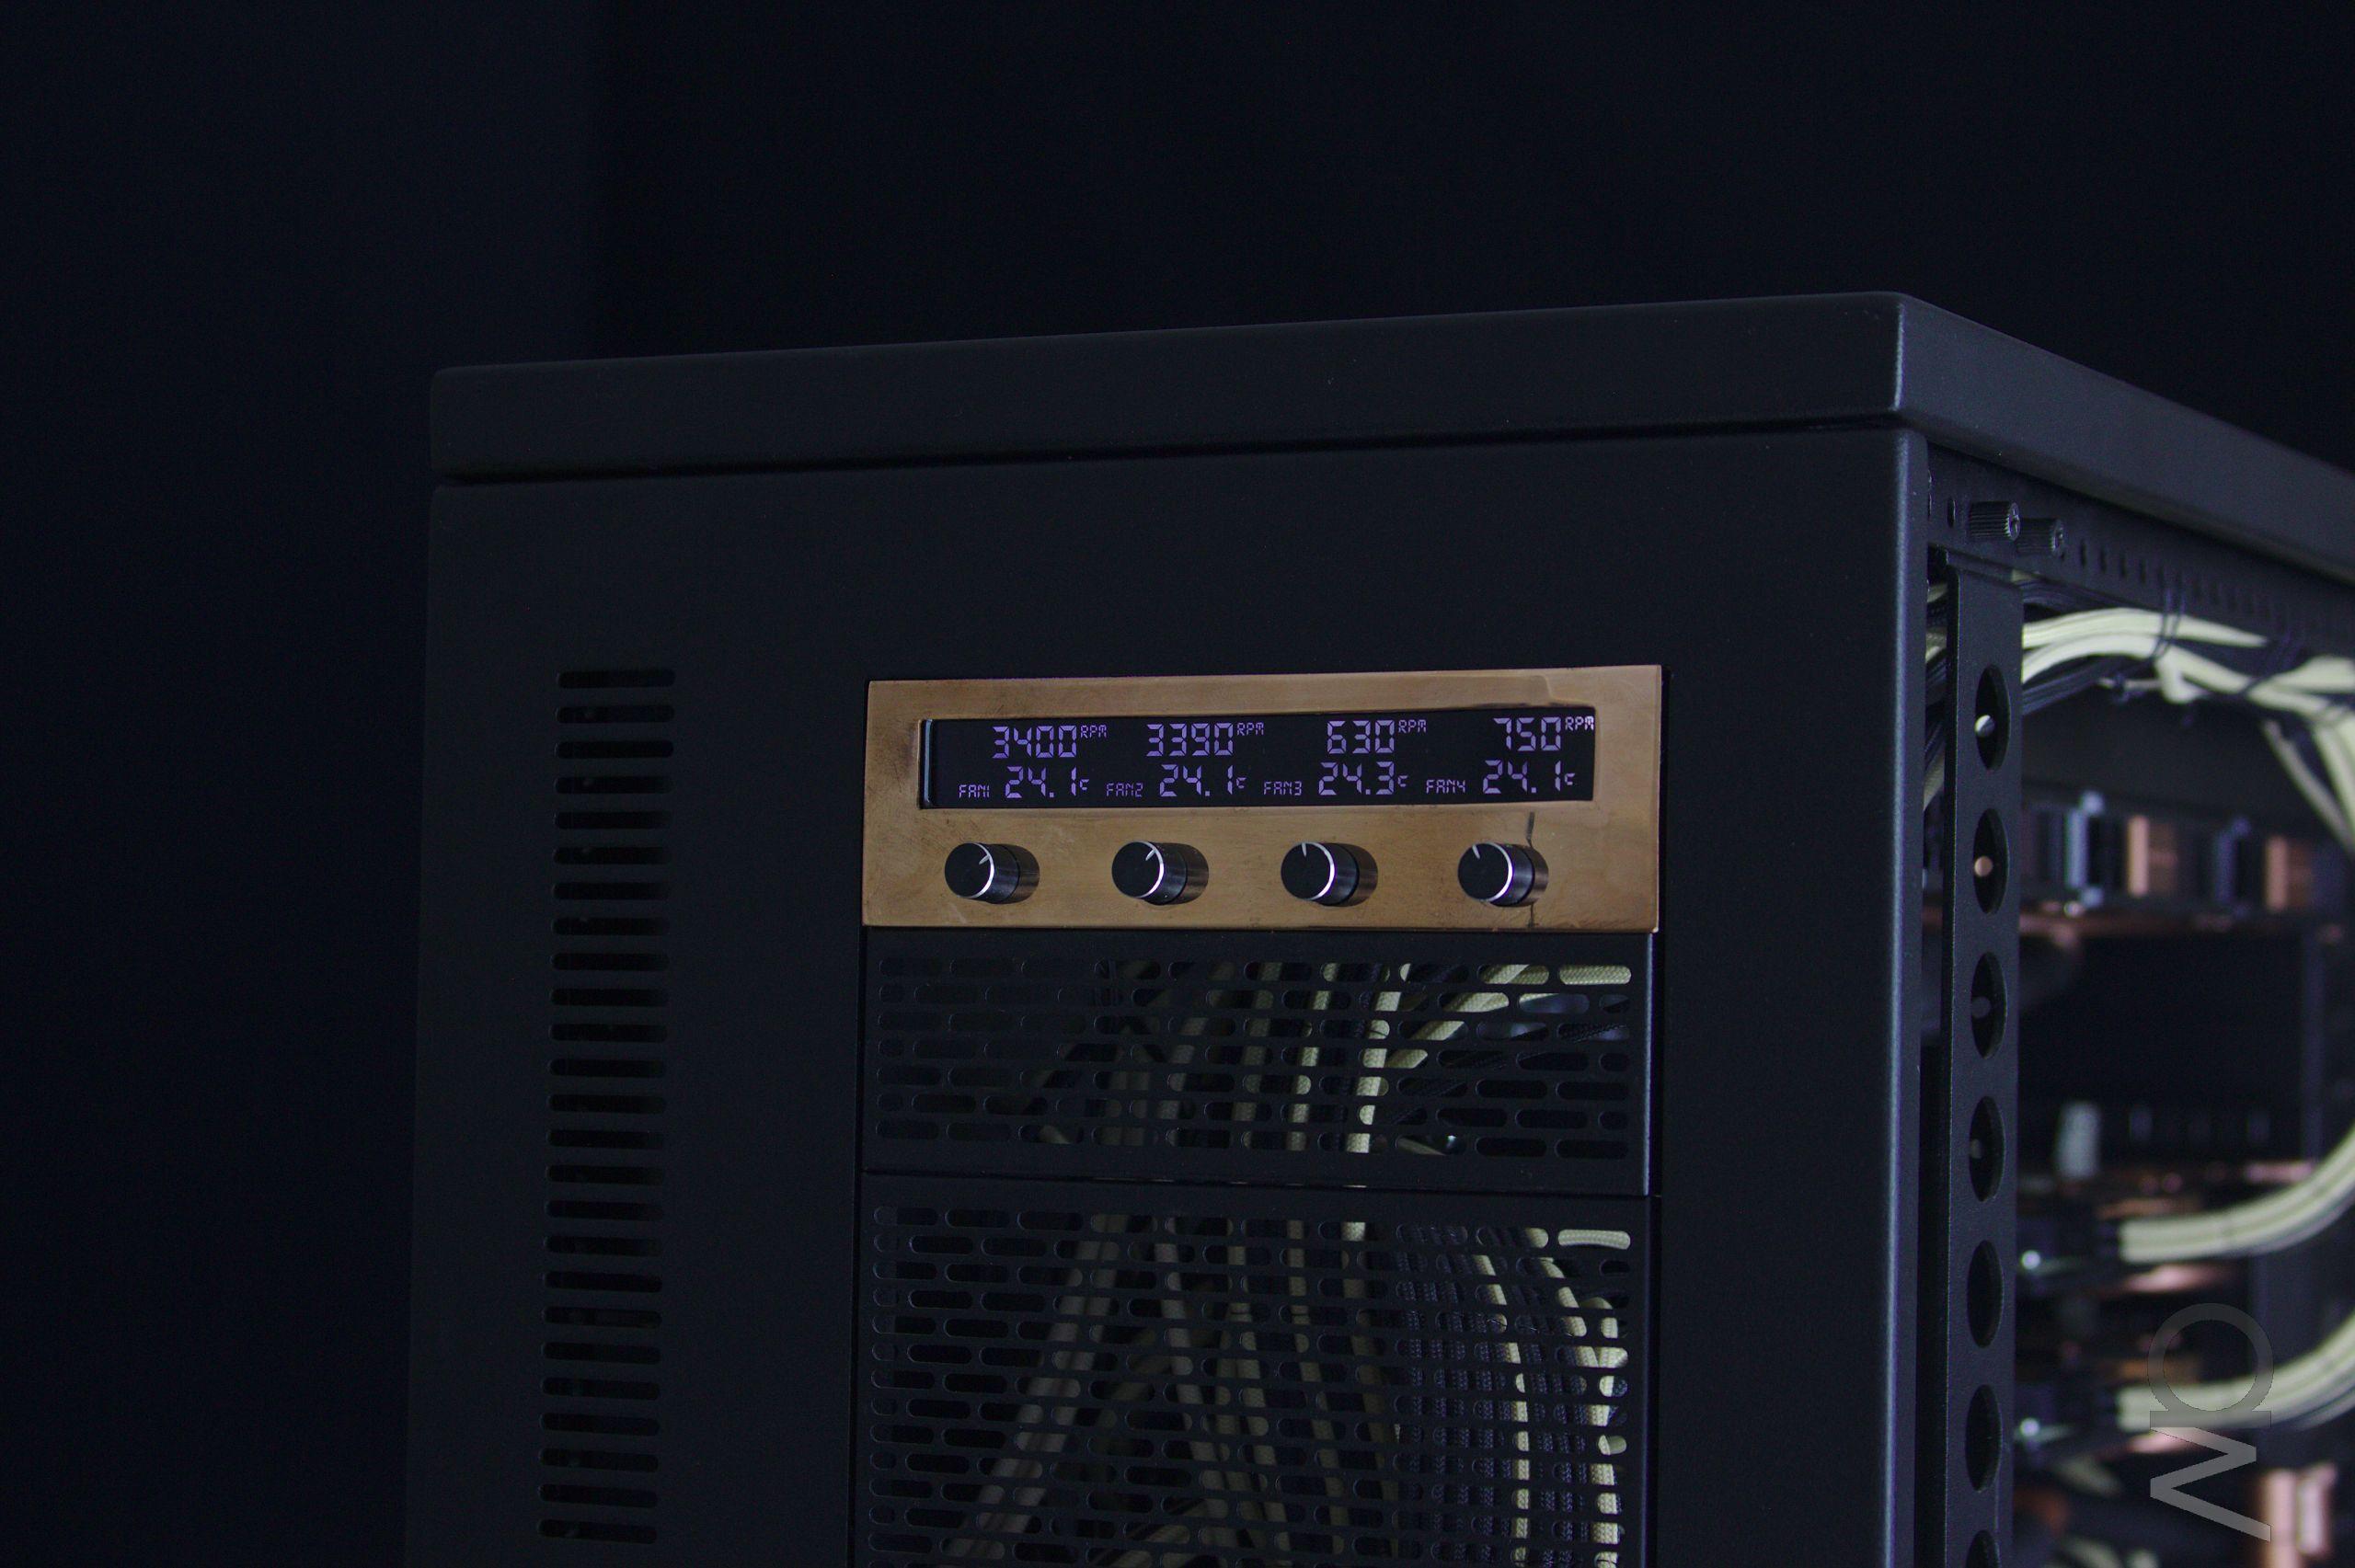
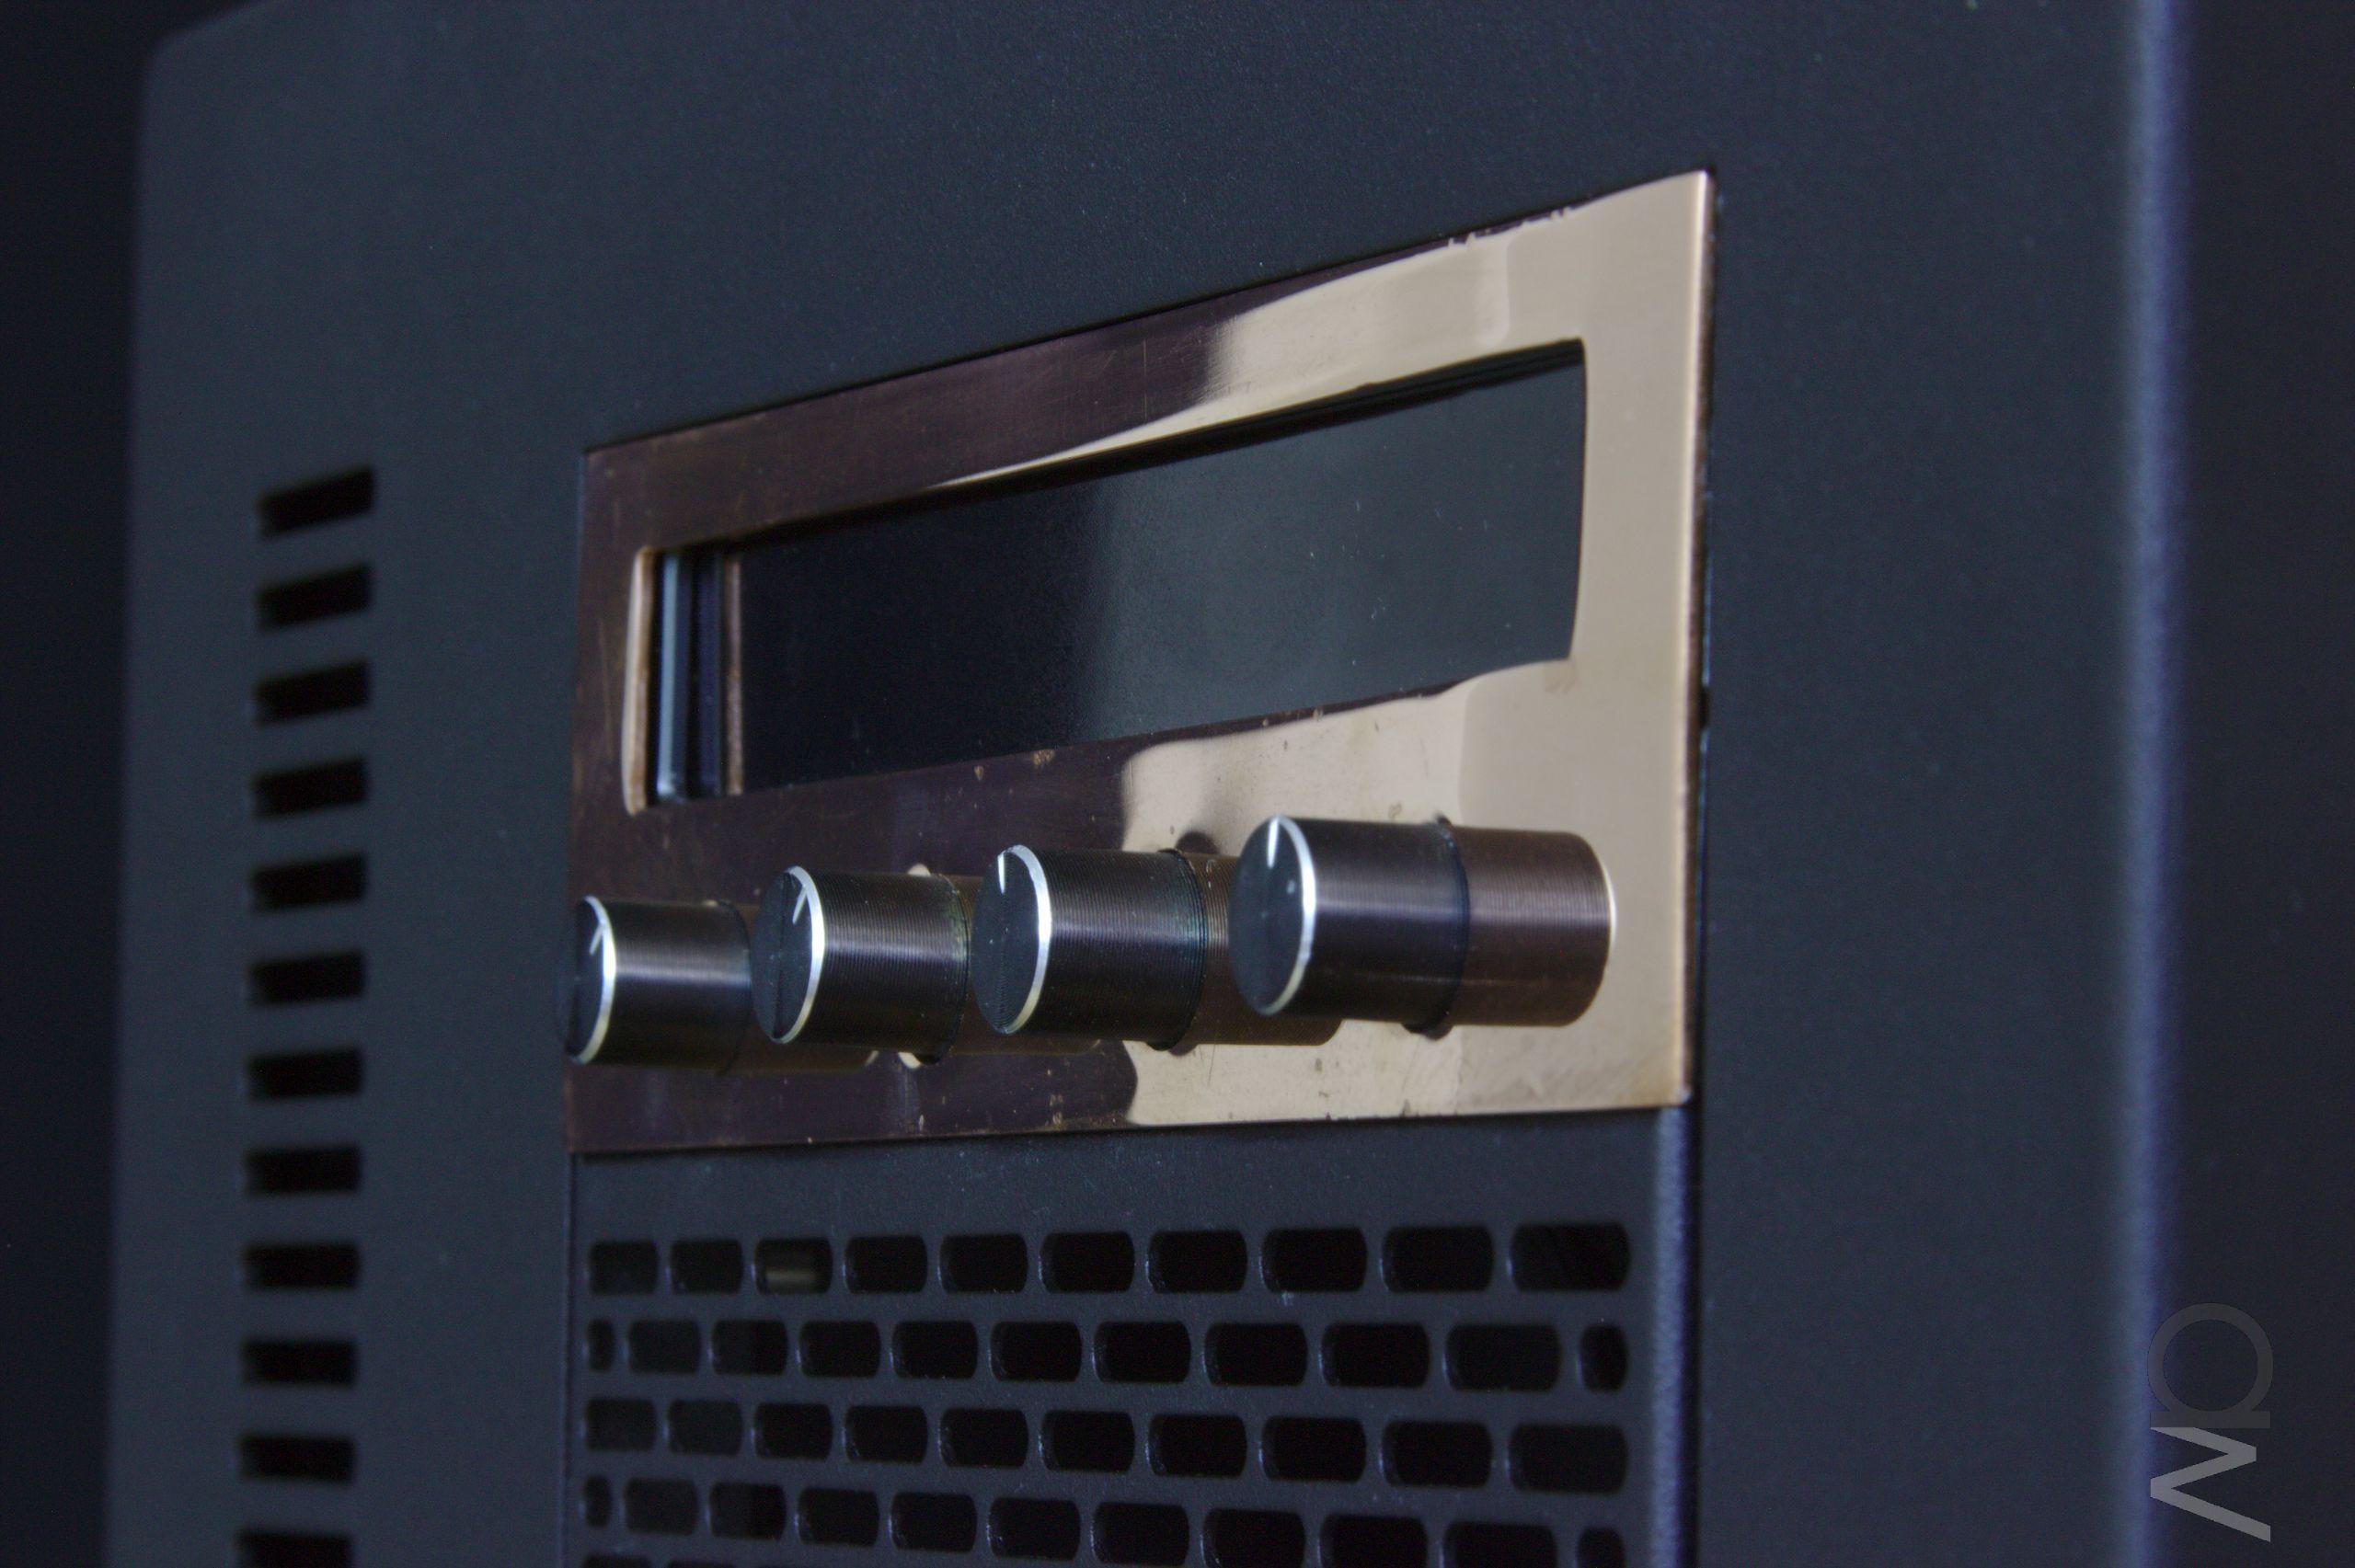
The fan controller, still with the copper plate from way back when, although it
has a bit of oxidation by now. I tried clearcoating it to protect it from oxidation,
but it didn't look right no matter what I tried so eventually I took the coat off
again and just accepted the copper as it is.
(click image for full res)
 (click image for full res)

The cabling behind the fan controller. Not too tidy I will admit.
(click image for full res)

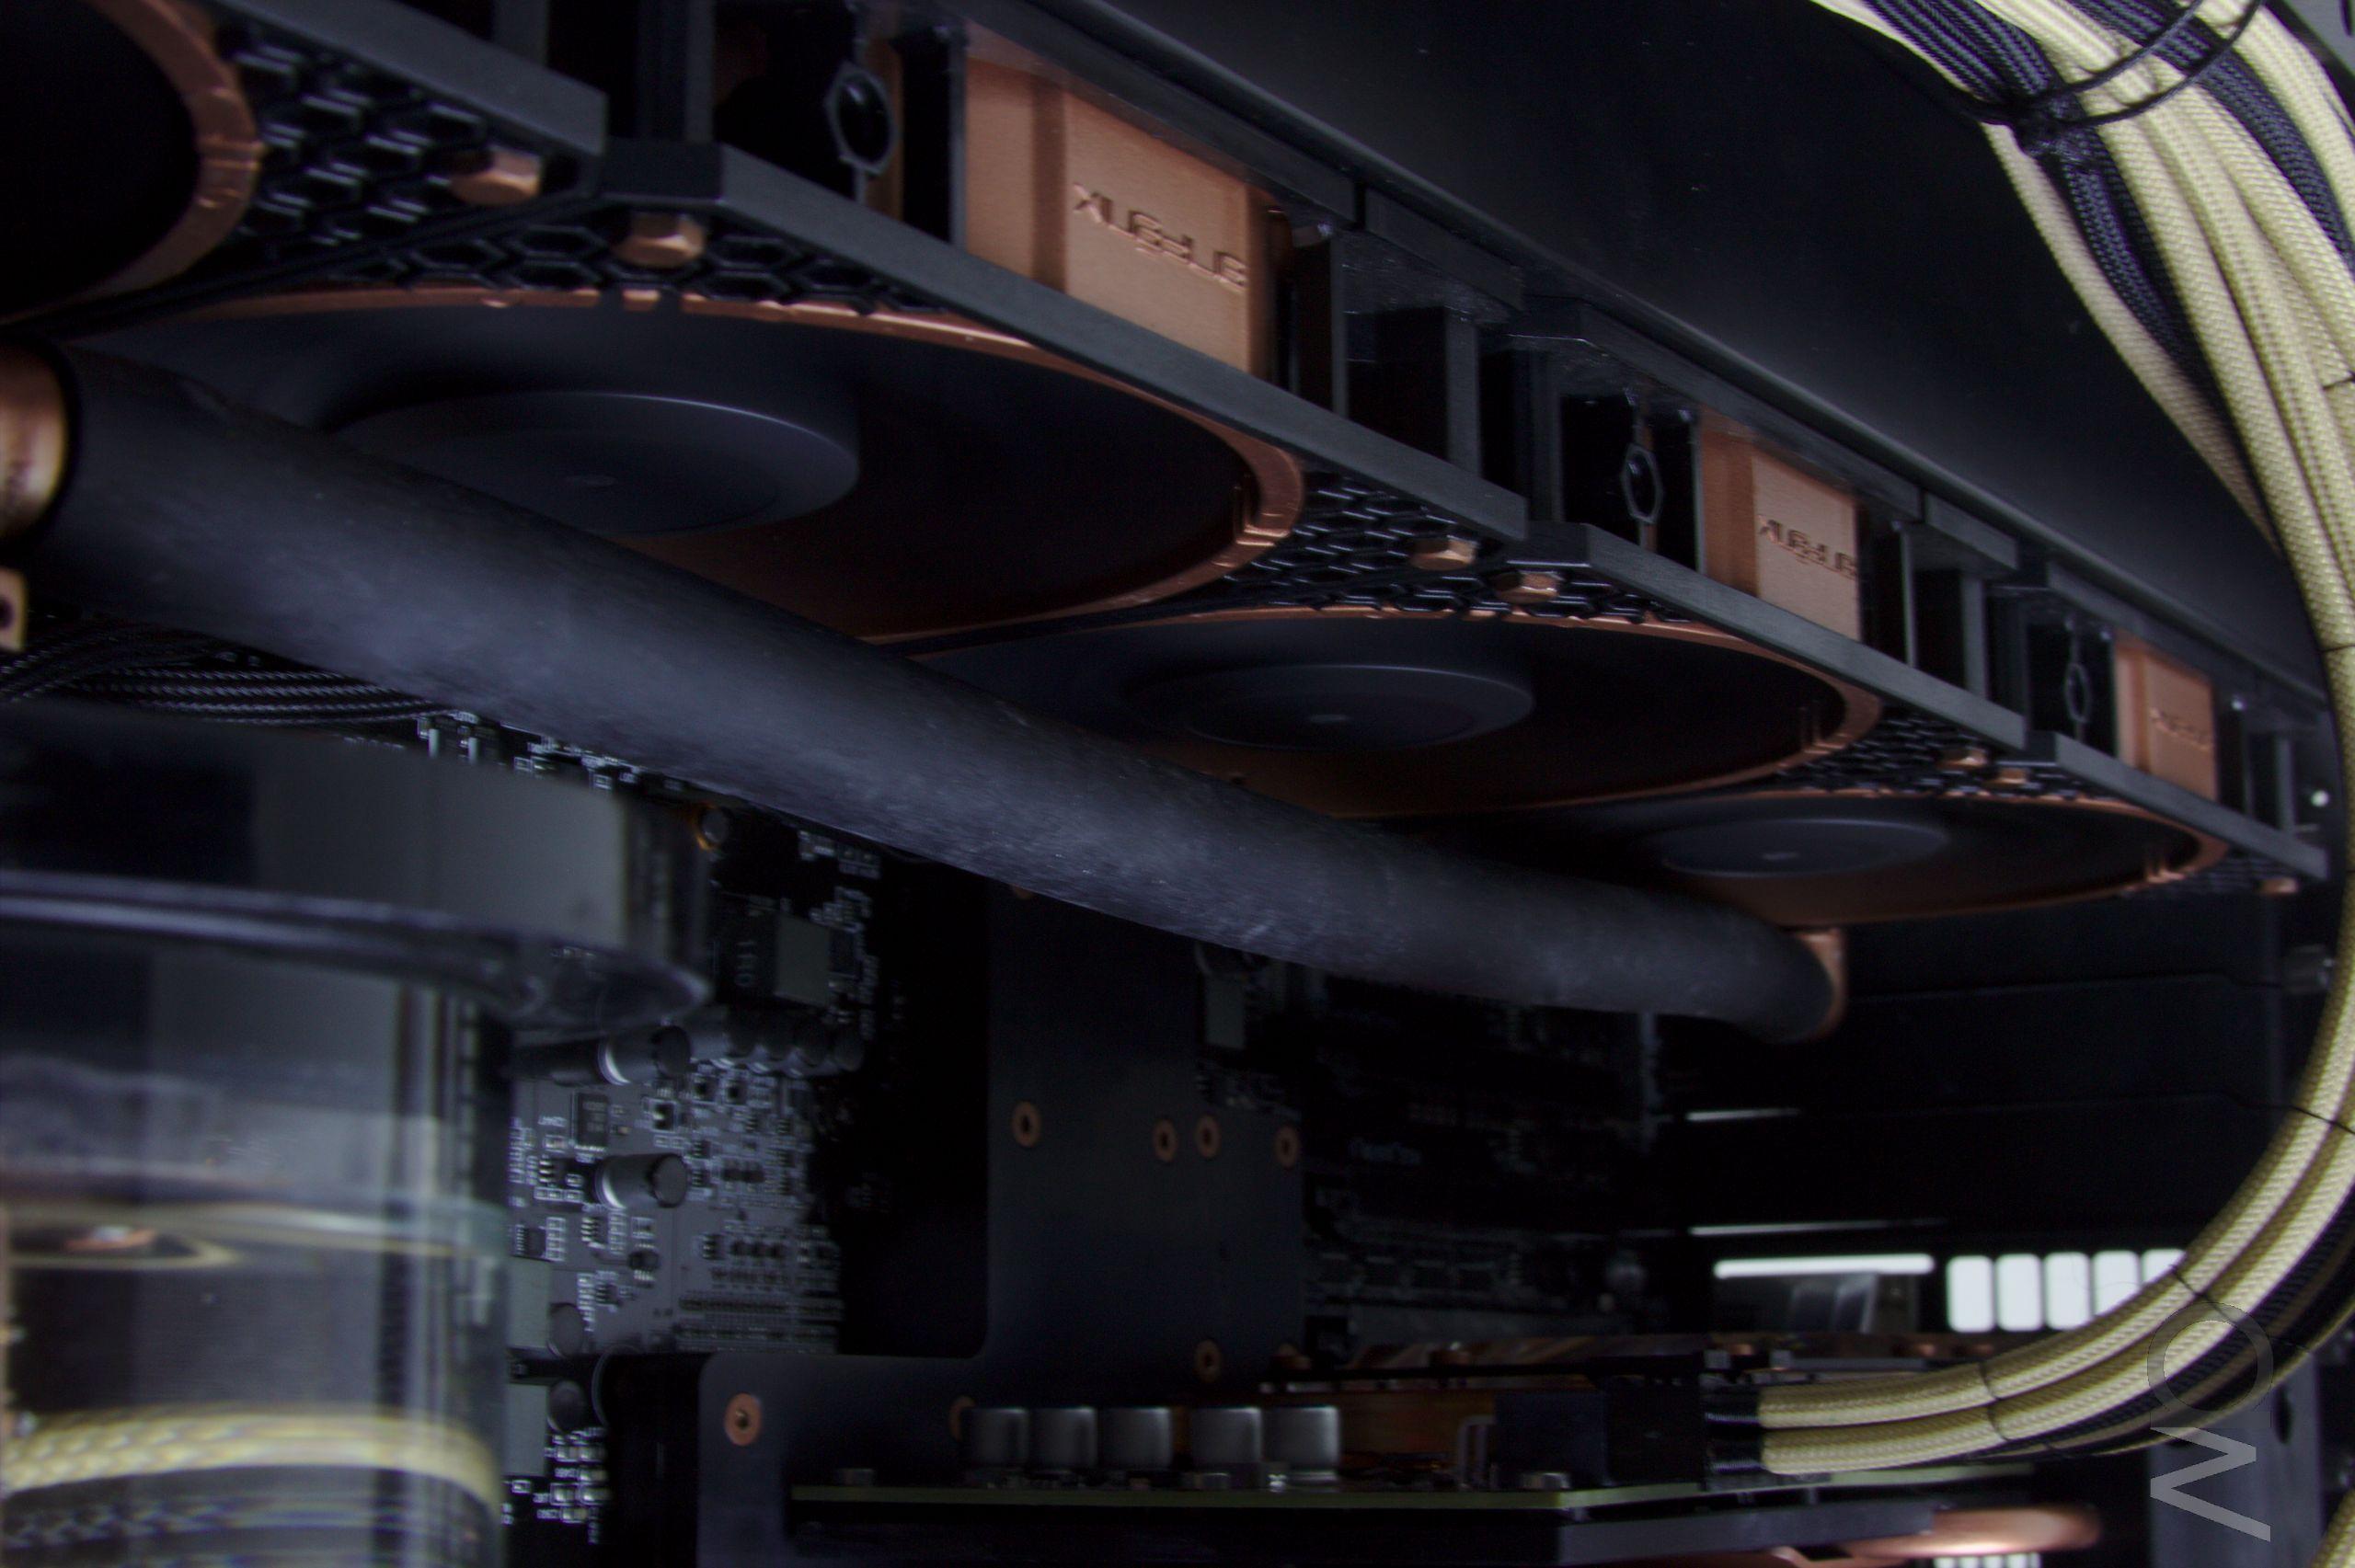
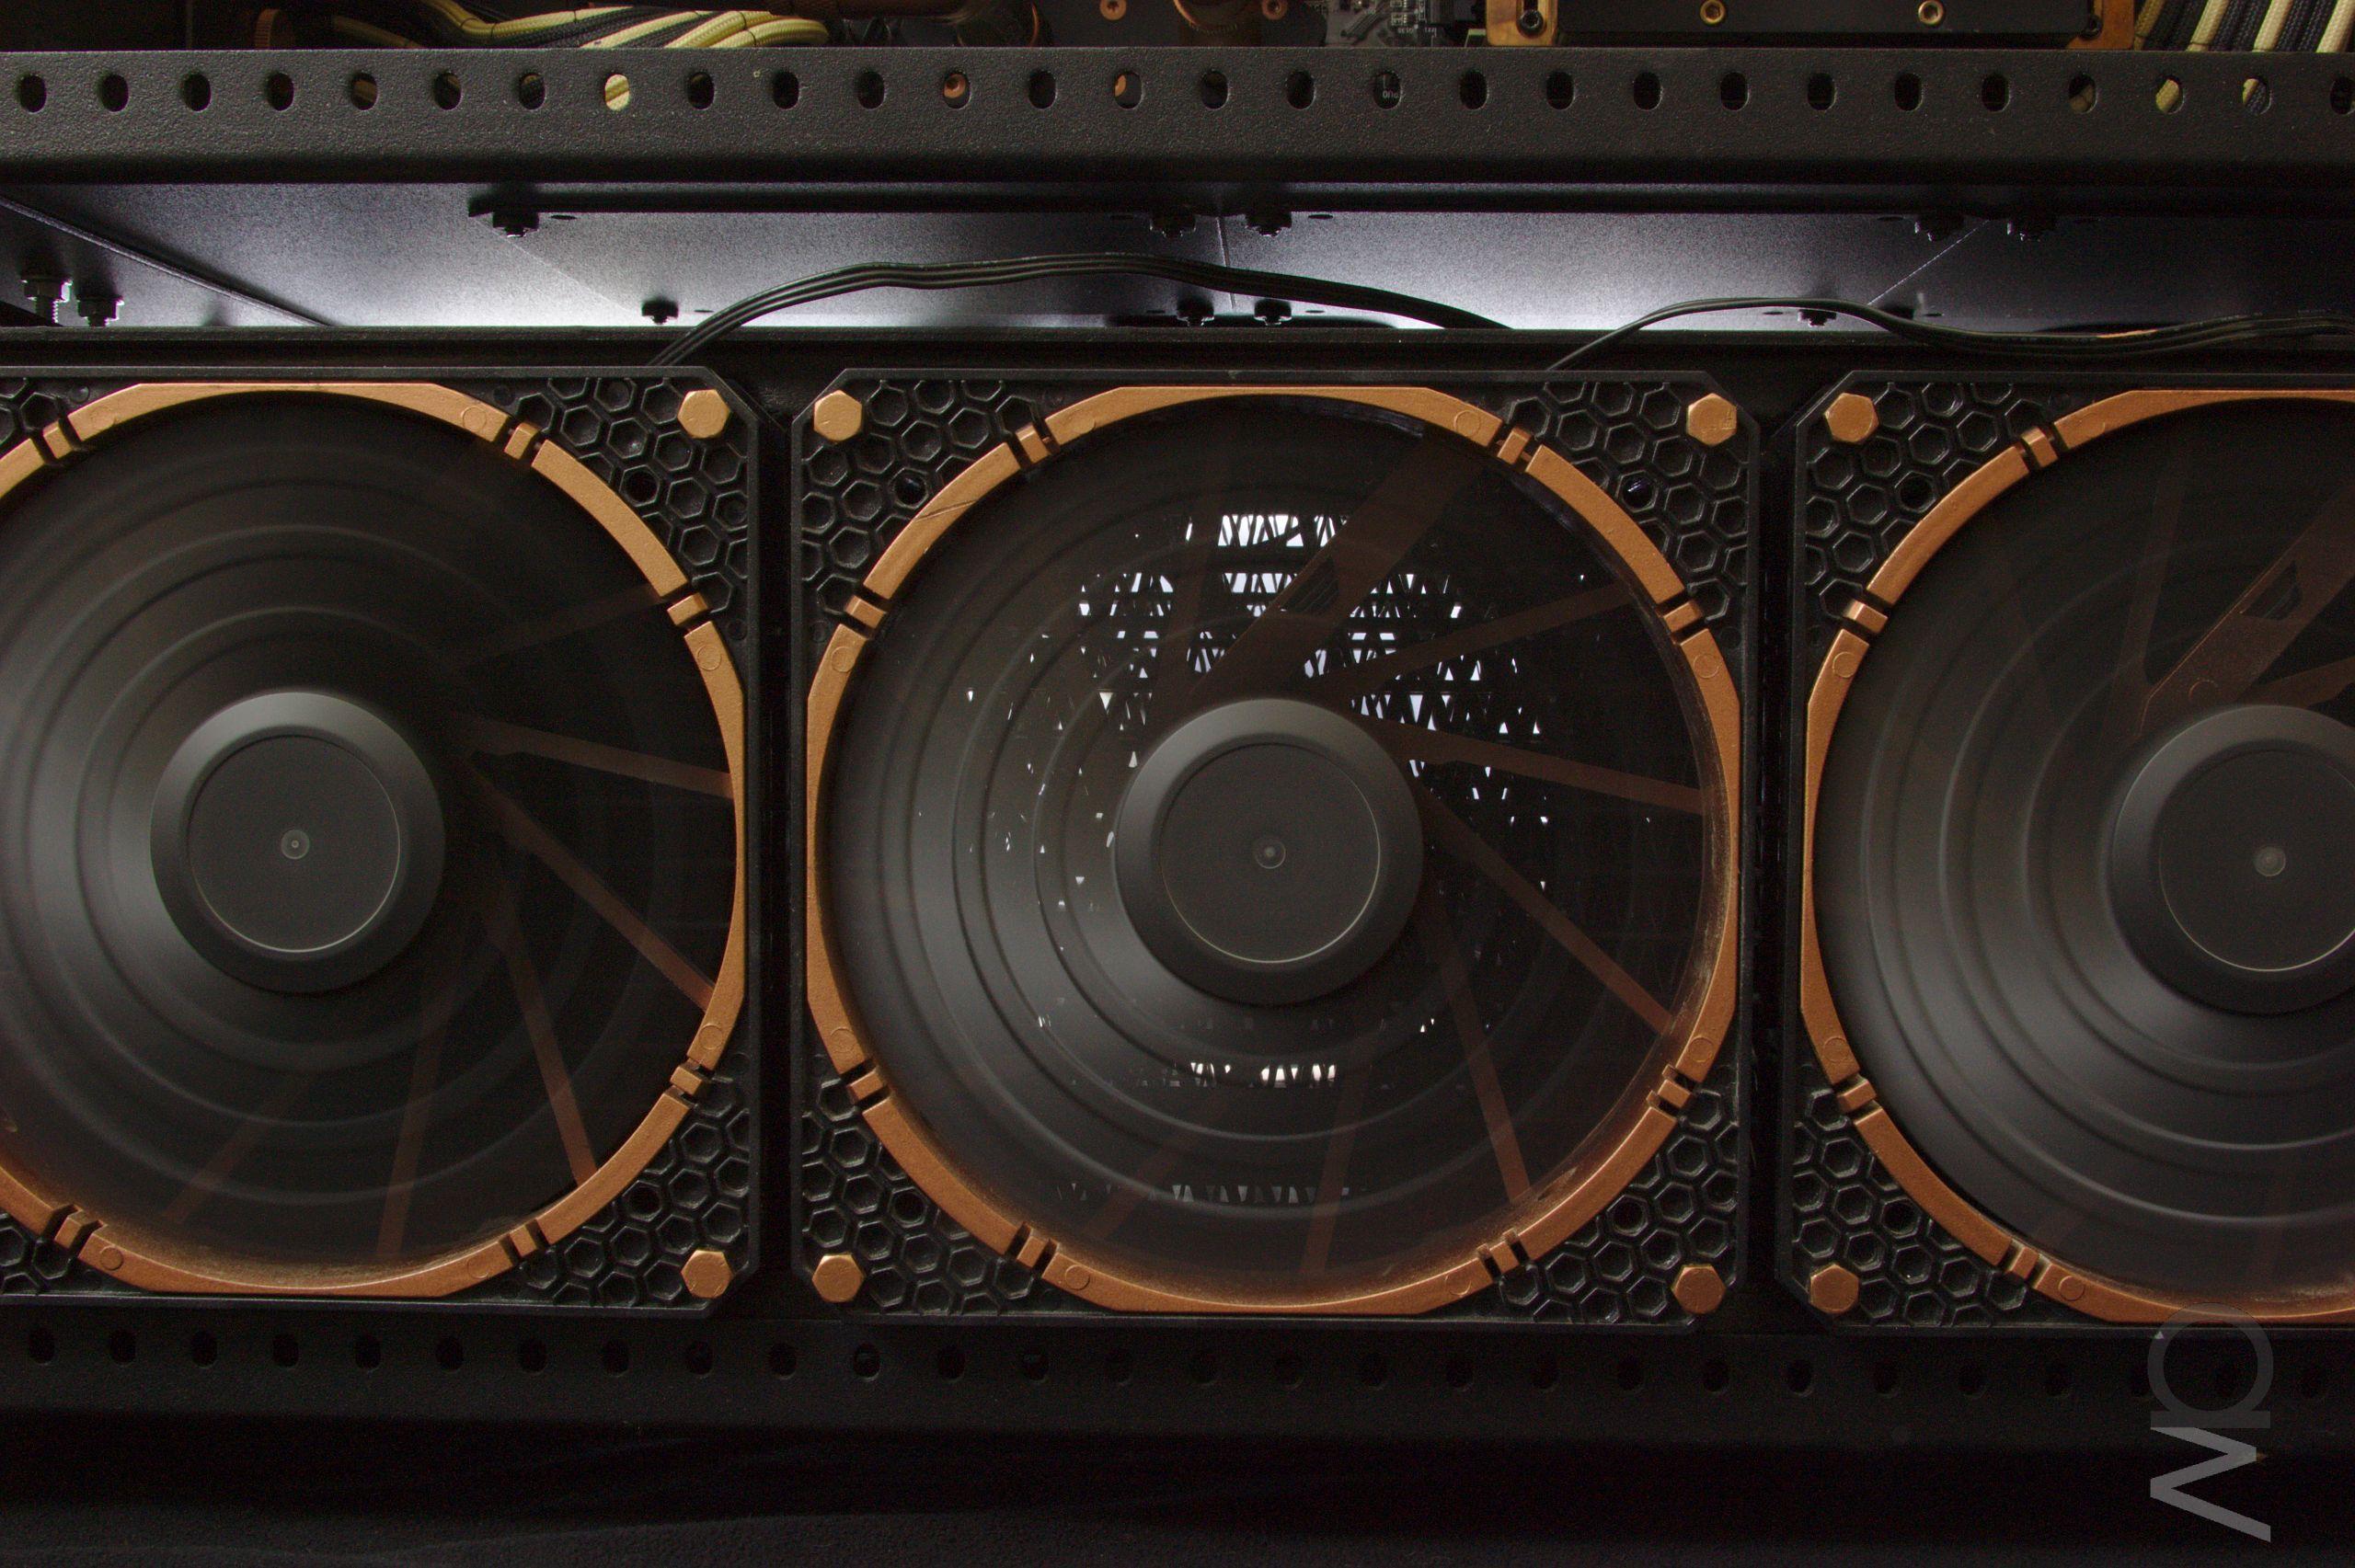
The bottom fans are connected to a single channel on the fan controller. One of
the fans has had its tach wire soldered to one of the six pin connector's pins
so that I can get an rpm reading.
(click image for full res)

Bottom fans with a studio light on the other side of the case:
(click image for full res)

Some overview shots:
(click image for full res)
 (click image for full res)
 (click image for full res)
 (click image for full res)

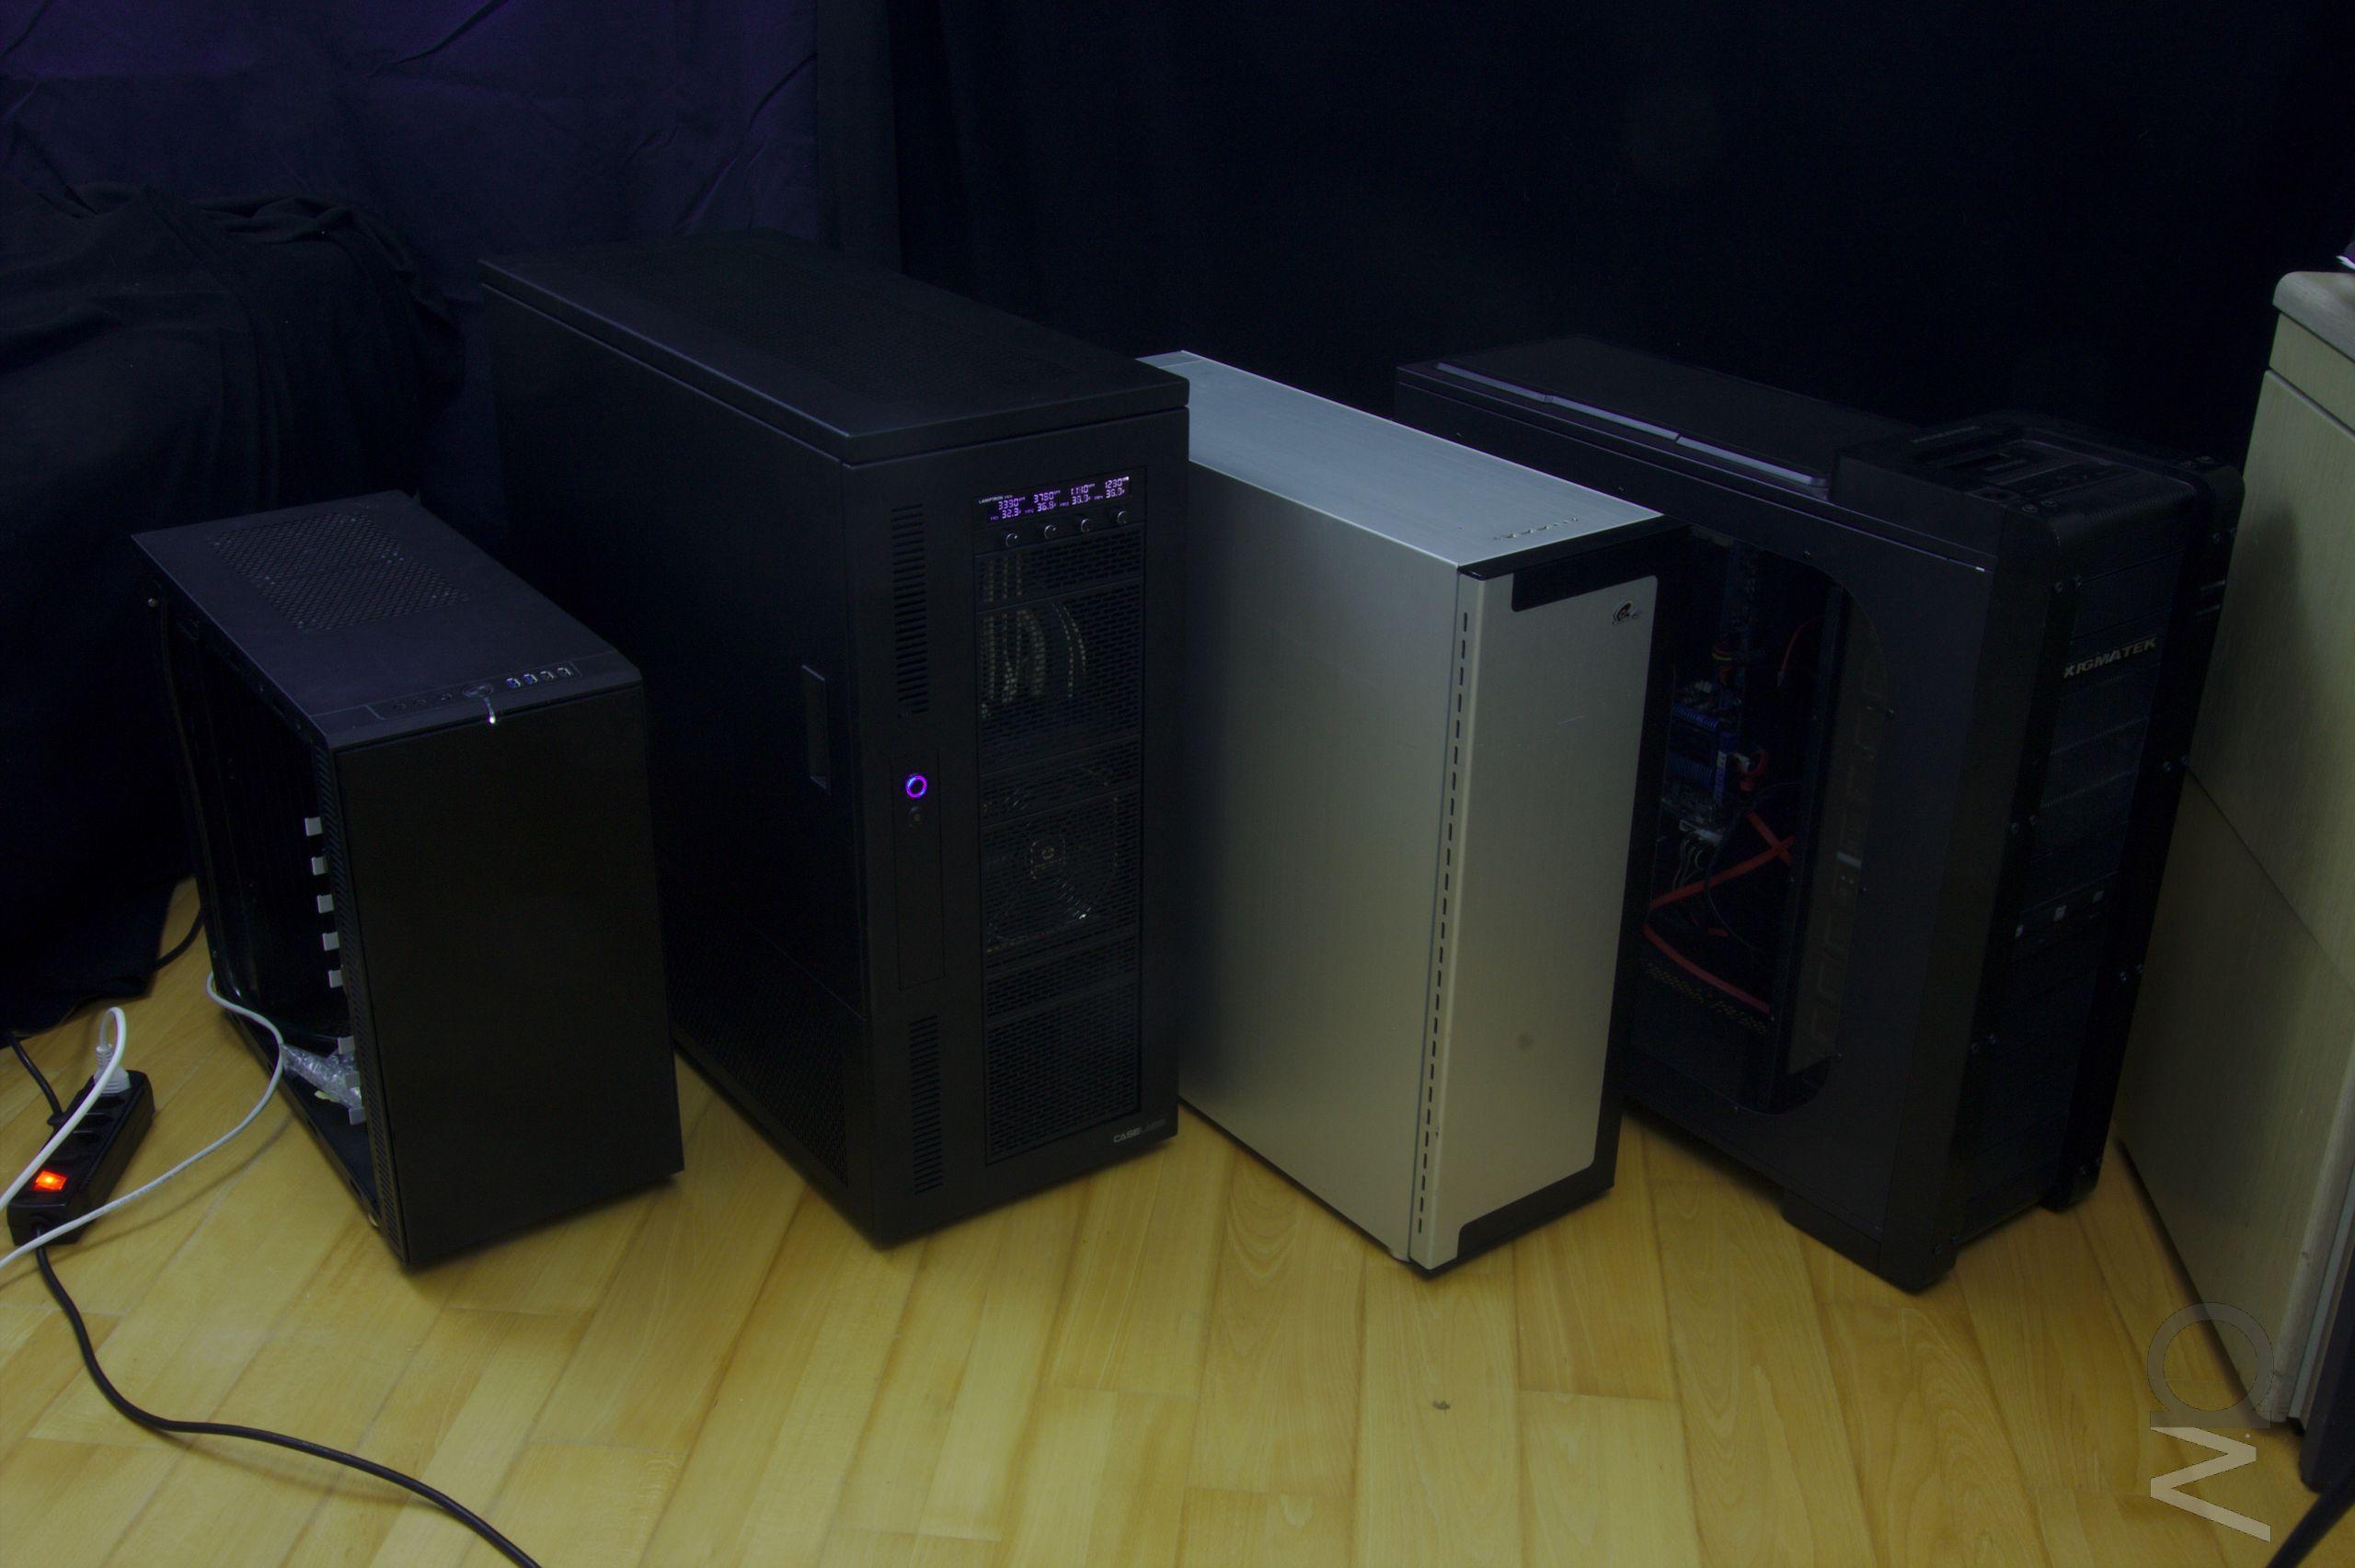
And with the rest of the computers in our household (except the server, which I
couldn't take down for the pic).
(click image for full res)

I'll be doing some temp measurements in the next few days and will give an update
on that when I have the data.
So long,
-aw


")


 ).
).