You are using an out of date browser. It may not display this or other websites correctly.
You should upgrade or use an alternative browser.
You should upgrade or use an alternative browser.
Guide to etching a case window
- Thread starter PV5150
- Start date
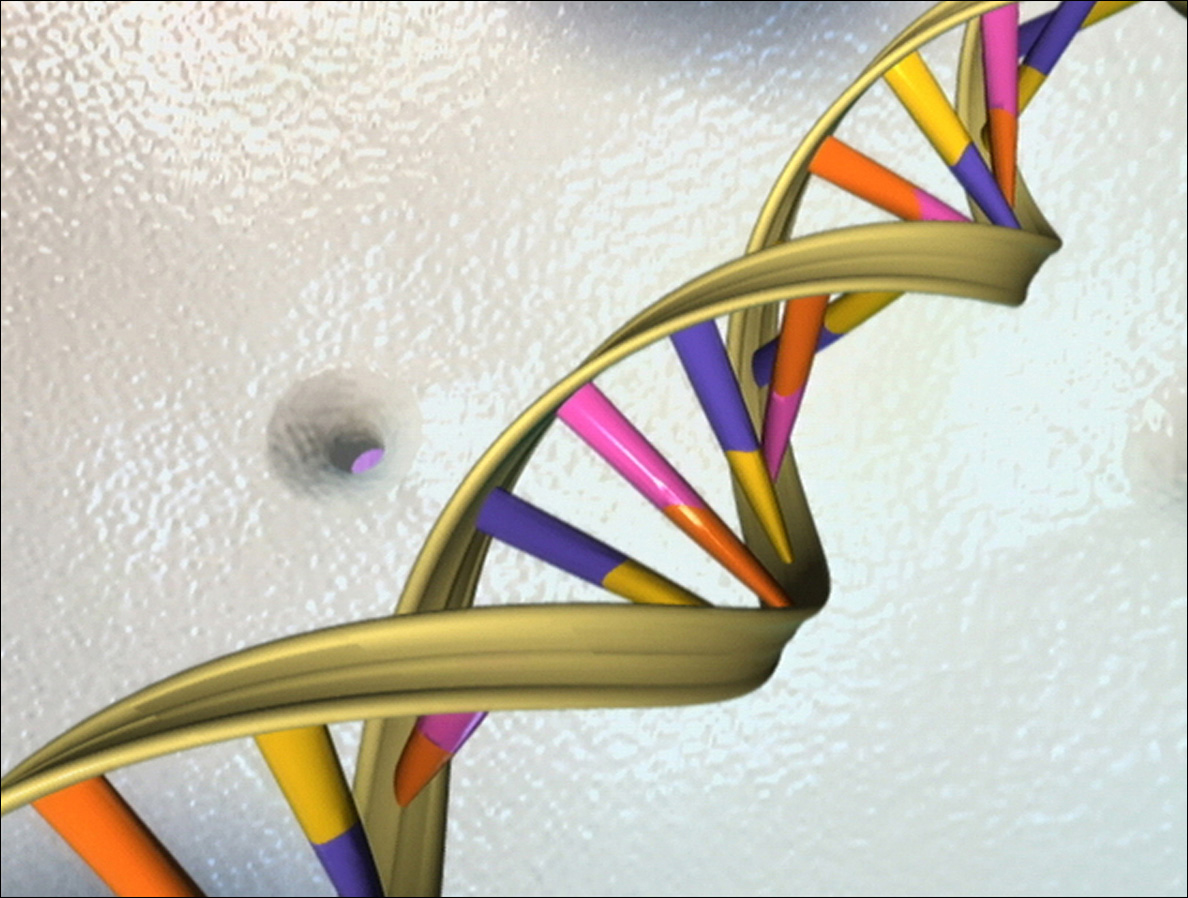
it hasnt really got a theme atm, its big and dull silver lol. Iv got a blue fan bottem left on the side and was thinking of having a curved window over it then im gonna spray it black and light the inside up blue with those really bright LEDs you can get (home made circuitry of course). I spose i could put a lil :anisx: somewhere on it  i was thinking a sort of double helix pattern to
FragTek
New member
Wirelessly posted (Nextel BB7520: BlackBerry7520/4.0.2 Profile/MIDP-2.0 Configuration/CLDC-1.1)
Just FYI I've found a company here in the states that specializes in custom case window "etched" appliqeus and domed case badges. I was thinking about placing an order for some SX appliques and badges.
Someone wanna whip up a 7.5" x 7.5" SX logo applique (black and white) and save it as an .eps?
Just FYI I've found a company here in the states that specializes in custom case window "etched" appliqeus and domed case badges. I was thinking about placing an order for some SX appliques and badges.
Someone wanna whip up a 7.5" x 7.5" SX logo applique (black and white) and save it as an .eps?
ridestreet
New member
Excellent guide!
Nice! I find the guide a bit confusing, as i cant work out what the grey/white bits of the template are respectiveley, and i am very confused as to how a dremel can make large designs, as opposed to thin lines, but i may use the school laser cutter, or have a look at some more guides!
EDIT: i now see that the grey bit is the template itself, bu then what are the white bits? and how does the dremel get at the perspex, as surely the template's grey/white area is in the way.
SECOND EDIT: ooooo.... is the grey bit another sheet of perspex? which is then stuck behind the orginal window? then the white bits are card to prevent cutting? am i right or wrong...
mayhem
New member
Thks i used the info on this page and tried it my self. It works very well but i think you ned a ot of practice as well esp for finer detail. Some times found my self going to slow and melting the plastic. I found going a little faster and short strokes did it the best. Allso i used the 105 then 108 for effects. Would love to know how to go a little deeper and make sort of a 3d cut  ..
..
Over all thks its fun to do and seems to calm you down a little.
Over all thks its fun to do and seems to calm you down a little.
mayhem
New member
name='PV5150' said:Cool and thanks for the feedback mate. I'd be really interested to see the results that you've achieved
Here are a couple ... Ill be working on some better ones once ive got some more ink for printing..
1st attempt

2nd attempt

3rd attempt with some un expected results ....

These are only test work and not for use. Ill be binning them later on ... Im just using spare peace of plexi to do it all...
Im going to attempt to do finer detail with the next one and see how it comes out. I need to lean to feather it so that i don't melt the plastic i think.
mayhem
New member
Must admit its not easy this time I'm trying to learn to feather touch and see how it comes out. When doing it lightly you hardly see the work your doing (or it could be because i have bad light) any way i tried doing this with the lowest dremmel points ...


After a second look i then re did the head with a larger point to make it stick out more. I think its a fine line between what looks good and what doesn't lol ...


Then added a CCFL tube just to test it out for idea's ... Its so dammed hard taking good photos of this stuff lol ...


After a second look i then re did the head with a larger point to make it stick out more. I think its a fine line between what looks good and what doesn't lol ...


Then added a CCFL tube just to test it out for idea's ... Its so dammed hard taking good photos of this stuff lol ...


Similar threads
- Replies
- 0
- Views
- 199


