[Case Mod] Close Quarters

Looks great.

Very Unique Sebar. I know I have seen this somewhere before.
Love the Copper Panel.

Looks great dude! Just noticed that the OP was updated with more pics as well and I must say I completely fell in love with the look of that case...

A full build would serve it well *hint hint*

Gets even better with each update.:)

Looking fantastic, subbed! That res is one of the best looking most compact ive seen! WELL DONE!

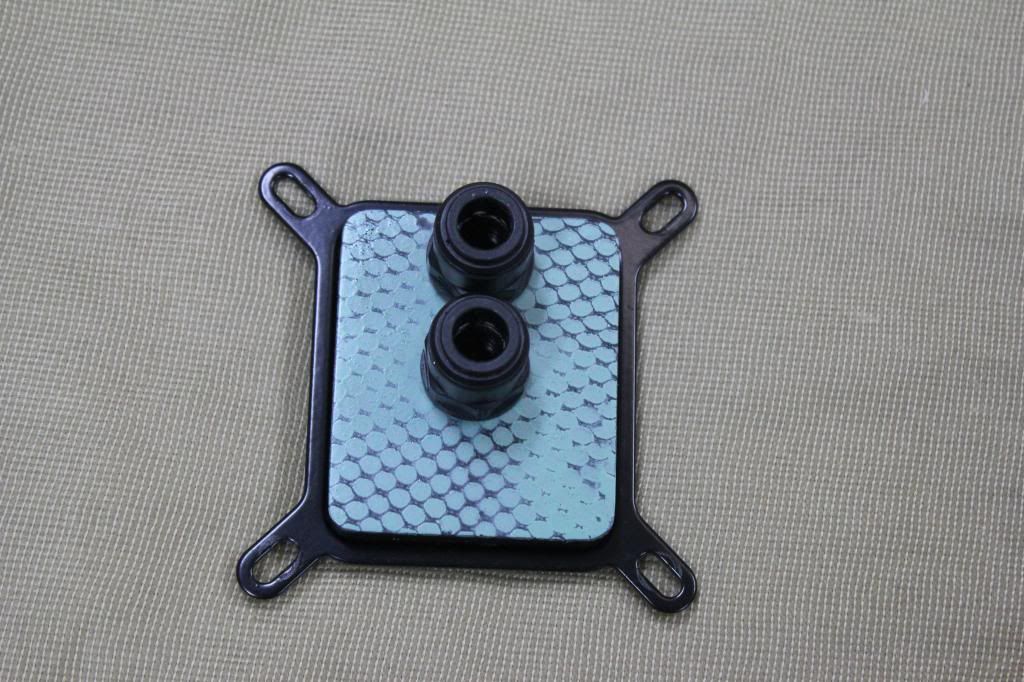
The snake skin texture looks amazing. Loved what you did with your previous build log, so really excited to see where this goes :)

Thanks guys, here is a little side project I just finished up yesterday.


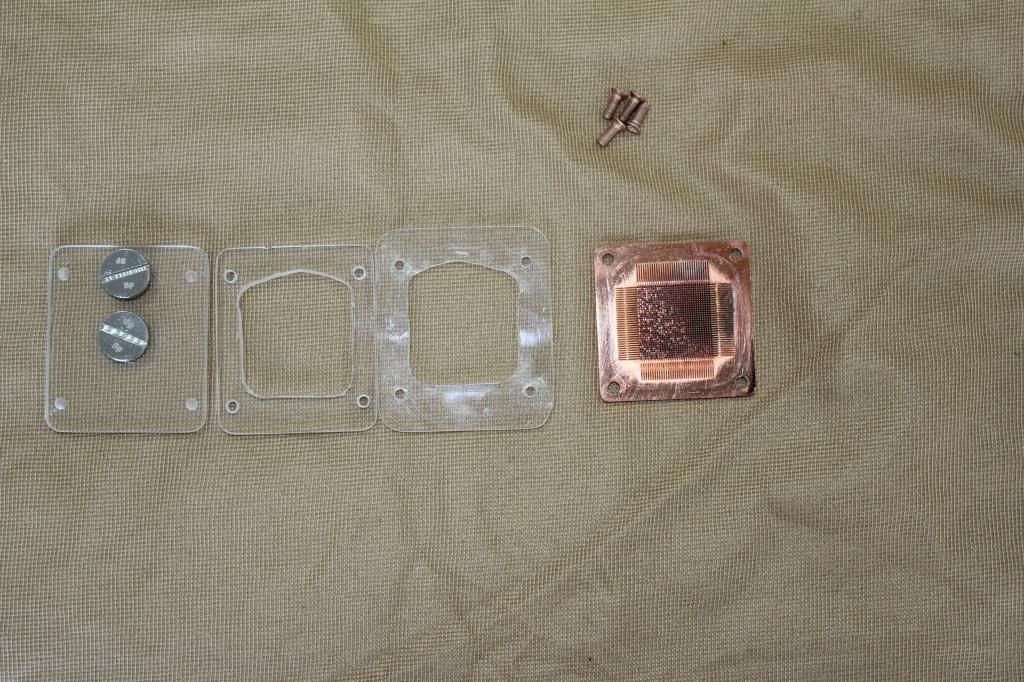
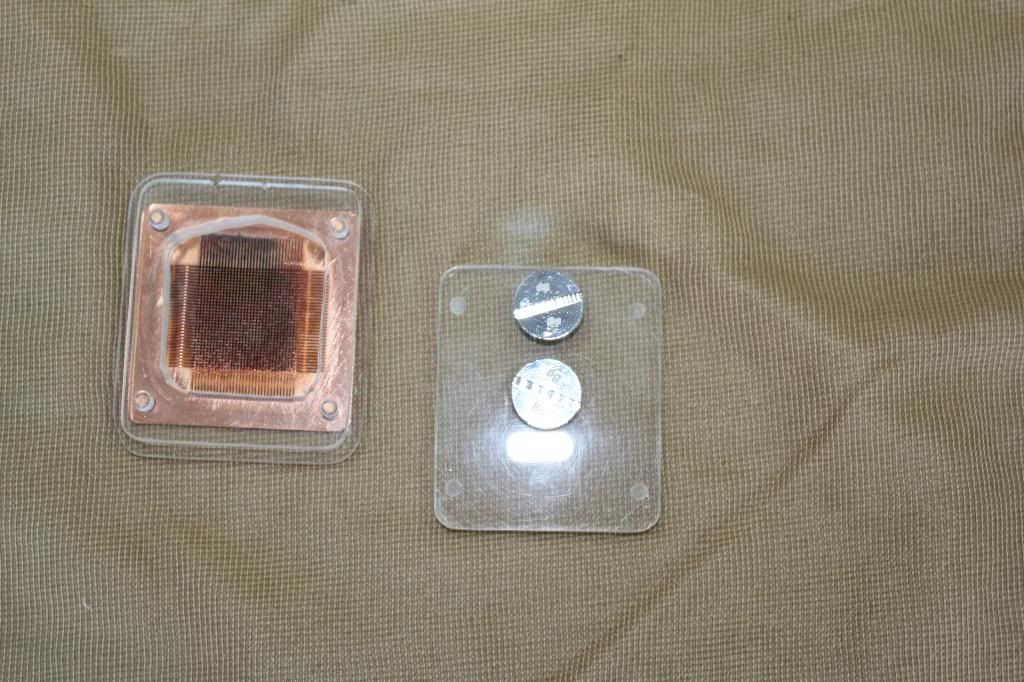
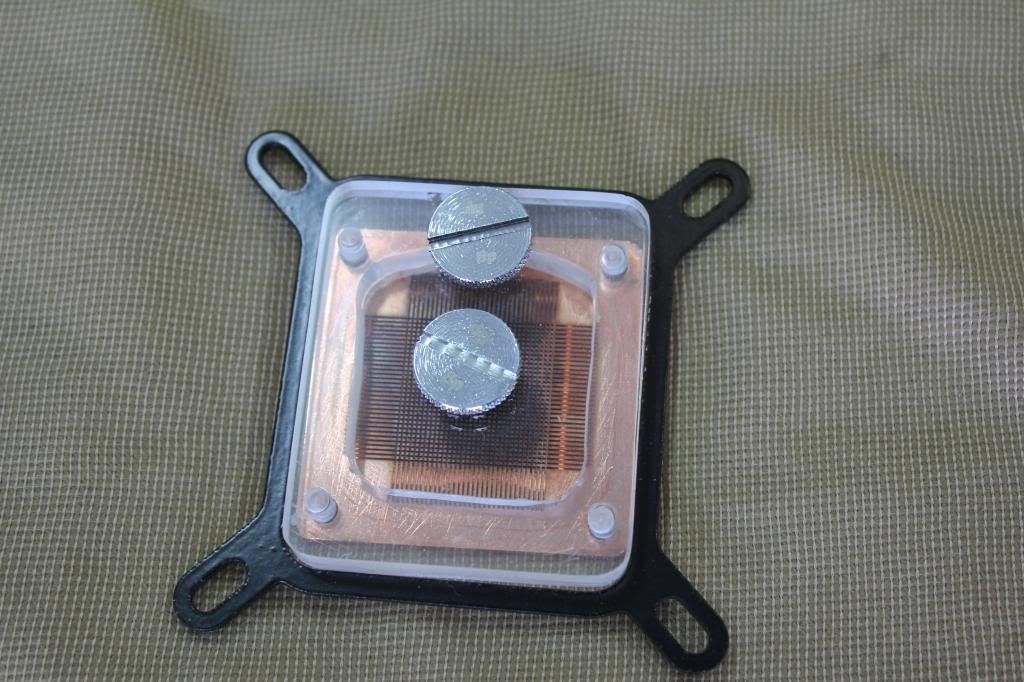
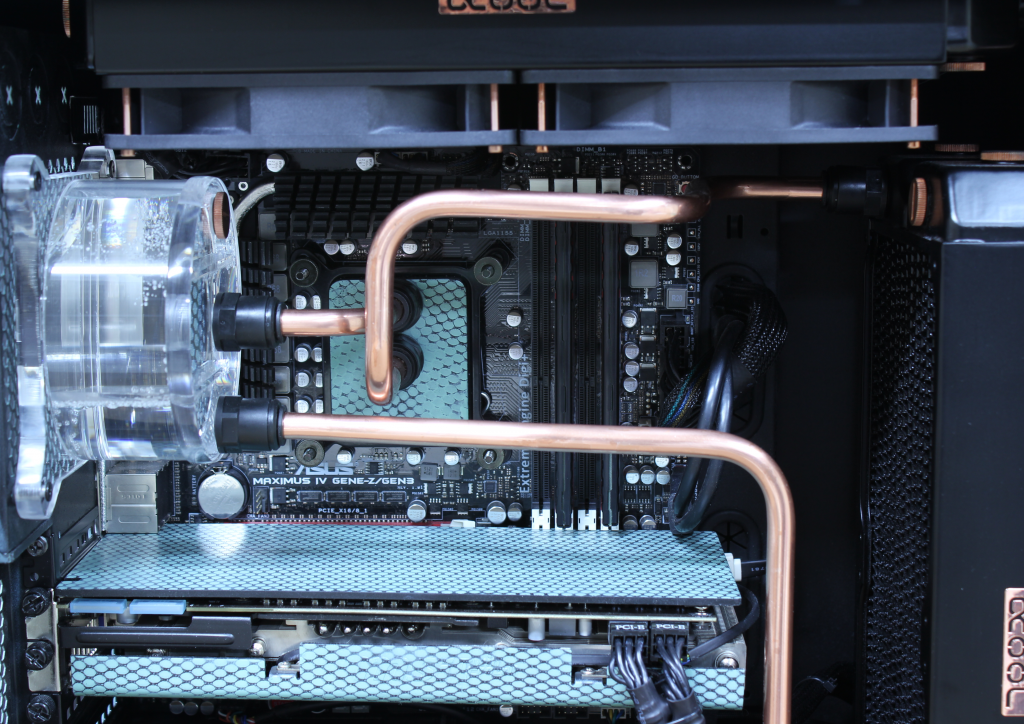
I was tired of waiting for the replacement water block to come in so I created my own acrylic water block using the copper base and mounting system from the Alphacool water block that was leaking. I will test it for leaks, if it passes I will run it in my system and see what kind of performance it has. I do not expect much in terms of performance but it has been a fun little side project.

Sorry I did not take more pictures of the process. The block was made using 3 pieces of acrylic. The end result looks much better then the rough cuts shown in the pictures. I was in the zone and did not stop to take photos at each stage of the build process.


I have an update, the CPU block that I put together has passed a 24 hour static leak check and now I am going to run it in the loop for another 24 hour leak check.


I came...

+ on making your own CPU block. You've got some serious balls dude.

Ha ha, it is a little nerve racking. I am a little scared to put power in the system but it has been running all night with no leaks.

those copper tuber are soo good how long did it take you to do those

It only took a short amount of time. I did it in stages and changed my setup in the middle of the build, this is why the CPU inlet tube is bent they way it is. I was initially going to run a tube res in the front attached to the rad, but decided to build a res instead. I did not have enough copper to redo that tube.
 
5/5 for uniqeness, i love it for the entity it is and the overall look, sadly not my taste. But given the fact u made your own cpu block is just insane and absolutely fantastic !
 
Wow , Great Job !

I love the Snake Skin looks and the way it blends seamlessly with the Copper , awesome work .
 
5/5 for uniqeness, i love it for the entity it is and the overall look, sadly not my taste. But given the fact u made your own cpu block is just insane and absolutely fantastic !
Thanks :)

Wow that custom cpu block and res is amazing i wish i could do that :P
Thanks, it was not as hard as you might think. Biggest obstacle would be having the right tools but I did the reservoir by using basic tools. ;)

Love these compact builds, great work.
Thanks :D

Wow , Great Job !

I love the Snake Skin looks and the way it blends seamlessly with the Copper , awesome work .
Thanks :cool:


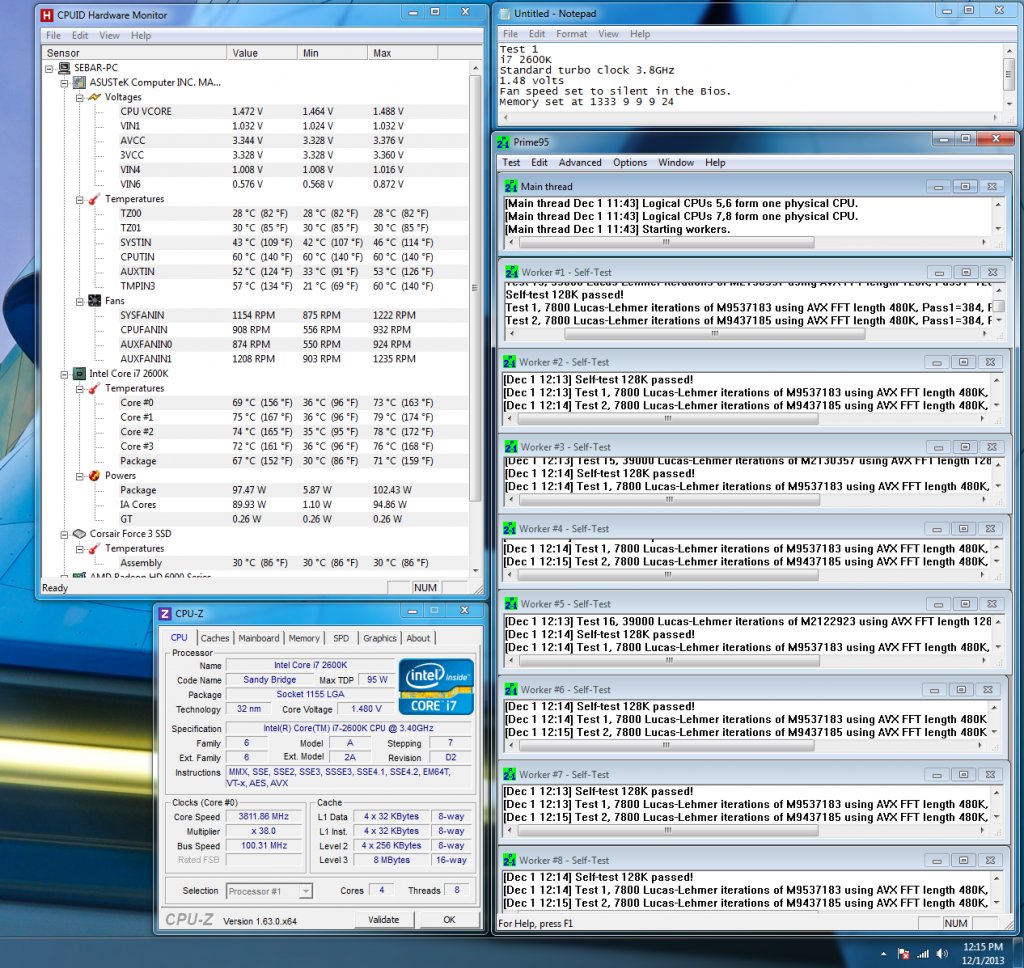
I have had the system running four a couple days now with no leaks. I have also run some initial temperature tests for the CPU.

Test 1
i7 2600K
Standard turbo clock 3.8GHz
1.48 volts
Fan speed set to silent in the Bios.
Memory set at 1333 9 9 9 24
30 Minutes of Prime 95 in-placae large FFT's


I am going to try my hand at overclocking this system using the 1155 overclocking guide on YouTube that Tom did earlier this year. I do not have a lot of overclocking experience and have been trying to learn for a while but have not really put in the time. Hopefully with the help of this guide I will get a decent and stable overclock. Wish me luck. :lol:
 
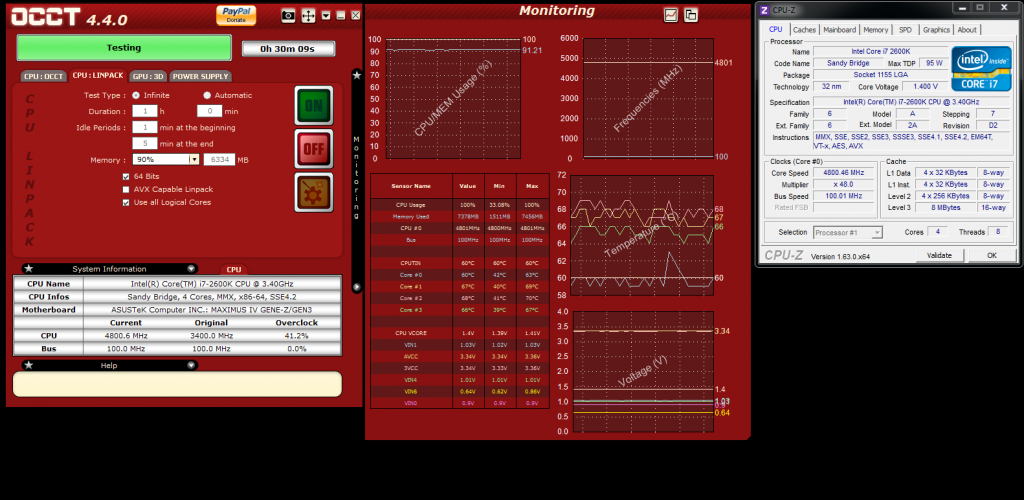
Okay, today was the first day I really put in the time to overclock a computer. I followed the 1155 overclocking guide and ended up getting some good results.


I am not sure how well you can read the screen shot but I got 4.8GHz with 1.4 volts. Max temps are 63,69,70,67.

Thanks Tom for the awesome guide.

I will continue tomorrow and see if I can get to 5GHz. :)
 
Very nice OC you have going , and those temps look good as well .

Nice job .

Nice looking rig that is. :)
Thanks guys, I was finally able to get it up to 4.9GHz stable for a 30 min run on OCCT. I dont remember where the volts ended up at (somewhere around 1.45v) or the exact temps (Low to mid 70's) but I will post a screen shot later today. I went for 5GHz but it failed at 1.5v and I did not want to push the volts any higher. The temps are looking very good and I am happy with the CPU block.
 
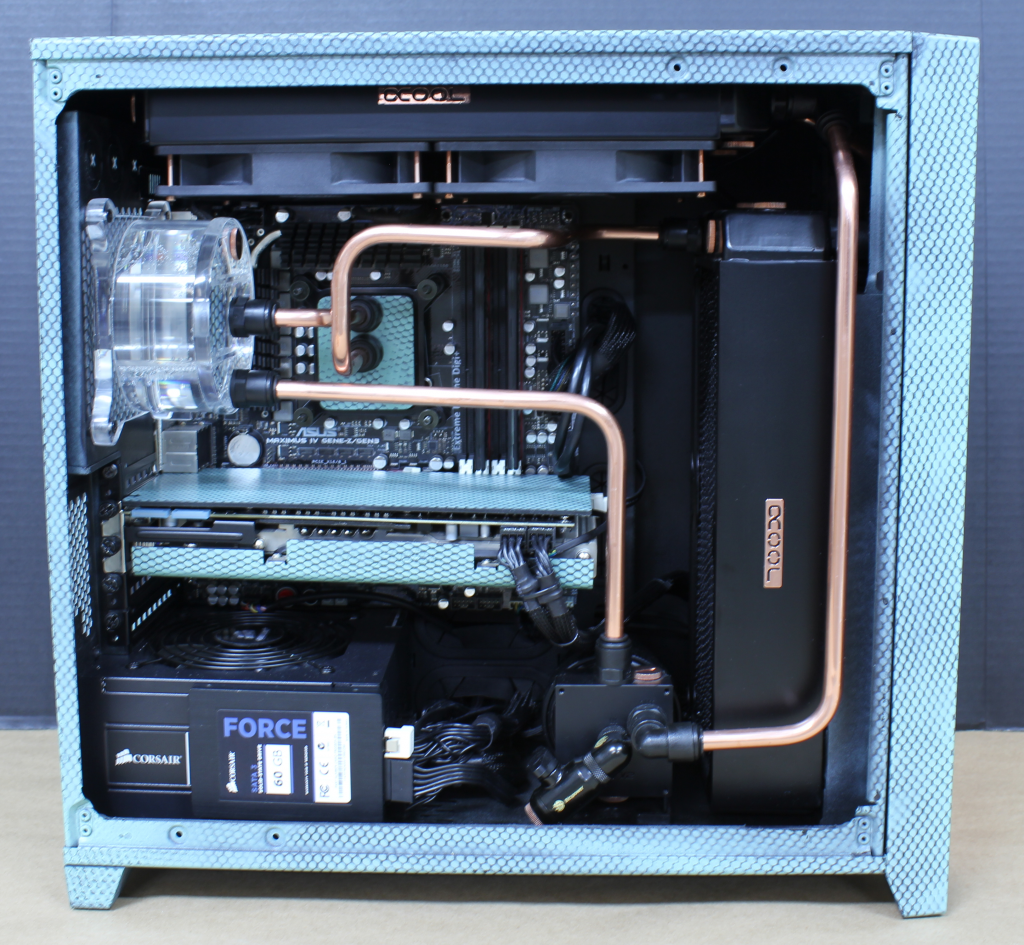
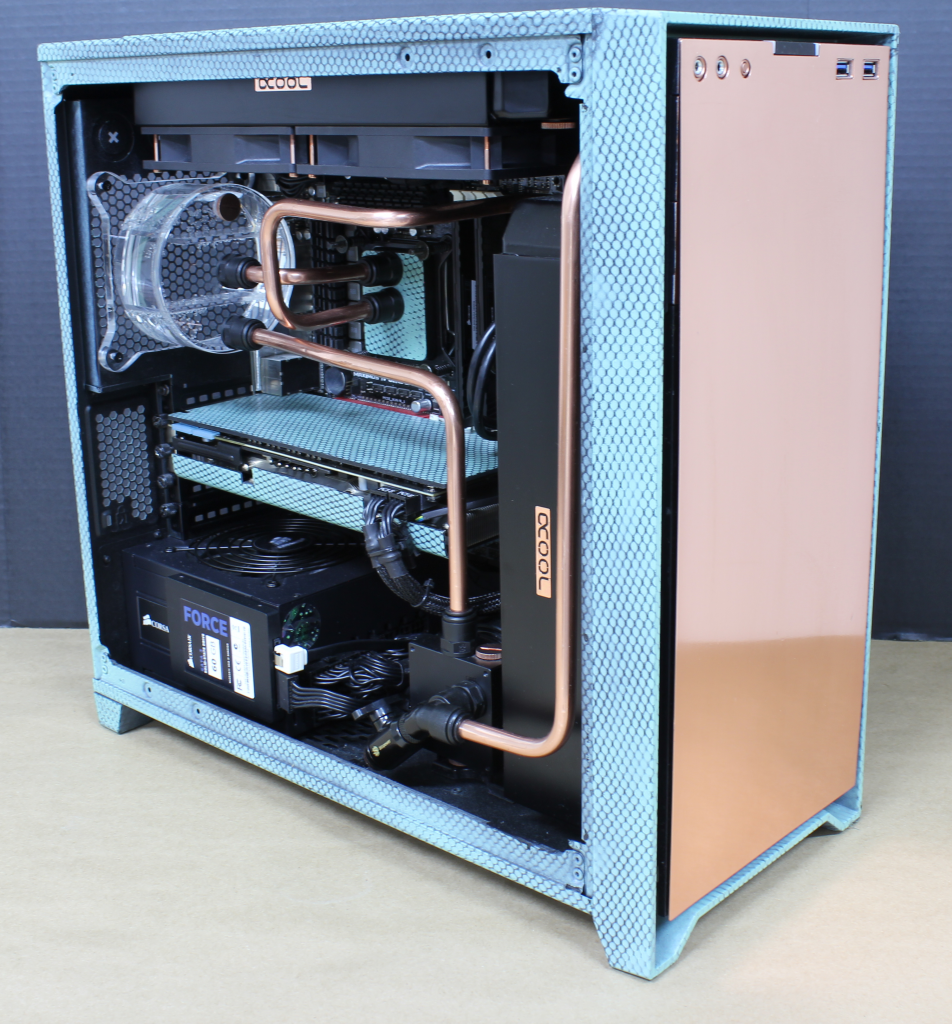
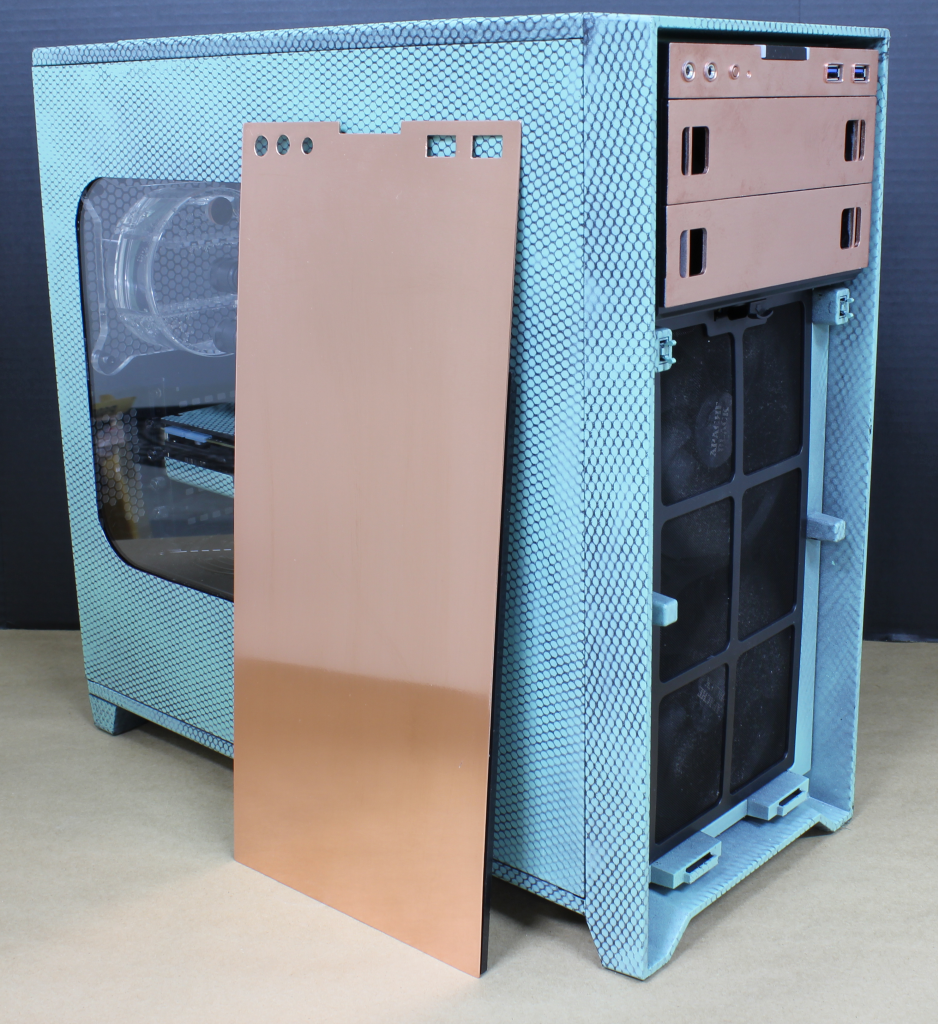
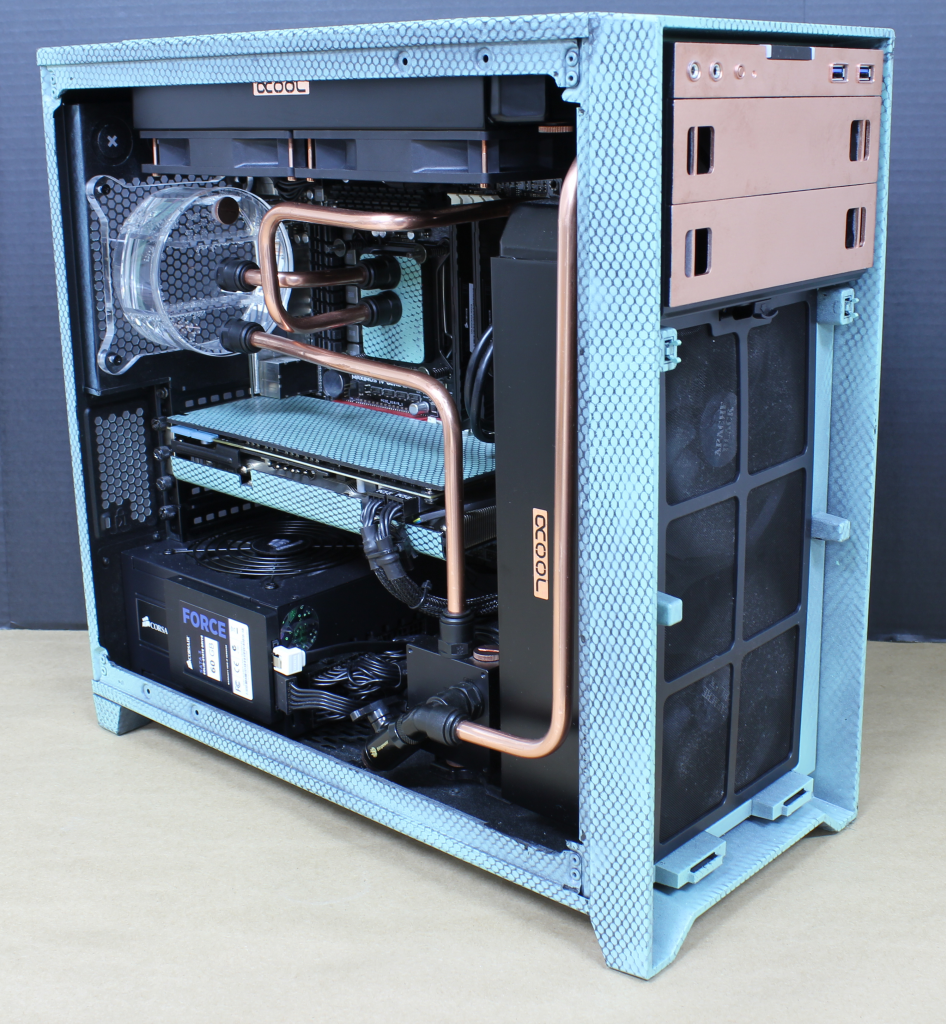
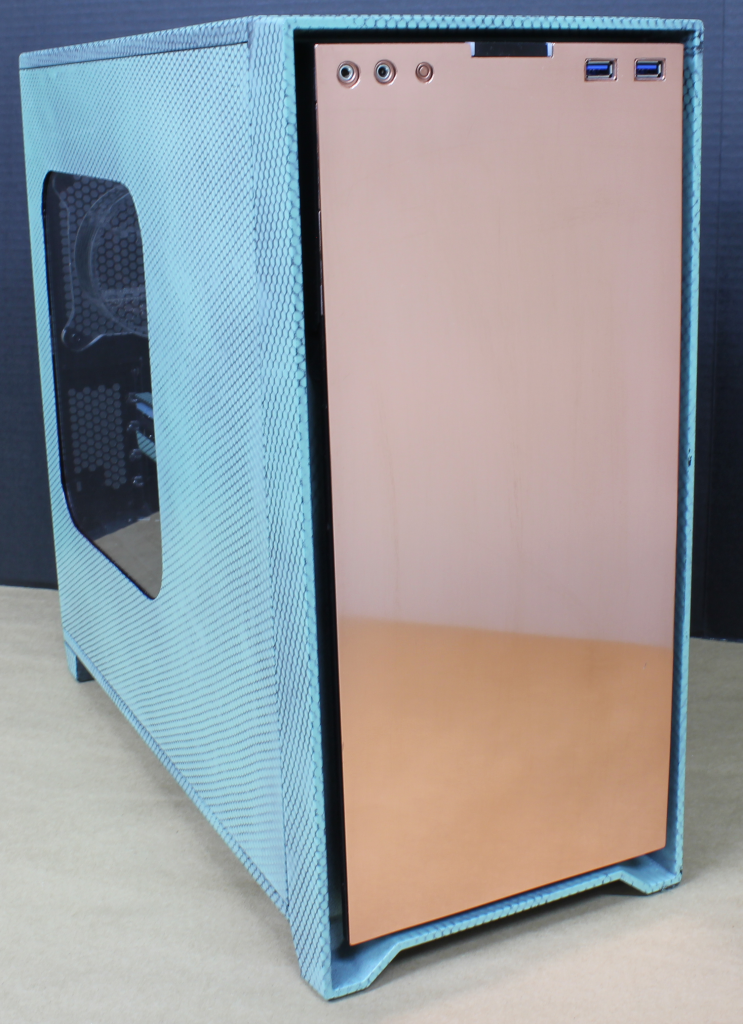
Case Mod Project: Close Quarters is finally finished.

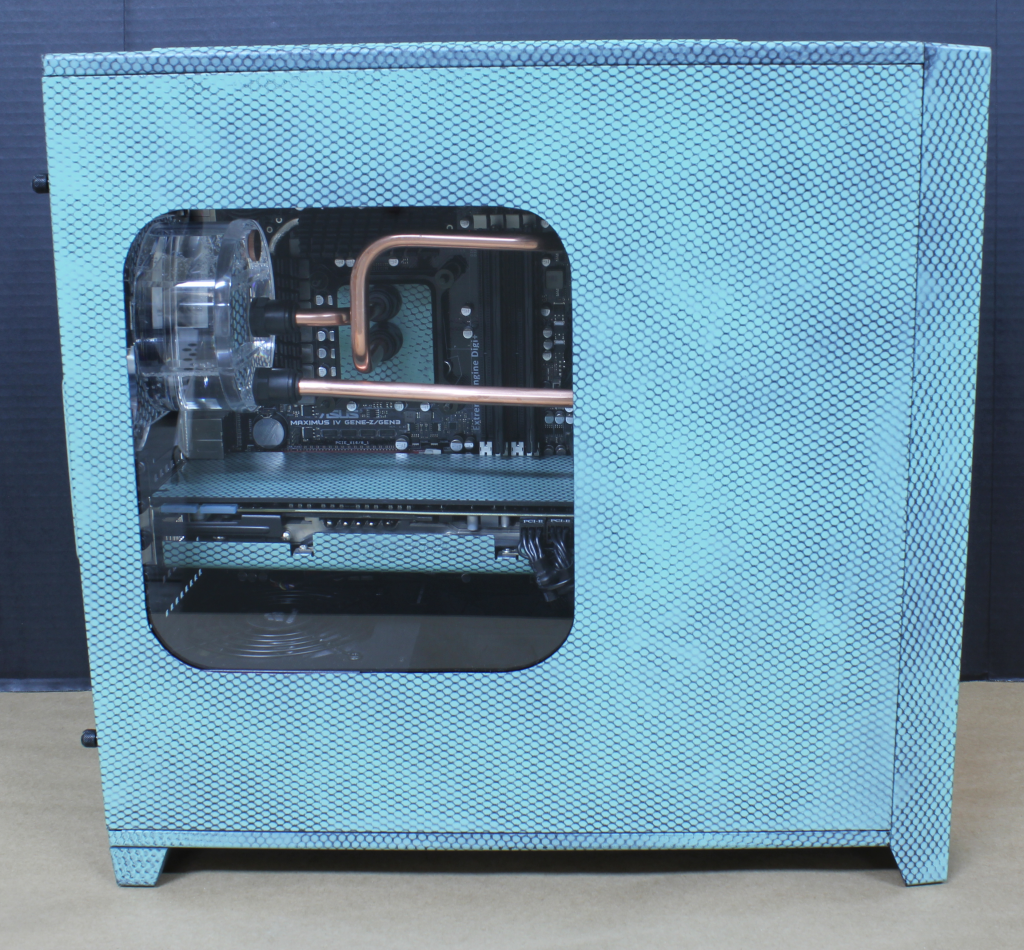
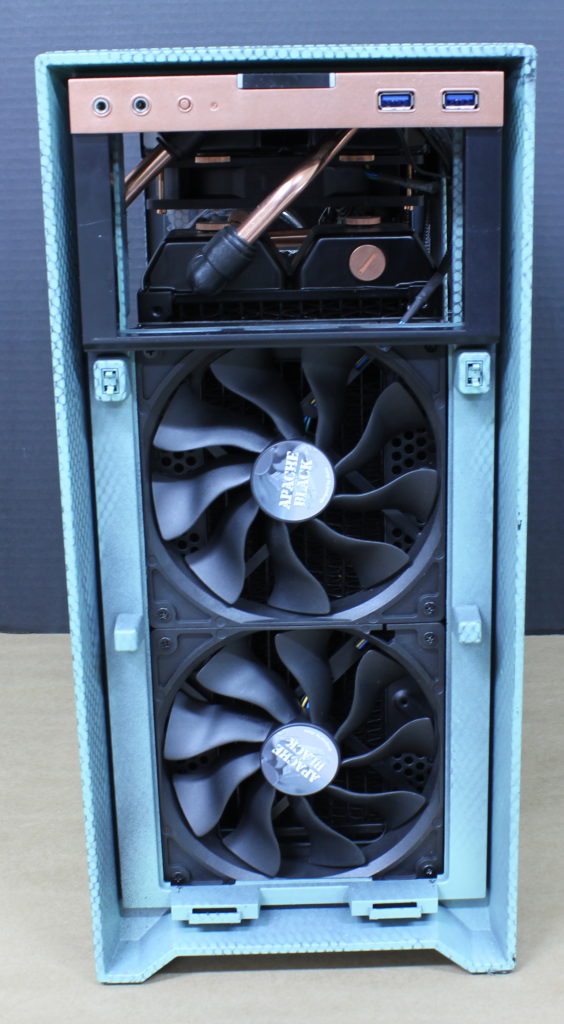
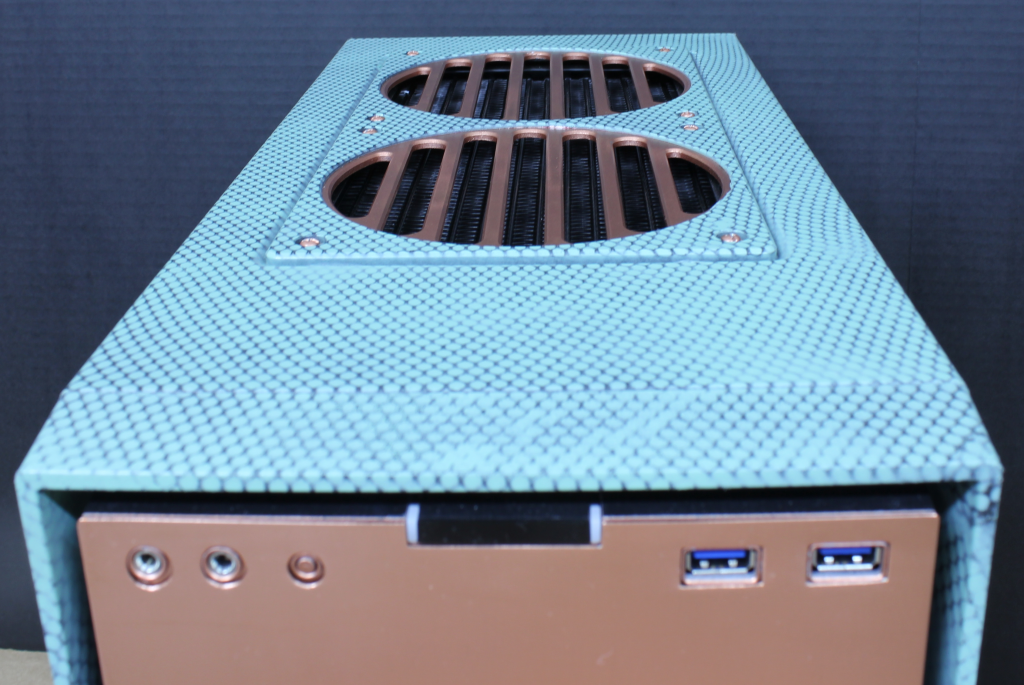
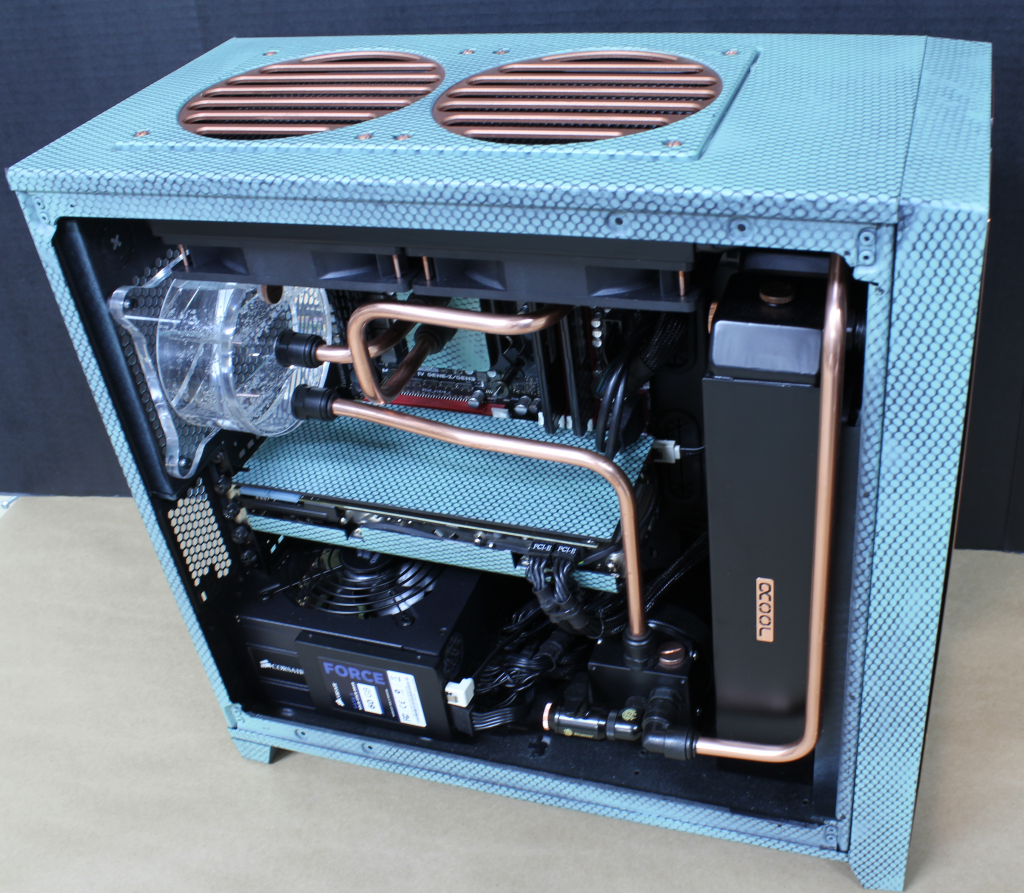
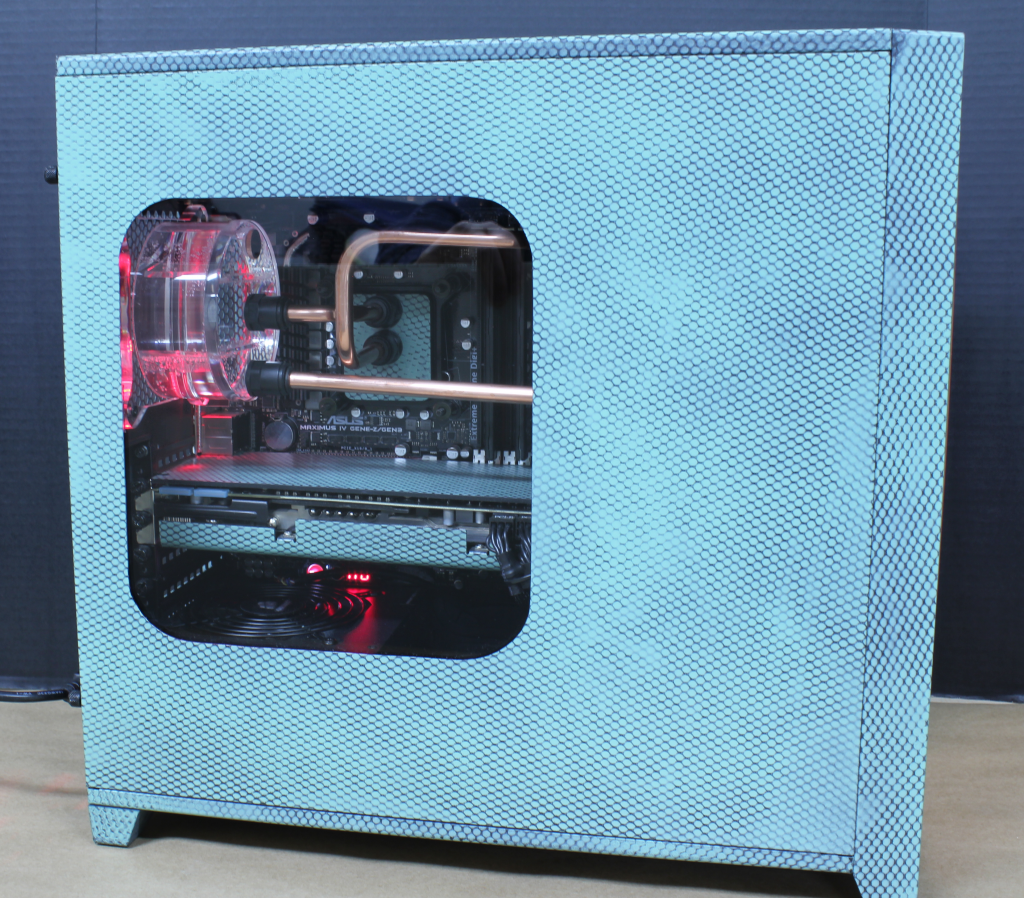
Final pictures of my Corsair 350D case mod/Build log are below.

Final specifications are as follows:
CPU - Intel 2600K CPU
Motherboard - Asus Maximus IV Gene Z Gen 3
RAM - Corsair Vengeance low profile RAM 1600MHz 9-9-9-24 1.5v
Video Card - MSI R6950
PSU - Corsair AX850 PSU
SSD - Corsair Force 3 SSD (60GB) for OS & Kingston HyperX SSD (120GB) for Storage
Fans - 4 x Akasa Apache Black 140mm

Water cooling components include
Alphacool XT45 280 mm radiator
Alphacool UT60 280 mm radiator
Custom made acrylic CPU water block
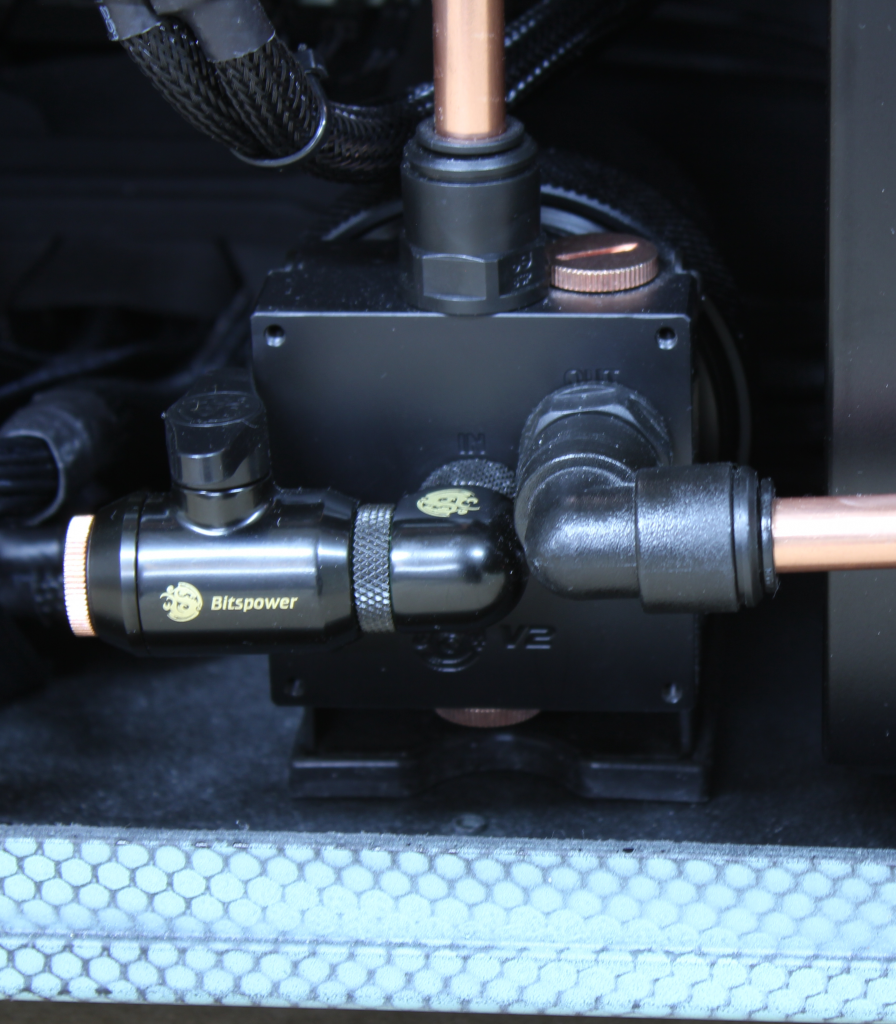
Swiftech MCP655 pump with Bitspower mod kit and D5 Mod Pump Top V2
Black acetyl push fittings for 10 mm OD rigid tubing
Custom made acrylic reservoir


I love it, very unique.
That copper has made me dribble all over my desk lol.
Is there anything that needs to be considered when using copper in the pipes like you have?
Also the front panel how easy was that to get fabricated? I want to do something with my C70, including building a cage of sorts onto the top out of sheet brushed aluminium along with a similar front panel to yours but i will have vent holes for the fans but just a circle pattern for the dual fans a logo etched and new missile launch buttons for the on and off, with blue/red illuminations around the bases.

Sound too tacky?

Again love this effect.
 
Back
Top