[Build Log] Project Mini Me - M-ATX Phantom, 3820, RIVG, 7970, watercooled

Yes mate sorry that's what I meant buy kinda a middle ground to a full loop just add a rad to the Apogee drive 2 . It is more or less a H220 , but giving you the choice for the rad . They have an AD2 for 1155 left in stock over at Specialtech , I'm thinking add a monsta 360 , and you have got a good performing simple loop .

If you have the extra $$$ the Apogee Drive 2 is an excellent unit and has G1/4" ports so you can use whatever barbs or compression fittings you want. The H220 is simply an excellent bargain piece with slightly different aesthetics.
 
Guess what I did today :D
20130319_233746_zpsf3395599.jpg


And the door in its final form before paint, being sent to me now
Screenshot_2013-03-18-13-12-36-1_zpsd2e719c9.png


Also I ordered the material to make my new motherboard tray. What is it you ask?
DIAMOND PLATE. I'll have to grind down all the diamonds under the mobo to ensure no shorting out occurs, but the end look will be worth it
 
Wow, just read through the whole log thus far and I've been getting some really good ideas from this as to what I would need to do to accomplish something similar (when money allows for it... one day...). Looks fantastic so far, almost entirely OEM finish! That's what I like to see: mods that are clean and look like they grew that way from the bosom of the Earth from whence it came x-P
 
Wow, just read through the whole log thus far and I've been getting some really good ideas from this as to what I would need to do to accomplish something similar (when money allows for it... one day...). Looks fantastic so far, almost entirely OEM finish! That's what I like to see: mods that are clean and look like they grew that way from the bosom of the Earth from whence it came x-P

Thanks for the kind words! I originally planned on evrything looking like a factory piece, and for the most part it will, but some design changes that I decided were too cool to avoid are coming up, like the diamond plate motherboard tray and acrylic door panels.

Thanks!
 
Last edited by a moderator:
so how is the welding on that style of metal? i always seem to blow-through, but
my welder doesn't crank down low enough to keep from blow-throughs. i can do
automotive sheet metal just fine, but the asian SEC steel is wacky.
even with .020" wire on a sand-blasted chassis the end-result is a incomplete tack
or a running puddle.
if i only had a TIG welder...

I'm using a Lincoln 120v wire welder with heat setting A (lowest) and wire speed of 2.5. I made sure I had clean surfaces to weld on, and I only do brief tacks. It doesn't take long at all to burn through. Almost as soon as I tack one I'm off and onto the next tack. You definitely have to tack the ends first and middle next or it'll warp easily. I have a bubble in my bottom panel but it'll come out easy when I open it up for radiator breathing.
 
Thanks guys!

Here's some more progress pics. I cut out the top and started on the top plate, but it'll have to be cut out and welded back in since it moved when I was tacking. The top panel will also be cut and fit on top of this. Once I get a template for the 360 rad and have it here for mock ups, I'll cut out room for it to breath. Same with the P820 fan controller and USB inputs etc. Once I get them mocked up where I want them, I'll make holes for cable management. I also still need to male holes for the plastic top panel, but I'll do that once it's cut down.

Top panel
20130325_231903_zpsd0bc207c.jpg


Mocked up
20130325_232952_zps19418522.jpg

20130325_232959_zps2fe41602.jpg


With the top panel so you can get a feel of what's up
20130325_232736_zps31fee184.jpg


I didn't realize just how small this is until I did the 4 sides mock up above. Still enough room for my stuff, but pleasantly sursprised and excited at how small it actually is.
 
So it turns out fitting the PSU is a lot tighter than I initially planned on, mainly because I have to rotate it a full 180* rather than the 90* I initially planned on. But that's ok. I actually have room and resources that I'm going to recess the PSU about 3/4" forward of the front steel panel, and weld the plate on the front panel to hold it there. With the power plug, it will still be hidden behind the front plastic panel, so all is well.

On that note, I wanted a new, fully modular, better looking power supply to replace my modified XFX 750w non-modular I've used in previous builds. So, being cautious of modular plugs and overall space constraints, I found one to fit the bill-

www.newegg.com/Product/Product.aspx?Item=N82E16817207028

XFX 850w fully modular, 80 plus GOLD certified :thumb:

XFX PSUs are made by Seasonic, one of if not the best PSU manufacturers, and I've owned one for each of my previous builds, so I was obliged to stick with them for this build. I would have loved to try an NZXT Hale 90 v2, but they are too long.

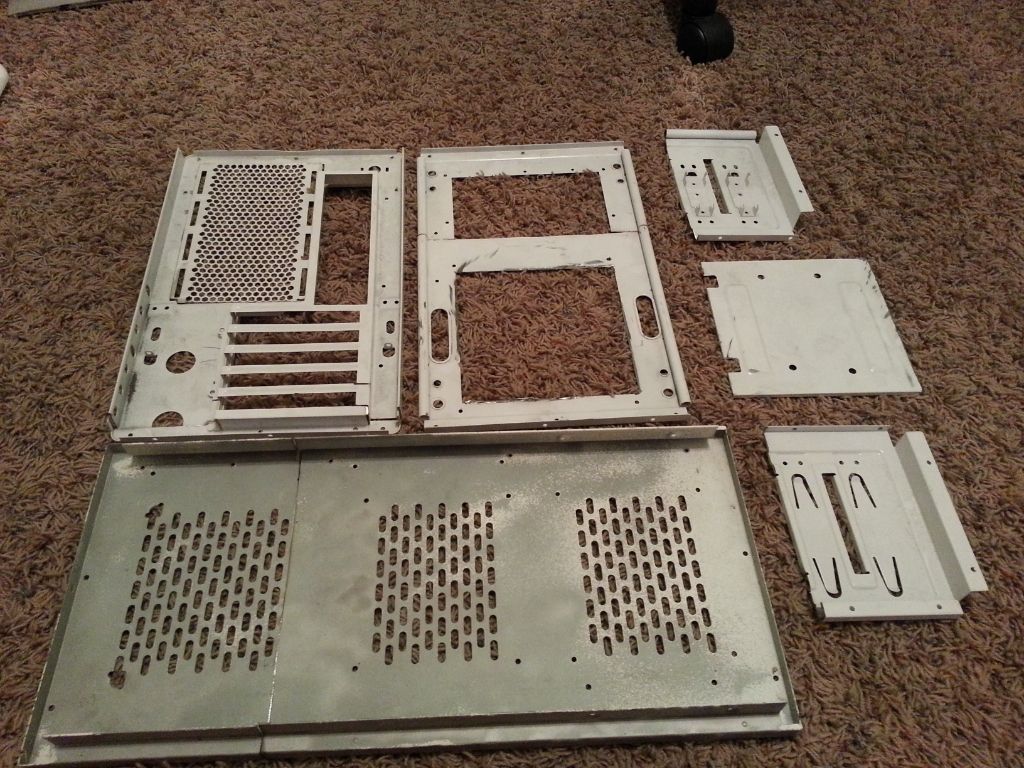
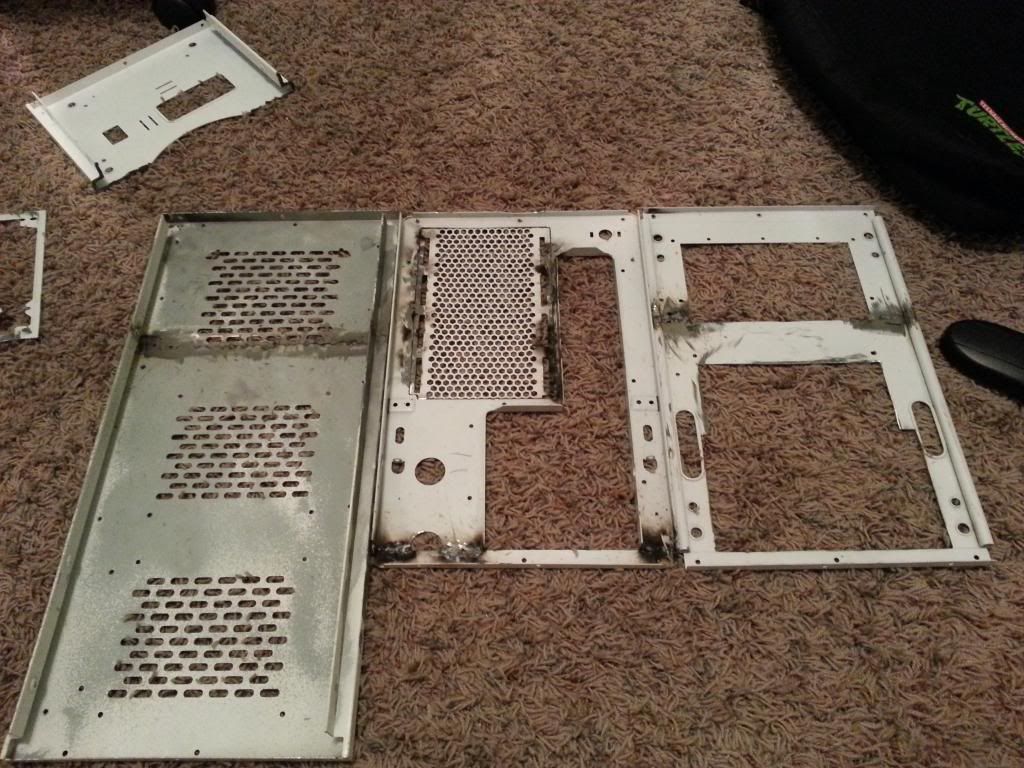
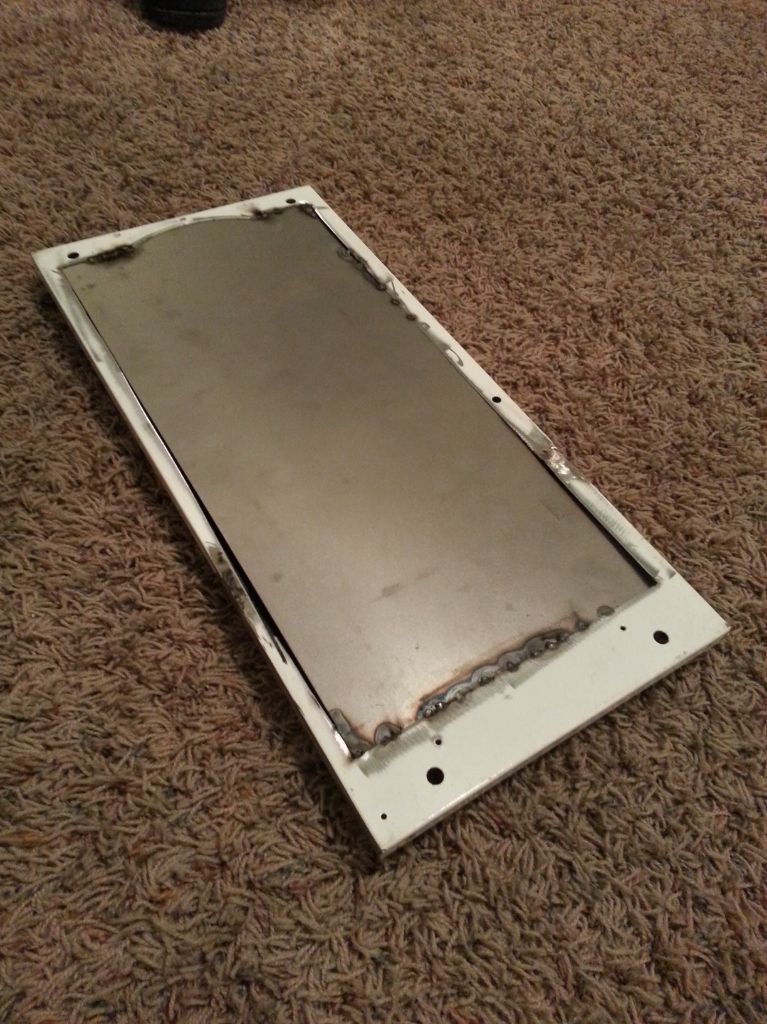
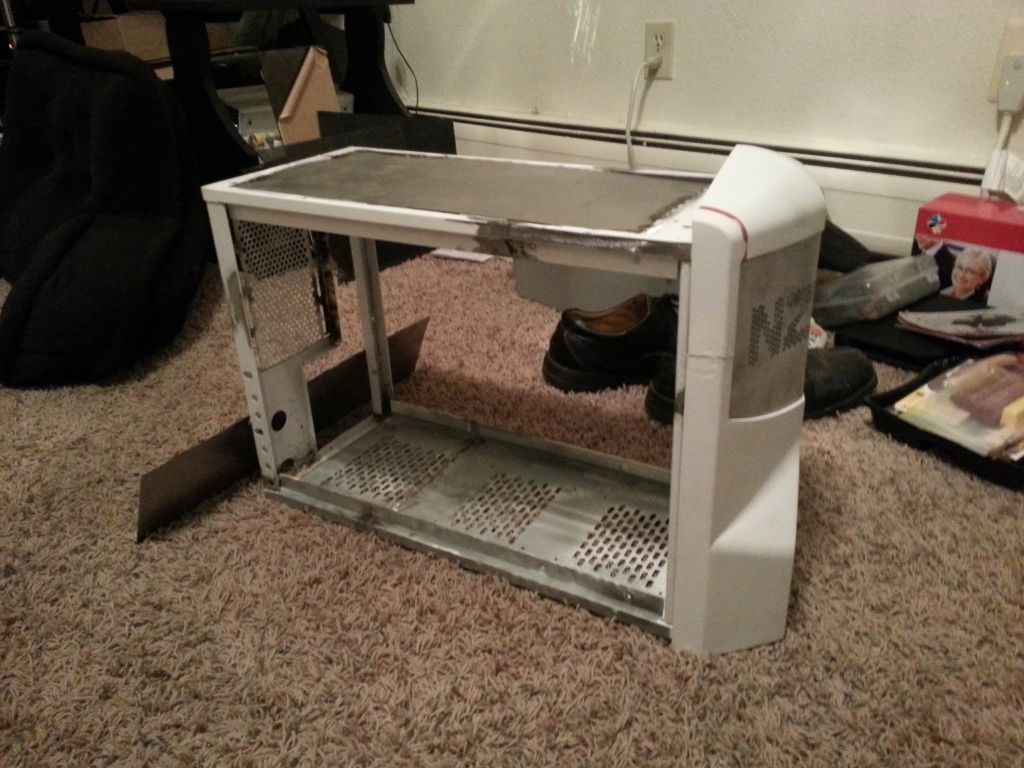
Oh, and I cut the top panel, mocked up the mobo tray and other stuff, and painted the door in white primer :).
20130331_145039_zps4acc5047.jpg

20130330_210758_zpse60e23c9.jpg
 
Back
Top