Disk Ventilation
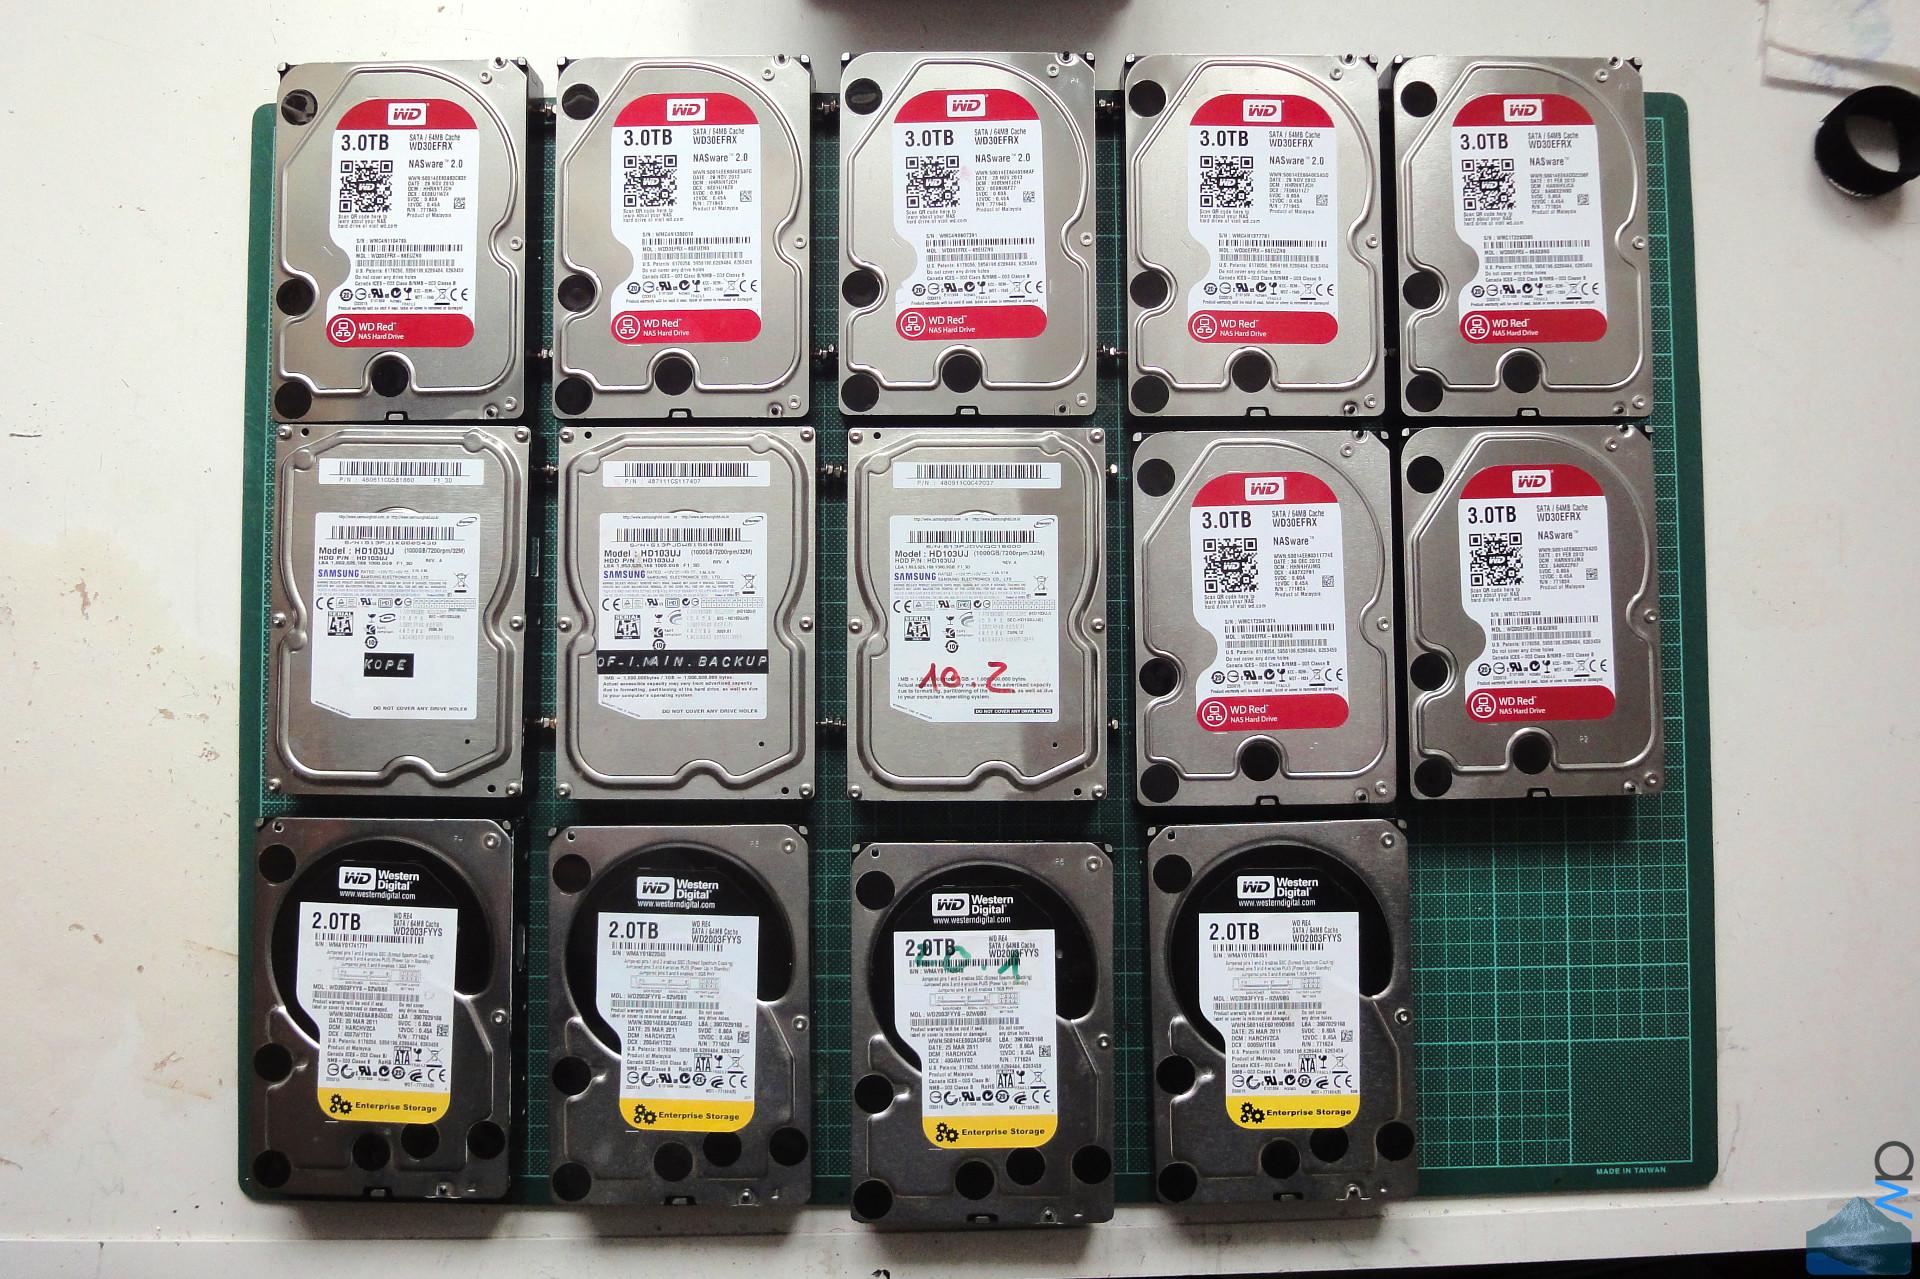
Although disks have become quite frugal when it comes to
power consumption these days (at least some of them) and HDD
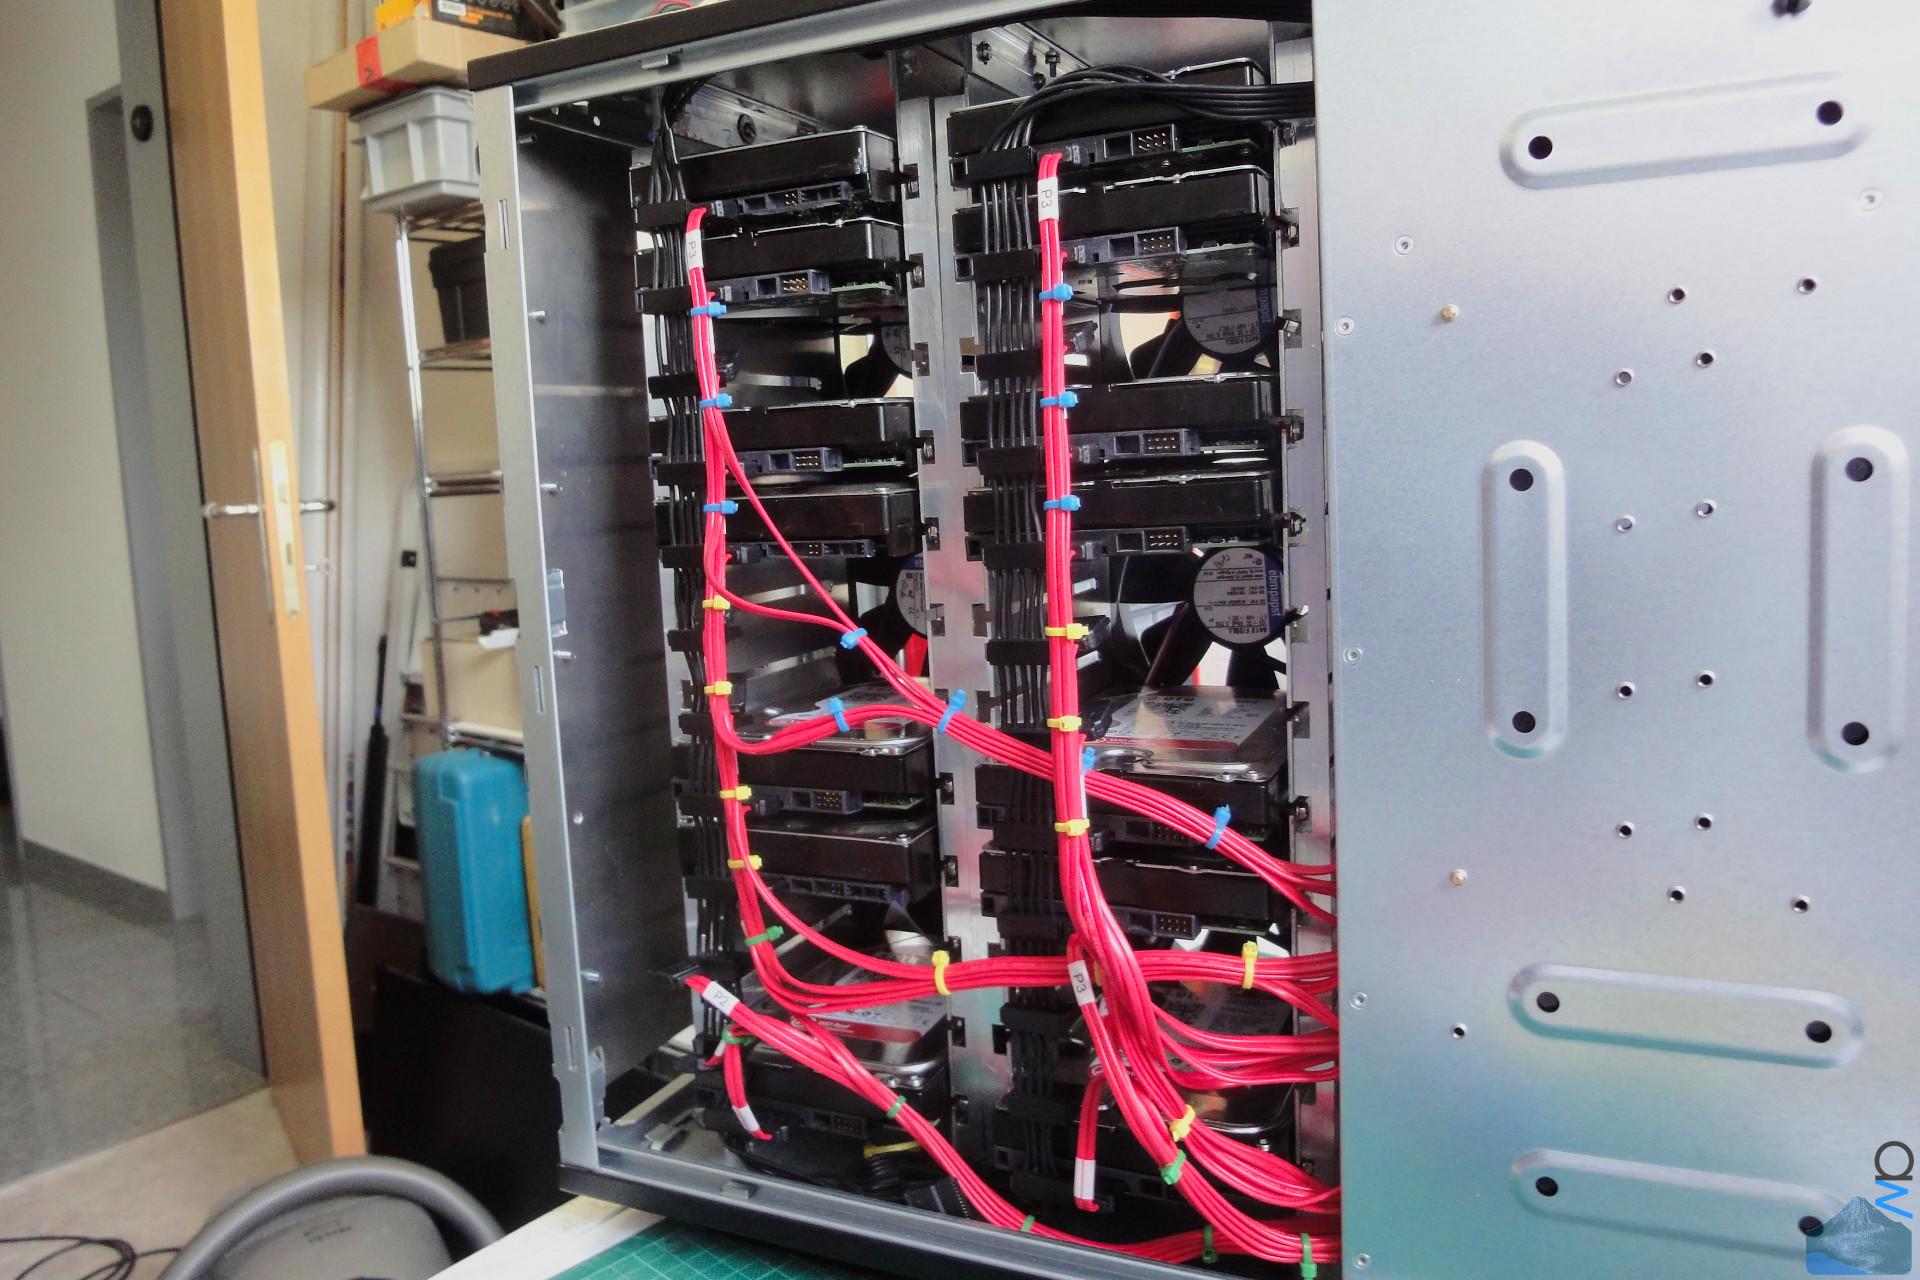
cooling is not really a huge issue for most people, packing
24 disks as closely together as in this build will cause
heat issues without ventilation. There is no need for 3k rpm
Delta fans though, a whiff of cool air breezing over the
disks should do the job nicely.
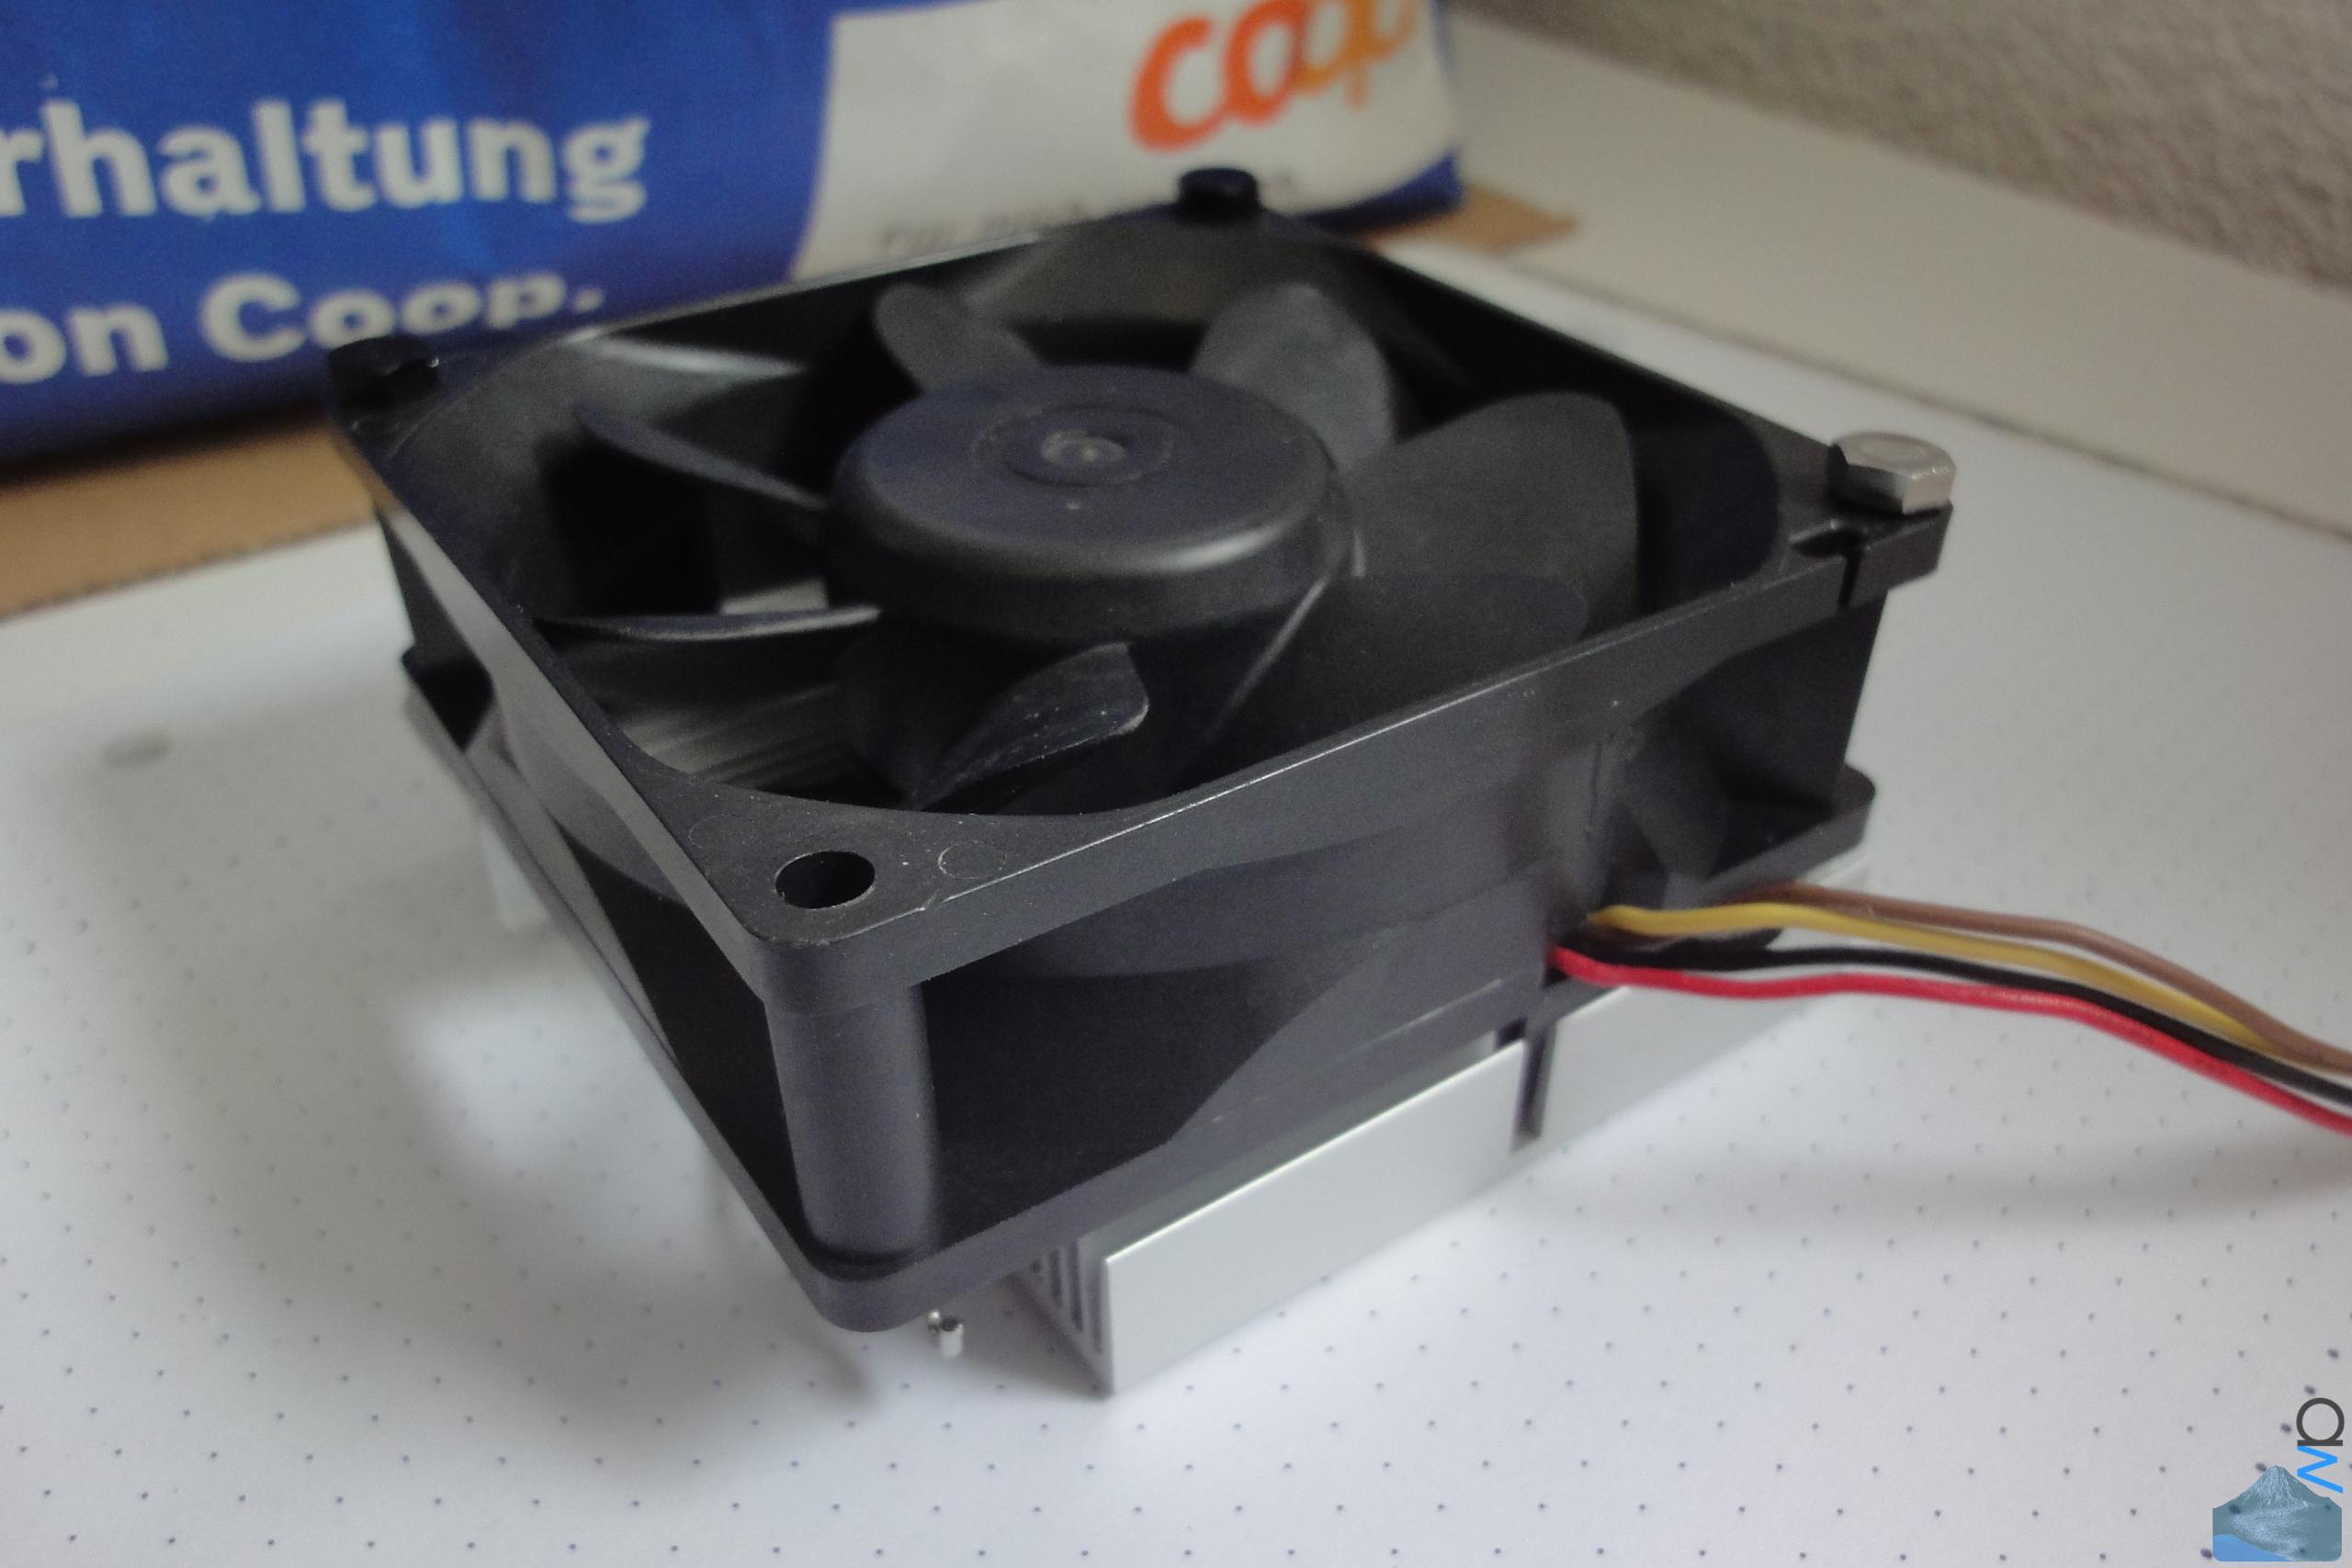
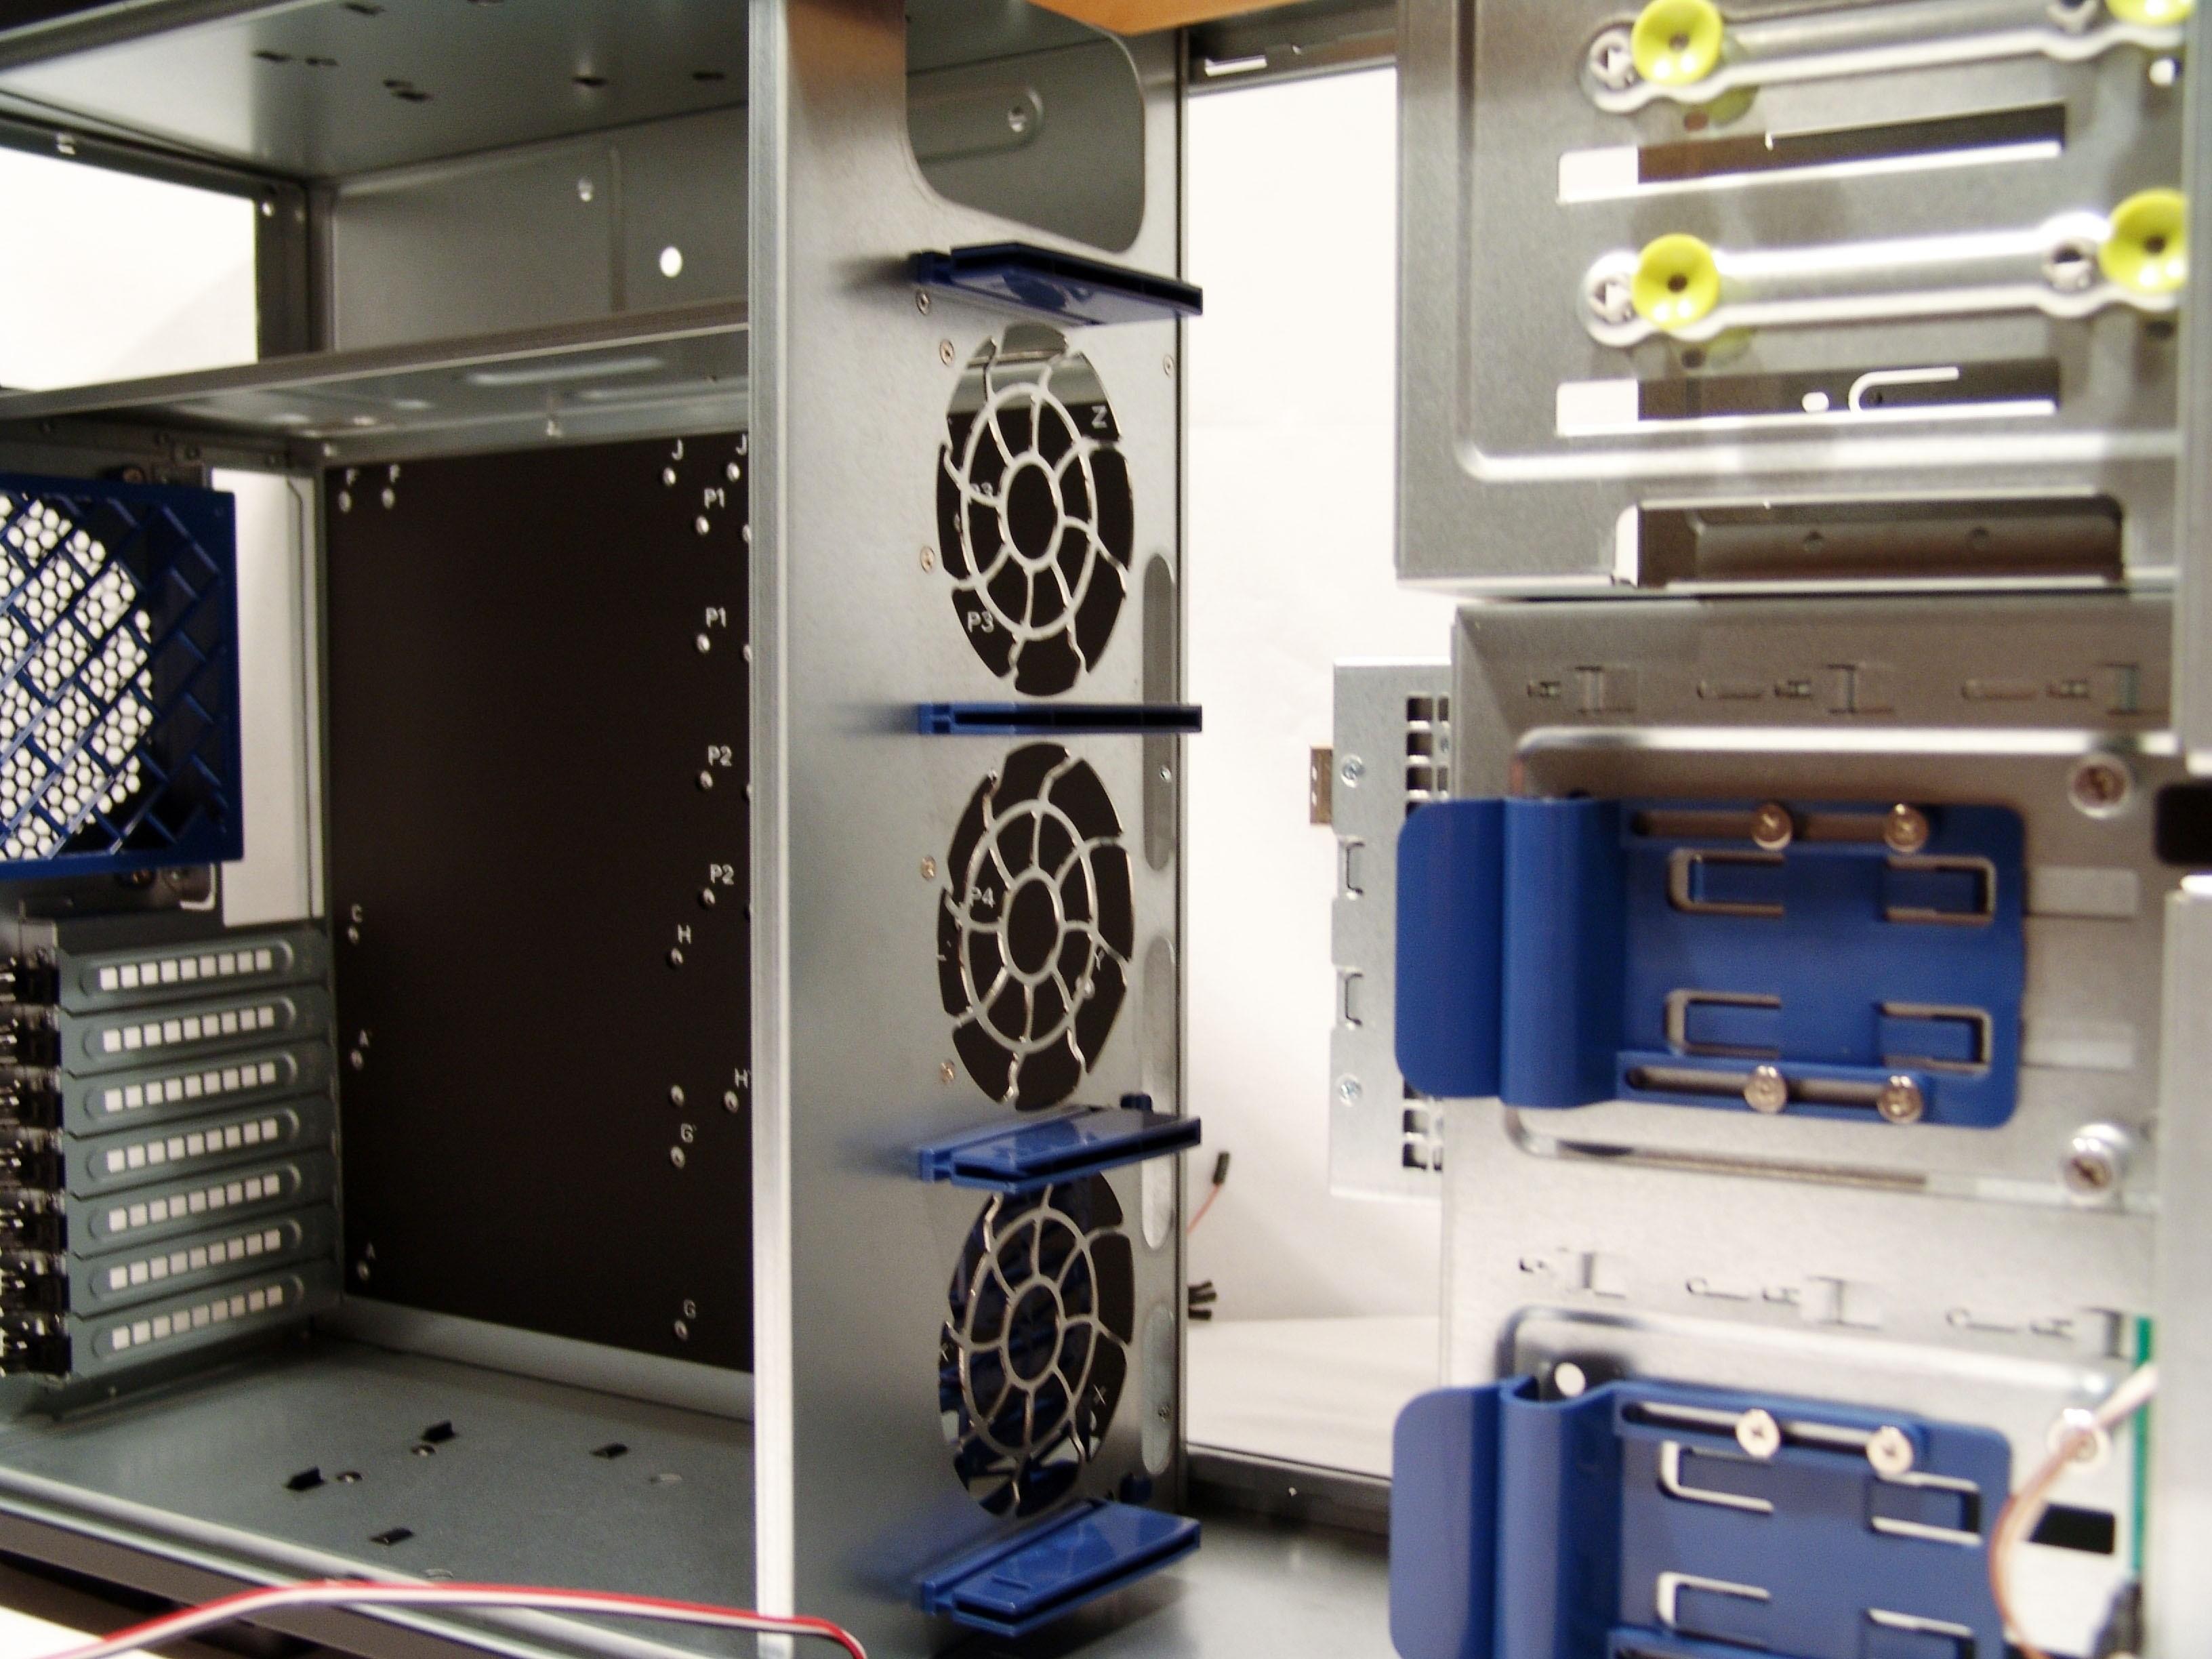
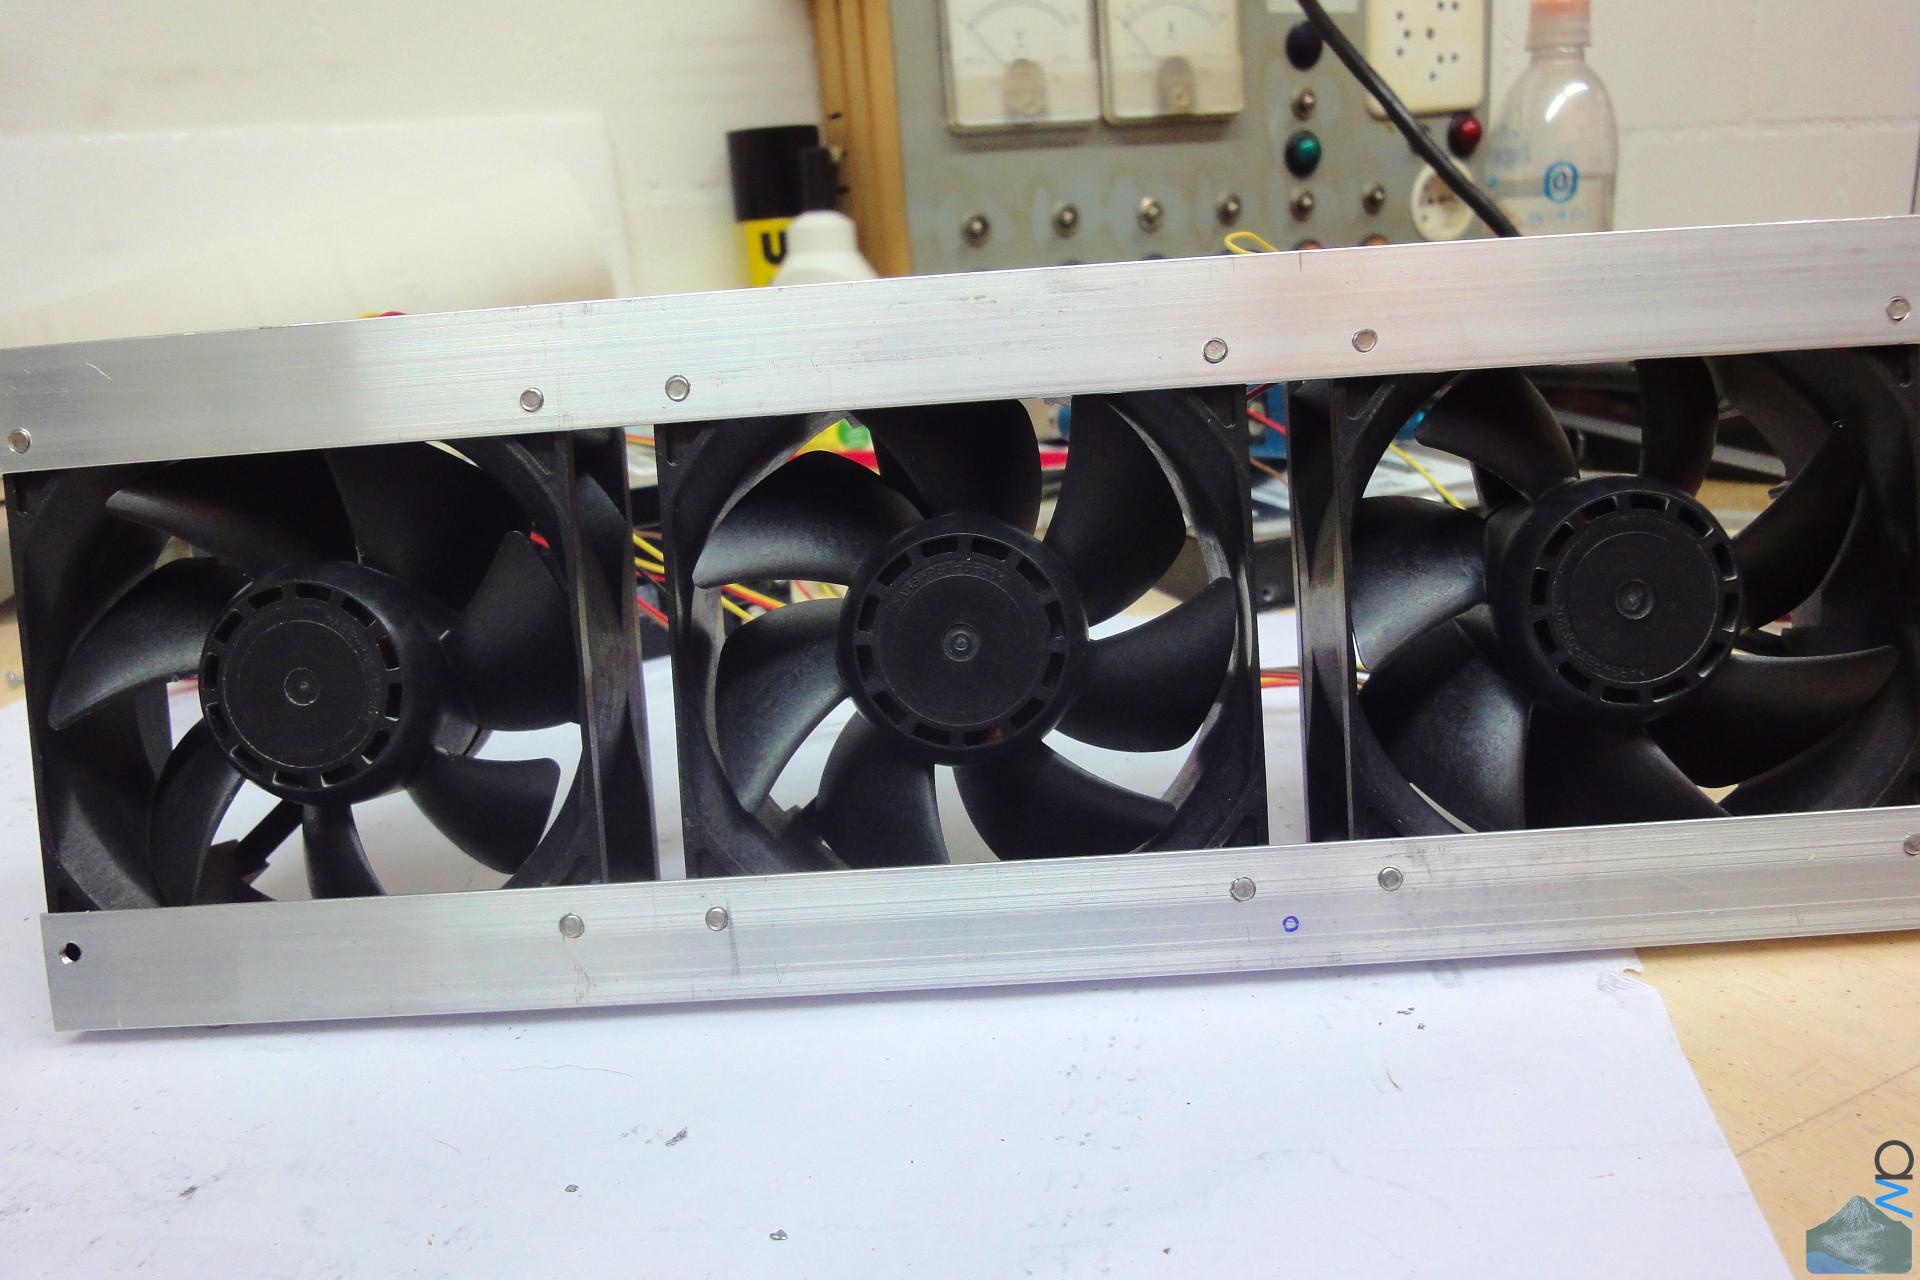
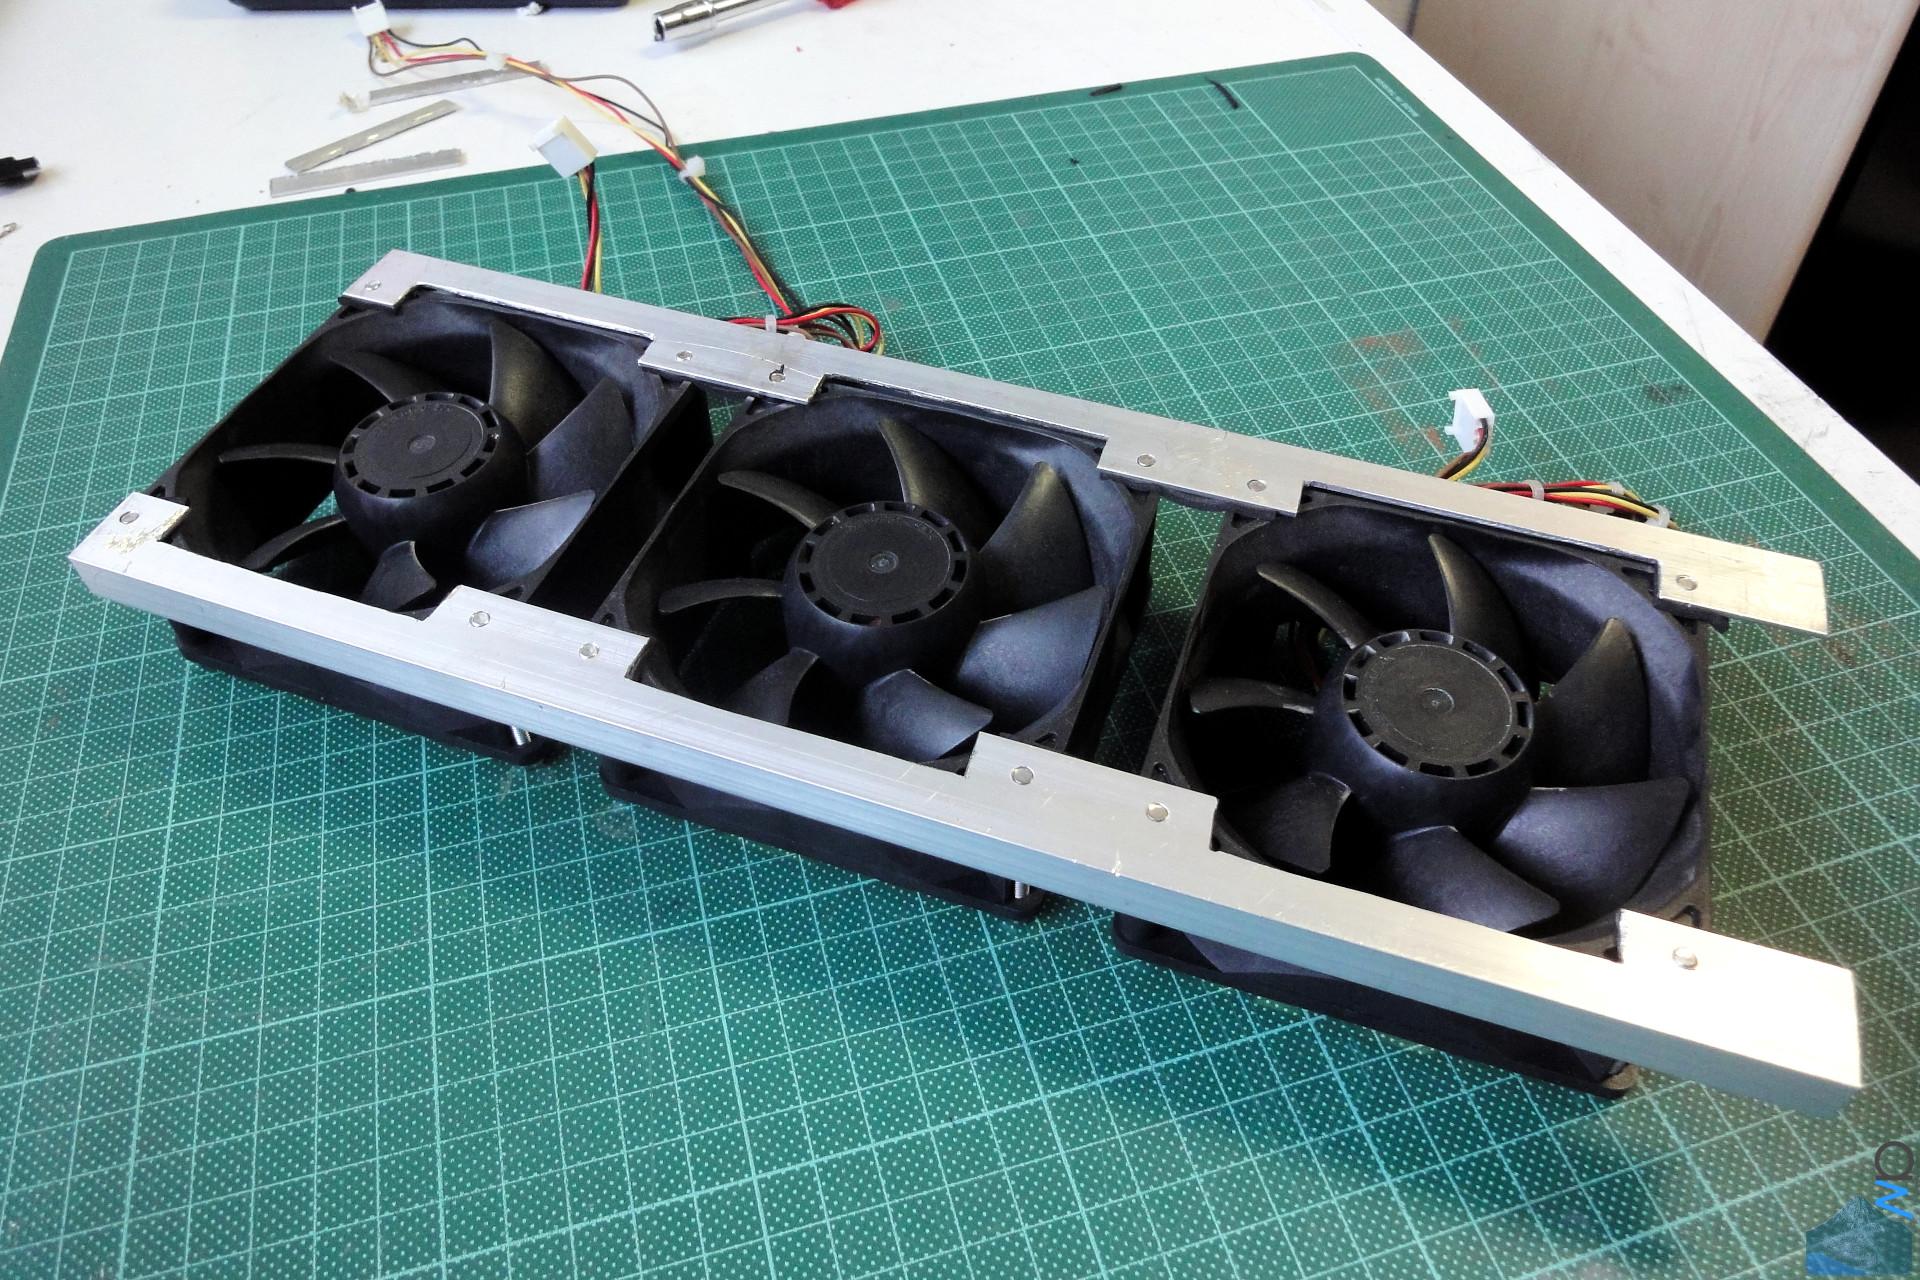
For this purpose, as you may have seen in some previous
pics, I have chosen 6 120 mm Papst fans, specifically the
4412 GLL model, and am running them at 7 V. The fans draw
air in through a vent area, and it then gets passed through
the M/B compartment and out the back.
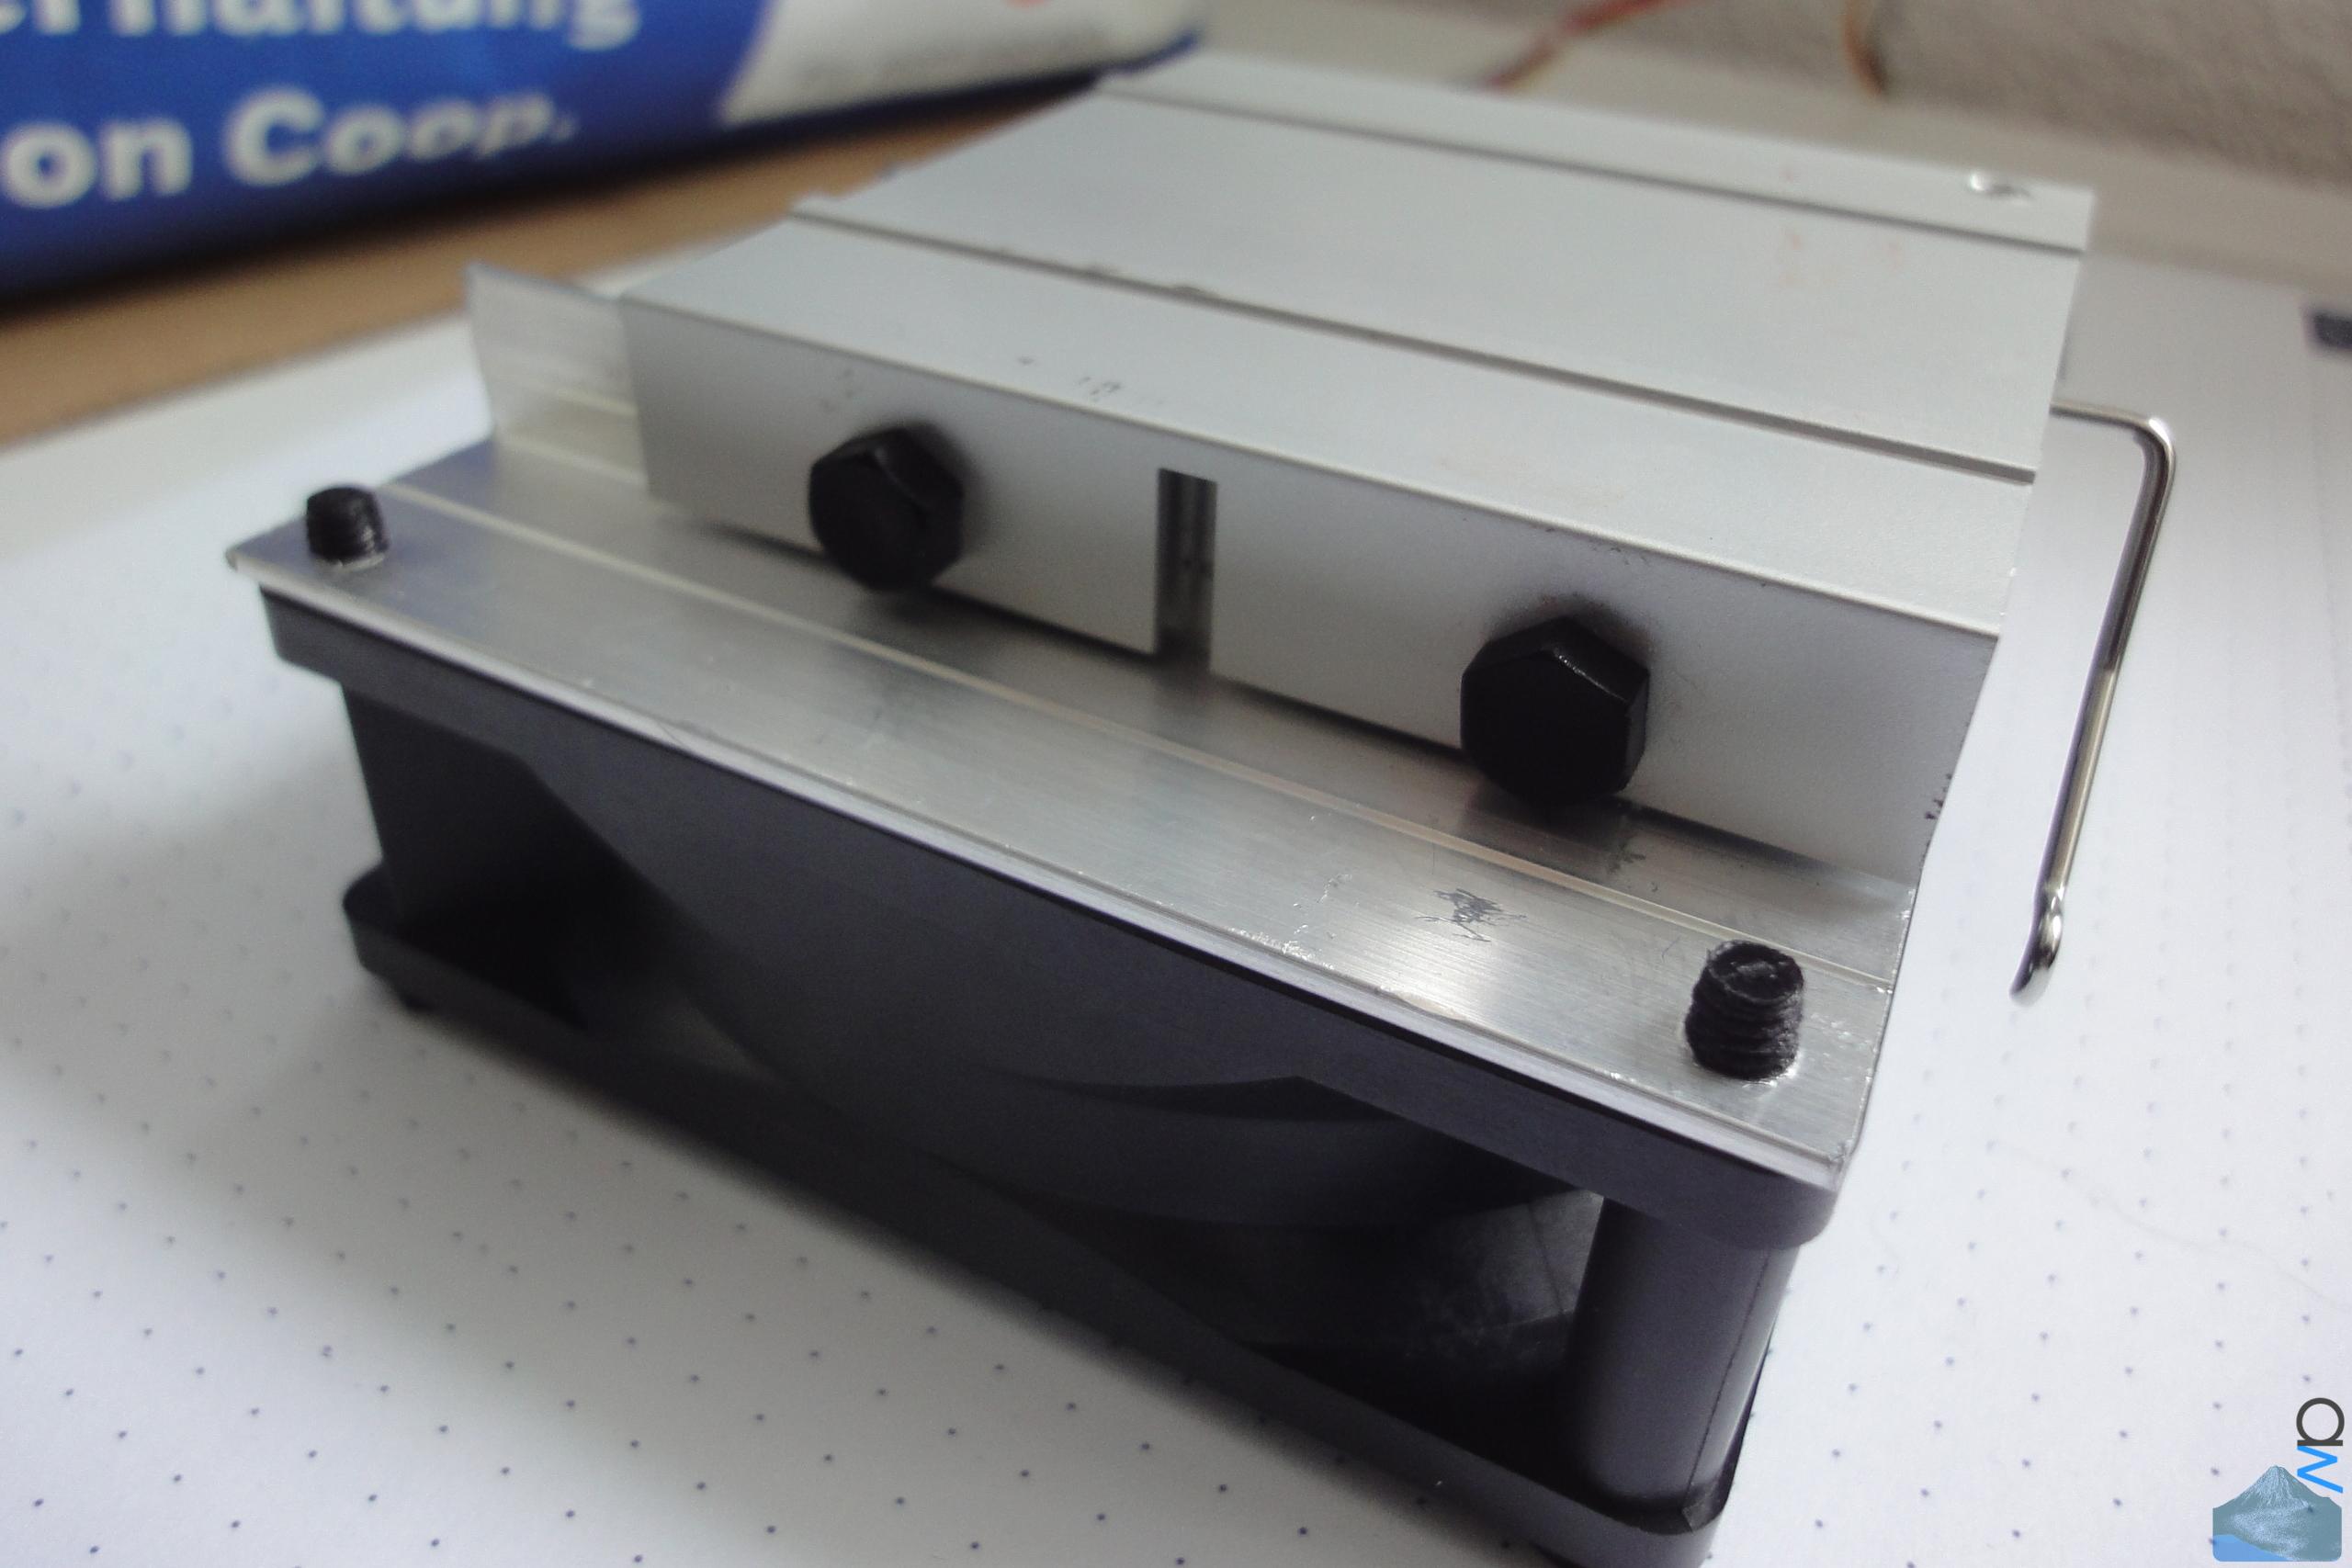
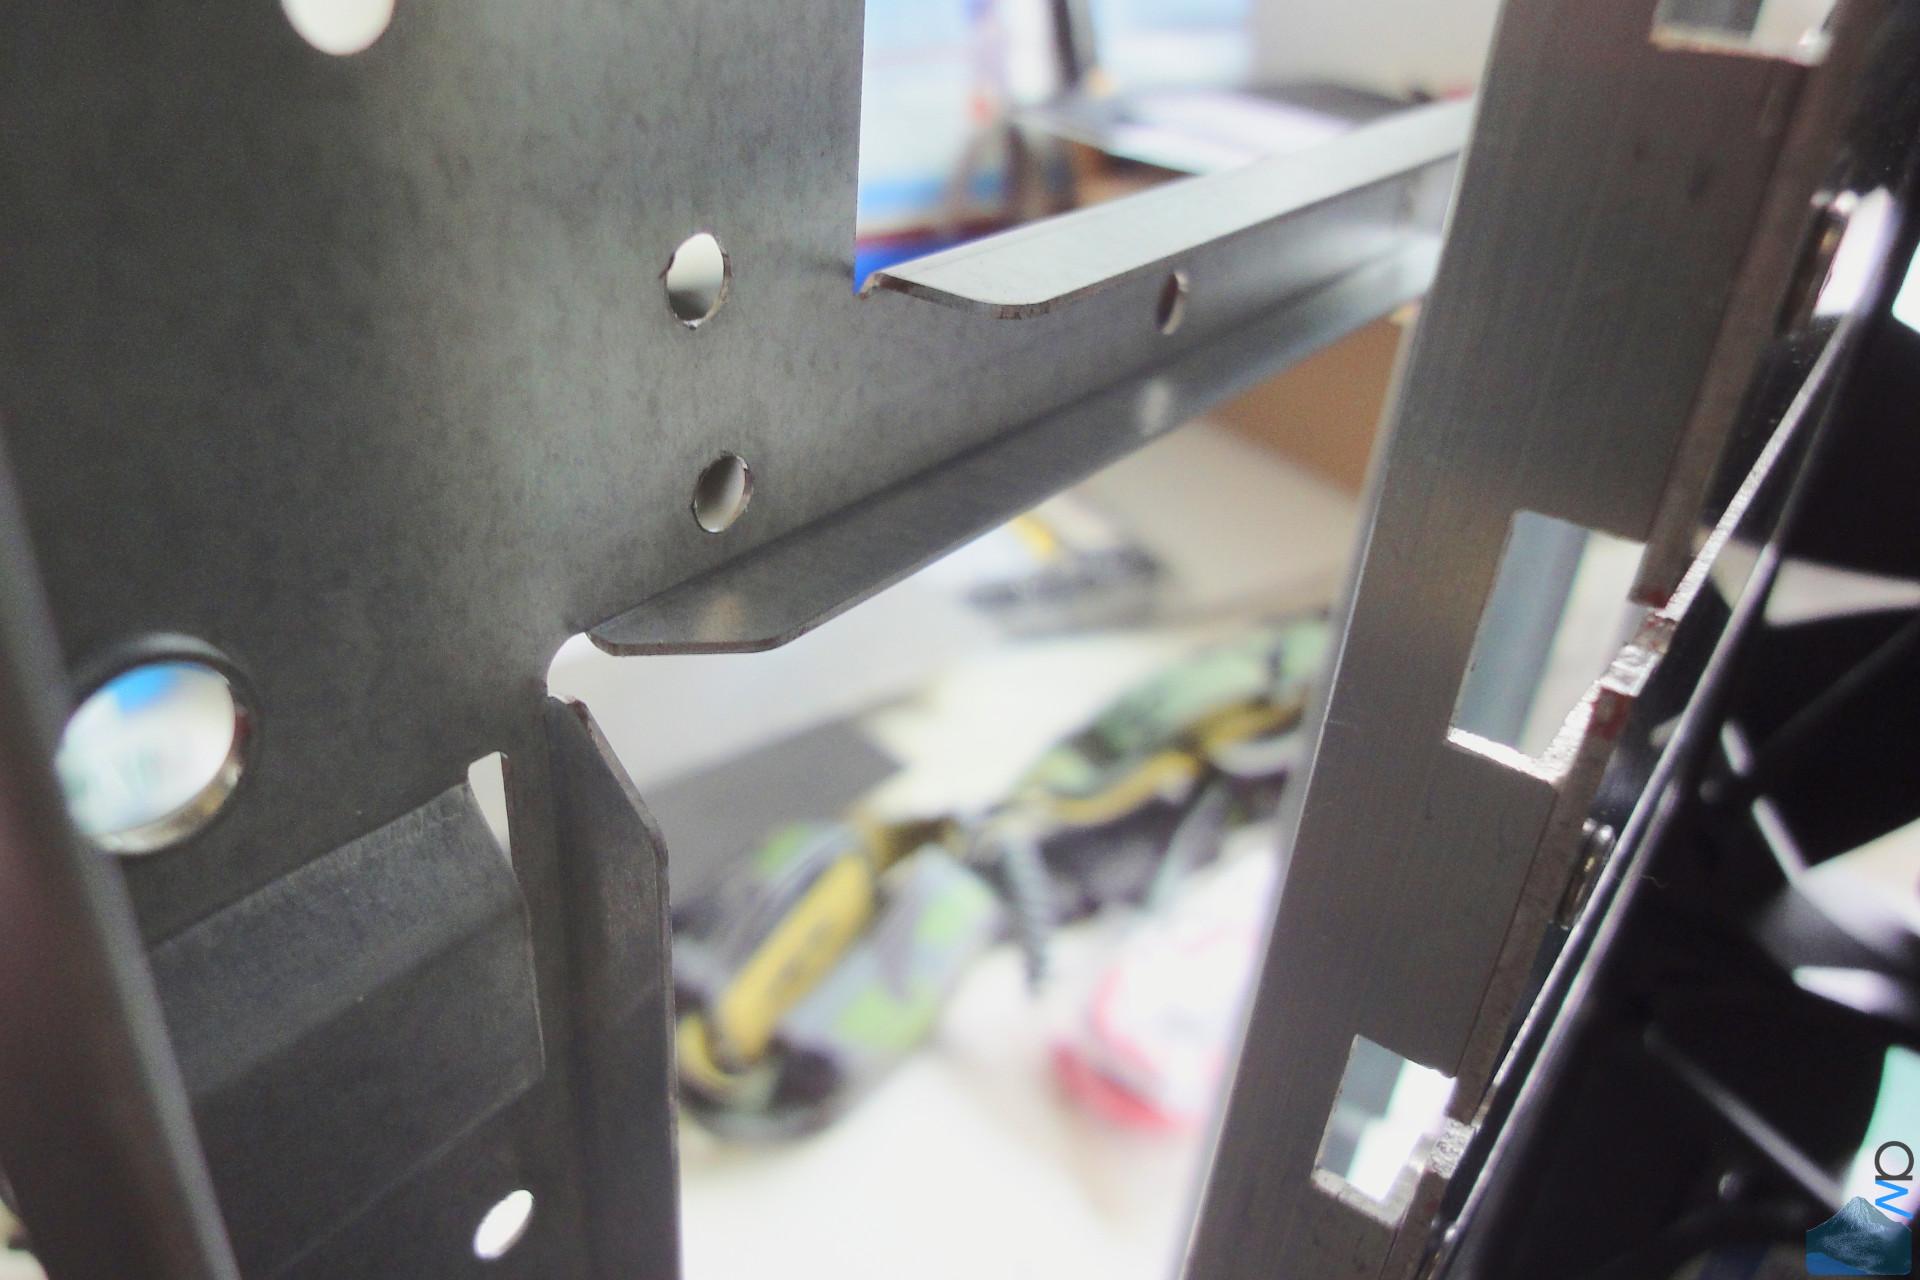
Each fan is fixed to a rail riveted to one of the disk rack
panels with two screws.
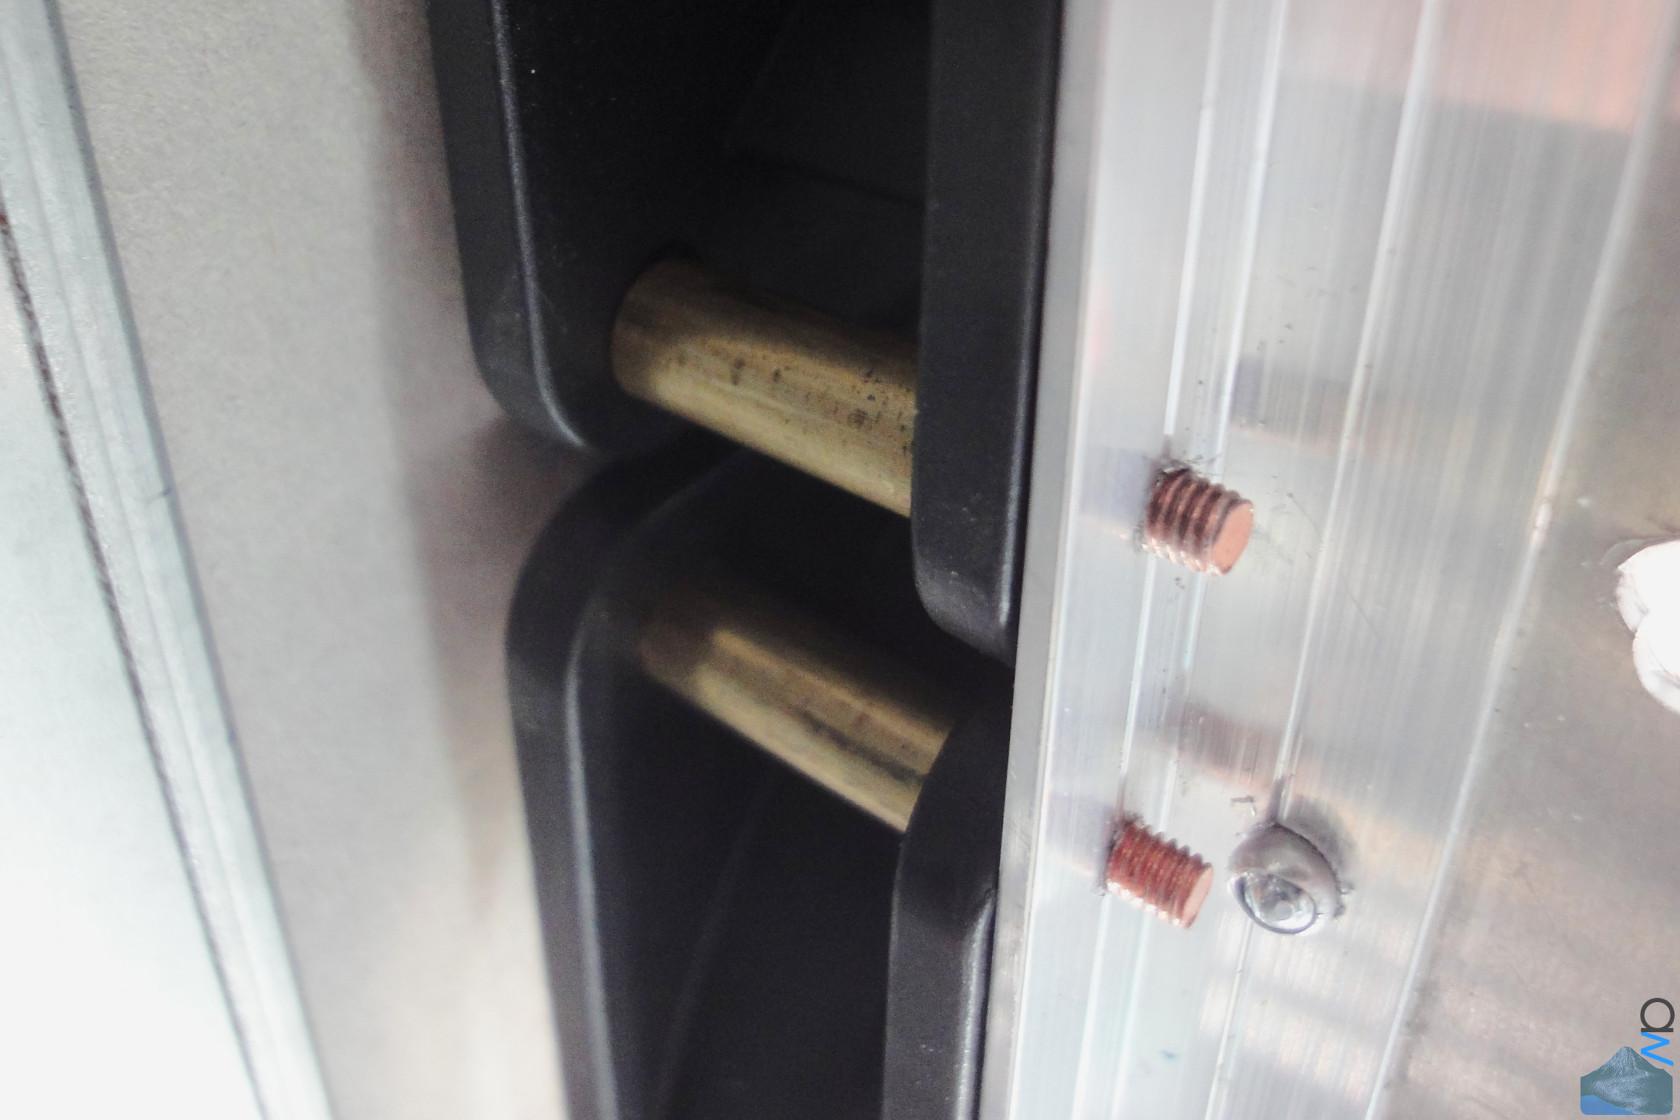
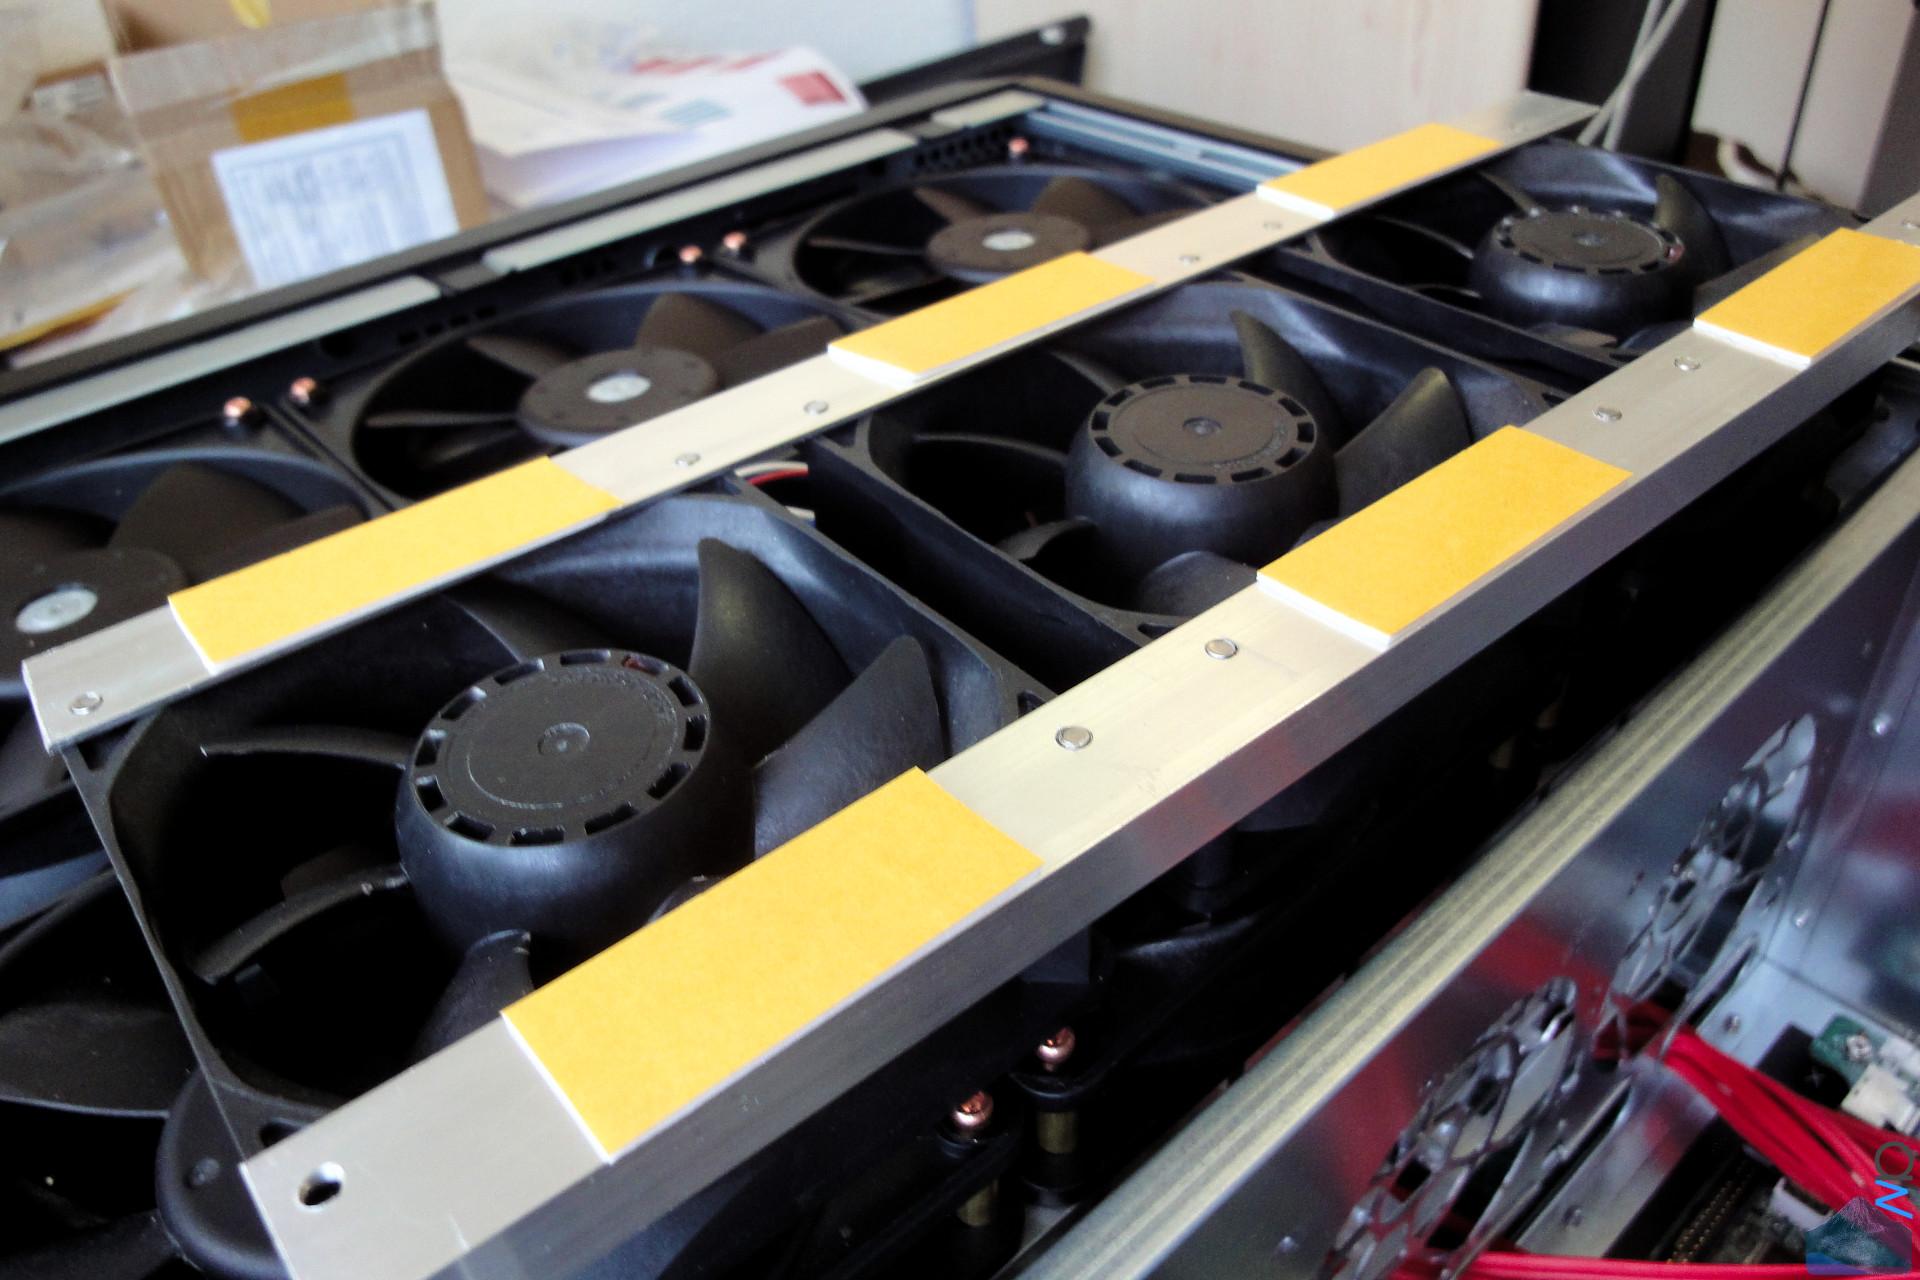
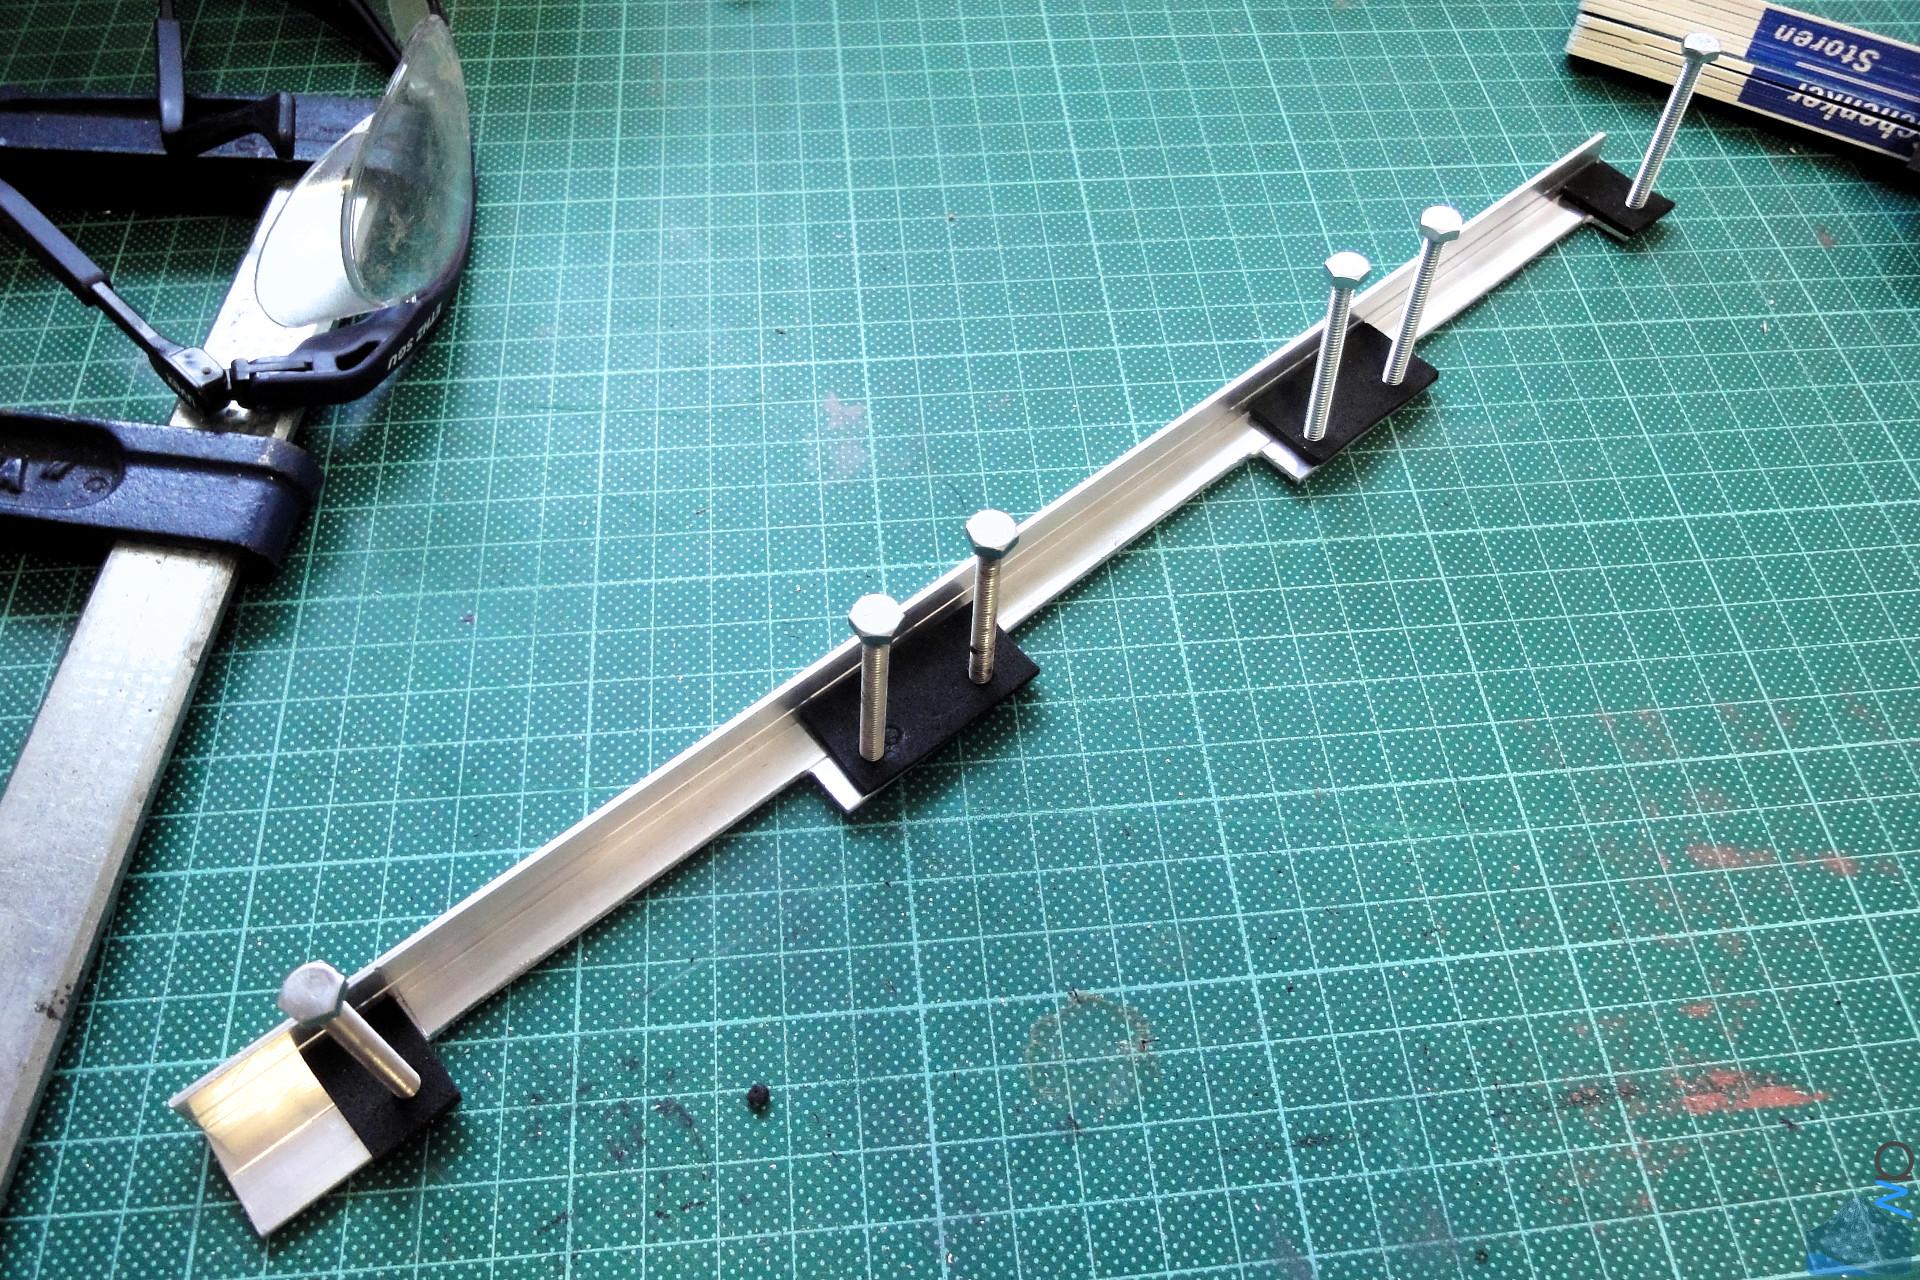
You've seen this before, but for completeness' sake I'm
adding the pics of the bushings used to prevent the fan
frames from being crushed to this update as well:
(click image for full res)

I exchanged the copper screws for some silver ones, and in
the process added some dampening foam between the mouning
rails and the fan frame.
(click image for full res)

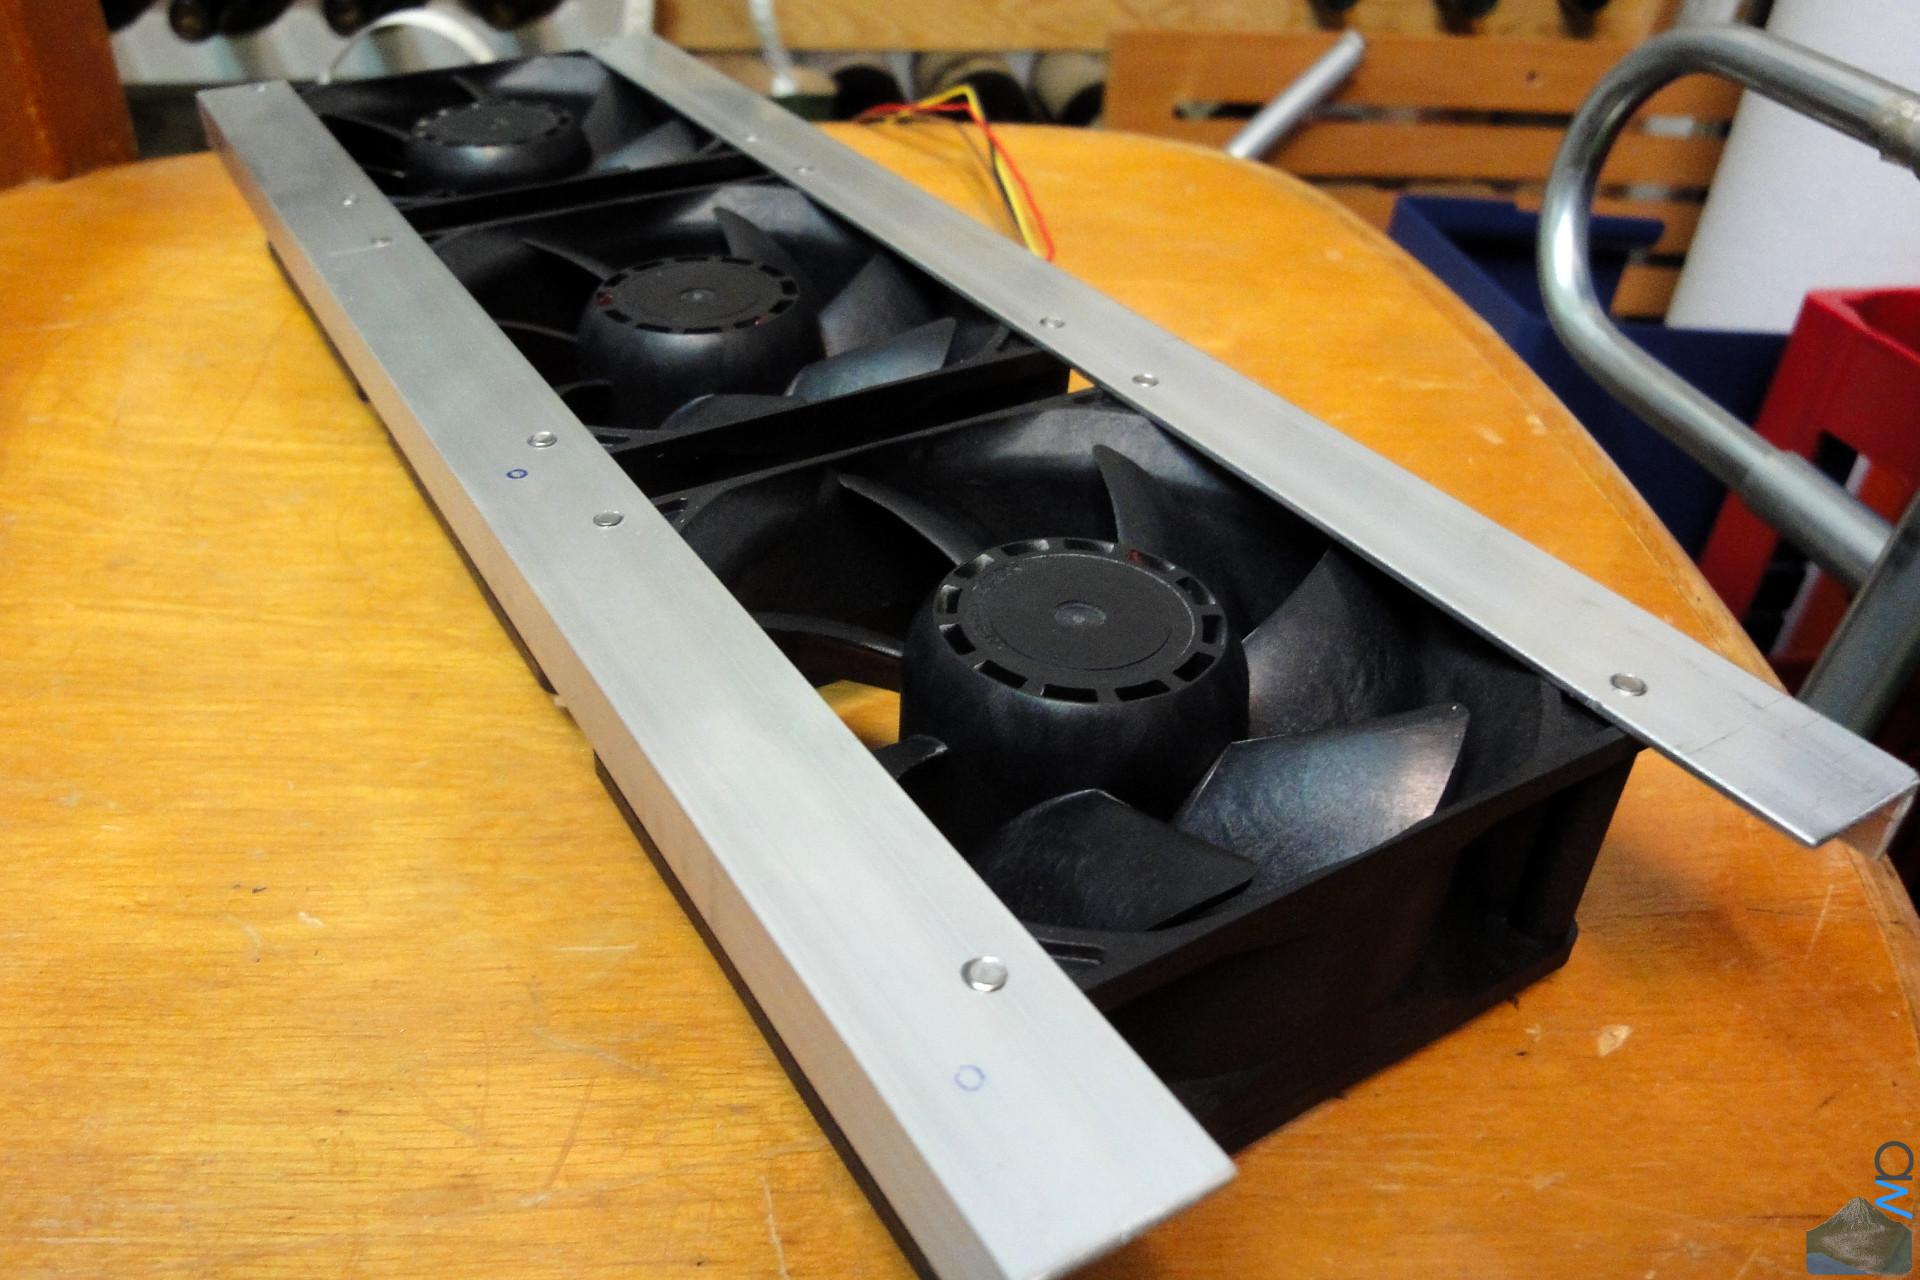
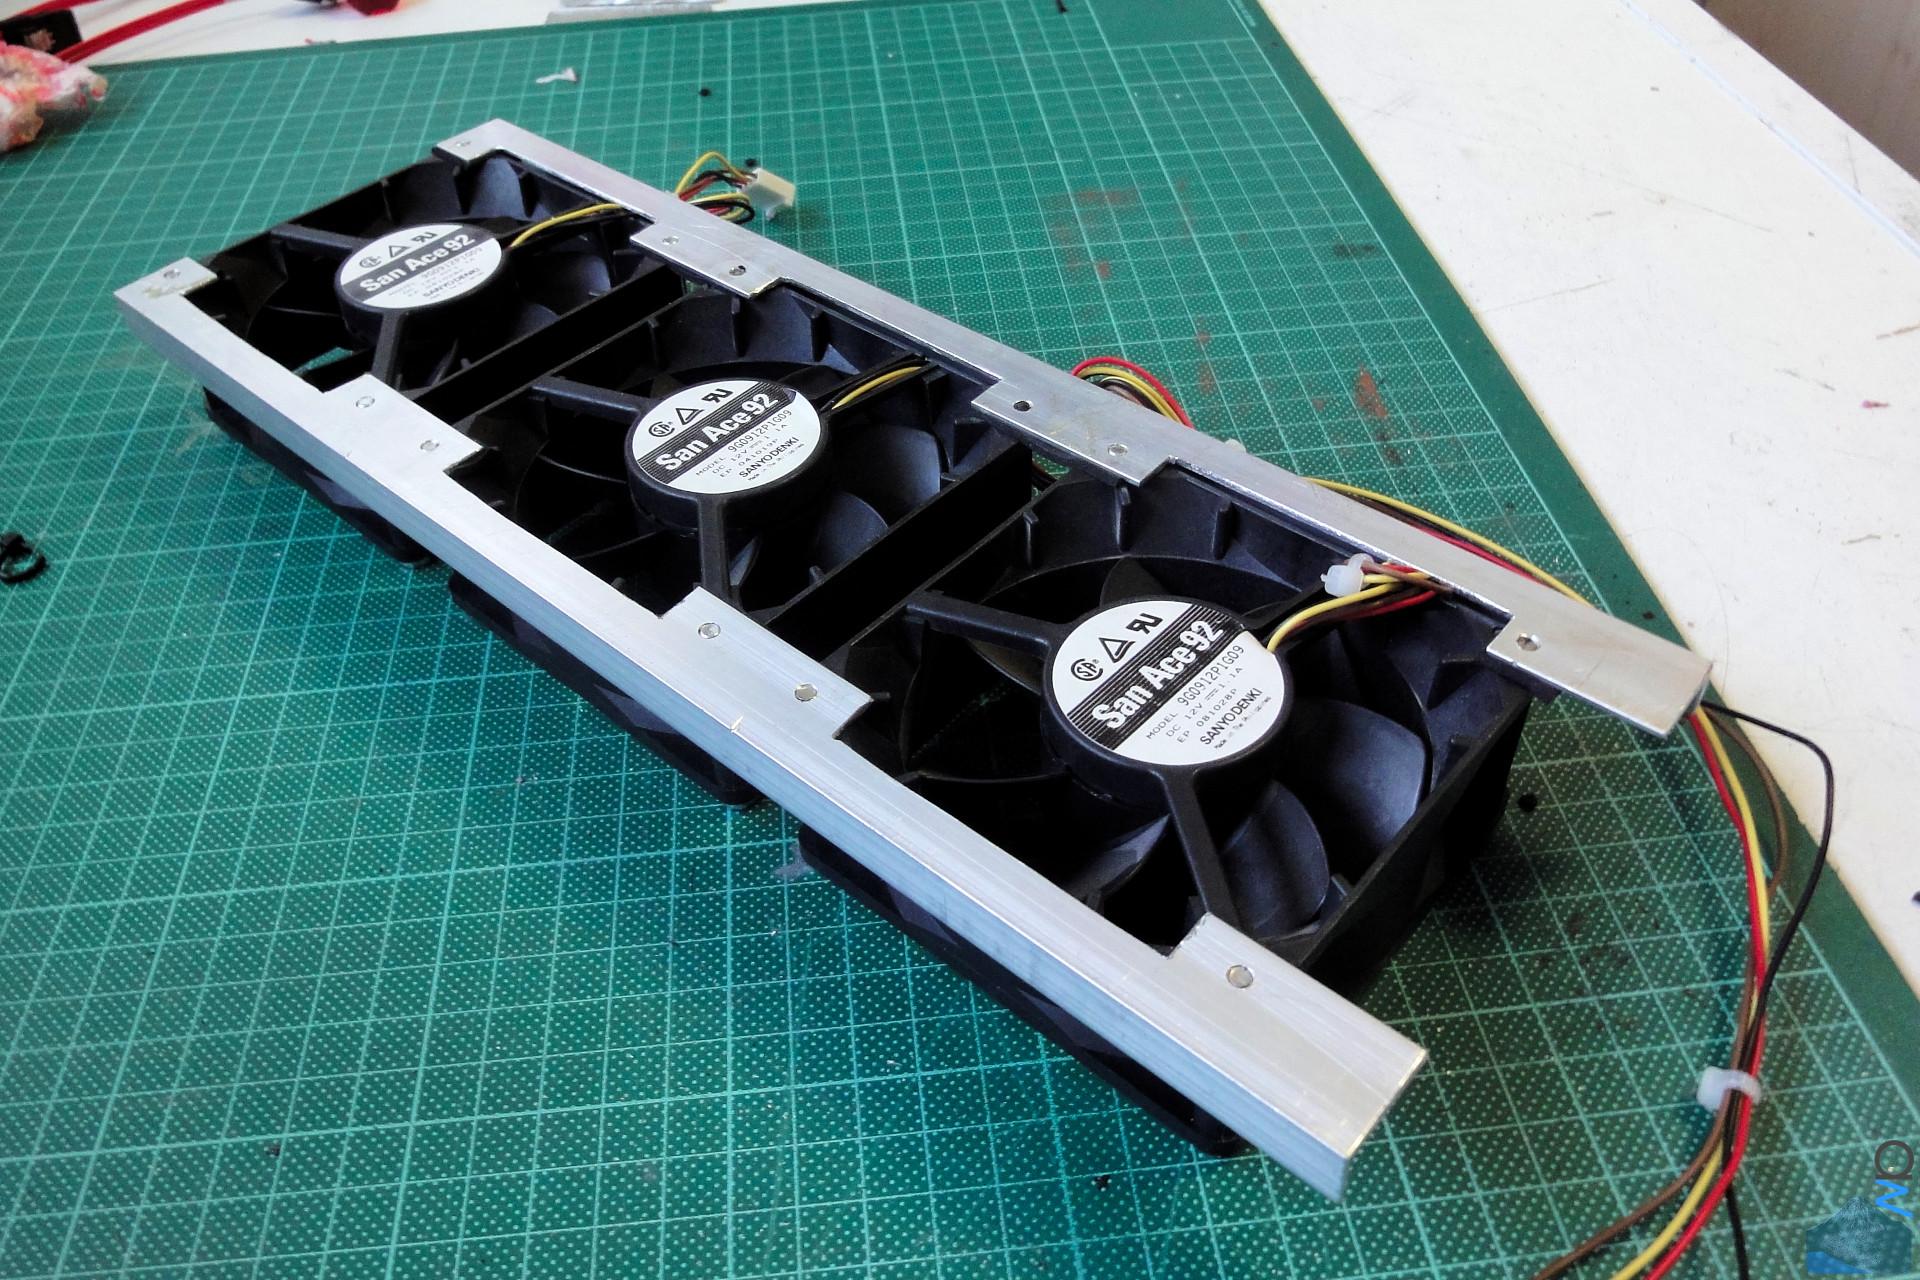
The whole fan panel assembly:
(click image for full res)

While doing some test runs, I noticed that a rather large
amount of air was being expelled through the front of the
case instead of going into the M/B compartment and out the
back (I wasn't really surprised by this seeing as how open
the front was). Obviously, this was not optimal. So I took a
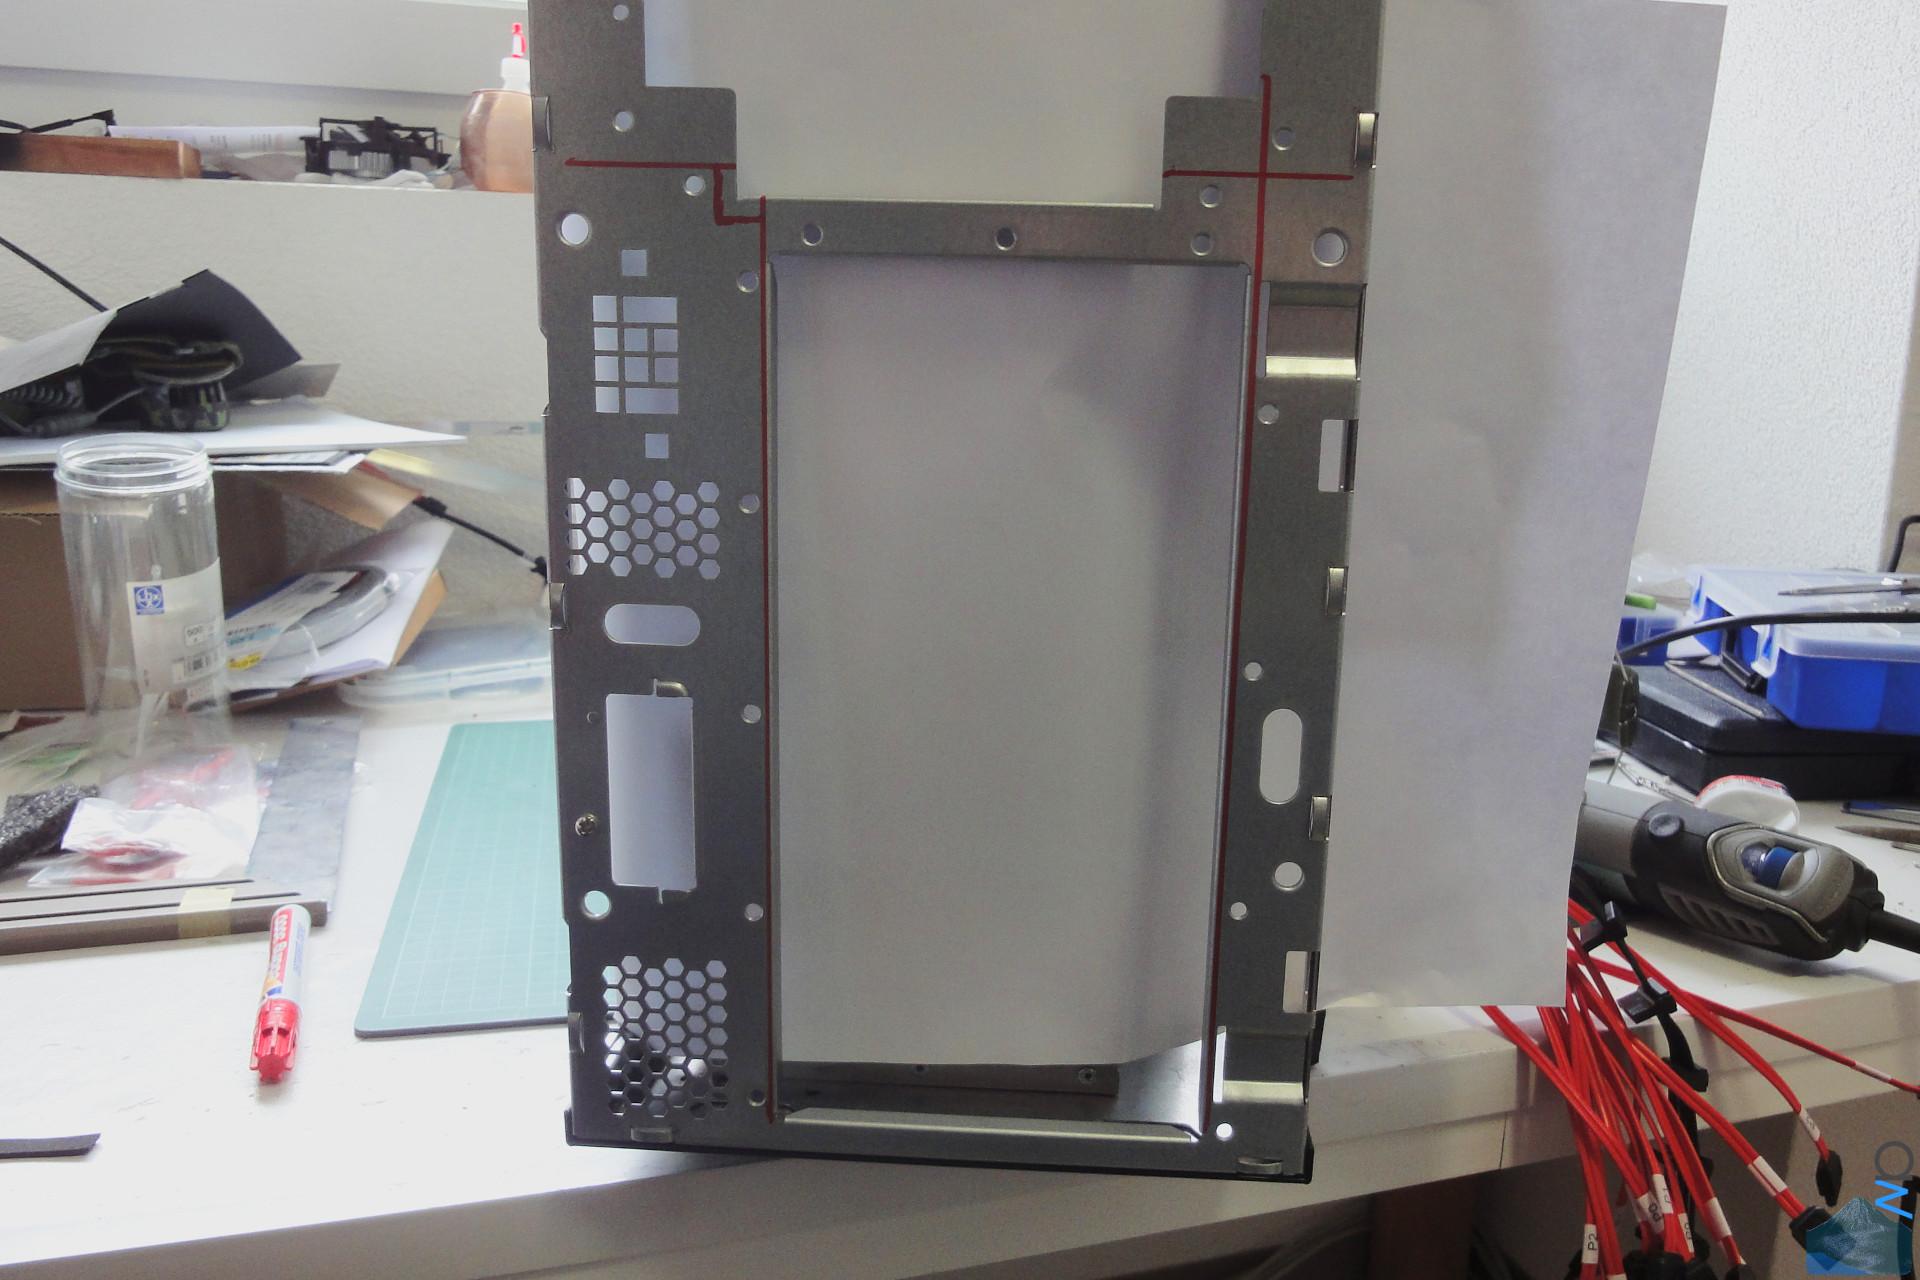
1.5 mm panel of alu and bolted it to the front.
Because the existing front has a few folds in it, I needed
to do some cutting on the case first.
(click image for full res)
 (click image for full res)
 (click image for full res)
 (click image for full res)

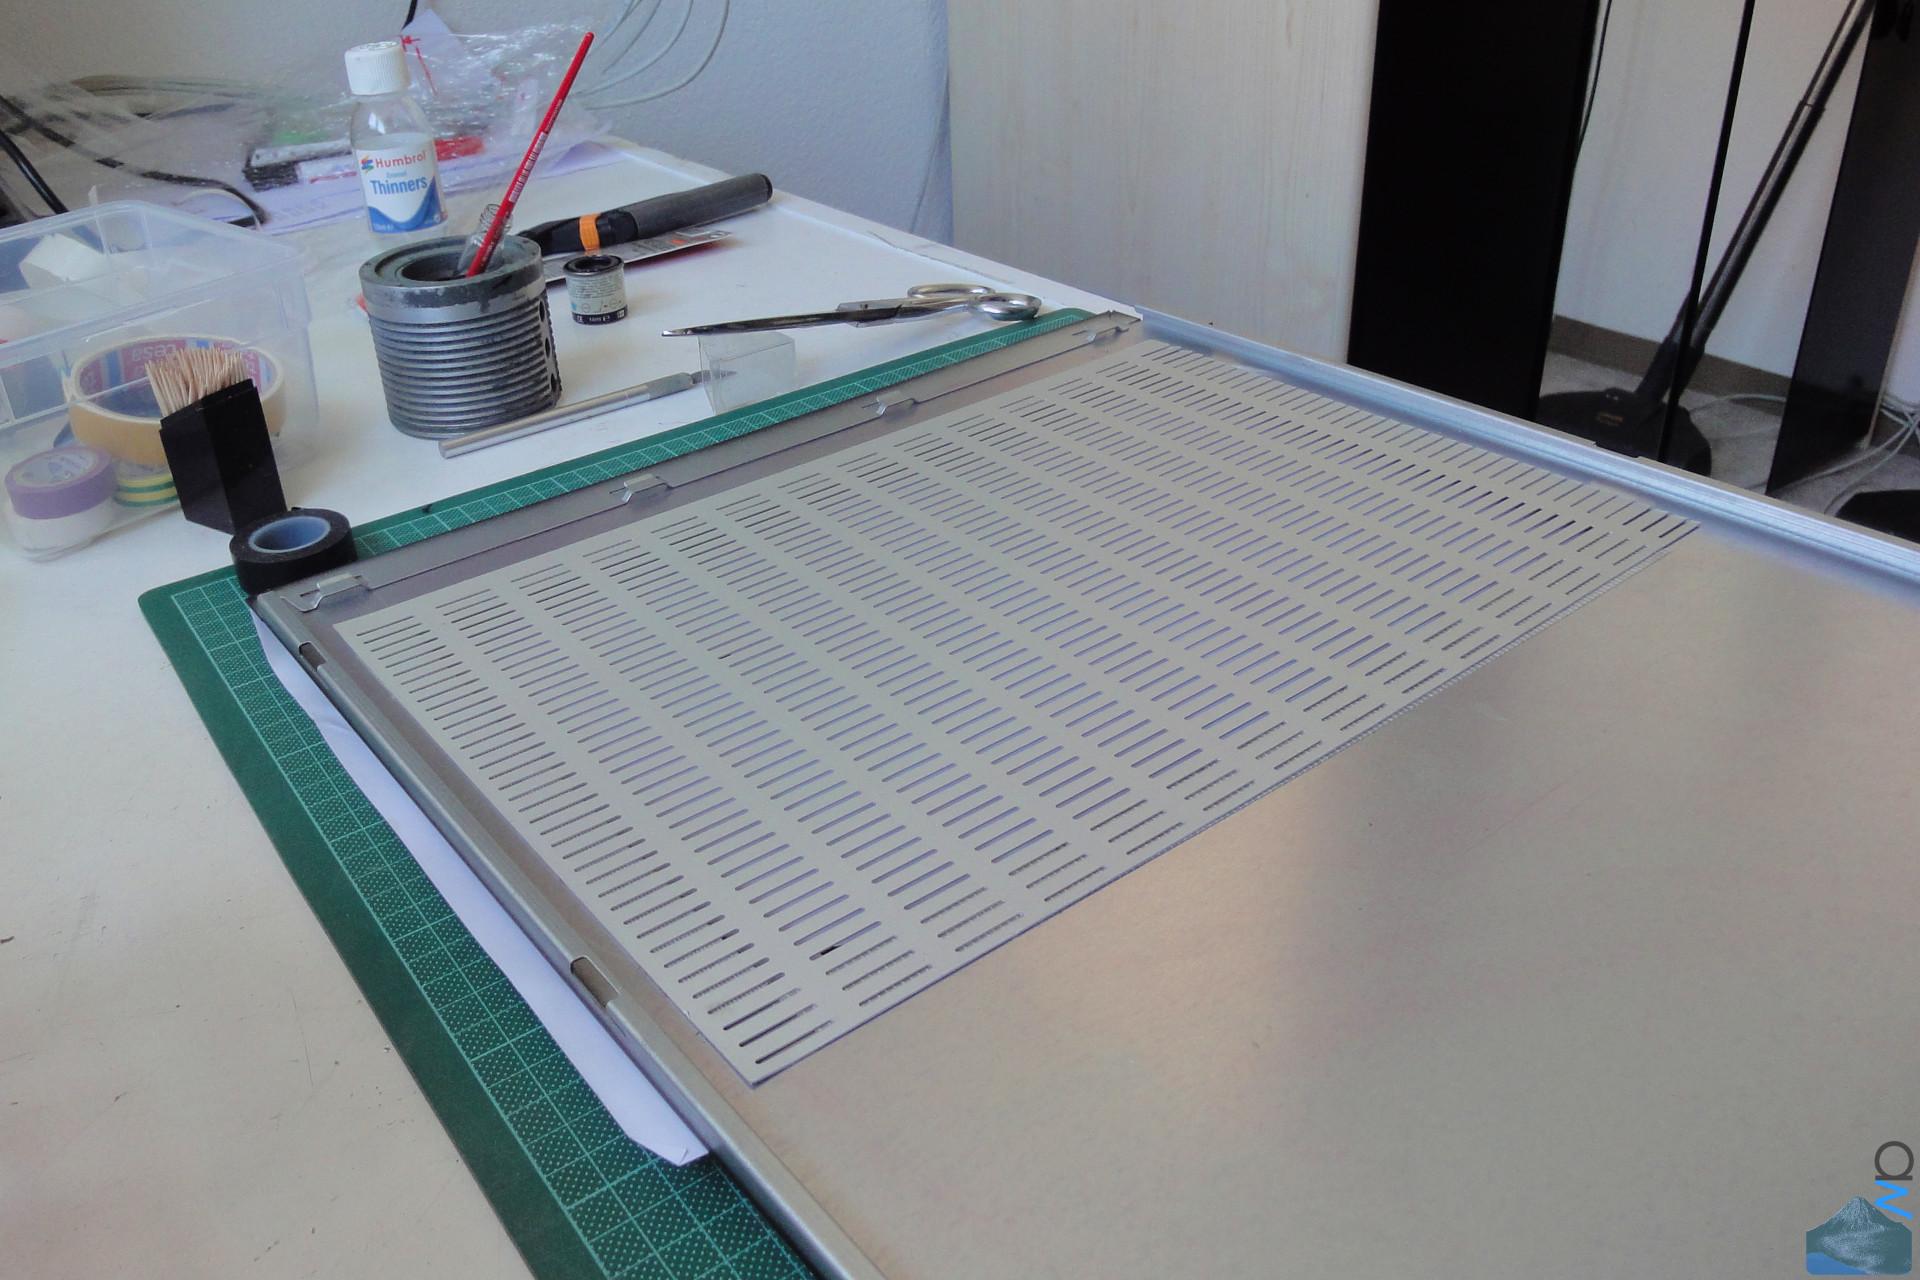
After having done that, I turned my attention to the side
panel, making an opening for the ventilation. I thought of
several ways of doing this, but all of them were a bit more
complicated than I'd have liked them to be. Cutting such a
big hole with a dremel isn't really practical, so I
considered doing it with our jigsaw, but after doing a few
test cuts I didn't really like the result as I couldn't get
a straight enough cut. And the cut needed to be clean,
because there's no space to fit a U channel over the edge,
and I don't really like the idea of covering it up on the
outside.
Anyway, the guy just used a nice big angle grinder for the
cut, and since he's a metal worker by trade, it turned out
almost perfectly straight (not 100%, but it's still cut by
hand, after all
")
). After that, I painted the bare edge
with some model paint to not have the blank metal staring at
me.
I thought about painting the mesh, but at the moment I don't
really have the time, plus I kind of like the look of this
bare piece of alu, so I've left it as-is.
(click image for full res)

The mesh doesn't cover the whole fan area (nor is it very
open with those rather narrow slots), but there is no need
for high-power ventilation here, so this is not a big deal.
(click image for full res)

It's fixed to the inside of the panel with some double-sided
adhesive tape.
(click image for full res)

And in its final config:
(click image for full res)

Drive temperatures hover between 28 deg C and 35 deg C at
the moment, ambient is about 23 deg C.
")
Until next time,
-aw