The Disk Racks
The Disk Racks
A.k.a. the main part of this undertaking.
")
As mentioned elsewhere, one of the two main problem of our current server is
that it only has seven HDD slots, and they're already all filled up. The only
way to get more storage is to install larger disks, which isn't really all that
optimal.
One of the main points of this build was to have more disk slots. The PP689 only
offers four in its stock form, which you can upgrade to a maximum of thirteen
drives. You would need to buy another four-disk enclosure (which btw. I could
not find anywhere to buy), and a five-disk enclosure for the 5.25" bays. Since
13 drives aren't really that many, and since these enclosures aren't exactly
cheap, I decided to go another route.
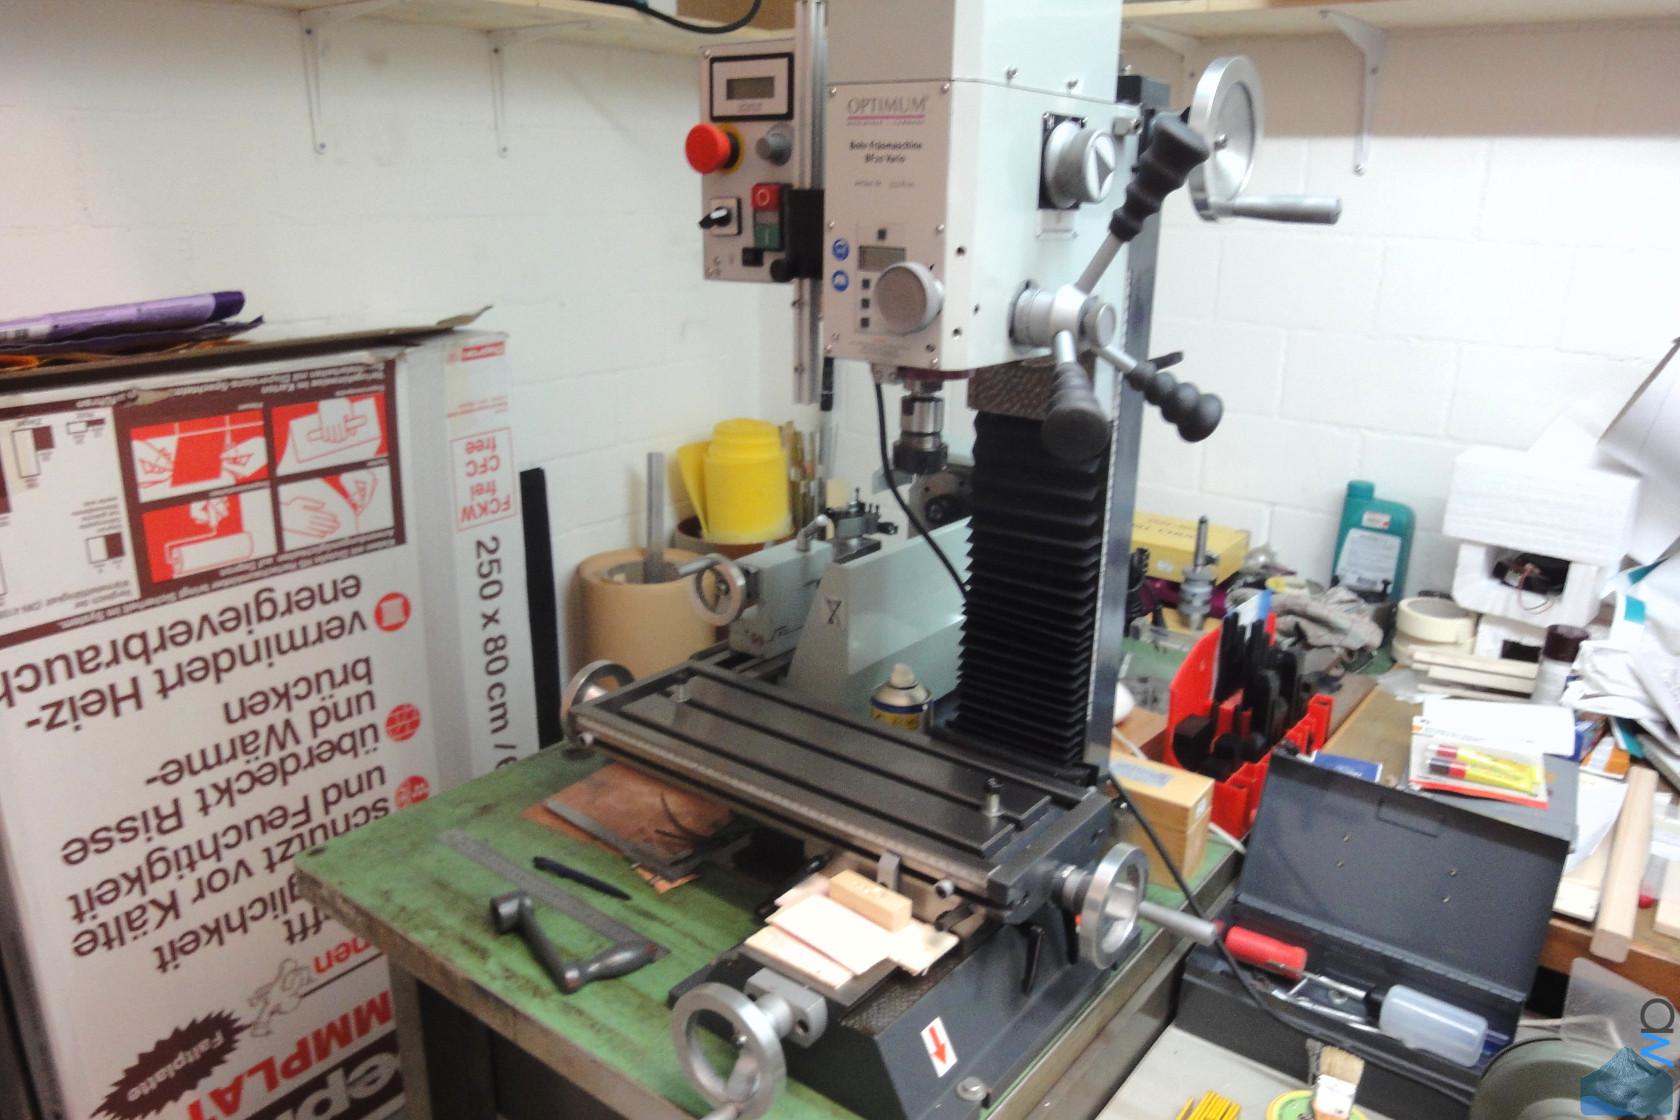
It took me a while to figure out how to do it, but in the end this is what I
came up with. I had very generous help from one of my neighbours, who has a mill
and a lathe at his disposal, as well as plenty of time (he's a pensioneer

).
So off we went:
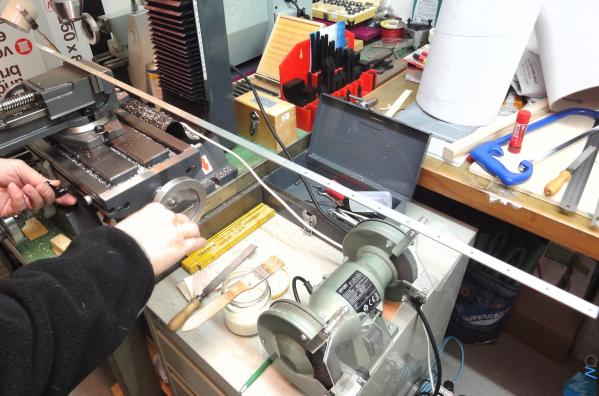
The Mill
(click image for full res)
 First Steps
(click image for full res)
First Steps
(click image for full res)
 (click image for full res)

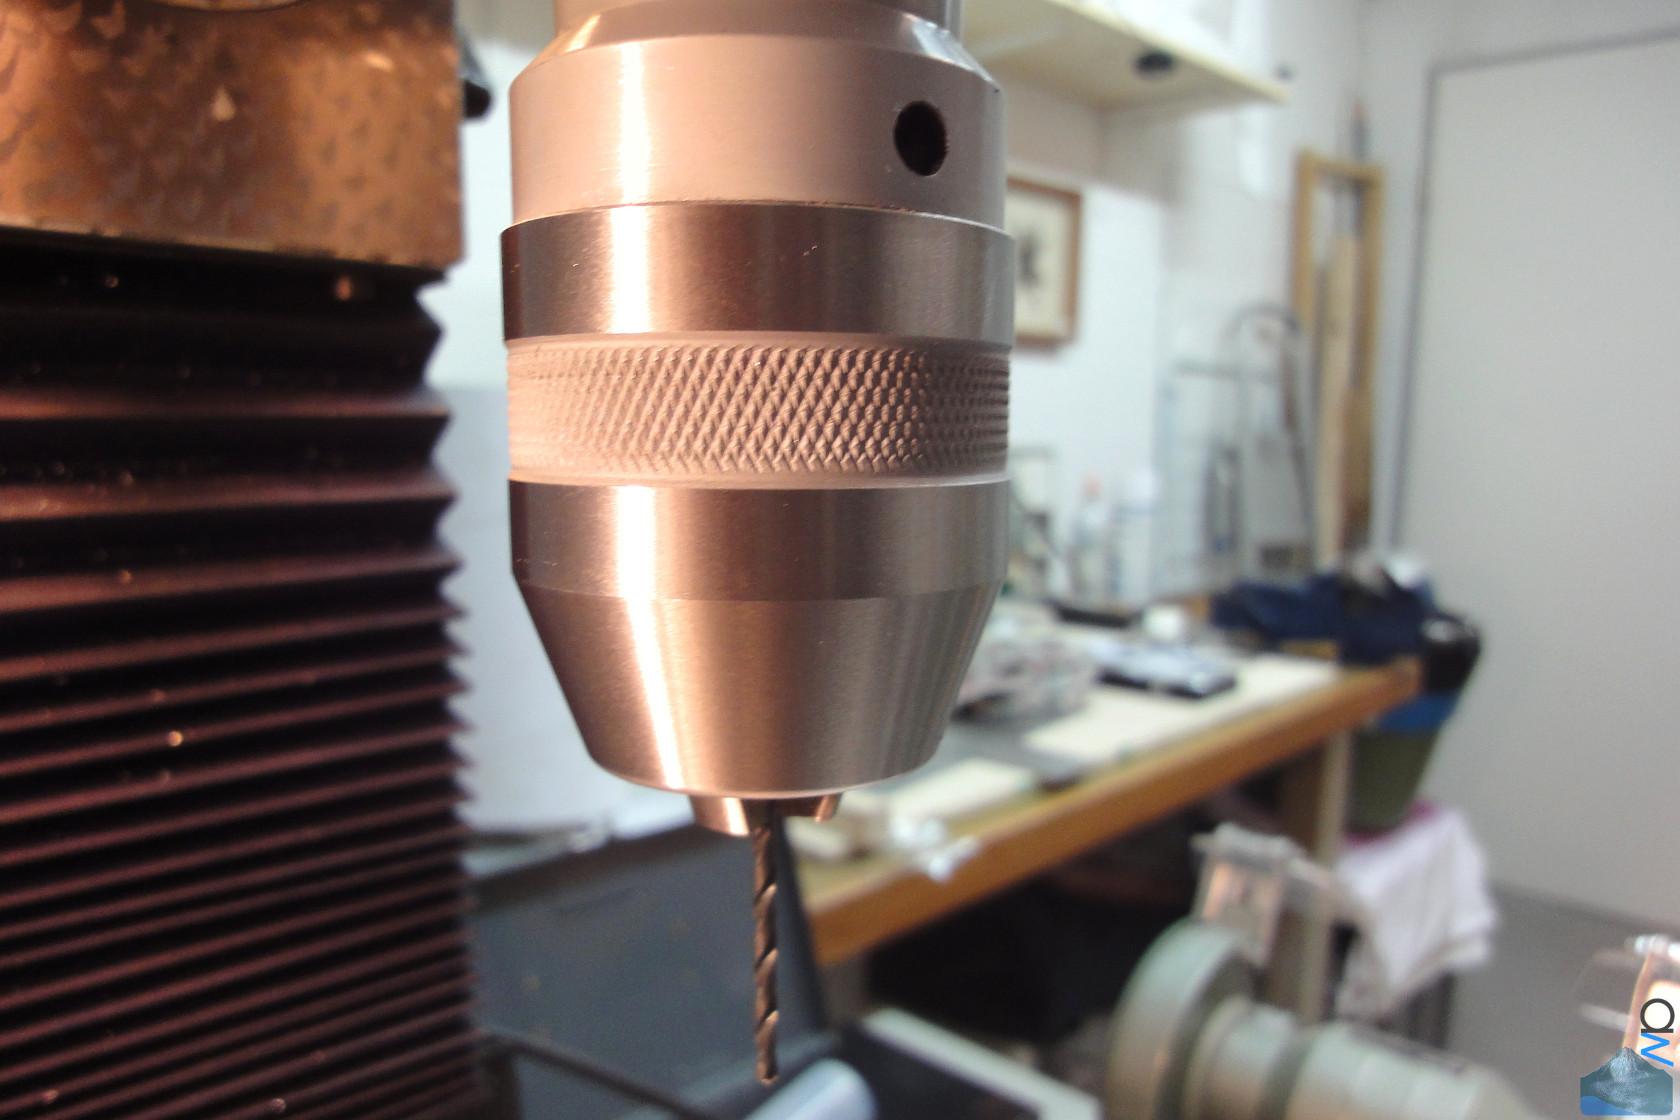
The Mill can also serve as a drill press. The drill chuck he looks ridiculously
huge when you put a small drill bit into it (he said they didn't have the
smaller model in stock when he needed to buy his, so he went with the large
one).
(click image for full res)

Stumbled upon this when going through my pics. My dog's girlfriend, basically
(she's a labrador and belongs to another one of our neighbours). I was
dogsitting here for an evening a few weeks back. She can be a bit hyperactive at
times, but is a very lovely dog.
(click image for full res)
 Drilling and Milling
Lots of holes needed to be drilled for the pop rivets that were going to hold it
all together.
(click image for full res)
 (click image for full res)
Milling out the slots for the screwheads:
(click image for full res)
 Phase I Complete
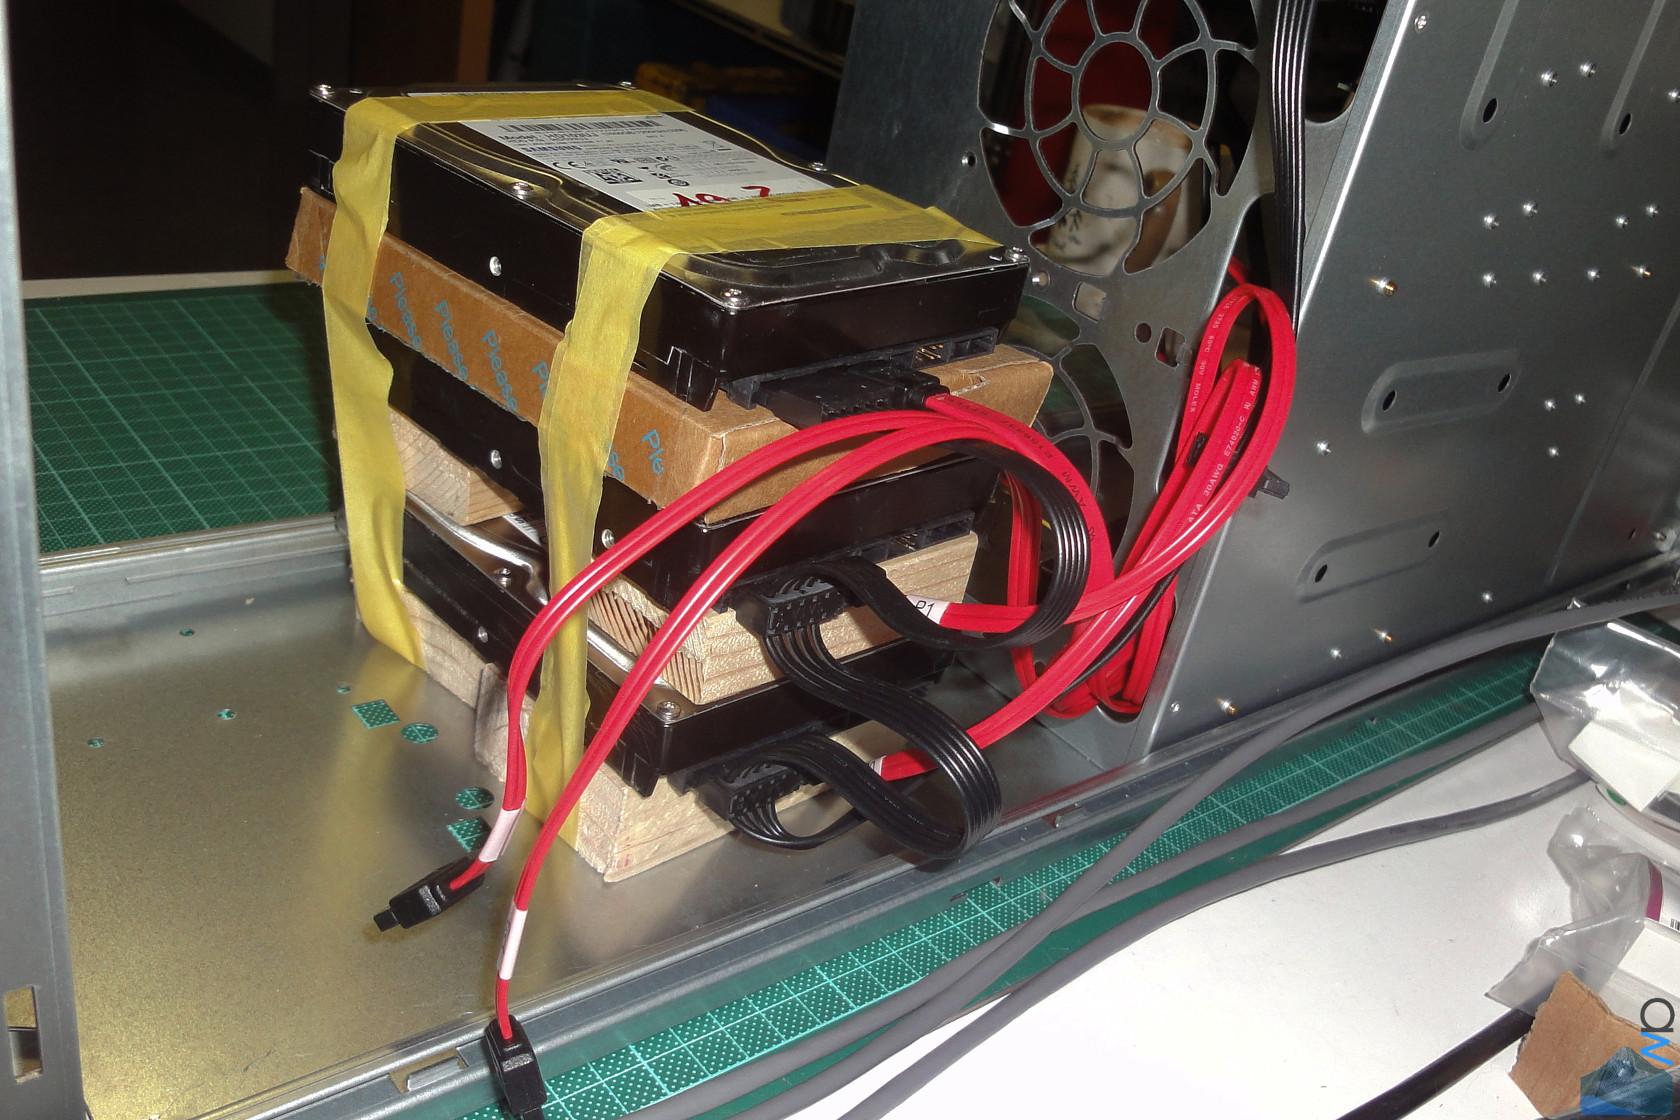
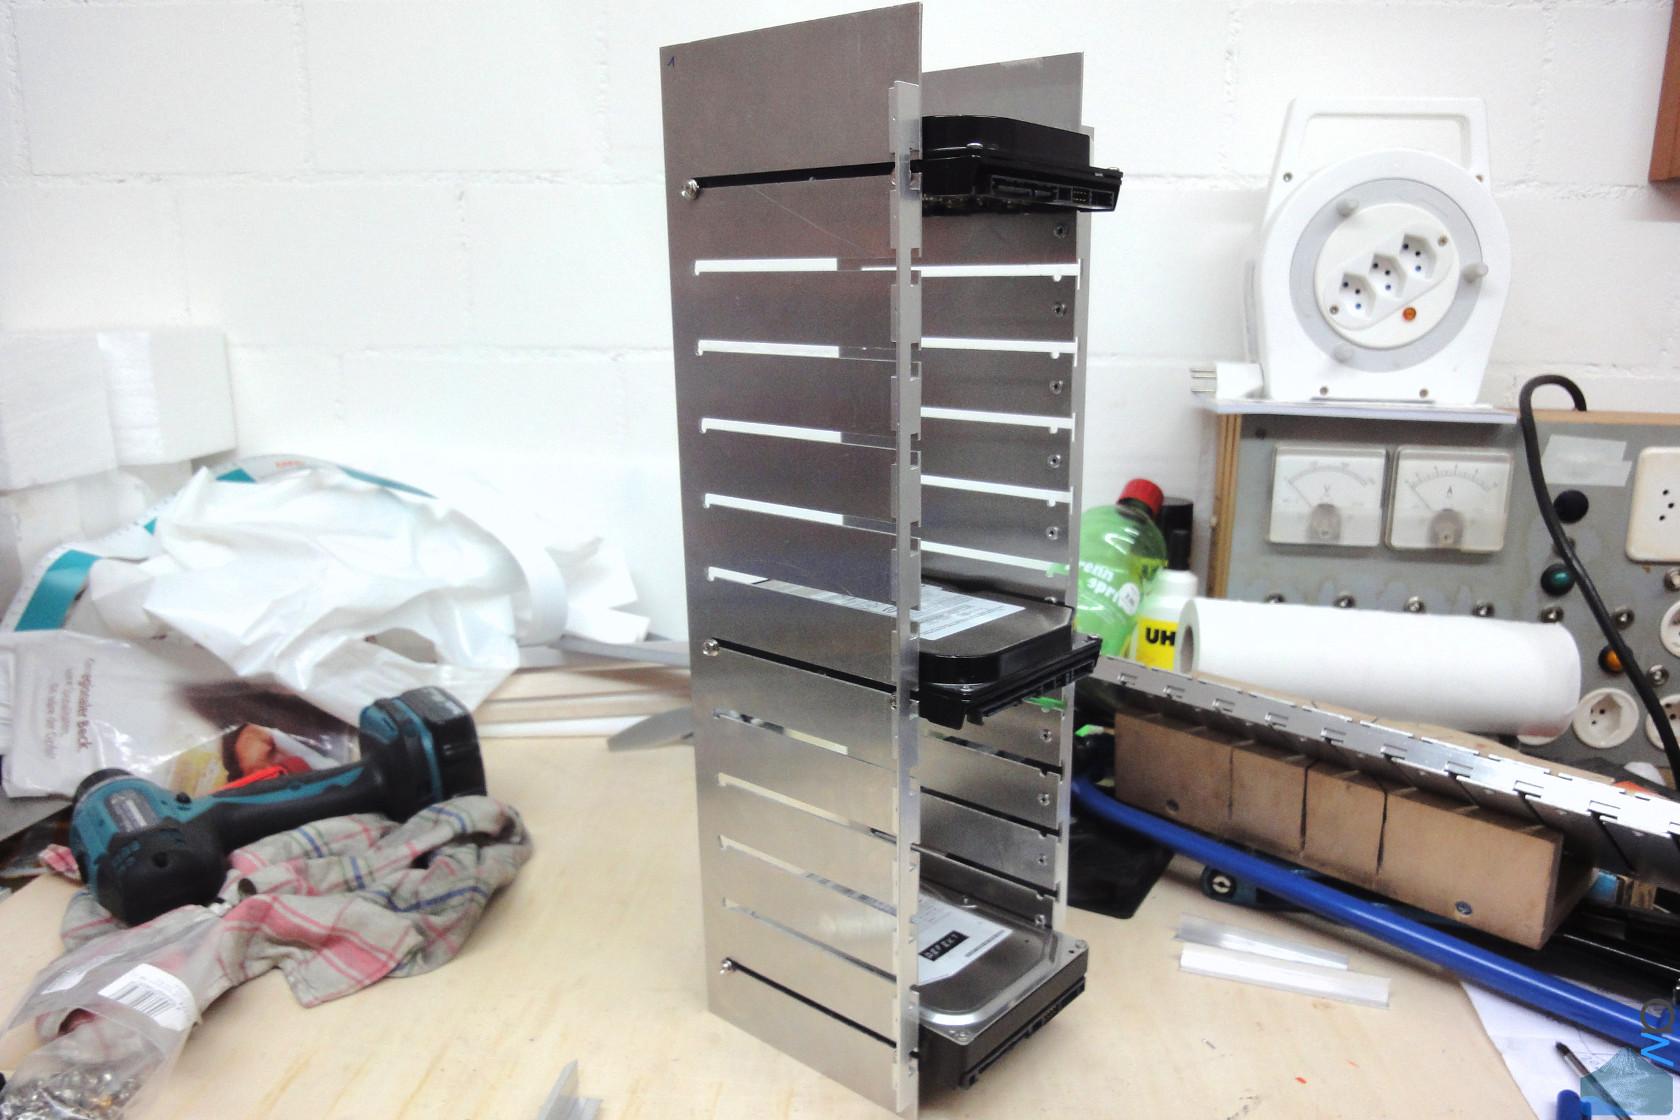
The side panels of the disk racks completed. Testing with some broken old HDDs
I had laying around to make sure it all fits as it should. It does.
(click image for full res)
 (click image for full res)
 (click image for full res)
 Rail Detail
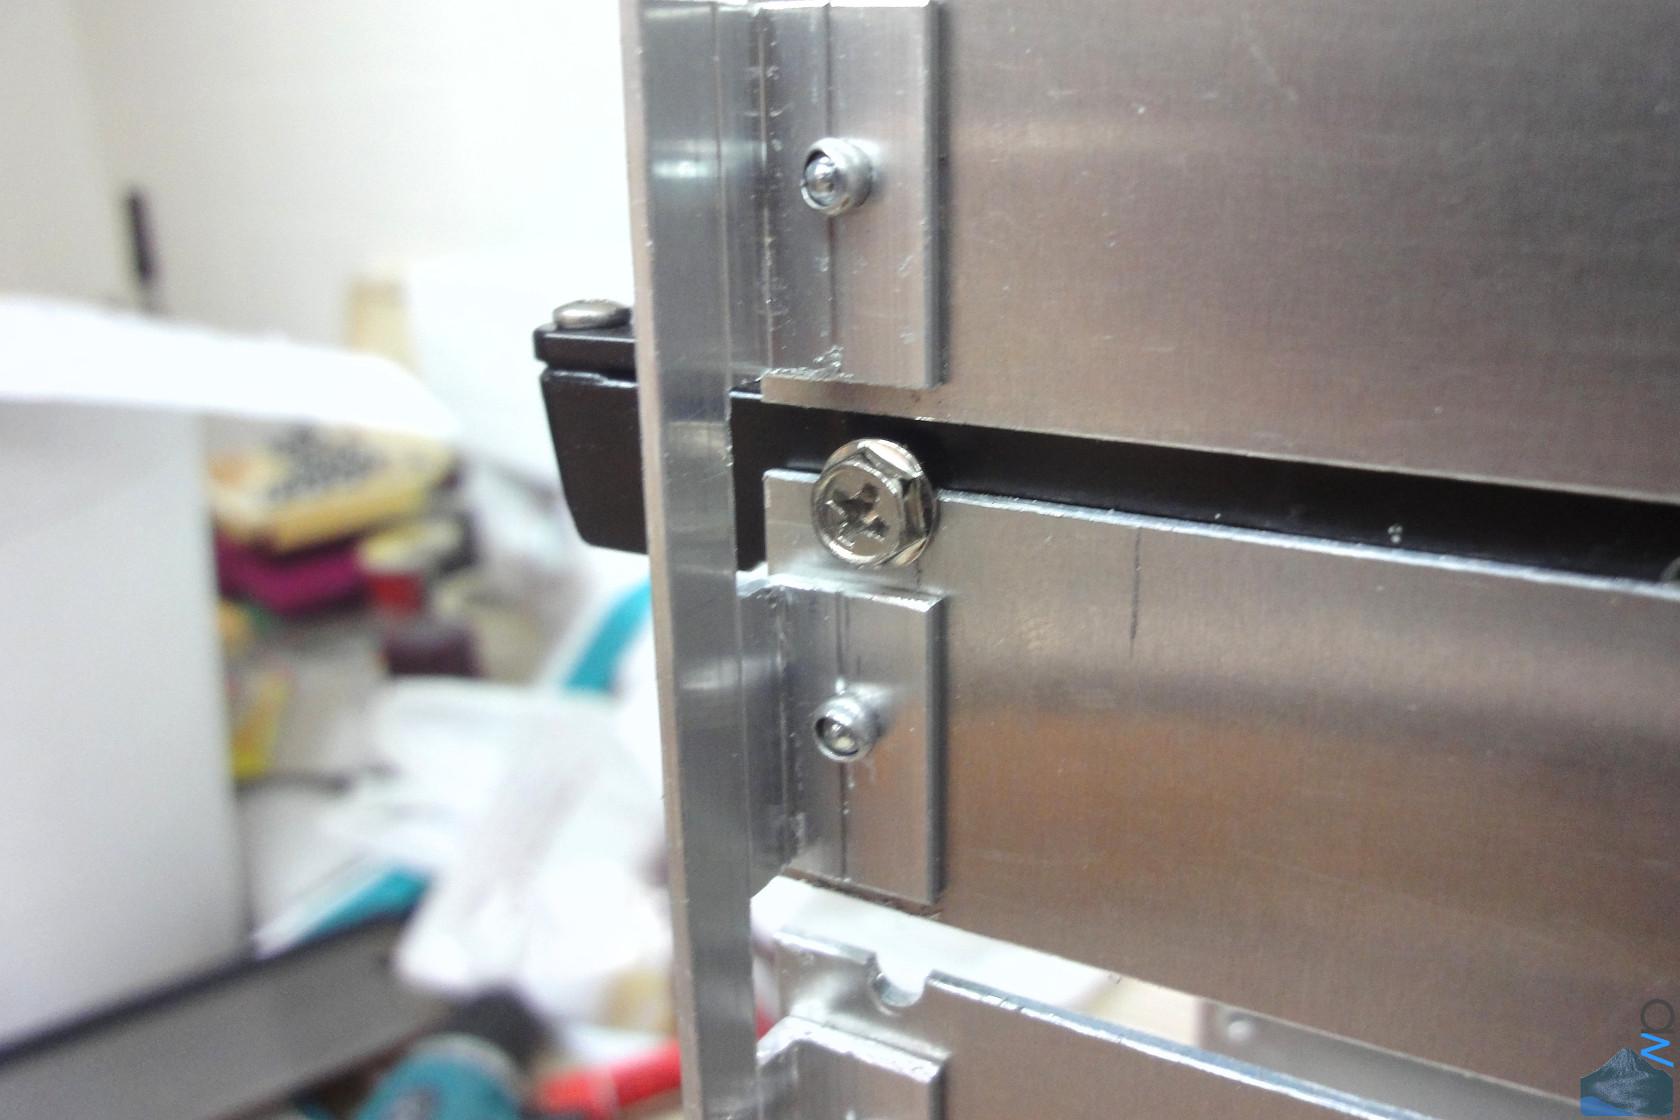
This is how the construct looks on the side where you slide in the disks. You
can see the pop rives I used to assemble it, the slots which are pictured being
milled above for the screwheads and the screws on the disks. You can also see
the recesses into which the screws mounted on the HDDs lock. The system works
very well.
(click image for full res)
 (click image for full res)
 Ventilation
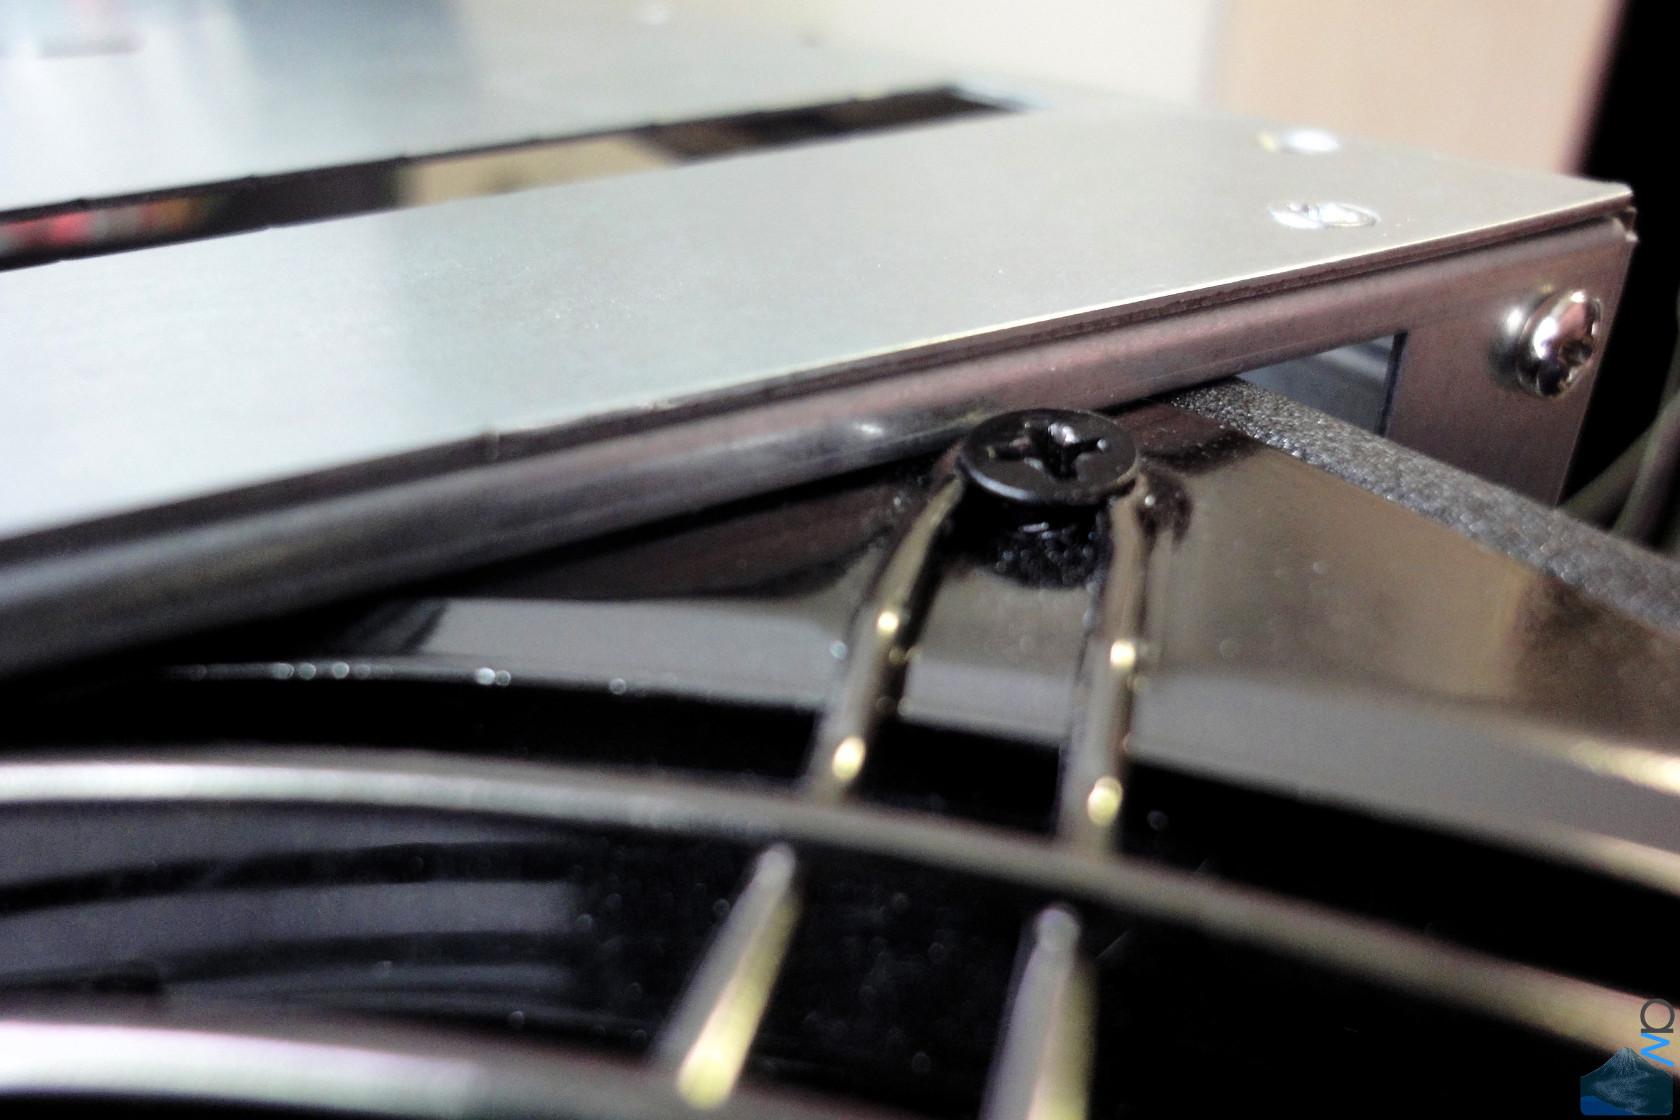
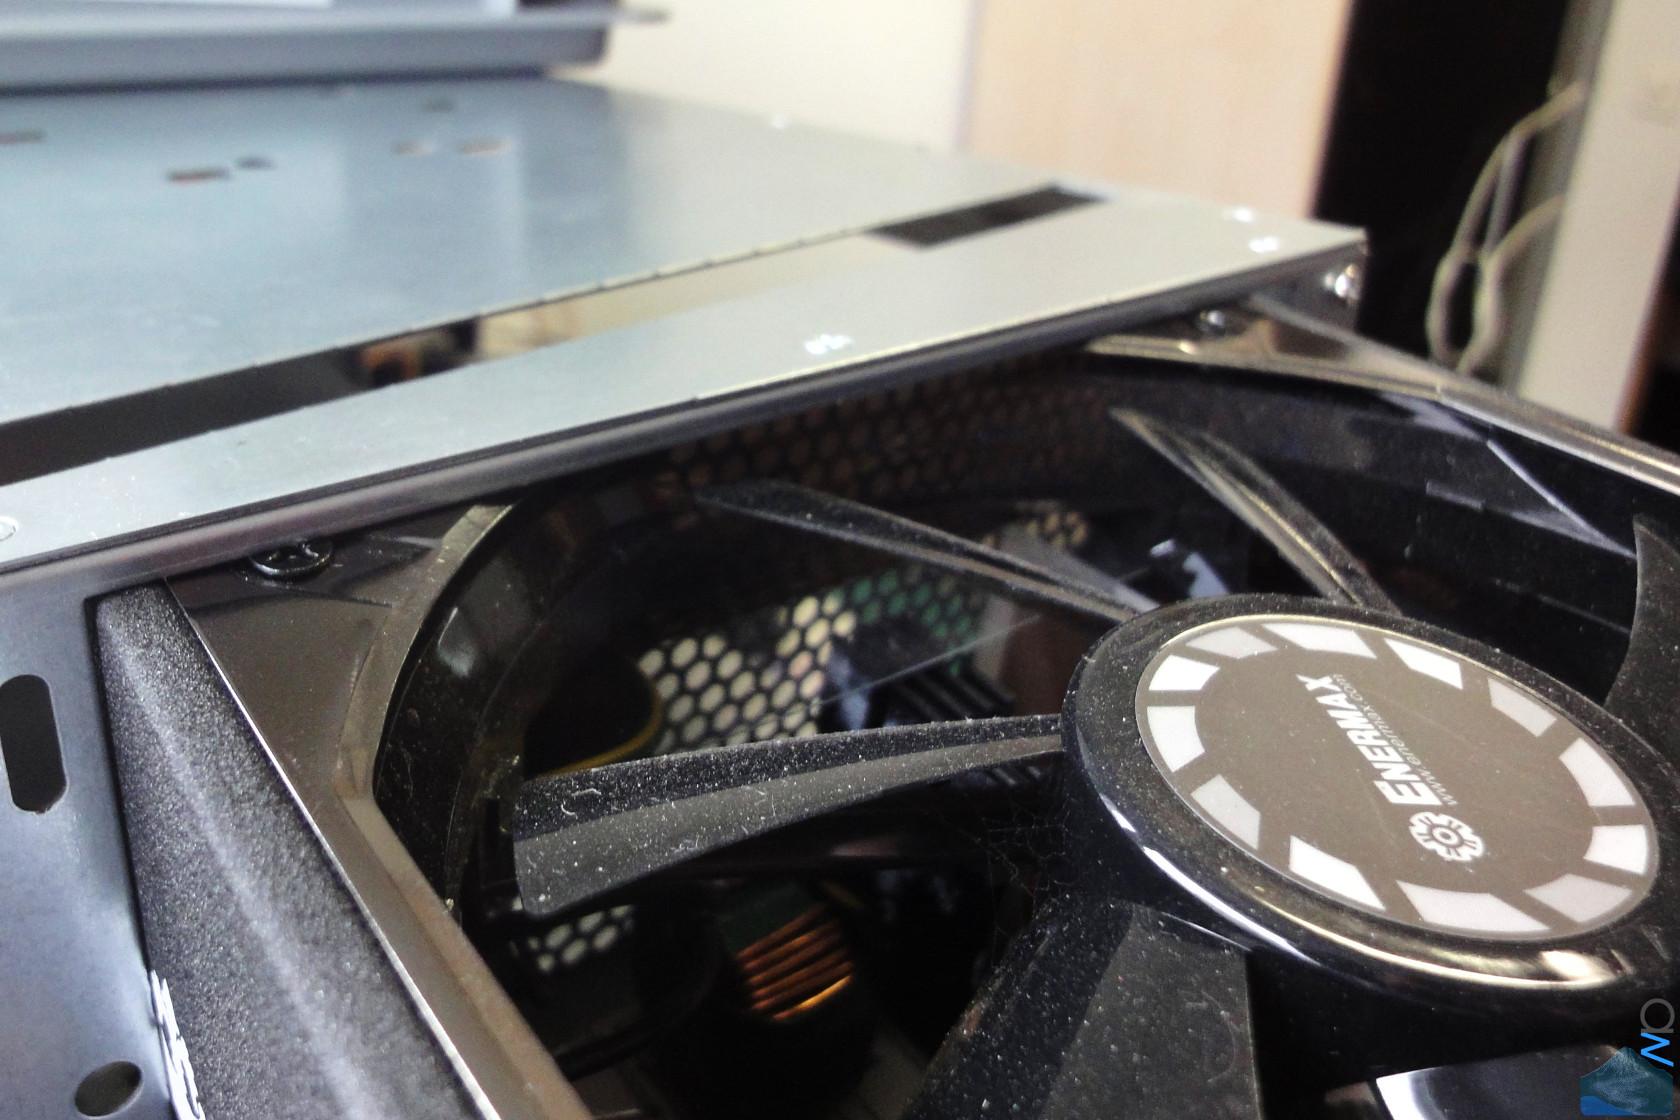
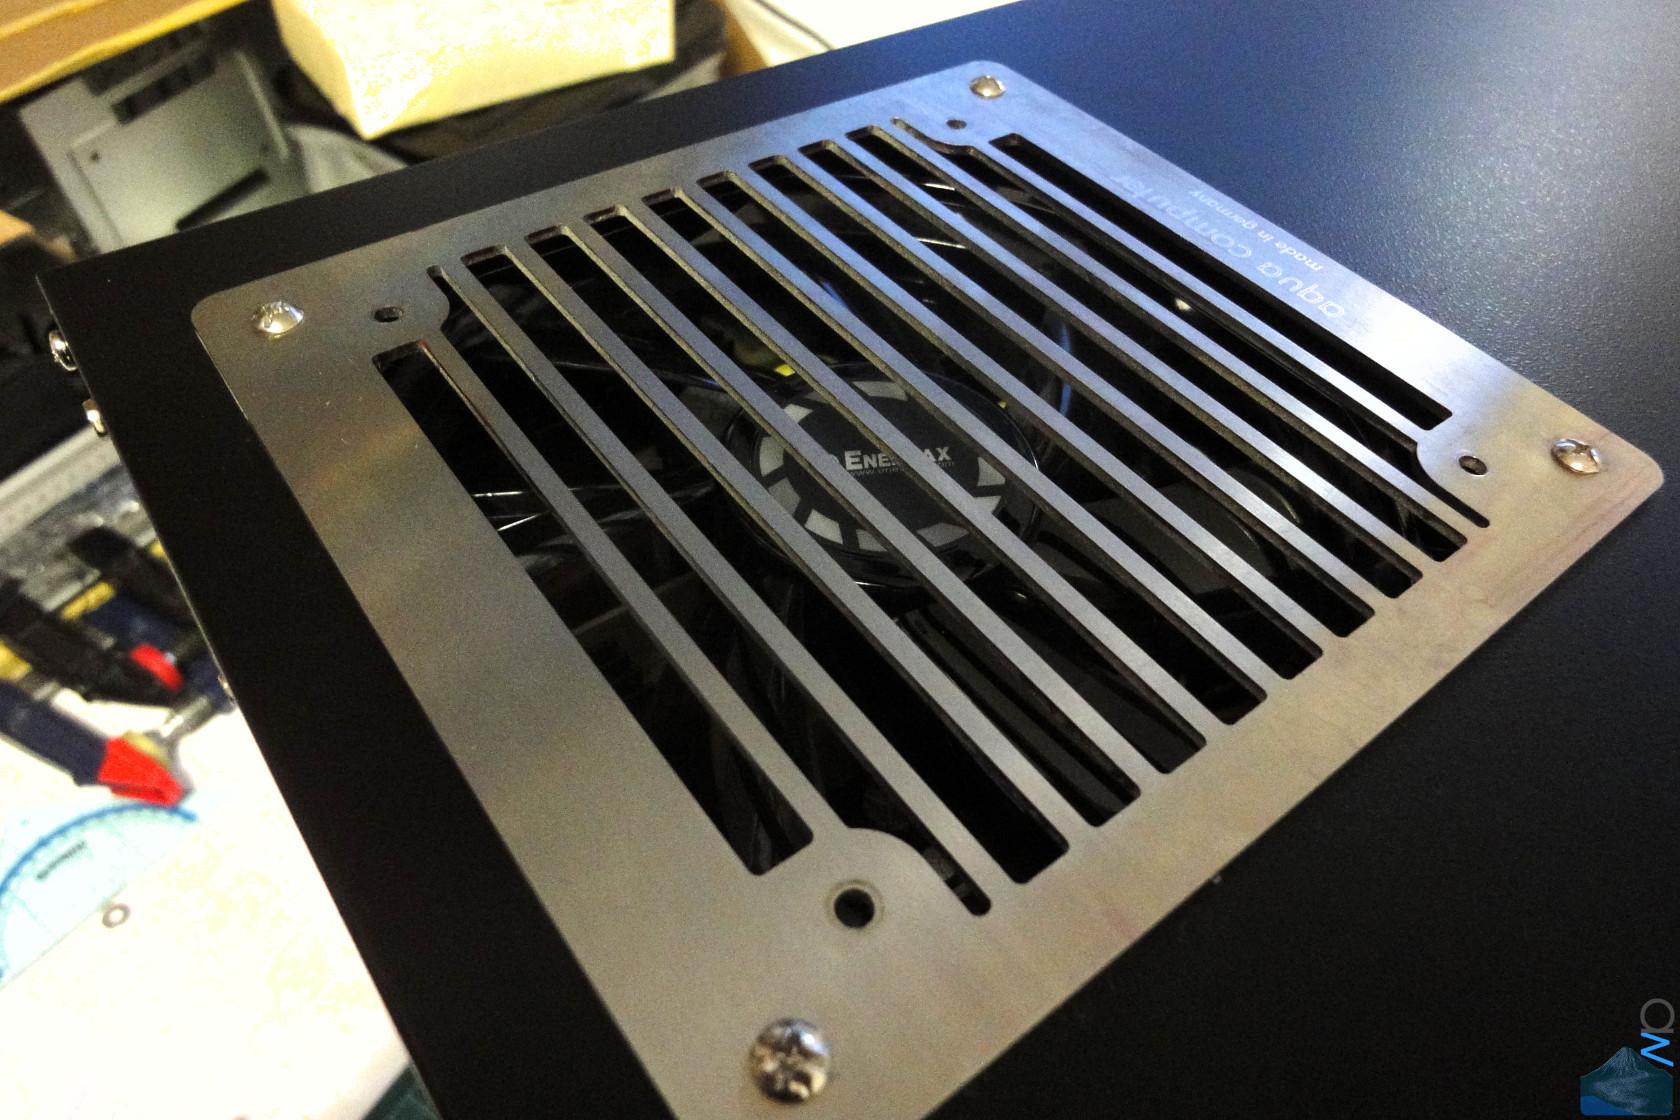
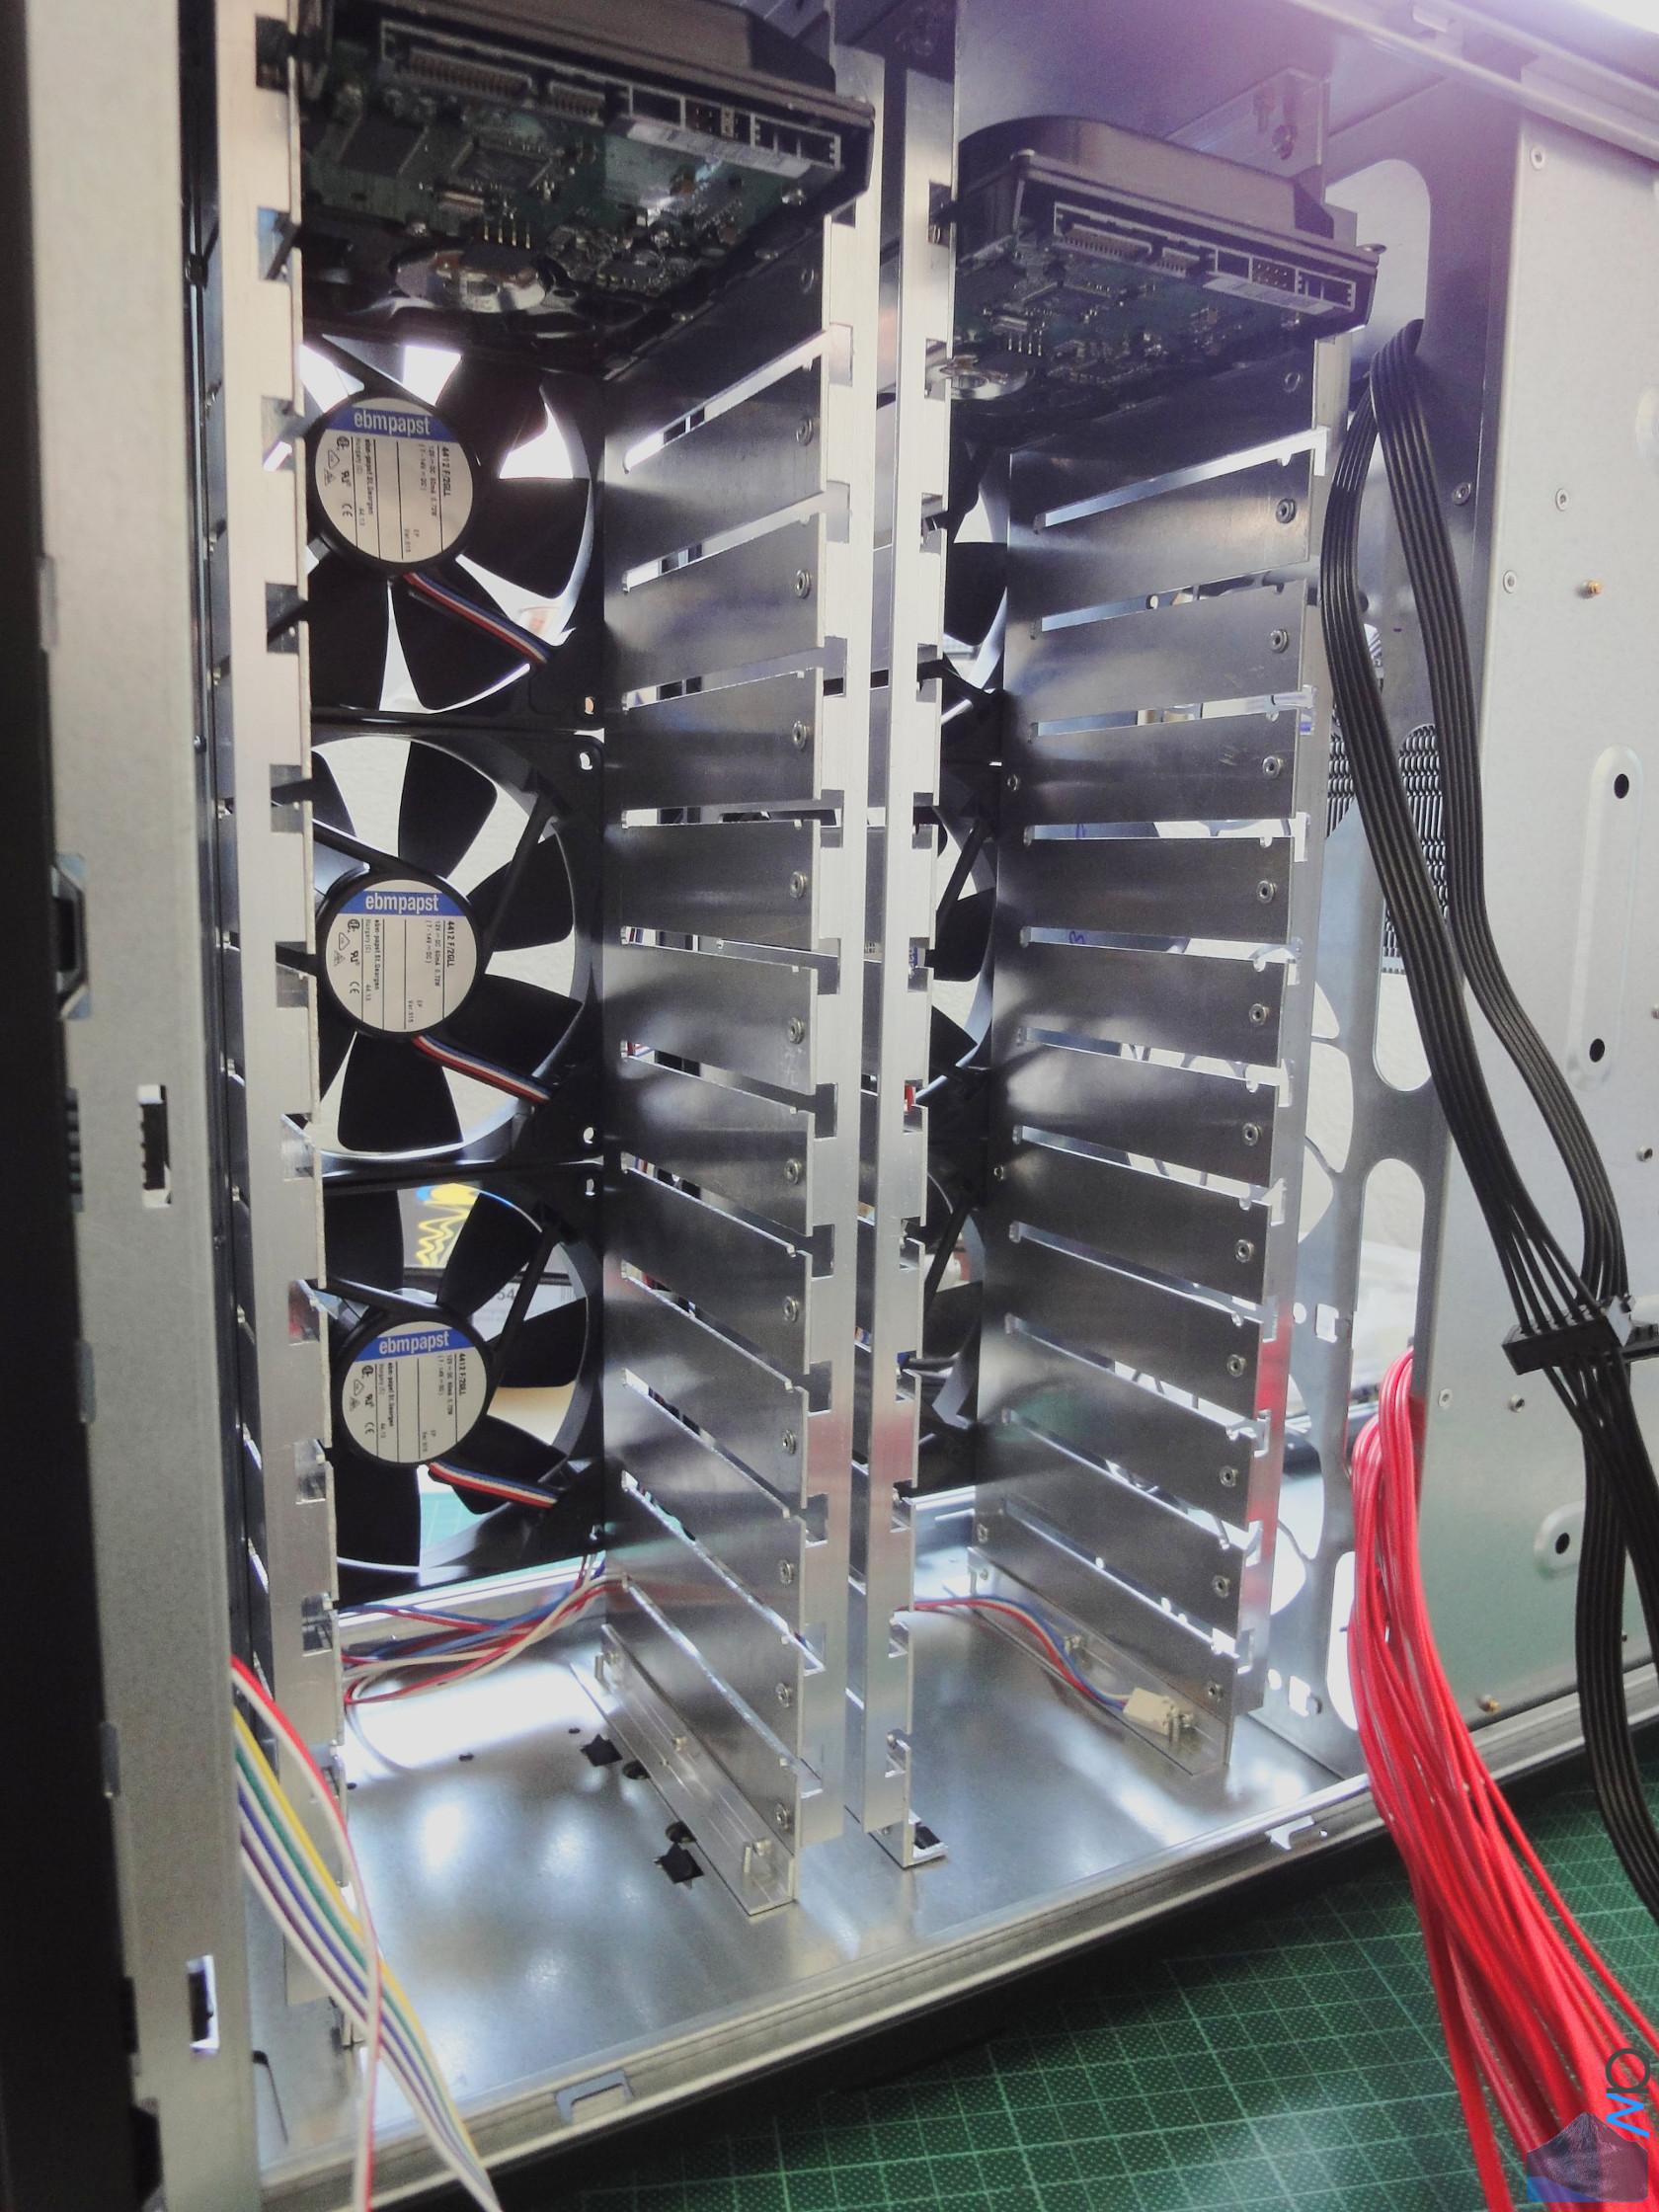
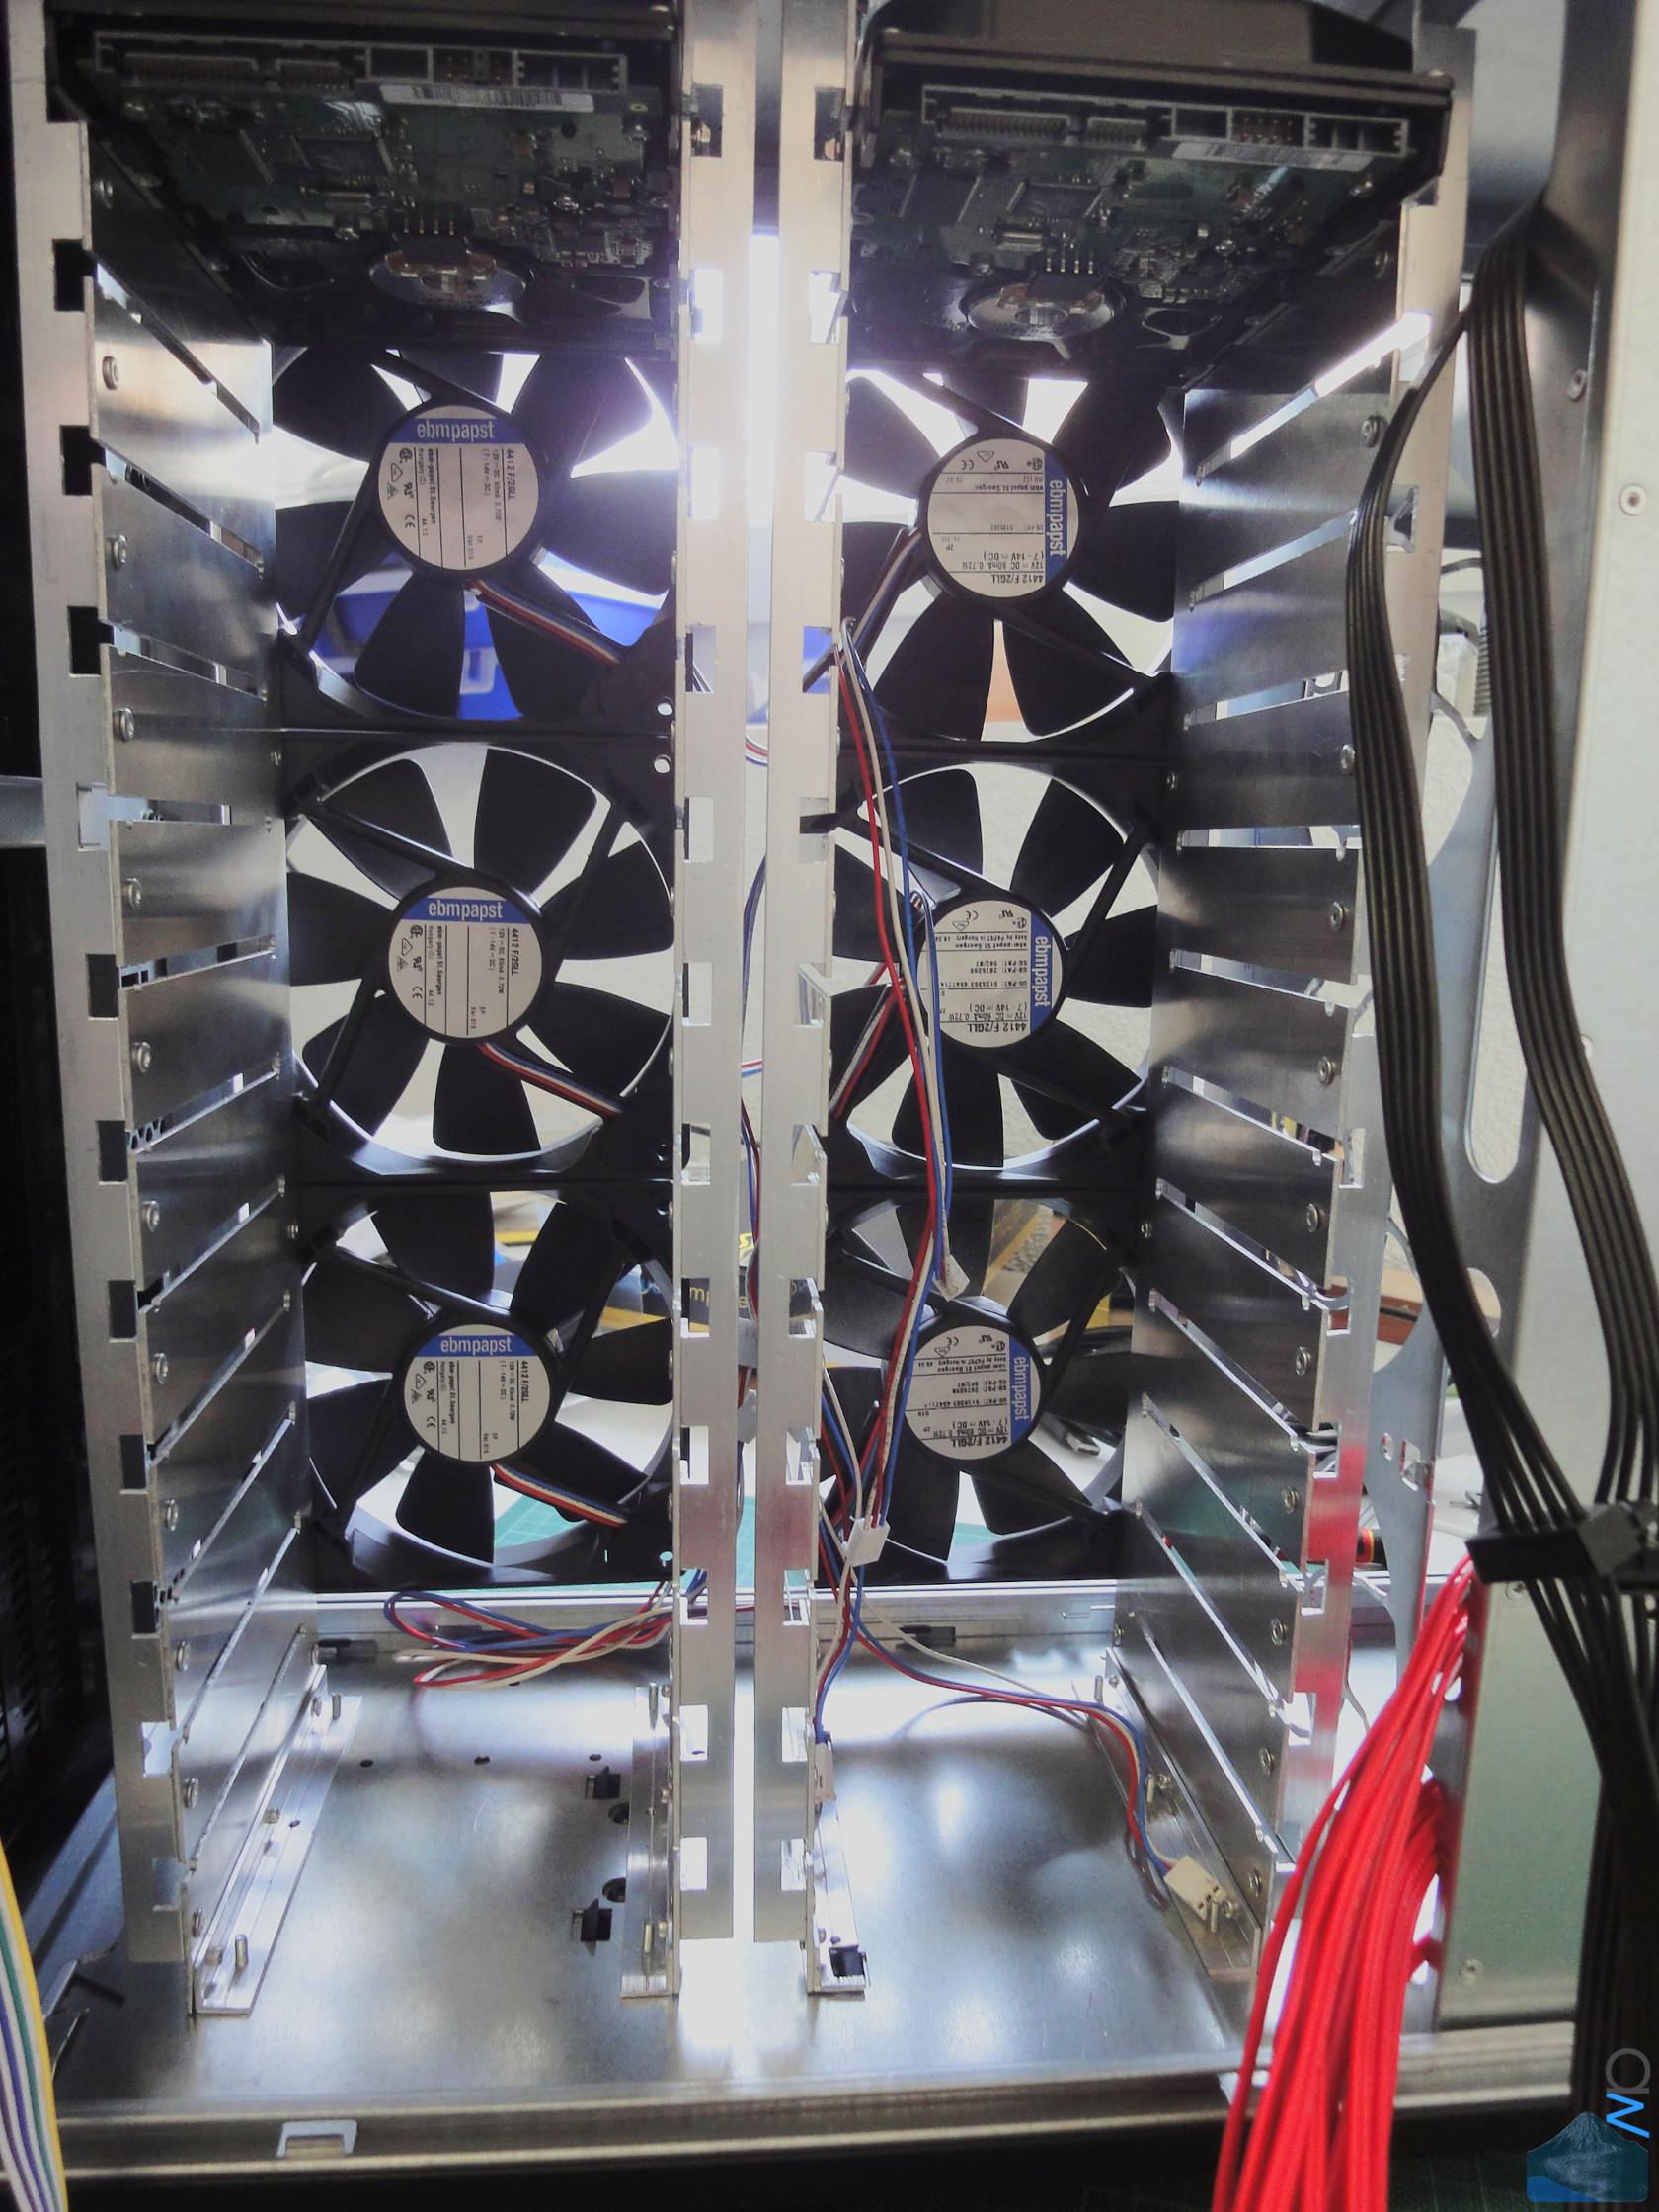
Obviously, 24 HDDs are going to put out some heat, so some ventilation is
required. I'm using six Papst fans for that. The fans will be bolted onto the
panels with some L profiles. Unfortunately, 120 mm fans have 105 mm hole
distance, and HDDs are ~100 mm wide, so it's not possible to mount the fan on
both sides, only two screws can be used. It's not really a problem though, two
screws tightened down nicely give sufficient stability.
(click image for full res)
 (click image for full res)
 (click image for full res)
 (click image for full res)
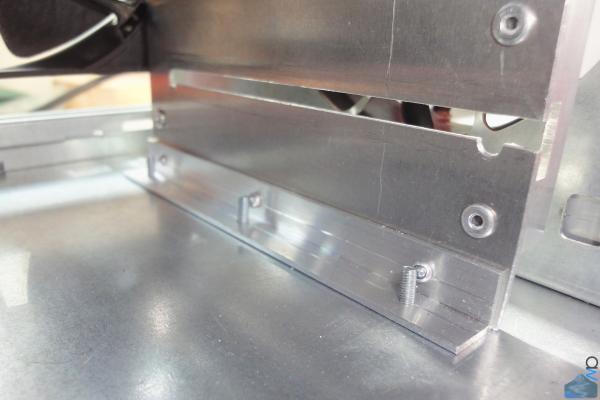
 Mounting Brackets
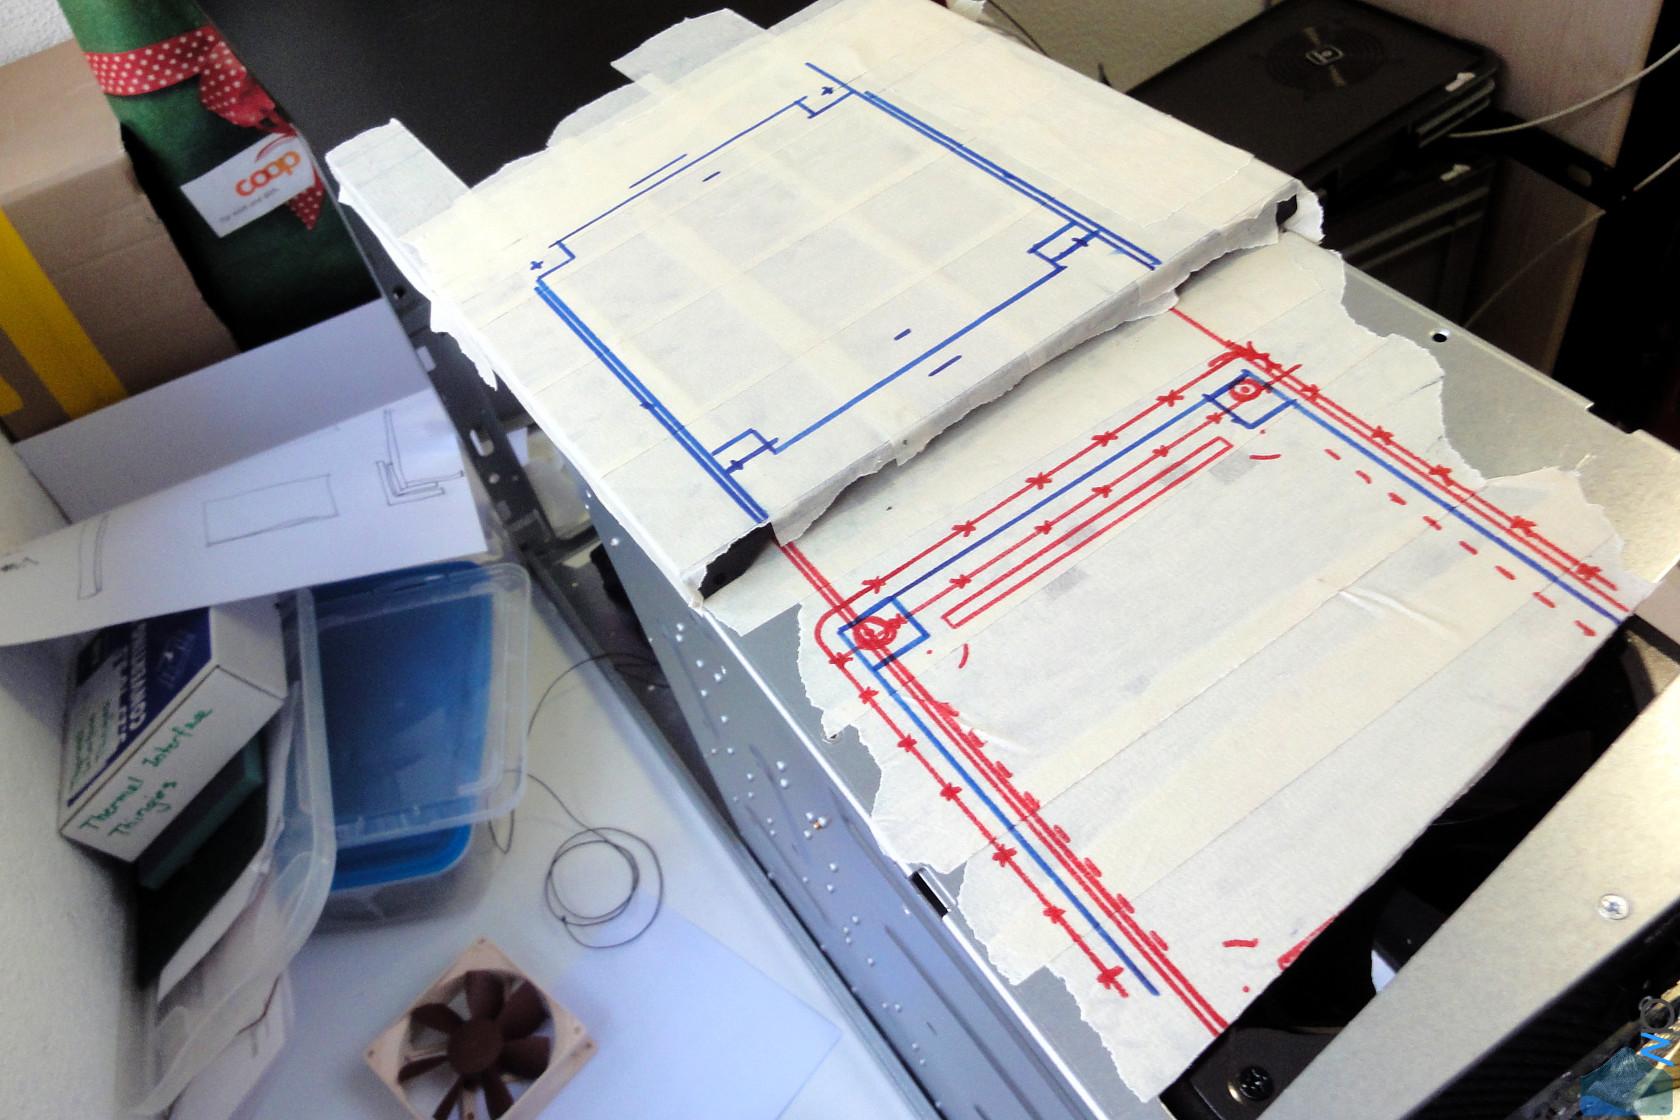
The panels are mounted to the bottom and top of the case with screws. To have
some leeway in adjusting things, there are slots instead of round holes in some
places.
(click image for full res)

Top:
(click image for full res)

Bottom:
(click image for full res)
 Fan Mounting
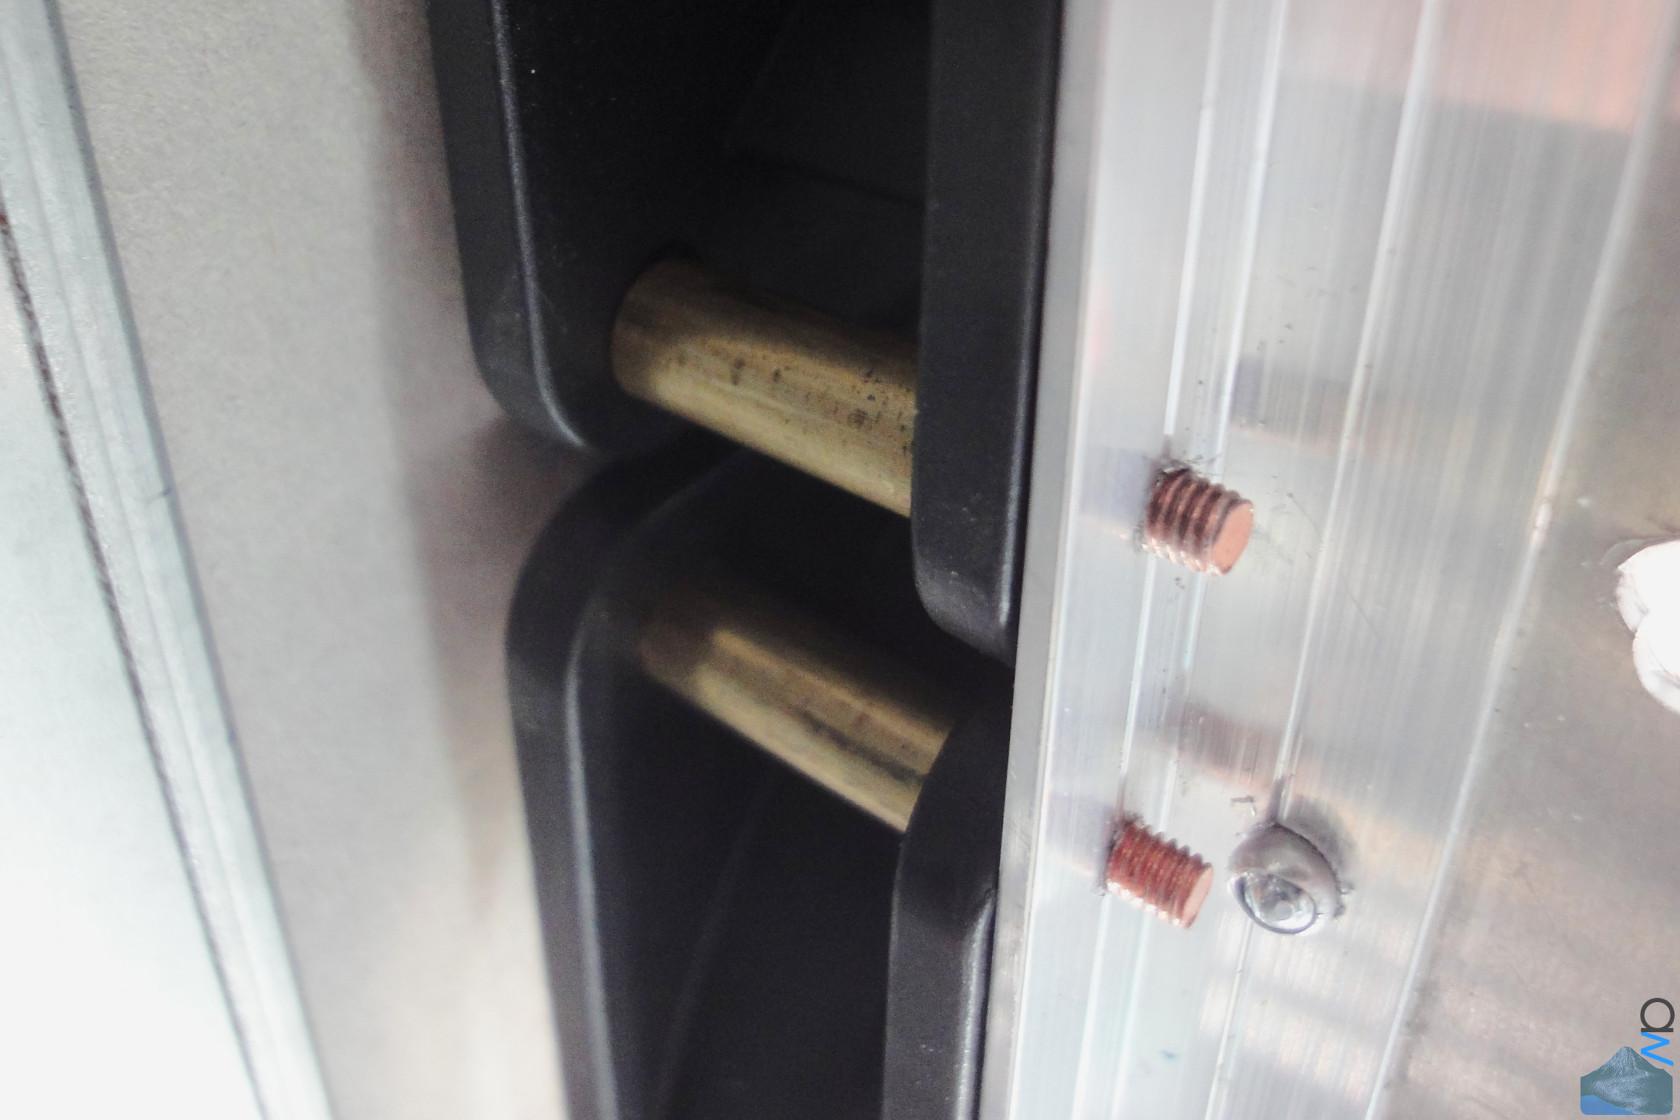
Since the fan screws need to be tightened rather heavily, the screws exert quite
a bit of pressure on the fan frames. To prevent the fan frames from being
crushed and/or breaking, we made some brass bushings that take the brunt of the
pressure.
(click image for full res)
 And Mounted
And finally the disk racks are mounted inside the case.
(click image for full res)
 (click image for full res)
 Disk Mounting
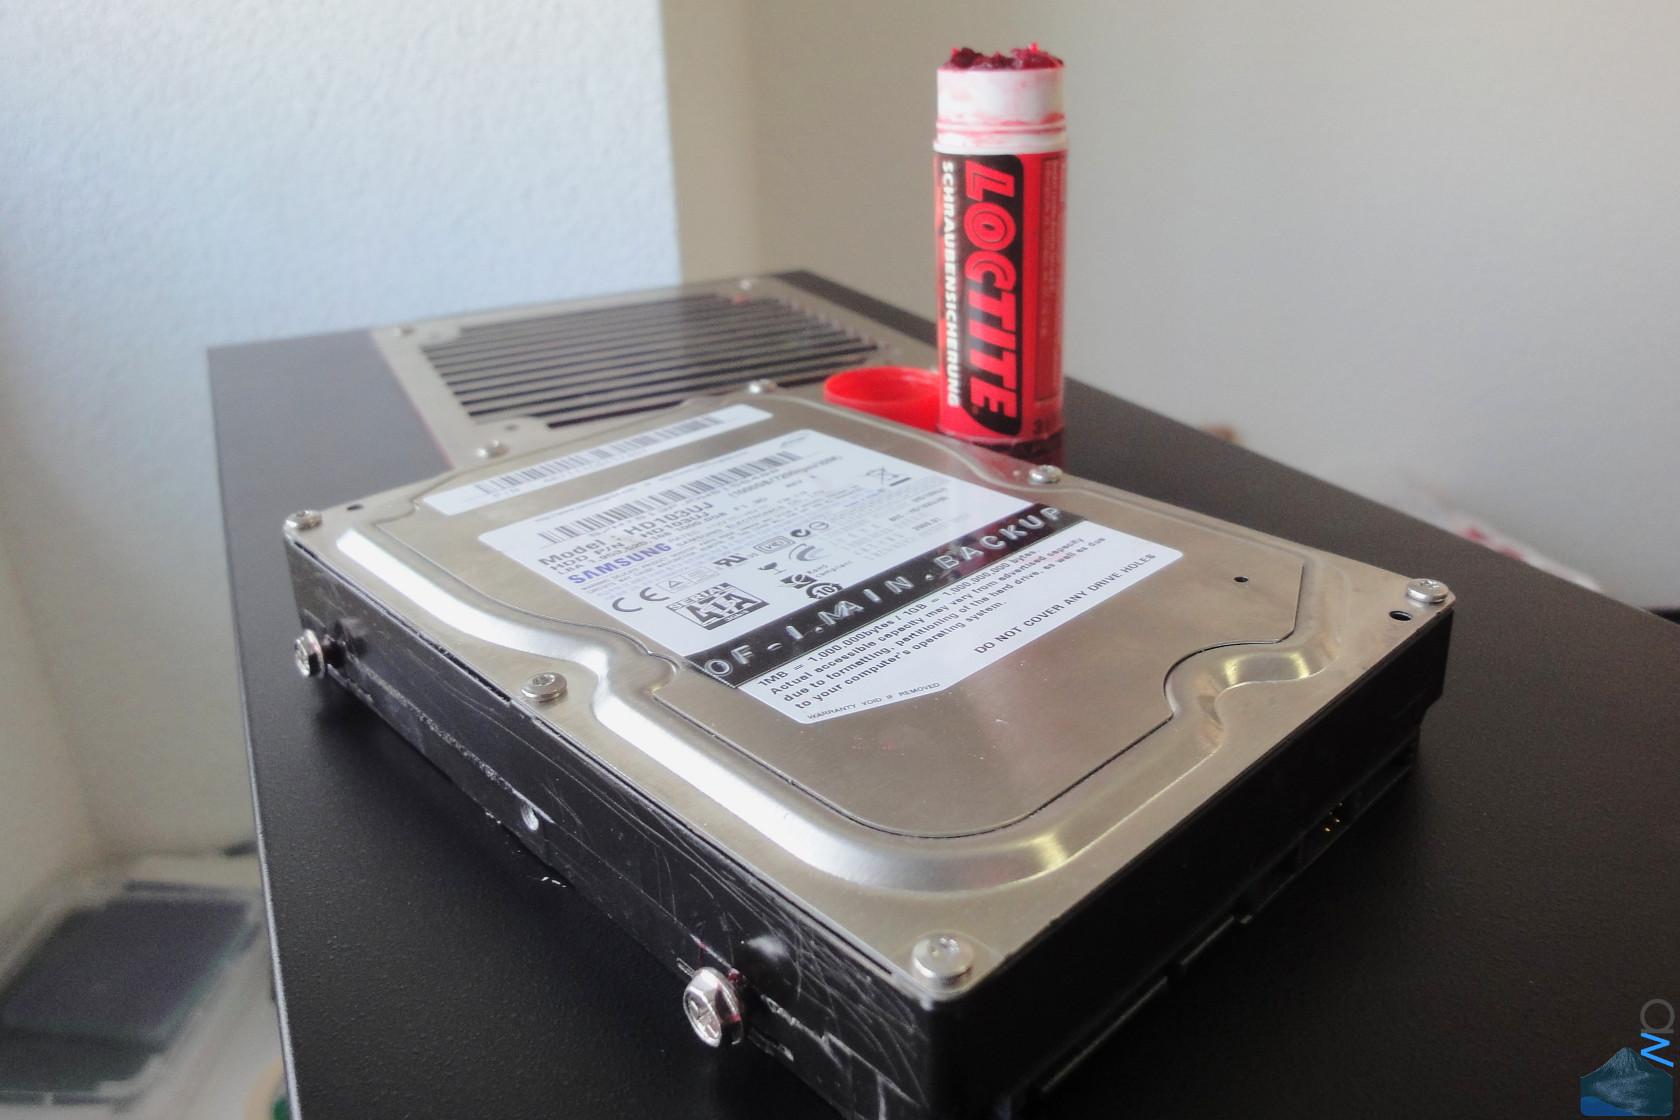
The Disks just slide into the slots and lock into place in the recesses you can
see above. Since I can't tighten the screws, I'm using Loctite to prevent them
from falling out due to vibration. I tried to get some screws similar to those
Lian Li use for their HDD mounting, but the only ones I could find were so
expensive that they'd have cost me more than 100 USD. So yeah, nope...
(click image for full res)

There's still lots to do, but that was by far the most work intensive part of
this build, took us quite a while to get it done. And no, it won't be painted or
anything, the server will stand in a closed room in our appartment anyway. I'd
have loved to make it all pretty and nice, but at the moment I just don't have
the time.
So long, and until next time.
-aw
")