A while ago I decided i've had enough of having the hulking mass that is my HAF-X sitting next to me roaring in my ear. I was planning to watercool it when I upgraded the internals but then I did something very silly. I went to LIT and saw the Scan Swordfish. Having fallen for the Swordfish but lacking access to my local bank's vault I decided I would build my own integrated computer/desk along the same lines.
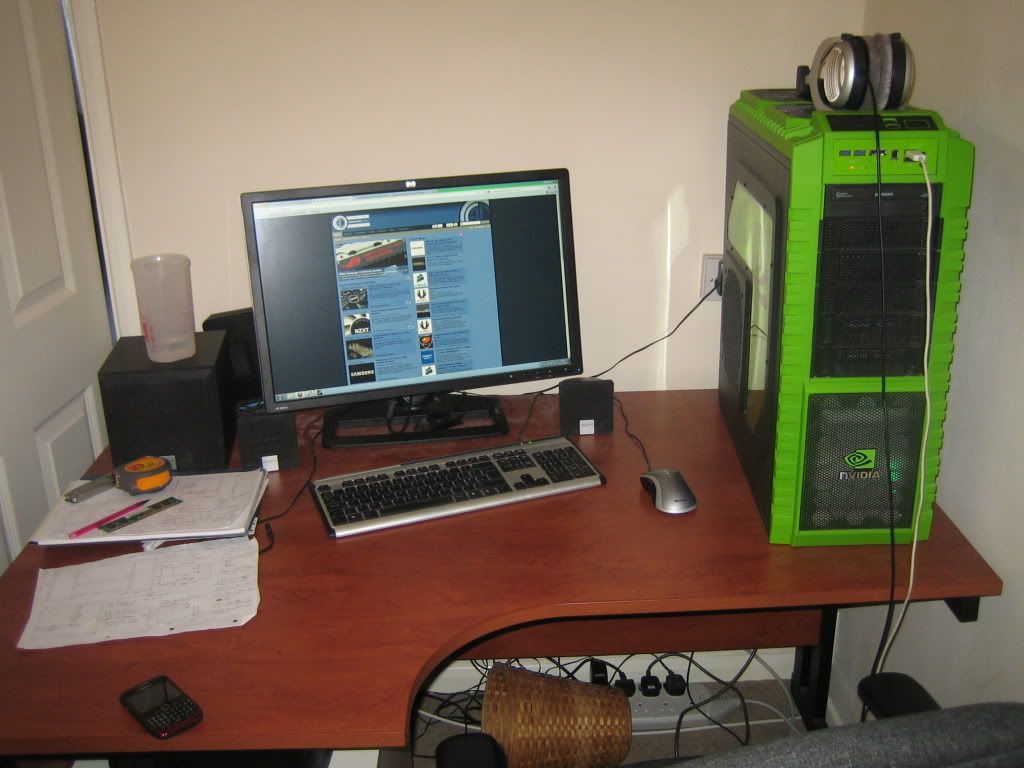
So here is what I have currently:
Here is something I made hastily in autodesk123D Beta to give you an idea of what im going for. My proper designs are all hand drawn so you cant see them


Wood would probably be the easiest thing to make this out of but since I have no regard for my own state of being i've decided to go for metal. The two tower parts will be steel box section frames with a 1mm steel sheet skin. The top I am going to cheat a bit with and make it out of mdf for cost and comfort reasons and try some jiggery pokery to make it look metallic.
I'm still not 100% on how i'm going to distribute the internals across the two sides. I can just about fit everything I want into the right one but it will be tight and leaves me with the other one to think of a use for (drawers?). The way I have shown in the picture is to have the computer parts on the left side and all the watercooling stuff on the right. To make the windows symmetrical the larger one on the right would actually be a tall thin res that I will make from acrylic with the pump underneath.
Here is the parts list:
CPU: IB (will choose specific model after I see some benches)
Mobo: Will have to wait and see.
GPUs: Nvidia 6xx or AMD 7xxx SLI/CF again cant say for sure what I will go for until we know what they perform like.
HDD: Already have a 1TB seagate drive
SSD: Probably something along the lines of a Corsair force GT, will see how pricing is closer to the IB release date.
Soundcard: Already have Asus Xonar STX
Monitor: Already have HP ZR24w (ZR30w or U3011 will probably remain dreams
)
PSU: probably 1000W Enermax Platimax
Watercooling parts:
Pump: D5 Vario with bitspower top (may go for 2 if I end up pumping between the two sides)
CPU block: XSPC raystorm
GPU blocks: cant say yet
Res: Custom acrylic res
Tubing: Primochill Primoflex Pro 1/2" ID 3/4" OD
Fittings: Bitspower compression fittings matt black
Rad: MO-RA3 pro 9x140 (I want this to be quiet as poss)
fans: Scythe gentle typhoons 1450 rpm (reduced to ~600) or mabey Enermax appolish/silence.
The colour scheme is going to be primarily black with some purple cos purple is awesome.
I think that is it for now. Need to sort out the materials and encourage my uncle to lend me his welding gear

Dont know when this will start to take shape, pleanty of time until IB though and id like to get some opinions first anyway.
So please let me know what you think, be critical and call me a Noob. Id rather know before I start what ive overlooked/done wrong
So here is what I have currently:
Here is something I made hastily in autodesk123D Beta to give you an idea of what im going for. My proper designs are all hand drawn so you cant see them
Wood would probably be the easiest thing to make this out of but since I have no regard for my own state of being i've decided to go for metal. The two tower parts will be steel box section frames with a 1mm steel sheet skin. The top I am going to cheat a bit with and make it out of mdf for cost and comfort reasons and try some jiggery pokery to make it look metallic.
I'm still not 100% on how i'm going to distribute the internals across the two sides. I can just about fit everything I want into the right one but it will be tight and leaves me with the other one to think of a use for (drawers?). The way I have shown in the picture is to have the computer parts on the left side and all the watercooling stuff on the right. To make the windows symmetrical the larger one on the right would actually be a tall thin res that I will make from acrylic with the pump underneath.
Here is the parts list:
CPU: IB (will choose specific model after I see some benches)
Mobo: Will have to wait and see.
GPUs: Nvidia 6xx or AMD 7xxx SLI/CF again cant say for sure what I will go for until we know what they perform like.
HDD: Already have a 1TB seagate drive
SSD: Probably something along the lines of a Corsair force GT, will see how pricing is closer to the IB release date.
Soundcard: Already have Asus Xonar STX
Monitor: Already have HP ZR24w (ZR30w or U3011 will probably remain dreams
PSU: probably 1000W Enermax Platimax
Watercooling parts:
Pump: D5 Vario with bitspower top (may go for 2 if I end up pumping between the two sides)
CPU block: XSPC raystorm
GPU blocks: cant say yet
Res: Custom acrylic res
Tubing: Primochill Primoflex Pro 1/2" ID 3/4" OD
Fittings: Bitspower compression fittings matt black
Rad: MO-RA3 pro 9x140 (I want this to be quiet as poss)
fans: Scythe gentle typhoons 1450 rpm (reduced to ~600) or mabey Enermax appolish/silence.
The colour scheme is going to be primarily black with some purple cos purple is awesome.
I think that is it for now. Need to sort out the materials and encourage my uncle to lend me his welding gear
Dont know when this will start to take shape, pleanty of time until IB though and id like to get some opinions first anyway.
So please let me know what you think, be critical and call me a Noob. Id rather know before I start what ive overlooked/done wrong
