You are using an out of date browser. It may not display this or other websites correctly.
You should upgrade or use an alternative browser.
You should upgrade or use an alternative browser.
Water cooled Corsair Carbide Series Air 540
- Thread starter Pepe
- Start date
alpenwasser
New member
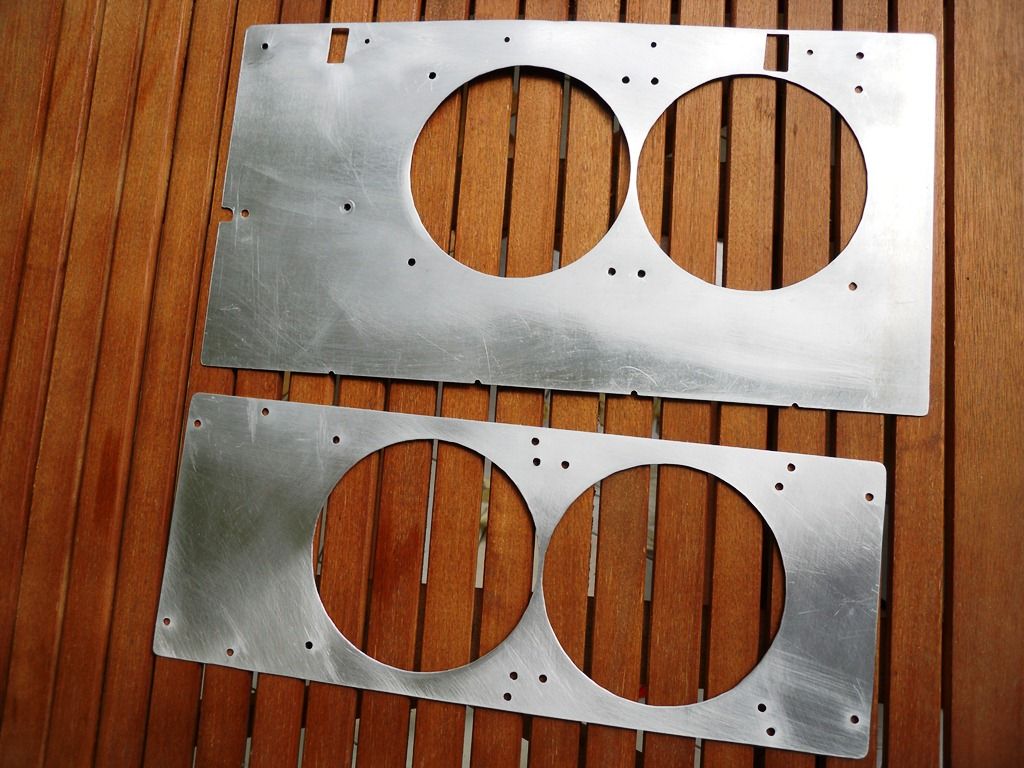
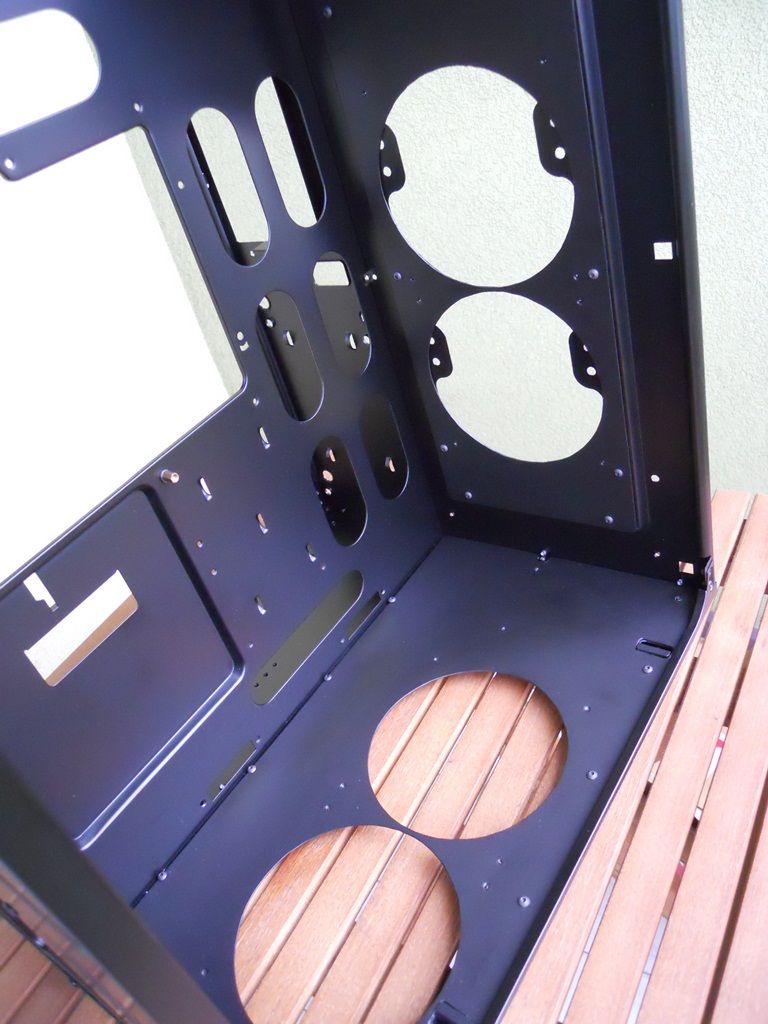
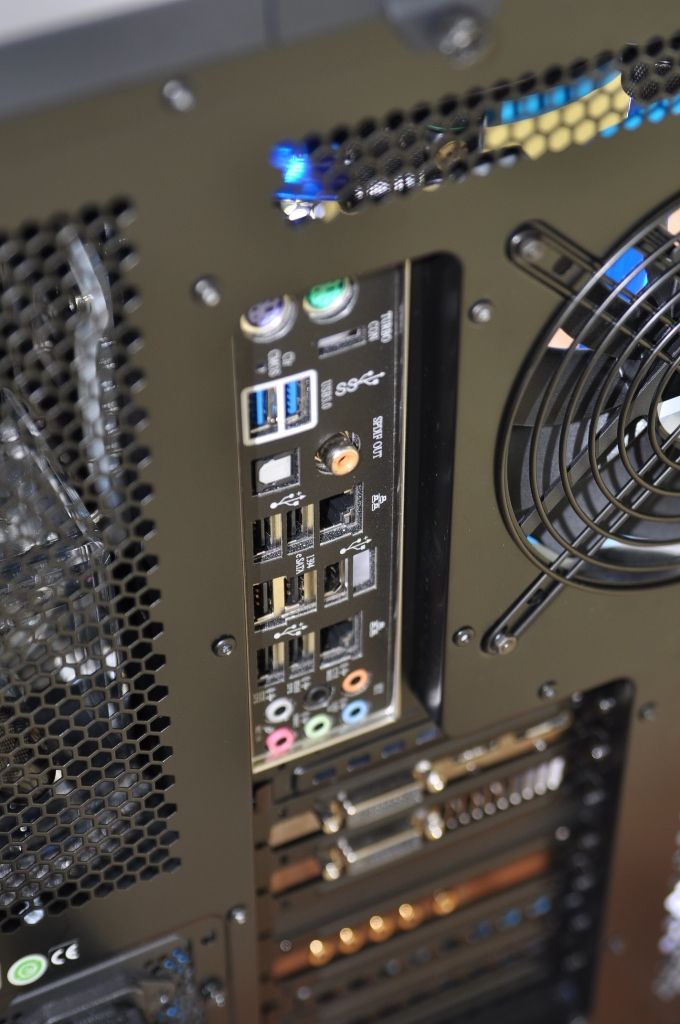
Bloody 'ell those cuts really are almost perfect! I have to look really hard to find any
imperfections. And considering you did them with a drill as a cutter I'm even more
amazed. :wub:
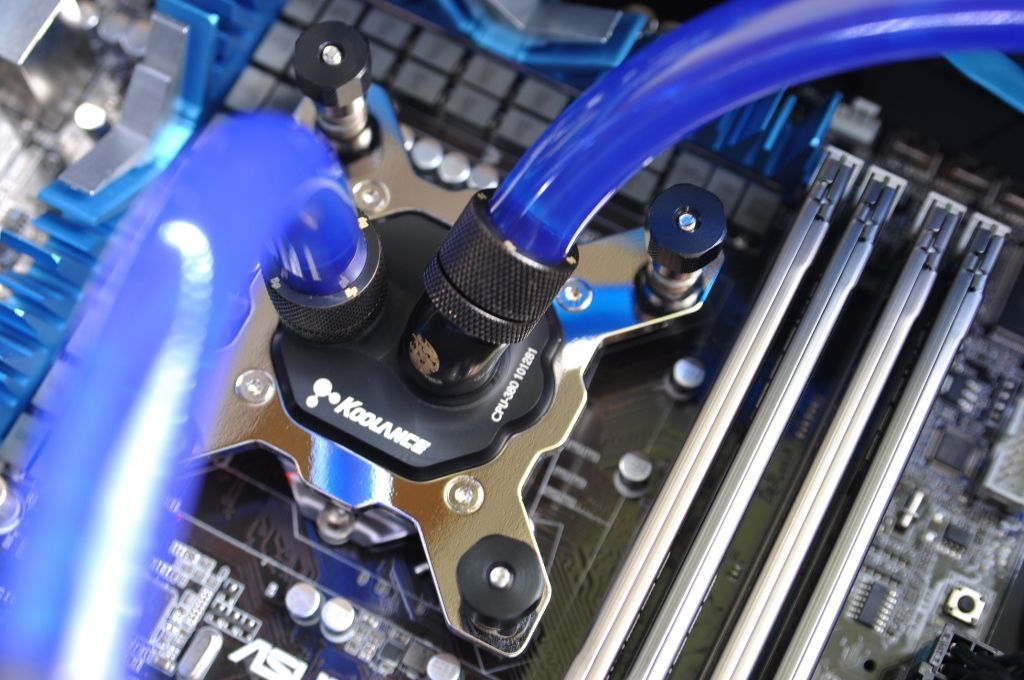
Also: Purple? Awesome! (That is purple, and not just an error in colour representation
on the image, right?)
imperfections. And considering you did them with a drill as a cutter I'm even more
amazed. :wub:
Also: Purple? Awesome! (That is purple, and not just an error in colour representation
on the image, right?)
The Orange One
New member
WOW!!! Epic Work mate!!
... dammit I can't find the "super like" button anywhere... :-(
brilliant build log. very tidy work.
your giving me a lot of ideas!
Bloody 'ell those cuts really are almost perfect! I have to look really hard to find any
imperfections. And considering you did them with a drill as a cutter I'm even more
amazed. :wub:
Also: Purple? Awesome! (That is purple, and not just an error in colour representation
on the image, right?)
I like it too ;-) Maybe an idea for my next build, I was thinking about purple some time ago... This is just my stupid, cheap camera (plus my very limited photo skills). The good news is that my sister is dropping by on Sunday with her proper camera and skills, so there will be some good pics finally
")
WOW!!! Epic Work mate!!
Thank you guys! This is very motivating
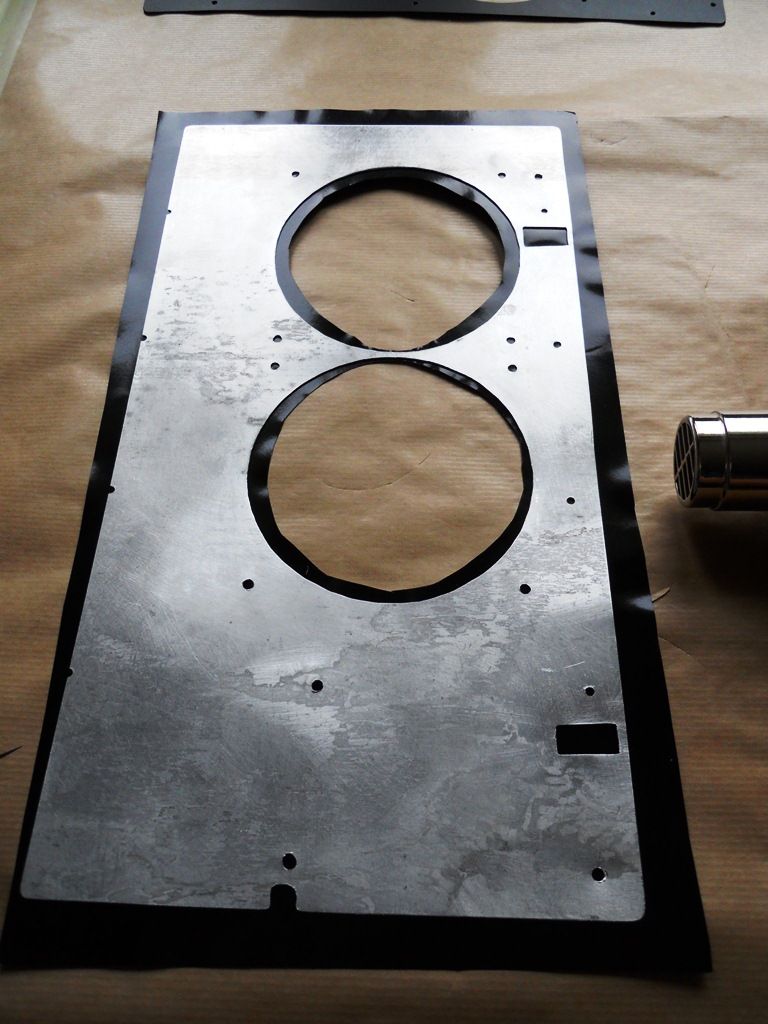
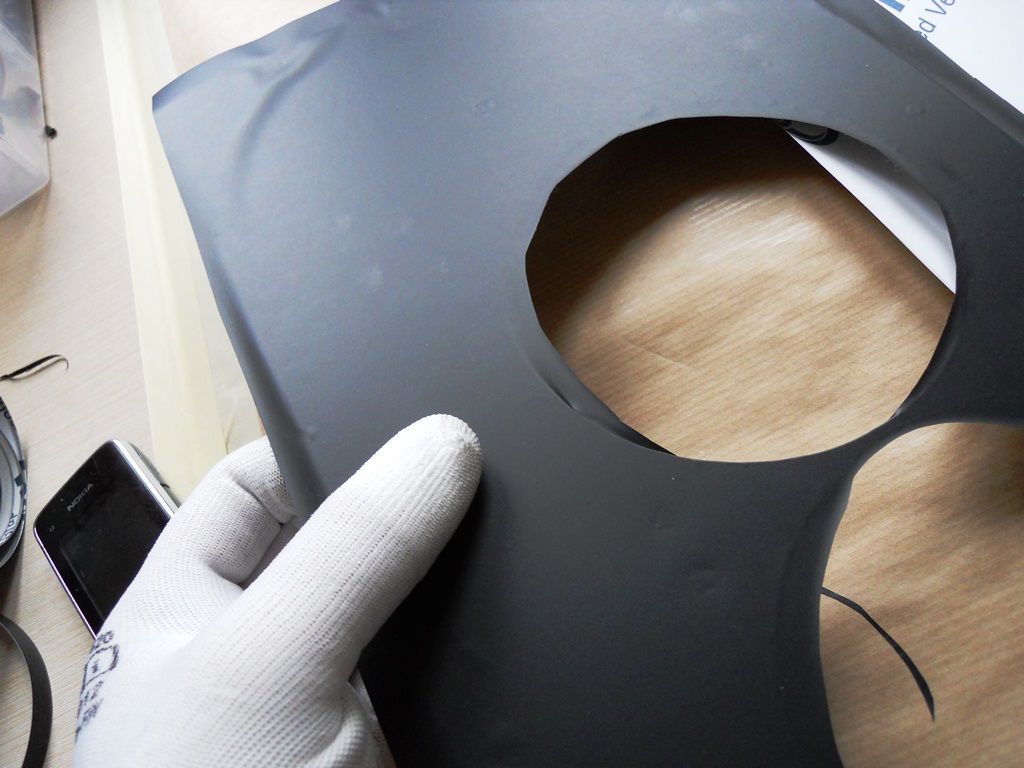
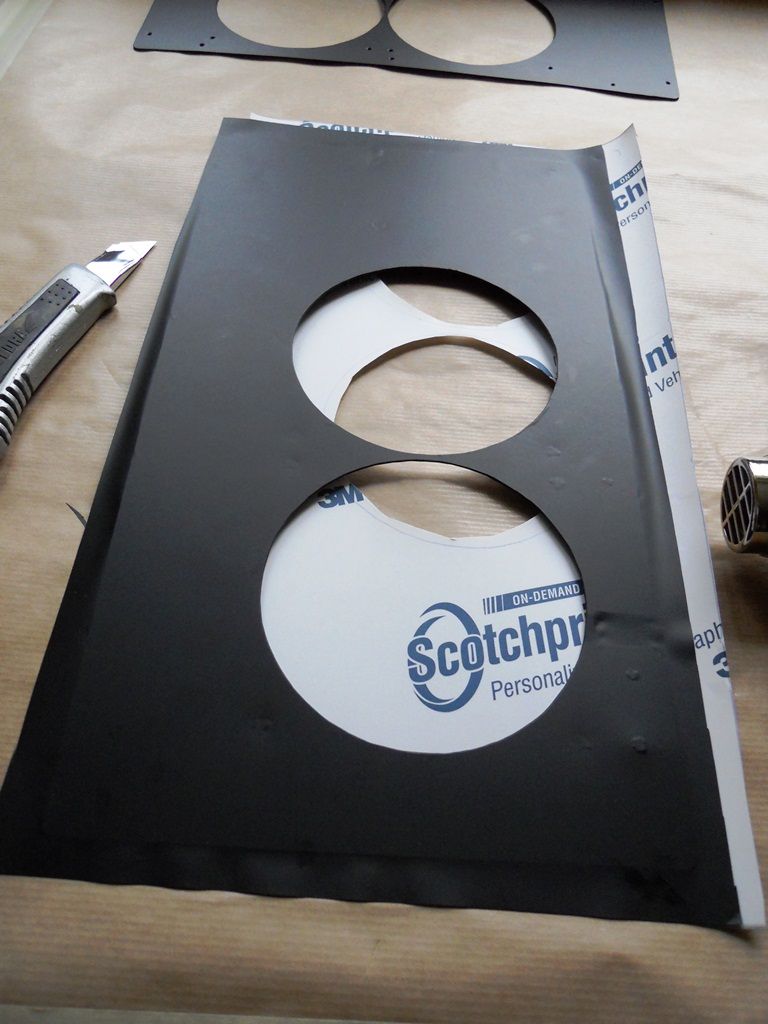
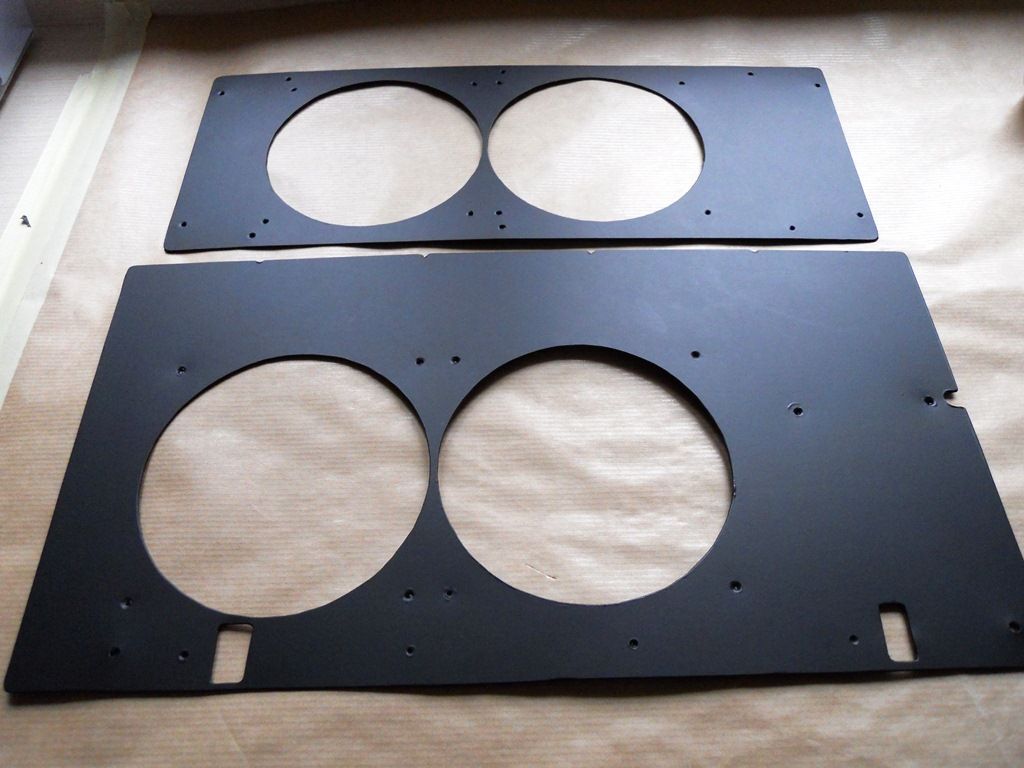
I made some progress today on bottom panel - almost ready. I also had photobucket disaster (I only started using it some time ago for OC3D - my fault) so I had to edit links to all pics in this thread

Bottom panel should be ready tomorrow and I will be ready for final assembly.
Unless anything unexpected happens the build should be ready by end of this week

Grey_beard
New member
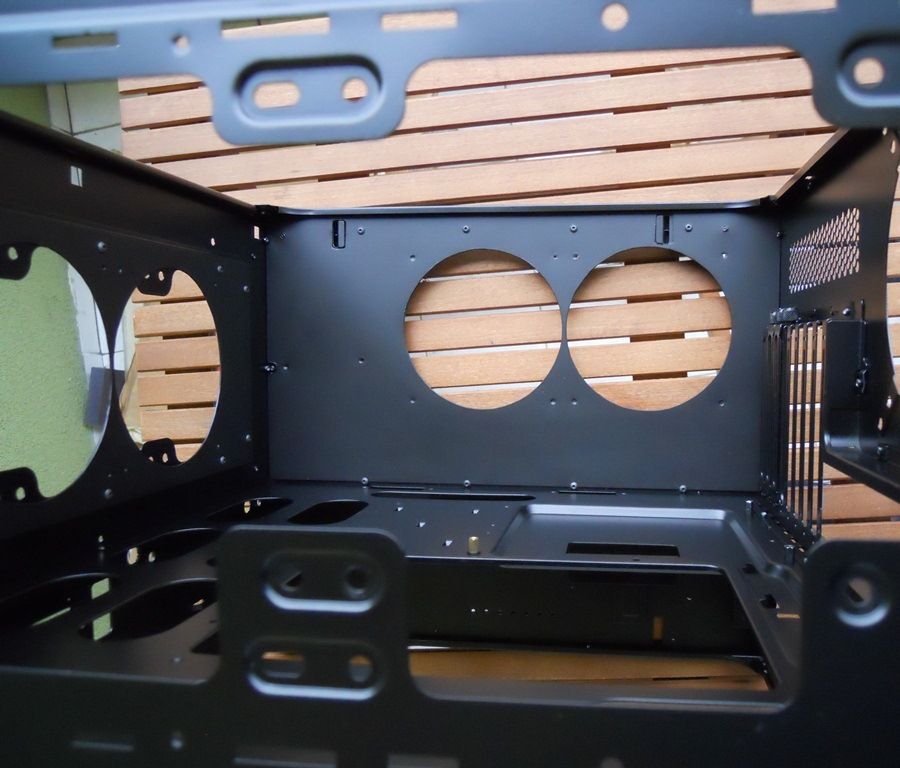
Those cuts are really clean Pepe.. nicely done :worship:
Really interested seeing how this is going to be done.
Bottom panel should be ready tomorrow and I will be ready for final assembly.
Unless anything unexpected happens the build should be ready by end of this week
Really interested seeing how this is going to be done.
 Looking forward to the new pic's Pepe
 mehere
New member
thanks
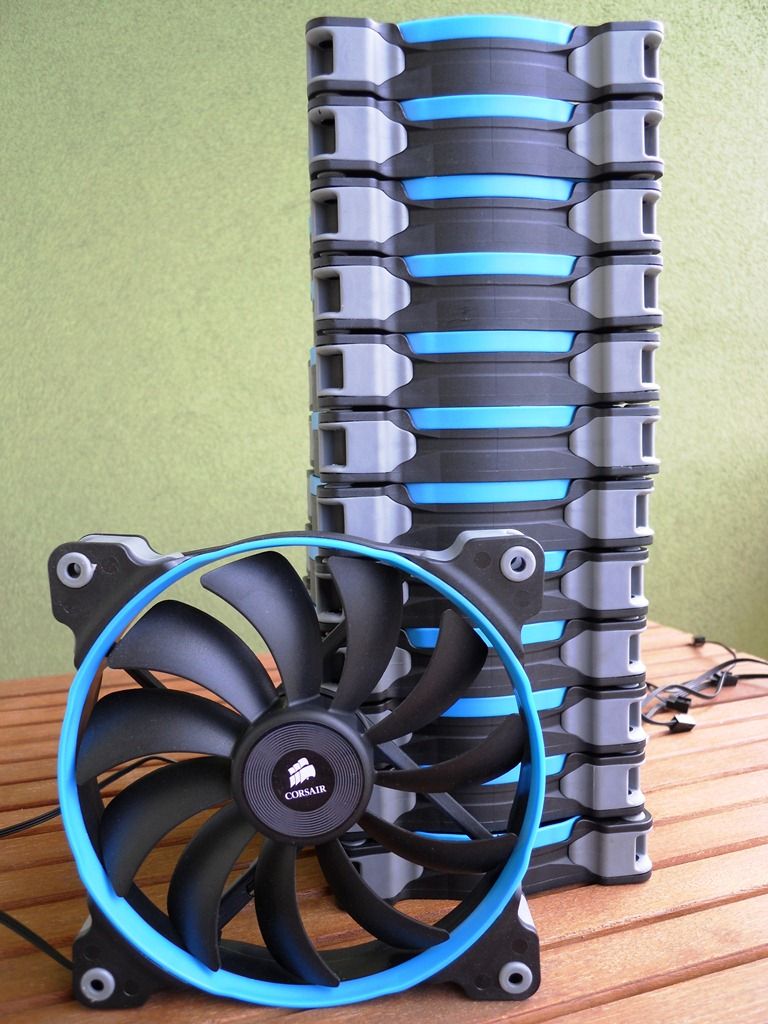
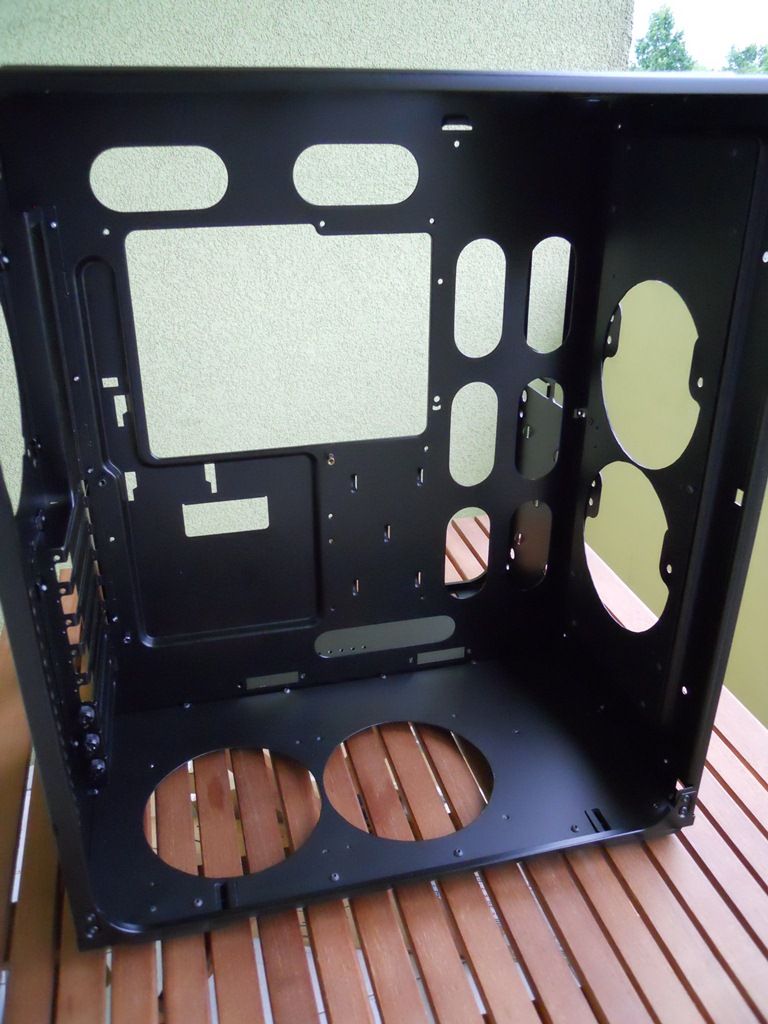
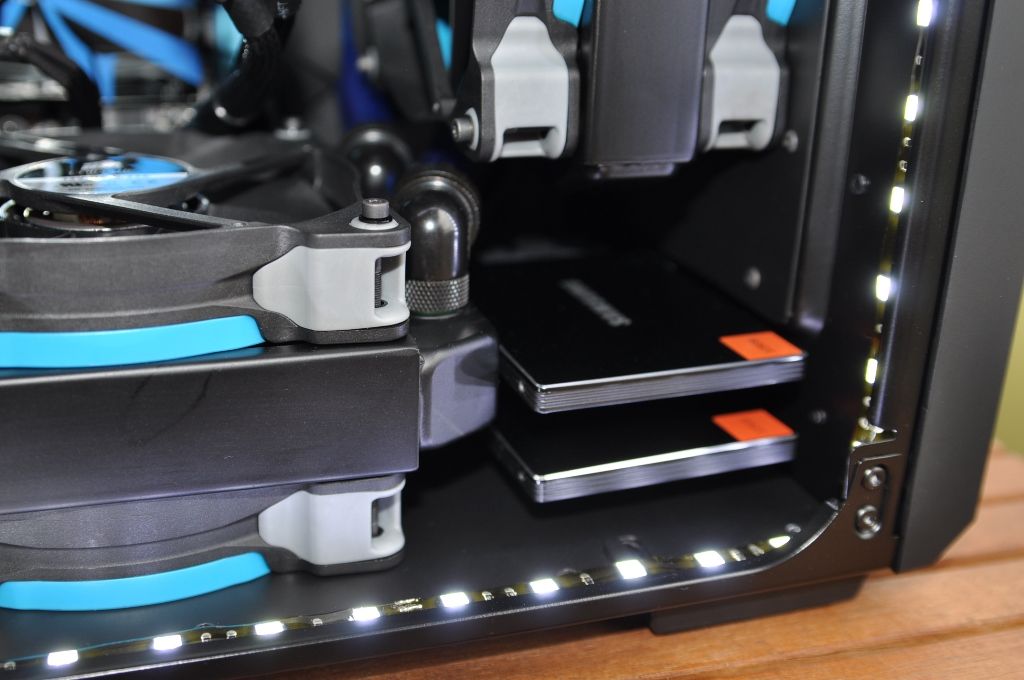
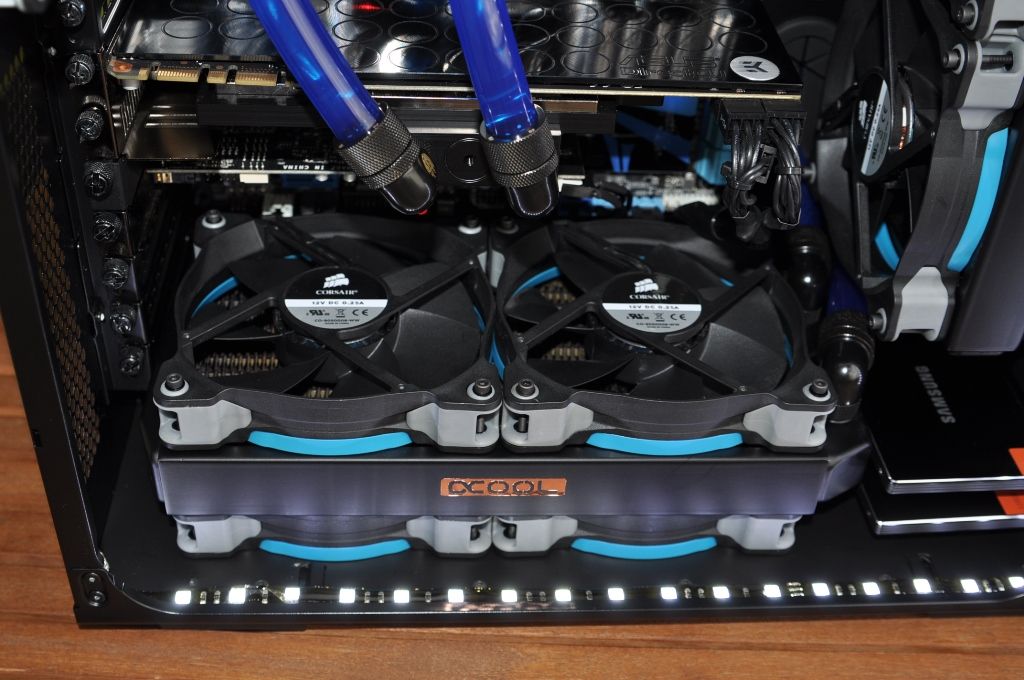
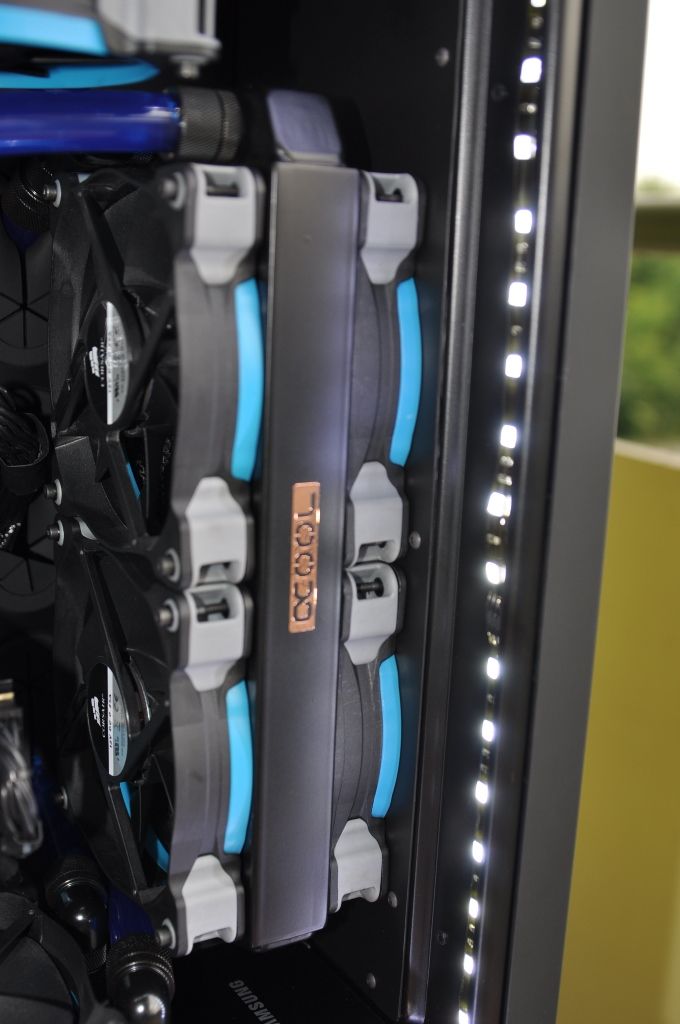
Almost ready to start assembly. A couple of fans will go inside :lol:
that look's like a TTL vid
")

 h34r
h34r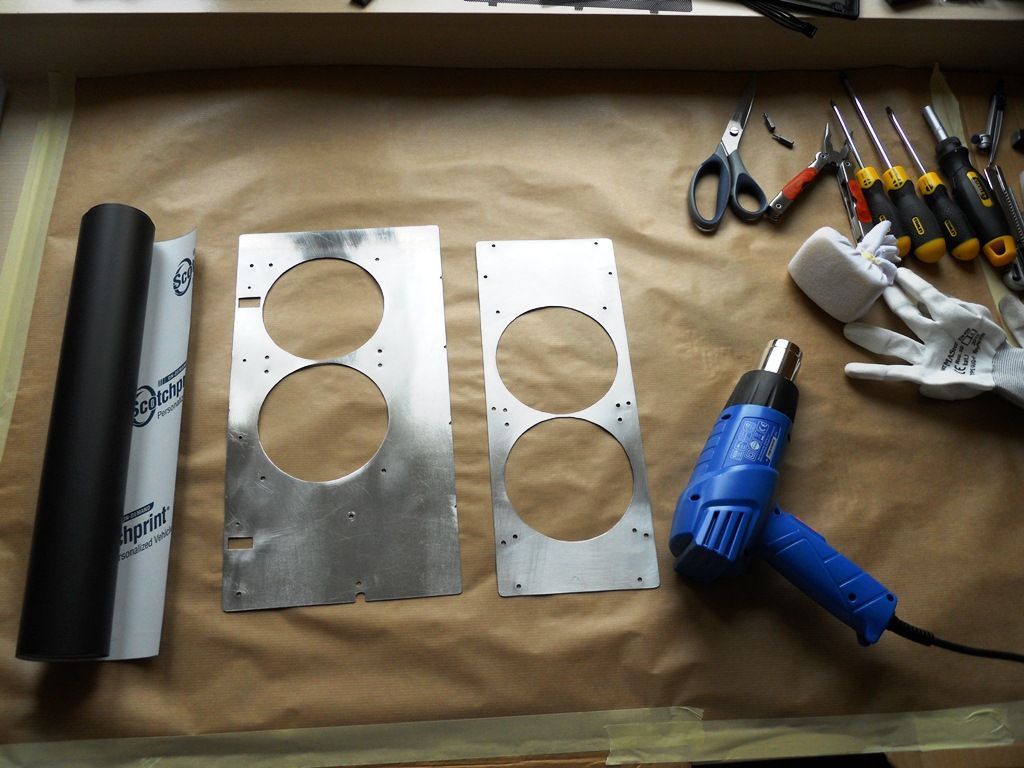

remember300
Active member
thanks
Almost ready to start assembly. A couple of fans will go inside :lol:
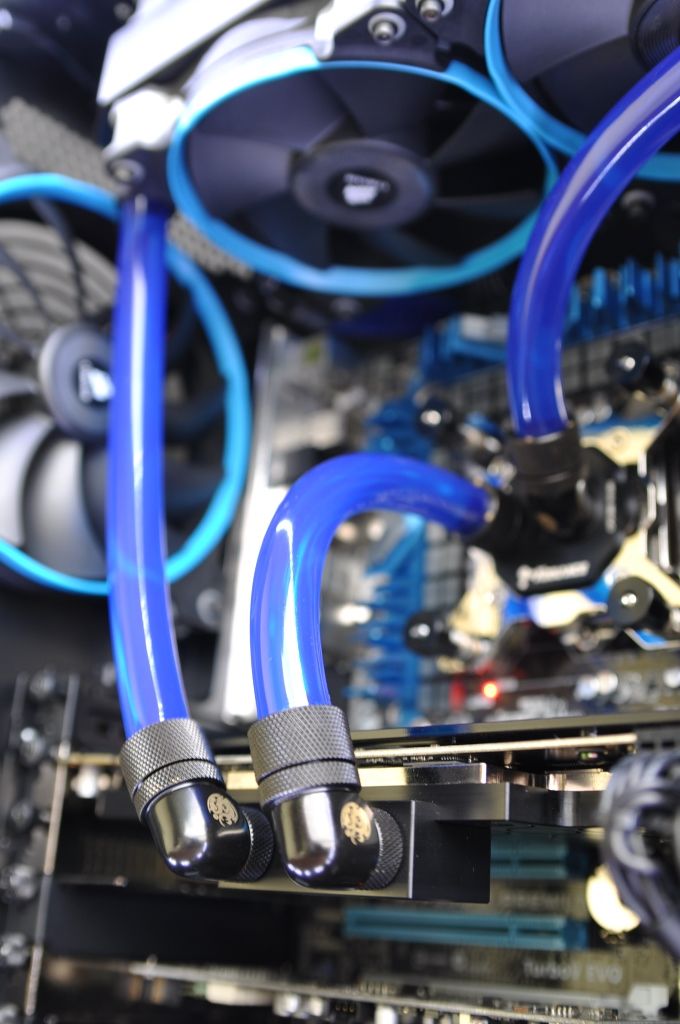
lol push push push push pull pull pull pull? lool
lol push push push push pull pull pull pull? lool
still not sure, probably push push pull pull pull pull pull pull
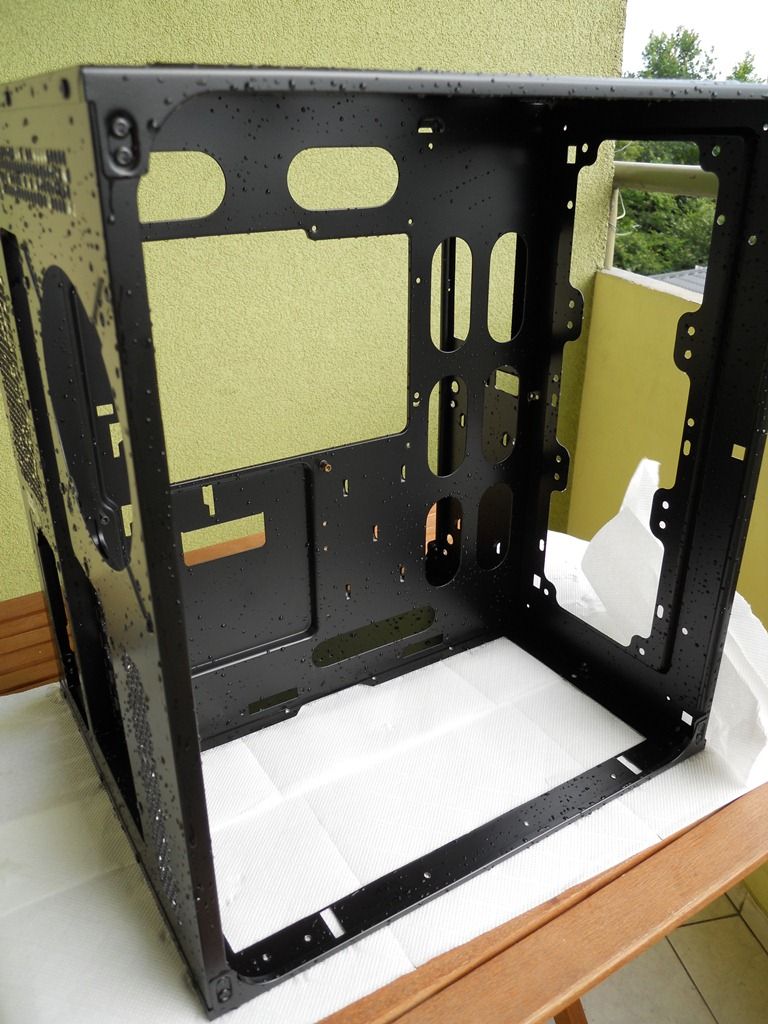
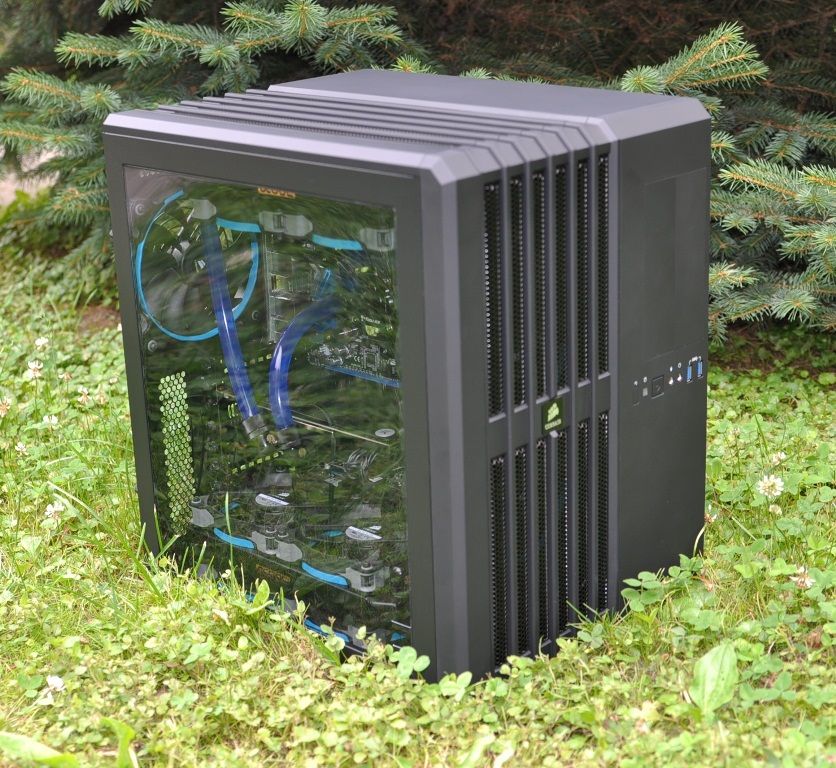
On first glance, it looks like a stock case. Nice work dude - not get that baby tubed up.
thanks! I will start tomorrow morning, really happy I can move to this stage :lol:
remember300
Active member
haha i was watching TTL's vid of that and still laughing at the idiots in the comments ... lol


BileMonkey
New member
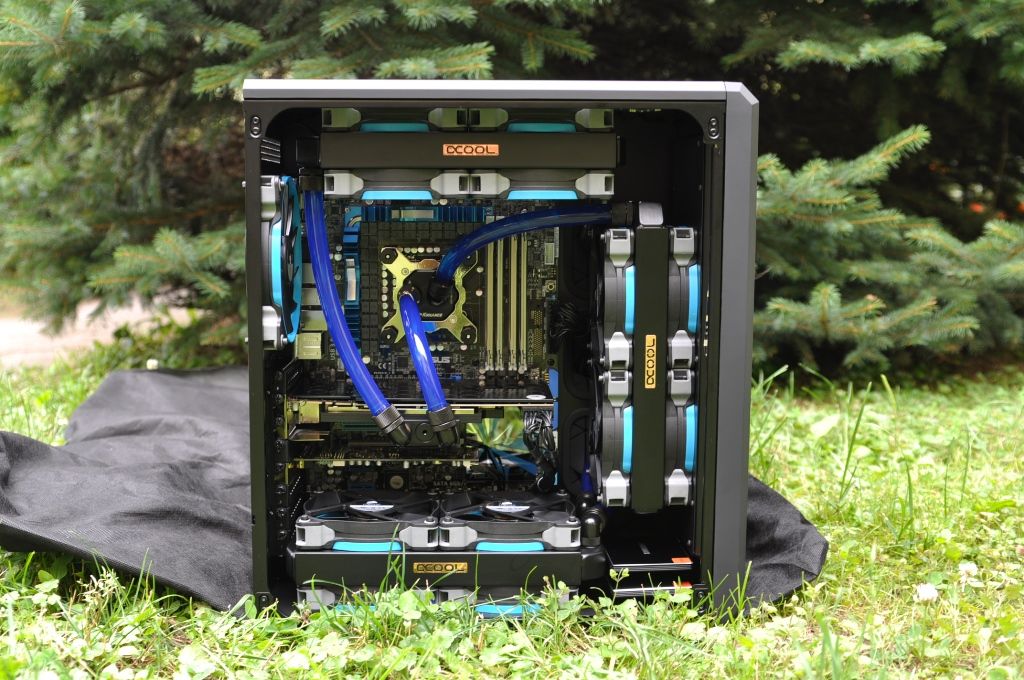
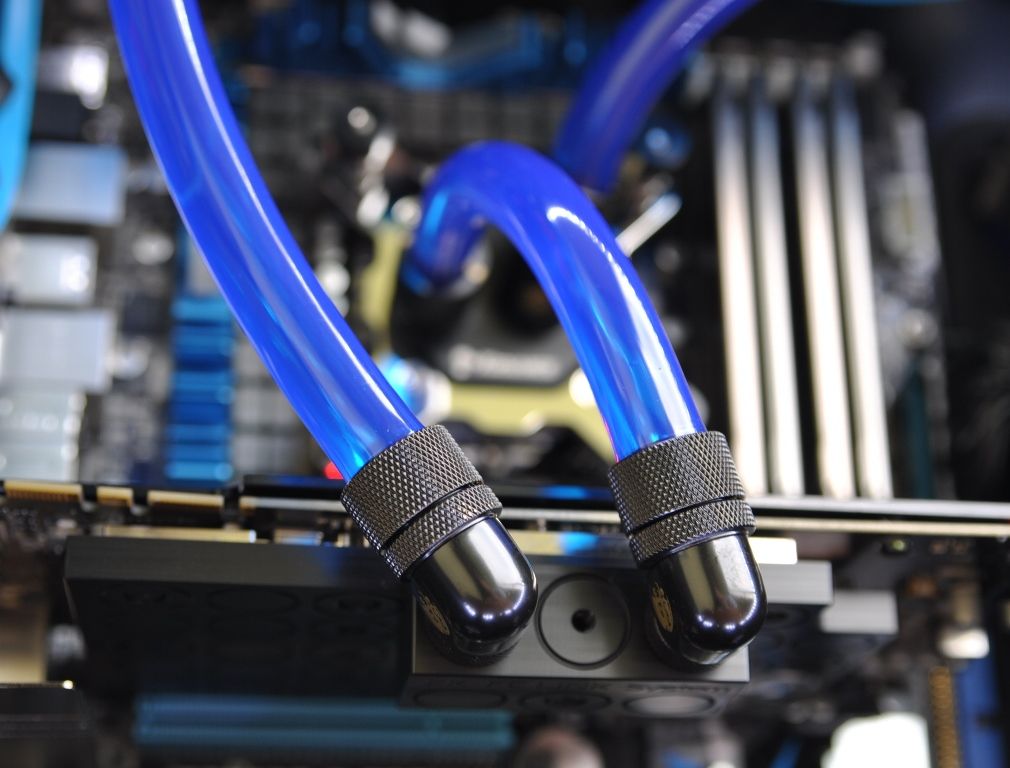
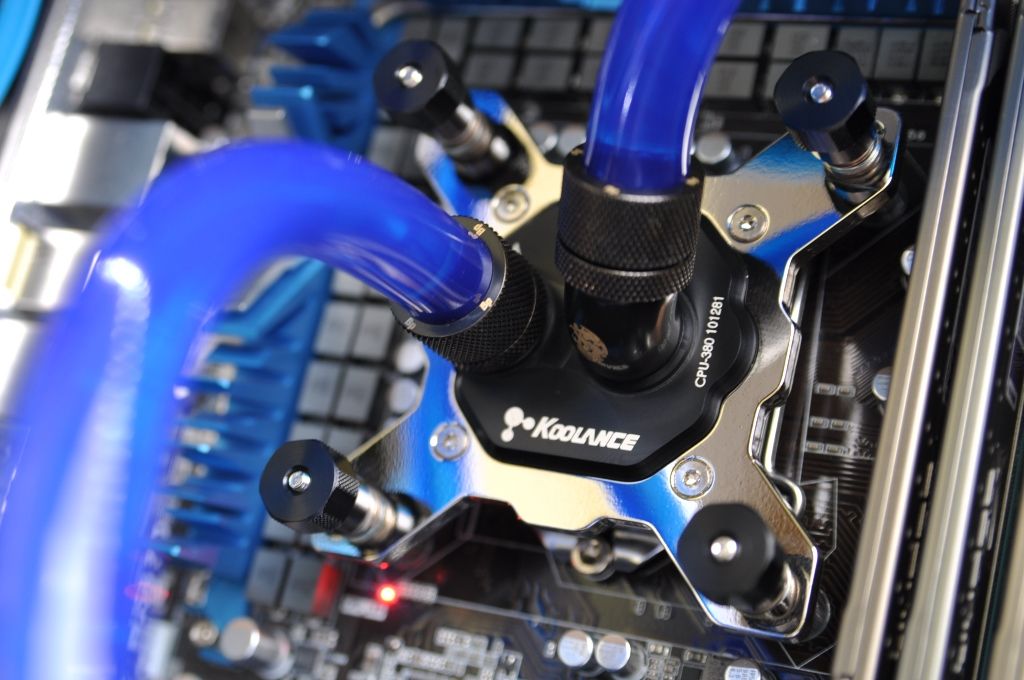
Looks epic. I love this case aesthetic. Looks properly industrial. Fitting three 240s in full push/pull in there is sheer depravity
Last edited:
Similar threads
- Replies
- 30
- Views
- 13K