dannyisnow
New member
Love what you've done so far its looking amazing :worship:
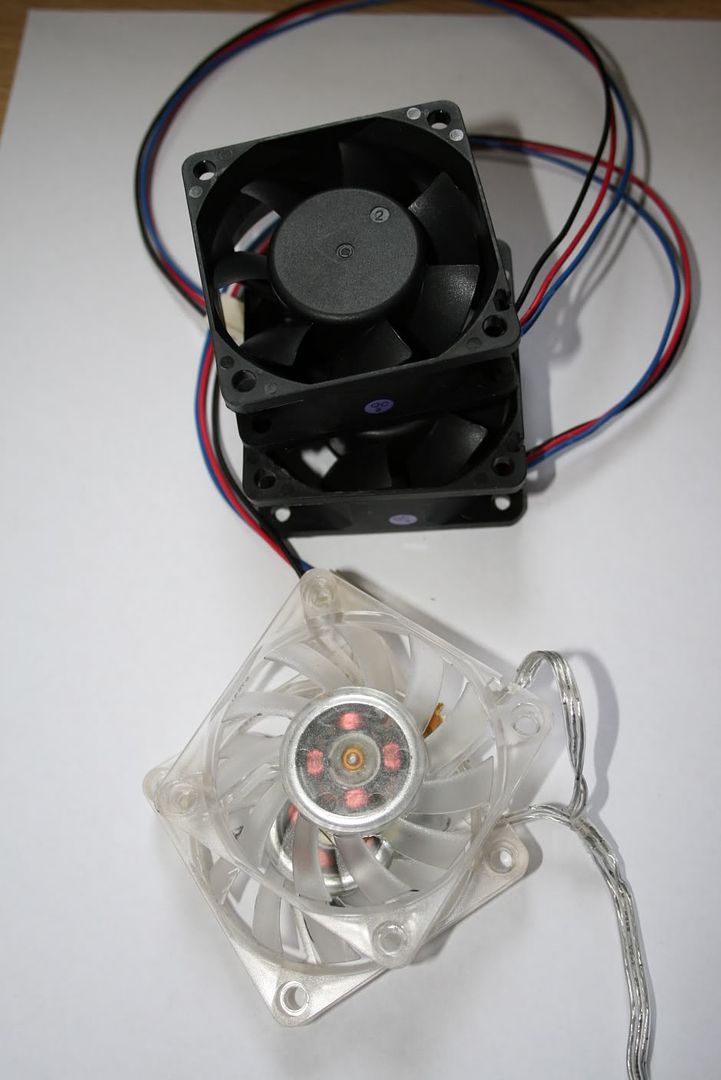
name='webbo' said:2, 1 on bottom and one on side. It could really do with another up top tbh.
name='webbo' said:I decided to do the 10W pro to 18w ultra mod.
This is a very easy mod all you need to do is join the 2 contact points at the end of the pcb (see my very dodgy soldering skills lol).
Tested and working fine, a successfull mod which should give the pump more power to pump through the chipset blocks I have in store...Sorted!!
name='Pseudonym' said:Pop quiz hot shot.
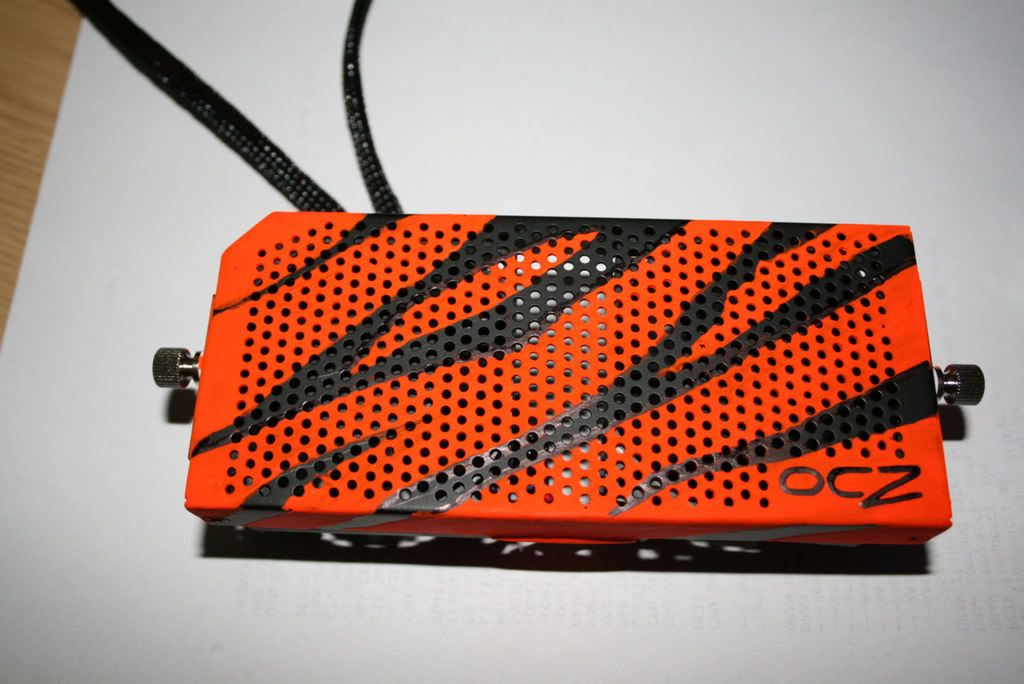
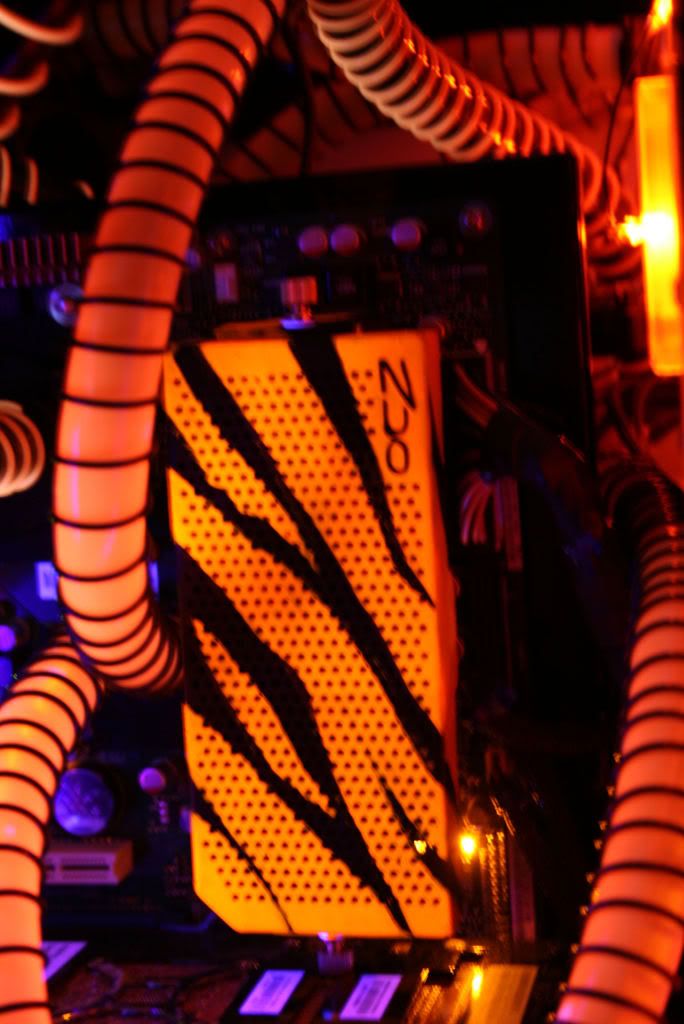
Where did you get your paint from? Just realised it was UV reactive, would work well on a thing i'm doing.
Cheers.
")