yassarikhan786
New member
I love what you did with the motherboard, looks absolutely amazing in all black.
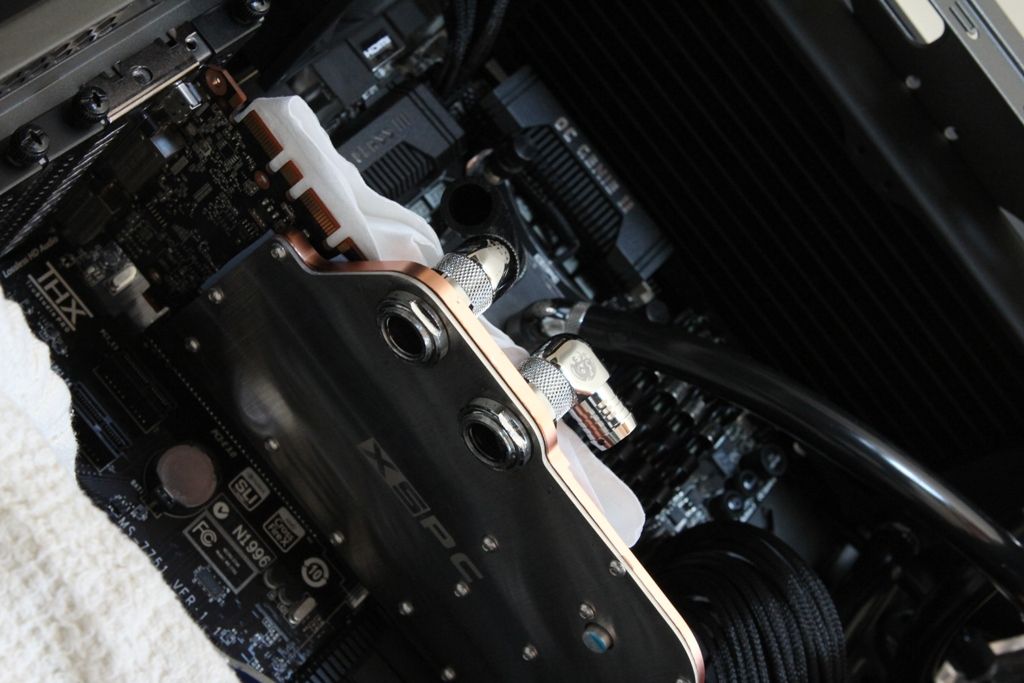
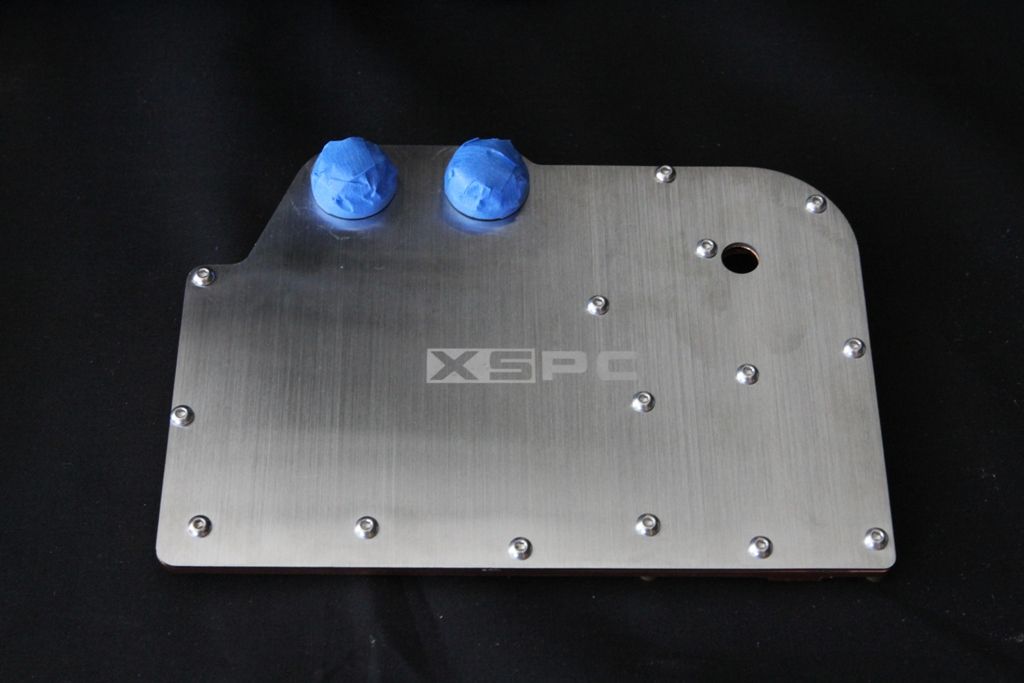
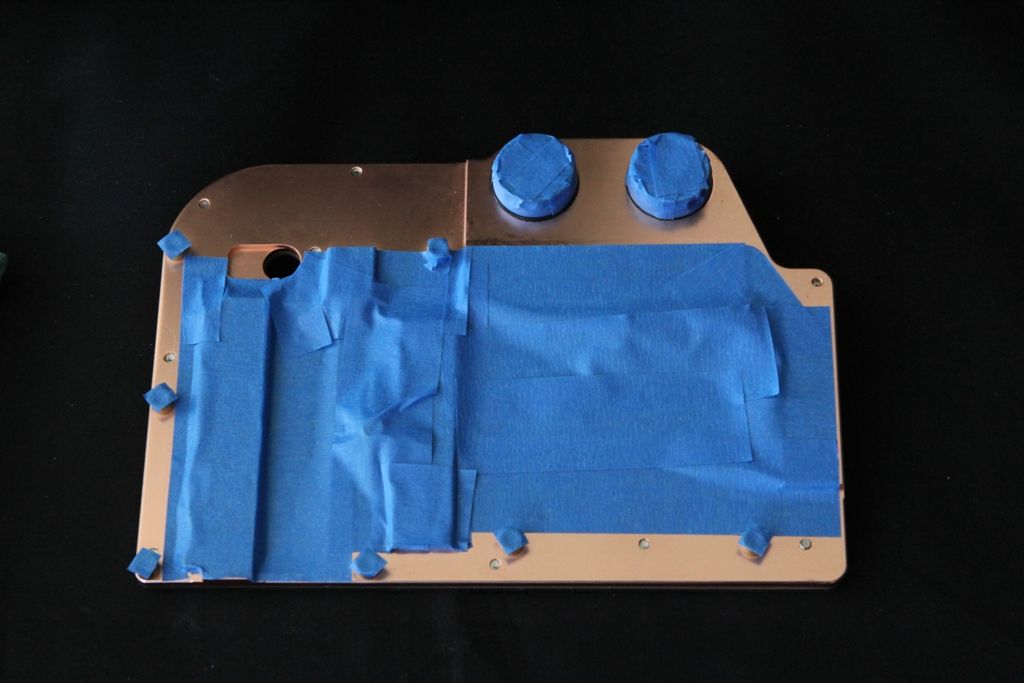
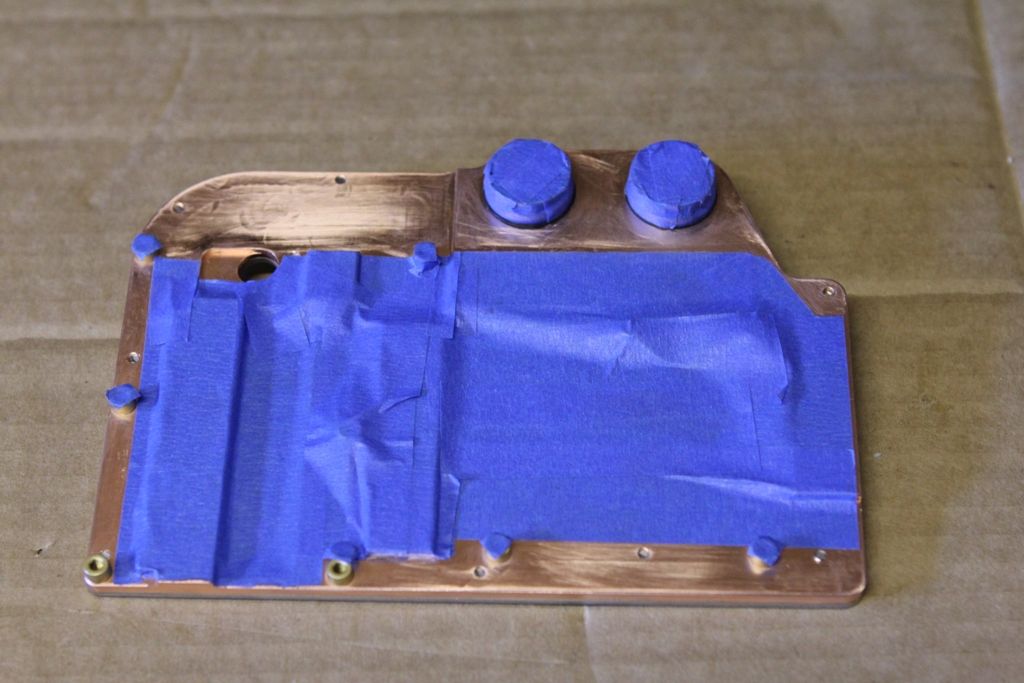
 but than again, the only wc block I like are the komodo's, no point in a full cover if it doesn't fully cover imo.. Maybe just spray the block and leave the letters nzxspc in the brushed ally
Personally I actually like the bit of copper in there as it breaks things up a bit. But perhaps will look better black.
Only one way to find out I guess
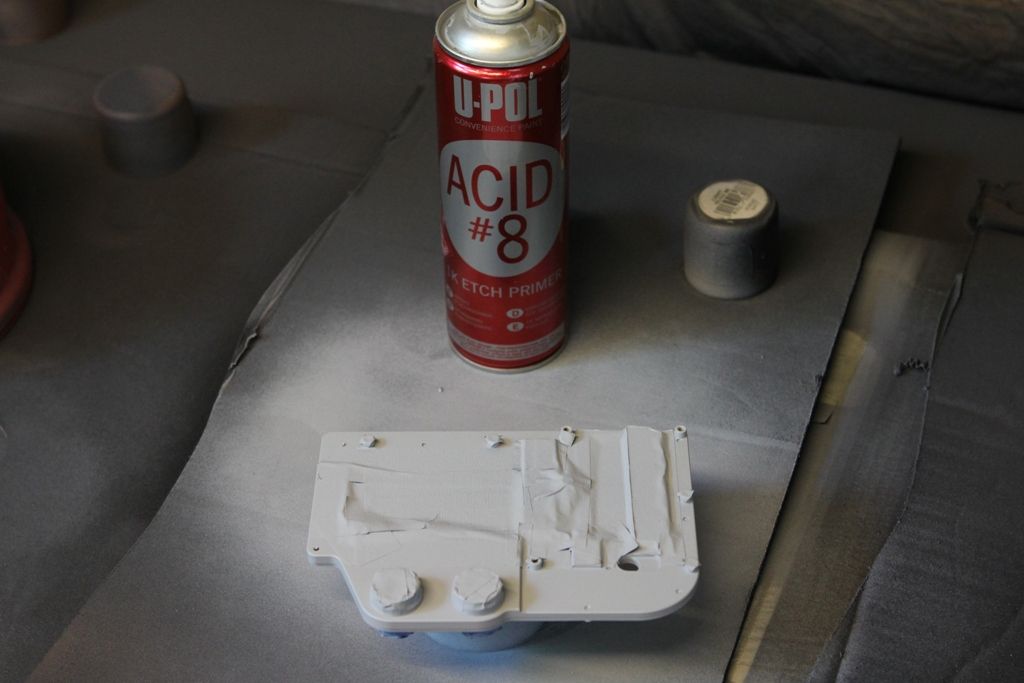
Guess what i'm going to be doing next week?

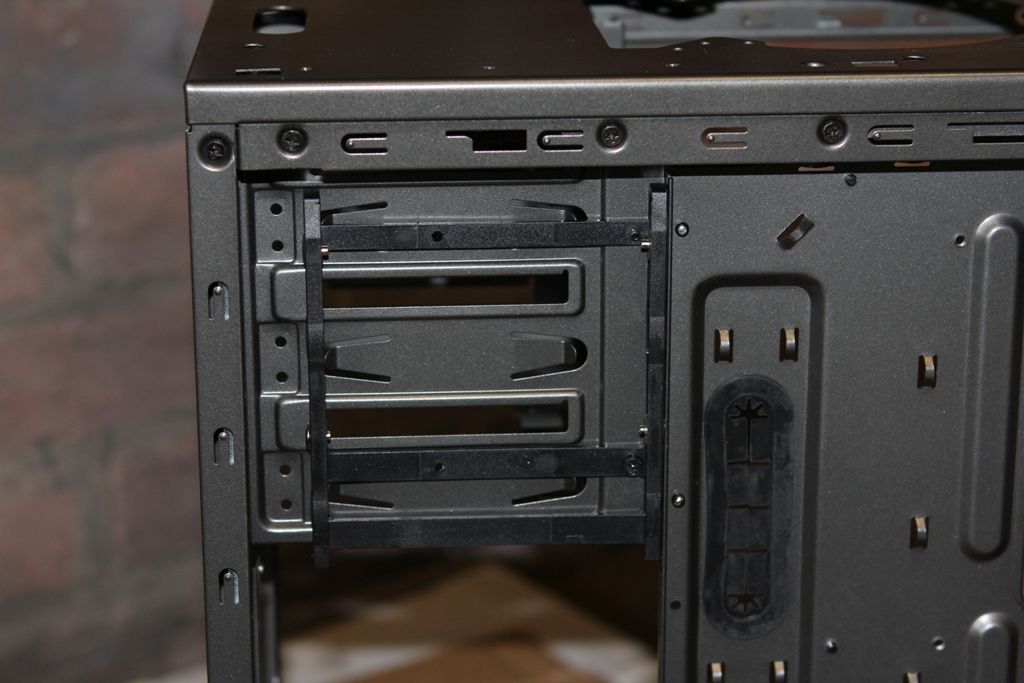
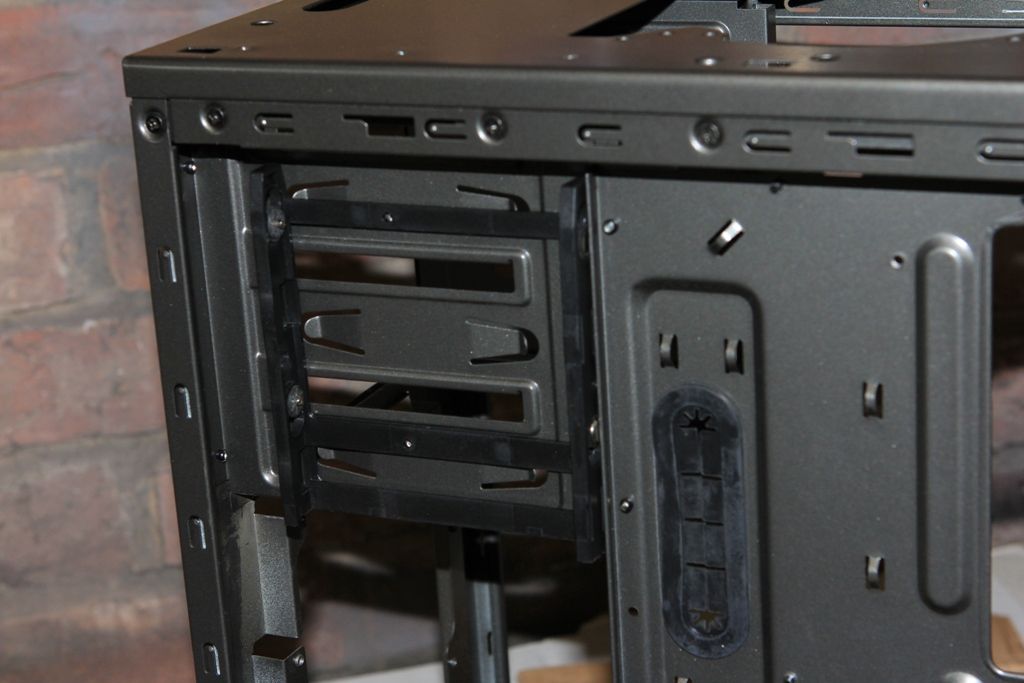
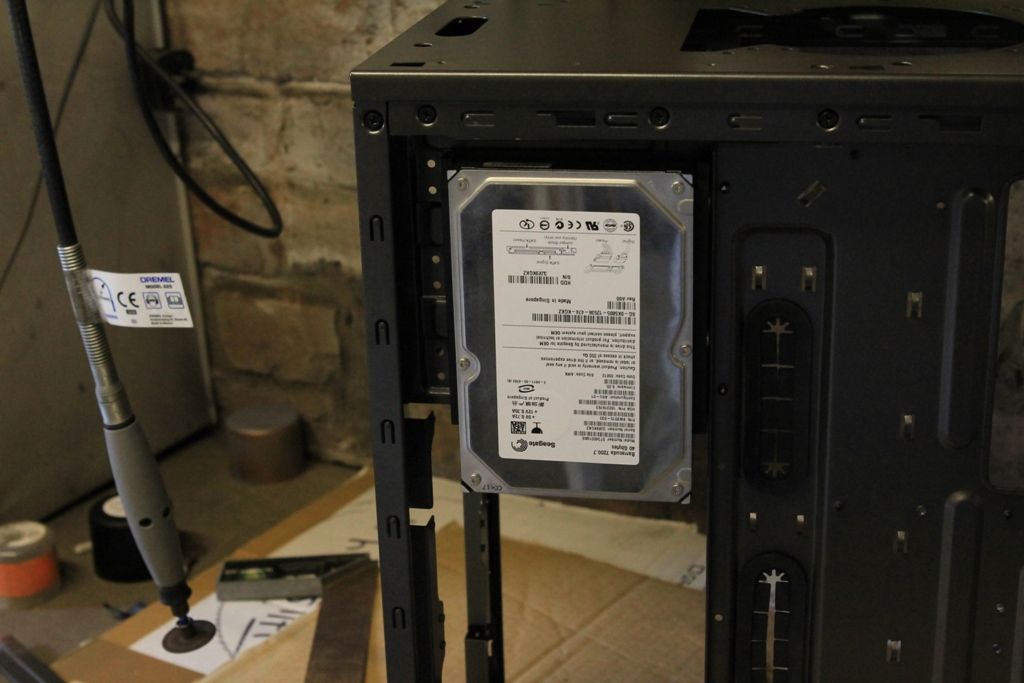
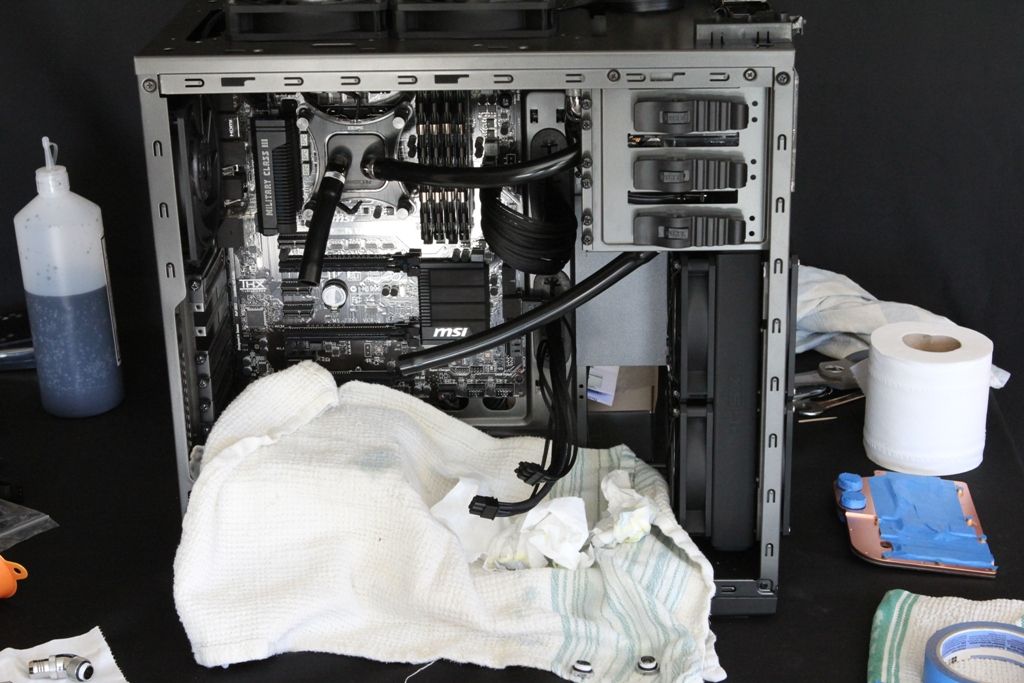
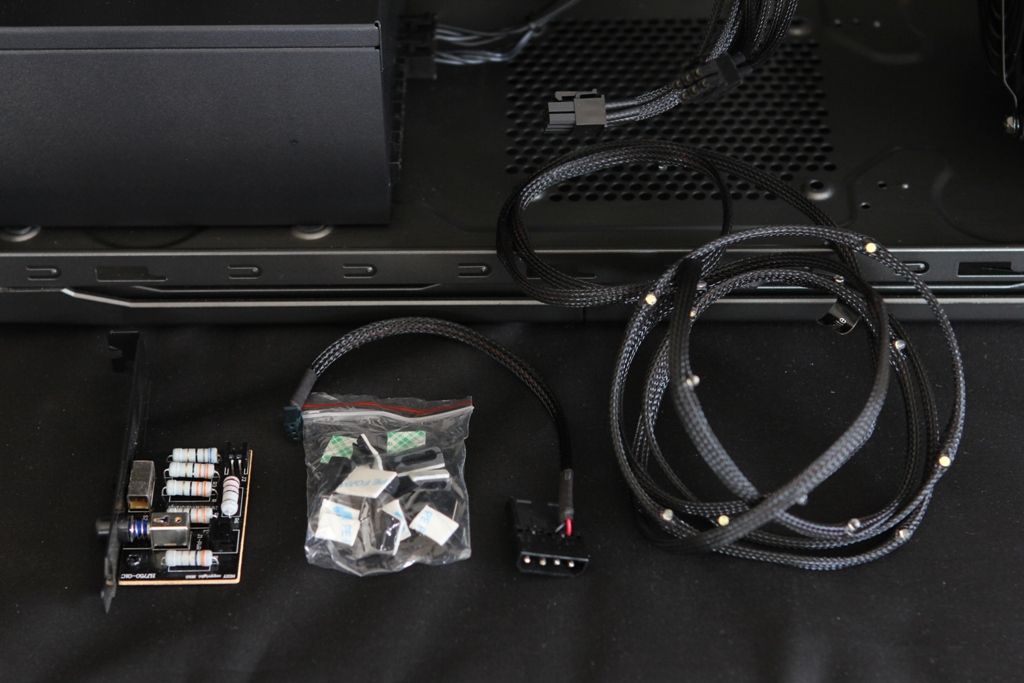
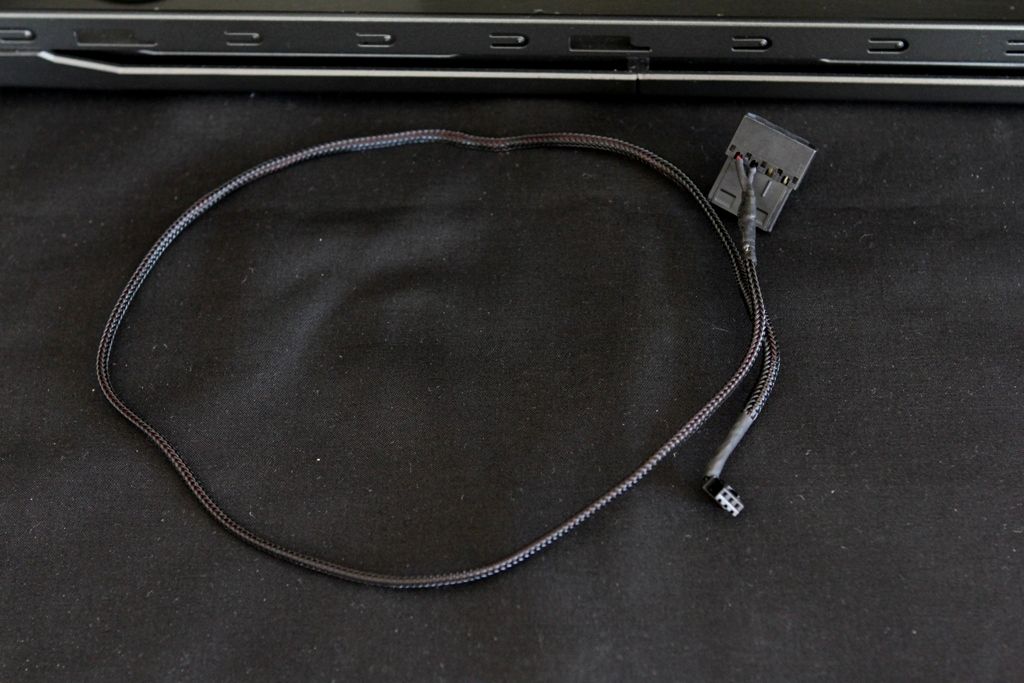
How did you get your mechanical drive fixed to the back side of your drive bays? I think It's genius and would never thought about doing that...
")
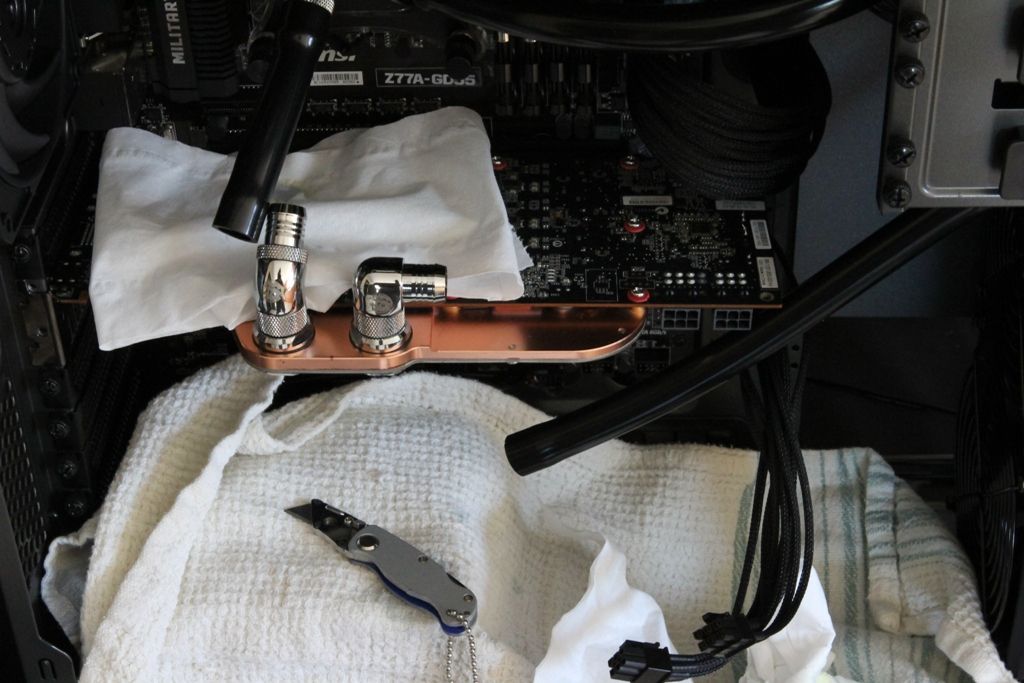
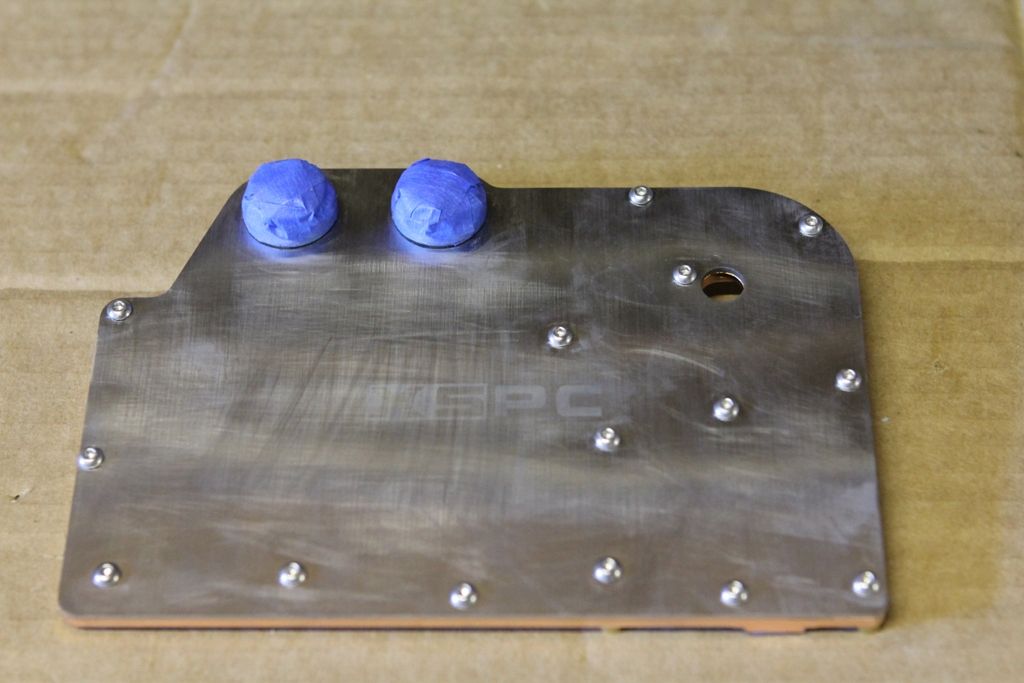
It would be more apt if I said the entire build was genius! I love what you've done with it! My only comment, and this is an entirely personal thing but from the pictures I saw from the build article (the one that went up recently) I see touches of copper in the rig and it looks like copper accents on the motherboard, but that could Just be the lighting. So I was thinking, if it is the case, then copper barbs would've looked the dogs danglers. But I know you did what you thought was best
But again, great work Mr Dubs!
How did you get your mechanical drive fixed to the back side of your drive bays? I think It's genius and would never thought about doing that...


looking good
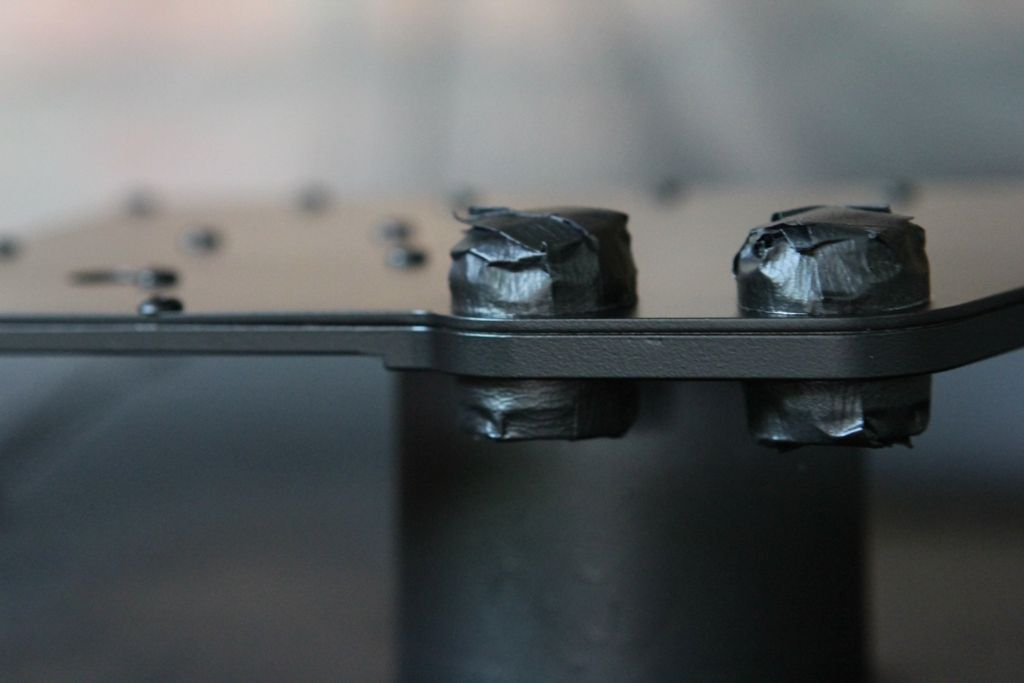
Paint looks awesome on the blocks
Keep up the brilliant work m8

Oh my GOD that motherboard looks awesome. Makes me want to paint my R4E now. What kind of paint did you use and how did you paint the PCIe slots?
