Ok Guys we're back with an update. thanks to all for being so patient, and hopefully enjoying all the other builds that we have going on in this fantastic forum of ours.
As like the rest of you I have a four image limit the next update will be posted over a series of post. I know how much you guys like pics so didn't want to deprive you.
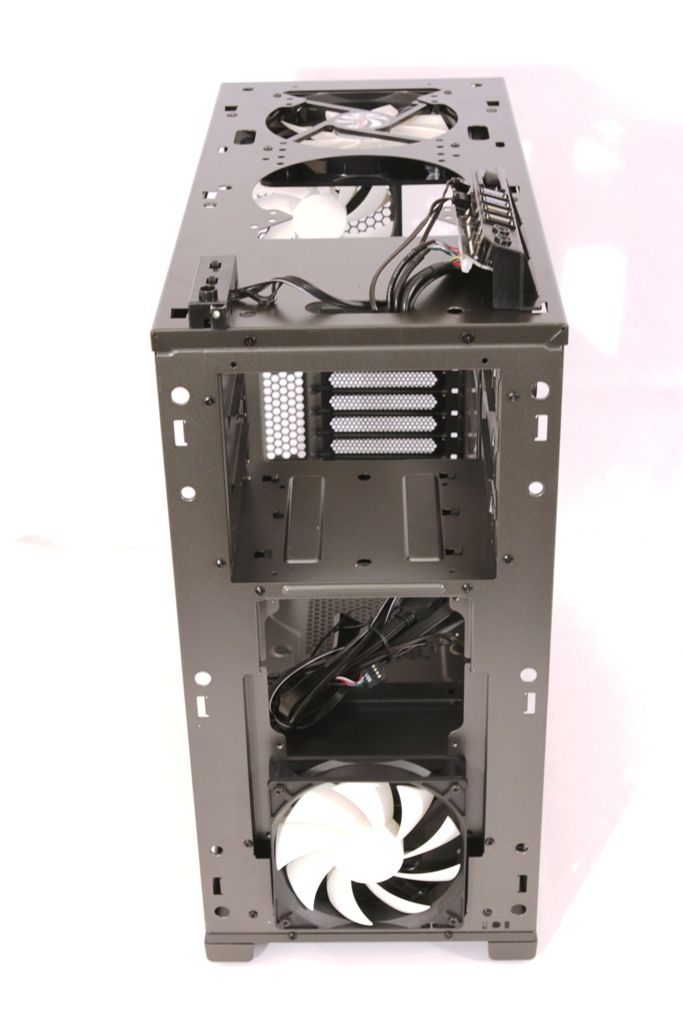
Ok down to business. First thing thing on the list is stripping the case down. The ease with which a case comes apart often plays a large part in the extent of a mod, but always plays a very large part in how easy that mod is to accomplish. Little things like using screws instead of rivets and plastic clips instead of screws can make the task so much easier. I'm pleased to say that the phantom 410 strips very easily. A few tugs on the plastic cowling and both the front and roof sections lift away easily.
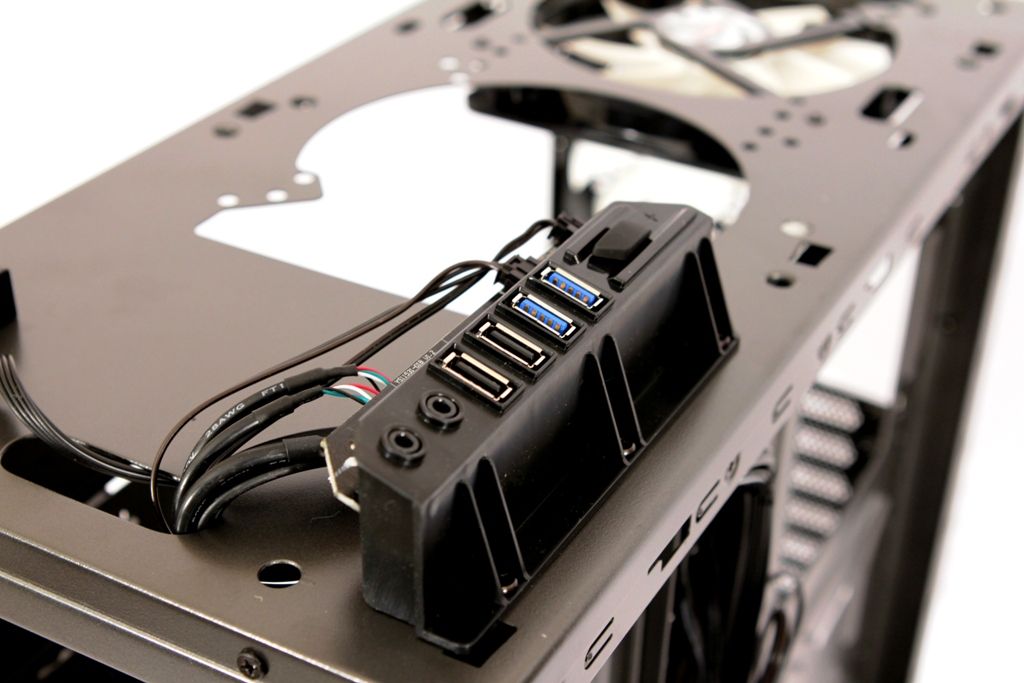
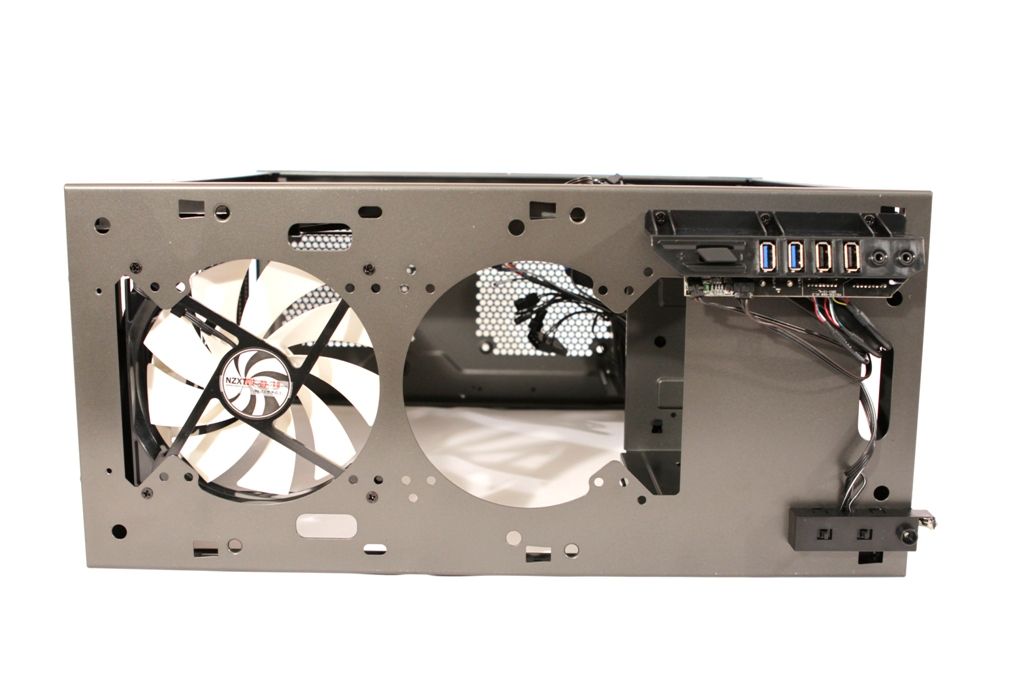
Unlike with some cases the front I/O ports aren't and integral part of the outer trim so there's no need hear to fiddle the wires through as you remove the trim.
Removing the Front I/Os is a doddle, the right hand one is held on with 2 screws and the left simply unclips.
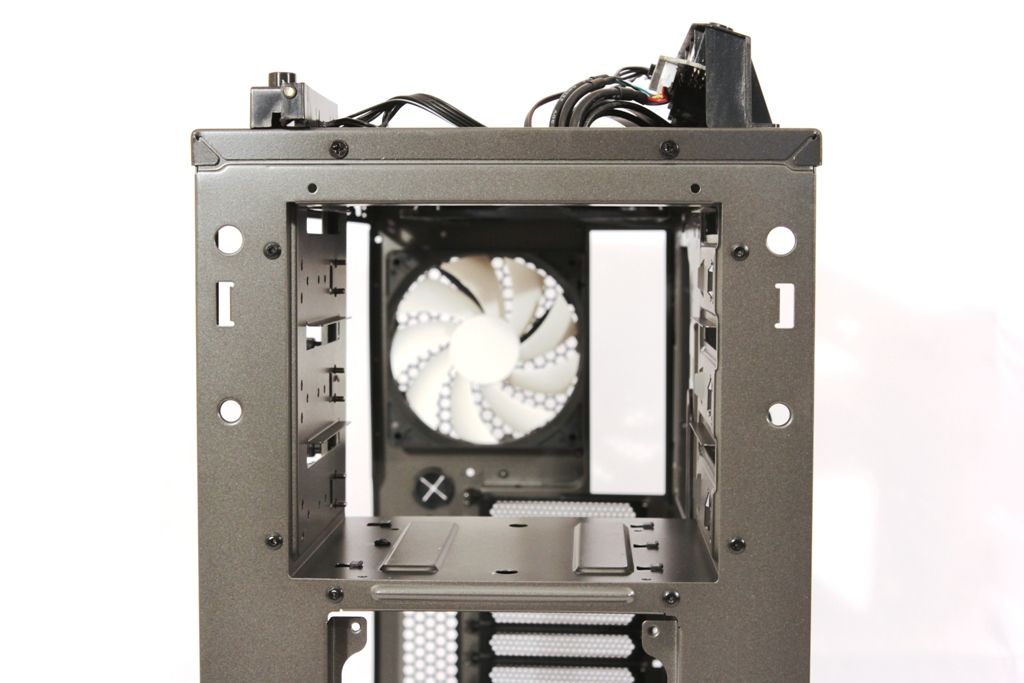
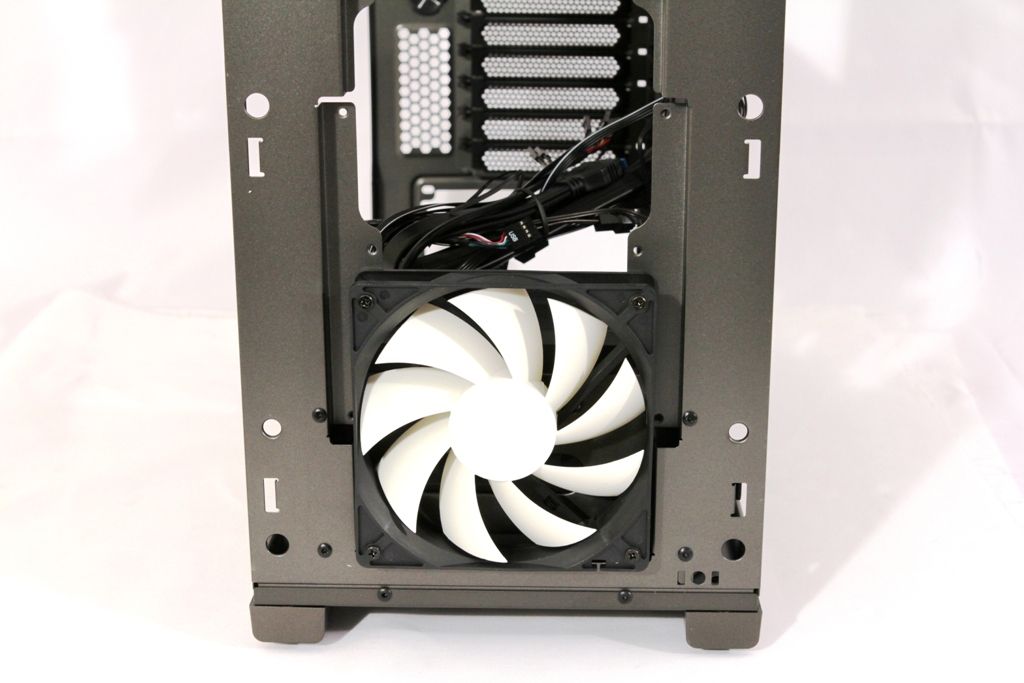
Turning our attention to the front of the case we can see that should you wish to dismantle further, the main roof assembly is attached by means of screws rather than rivets. On this occasion we aren't taking the case any further apart than this so they can stay firmly in place. We also get a better view of the fans supplied with the case, how these are mounted and other mounting options open to us. With this mod I shall be removing the single 120mm fan at the front and replacing it with 2 Scythe gentle typhoon 1850 RPM fans. That's not all we're going to be doing at the front of course, but we'll talk more about the other plans later.
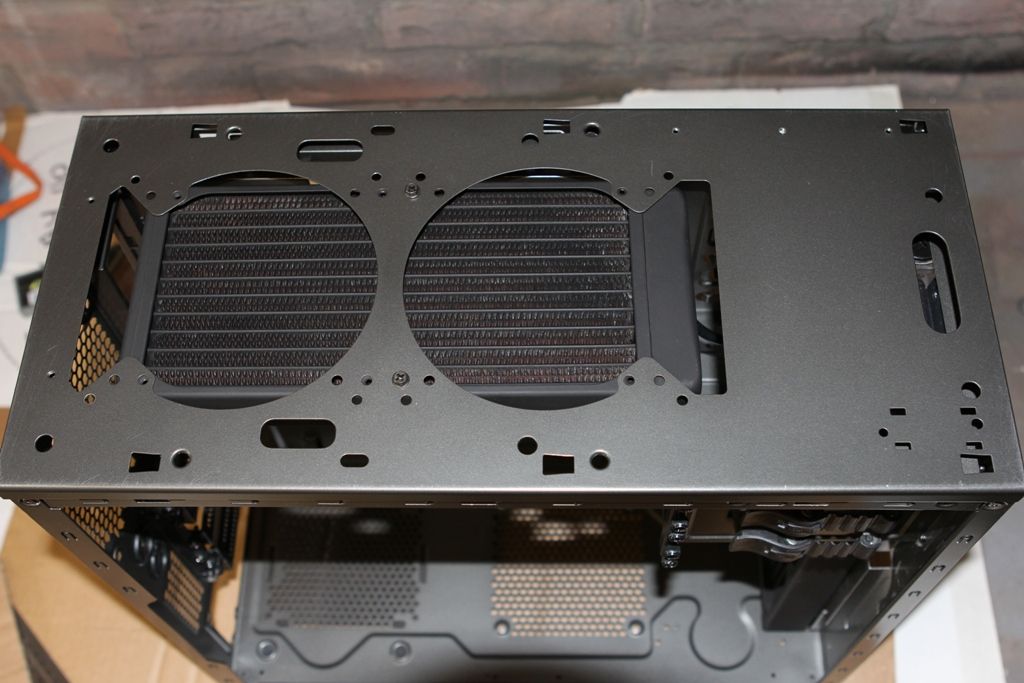
The roof of the case is dominated by the 2 large apertures provided to allow free airflow to the roof mounted fans. The case comes with a single 140mm fan in this location but is able to accept 2x120mm fans. As with the front case fan this will be getting removed and will also be replaced with a pair of GT1850s. As part of the planning process It was noticed that although the apertures on the roof of the case had rebates cut into them to allow for the ports on the end of the radiators, these rebates did not actually line up well with the XSCP radiators we've chosen to use. It was initially thought that enlarging these with the dremel would be sufficient but in fact the issue became a mute one when we looked more closely at roof mounting the rad.
As you know, the aim of this build is to watercool both the i5 2500K CPU and NVidia GTX 570 GPU, and to do this using a bay reservoir and not one but two of the rather fantastic XSPC EX-240 radiators. We know the case will take one of these in the roof, and we'd hoped it would be a relatively easy task to fit the other in the front of the case.
So with the case stripped down it's time to take a closer look at what we have to modify to accomplish our aims. As hinted at above we envisaged that we would have to file out a section of the rebate in the roof to allow for the filling ports on the end tank of the radiator to protrude through. This in fact wasn't necessary in the end as a test fit of the plastic roof section with the radiator in place revealed that even at a rather slim 35mm the EX-240 was just a fraction too thick to fit under the roof.
Not a disaster as it's exactly this sort of issue that the planning stage is designed to find out and resolve. So we can't fit a radiator above the roof panel, but that doesn't mean we can't fit one under the roof panel and have the fans in the roof section. Of course, this means that we no longer need to undertake any modifications to the roof of the case so we can put the dremel down (for the time being at least). You'll also notice that we're now out in the workshop, or what Mr's Dubs calls my "man cave"
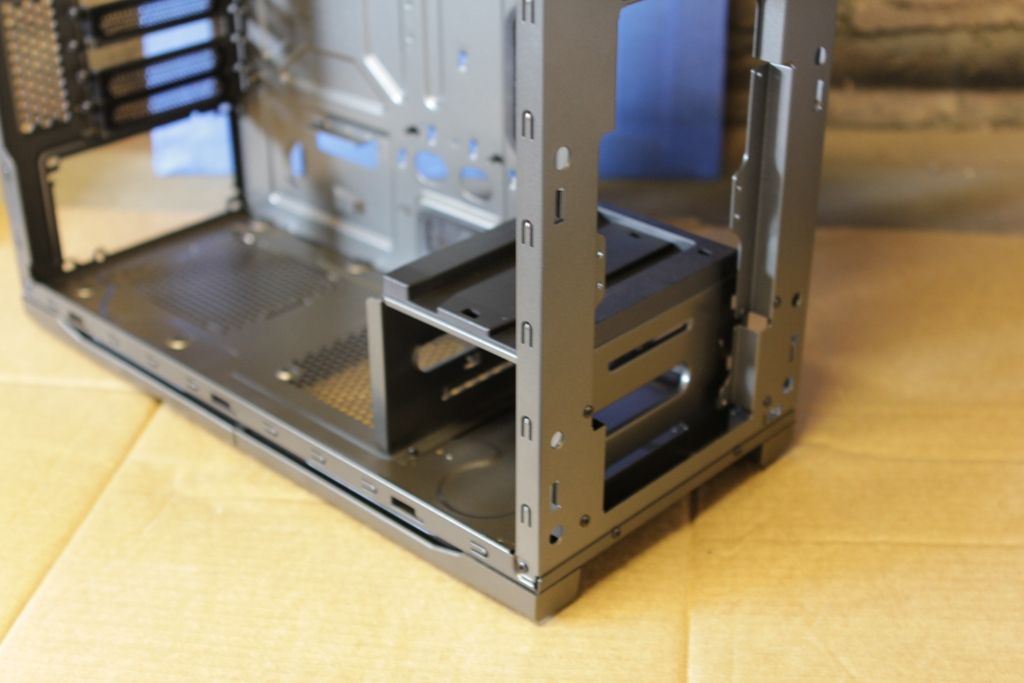
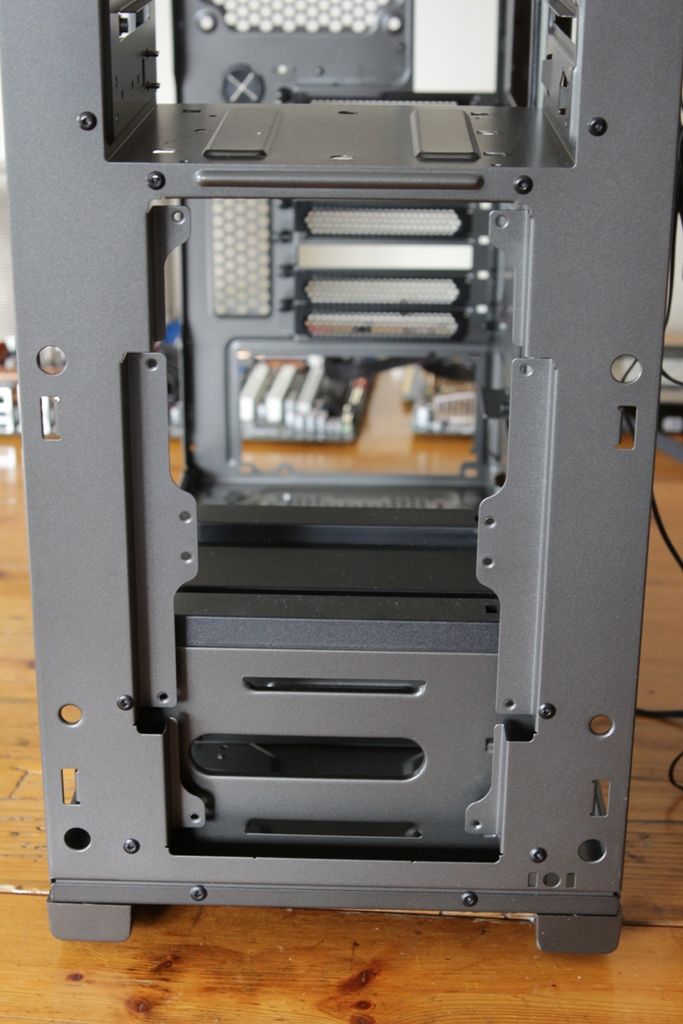
Next up is to look at how we're going to mount the front radiator. It's quite clear from the images below that even after removing the upper section of the 3.5" drive bays, the lower drive bay section will still have to be removed to create enough space.
This lower section is held in place by 4 rivets to the floor and another 4 to the front of the case. Drilling these out should be a simple enough task.
That however is the leastt of our worries as the 175mm long rad just isn't going to fit into the 272mm of space available, even with the drive bay removed.
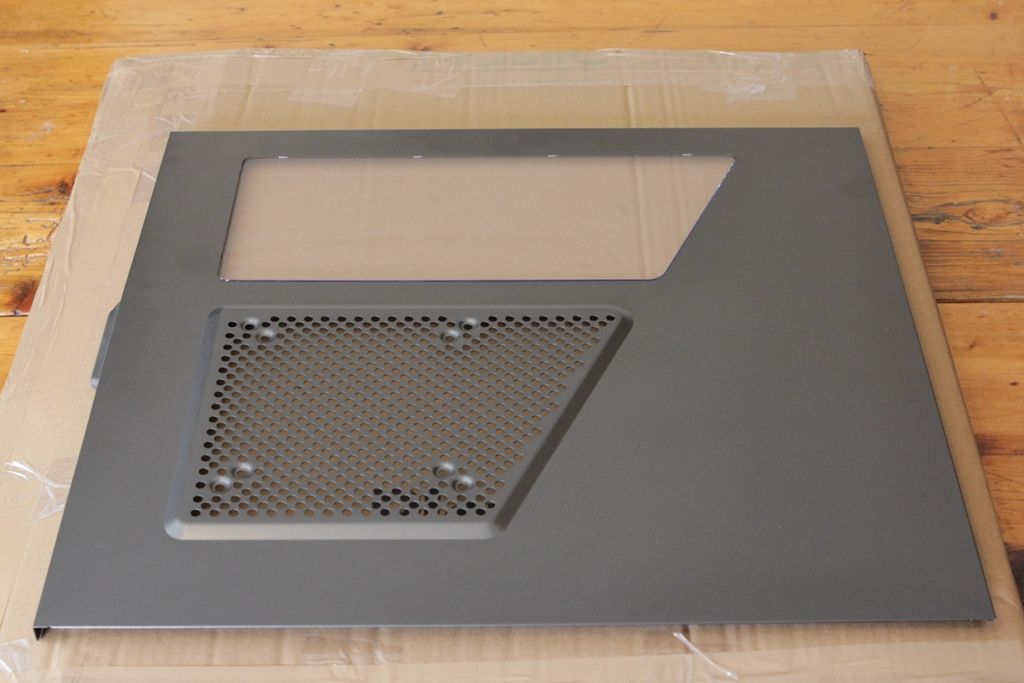
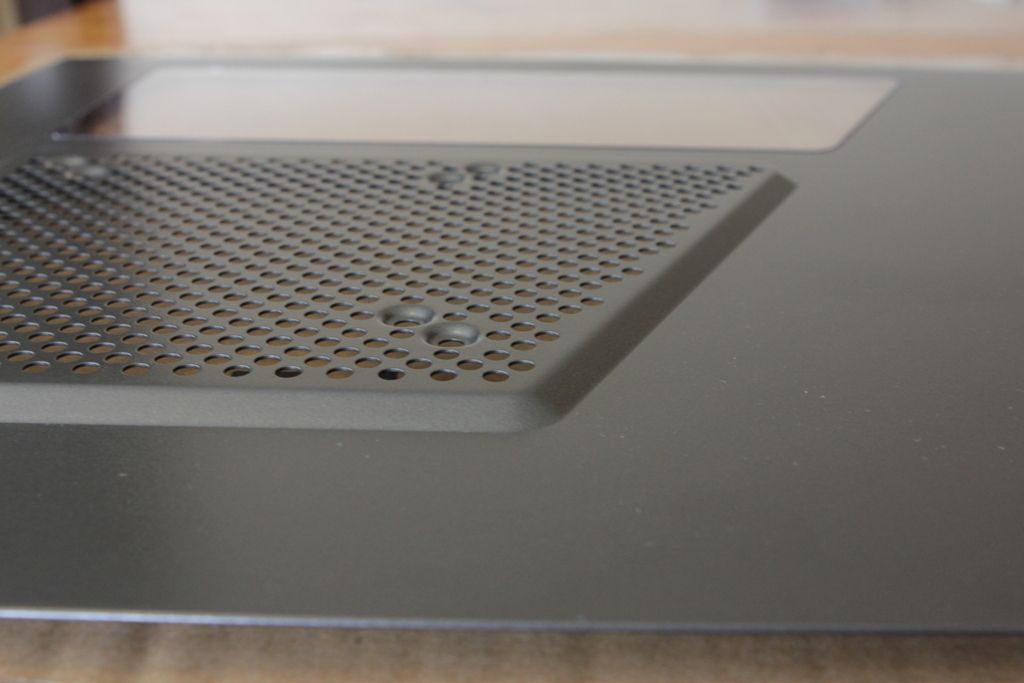
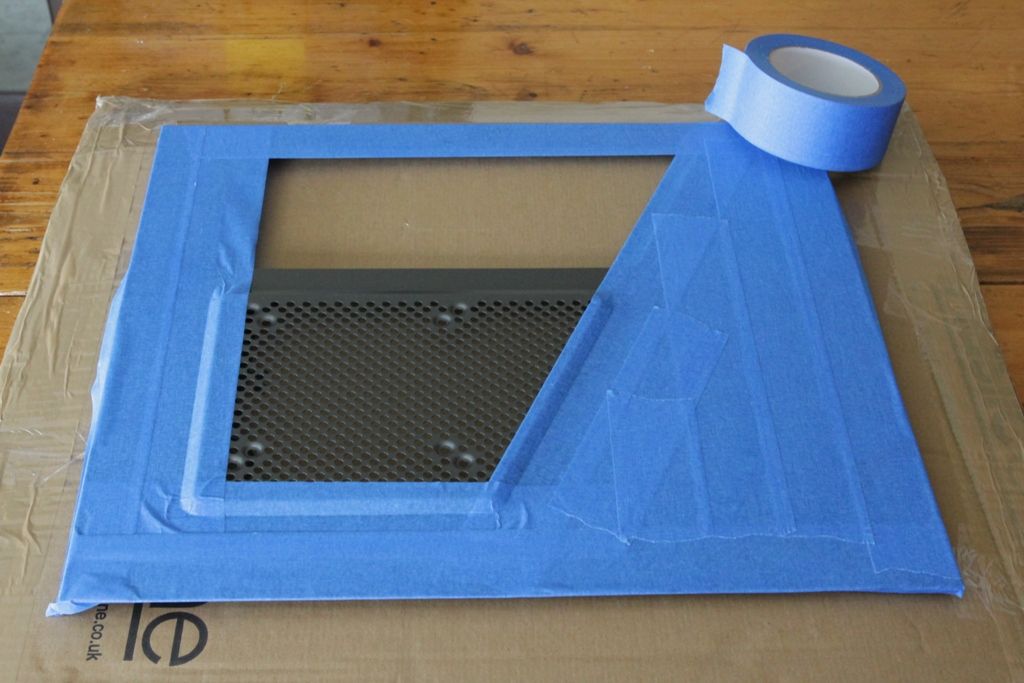
As we're planning on getting the dremel out we might as well have a look at that god awful window/mesh section on the side of the case. Ok, you might like it, and it was no doubt designed specifically tocater for both those who like windows and those who like vents, but it just doesn't do it for me i'm afraid.
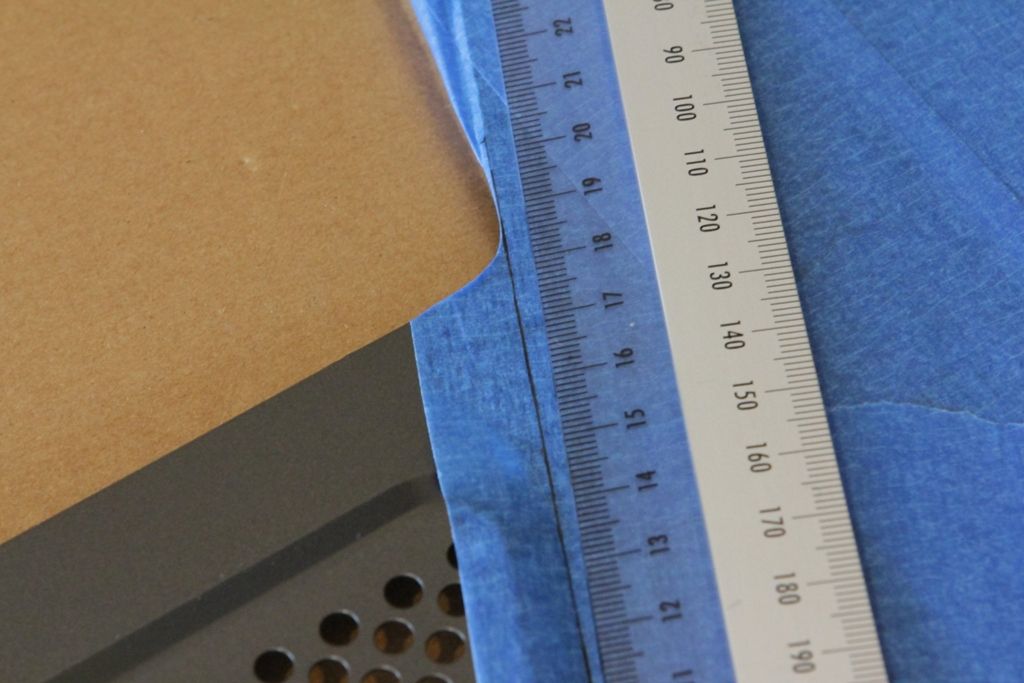
The plan is to simply extend the line of the exicting window to encompass all of the mesh area. I had toyed with the idea of a full window but then you end up swhoing off the side of your 5.25" bays and they're not exactly the sexiest thing in the case are they.
I've used low tack masking tape all over the panel to protect it while cutting and also to provide an easy surface to measure and mark out on.
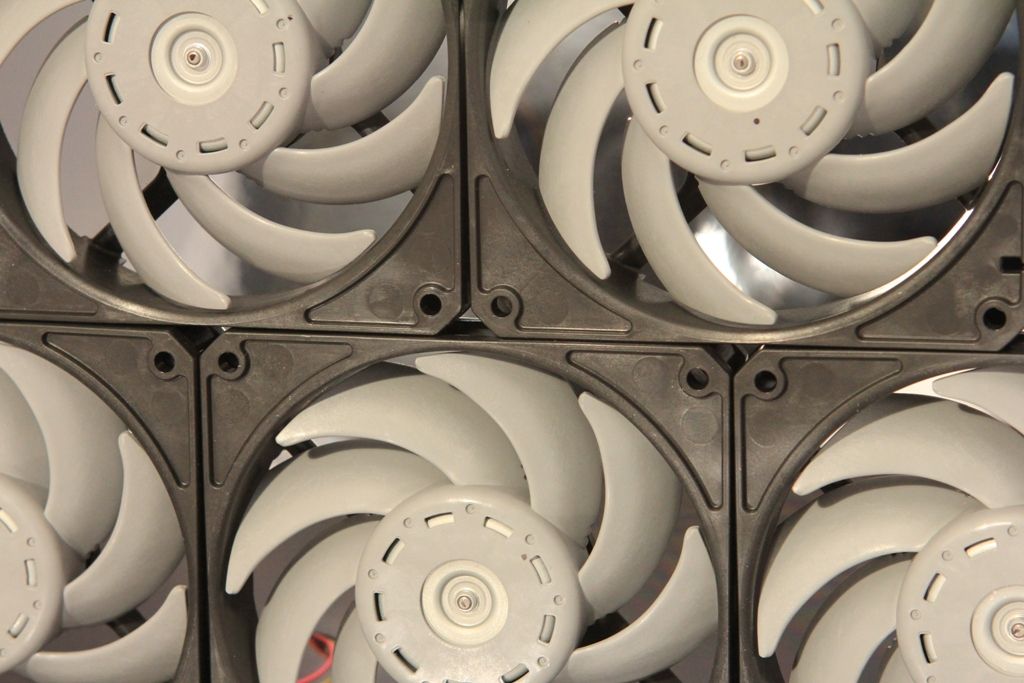
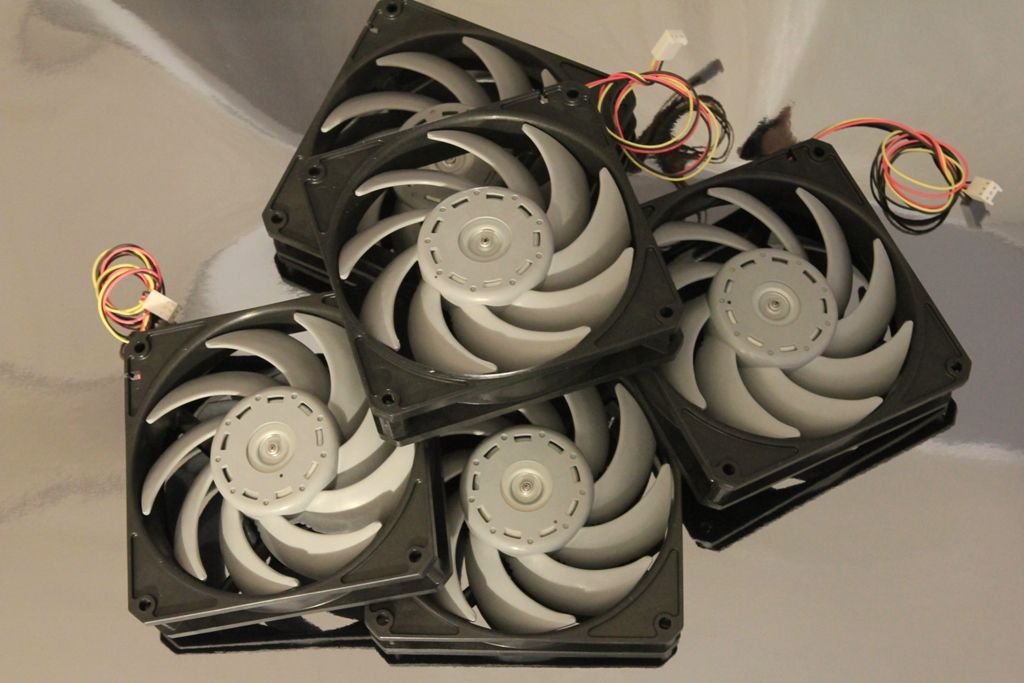
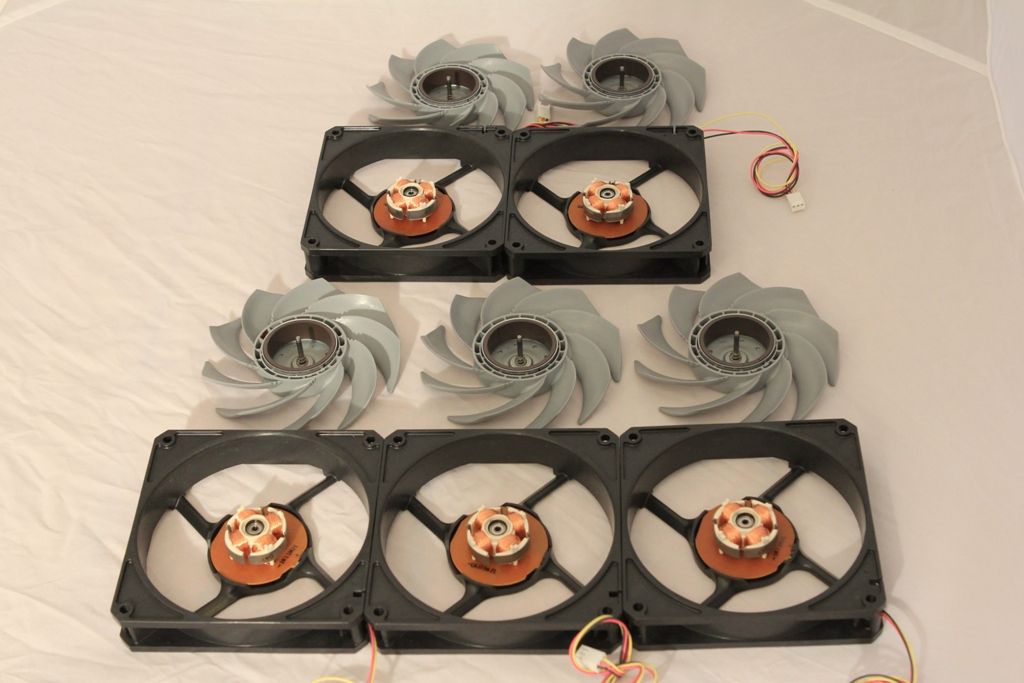
As alluded to earlier I will be replacing the NZXT fans that come with the case with Scythe Gentle Typhoon 1850s. Like many I love these fans, but hate their looks. I've never once used them without changing their appearance through painting. As they're a thick bladed fan as it is there's really no concerns about a layer of paint upsetting any sort of balance.
Prepping the fans for painting is an easy enough job but a little fiddly. Simply pull off the sticker at the rear and remove the tiny (absolutely blooming miniscule) circlip that retains the spindle and then slip the blades away from the cowling, being careful not to lose the circlip or the 2 manets which have a habbi of sliding out and rolling away.
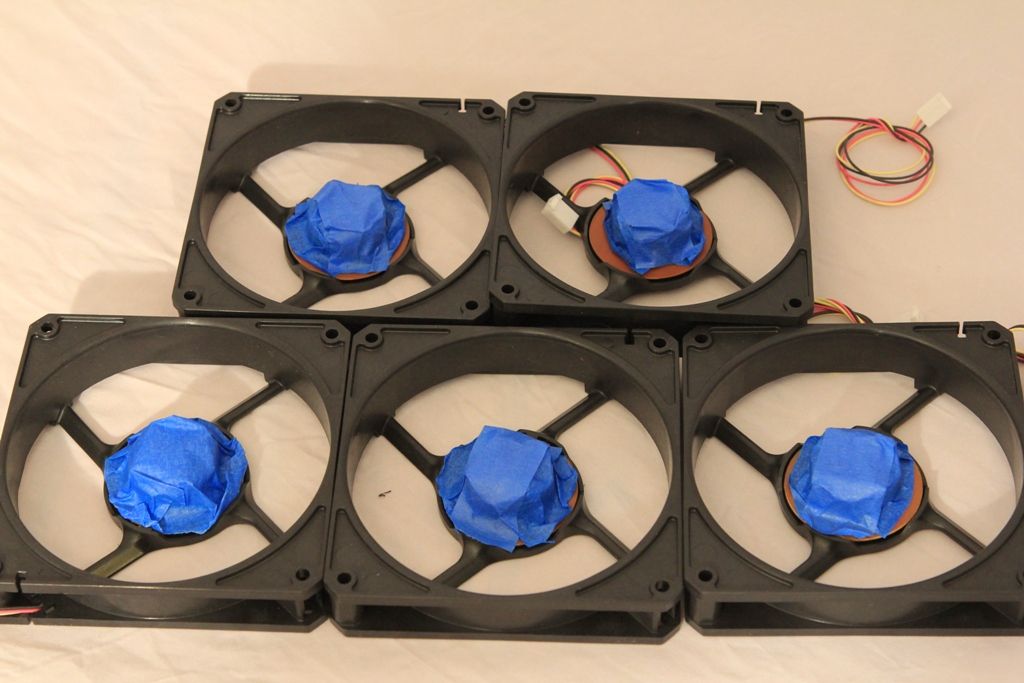
Once you split the fan blades from the cowling it's neccessary to protect the windings etc. This can be done with the careful application of low tack masking tape. Likewise it's neccessary to protect the spindle on the rear of the blade assembly. A simple acardboard disk cut to the same diameter as the rear of the hub does the job nicely.
Well we've got a good idea now of what we want to do and how we're going to do it. Be sure to keep an eye on the forums for updates of this and of course all the other great projects that are going on at present.