Project: Watery

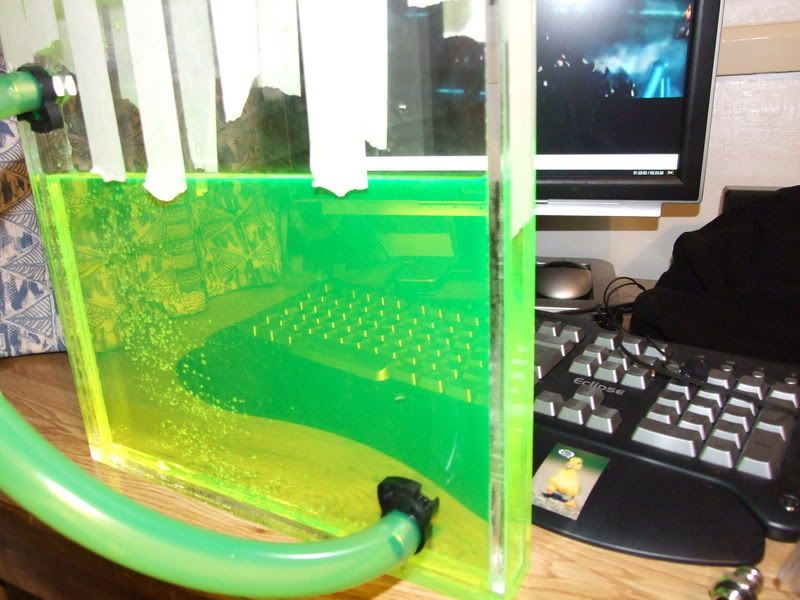
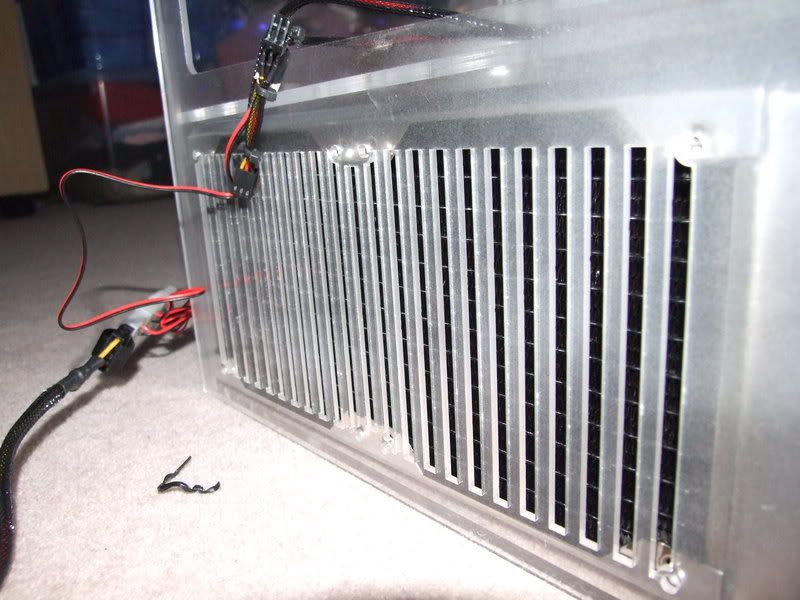
Started work on the Res today, as the 8mm should be here soonish...


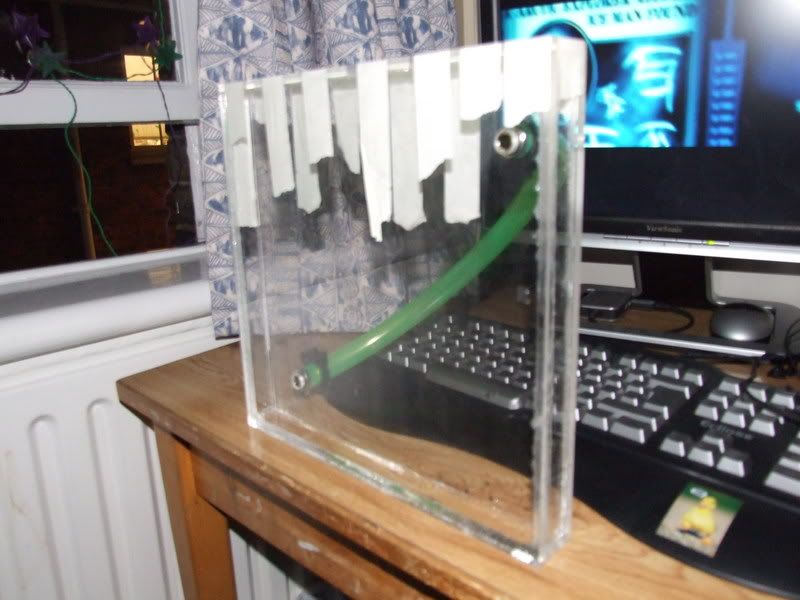
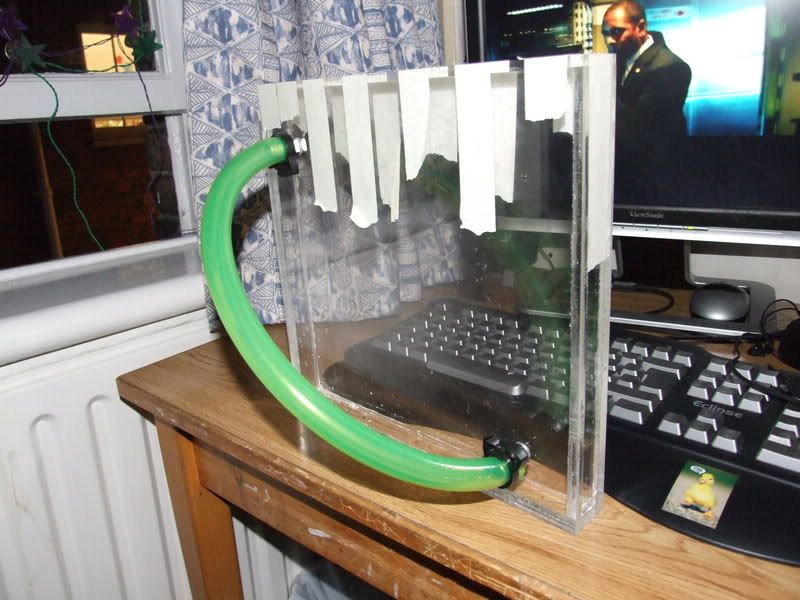
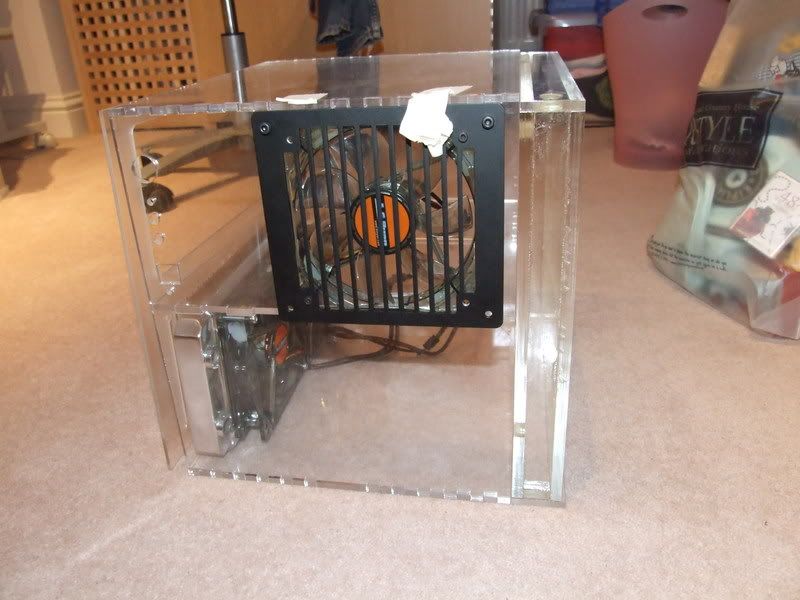
The acrylic was cut on a circular saw this-time. I did this becuase I needed practise with it for the 8mm, and becuase its fun :clap:

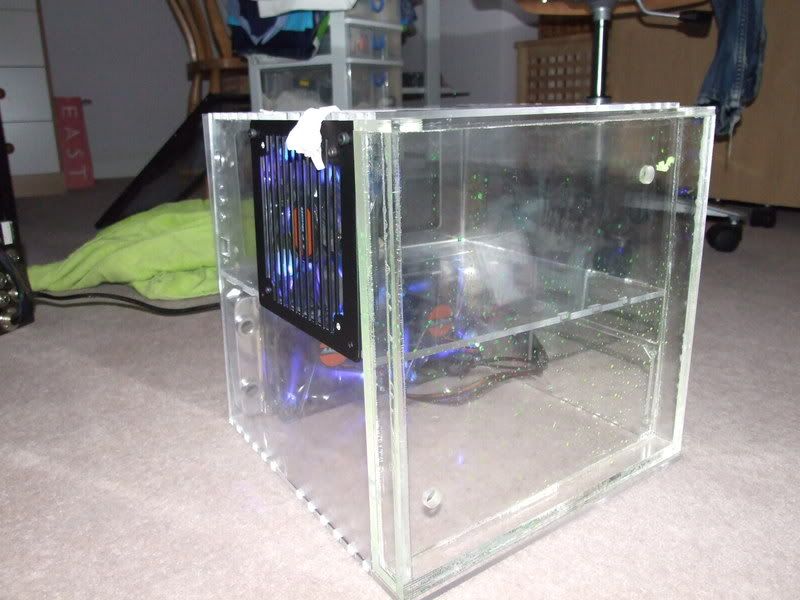
Then I drilled two 4mm holes, then drilled them out to 10mm, and then out to 11.8mm. These were then tapped to a G1/4" thread.


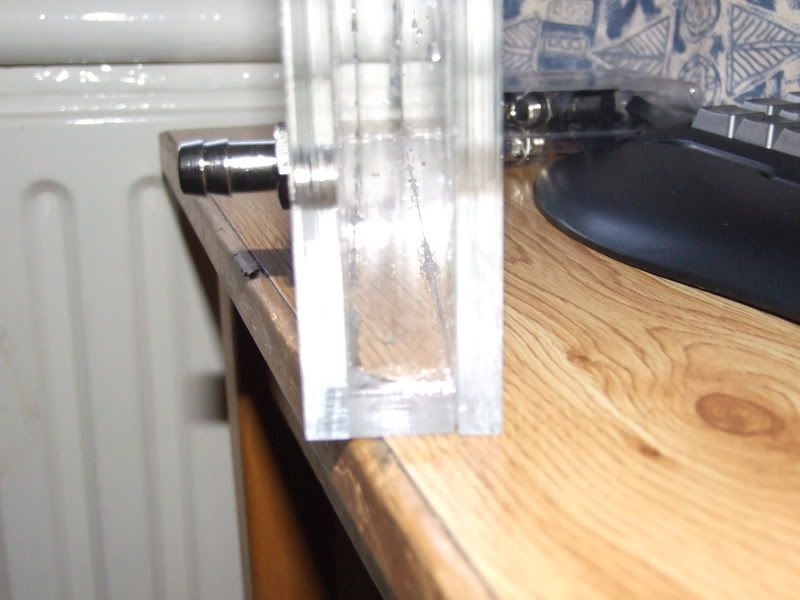
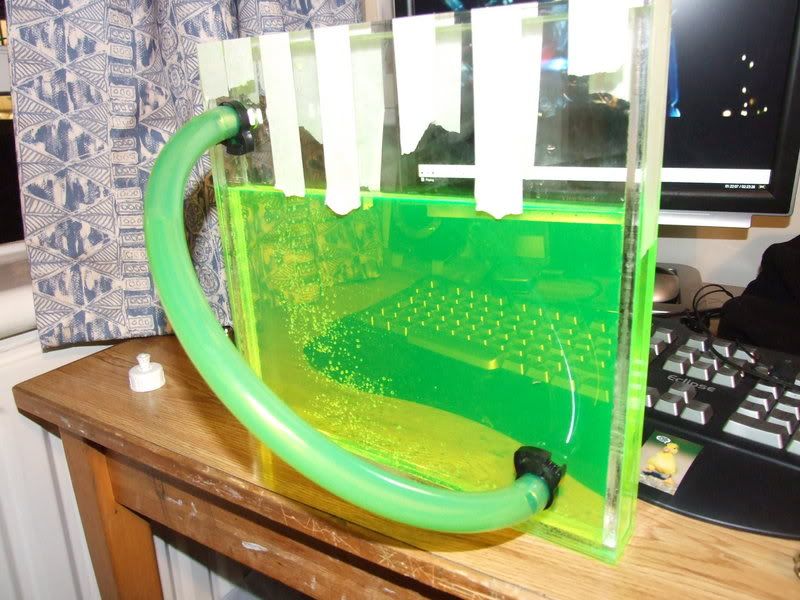
And finally, showing off the Feser Tube and barbs. This top piece is done in 5mm, and the two G1/4" threads are for two EK G1/4" blacking barb thing-ies to act as my fill ports.


More soon :dremel:
 
One finished resevior.

Took far too long, and the glue I used had a lovely lable saying 'limited evidence of carcnogenic effects' which is really reasuring....

DSCF2279.jpg


Built using 8mm acrylic that was laser cut. The inside is 20mm across, and the entire thing holds < 1.5L .

DSCF2281.jpg


DSCF2282.jpg


Here it it full up with Acid Green Feser One and using Feser Hose.

DSCF2283.jpg


DSCF2284.jpg


(during the filling of the res using one of the G1/4" holes as the top, and doing it with the top screwed off and not using a funnel, I managed to spill some over my phone and keyboard. Both still work perfectally. :thumb:
 
I'm at home now, so I don't have acess to all the tools I need, so I havn't made much progress.

I put all of the case bits I had together, and took some photos...:

DSCF2286.jpg


DSCF2290.jpg


DSCF2291.jpg


DSCF2293.jpg


DSCF2297.jpg
 
I though I'd give you all a little update.

I'm currently over my head in work and life in general, and any free time is being spent sleeping. I'm still doing little bits, but nothing massive to update on.

So this is where everything stands! Sorry, but GCSE's are more important at the mo.
 
name='Barry' said:
I though I'd give you all a little update.

I'm currently over my head in work and life in general, and any free time is being spent sleeping. I'm still doing little bits, but nothing massive to update on.

So this is where everything stands! Sorry, but GCSE's are more important at the mo.

Thanks for the update :) I was wondering what happened to this. Good luck with the gcses fella
 
Looking nice. I havent read the other post by peeps so im going to ask something...where are you managing to get the use of a laser cutter???
 
Well, it’s been quite a while since I’ve updated this project, but GCSE’s, work and sport have really gotten in the way of this project, which has actually been really fun to design and manufacture. My GCSE’s are primarily in May, and it looks like I have about 20 free days while I have access to the laser cutter during June, when I’m planning to do most of the work.

So, moving onto the project, I have decided for the n’th time to change back to an mATX layout, still using the two layers. Now, though, there will be the second radiator on the top level, although I am still undecided about whether to use single or dual loops for the cooling. I will be using an external DVD drive to both save space in the bottom layer and because I can then have the PC on a separate desk with the DVD drive over by my screen. Moving onto the reservoir, I was never really 100% happy with overall outcome, so I’ll be redoing that too, this time using separate layers of 10mm and 3mm acrylic, instead of using panels to construct it. The 3mm will be coloured and etched. As for hardware, most probably Intel, and I’m quite taken by the Asus P5E-VM G35i motherboard, as it has the features of an ATX board, but with mATX sizing. However, by the time I’m ready to install it, there should be G43i and G45i motherboards available, which should be good.

Anywho, thats where things are for the time being...

As always, thanks to my sponsors, who have helped me greatly throughout this project so far:

HWLabs SpecialTech Feser 1
 
OMFG!! Its back, your back. I was literally on about this build on here the other day.

How long till you reckon you can seriously get under way with it?? im dying to see it finished. :rolleyes:
 
Back
Top