always look forward to seeing what you do with stuff dude

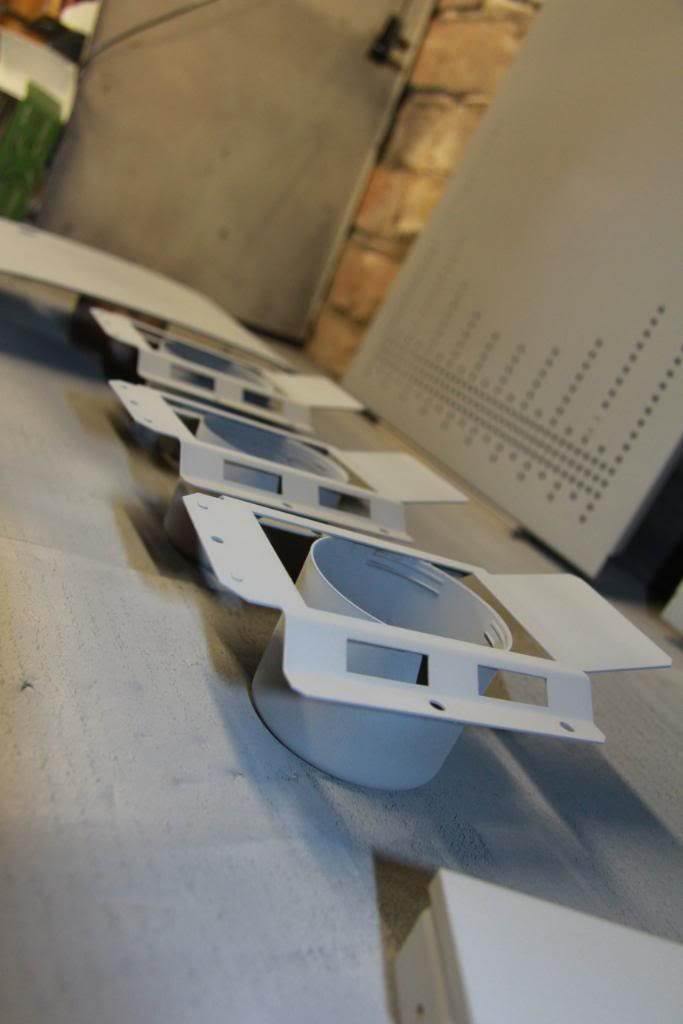
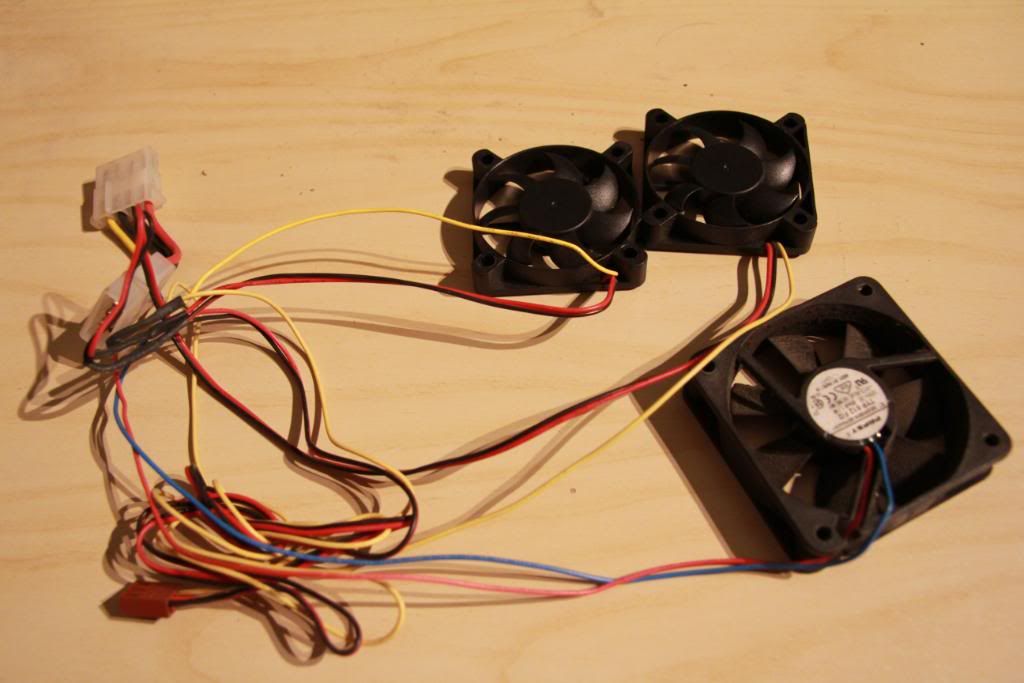
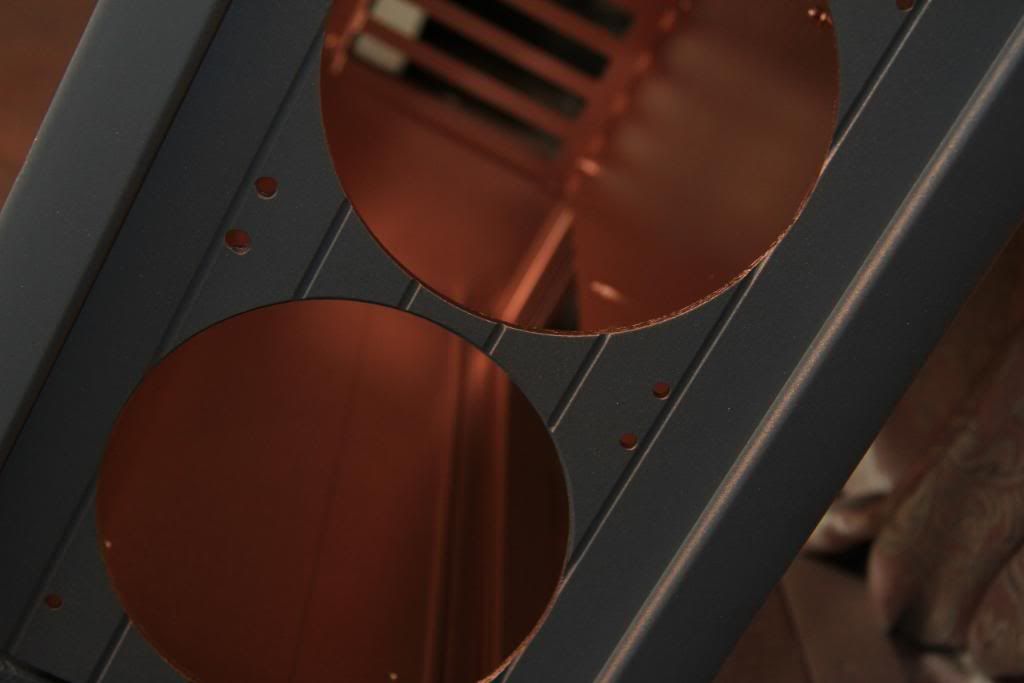
Cool.Do those 2 * 120mm fan holes at the front have standard 15mm spacings for a 240 rad?

always look forward to seeing what you do with stuff dude


Lookin' good dude.
Thanks for all the comments Guys. It's nice to know i'm going in the right direction
With regards to kit, I'm actually not planning to build into this one. I'm doing it for the love of modding a case. Modding for the sake of modding. I'll most likely stick it on the Bay after i'm done.
The main aim of the project though is for me to develop my Modding skills. There's a great belief out there that modding can only be done with massive budgets and a workshop full of laser cutters and crypton welders.
Now don't get me wrong, all the above are capable of giving some very nice results, but everyone has to start somewhere and we don't all jump straight into the high end stuff. We learn what we're doing first.
I hope with the Mods I do I can show that the average joe can produce something nice from something...well...not so nice without breaking the bank and without an expensively equiped workshop.
Modding for the masses.

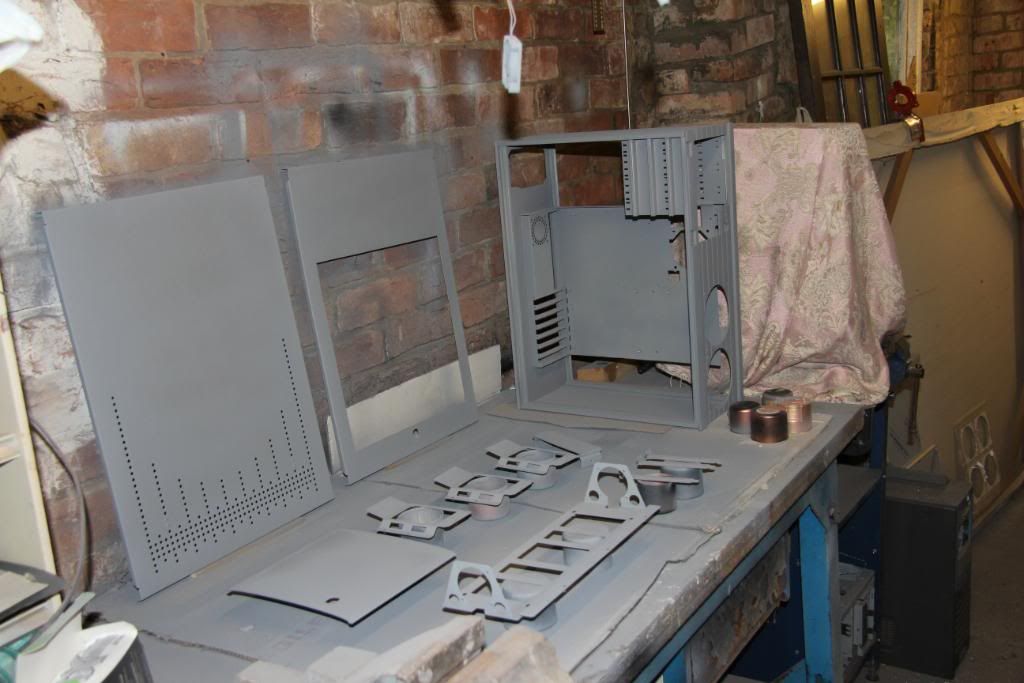
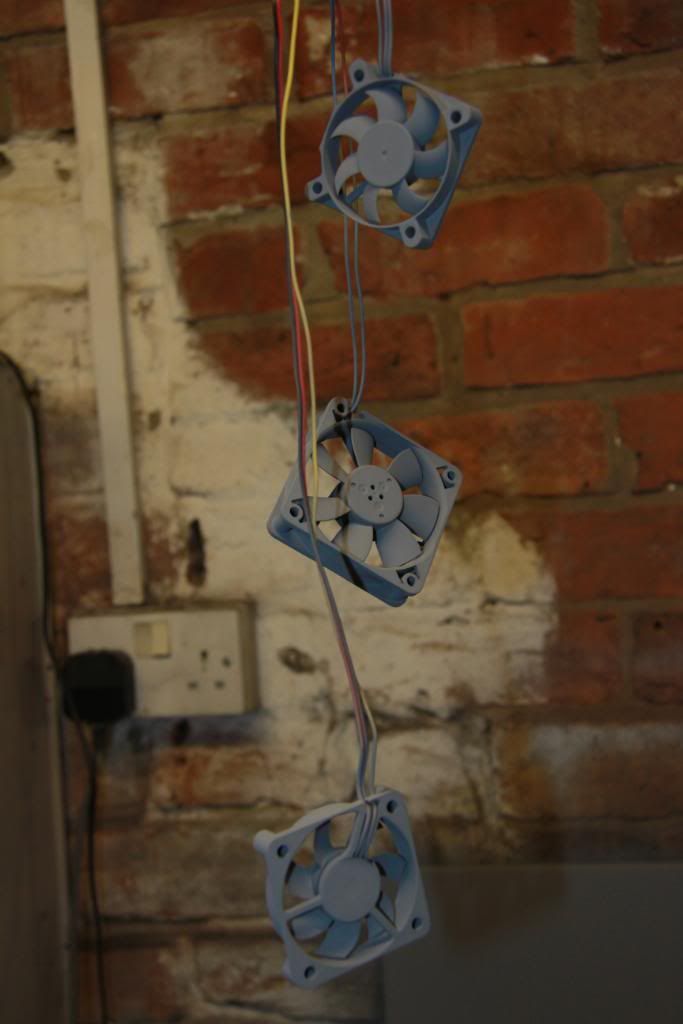
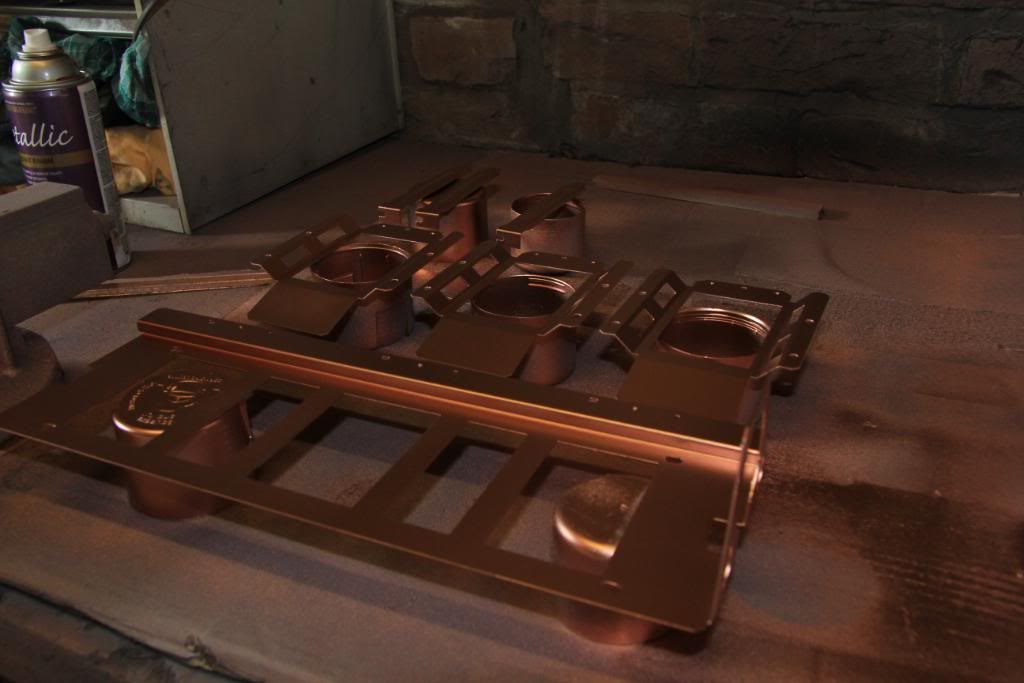
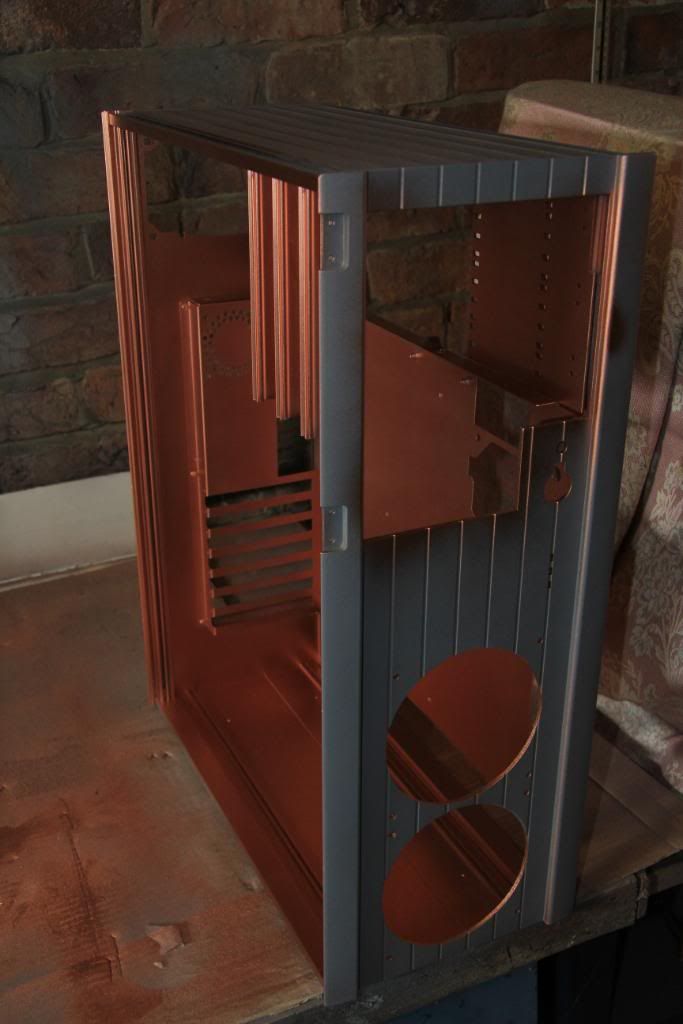
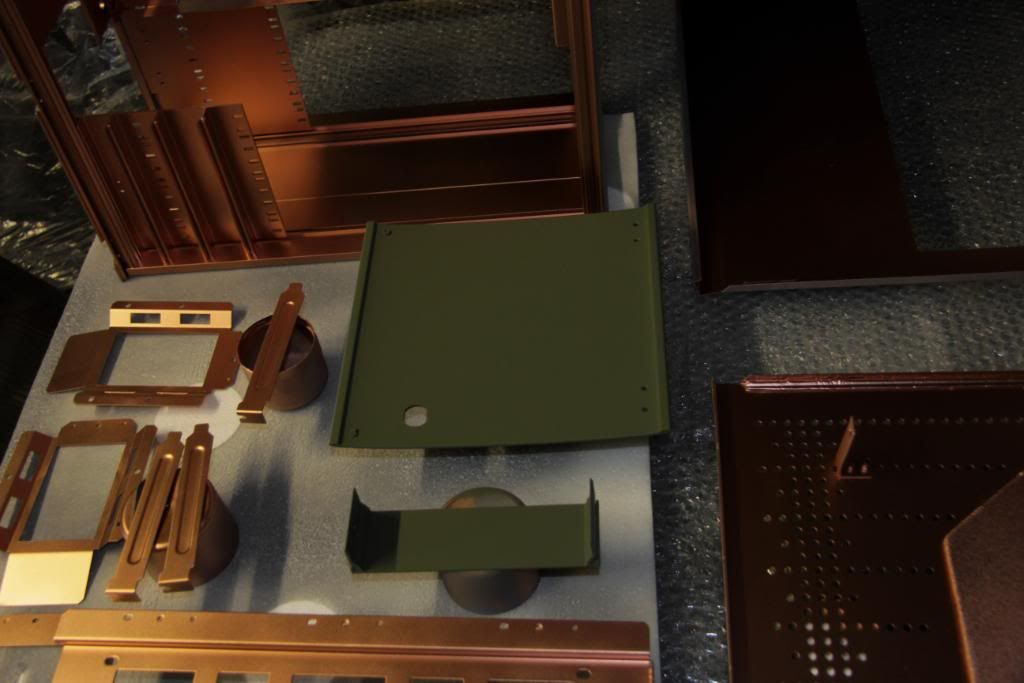
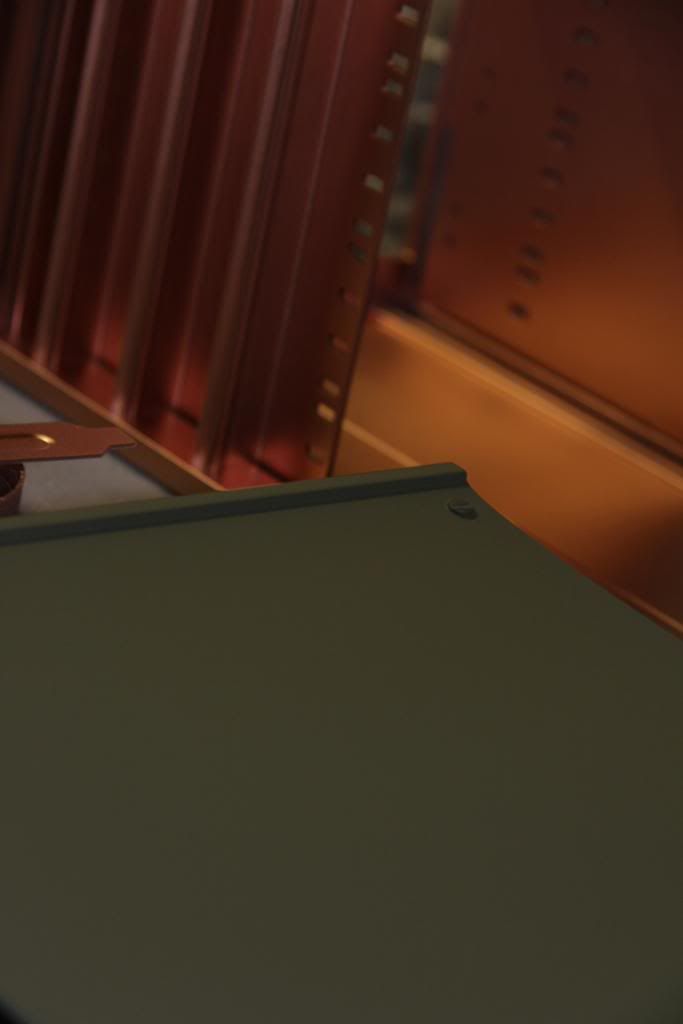
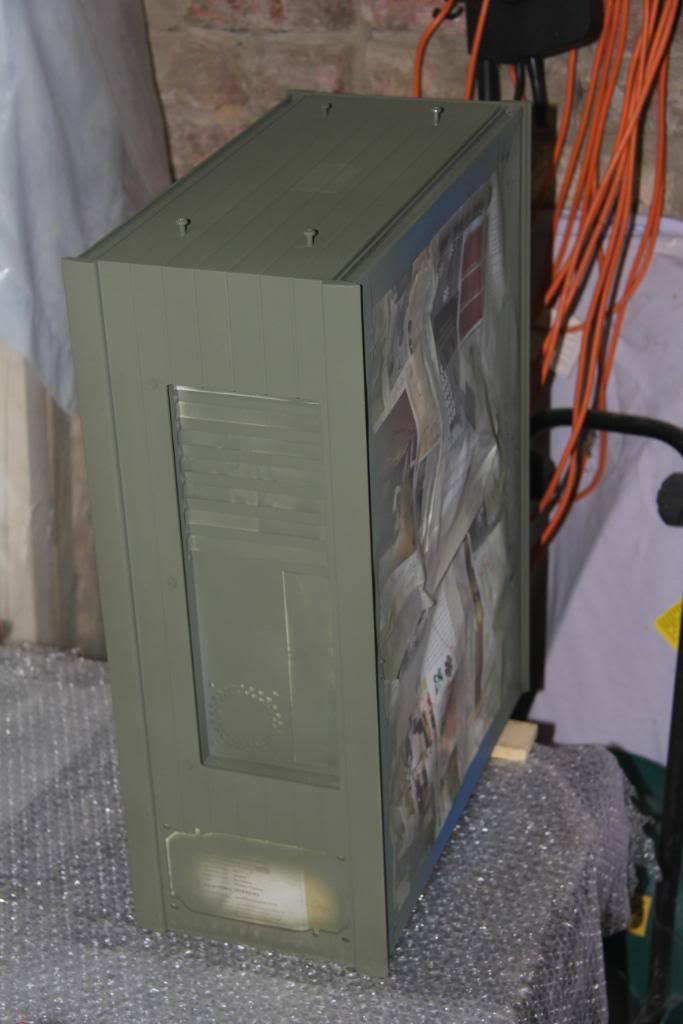
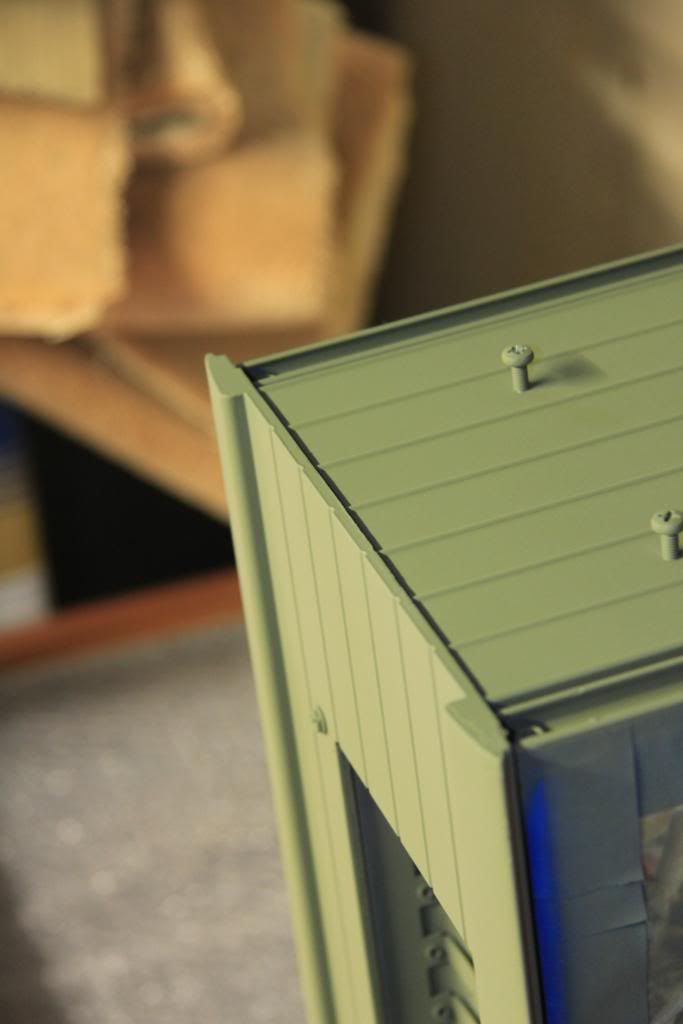
Small update but no progress i'm afraid. Mrs Dubs has kept me busy with Modding the house, or to be more precise wallpapering the stairs and landing. Also run out of the Light olive paint, as have the people I buy it from so can't do anything else untill both they and I get some more.
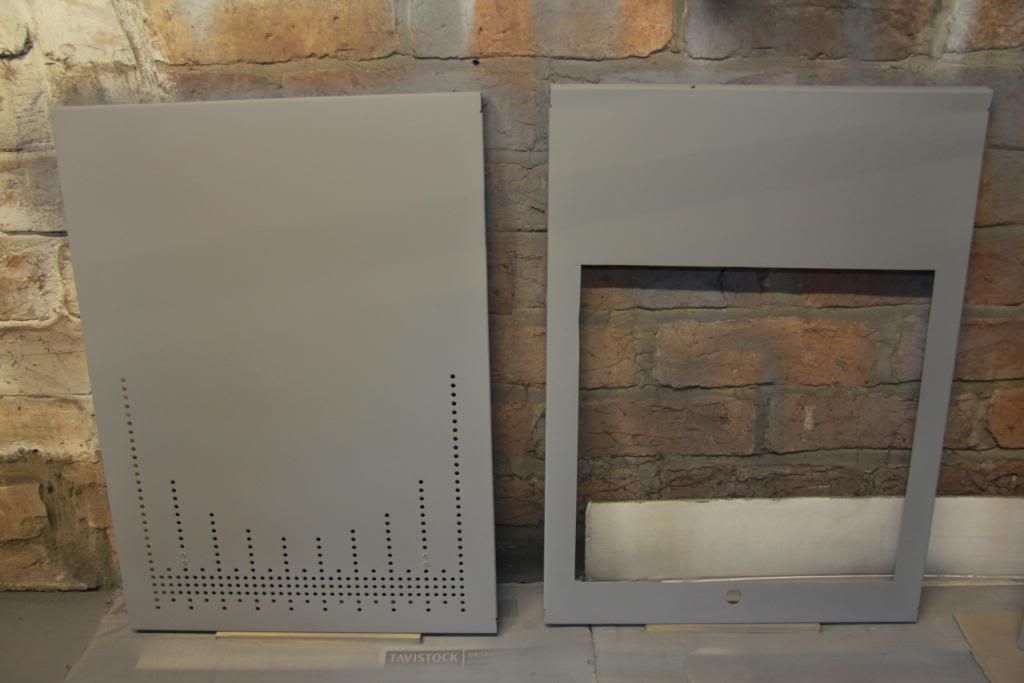
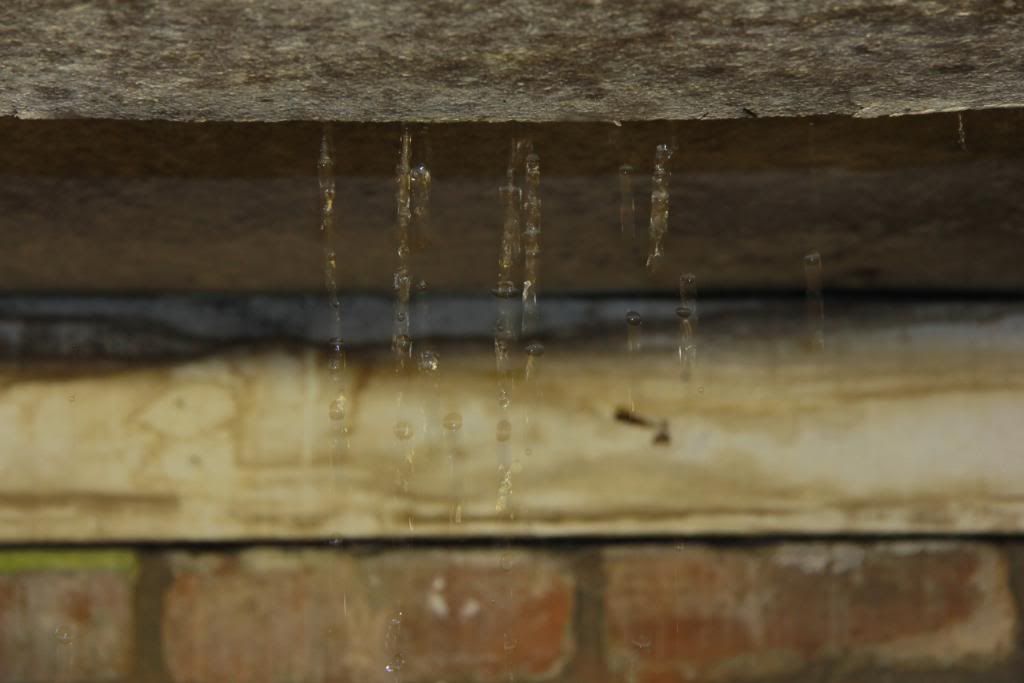
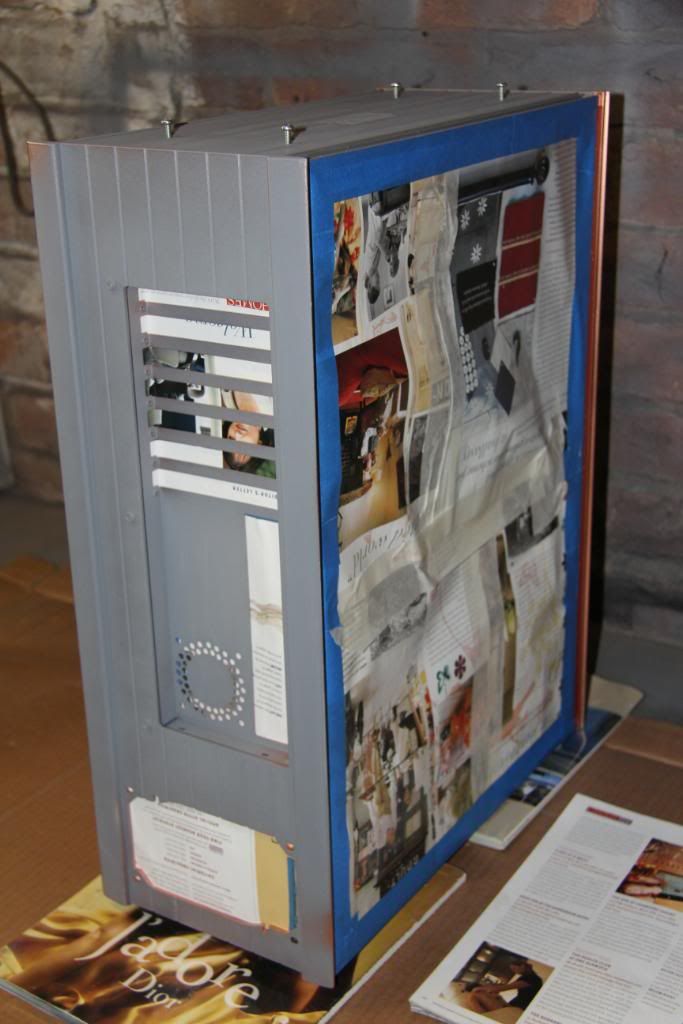
Can't wait to se what it looks like when I take the masking off.

