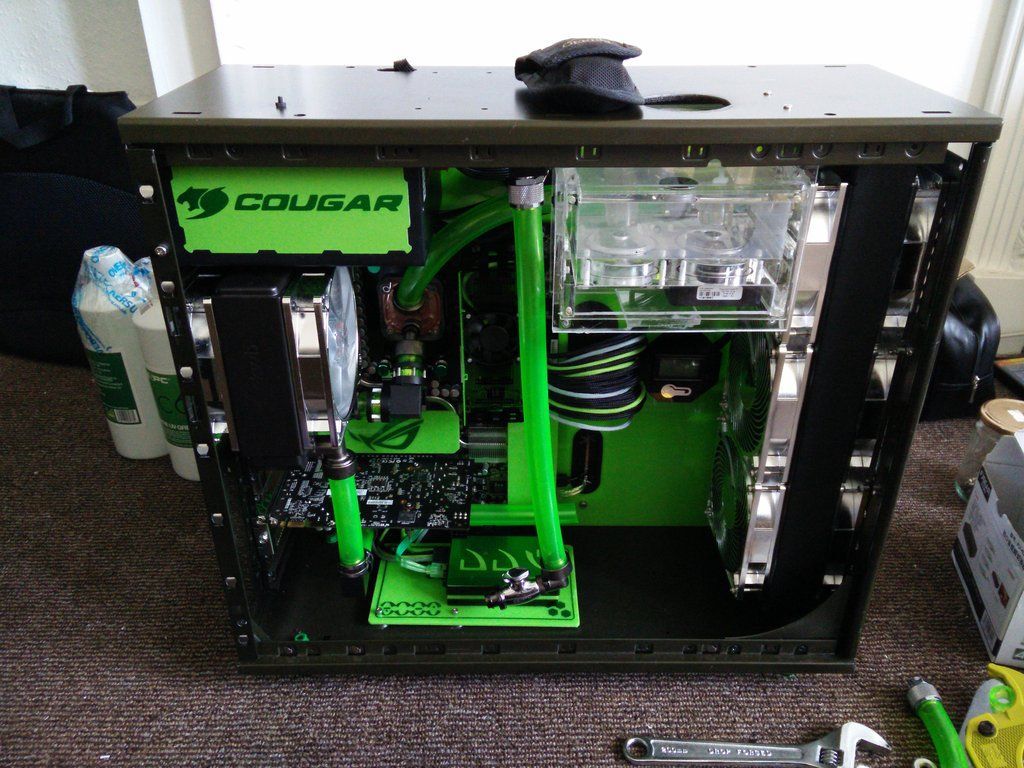
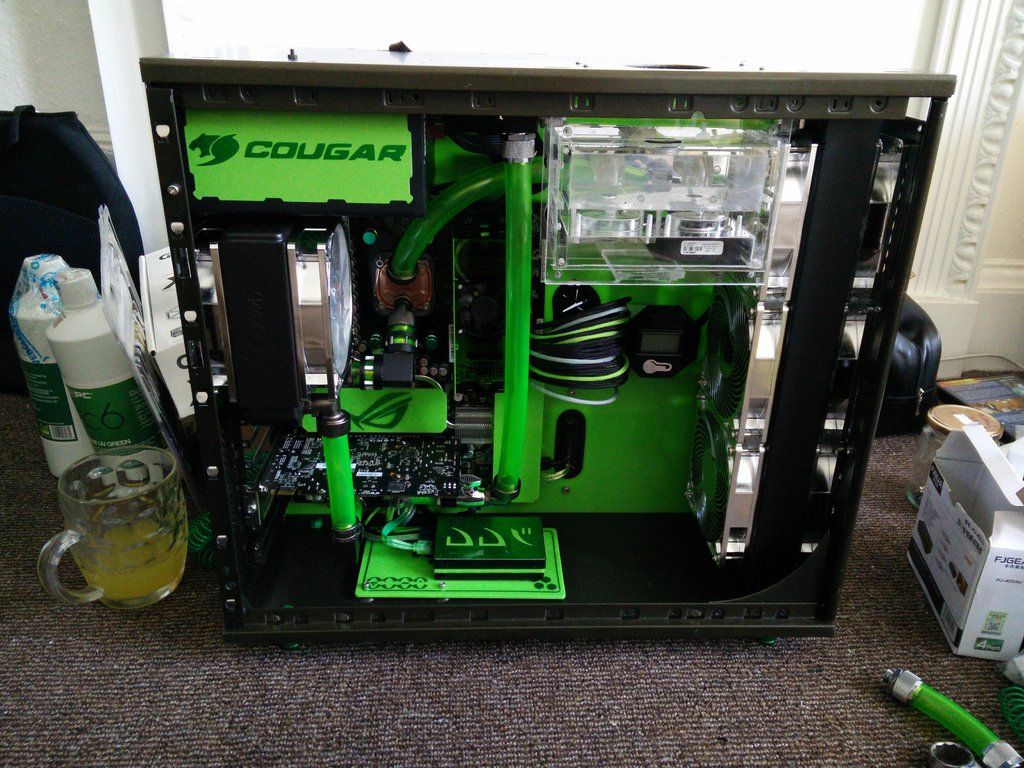
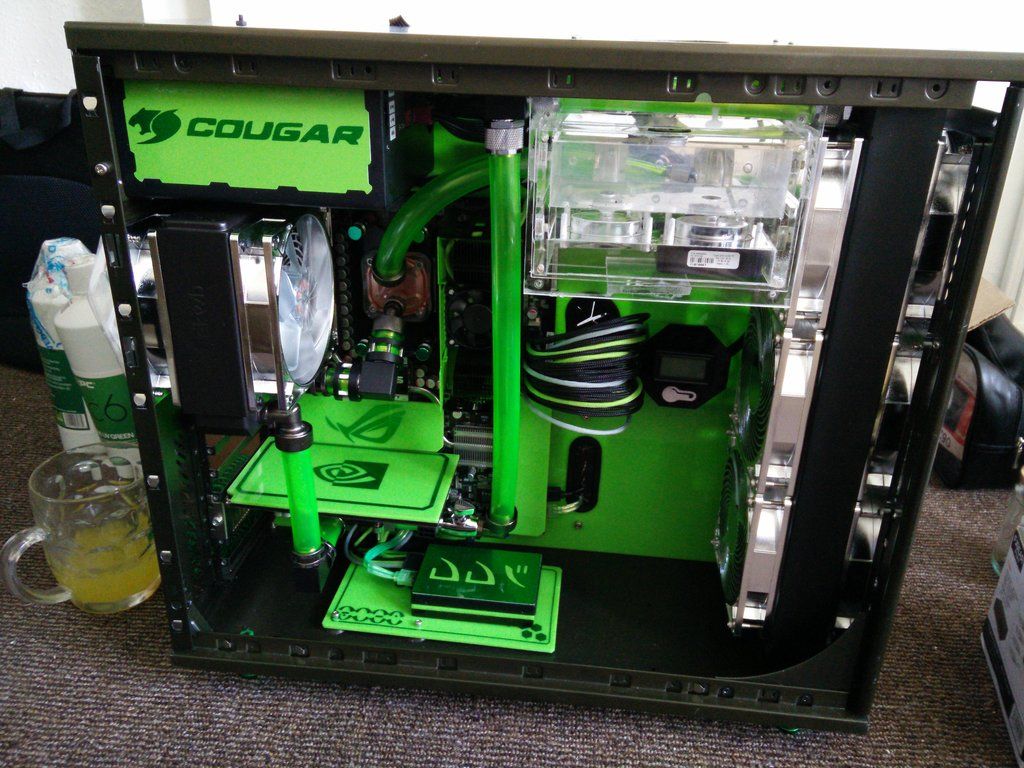
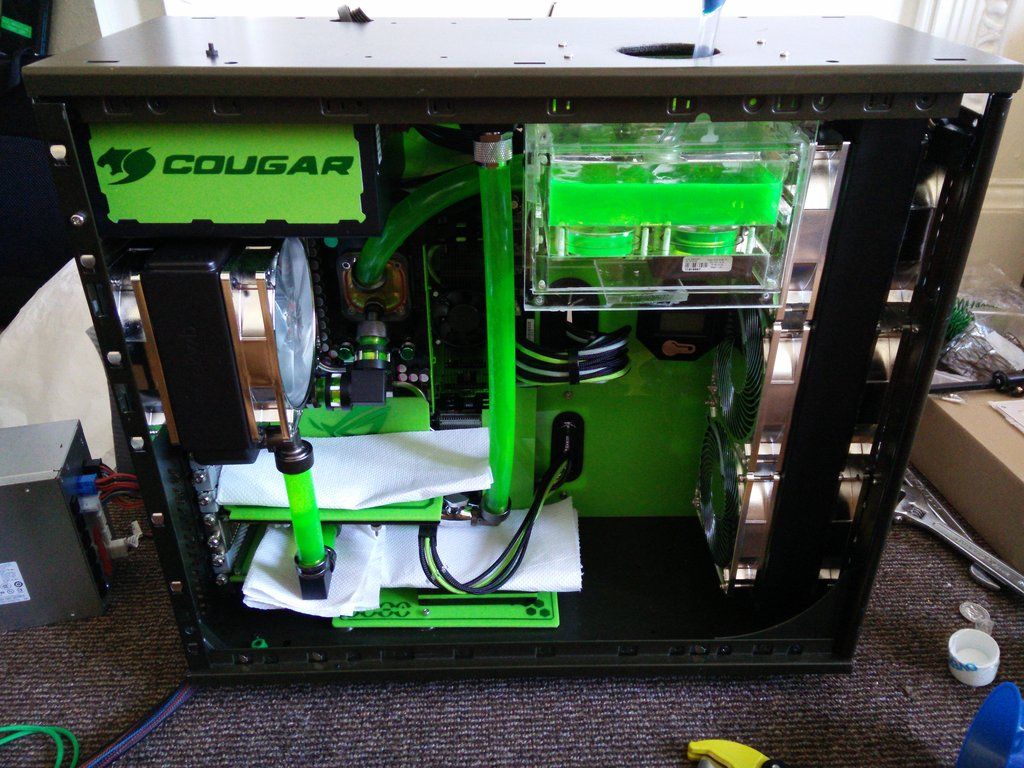
Project Dianoga (Previously: Project Elvis)

The last time I ran Linux it was on a Powerbook G4 17". The aluminium one. I installed Ubuntu because I fell for the hype and thought it would speed the laptop up a bit. It was slower than Leopard, so much for that then. I am either going to use Elementary or something similar to OSX. For the most part when I am not modding I just sit and go around in a circle on the net all day listening to music. That's why I would rather do it on something quieter (my gaming rig is pretty noisy being up here in my face) and plus hardware seems to have a shelf life these days so I would rather put the hours onto a machine that would be cheaper to repair.

A mate of mine used to use Mint but I can't say I was overly enamored with it. Again it just seemed slower than Windows.

The fill port is the hole in the roof yes mate. I will need to be precise though, as there will be a couple of laptop drives living up there haha. It will be like a roof extension :D

I will undo the plug in the res and then stick a piece of blu tack to it to get it up. Then fill, reverse the process and done. Try and remember, this is a case from 2006. That's a decade in computers, a lifetime in human years. I mean jesus, six months these days and your PC is crap.

But that's me all over. My mate says it best "Why do you have to force things to do what they shouldn't do instead of buying something fit for the purpose?"

Because it's fun :D
 
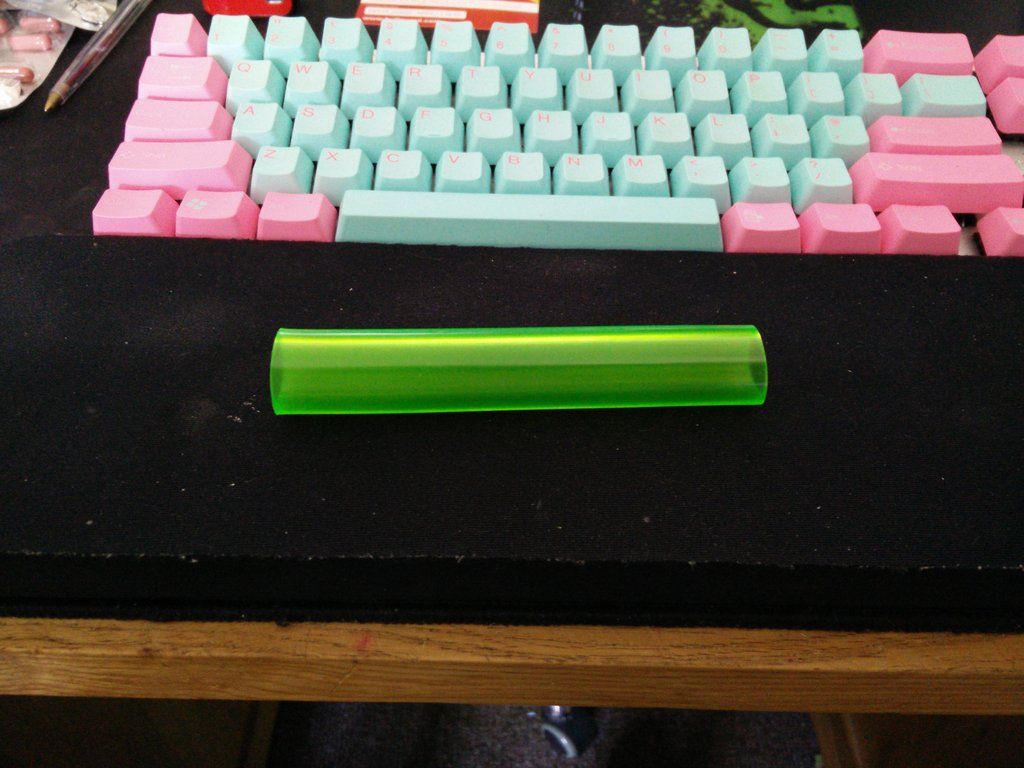
OK guys so here is what I've been up to today :) Firstly this.


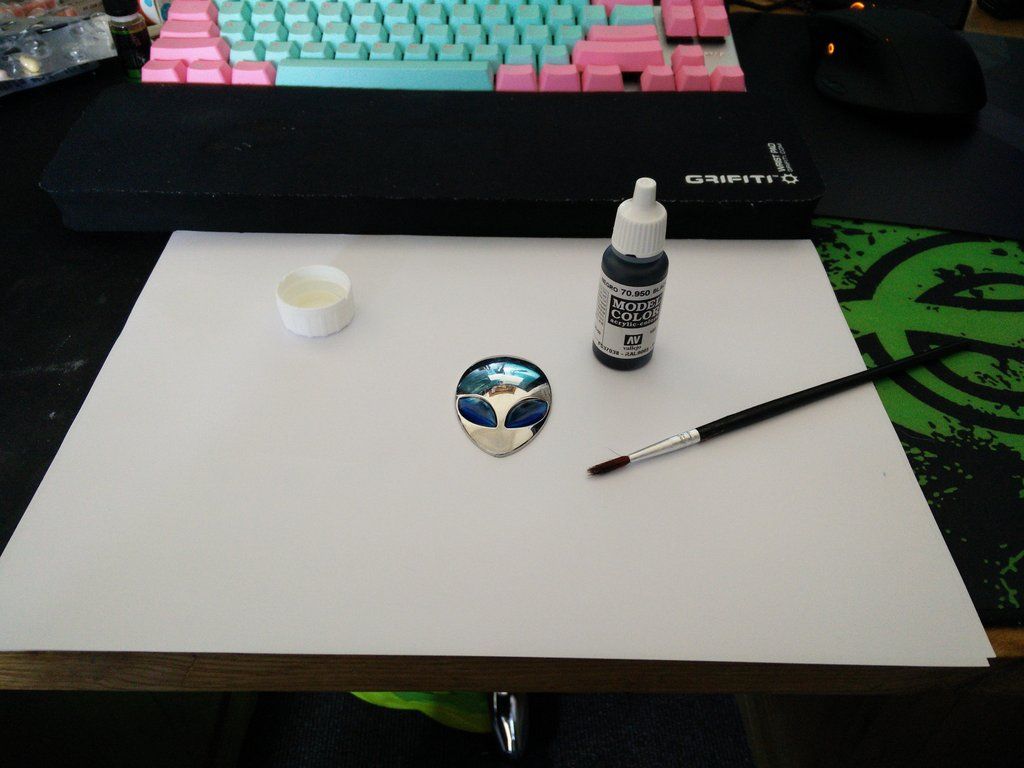
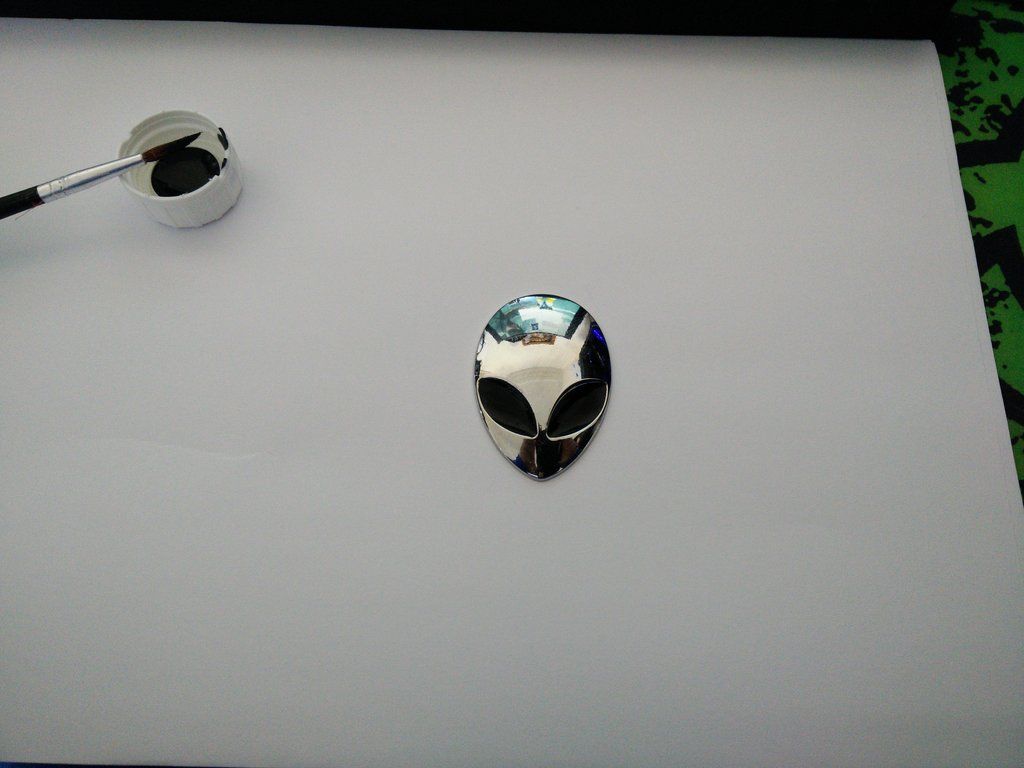
As you can see, my brushes arrived :)


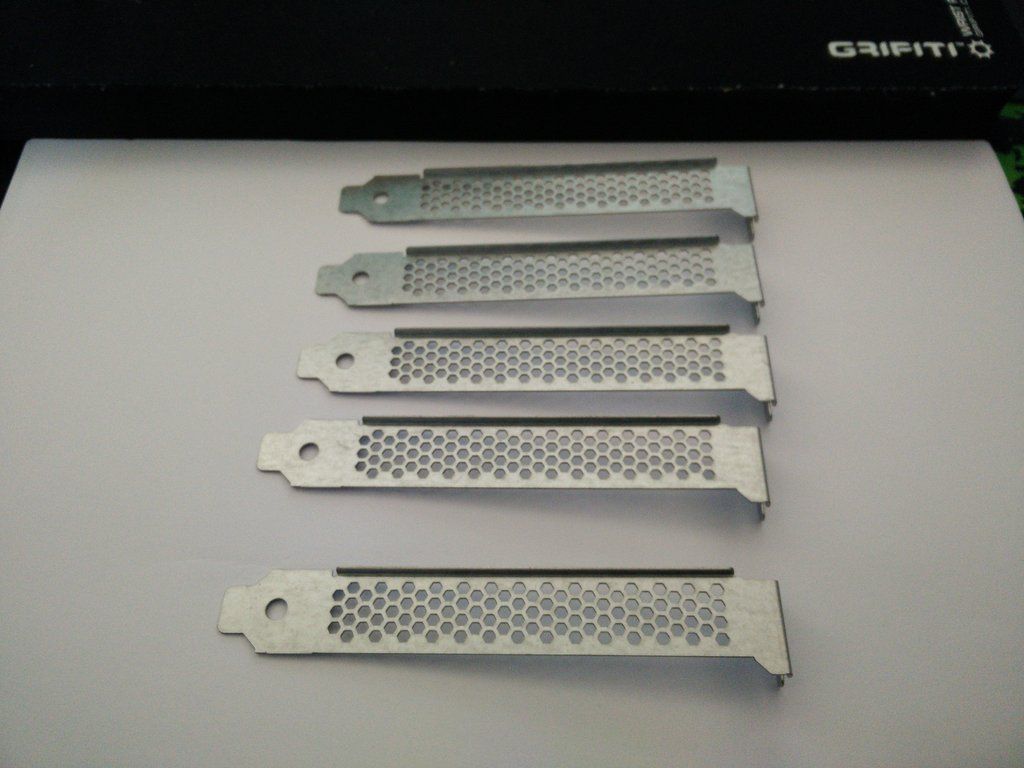
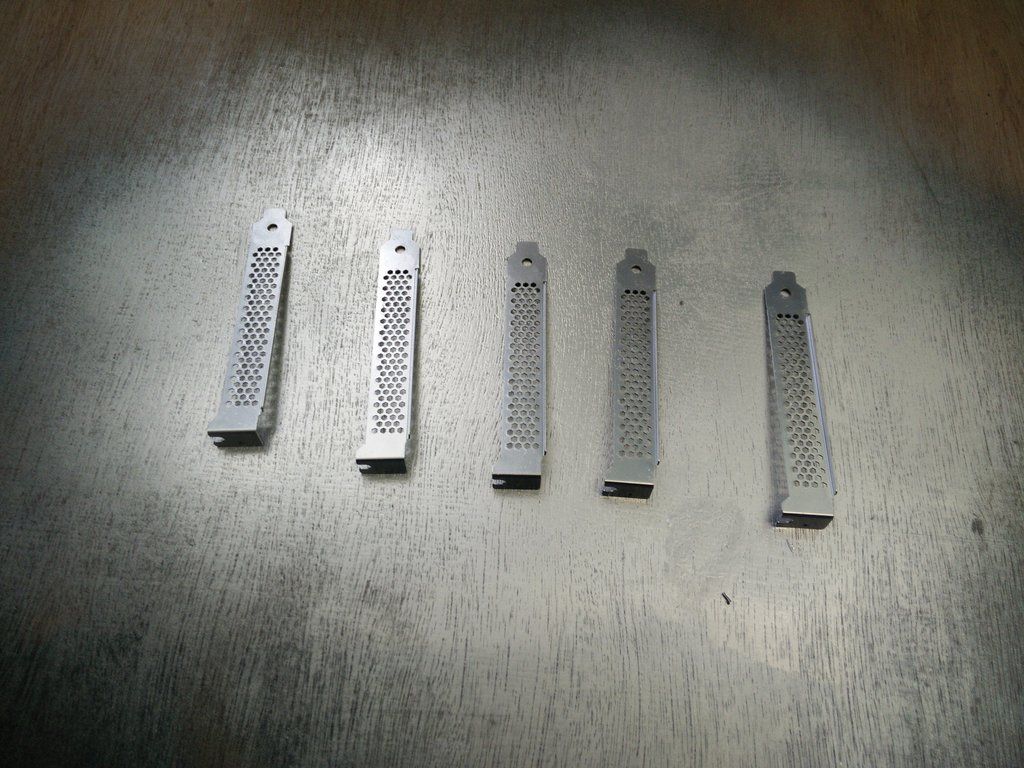
Onto the next job, the PCI plates. These came out of my 2014 Dellienware but they are silver and they have hex pattern, so they were ideal.


Problem is they were not quite silver enough.


I should have done them weeks ago but I remember thinking "I CBA painting them" so I just chucked them to one side. Then two days ago it dawned on me that I had completely forgotten where I had just chucked them so I spent about an hour searching earlier and finally found them in a padded envelope at the bottom of a box. I don't particularly like them flat, so when the paint hardens up in a day or two I will shoot some clear onto them :)
 
OK so the first thing I did today was clear coat the PCI plates. They are now drying. Then I decided to do some more plumbing.

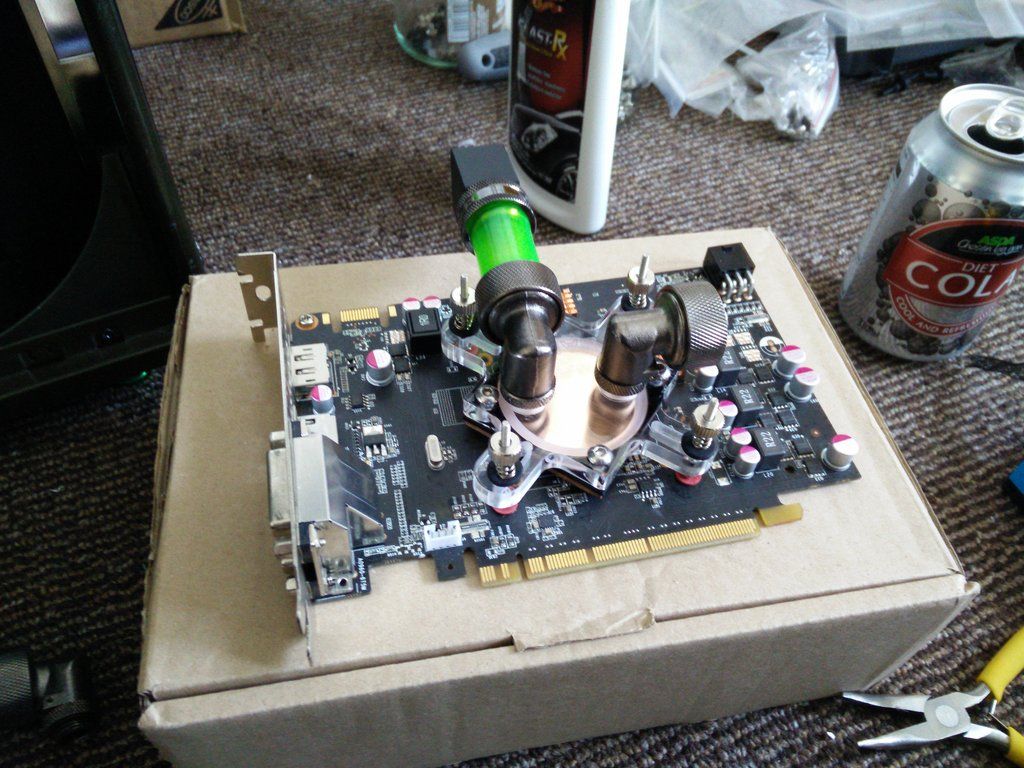
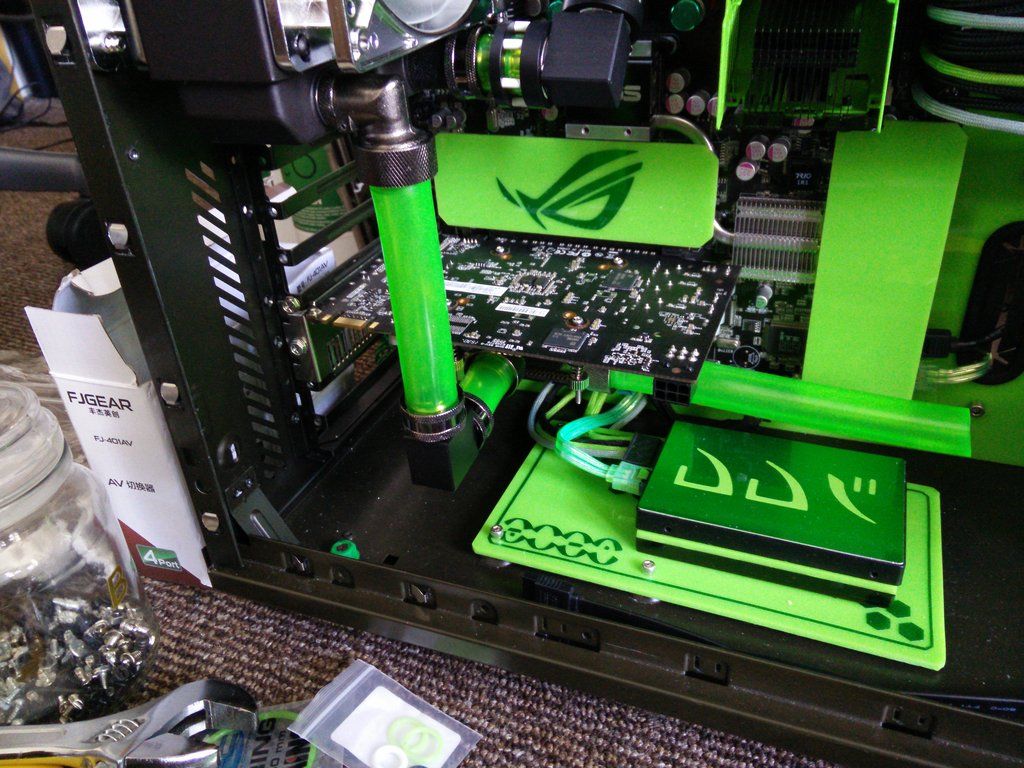
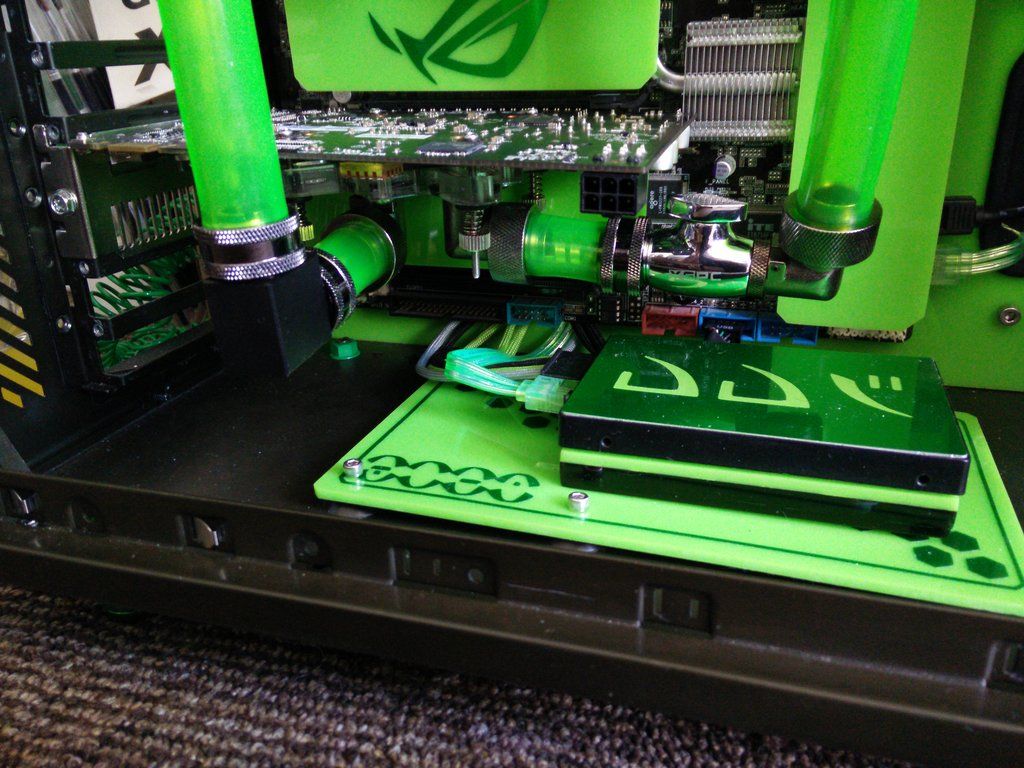
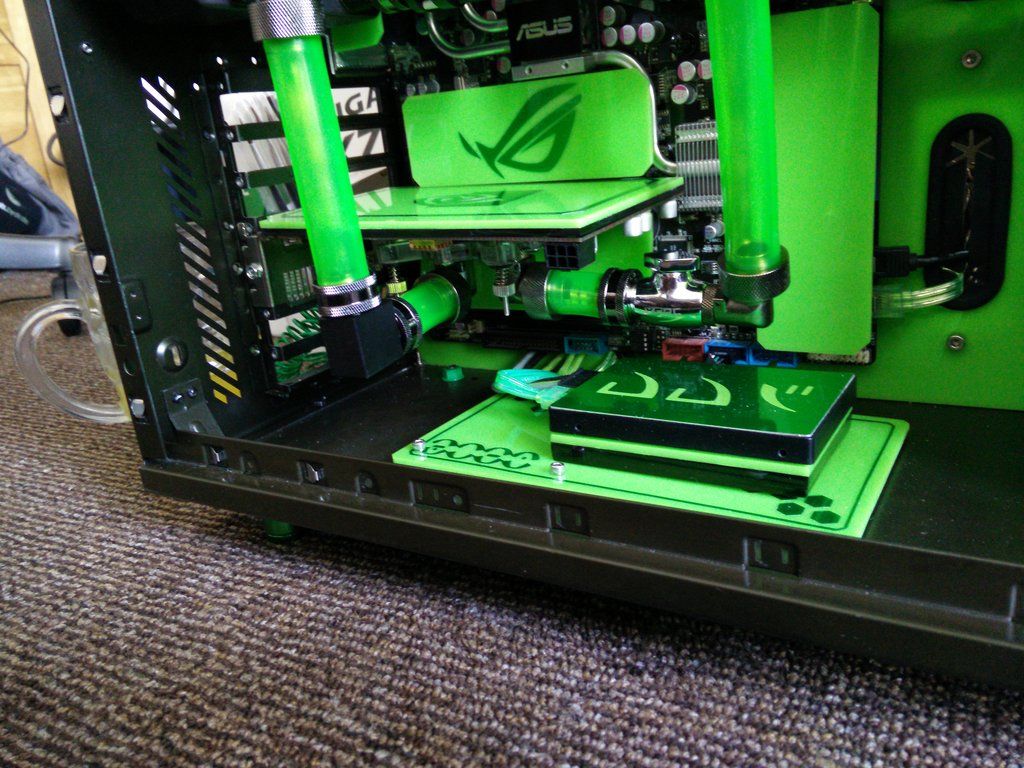
I started out making a straight pipe for the GPU, which would bring it out and then turn it 90'.


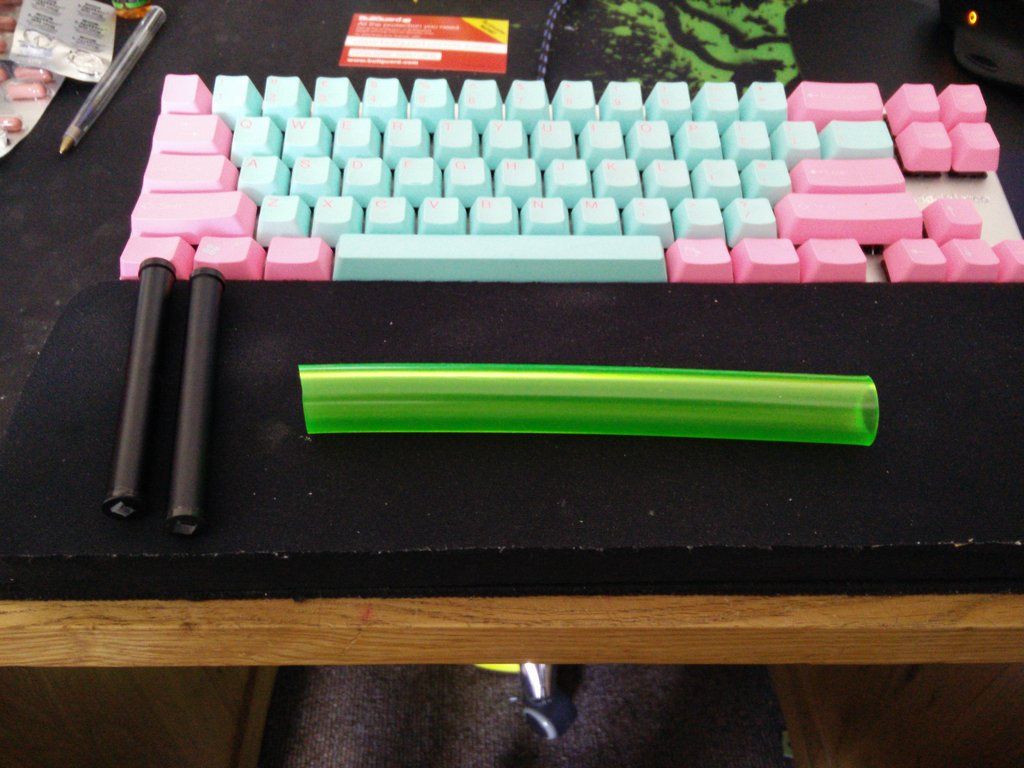
Here are my straightening tools. I [strike]snapped[/strike] carefully removed them from an old phone tripod.


Here you can see I have fitted the GPU and pre-fitted a piece of already straightened hose to it.


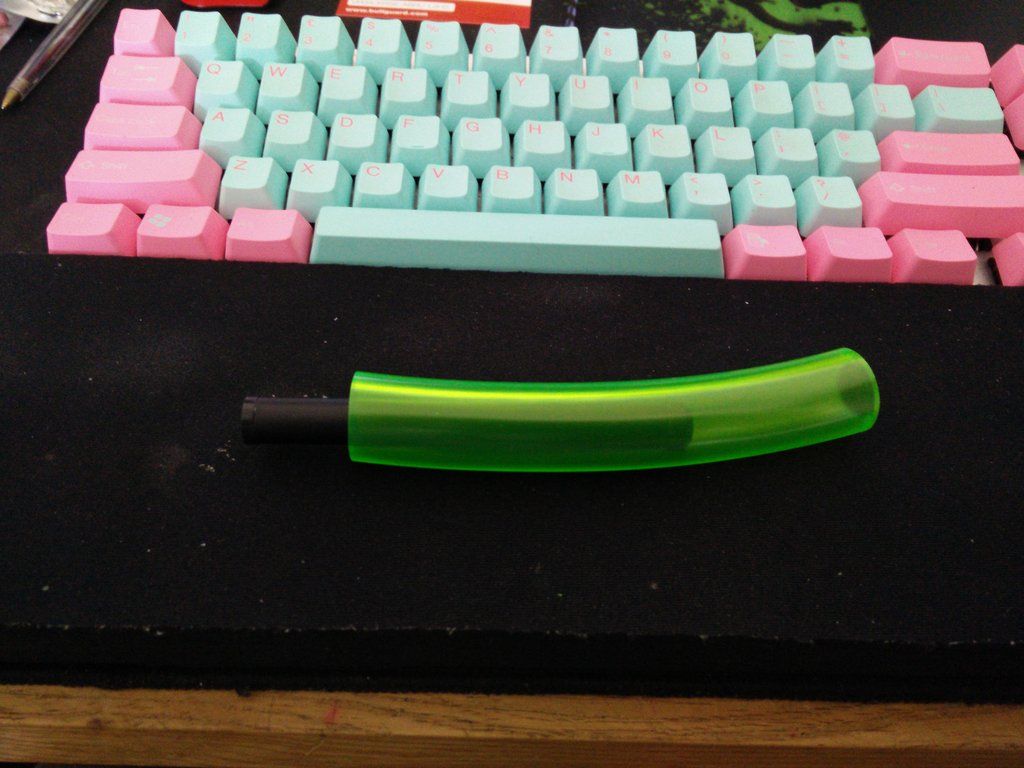
Here is how my straightening tools work. If it is a short length I simply insert one in the end.


I then heat it slowly and evenly (keep the heat gun about 4" back) until it straightens. I hold onto the inserted "tool" and when it's straight I place it down on a smooth surface (like metal) do not lay the pieces down on anything textured like a mouse mat or they will end up with a textured finish.

Et voila.


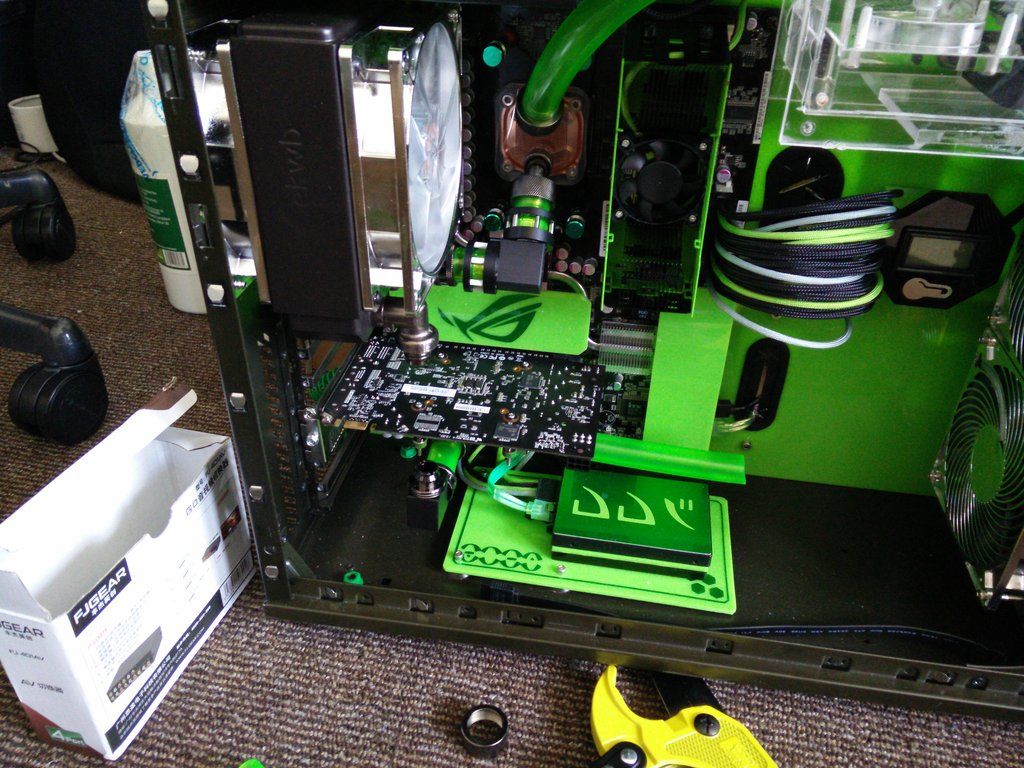
And plumbed.


Look closah.... CLOSAH !


Now just as I thought it was all going incredibly well I hit a snag... The fitting at the top of the case that was going to accept the return pipe was sticking out too much from the res. Basically had I ran a pipe down there it would have hit the back of the GPU. I started to fear I would have to strip the entire loop down (because I could not put a fitting on any further as the res was in the way) then hit on the idea of simply pulling the bugger through the fill port hole, putting the fitting on where I wanted it then feeding it back.


By this stage my hands were battered again. I also seemed to open up the blister I had on my fingers too, oucho. However, the finish line was now in plain view and I wasn't stopping for no one. Fit the ball valve and fitting.


And...


Oh hell yeah !!! Insert kill coil.


GPU back plate (don't worry about that scruffy 24 pin I will get to that later !)


And then insert Dr Drop, connect up the pump and sing "Pump up the jam" whilst adding pressure. (that actually happened).

And she's good. TBH I wasn't expecting any leaks since I did it the hard way and tested it EVERY TIME I added a new fitting.

Sadly in my excited rush to order the other day I forgot to order a funnel. So they are ordered and en route as we speak.

I also ordered this the other day (and have it)


I will be refinishing the face of the res, as it has some marks and some paint on from where I painted the face plate and fitted it back on before it was completely dry.

More fun and frolics coming to a forum near you soon.

Notes - God damn that last connection is hard ! I had to remove the GPU to cut the hose down.

Nearly forgot the kill coil about five times...

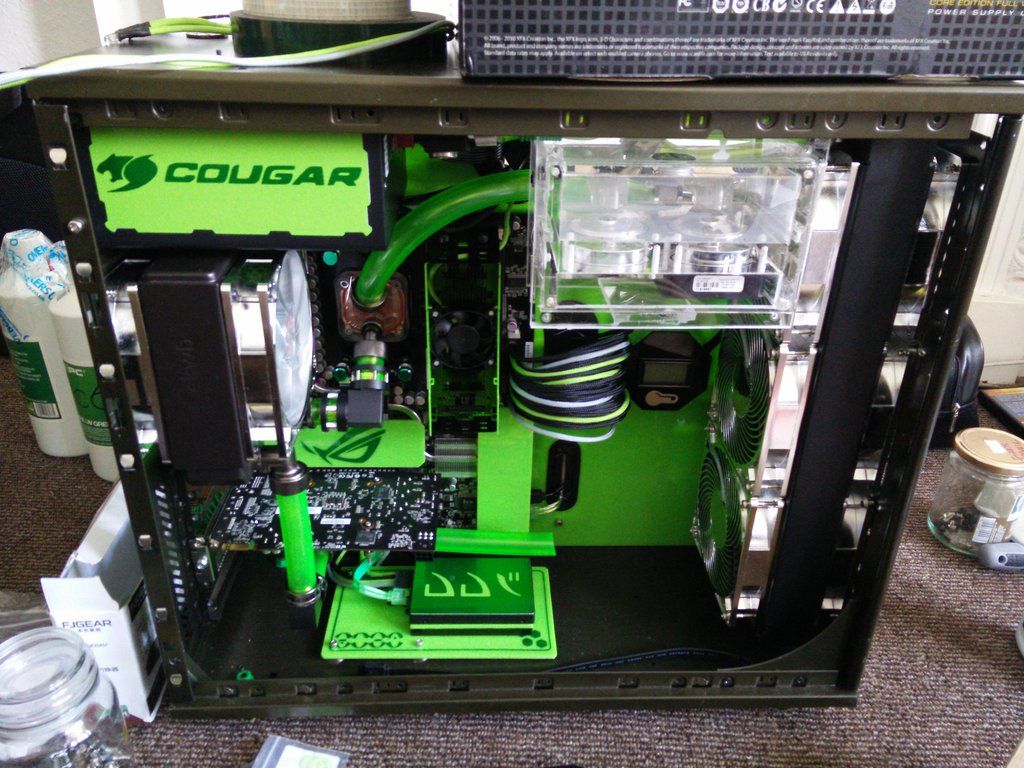
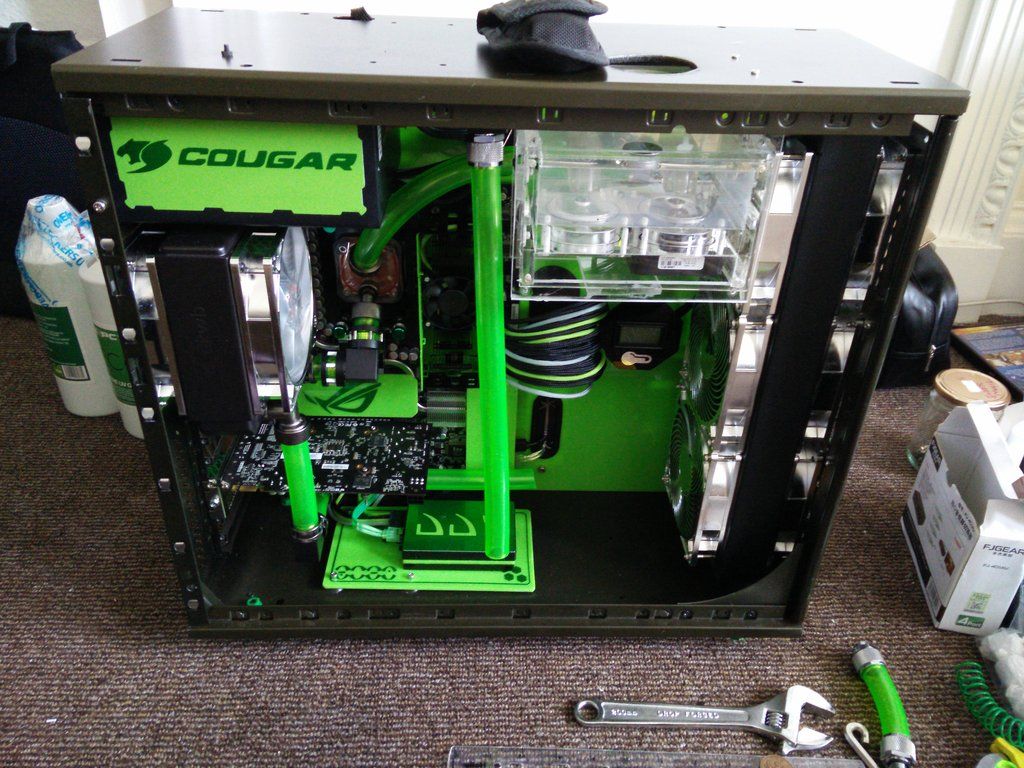
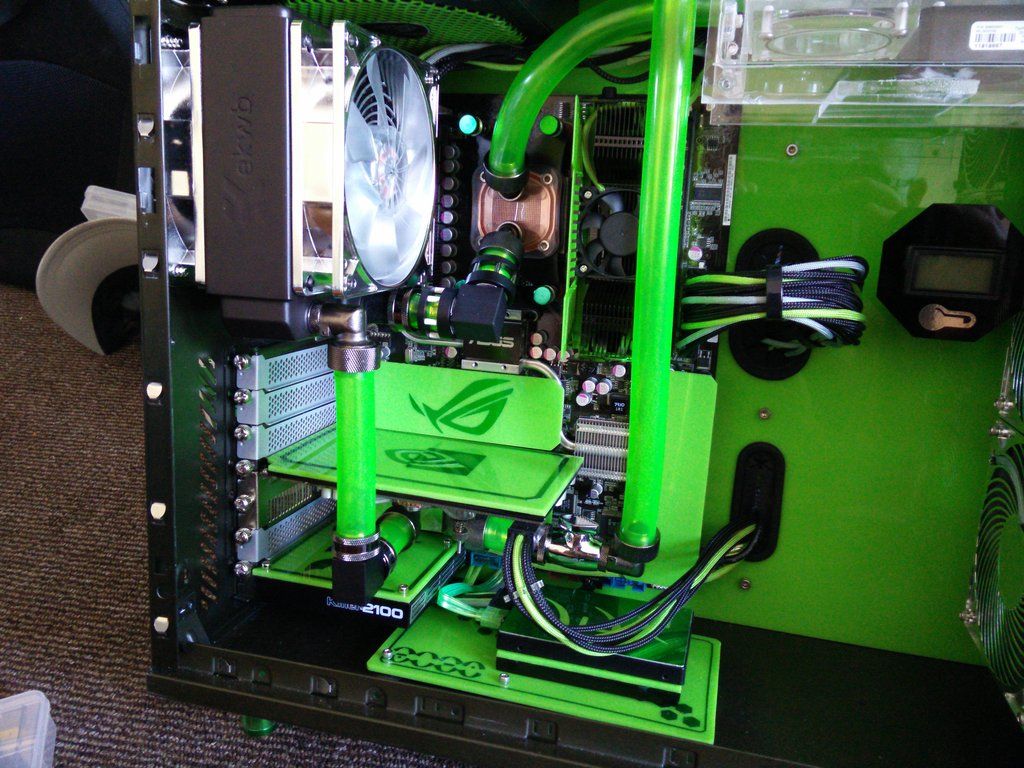
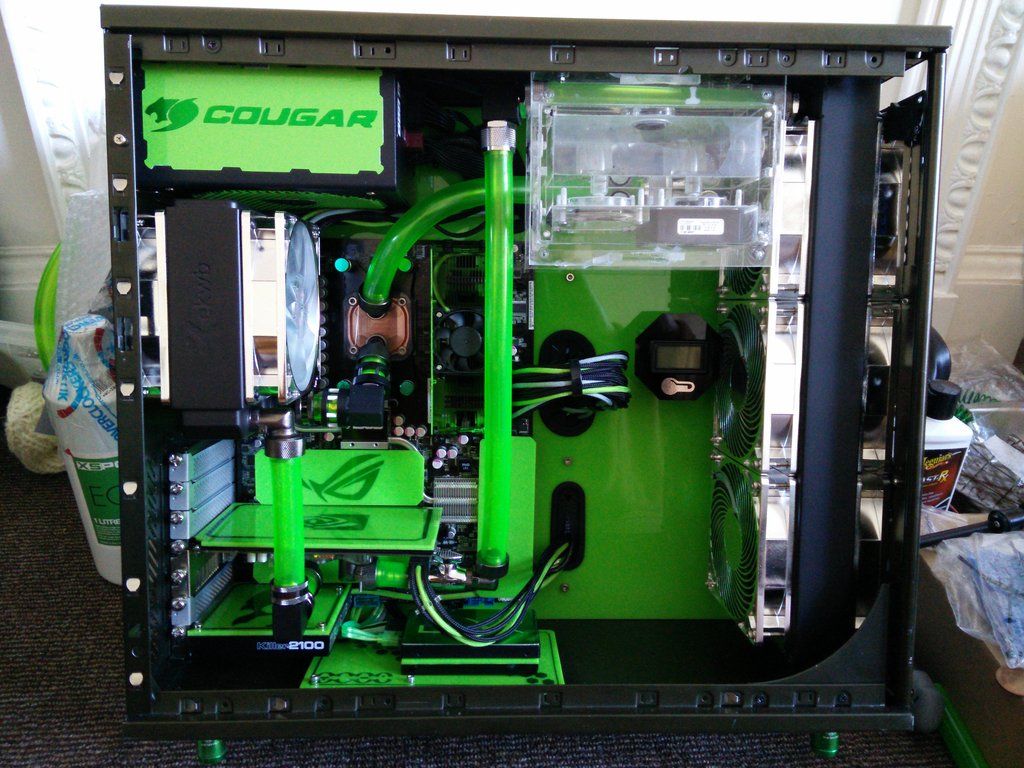
I love the way it looks. I love hard tubing but I also like the organic curves of hose. I feel I have captured both here. I'm also incredibly proud of myself, because it's my first ever loop and it doesn't look like excrement.
 
Top marks dude, very well presented and kudos on all the work it's been a great build to follow.

Cheers :)

Just resting my hands now, as they are literally throbbing. I burnt myself too straightening out that last hose but boy, it was worth it :)

Later I will tackle some more wiring and sort out the 24 pin. I also need to put the 6 pin PCIE power through too.

I've kept the pump power accessible and separated, so once the funnels arrive I can fill it without turning it on.

Still quite a lot of small jobs to do (both side panels need a new LED plate made from acrylic and a green LED fitted and soldered etc) but if I really get my head down I should be able to do it in about two more work days.
 
Top job there mate, well done!

Thanks :)

So I just tidied up the 24 pin, fitted the 6 pin and wired it/taped it and then fitted the three LEDs to the res bay. I had literally the exact amount of Molex connectors thank god, I was really dreading having to make yet another run lol.

Tomorrow I will get onto fitting the hard drives up top. I need to make some plastic spacers for those.

Oh yeah I fitted the Killer NIC too. Well, the buggerised Killer NIC :D
 
Last edited:
Top job indeed! I was surprised to see the kill coil though. I thought those things went "the way of the dodo bird" and weren't used much these days. :)
 
Top job indeed! I was surprised to see the kill coil though. I thought those things went "the way of the dodo bird" and weren't used much these days. :)

It's the condom of the build tbh. Over time certain minerals can start eating your copper. If you put the silver coil in they are all attracted to that, so the theory is they eat that instead.

Because of the way this is built (crammed in like crazy) there is no way to easily get to the rads. In other words the front rad is now held in place by about five hours worth of messing around lol. My next purchase is going to be one of those air dusters (the good ones, not the canned stuff). It's not cheap, £80 or so IIRC but that will be the only logical way to clean the rig. Also, changing the coolant and or draining will be as hard as balls too, so that's why I chose long life coolant and coloured hoses (I don't want to play with it once it's built I want to use it..).

Believe it or not there's still a long way to go. I connected up all of the extra molex tonight and every one was taken, but everything was in. Then I realised that there was an LED strip on the cover panel. Then I realised the front head LED has a molex. Then I realised that both side panels need LEDs fitting (I have to make boards to mount them on) and so on.

So tonight I made another 6 way molex splitter. I figured sod it, that ought to do it.

So I have to -

Fill the loop.
Fire up the rig (I've not even connected the power button yet)
Make two LED boards for the side panels and wire them in.
Give it a good clean.
Make a mount for the "roof drive"

I reckon there's about two day's worth of work left before I can take the final pics etc. I've even bought a green photography backdrop, as my phone takes really nice pics with plenty of light :) It only cost four quid.
 
Hmmmm. Kill coil as a biocidal agent. I really hope you don't have nickle in your loop.

Copper and nickel play nicely together, add silver (or copper sulfate) and you are starting to look at a galvanic reaction process. Sure, it's not to the same level as aluminium, but it's there.

You may want to consider adding an anti corrosive agent if you do have nickle. Pro: some of these are even green!
 
The CPU block and GPU block are both described as Copper + PMMA. I explained it in your thread dude :) The fittings are all copper, and the rads are most certainly copper (I should hope so, new they cost a fortune really).

You can tell they are copper though (the rads) as basically they weigh nothing. I would imagine with copper being so expensive they use as little as possible. I've also found out that water cooling gear looks far better than it feels in your hands. I lusted over the 360 Coolstream when I saw it in pics but in the cold light of day it's light, flimsy and the paint? dang, you fart too close and it falls off.

I gotta say once it's all in it's very photogenic, but yeah man sorely disappointed by the actual quality. Even the Coolstream logo is bloody smudged and would have come out of the factory like that. I read about loads of complaints about EK's quality control.

Oh yeah the coolant pretty much has everything in it, and no ethelene. It's veggy based according to XSPC. But yeah, you don't need to add anything. Just glad it was cheap on OCUK because it's twice as much elsewhere.

Yes, you did mention that. I was kind of hinting at your fittings. I know for a fact that mine are nickle (the only nickle in the loop in fact). I wanted brass, but couldn't source them cheaply. I thought you may be in the same boat. But perhaps not.

Your coolant is the xspc evo line? It's got glycol in it, so it's good that you are straightening soft tube, rather than using petg.
 
Hmm. TBH I never really bothered actually thinking about the fittings :D I just got whatever sort of matched "per area" (so chrome hidden in the top, smoked chrome or nickel? for the bottom etc).

http://www.xs-pc.com/coolant/ec6-coolant-uv-green

That's the coolant there, and after just looking at the bottle itself there are no toxic labels or "Do not drink" etc. So I don't think there's EG in it because if there was they would have to tell you and warn you that it's toxic.

I *think* it's made by Mayhems, but cba digging. The kill coil was for when I was just going to use water, but the dyes again say for short term use etc.

Tell you what, if there's EG in there someone will end up drinking it lol. That's why those Silica Gel packets that come with your microwave etc all say "DO NOT EAT" because some daft wally has eaten one hahaha.
 
The funnels arrived :D So did the chrome thumb nuts I ordered the other day.


It's quite odd how the silver darkened loads when I clear coated it. I don't mind it though, as it matches the exterior panels :) Network card in.


I then connected it up to Dr Drop for the very last time. I put in between 0.5 and 0.6 and then left it for twenty minutes. Nothing, zero, nada. I then figured it would be safe to do this :D


There's something alive in here !

 
Dear god on a crap covered stick !

I left the loop running for about an hour to make sure it was all OK. TBH if nearly 9 PSI could not make its way out I was pretty sure the coolant wouldn't either.

So I connected up everything and connected up a temp power button. Pressed it, nothing.

So I cleared CMOS and tried again. Nothing. Went over all of the connections to the board (and plugged in a fan that I had forgotten to) yet still nothing. So I started getting desperate, but I remembered when I first got the 8gb that I had issues with getting the rig to fire with it all in there. I would have to put one stick in, clear cmos then boot. Then add another, etc etc. However today that wasn't working and basically nothing was happening.

I managed to get it to fire on one stick every now and then and I tried a 1gb Dominator I had and that worked fine. In the end after many hours of thinking I had killed the motherboard or something I clocked up the ram (on one working stick) to 800mhz and disabled 2T. And now it boots, with all 8gb ram.

Sadly it can't seem to find the Windows install and I just don't have time for all of that today but as soon as I do I will get to reinstalling Windows 7, then updating it to 10 (unless some kind soul has a 10 key for me :D )

But yeah, only just starting to calm down now. PHEW.
 
Back
Top