Project Dianoga (Previously: Project Elvis)

hurry up tomorrow :)

K

Let's Marvin Gaye and get it on.


Pop round the back
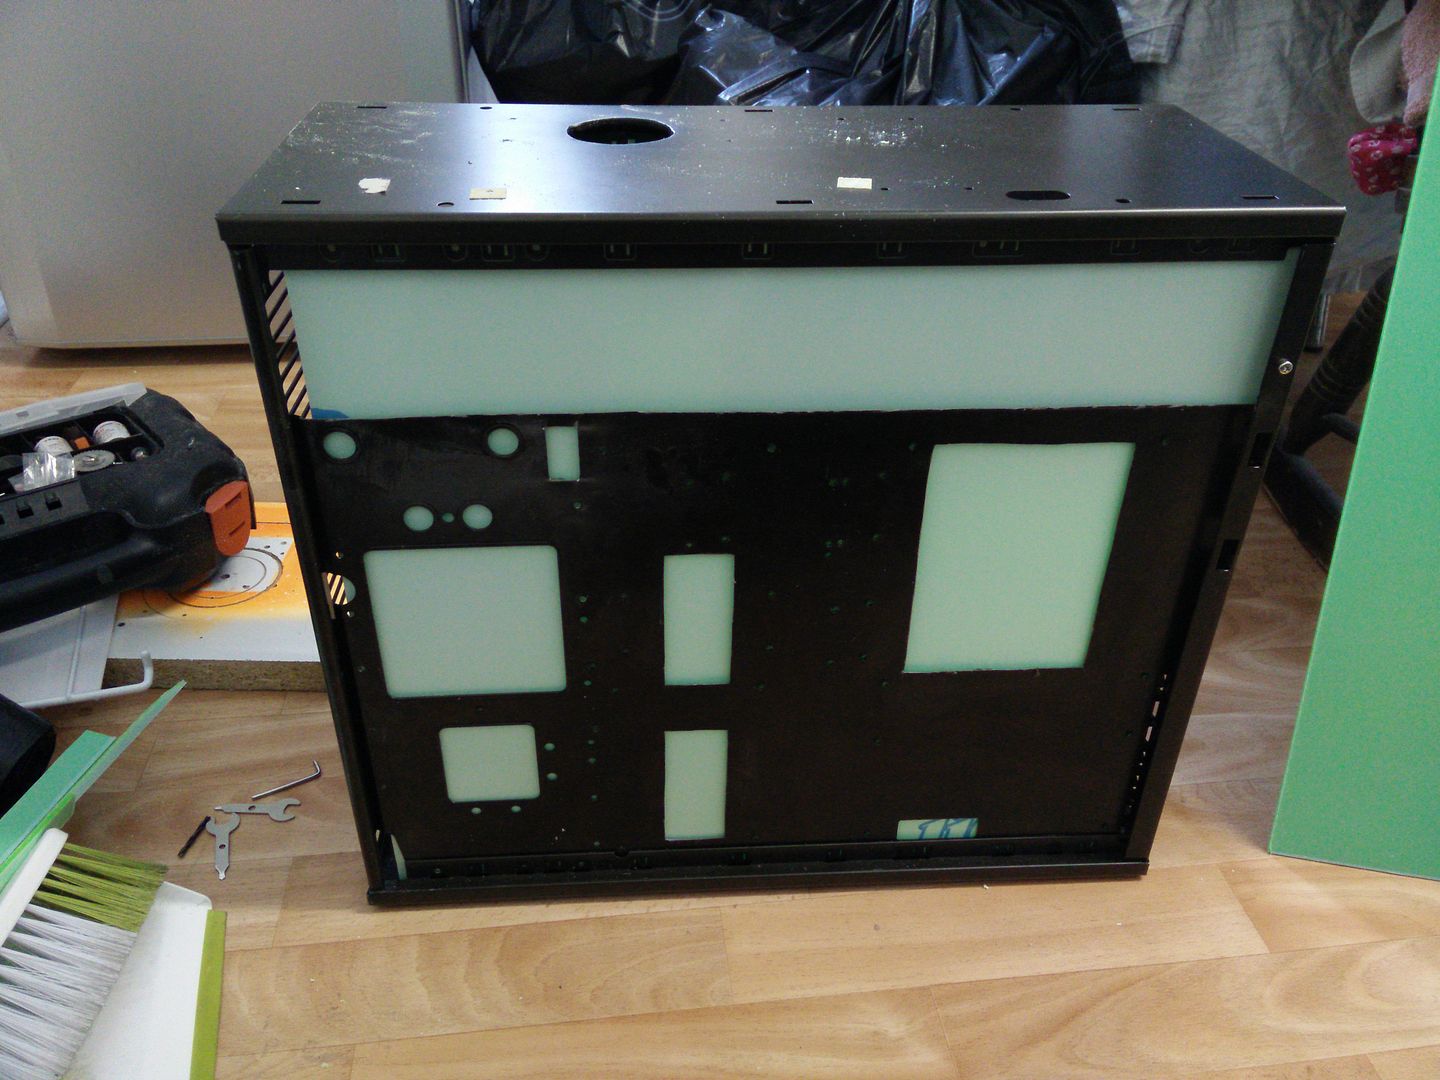


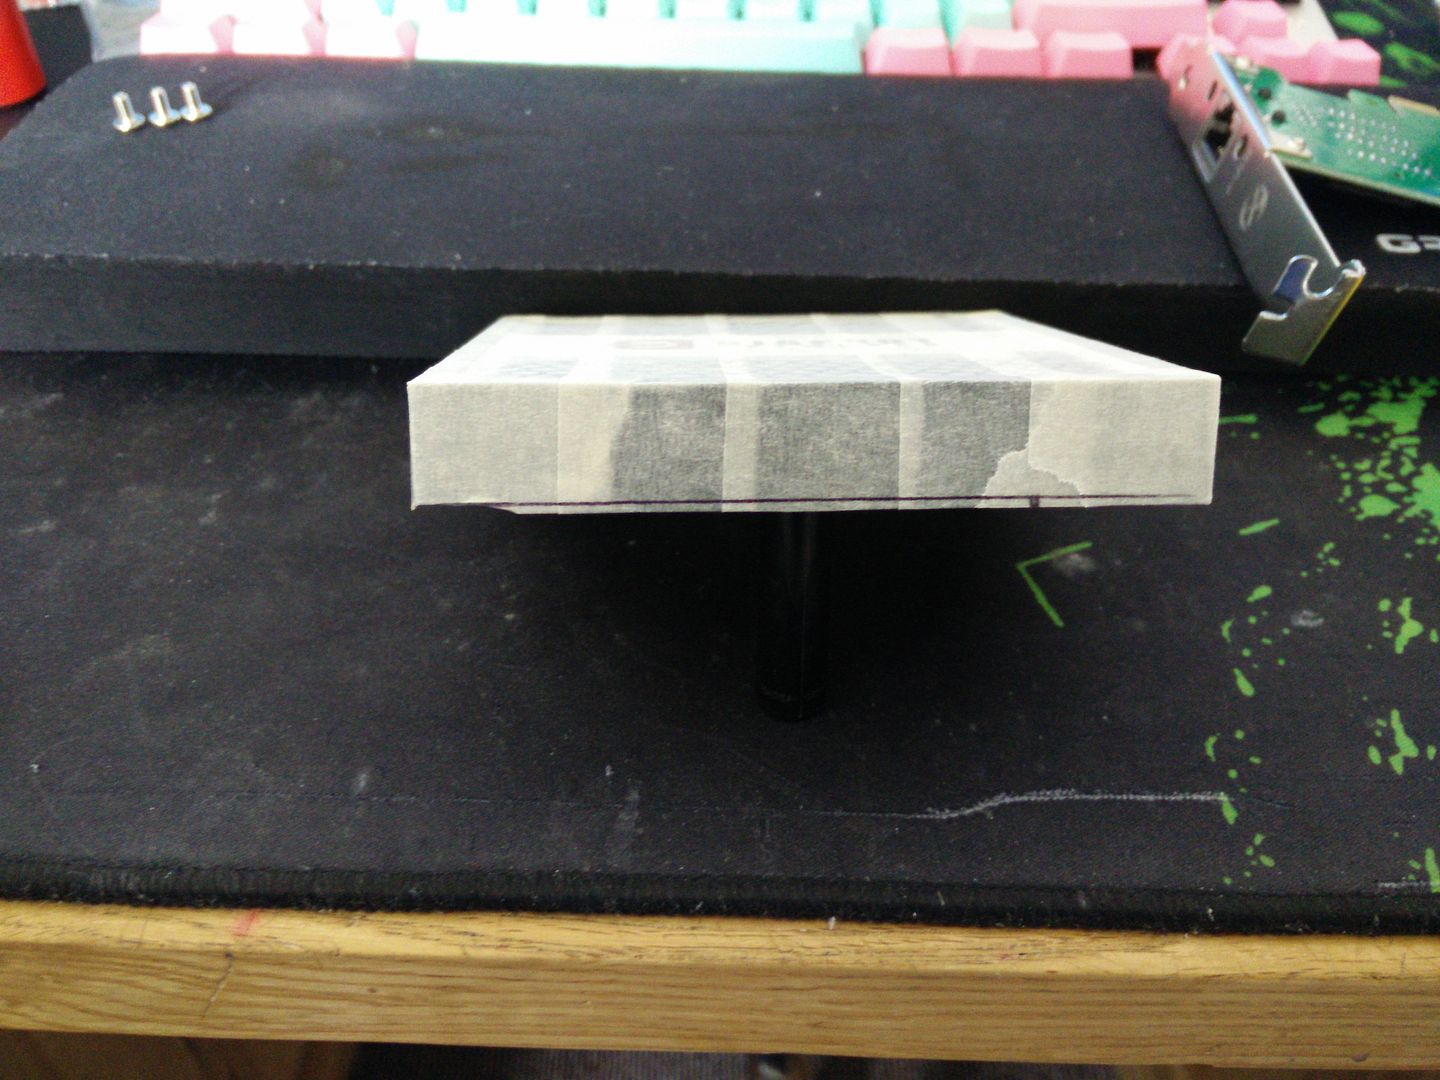
Tape.
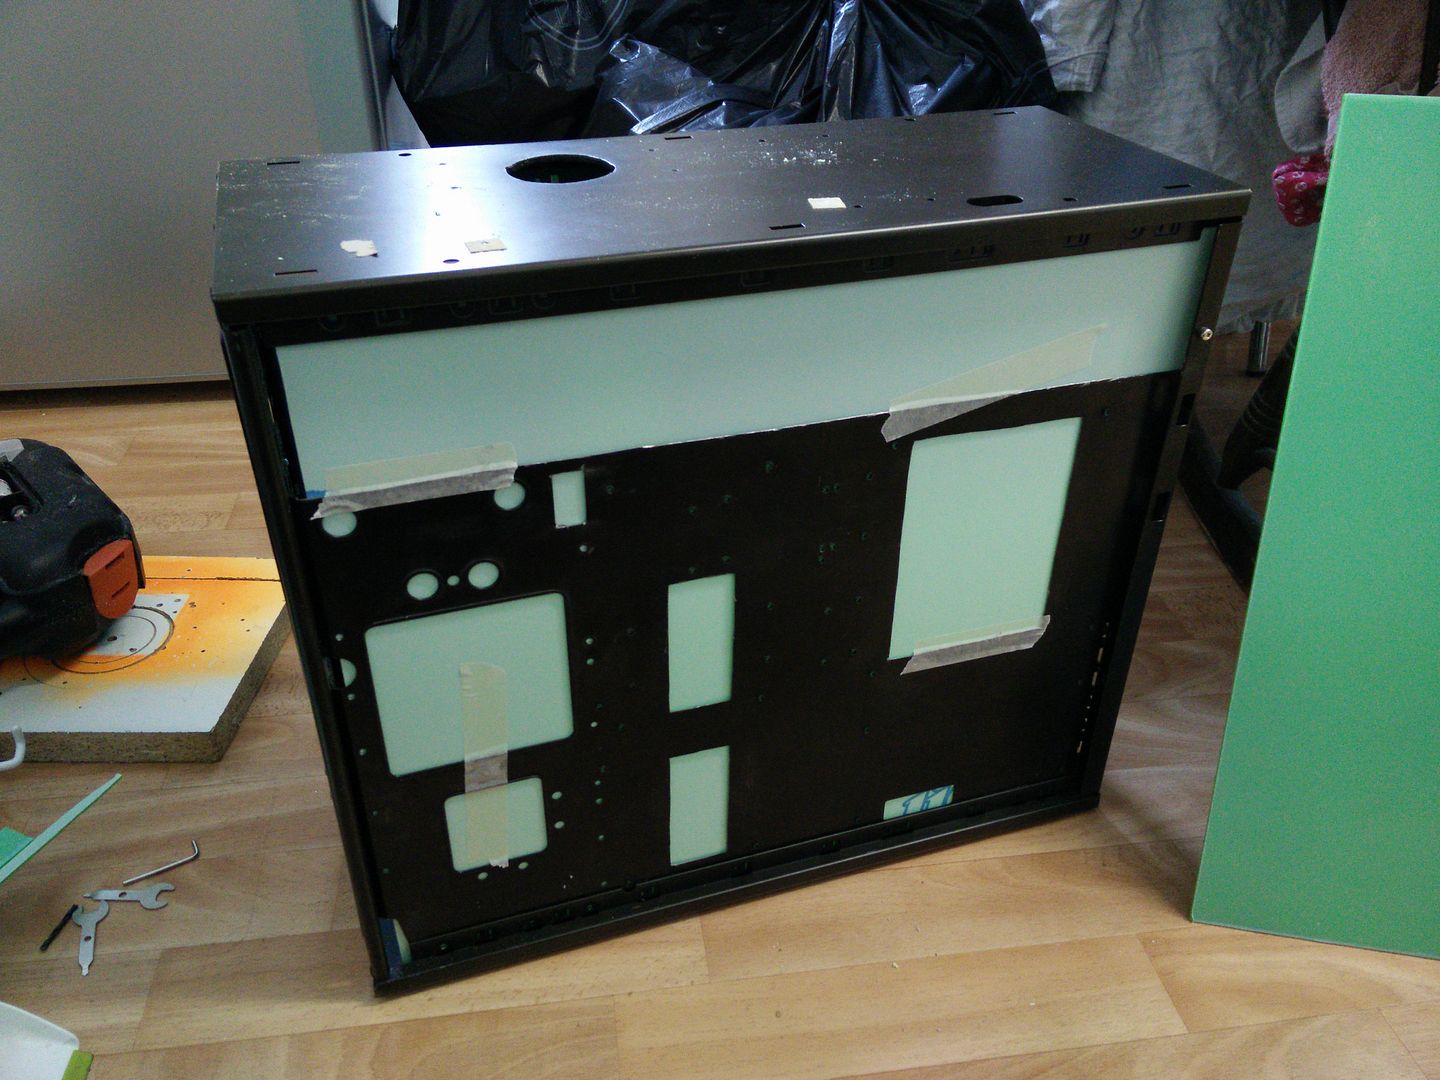


Mark
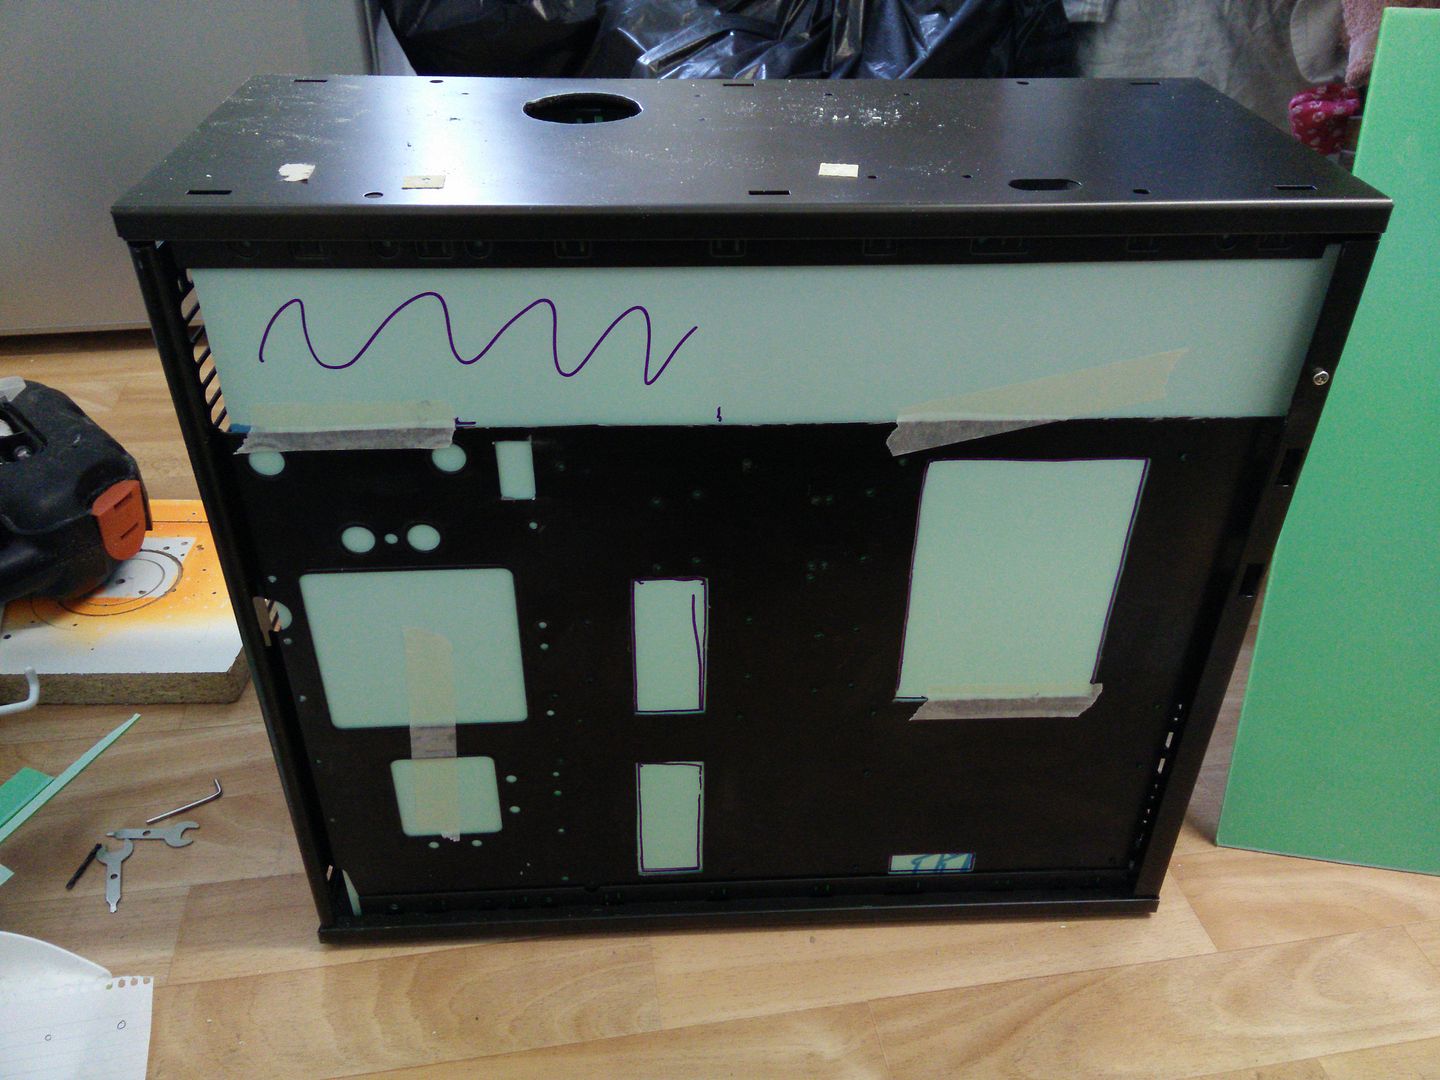


OK now what I also did whilst I was there was take a ball point pen and mark out the stand off holes. Obviously if it can't go over those it won't fit. So I marked them out and then drilled them firstly with a 2mm HSS bit and then a 6mm Bradpoint.
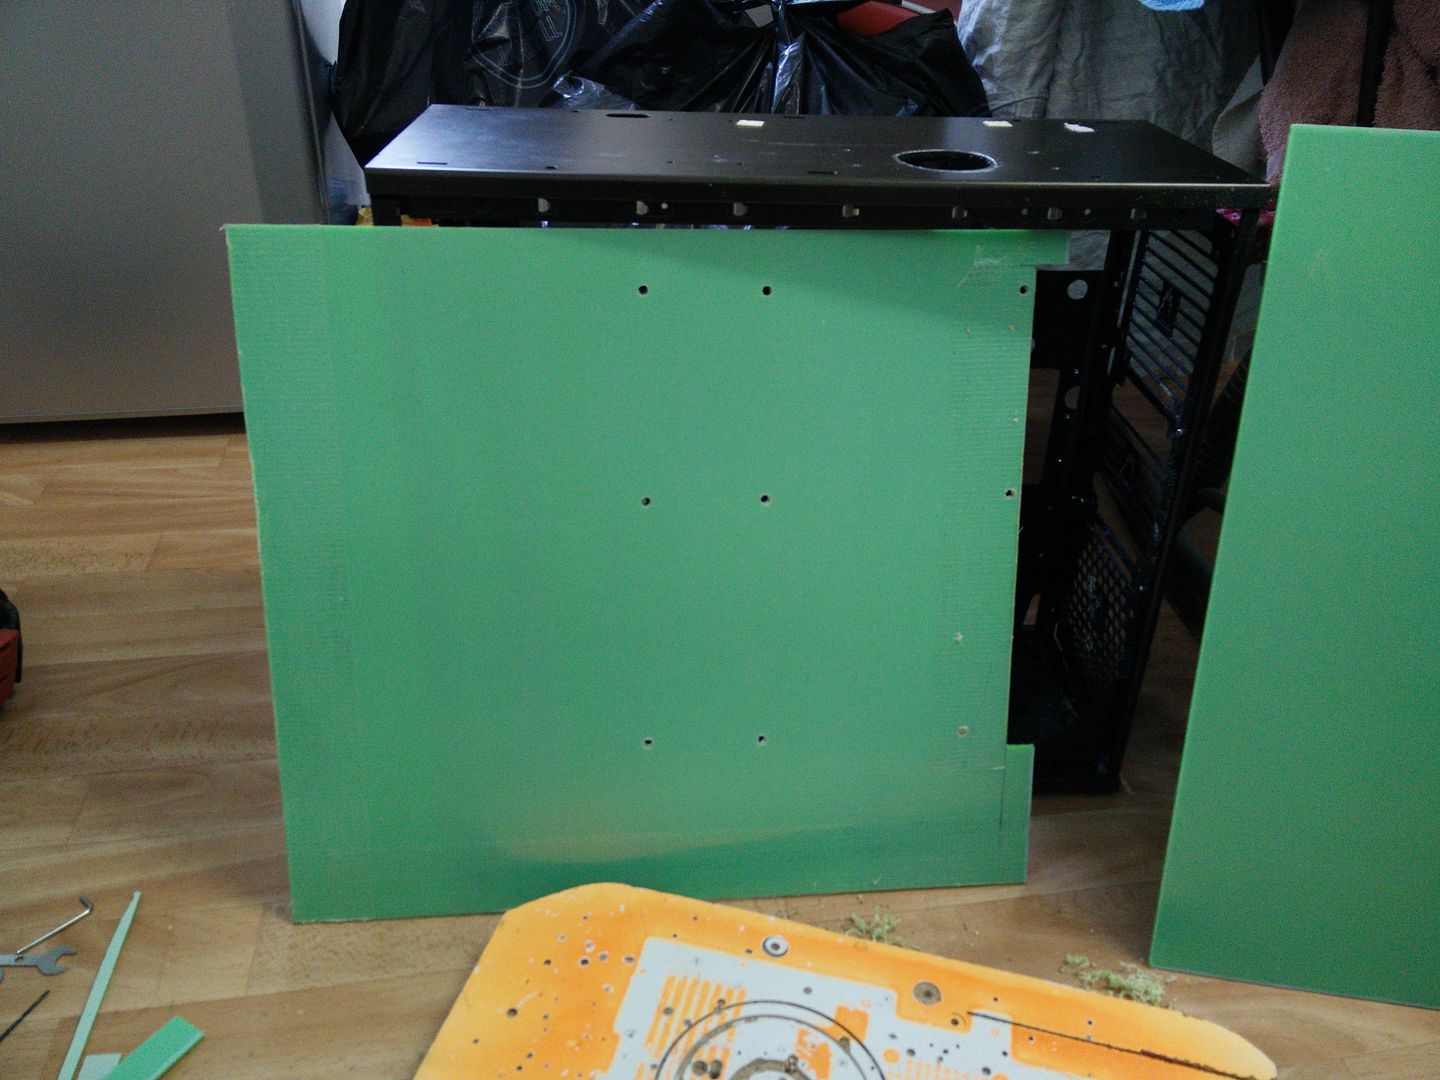


So it now fits and theoretically I can fit a mobo over it.
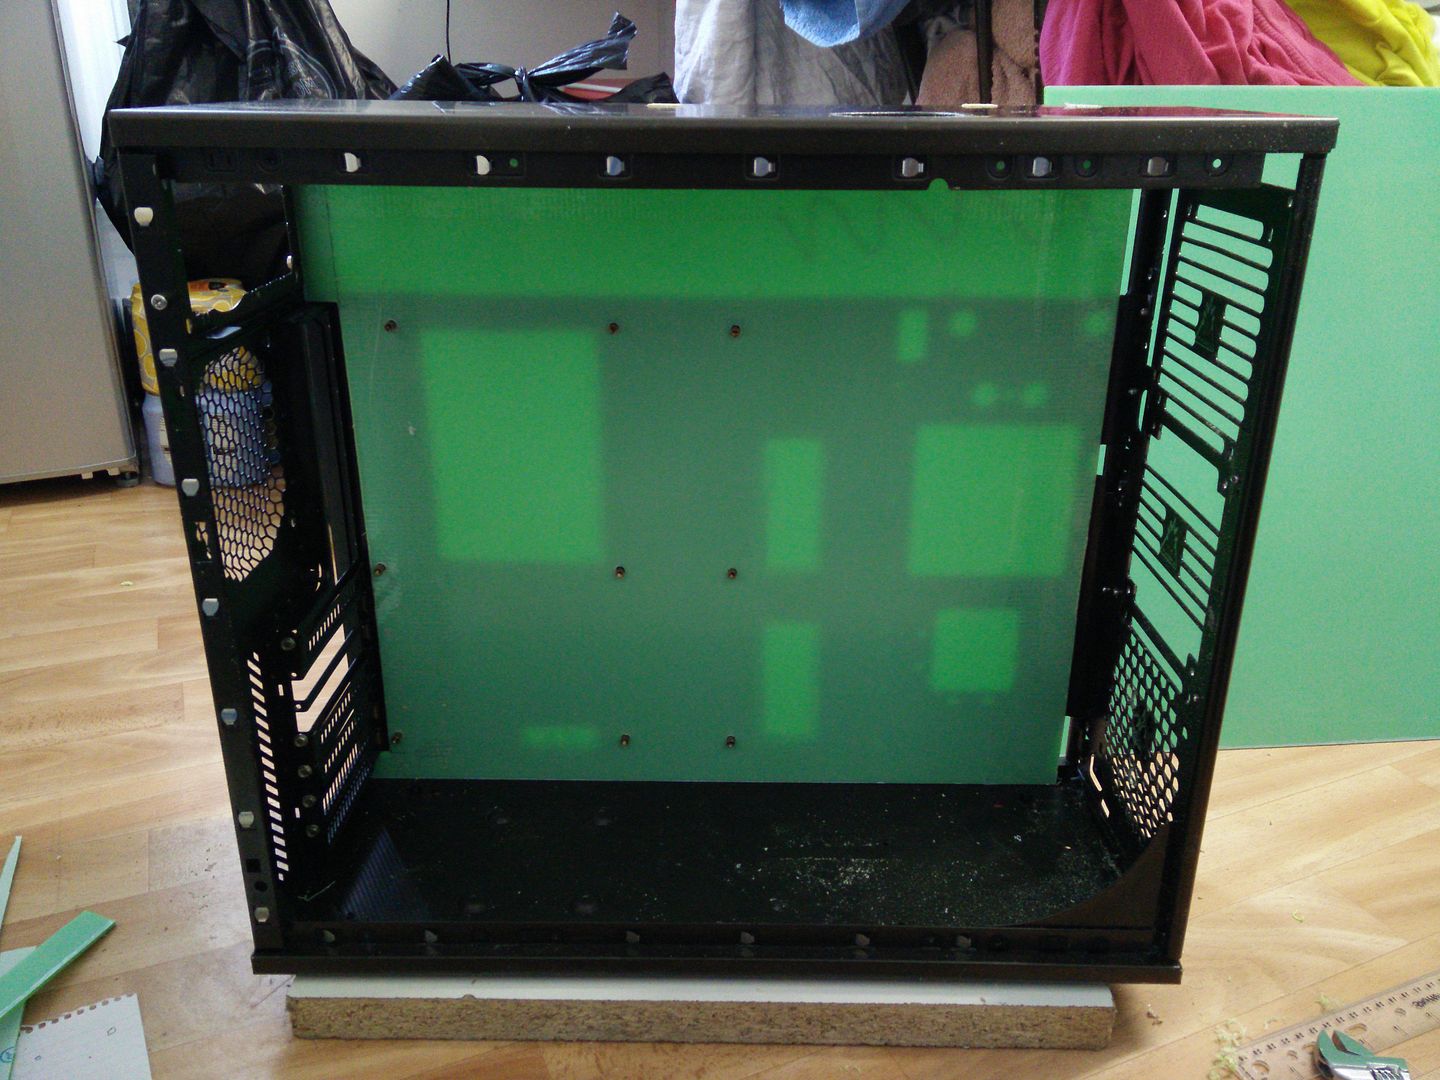


I then took it back out and marked out where I wanted my grommets to go. I need to lop a piece out (the squirly bit) and I also want the PSU to pass straight out into the back panel. Then I need a fat one for the 24 pin and given the rig is only using a 6 pin GPU I decided to fit a smaller one under it.
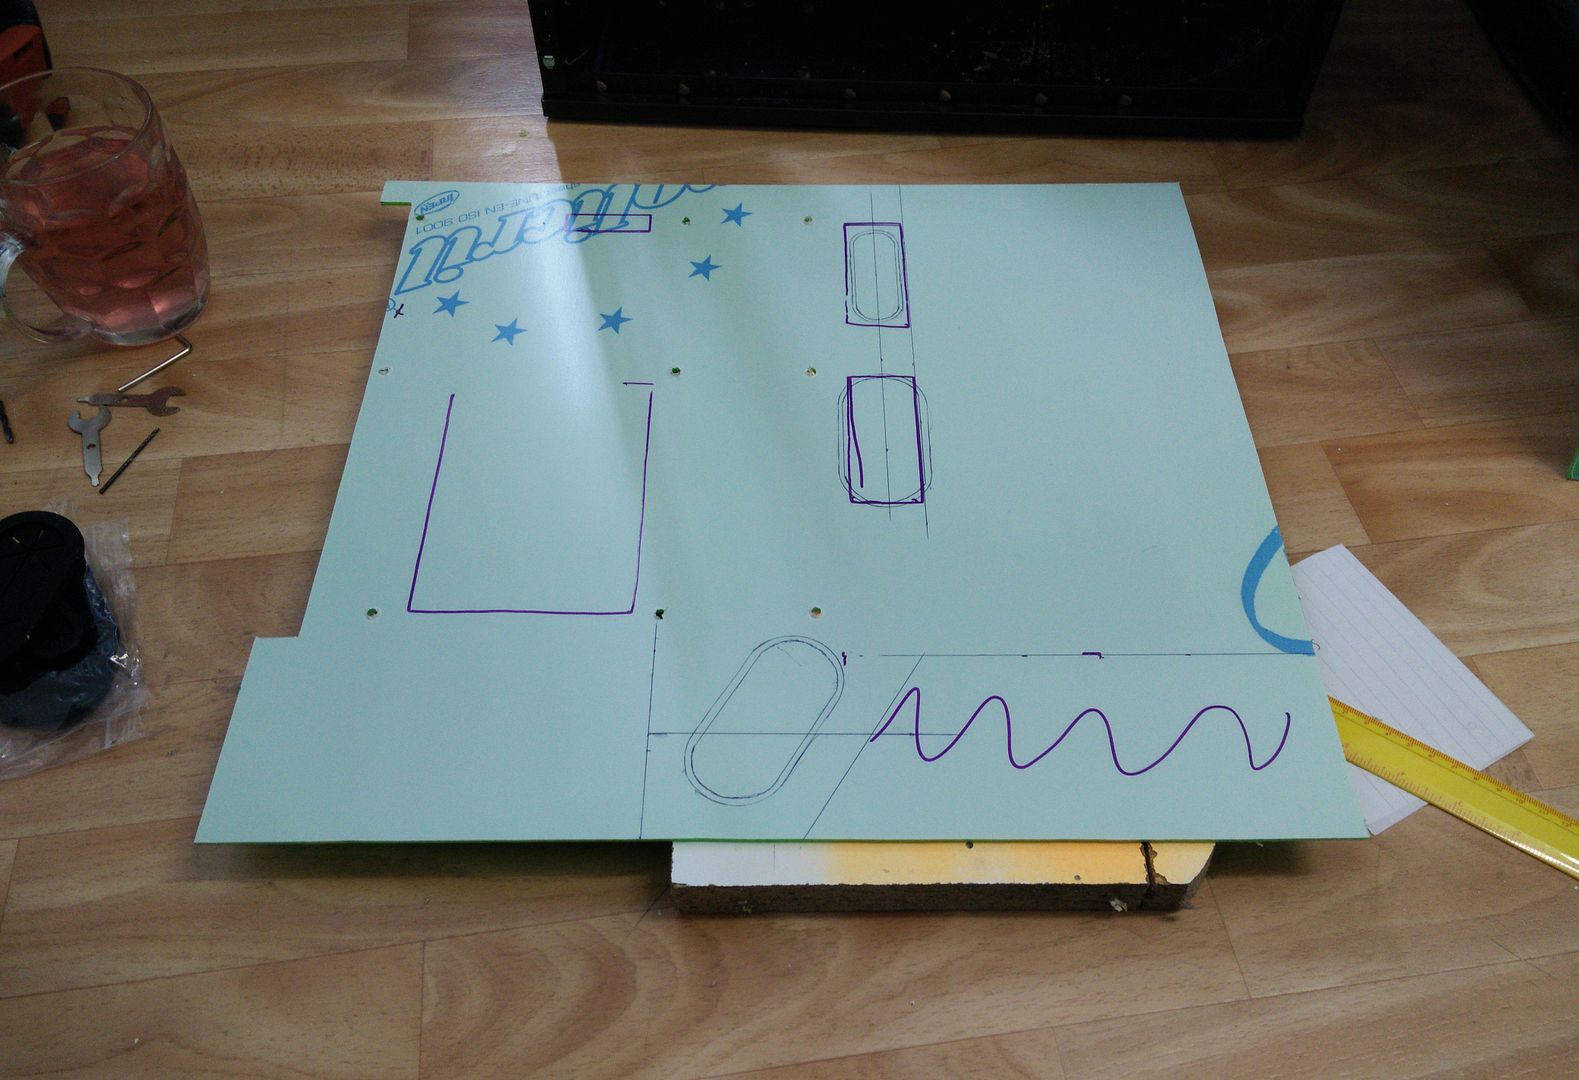


OK, so the next step is to cut out the straight parts of the holes using a diamond tipped cutter. Here you can see I have my holes started and the sanding part I use to finish the holes with.
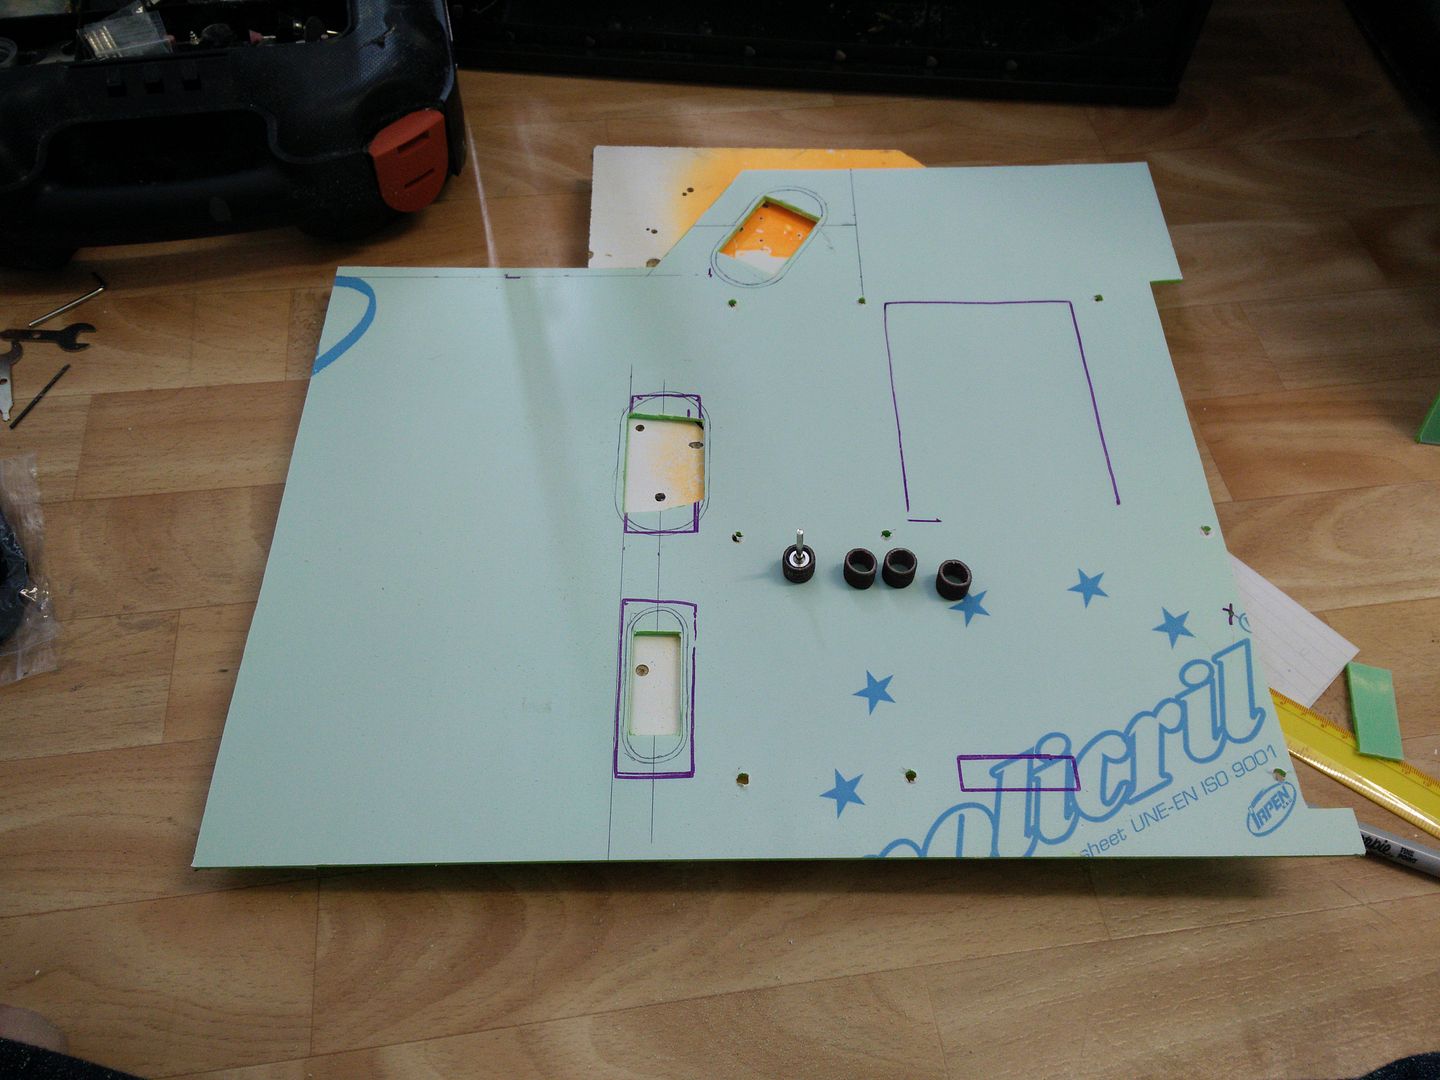


And here you can see them finished.
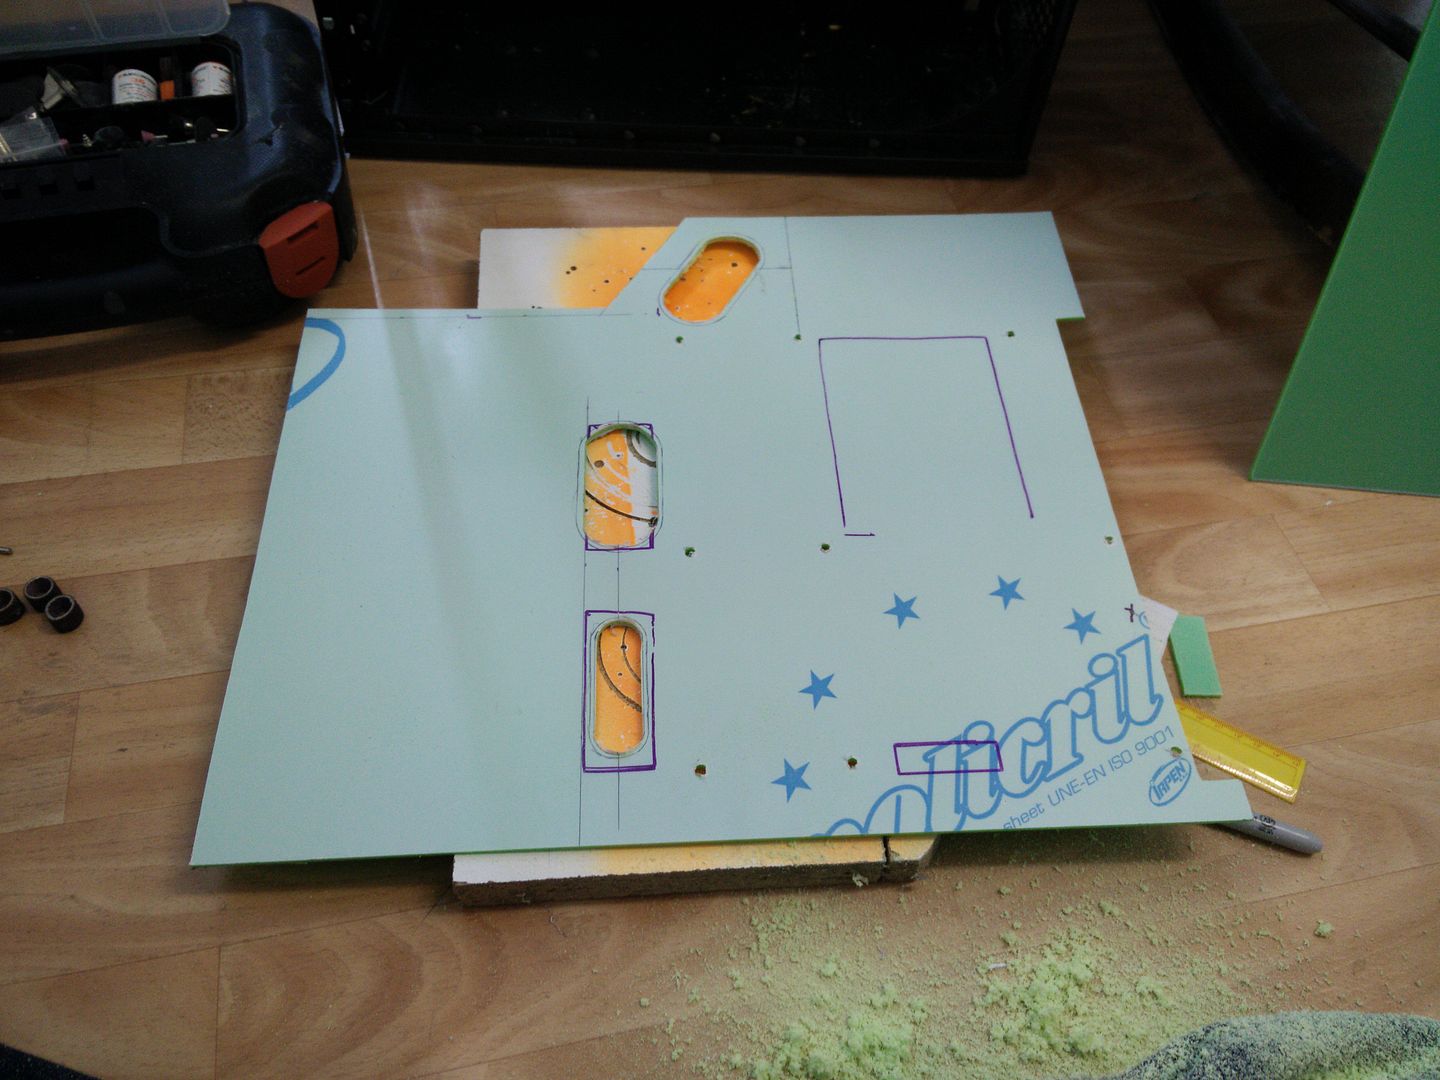


Now remember I am working from the back side, so I need to keep flipping it to make sure it looks good on the "show" side.
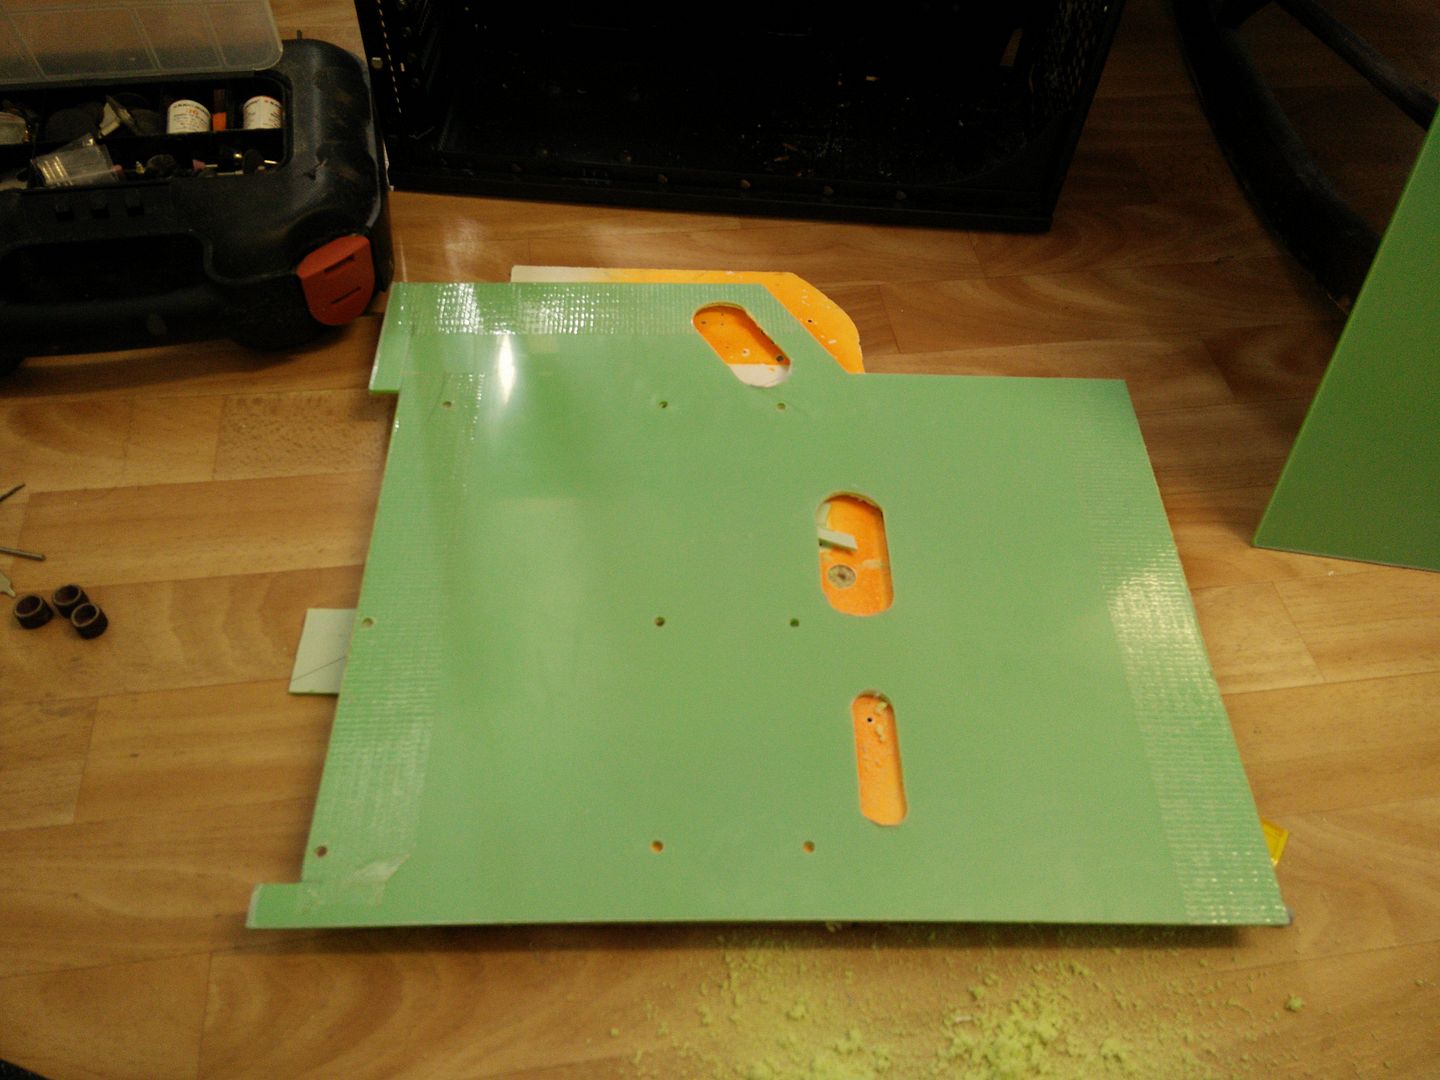


Quick note. The protective layer on it is white, so it kinda makes it look like pastel green. I assure you it really isn't. OK, so basically I am not fitting the light board and so on back into the build. It's not electronic and you have to set the light colours with a DIP switch. I have only ever had the lights in green and purple (as none of the other colours matched the build in there) and I prefer green and obs purple would look stupid now. So that means i can just fit 5mm green LEDs and remove the entire "brain" giving me more space. So I need a cable management hole for the USB, Firewire, case headers ETC. Here you can see it marked. and a bit I will be using to cut it.
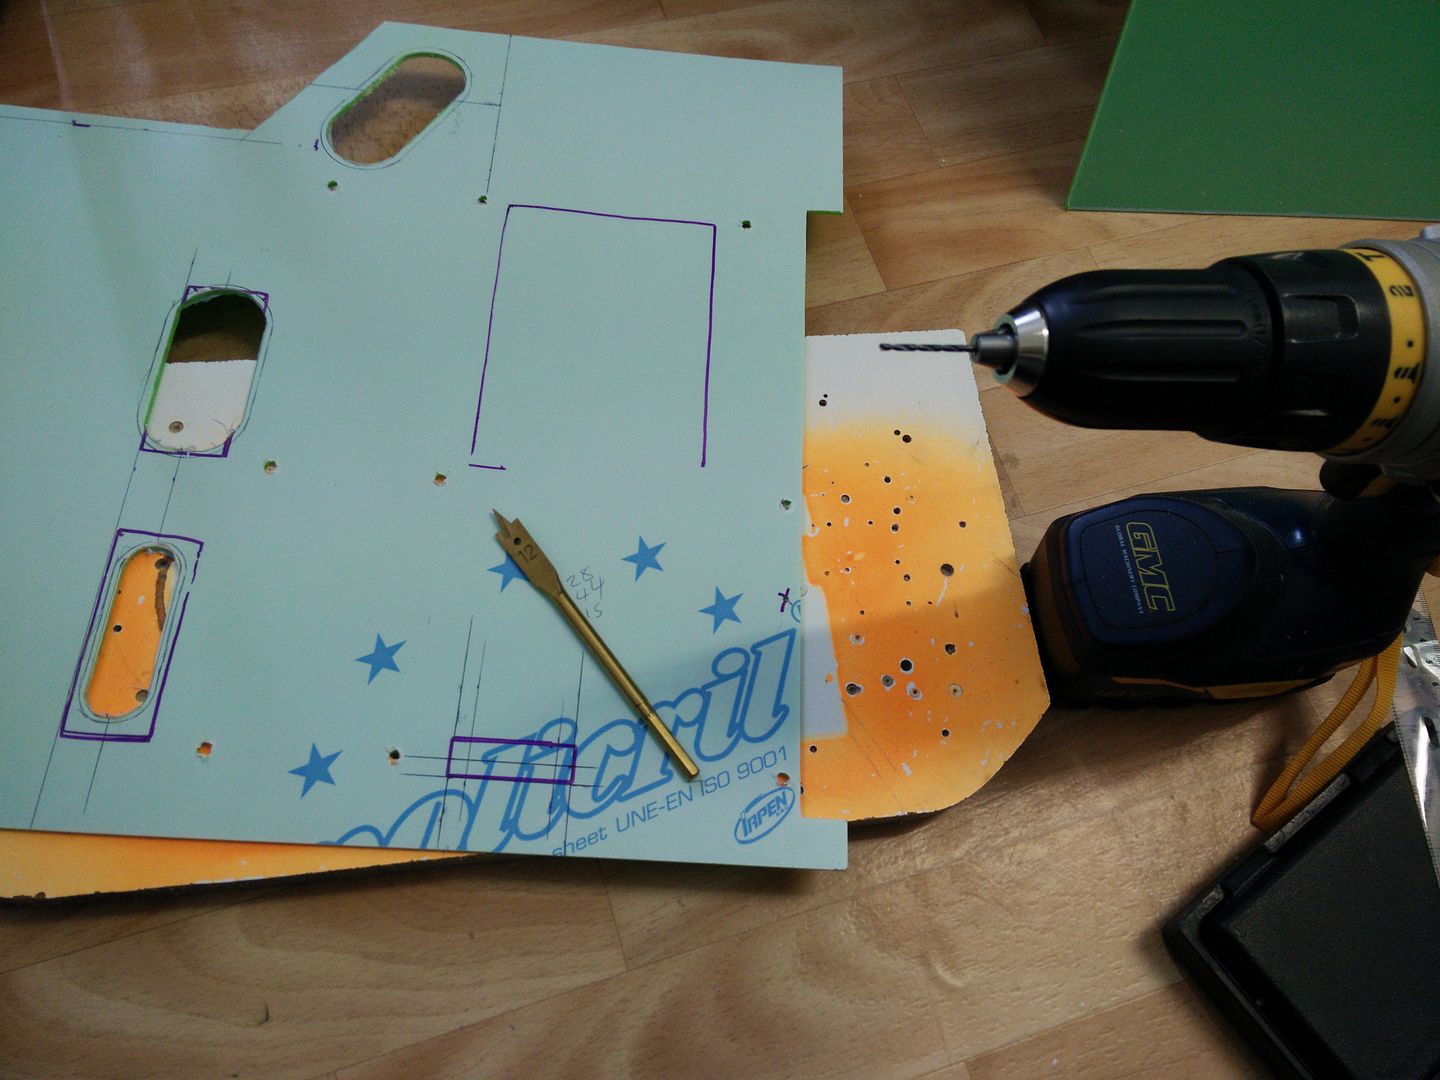


Just remember whenever you are drilling acrylic always put it on a thick sheet of wood. Otherwise you will blow out the back side and probably crack/split it.

Next part doesn't take much explaining. Drill the two holes, then bridge the straight gaps with the dremel.
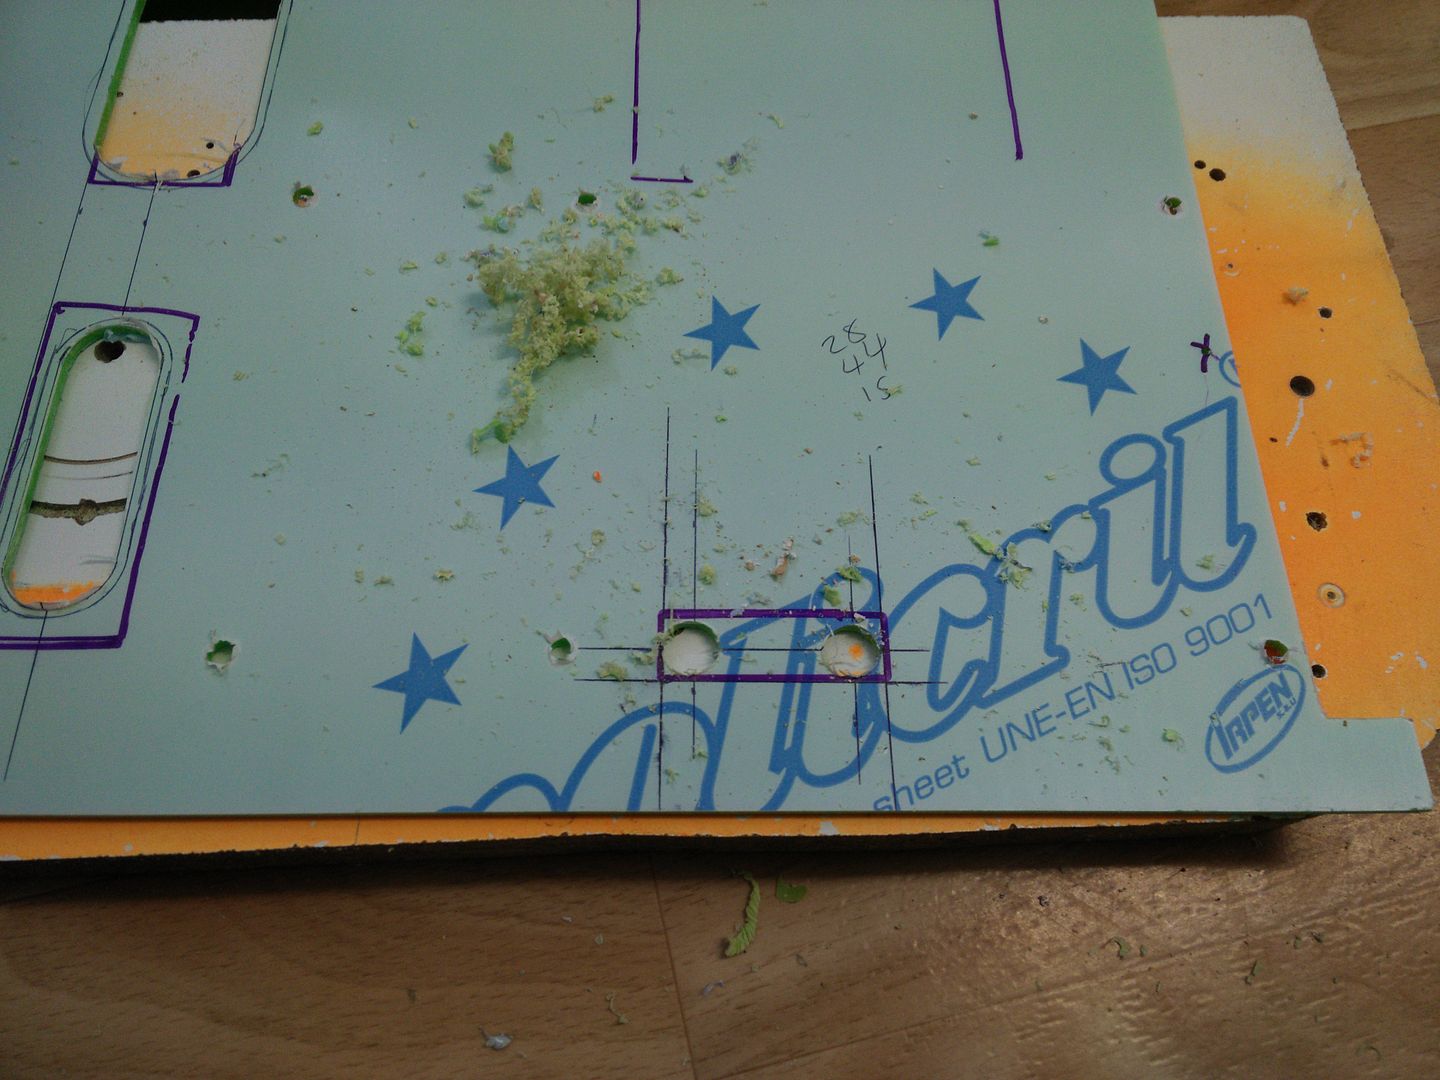


And done.
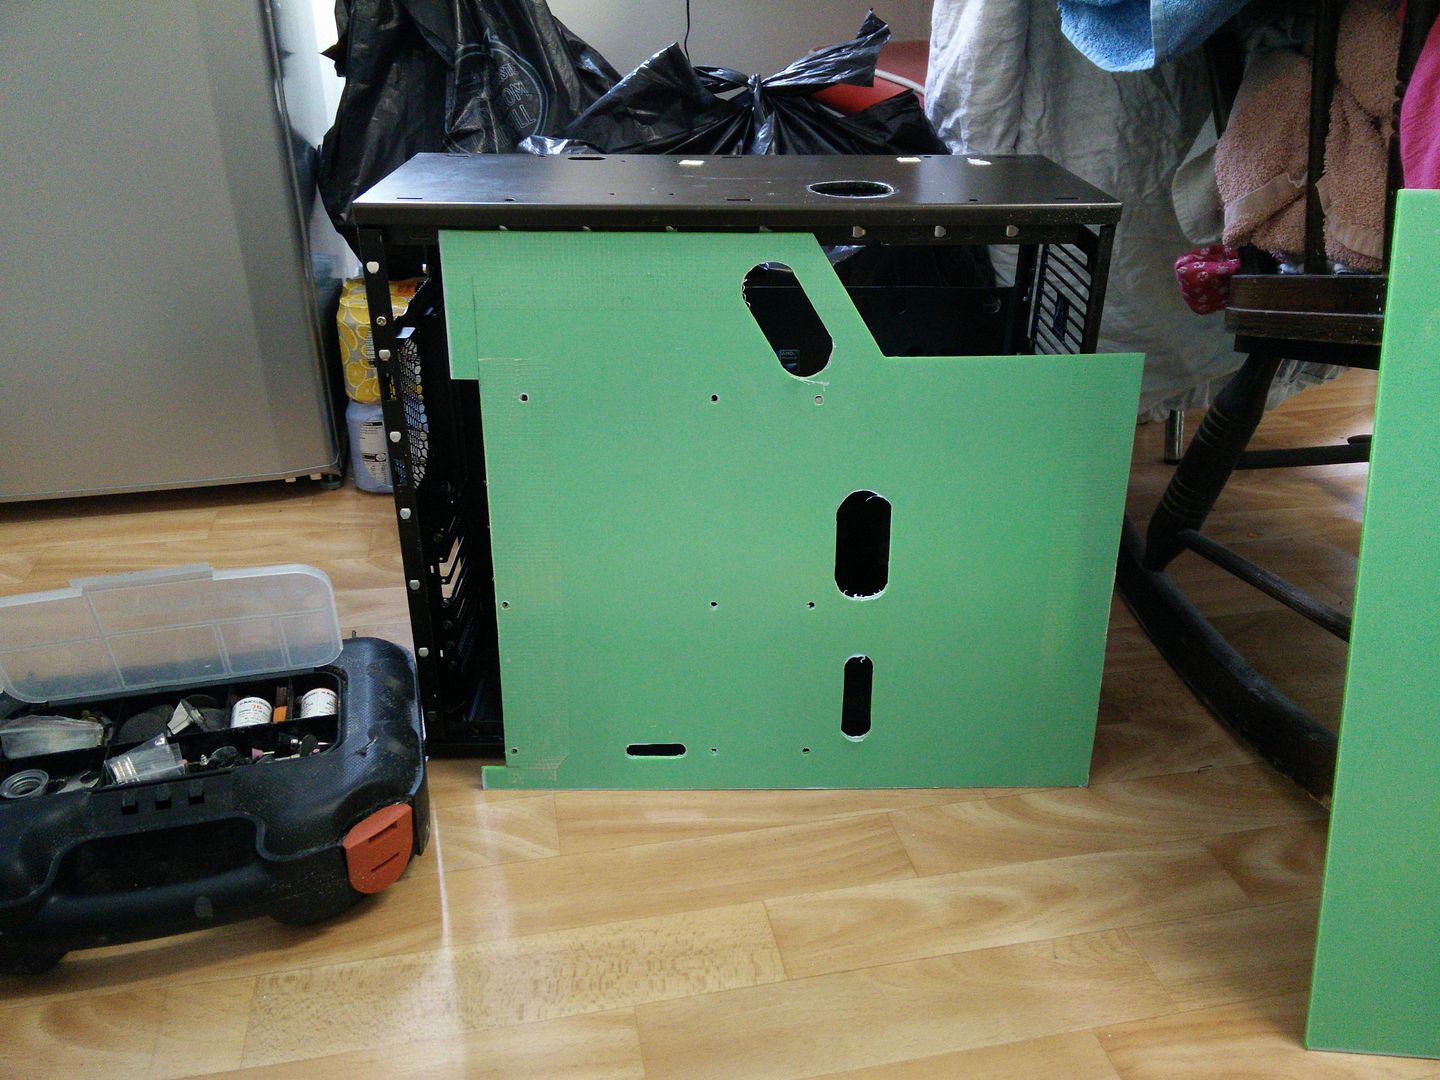


Fit the grommets.
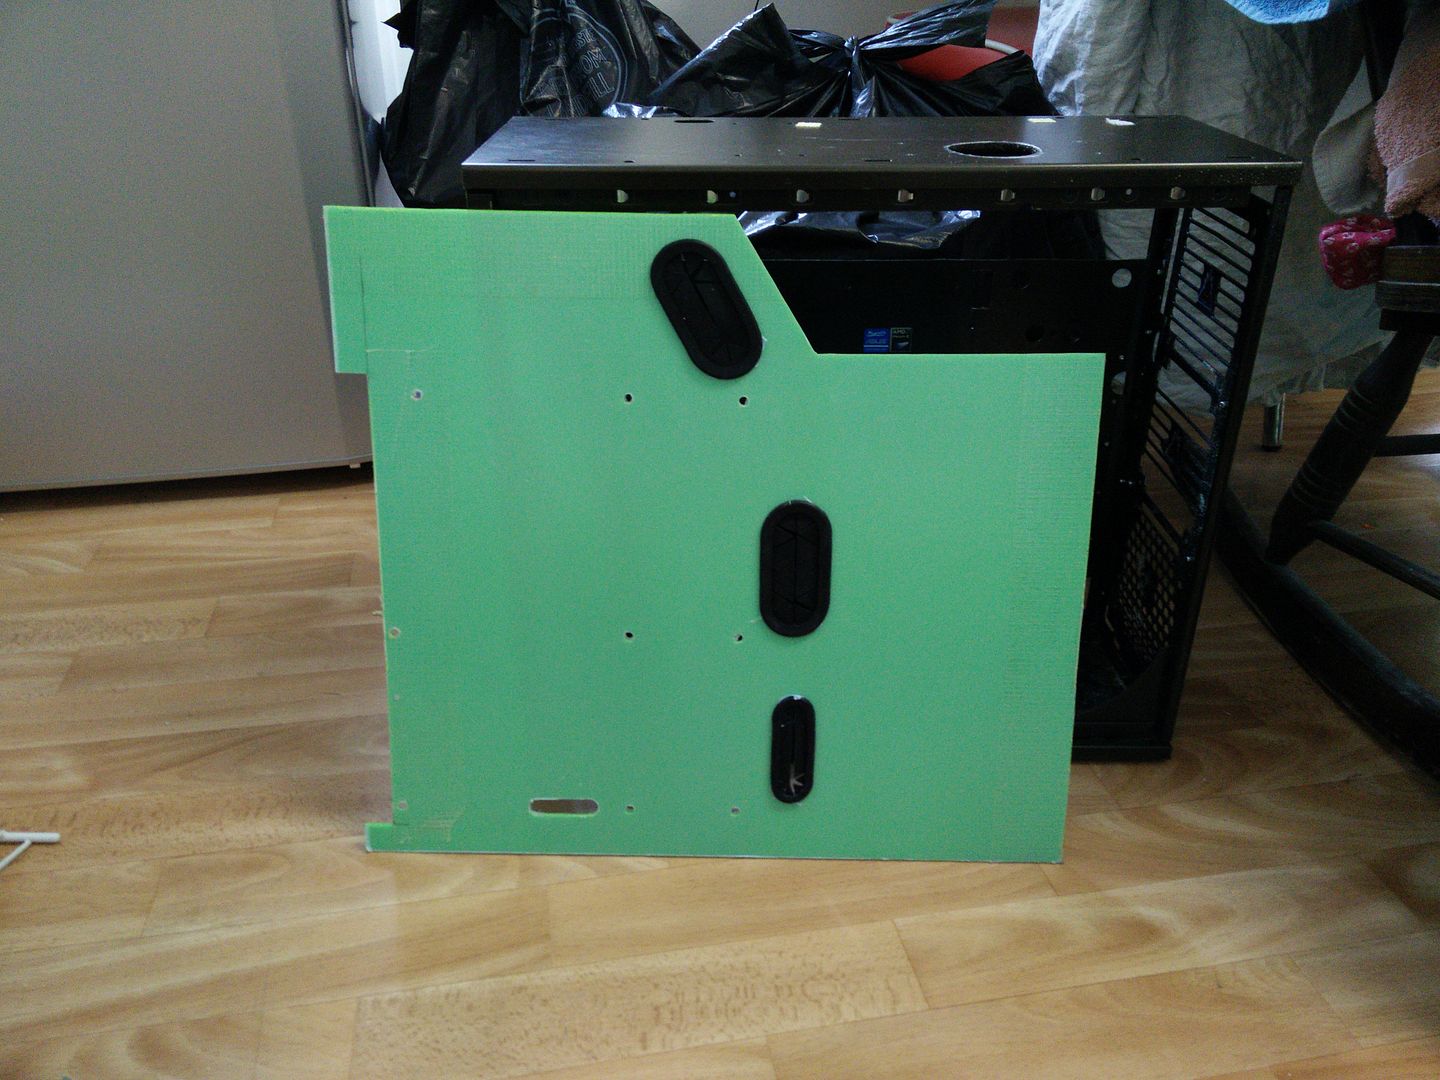


Cut out anything that stops it going in completely flat against the case panel.
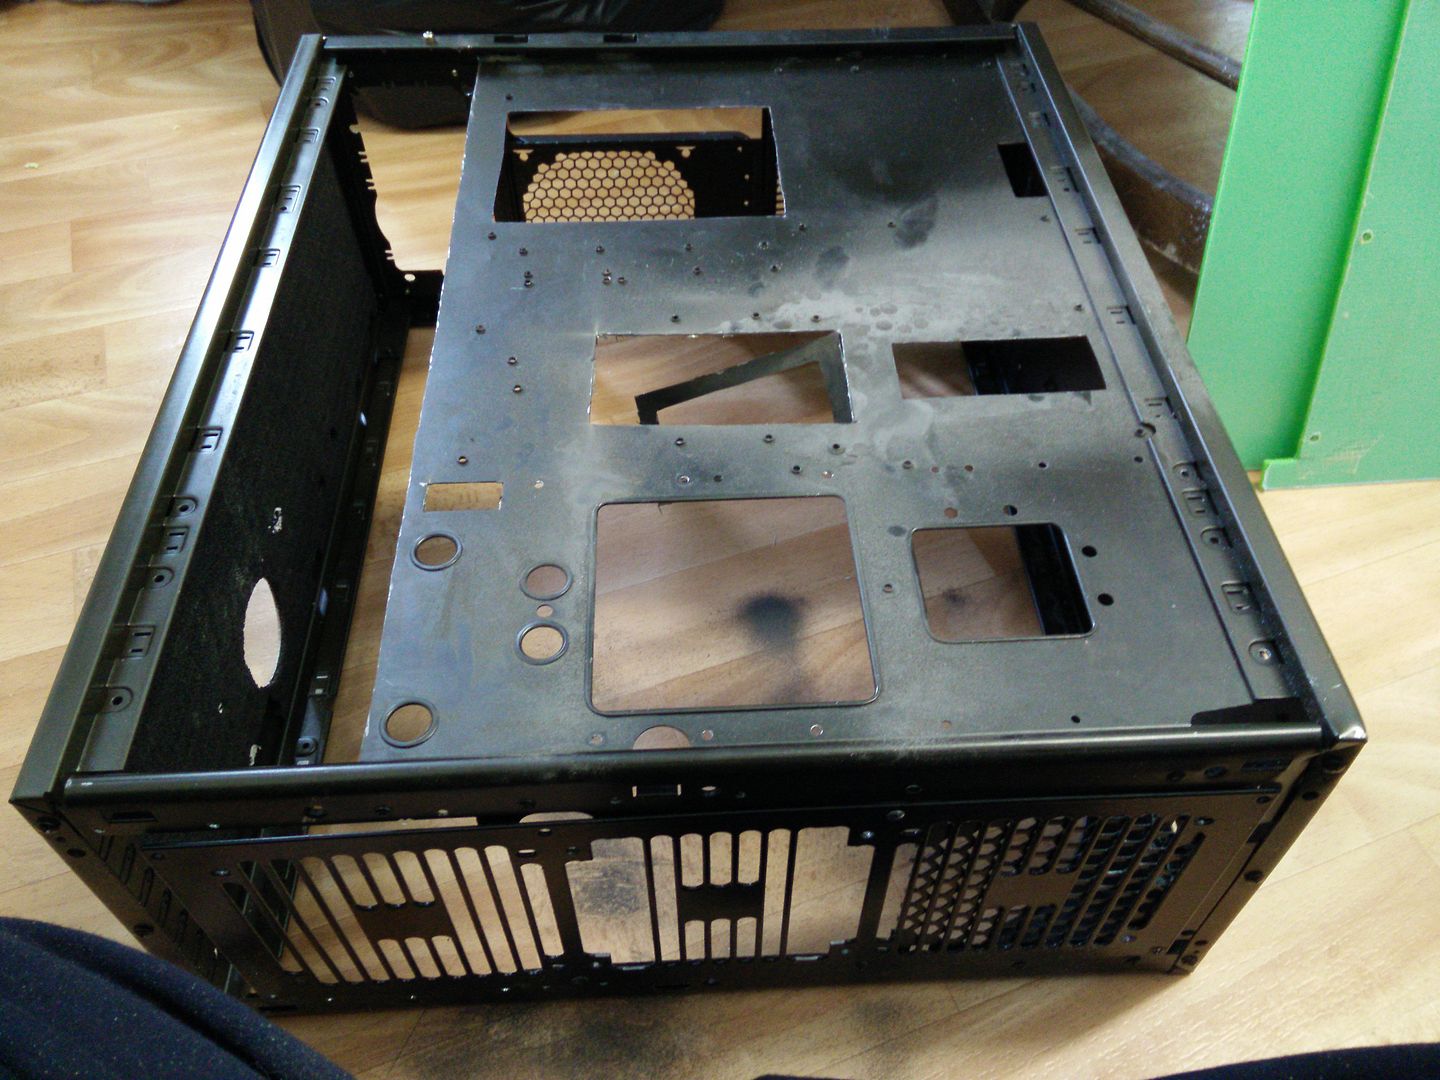


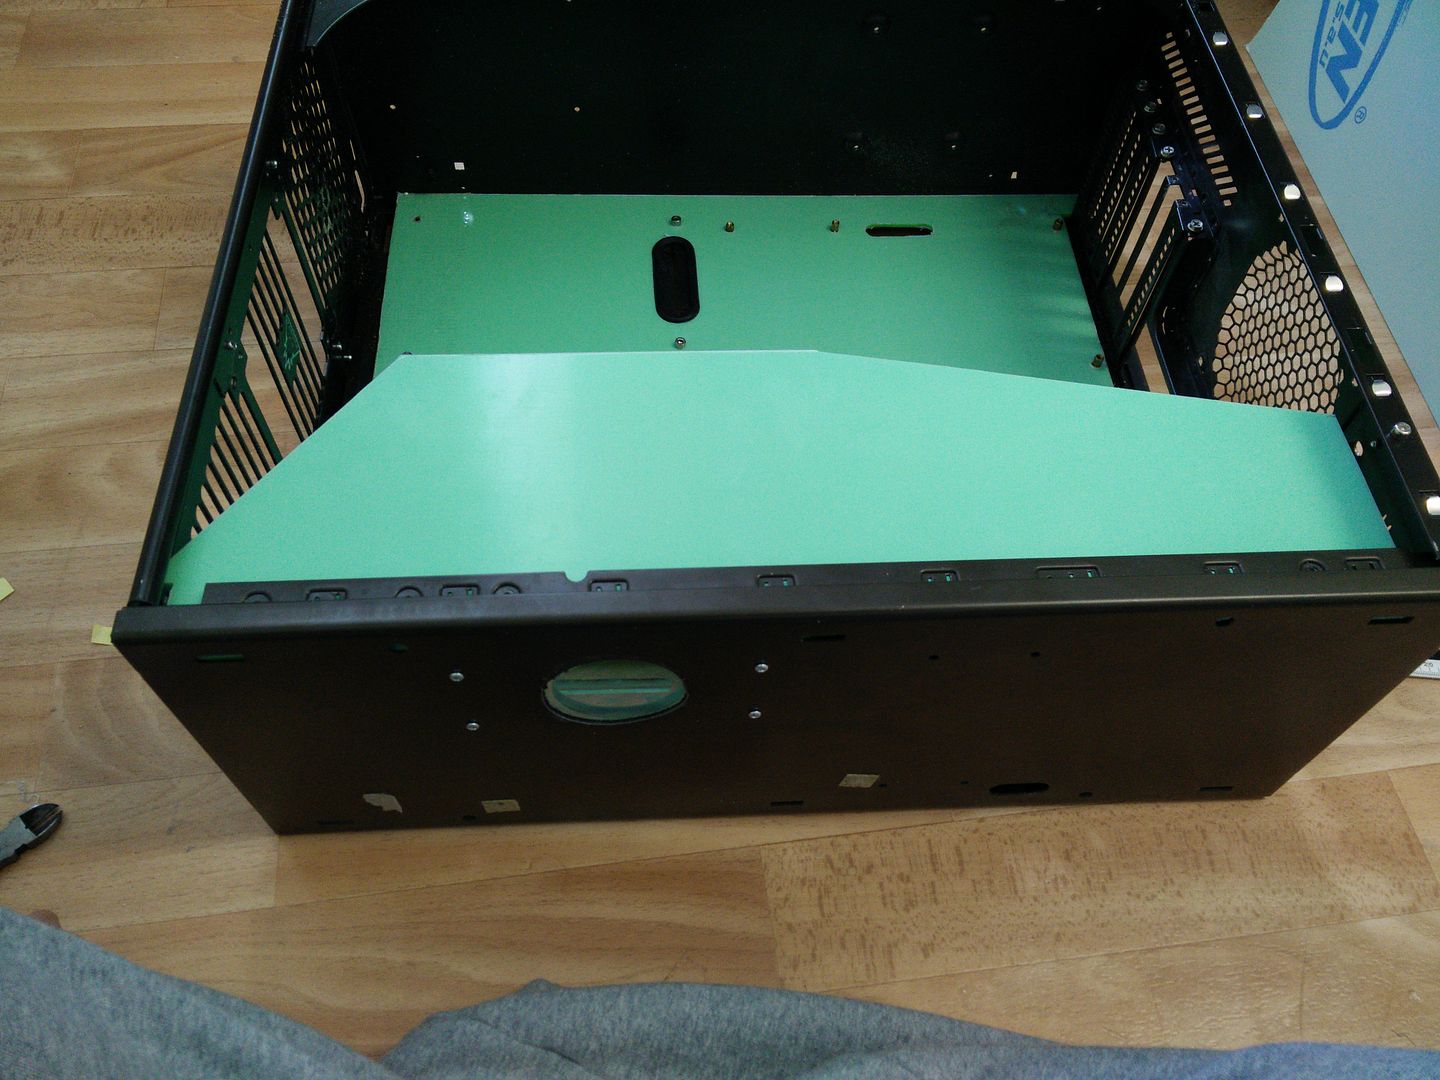
And then fit again.
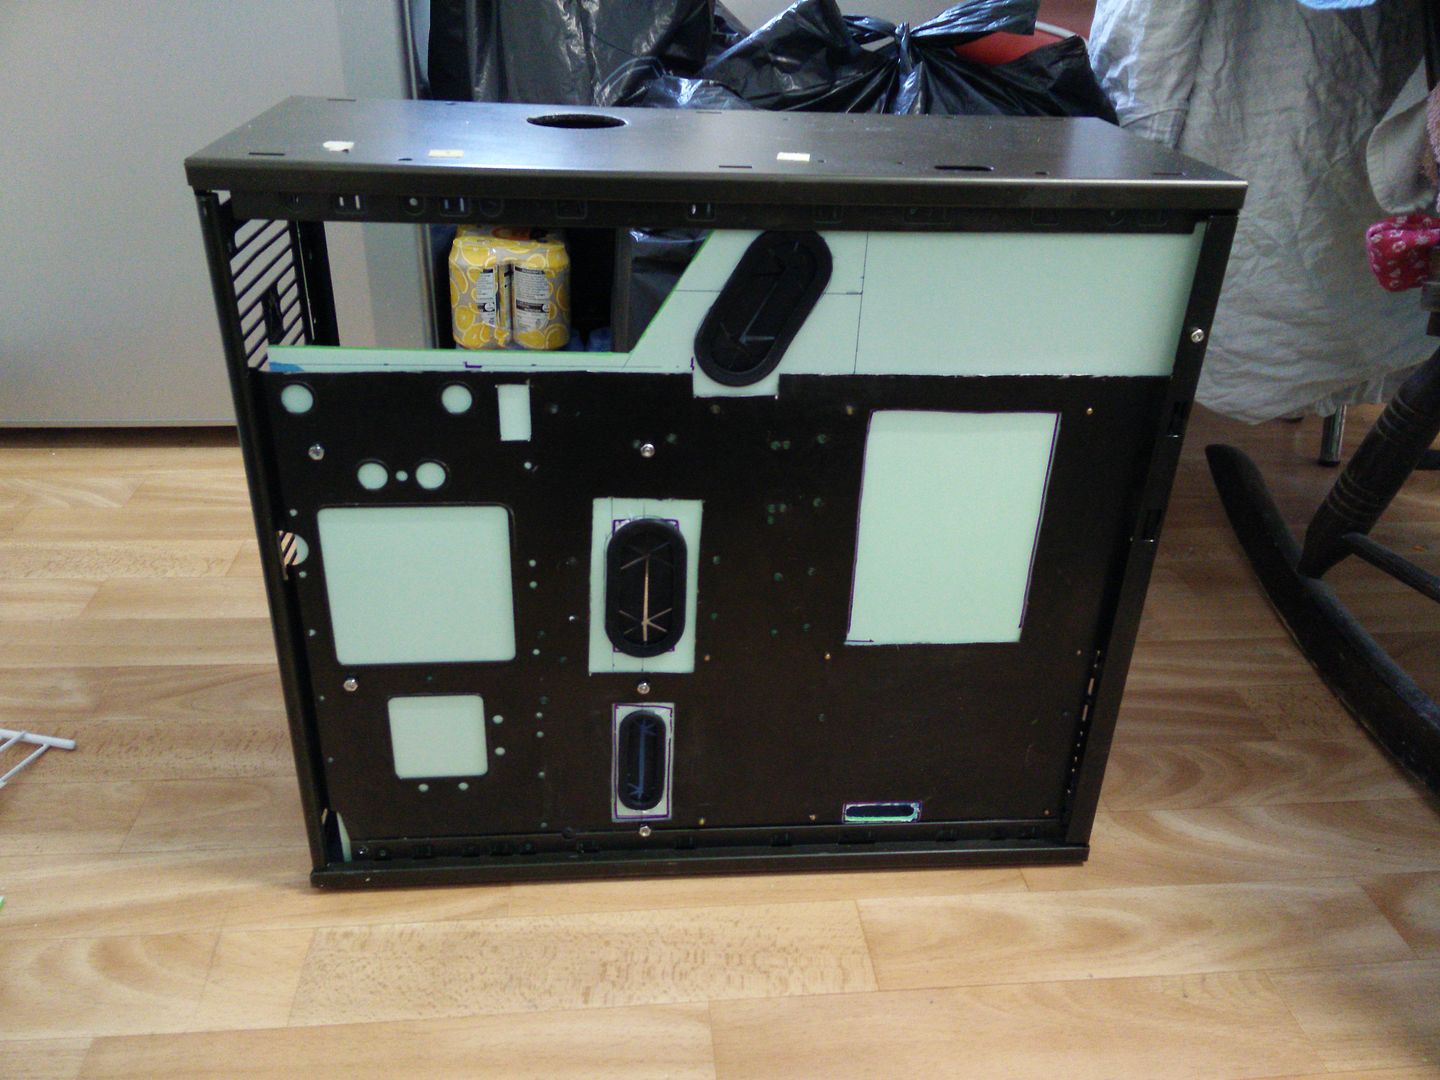


And.
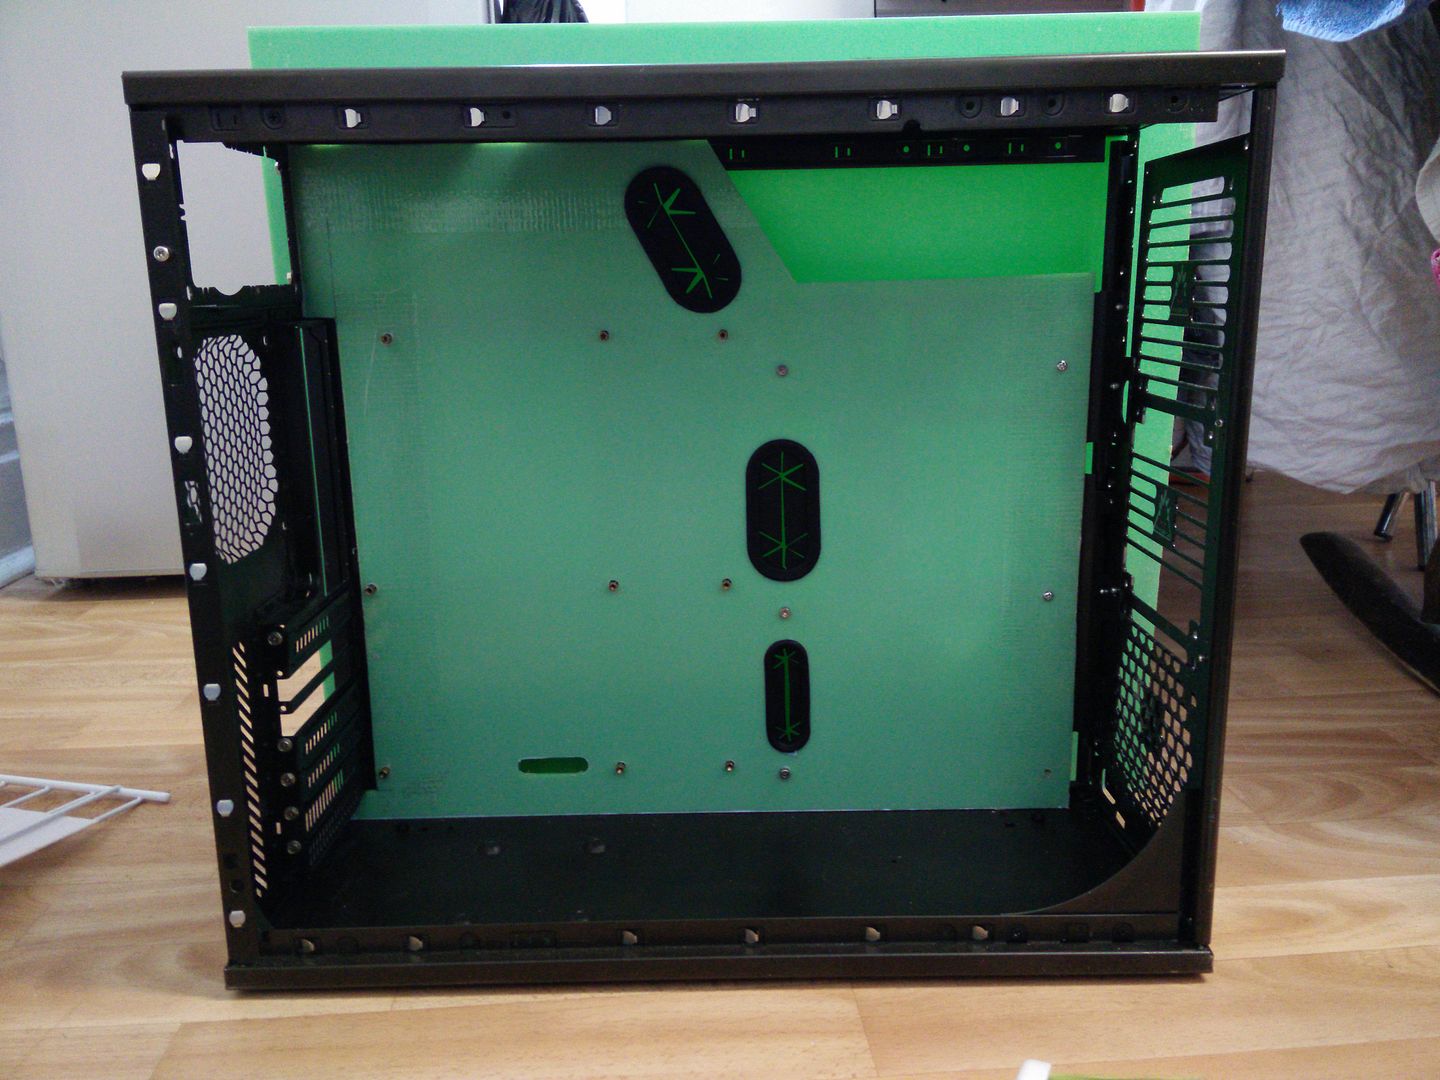


NB. As it is 3mm acrylic the light shines through all of the openings in the case. This won't be a problem once the side panel goes back on, 'cause obs that will stop the light shining through but I have used the spare acrylic for now.

Any one for lime sherbet?


And on the menu for tomorrow (I was up til midnight last night doing these !)
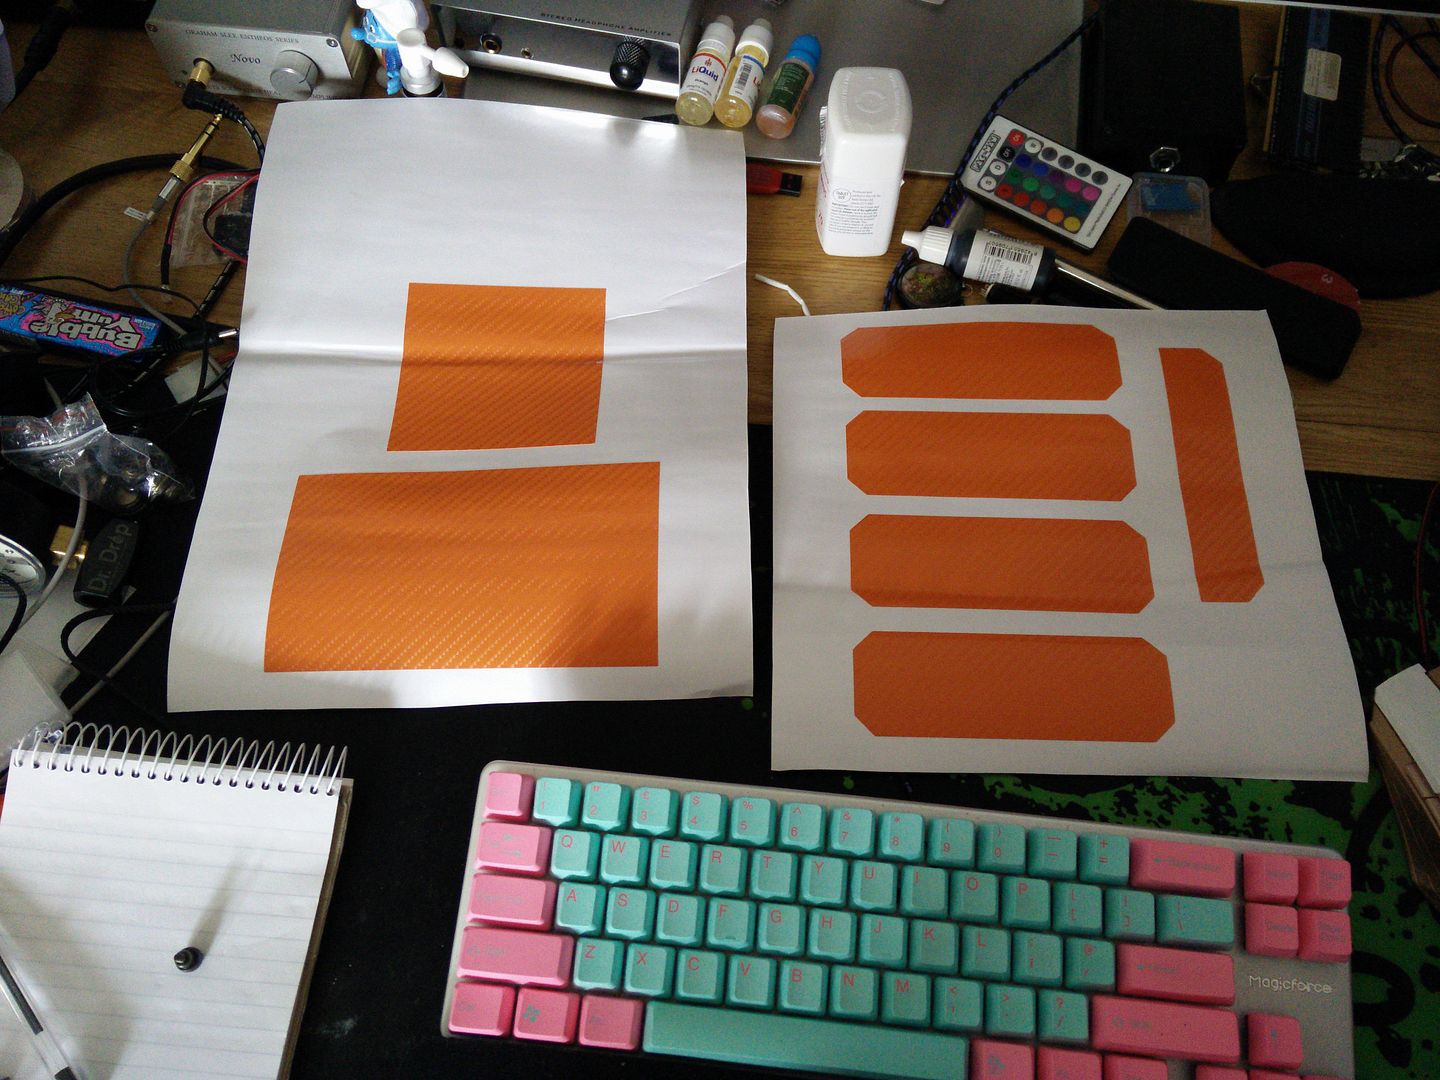
 
loving it :)

Good :)

I absolutely love working with acrylic (unless you crack it of course lol, it kinda sucks when you pour a whole day into something then crack it lmao).

Got a big sitting for tomorrow. Loads of small panels.
 
OK so tonight's work.. I can't get actual photos because it's pitch black in here and even with light it's still dark. Plus the parts are setting so look stupid..

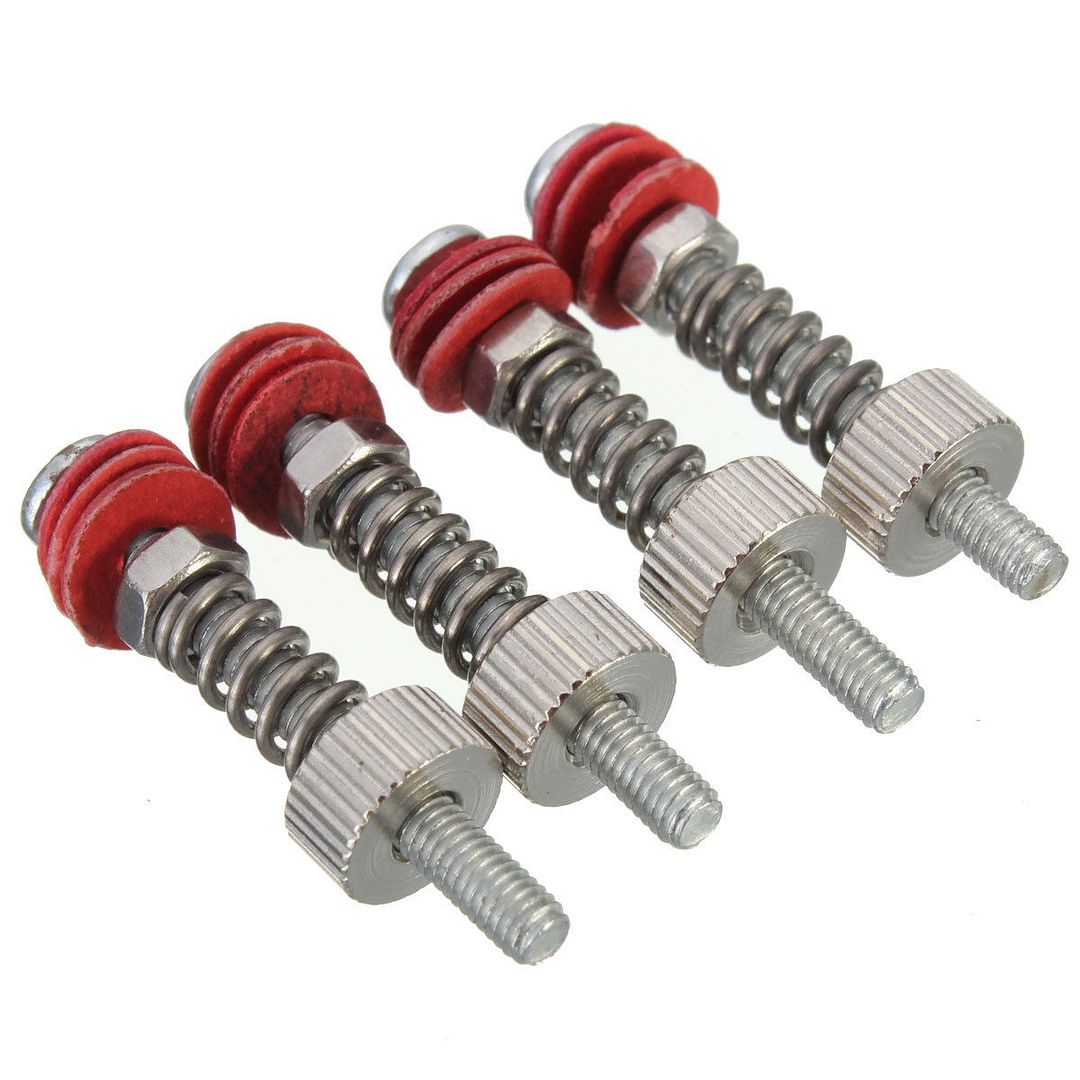
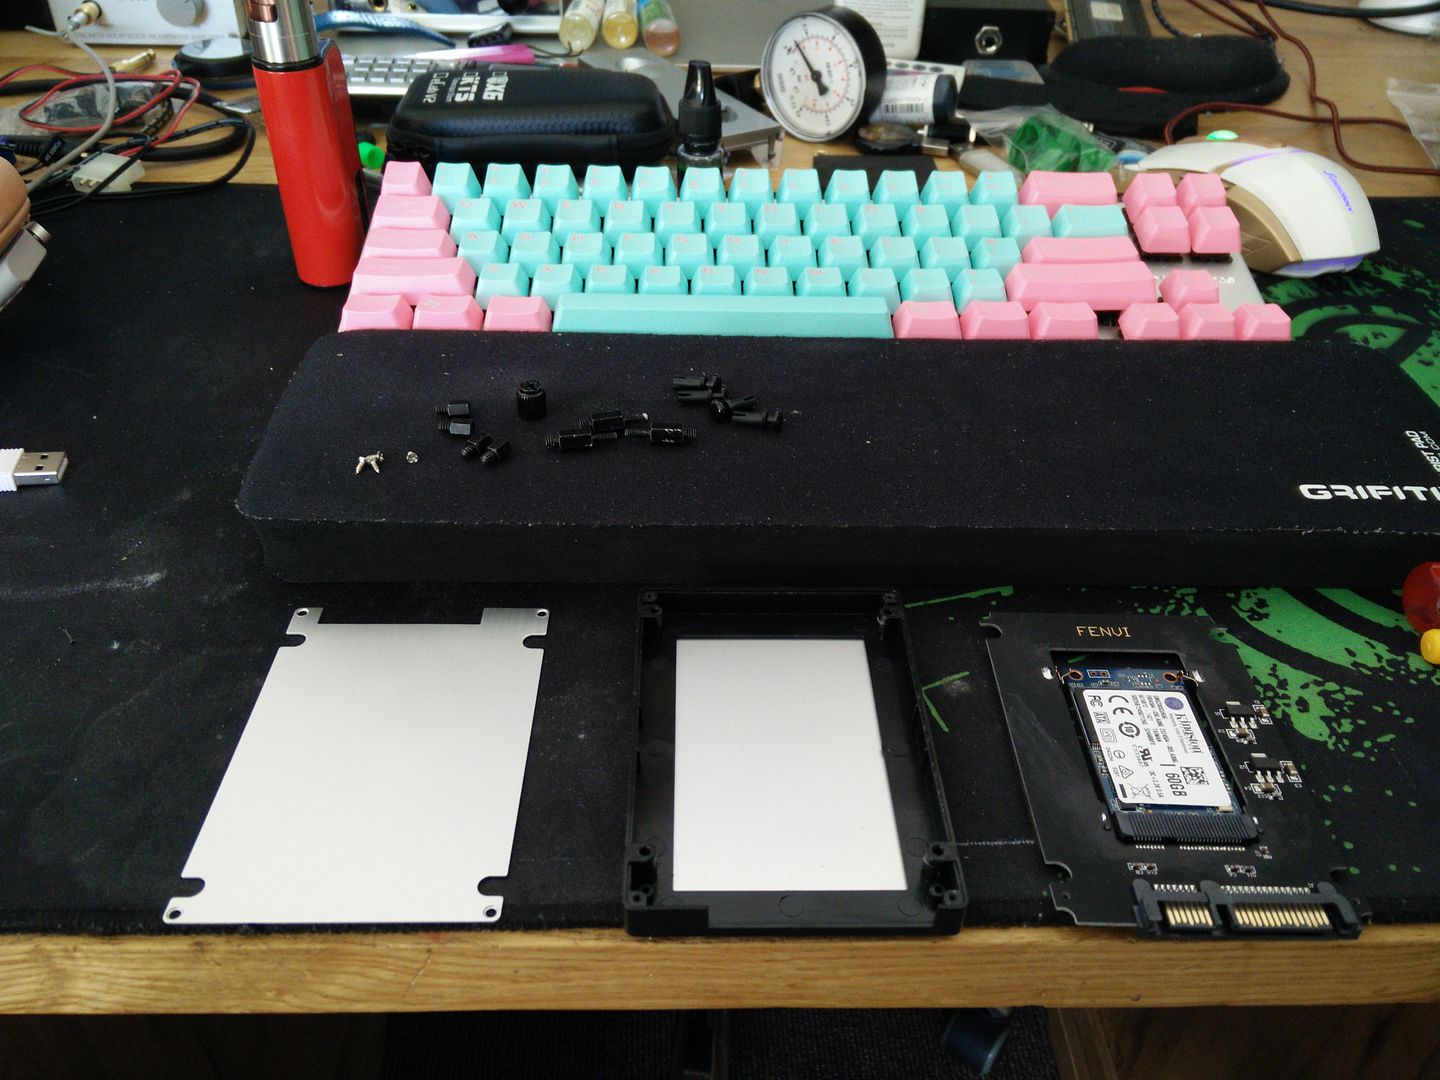
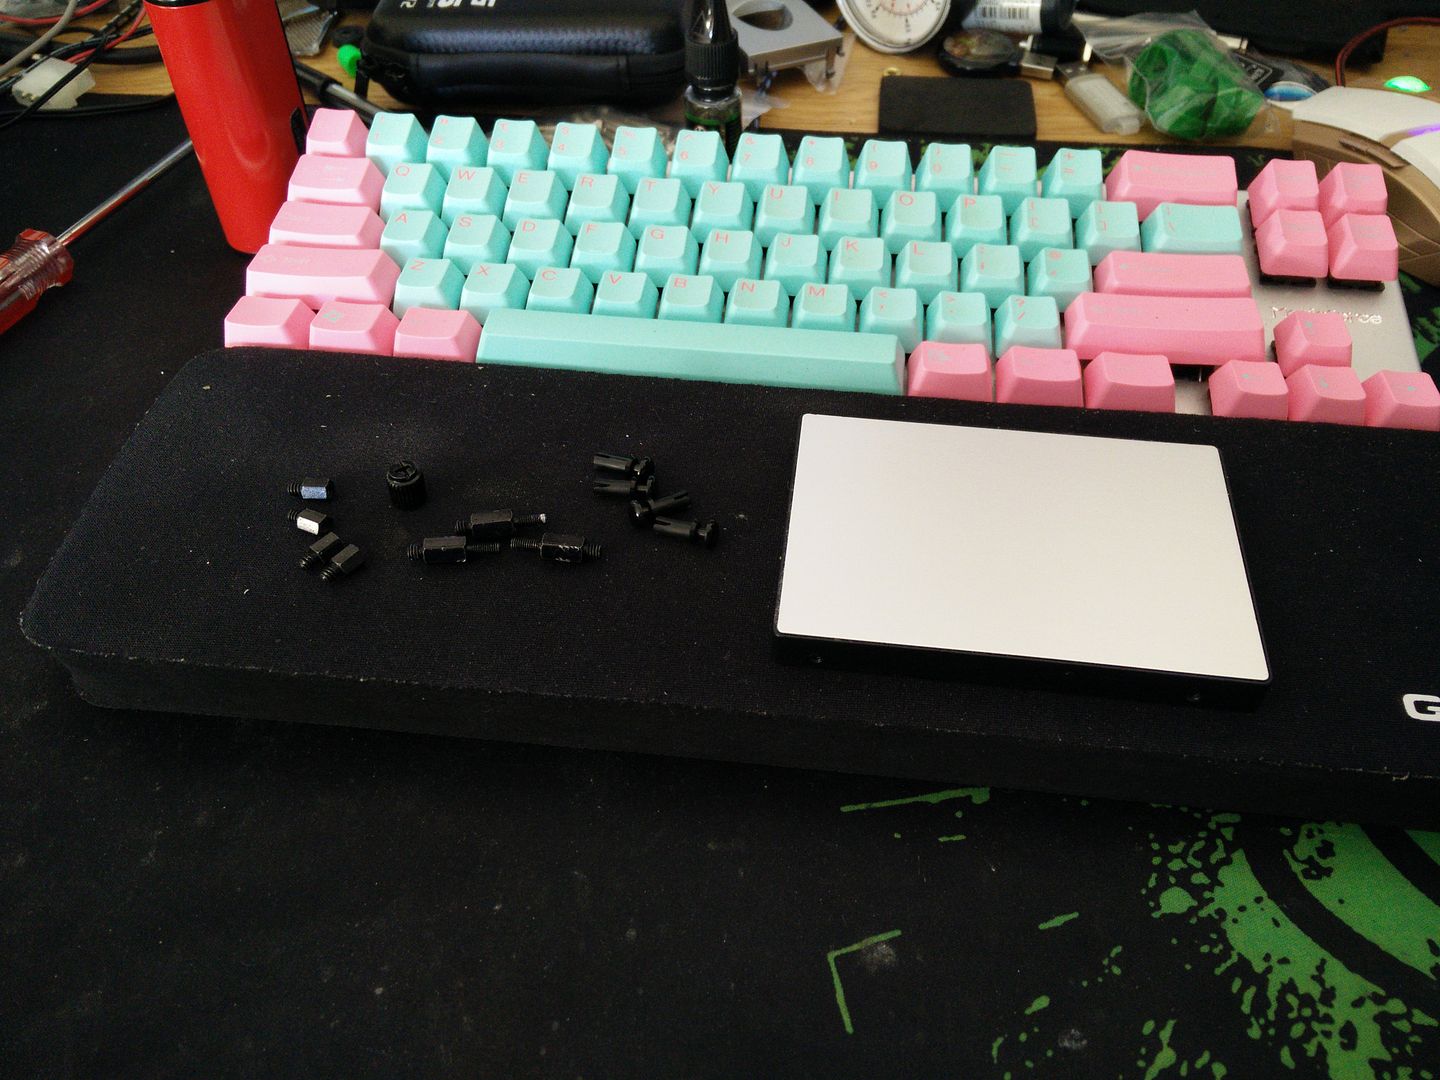
OK, so two nights ago I had a good dig through the bag for the CPU block and checked everything was there (such is the mind of a modder, cutting it up and taking it apart before even checking the contents :D ) and had a look at how it mounts. It comes with these.


OK so I guess it's fair. Cheap block cheap looking fittings. I wanted something green to contrast with the black and silver in the rig. However, after many hours of searching I could not find any anodized green thumb nuts *anywhere*. I even ran it through that search engine and still came up empty handed :(

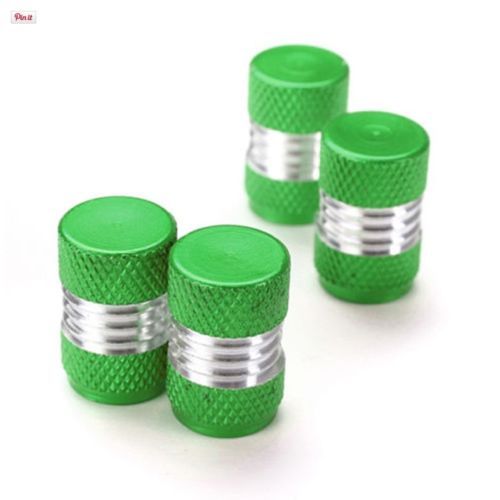
So all of a sudden I had a brain wave. Dust caps. Like car dust caps. They're cheap and you can pretty much get them in any colour look and finish you like. Plus because they are unrelated to PCs they are as cheap as chips. After some measuring I realised that the thumb nuts that came with the CPU block were about 8mm, give or take a few tenths of a mm. I got the size for dust caps and realised they were too small inside, but I figured I could use a grinder in the rotary tool and mill them out somehow.

So this is them here. £2.99 delivered.


I figured it would not take long to shave out the inside a bit so that I could glue them to the thumb nuts. And you'd never guess what? I was wrong as usual. I started to grind them out but all that was happening was me creating pink dust. It was just as bad as trying to make the power button hole bigger in the stereo project. I lost my cool and decided that as soon as they passed the lip of the dust cap I would smack them in with a hammer. Of course that didn't work and they went in urine style and were completely lop sided. And now, worse still, they were stuck fast :(

So in the end I had a brain wave (thank god) and found a long M3 bolt. I gripped the dust cap with pliers (in a rag of course) and managed to press them out. Phew !

Thing is I still had no way to mill them out. Then as I was starting to lose hope (and thinking of throwing them in the bin, I found this.


I'd never used it before. God knows what tool it came with (I've killed two so far and I'm on my third) but hey, it mills aluminium really bloody well :D

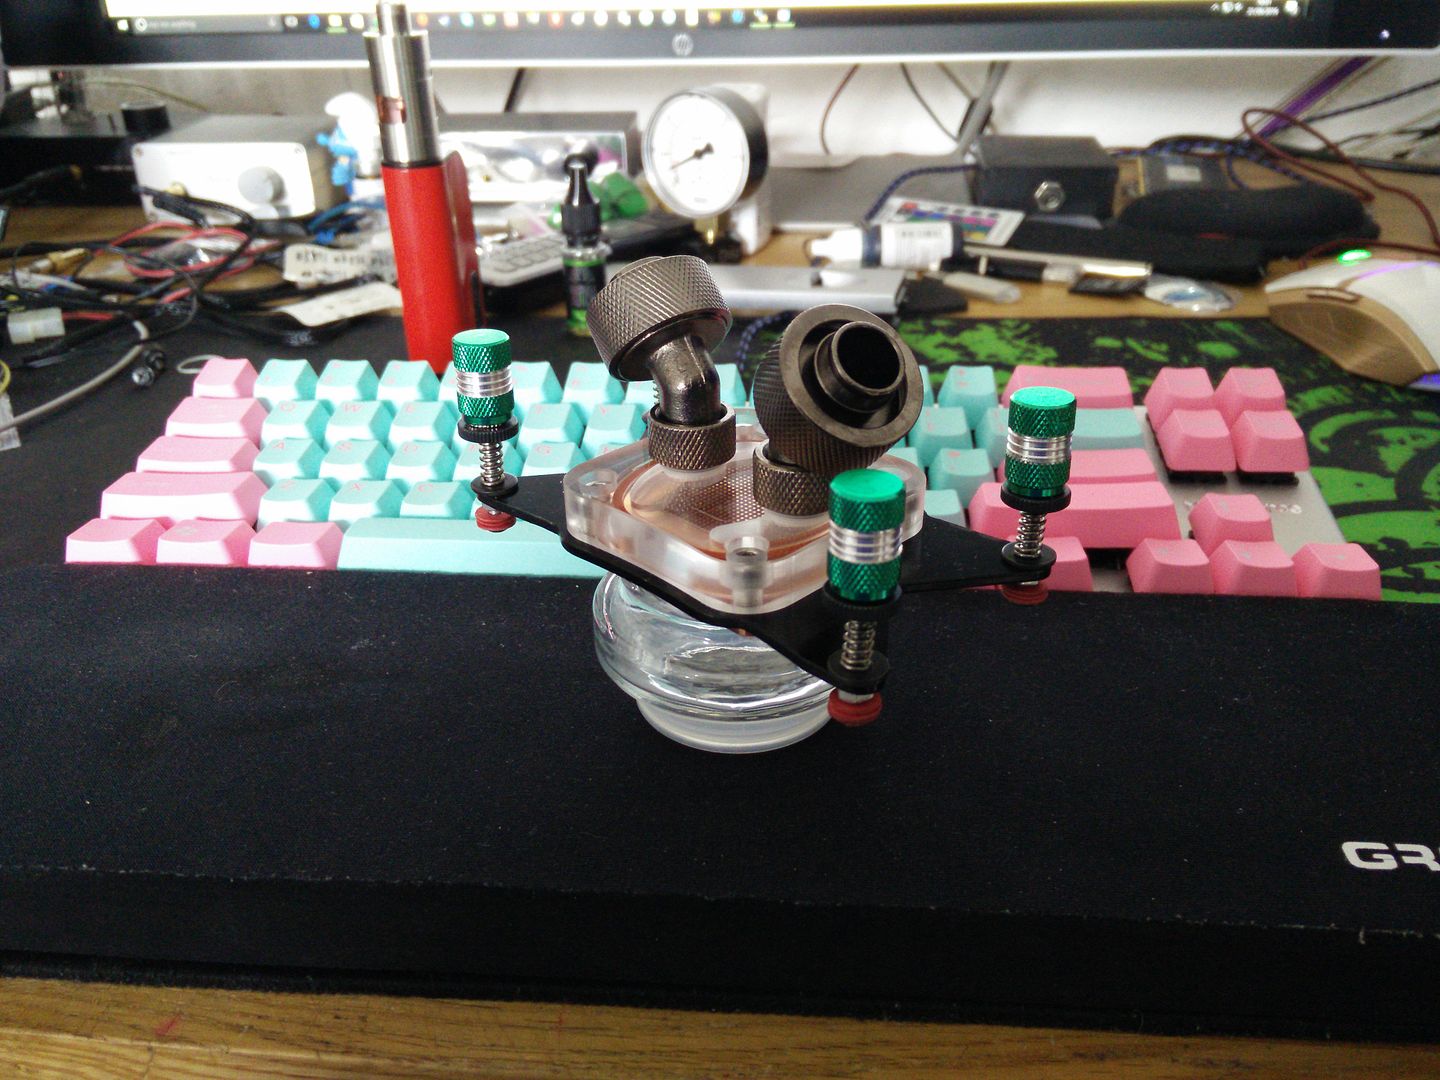
So now they are glued and setting. I will get a pic tomorrow. Couple of tiny chips but I have ordered a green Sharpie for a pound and will touch them up with that :)

Modding is like an RPG. You start out with the best intentions sticking to the main quest and then you start to find side quests. And before you know it you are totally side tracked doing nothing but side quests - ALXAndy 2016 :D
 
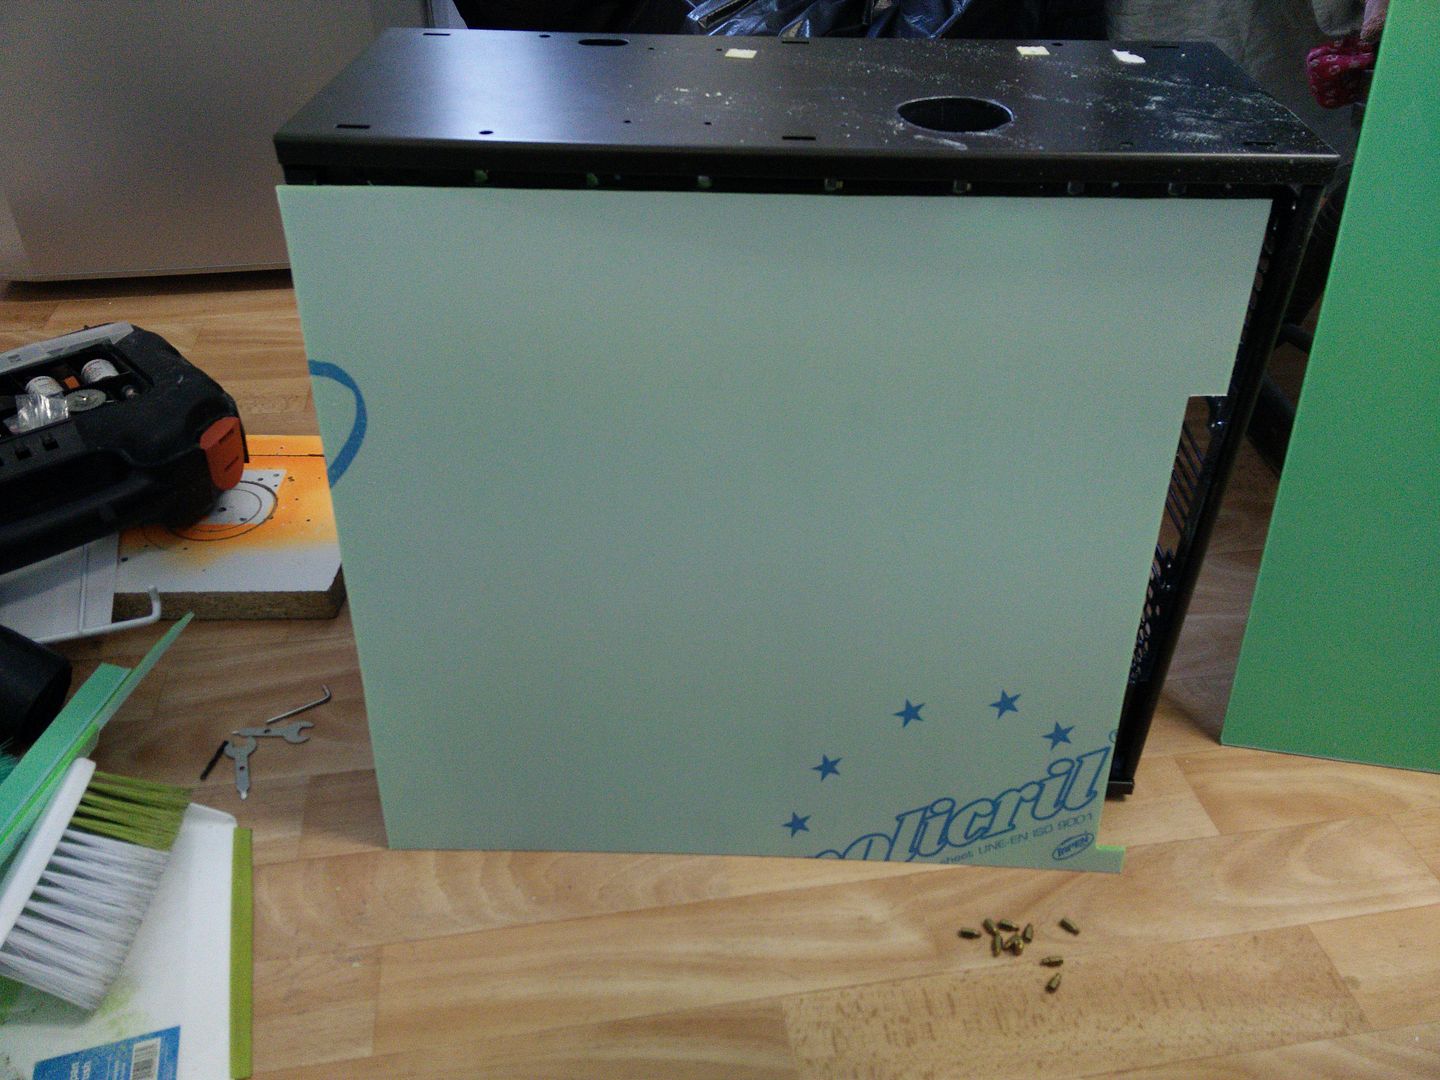
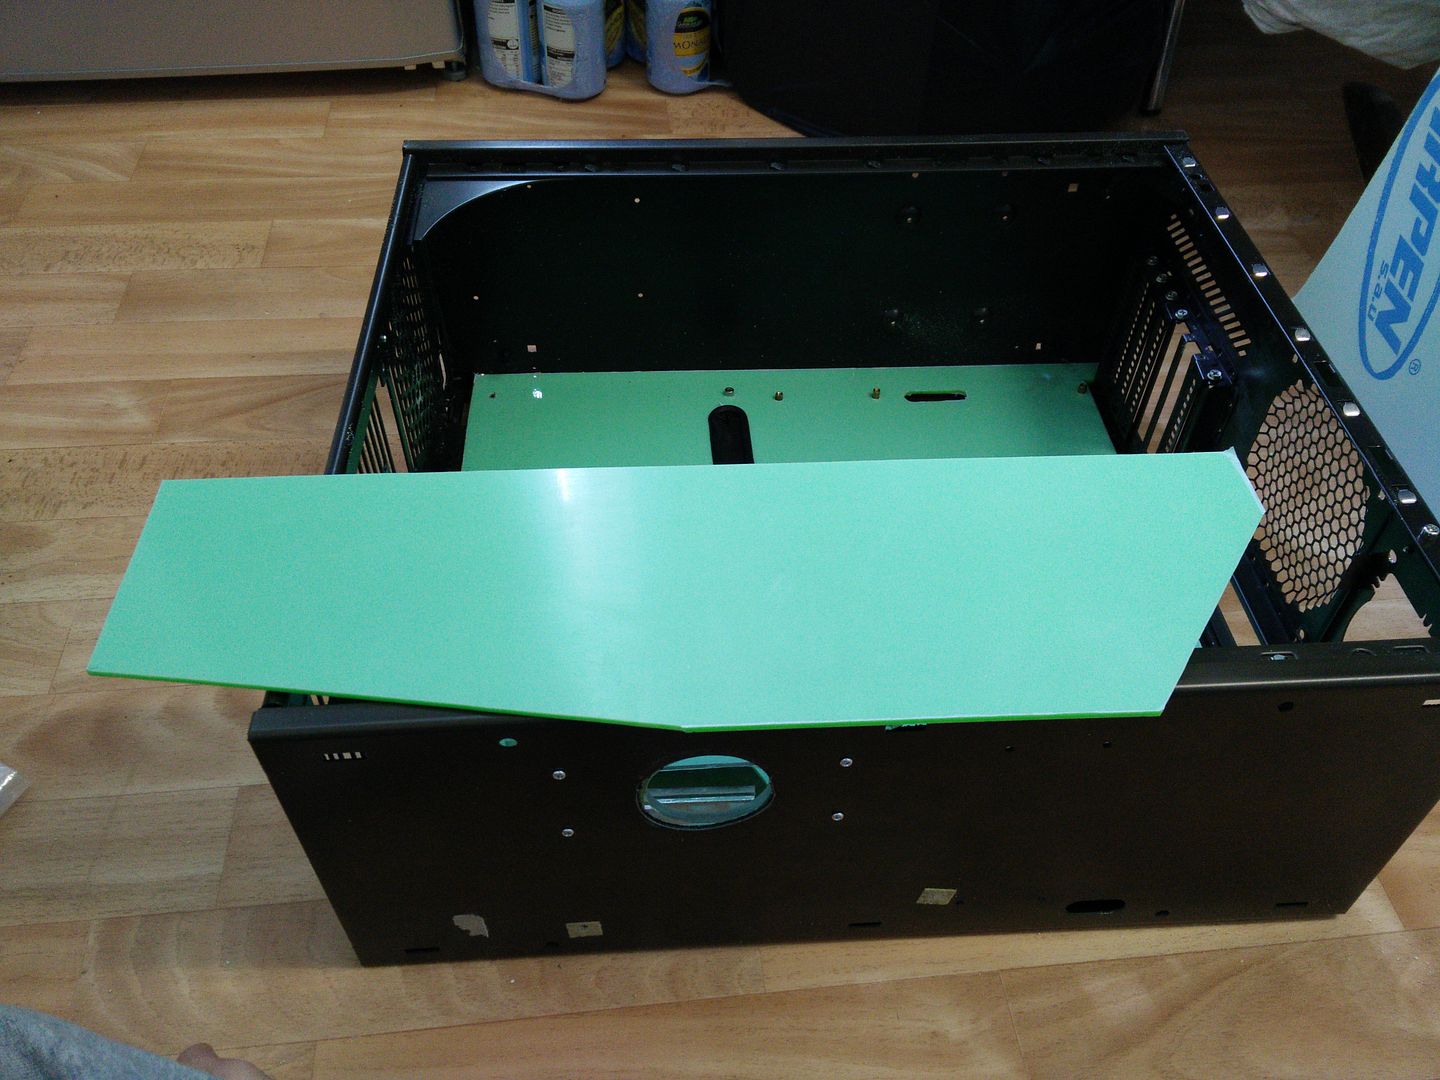
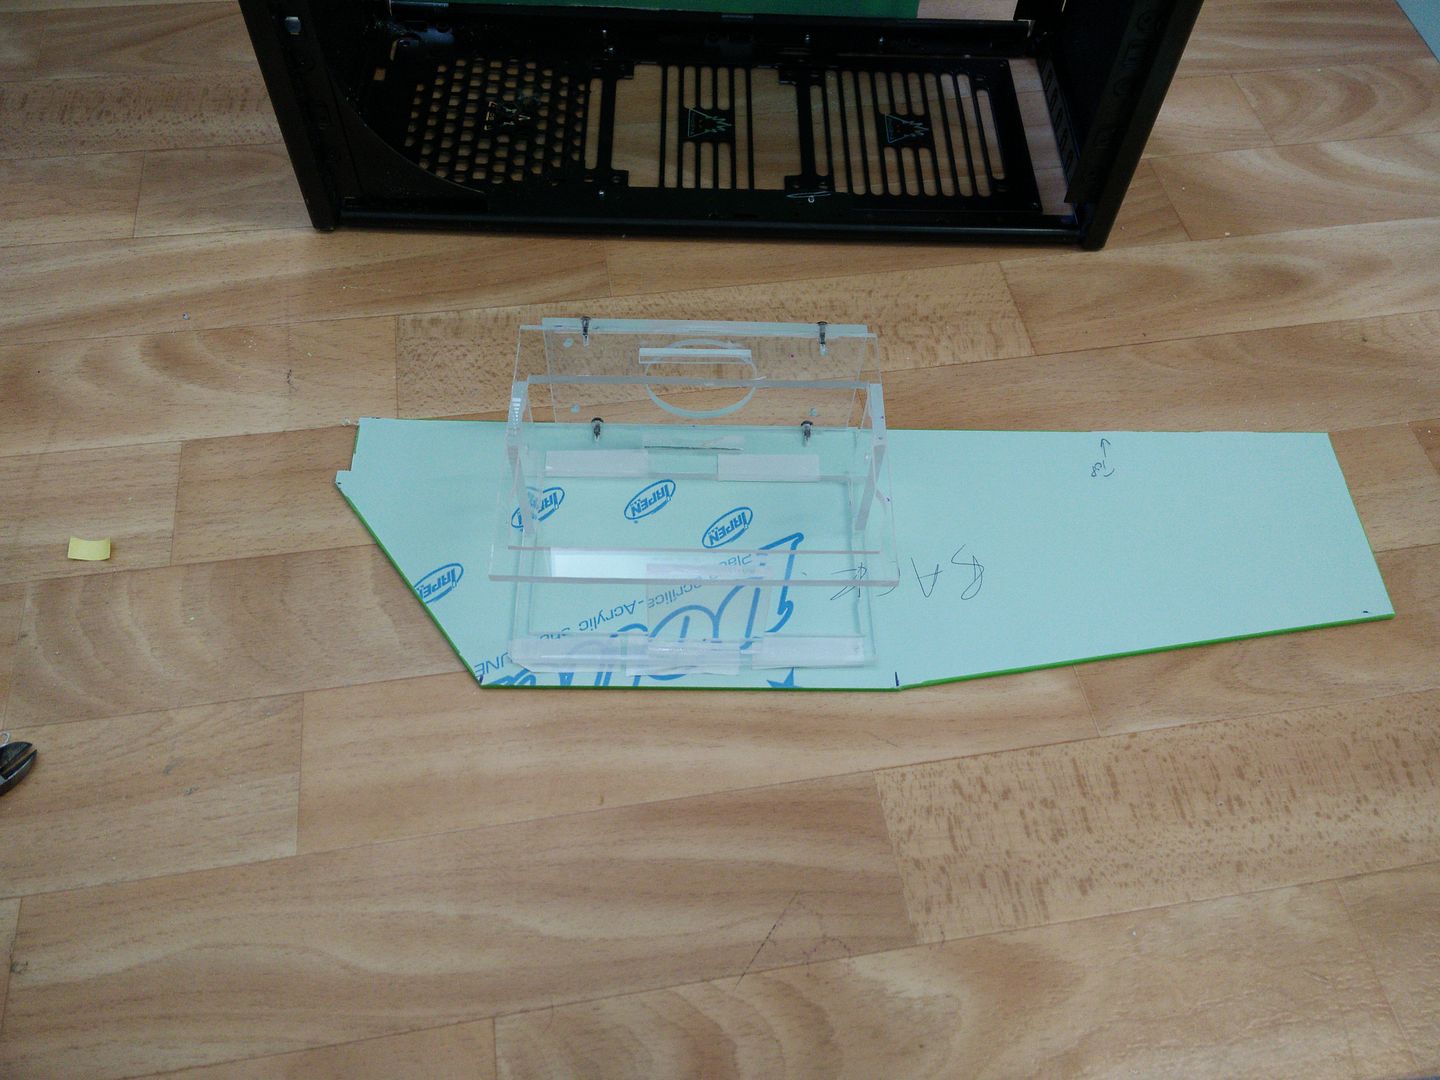
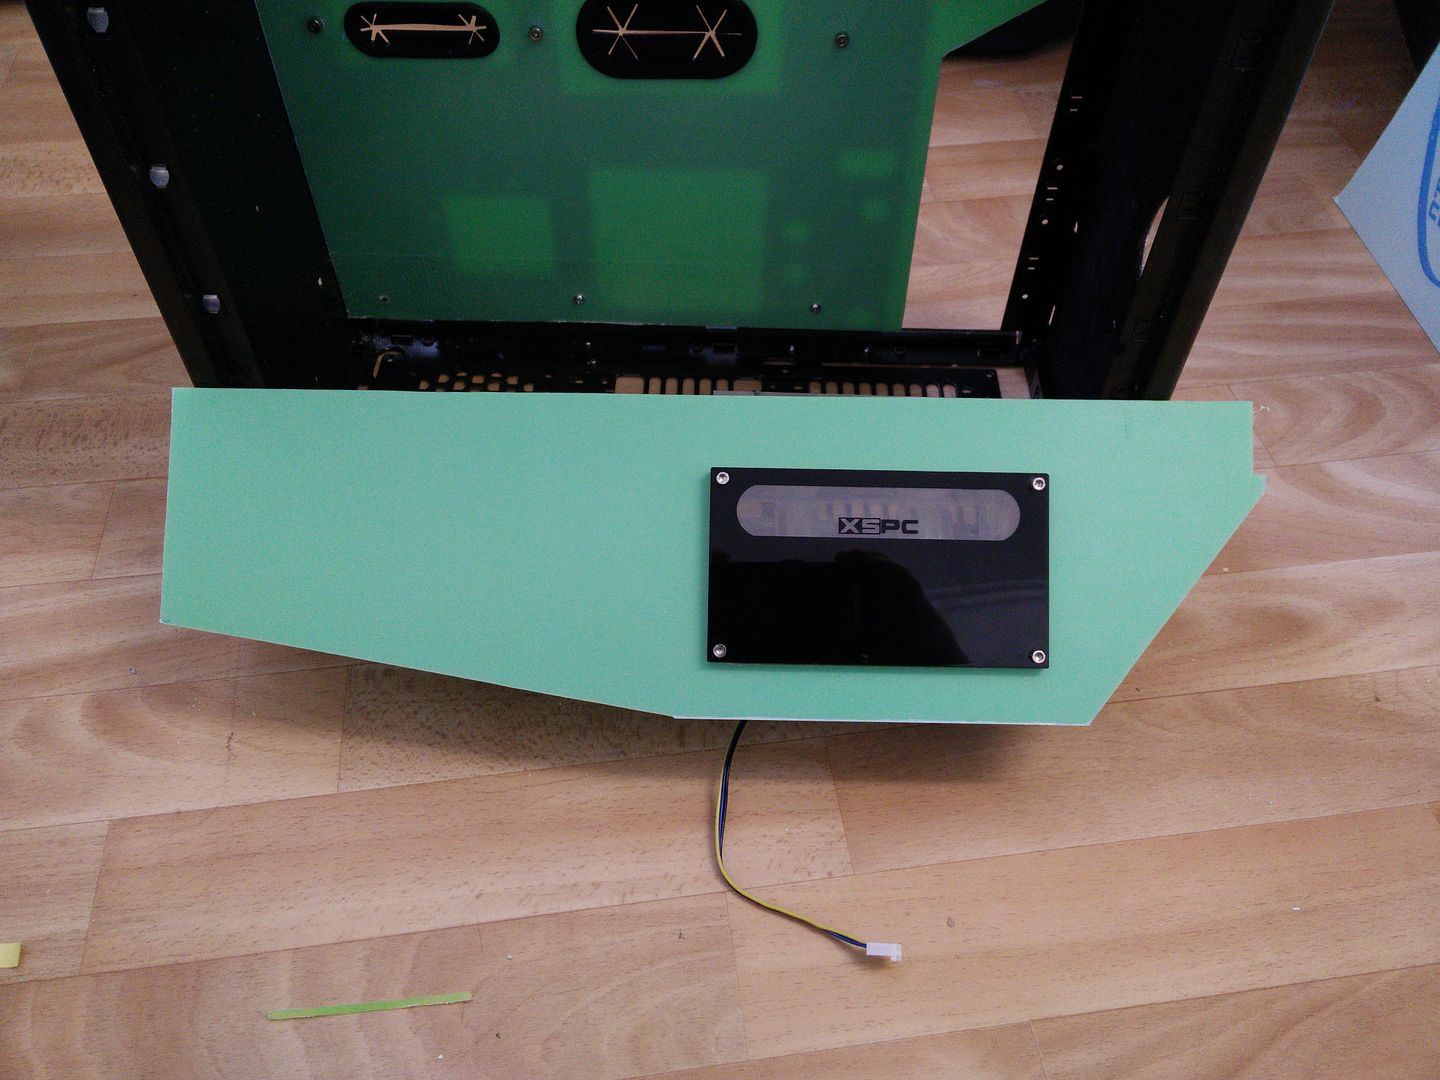
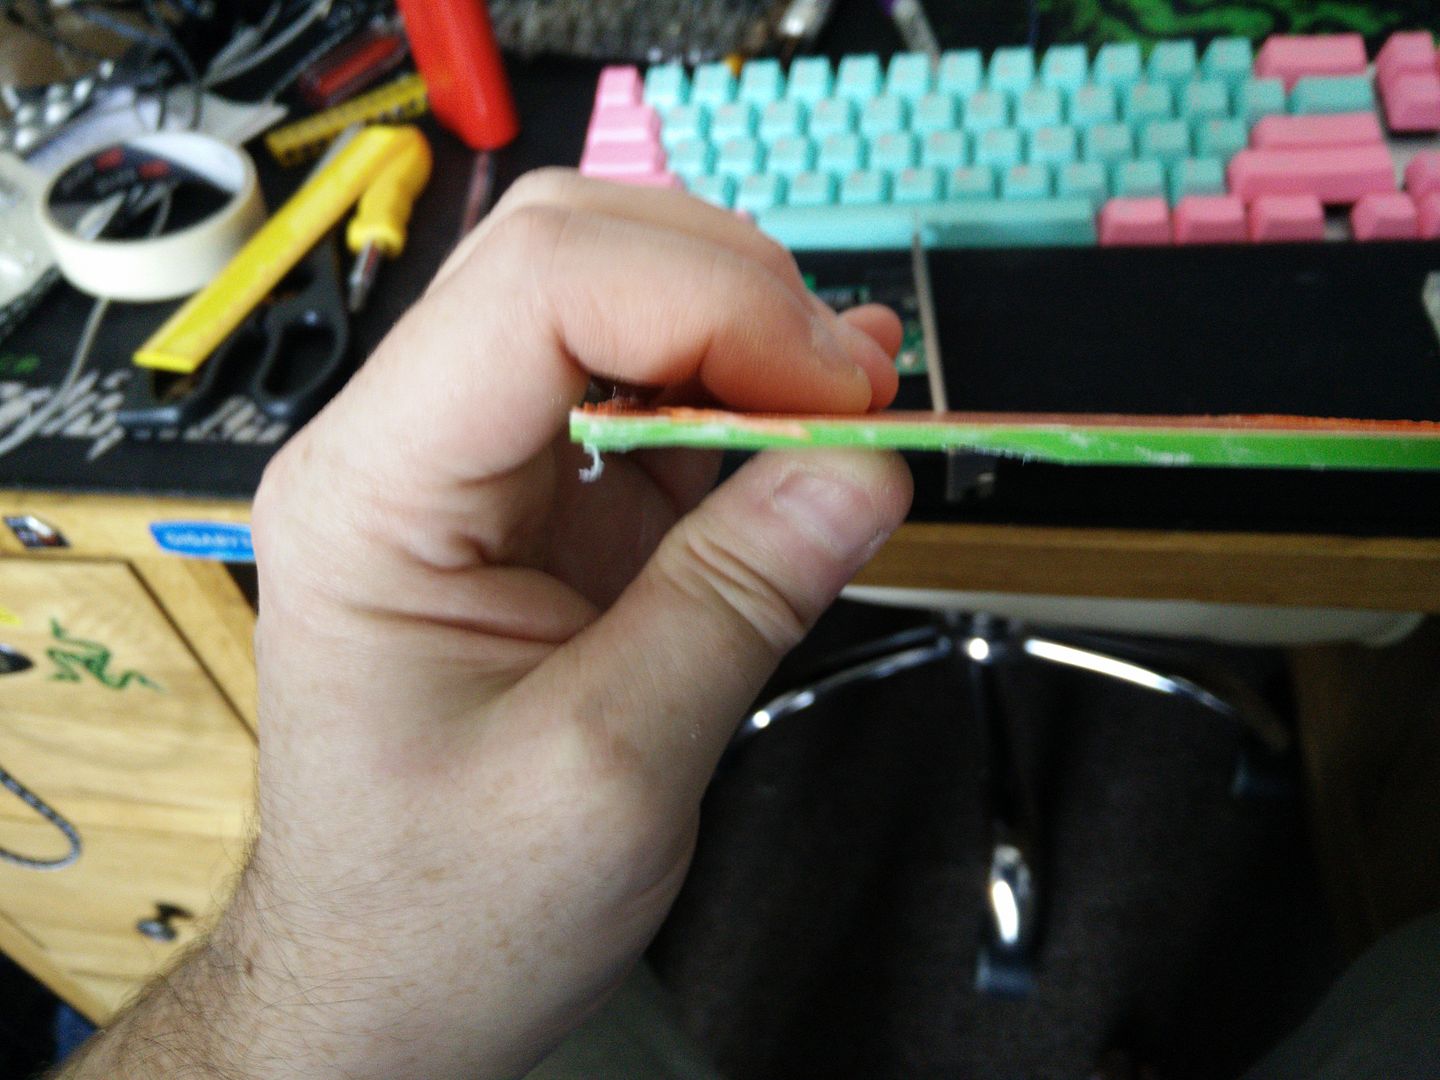
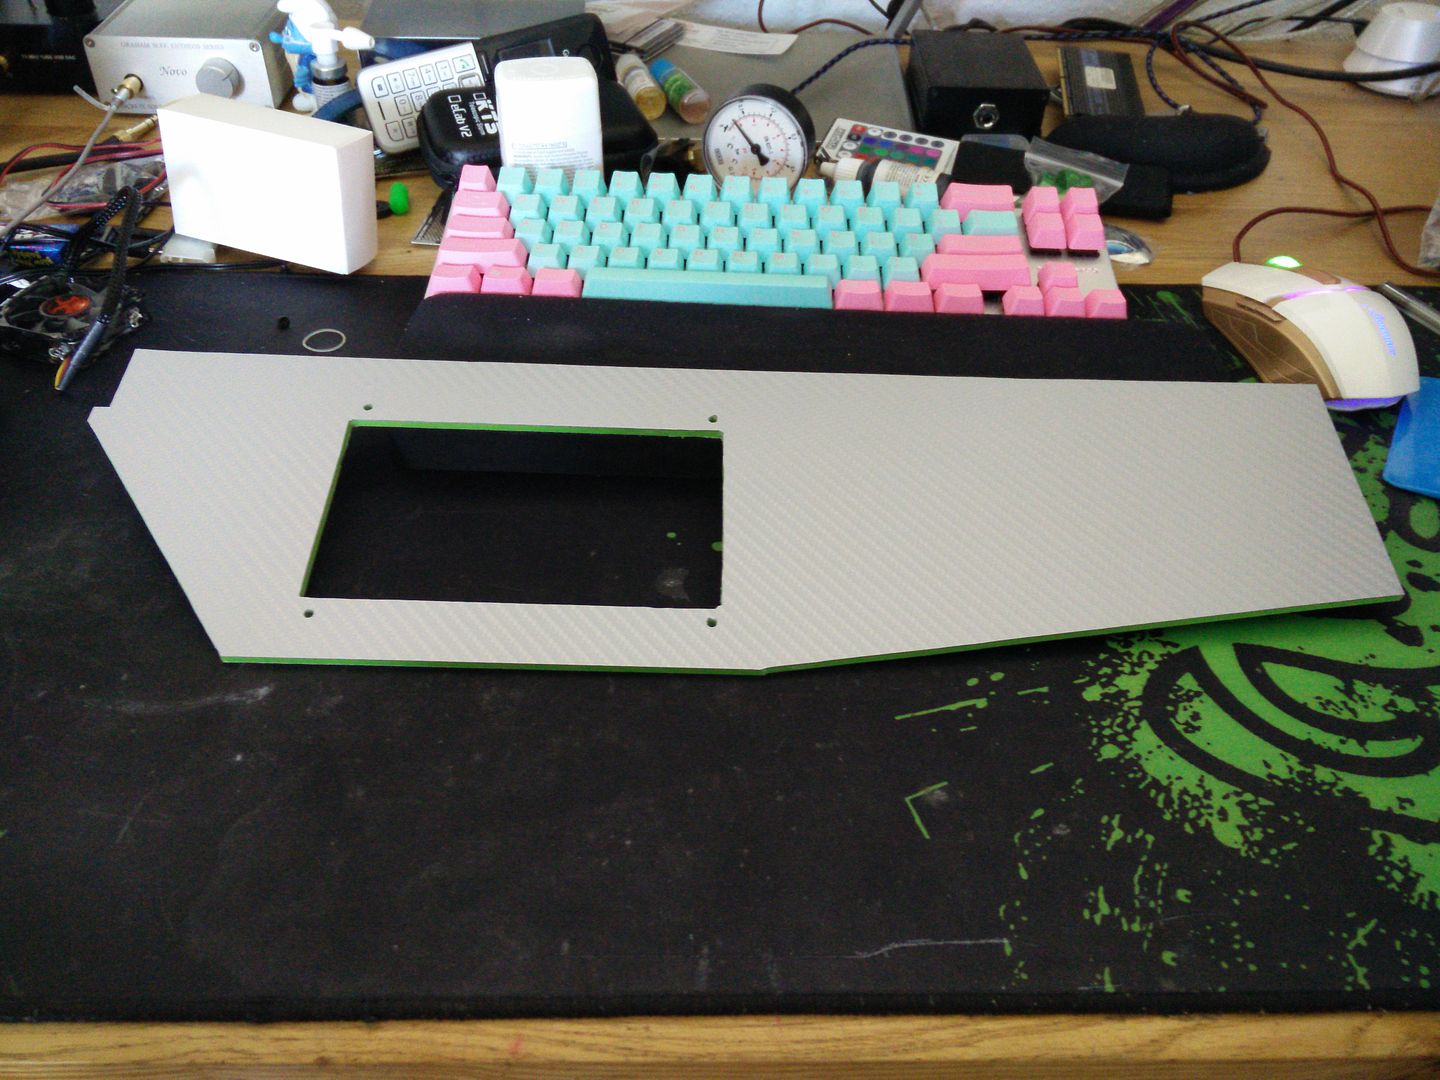
OK so here's what I got up to today. First after lots of measuring and a bit of cutting I lopped this off of the remaining sheet. Quick note - the sheet is a little warped. I didn't notice it until this morning. So if it looks like it isn't straight? it isn't. I need to fit a couple of solid blocks to keep it straight once it is final fitted.


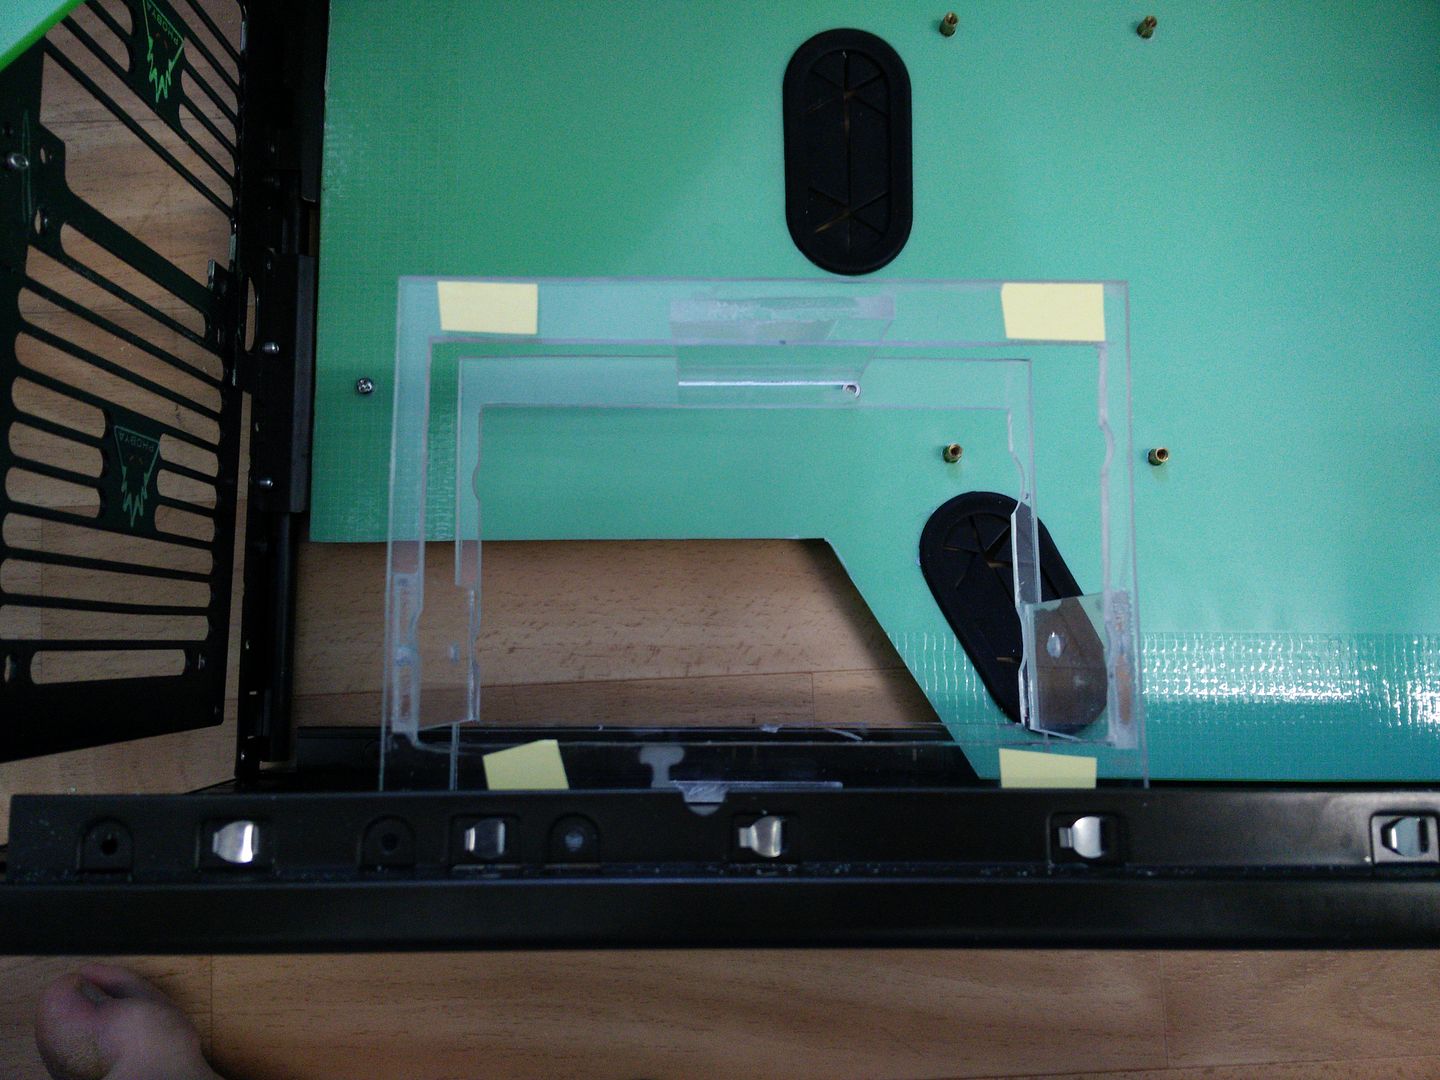
I then had to bolt in the res bay. What a nightmare. After trying all sorts of hand gymnastics it then dawned on me that when I drilled the holes it was firmly taped to the roof. After about ten minutes and lots of swearing I realised that I needed three hands to do it. Or, you can just tape the bolts down, turn the case upside down and then slot the res bay over the bolts.

So I put on some double sided tape.


And then stuck the panel to it. I then removed all of the res bay bolts and went to take it out and it fell apart. Turns out there was a rivet stopping it pushing down all the way so I cut out a notch. Then I had to perform the same and annoying ritual again before getting this.


Which then allowed me to turn it over like this.


Remember I am cutting back to front on any dress up panels. The reason is that the rotary tool has a screw that holds the cutting disc on. This often burns along the edges of the piece. I have tried double masking and even duct tape but it still goes through. Obviously the other side is fine, so I have had to mirror mark everything which is pretty tricky.

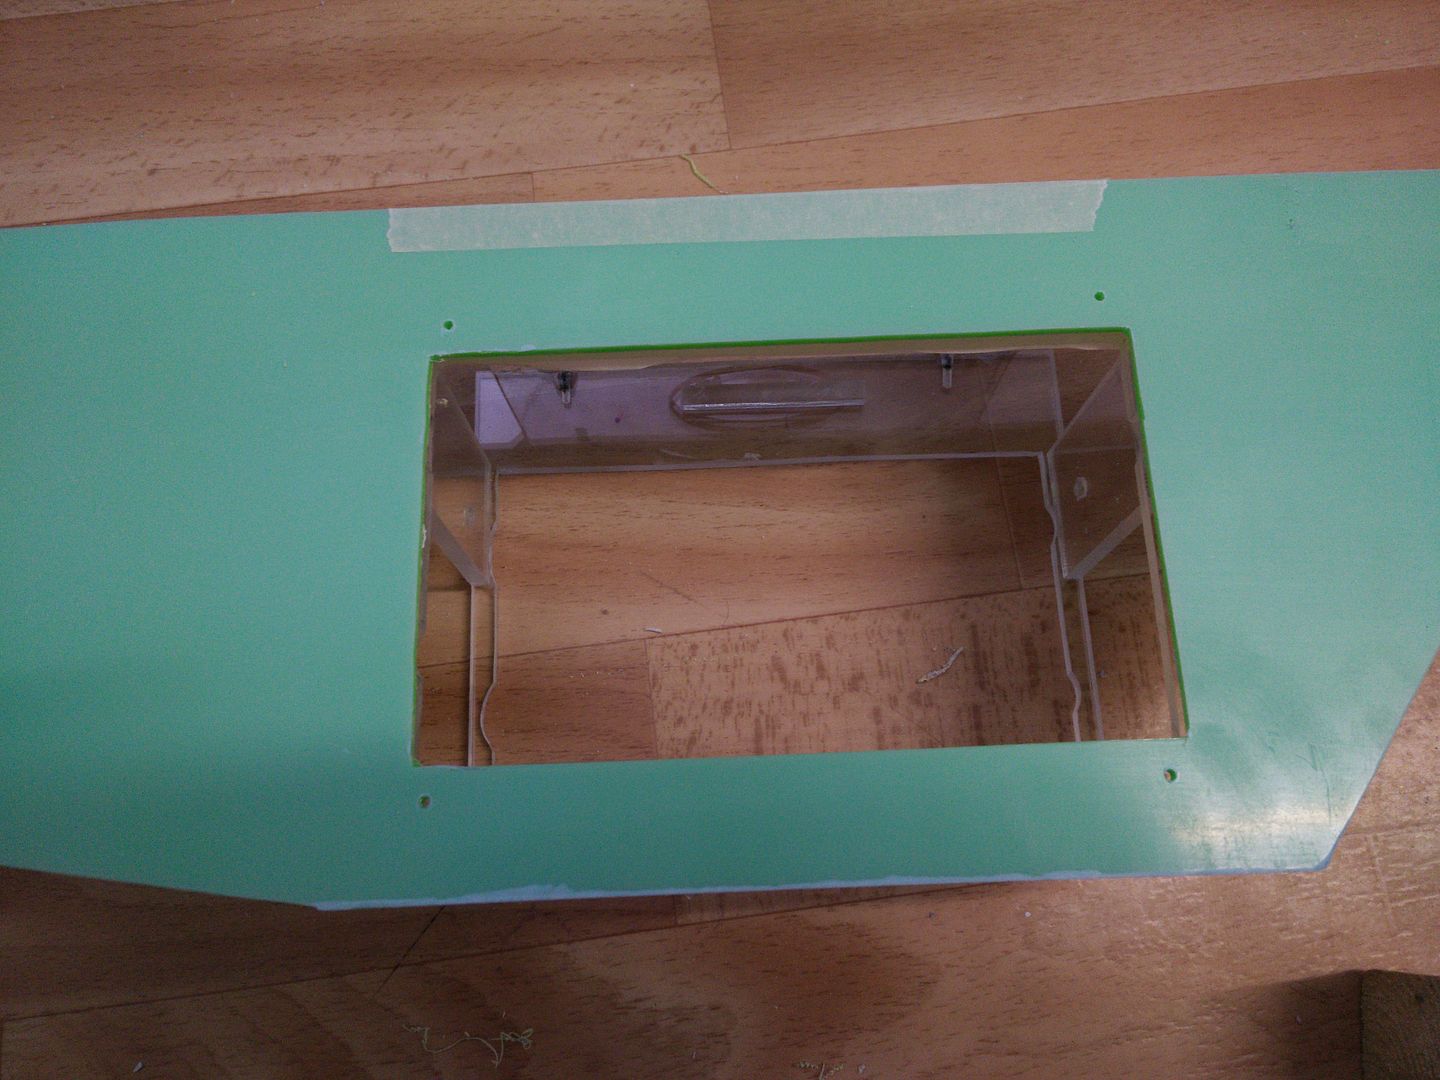
I then marked it out (using the res bay as a template, hence why I needed them stuck together) and cut it out.


Then covered in masking and marked out some drill holes, then drilled 2mm pilots.


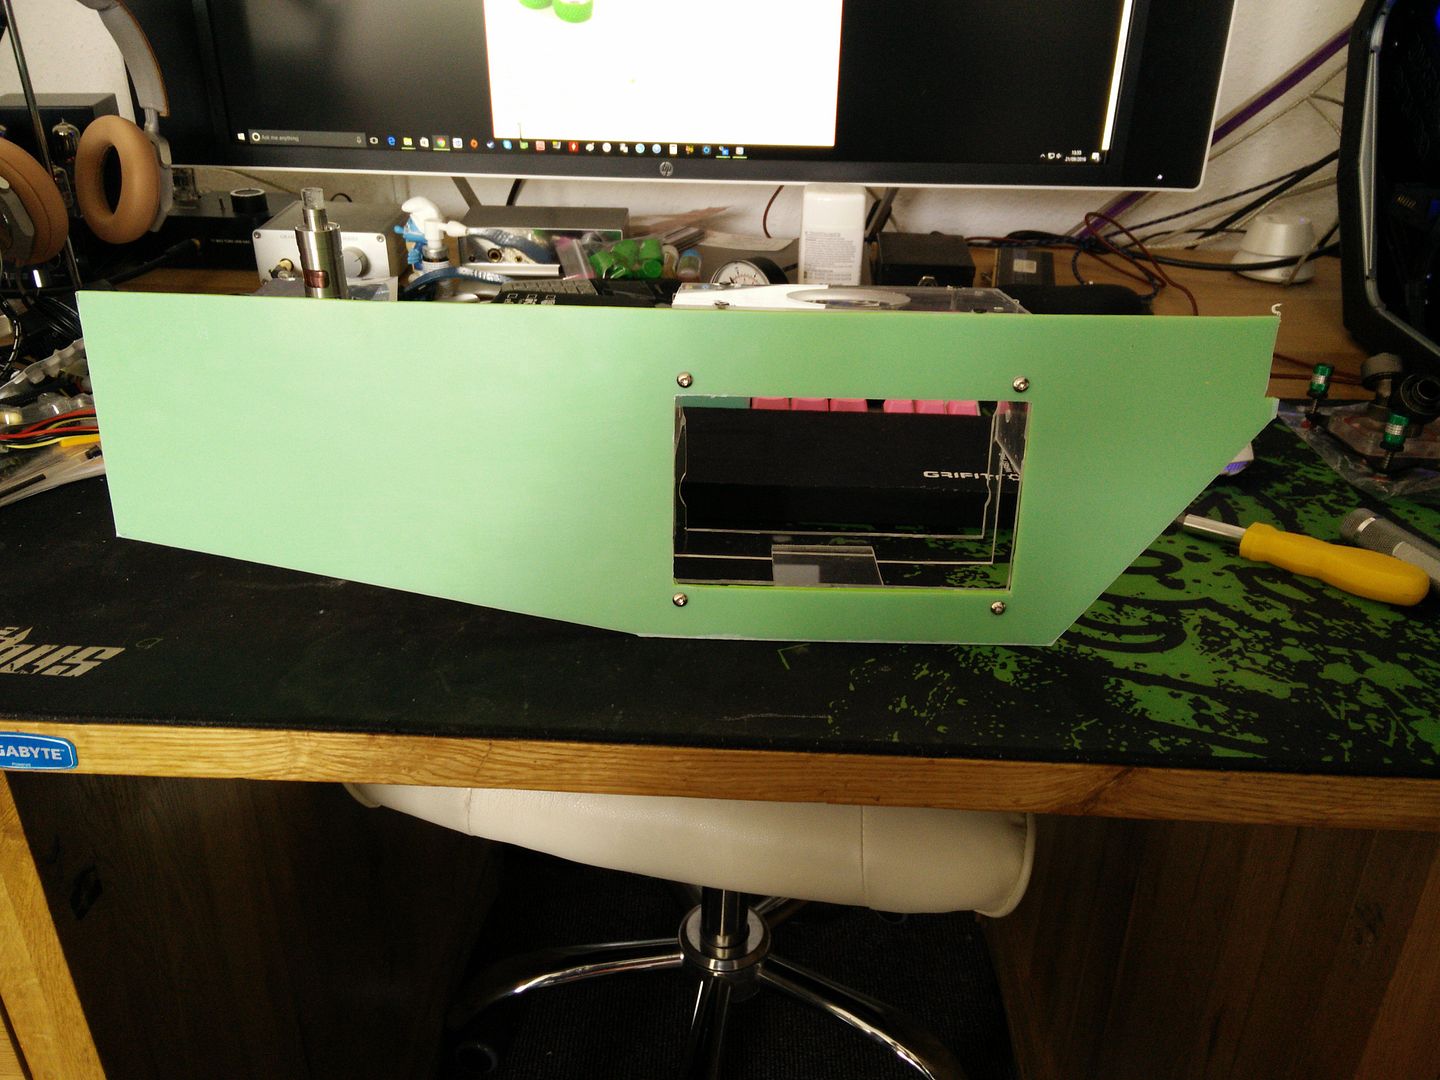
And, well, you know the drill on this bit (well actually soldering iron).


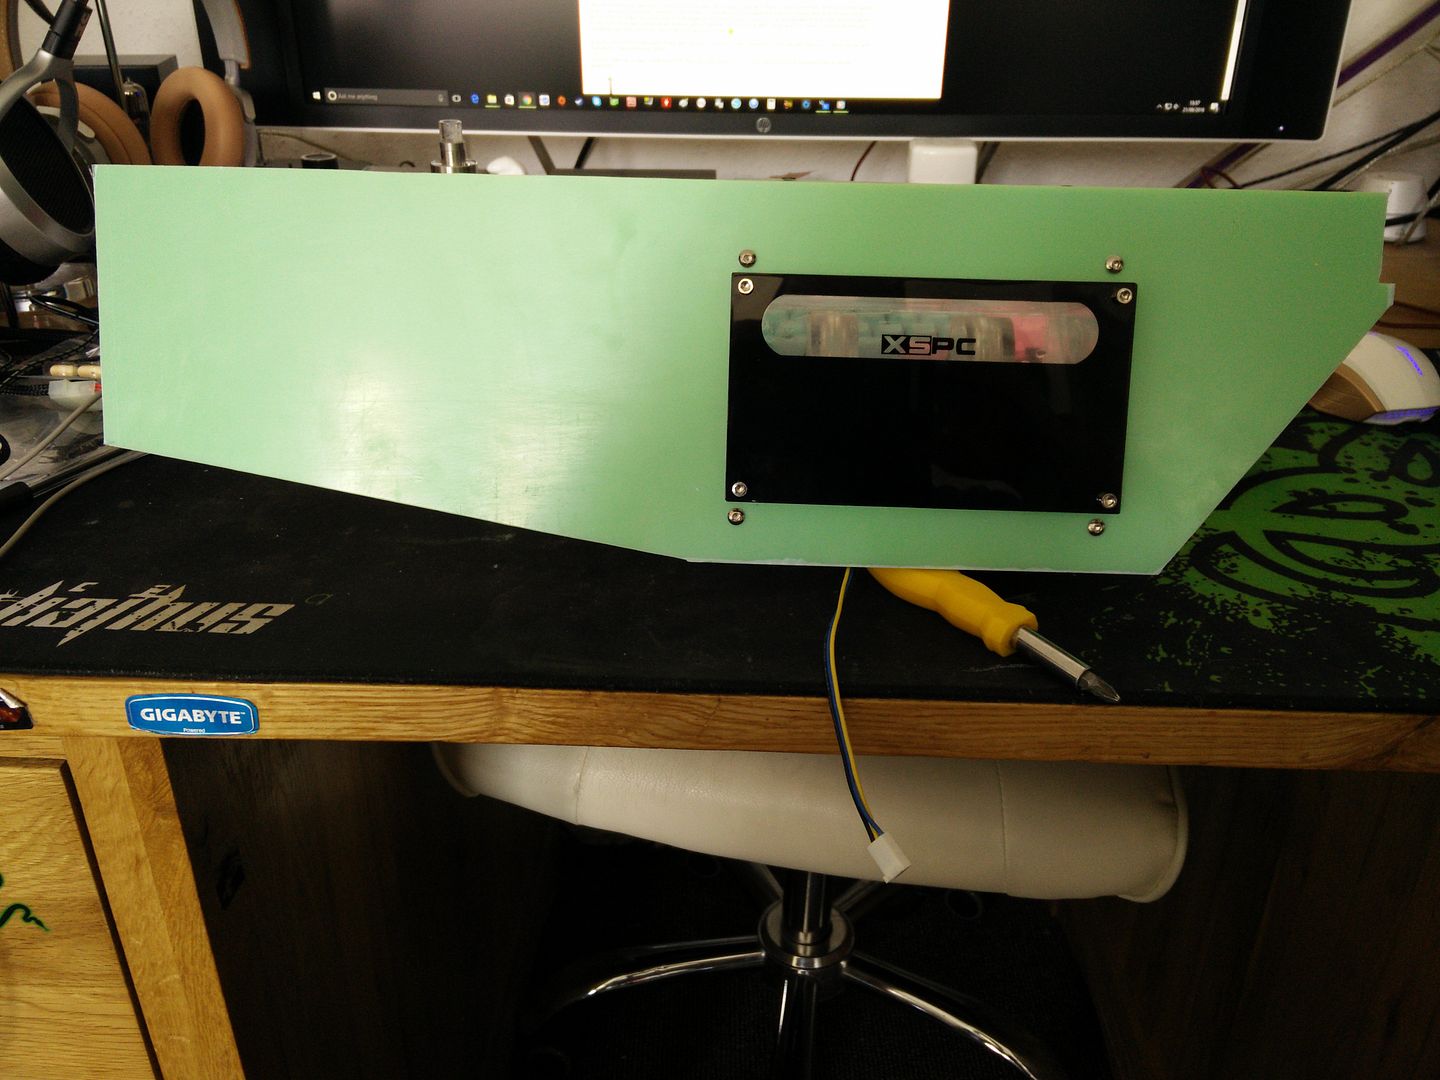
And in.

 
The attention to detail you put into these builds is amazing, and the fact that you do it for less than a bag of chips is even more so!
 
The attention to detail you put into these builds is amazing, and the fact that you do it for less than a bag of chips is even more so!

Wow some one actually thought about that :) (the price I mean).

When I first modded my first PC it was literally anything goes. Like, anything you can think of to do to the PC to make it look different was OK, so long as you had a steady hand and did it well. People modded away and there was a real buzz.

Then some dude comes along with a CNC machine.... Then another one comes along with £5000 worth of tools, lathes etc.

And these days? it's all about money. To raise the bar and out do some one else you have to spend thousands of pounds. And that's cool, because in certain cases (like Alex, Maki Role) the design is just mind bending. But it's kinda kicked the lowly dude with a dremel and a drill to the curb.

I mod because I enjoy it. No sponsors, no time frames, no rush.

And I actually prefer doing it on the cheap because it allows me to really push things without worrying too much if I break something. There's no way I would take my 2014 Area 51 and do to it what I have done here haha.

I'm going to slow down for a few days now. My hands are covered in cuts (acrylic edges are like razor blades) and when I drilled out the rivets I missed a couple of alu swirls and now they are living in the ball of my right foot... Tried digging them out (oucho) but I think they're a little too deep for that lmao.

I'm going to hopefully make something small today. It will take probably most of the day any way, as I've not designed it so that means I have to basically work on it on the fly and work out how it will all go together.

Also I don't know if I mentioned... This machine will not be running Windows post temp testing under water. It will be running Elementary OS which is Linux. Hence why 60gb is more than enough for the OS and I have 1tb in laptop drives for storing music etc :)
 
There's a killer on the loose..

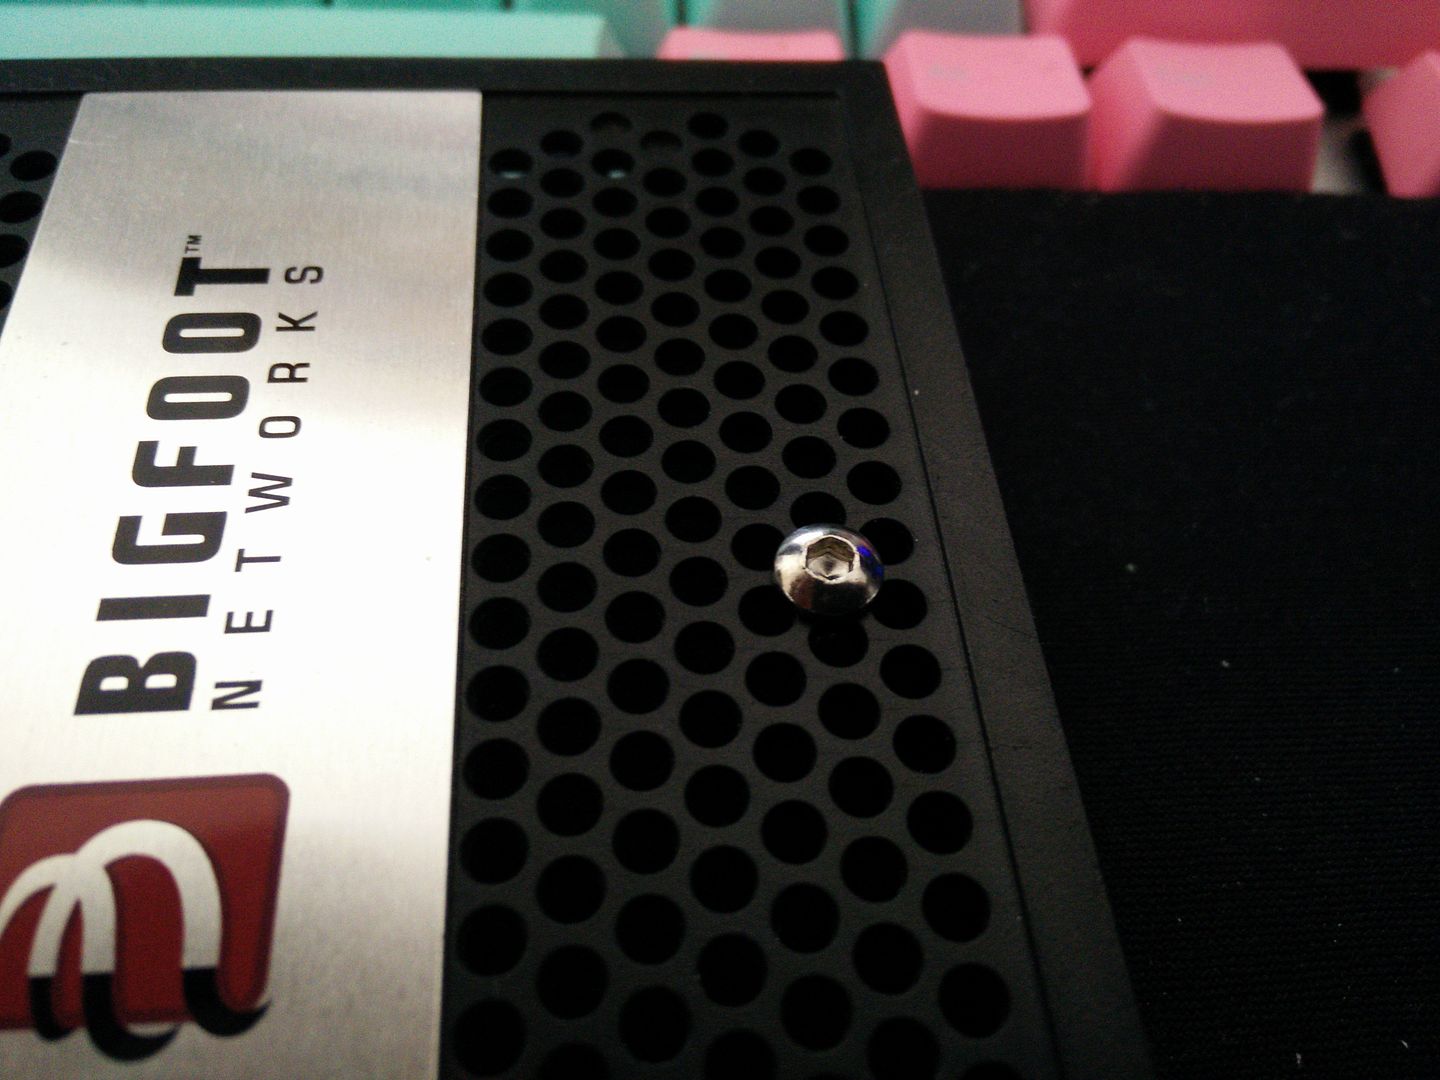
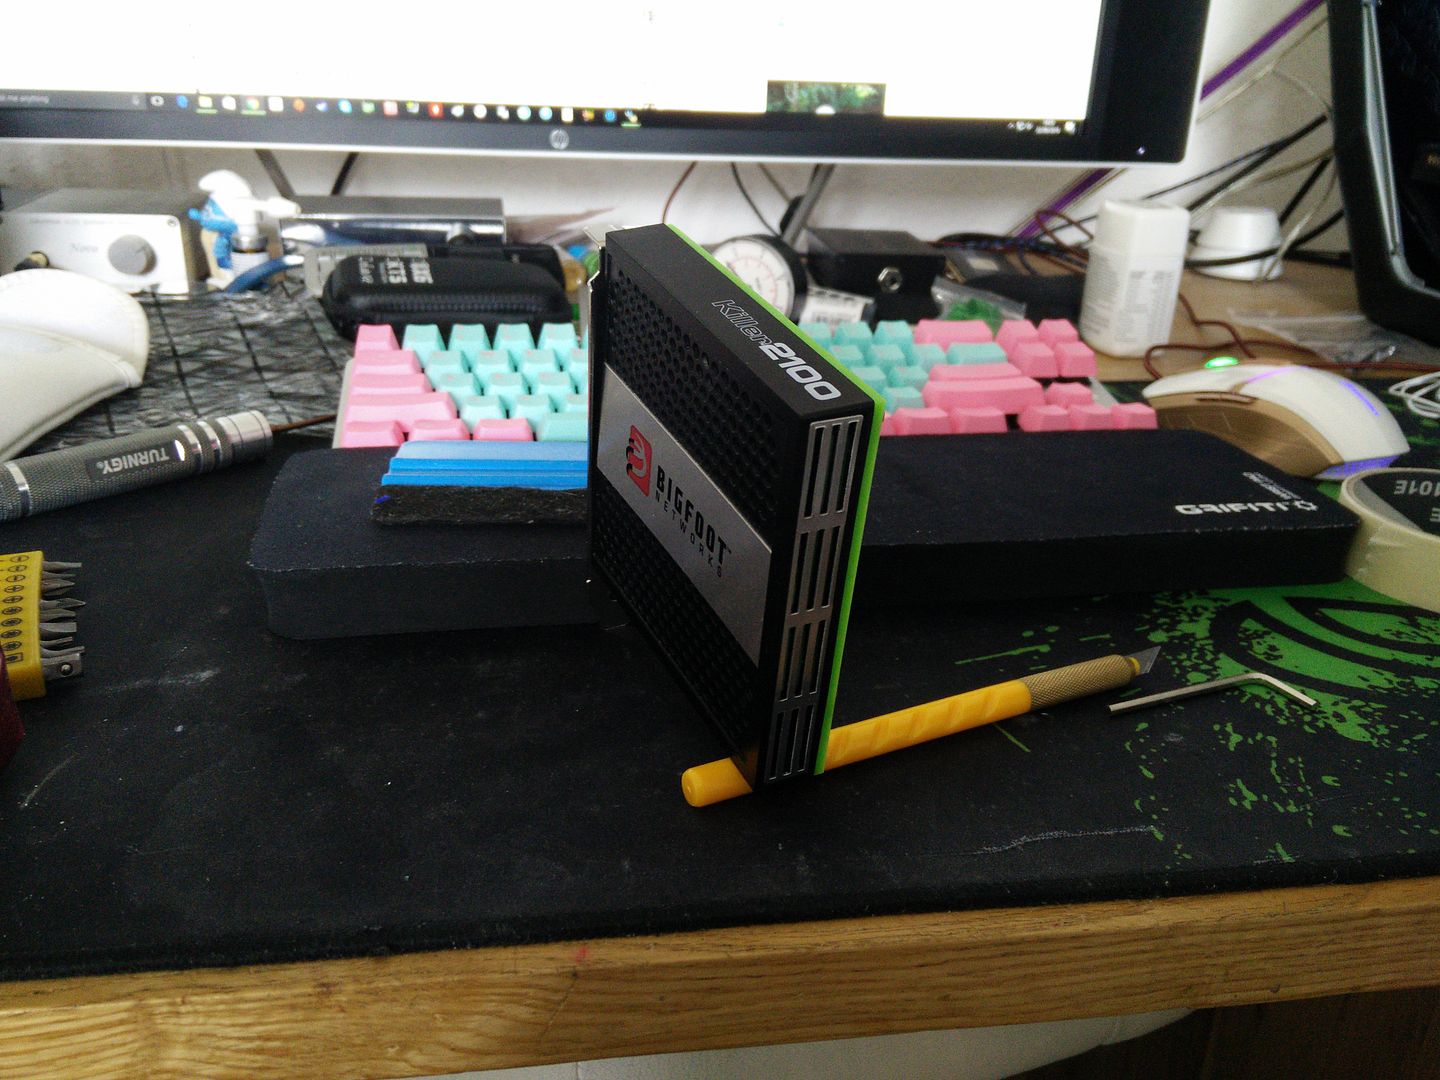
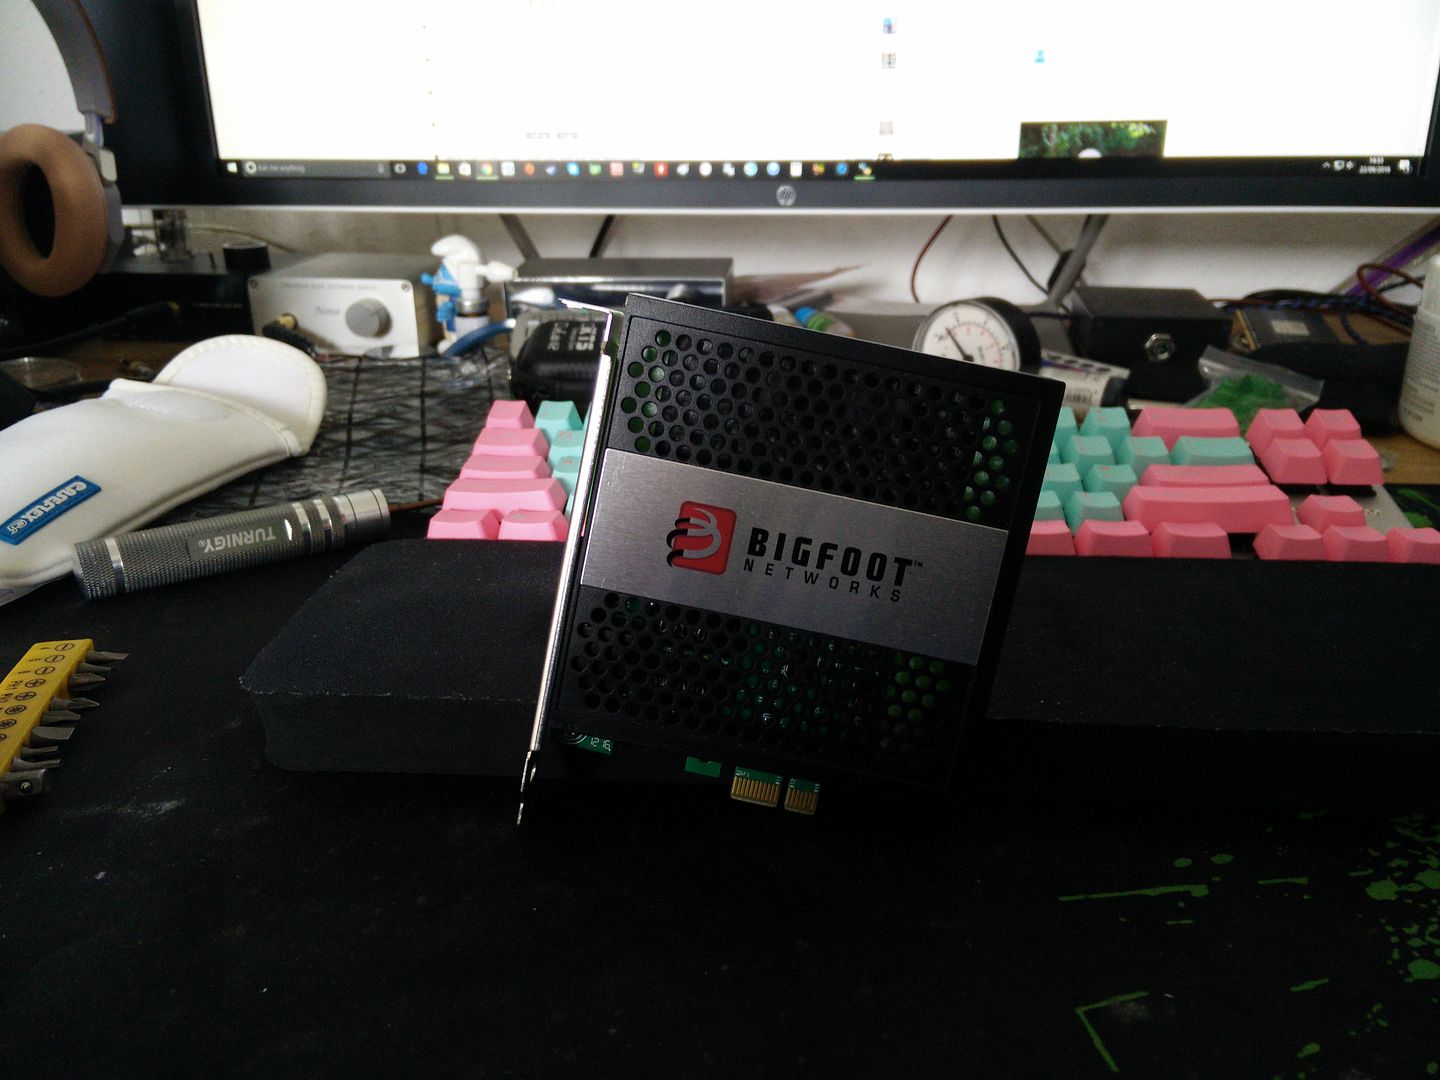
OK brief background. I bought this card second hand just after my lady and I moved in together, oo around 2012? I really liked the way it looked and liked the red LEDs even more. Sure, it was no better than a standard network card but the software was good. Any way, about three years ago I removed it from the rig I had and packed it away.

Before I started Elvis (name change coming soon, for good reason) I dug through every dark cupboard and corner looking for junk I could use for the build. I found the Killer 2100 but sadly after doing some research I realised it would not work in Linux, which I will be using for this rig after temp testing under water (specifically Elementary OS).

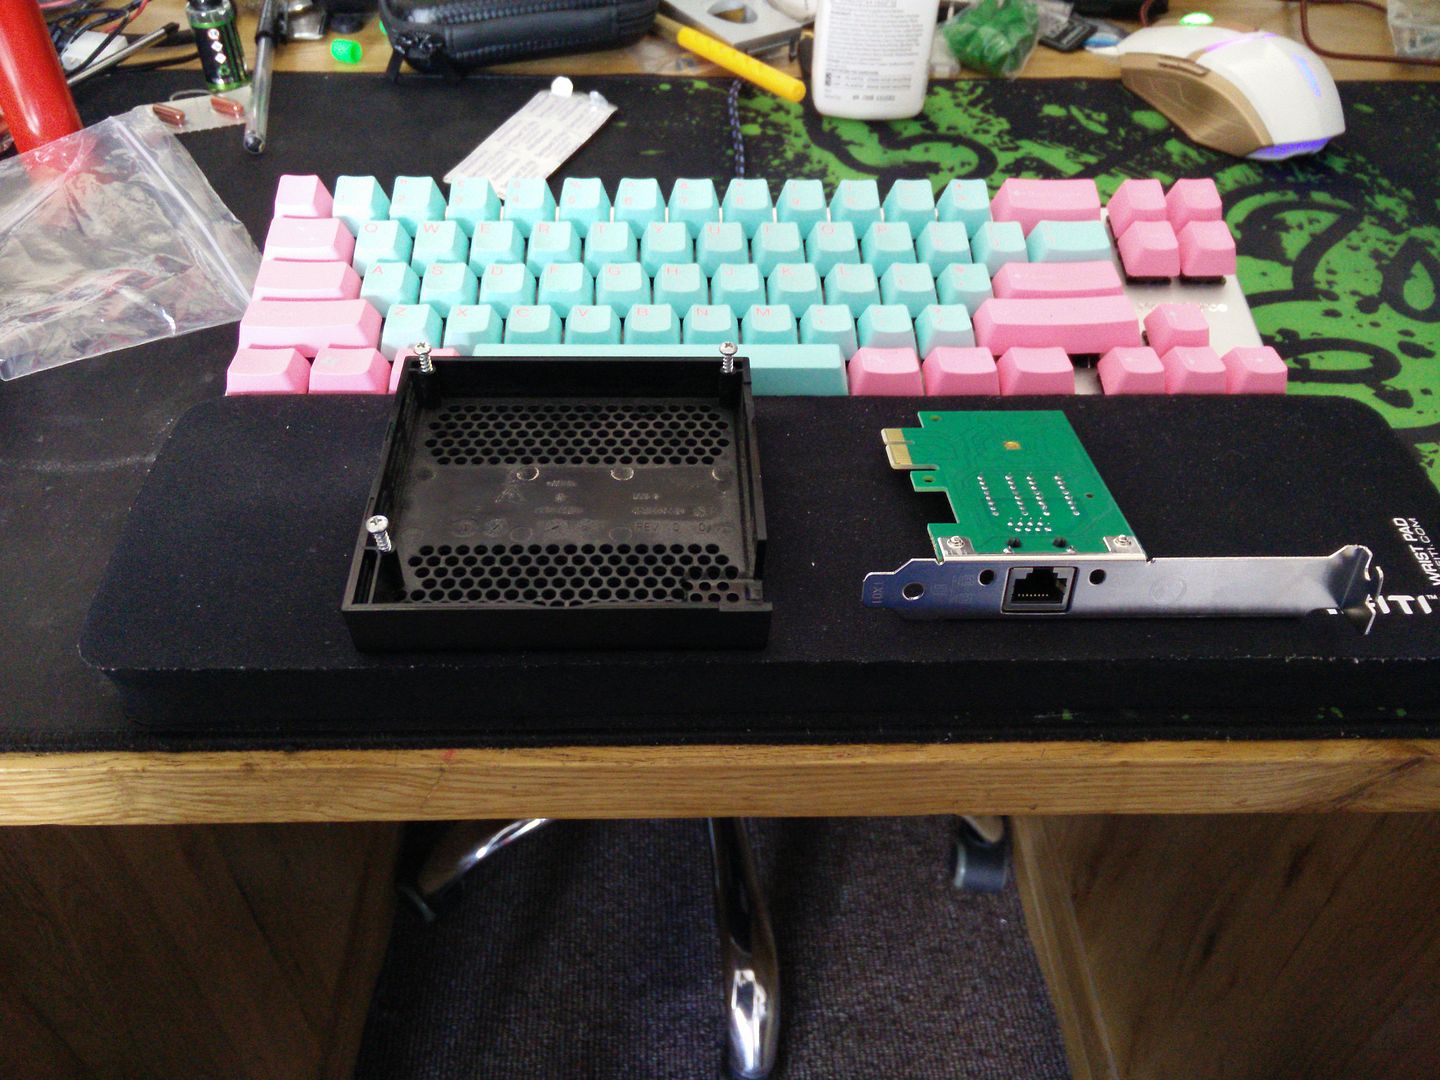
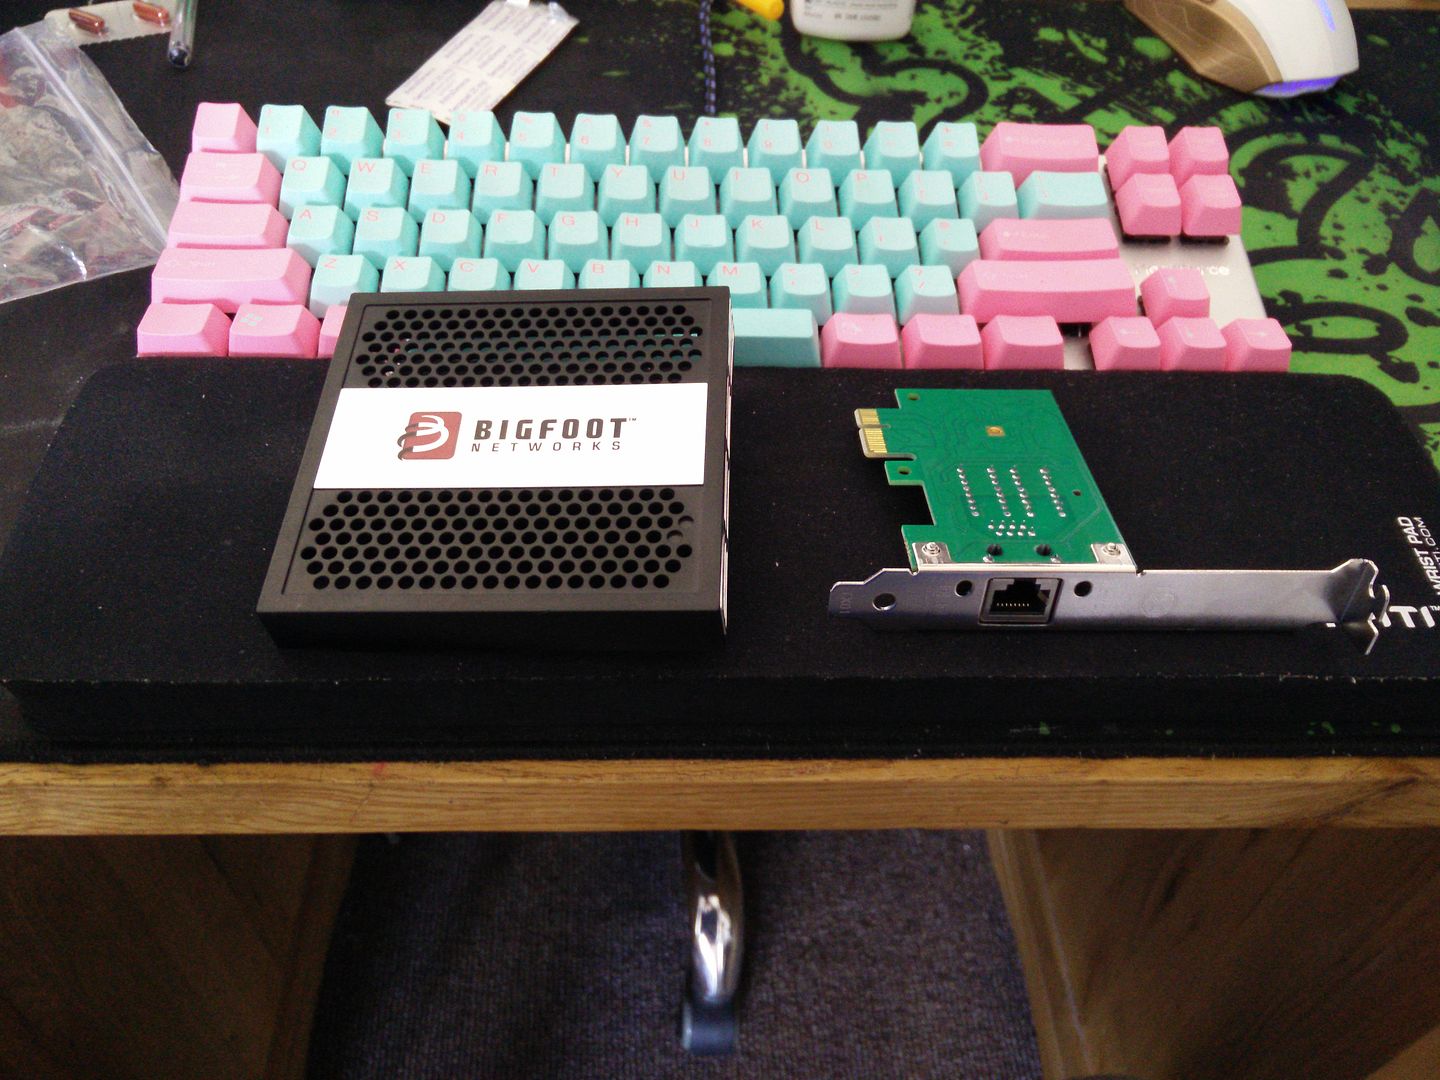
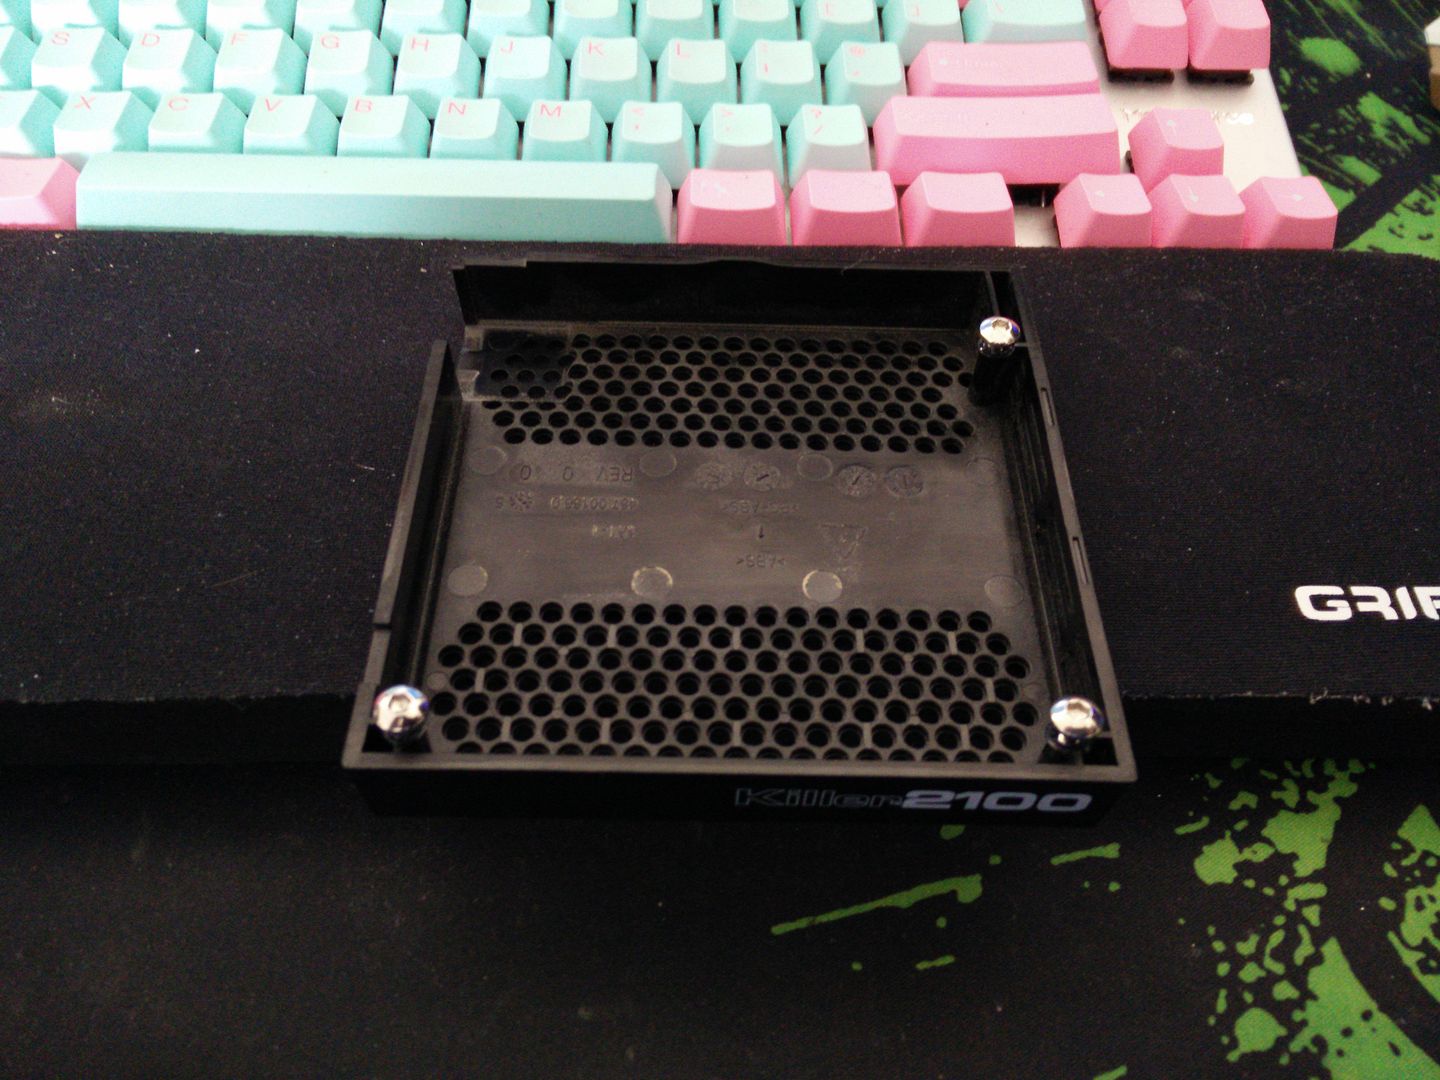
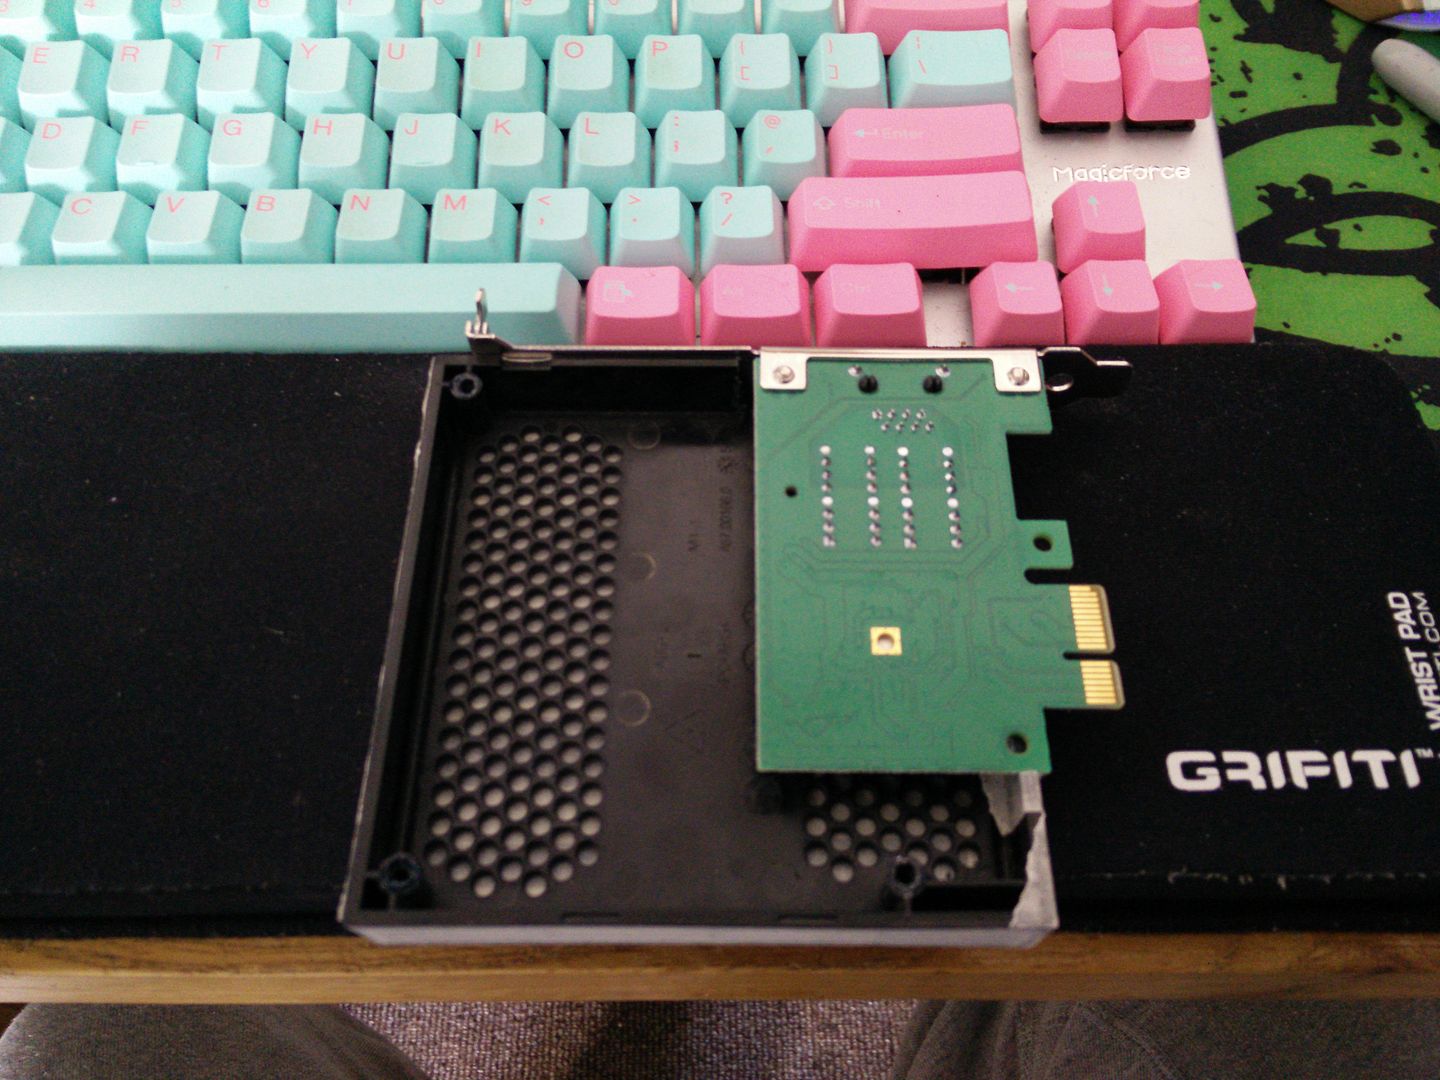
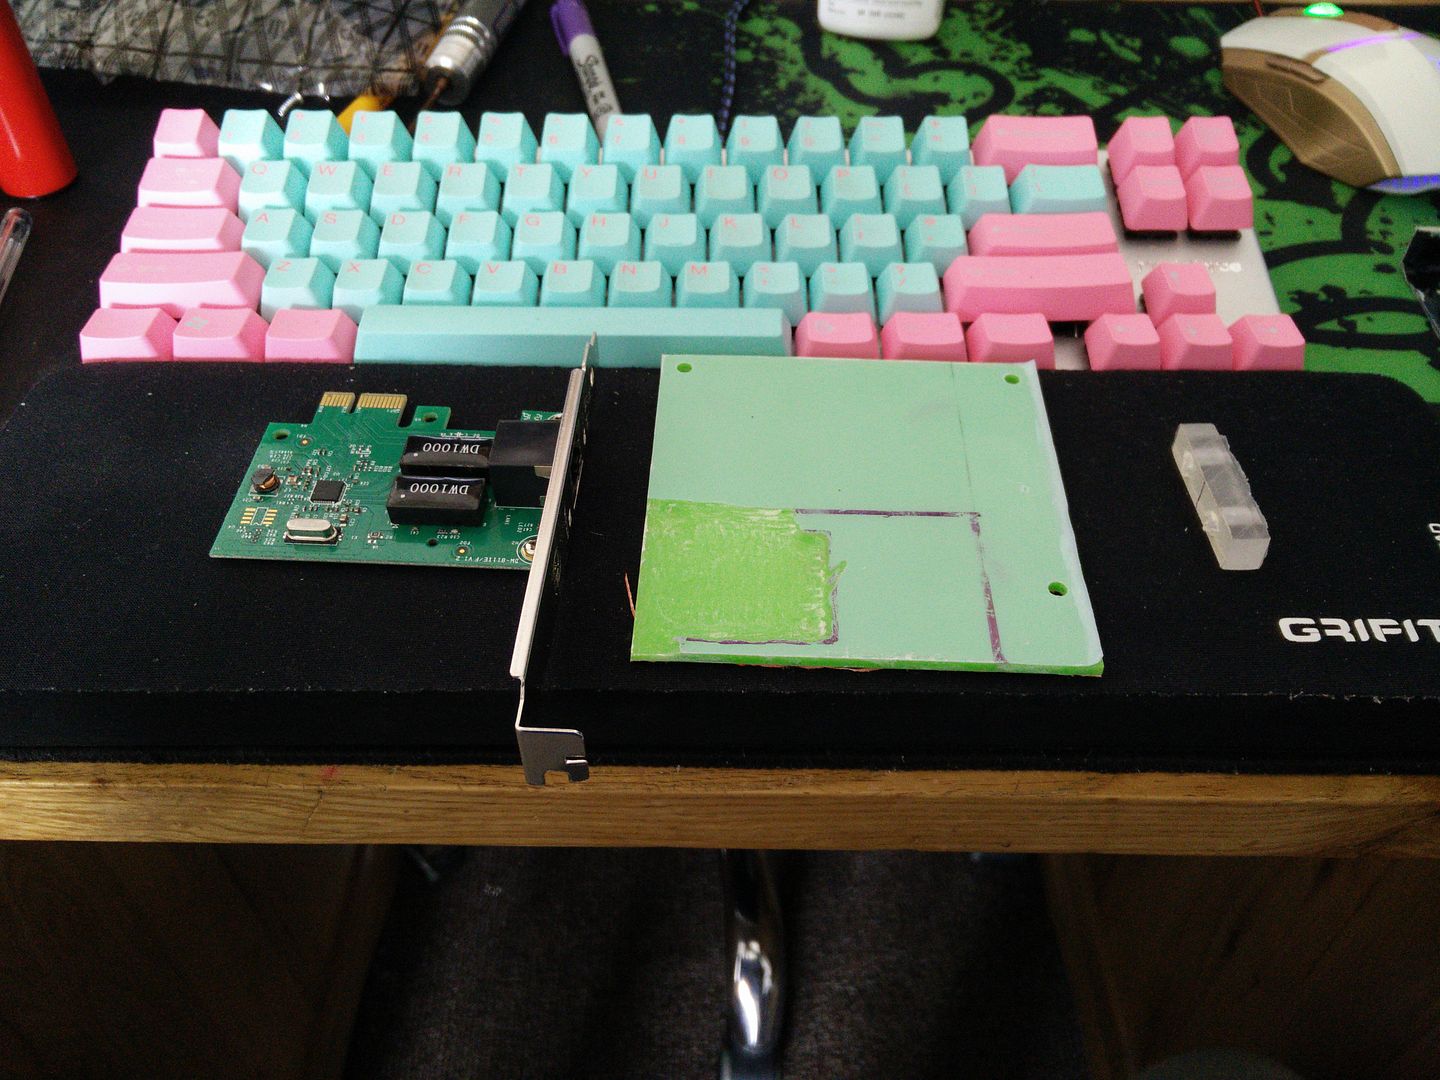
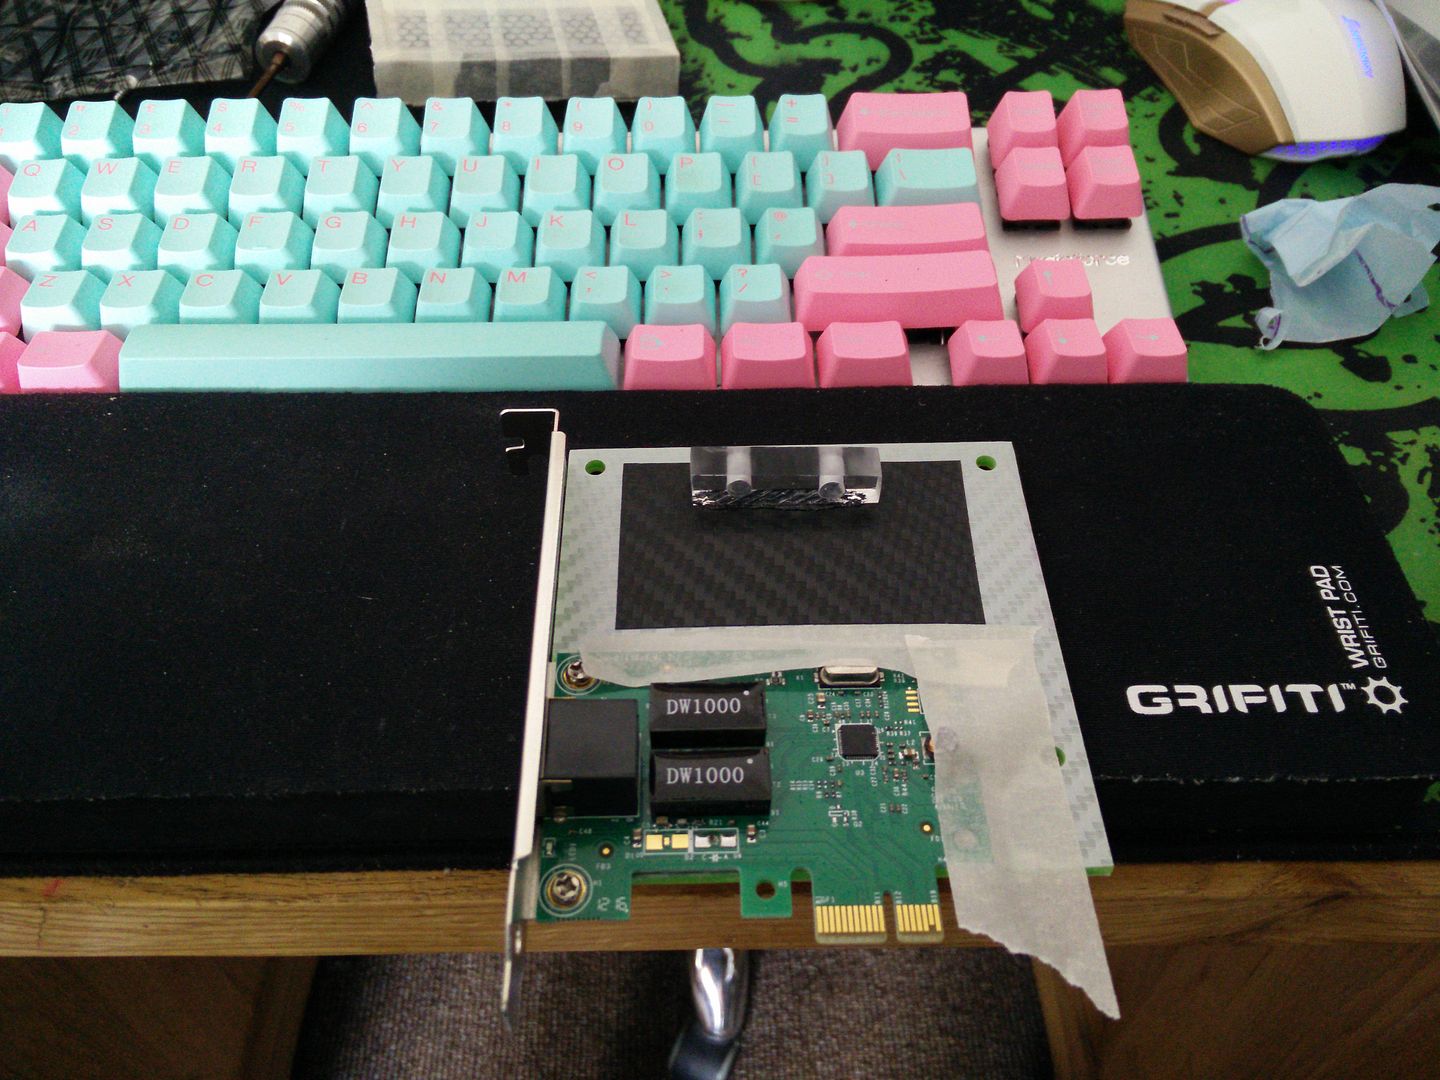
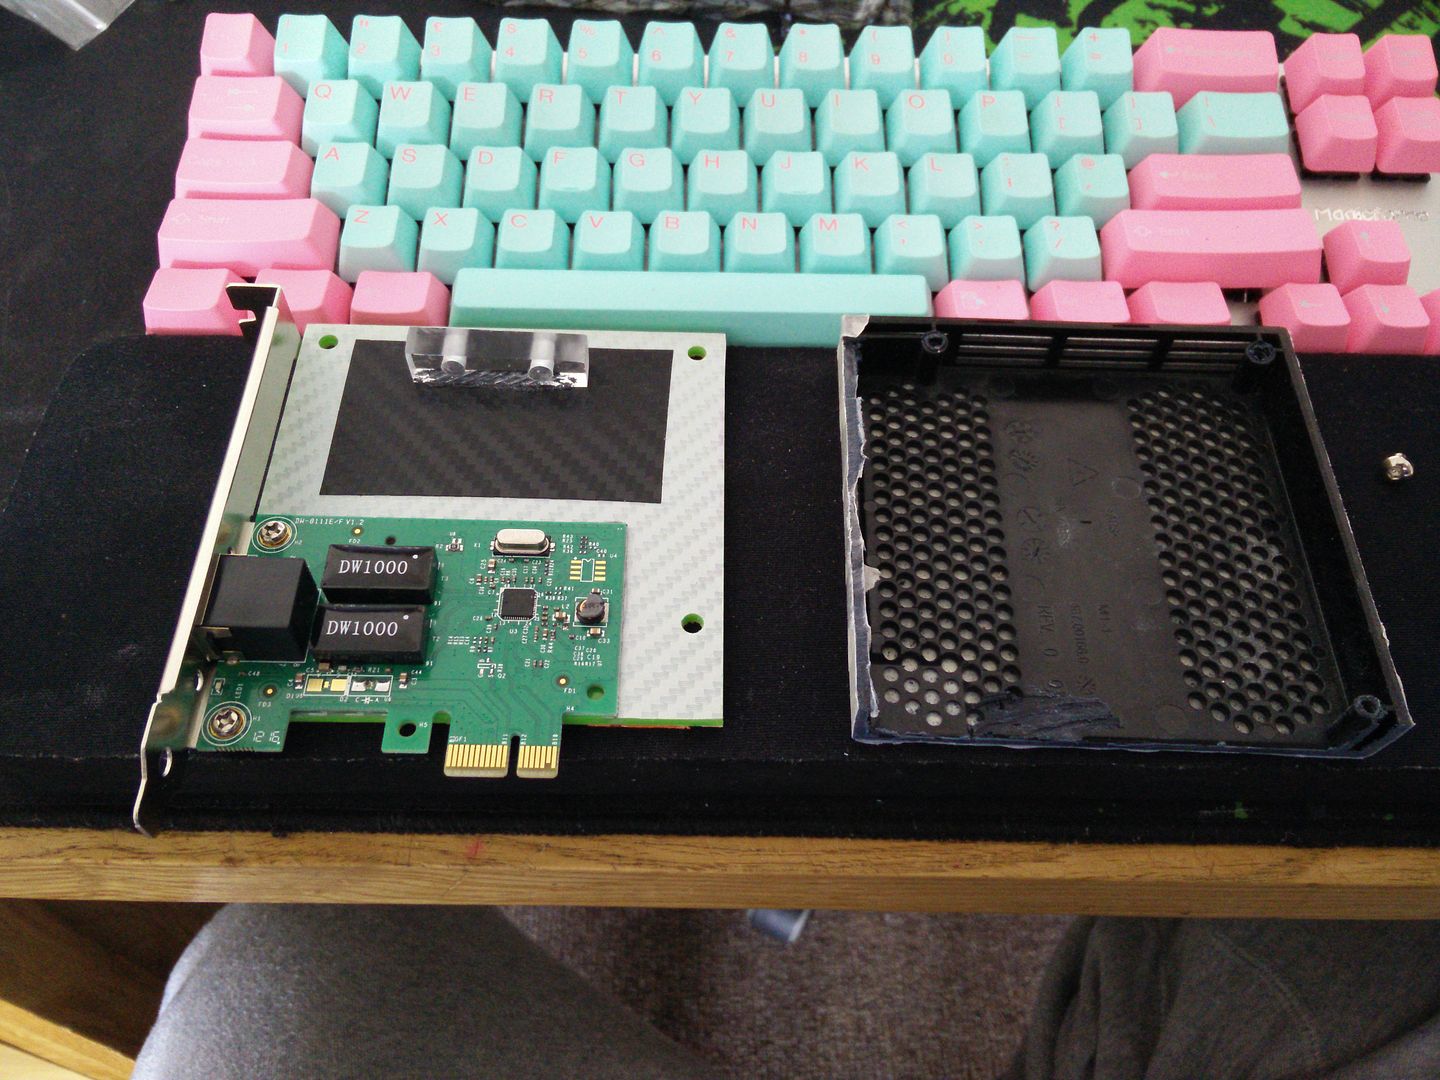
So I did research into which network cards work under EOS and found out that Realteks were good. I went onto fleabay and bought a network card for £3.50 and then removed the shroud on the 2100 before giving it away. Here is what I had.


And.


Here are the bolts I wanted to use. Bigfoot used nasty non coated self tapping posi screws but they looked jank. NB - these bolts turned out too short so were replaced later.. You will see that.


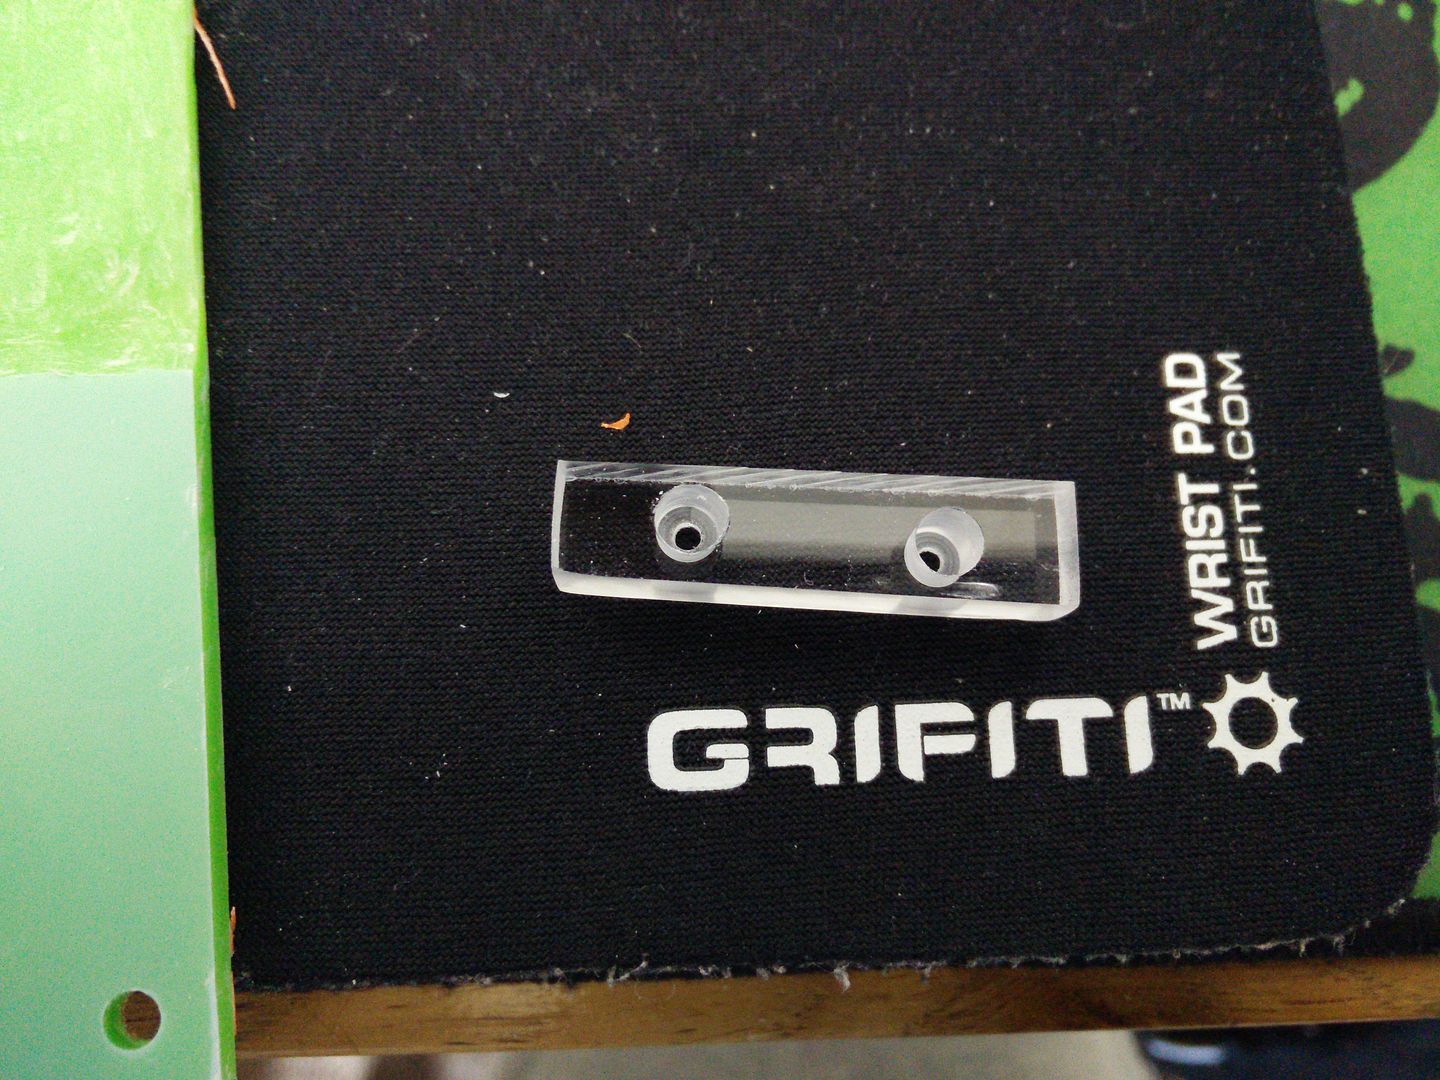
Melt them in. NB - the plastic is not acrylic and I melted the holes very slightly too big for M3.


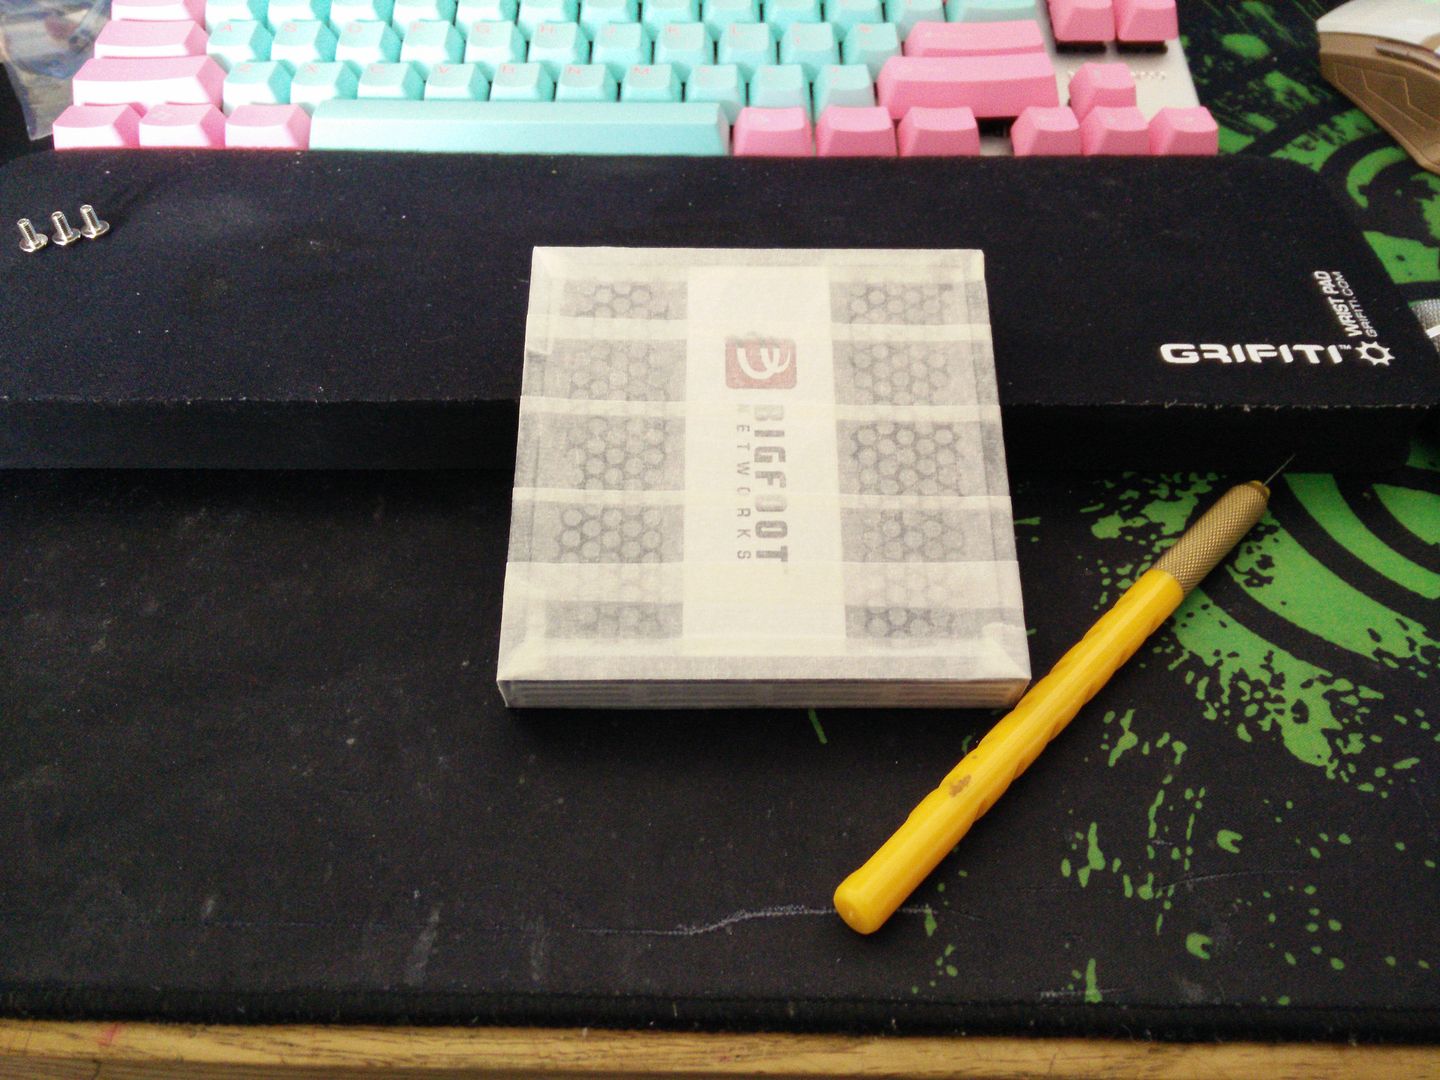
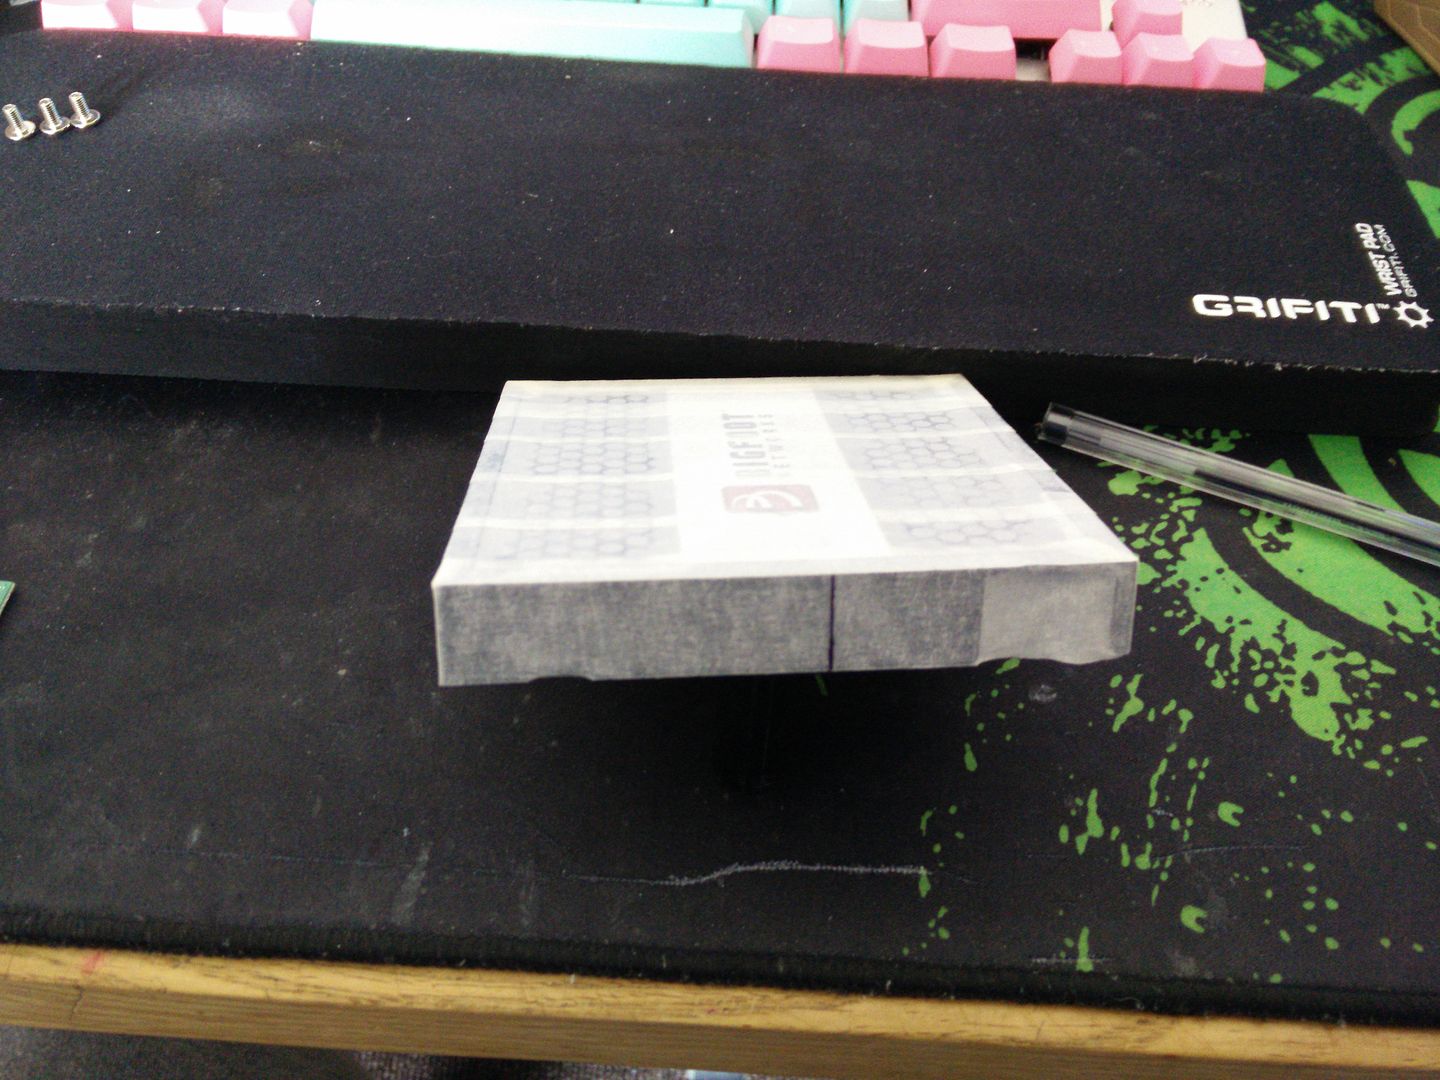
Time to tape up the shroud.


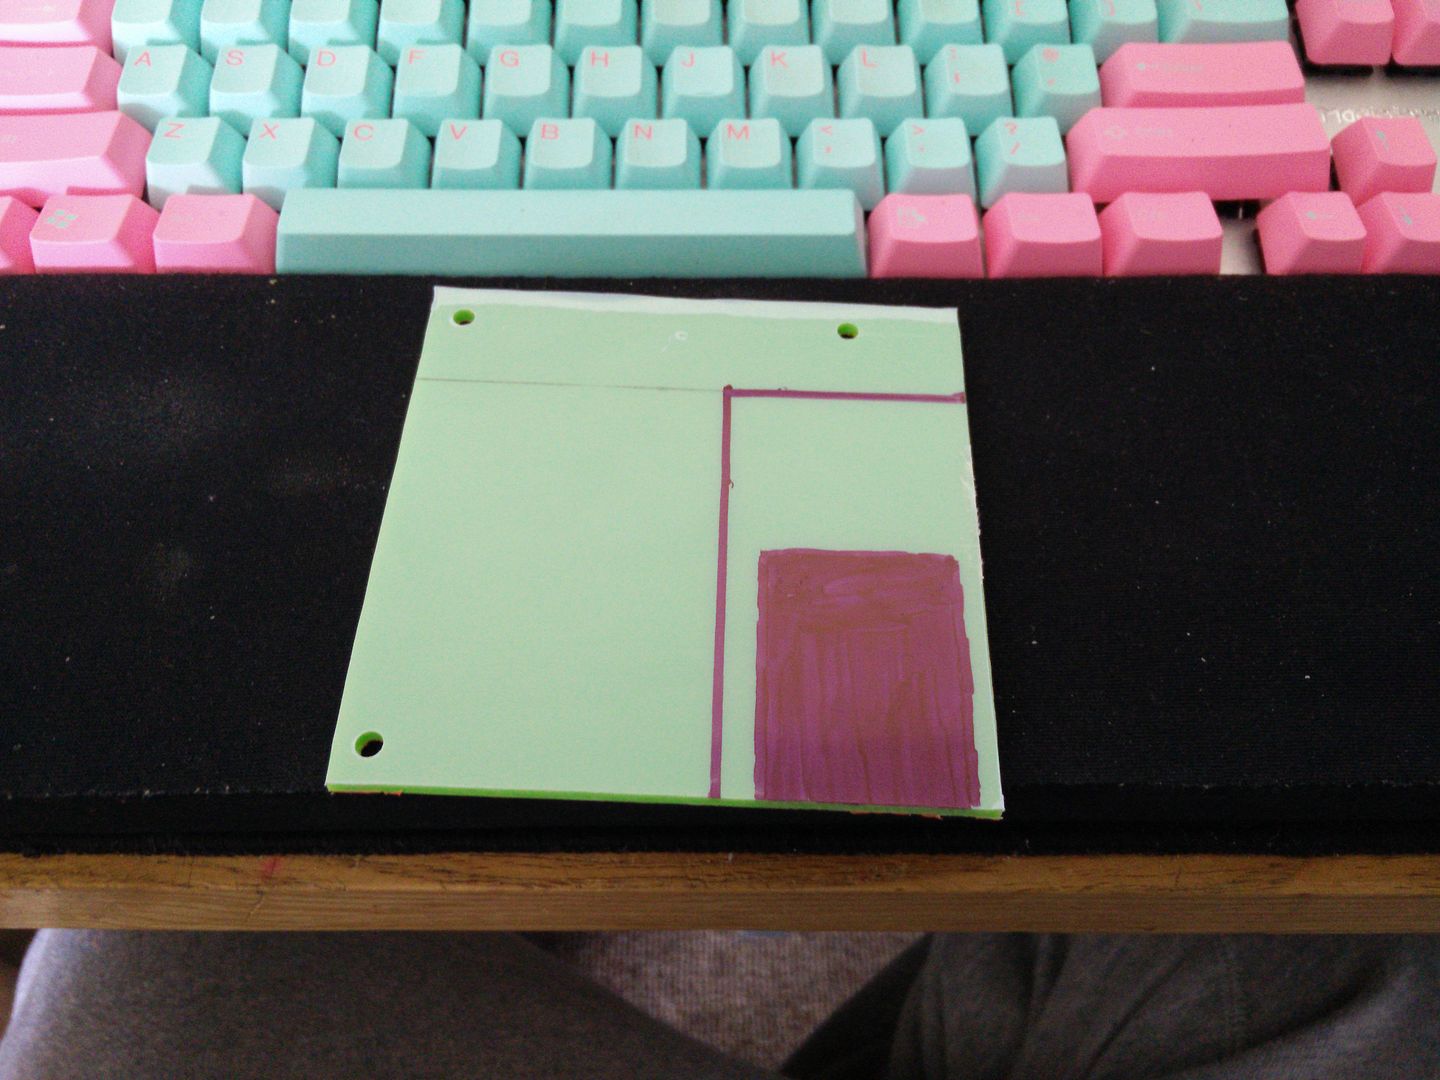
And mark it up for cutting.


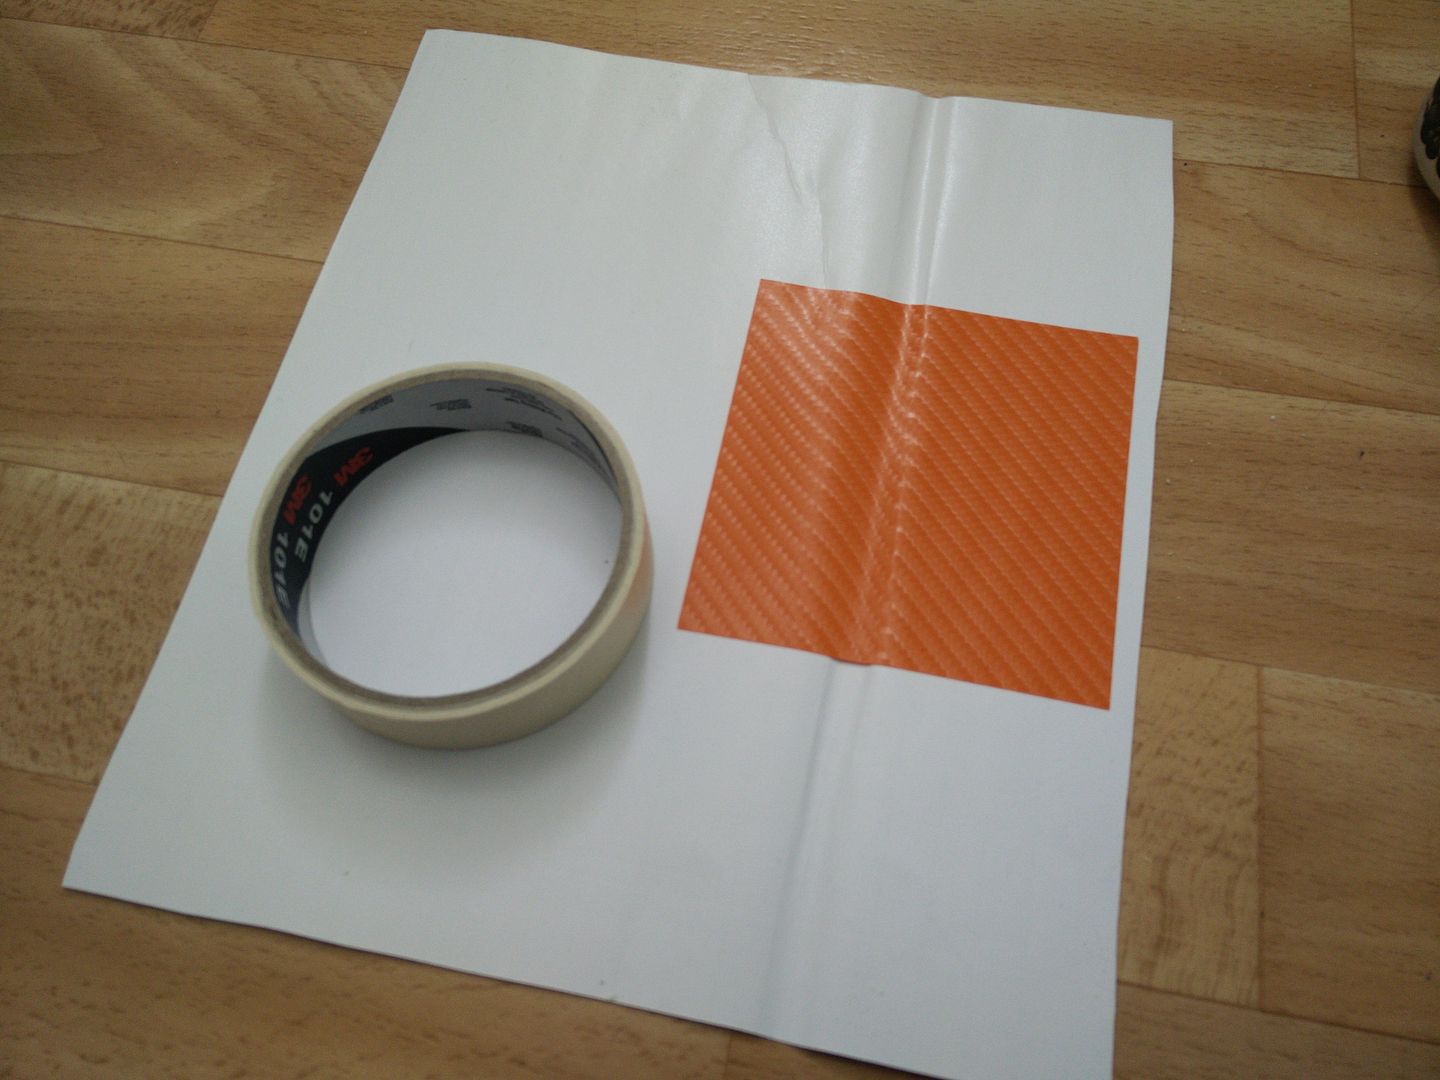
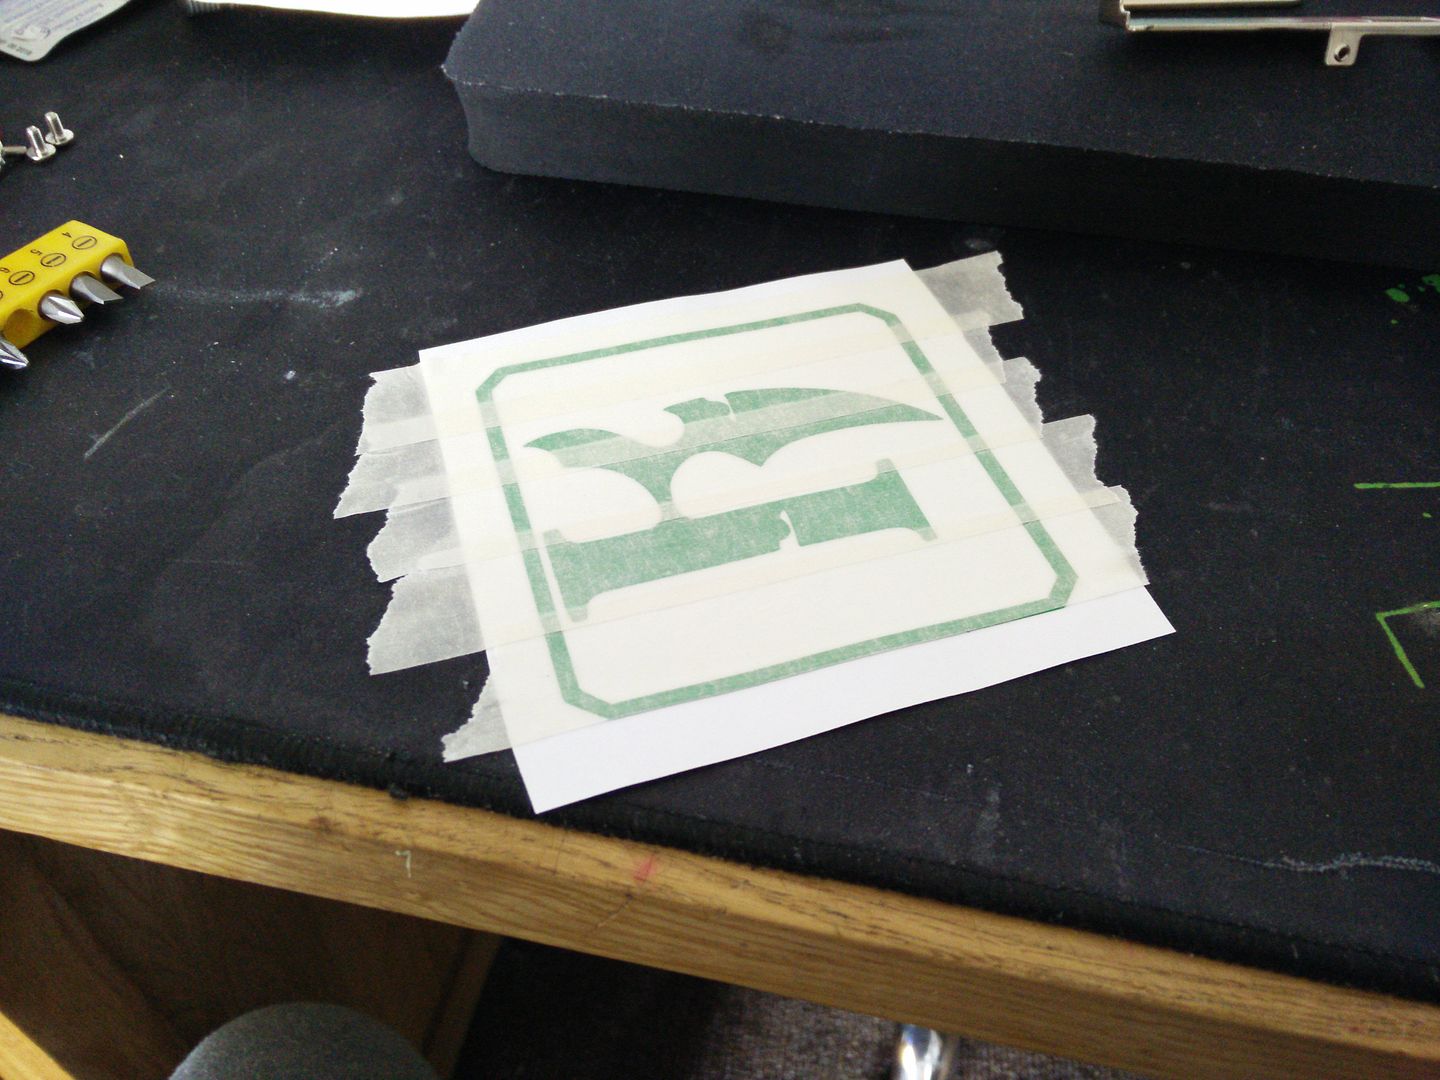
OK so remember those nasty orange dinoc shapes? one is for the NIC. I designed and cut these with scrap vinyl. It saves loads of marking out.


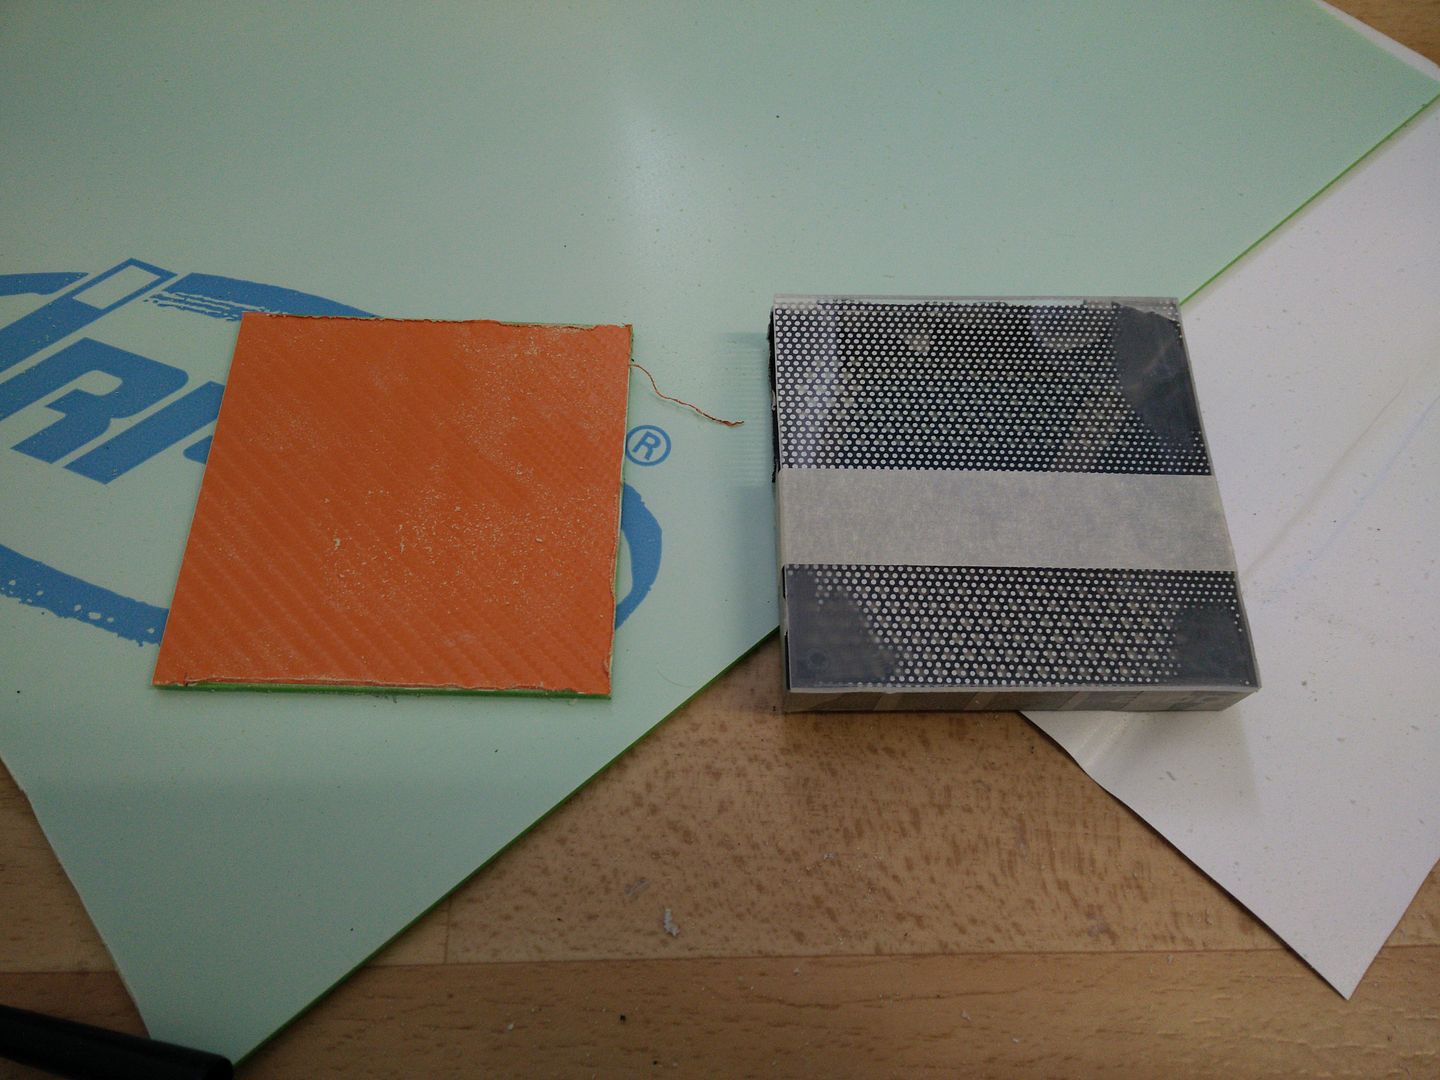
OK so I cut it out. I then traced it down onto some junk clear plastic (not acrylic) and sanded off the spots before placing it over the shroud's back. This way I can get the holes right, as I forgot to trace the card before giving it away.


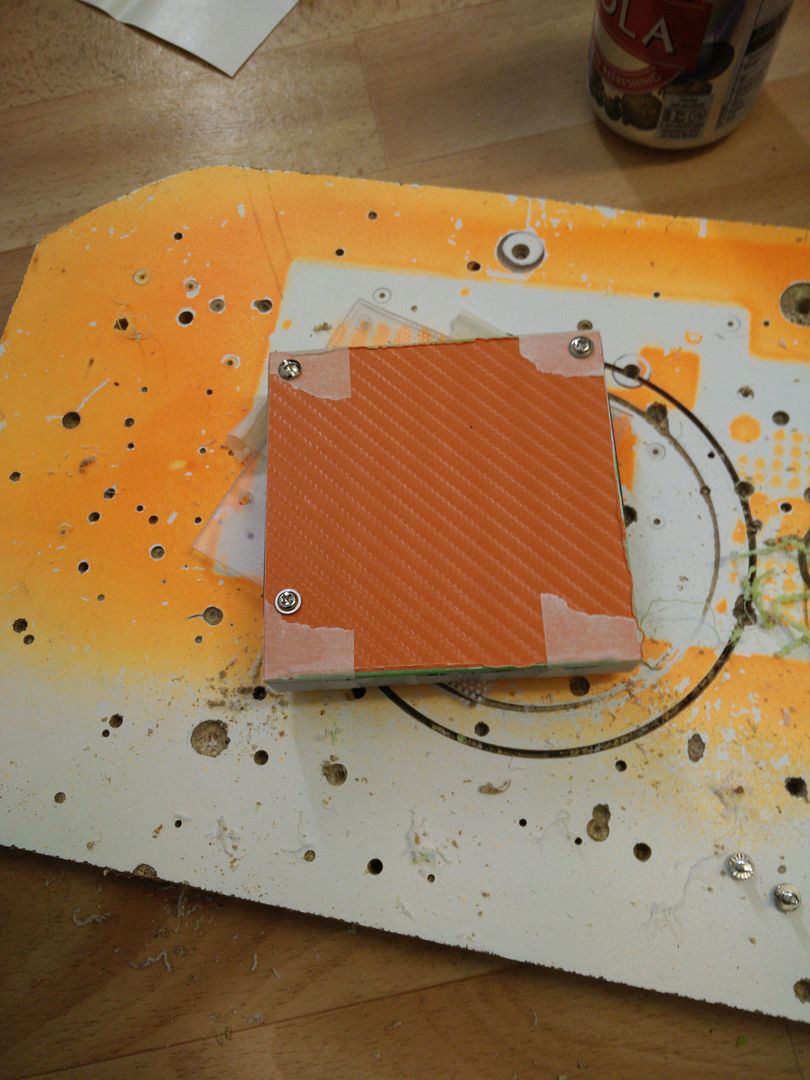
OK after drilling etc I test fitted the back plate to the shroud.


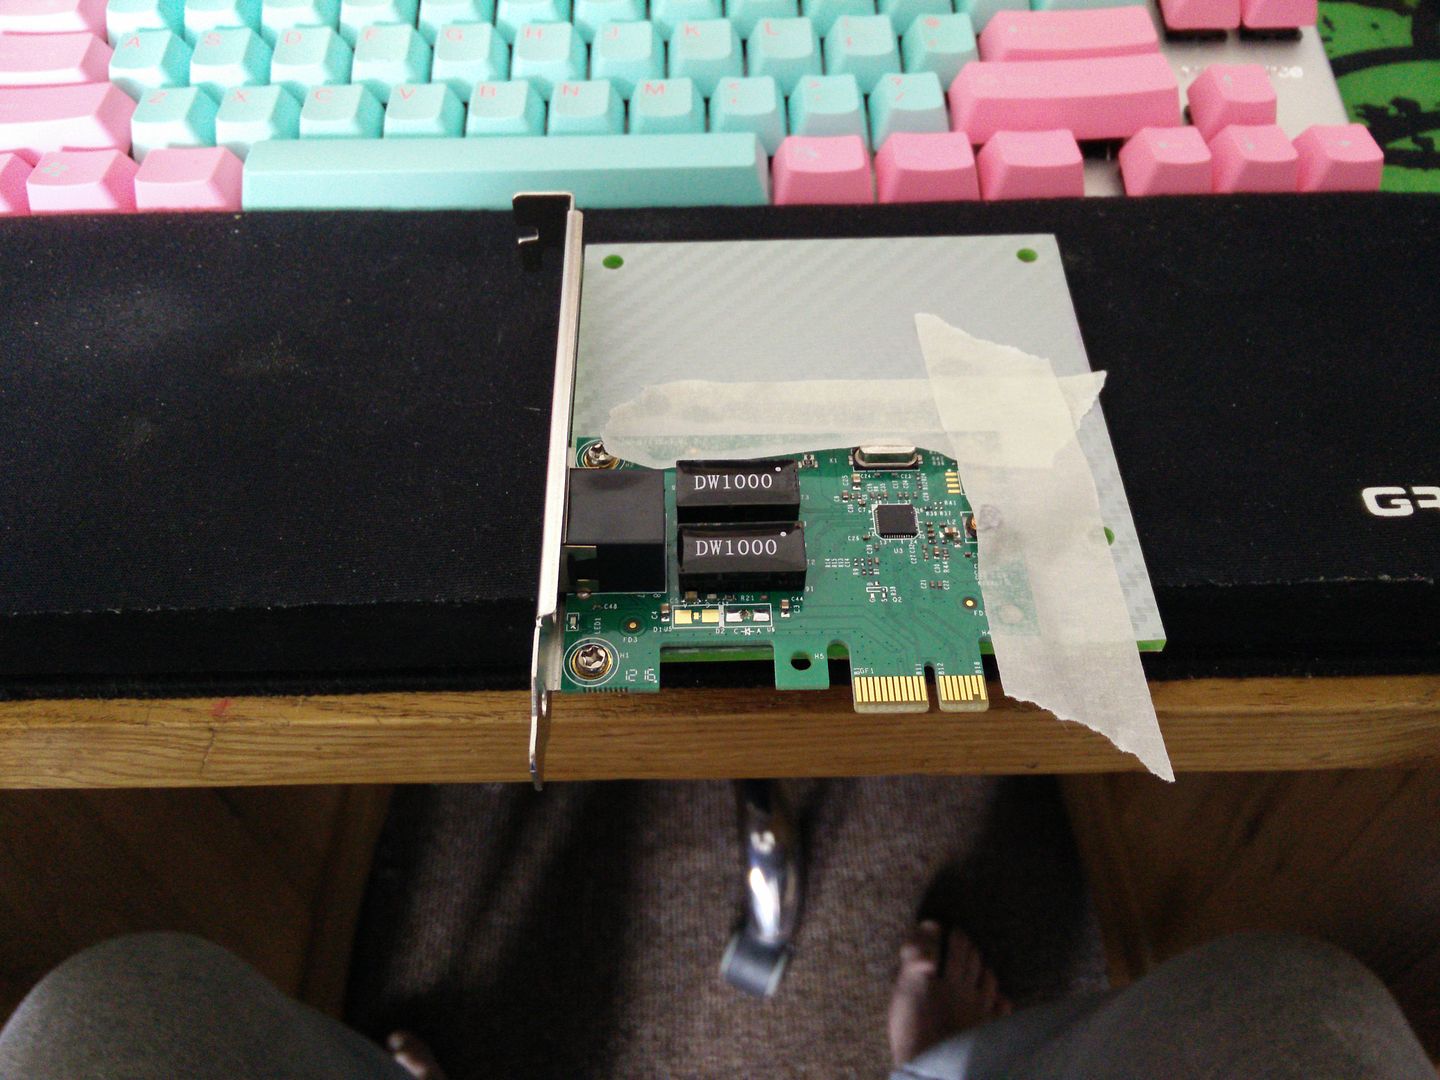
Cool, so it all lines up OK. I then put the card onto the shroud like this.


OK so no clearance issues that side. I then marked out the inside of the back.


OK so this is where all of the stuff on the back of the card is that would make the plate go wonky. I ground it out (this takes a good set of hands)


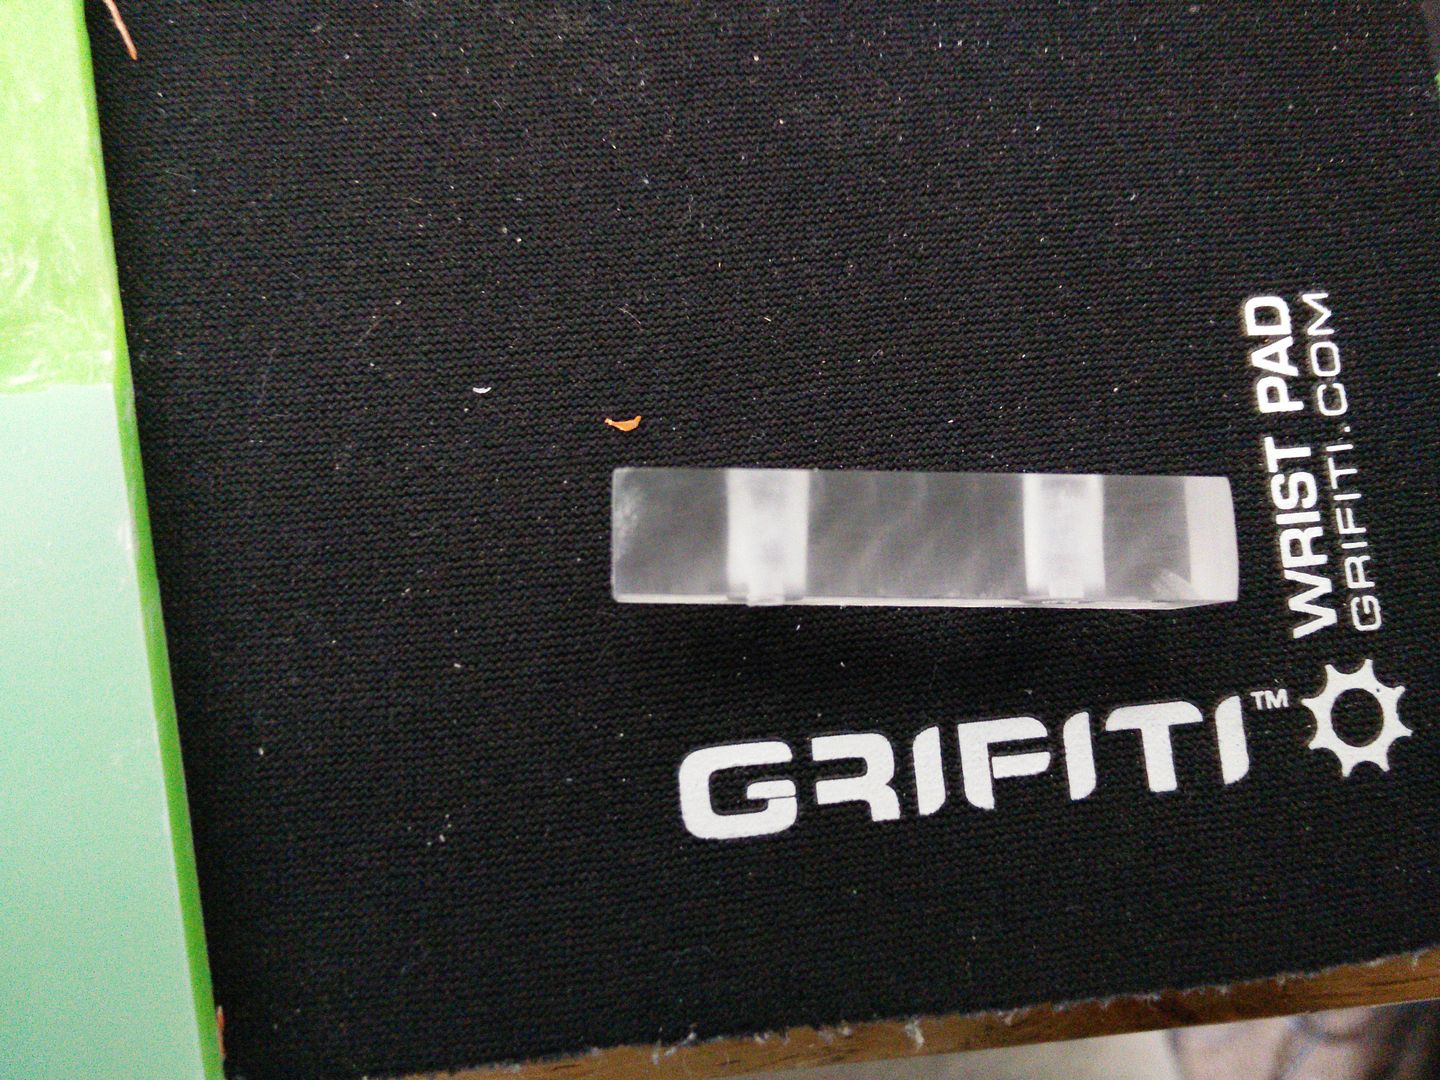
And whilst I was there I made a 5mm LED holder out of 8mm left over acrylic.


I then coated the inside with scrap silver vinyl. I did this because I do not want the light to bleed through the back plate as it will show the shape of the tiny card in there lol. I need to do this again in black, but it would need two coats any way (of vinyl) unless you used really thick 3M.


No messing about now, glue it in with power glue lol.


I used what I had left over of 3M to make a light block for the LED holder. Glued that in too. Later I will go over all of the silver again.


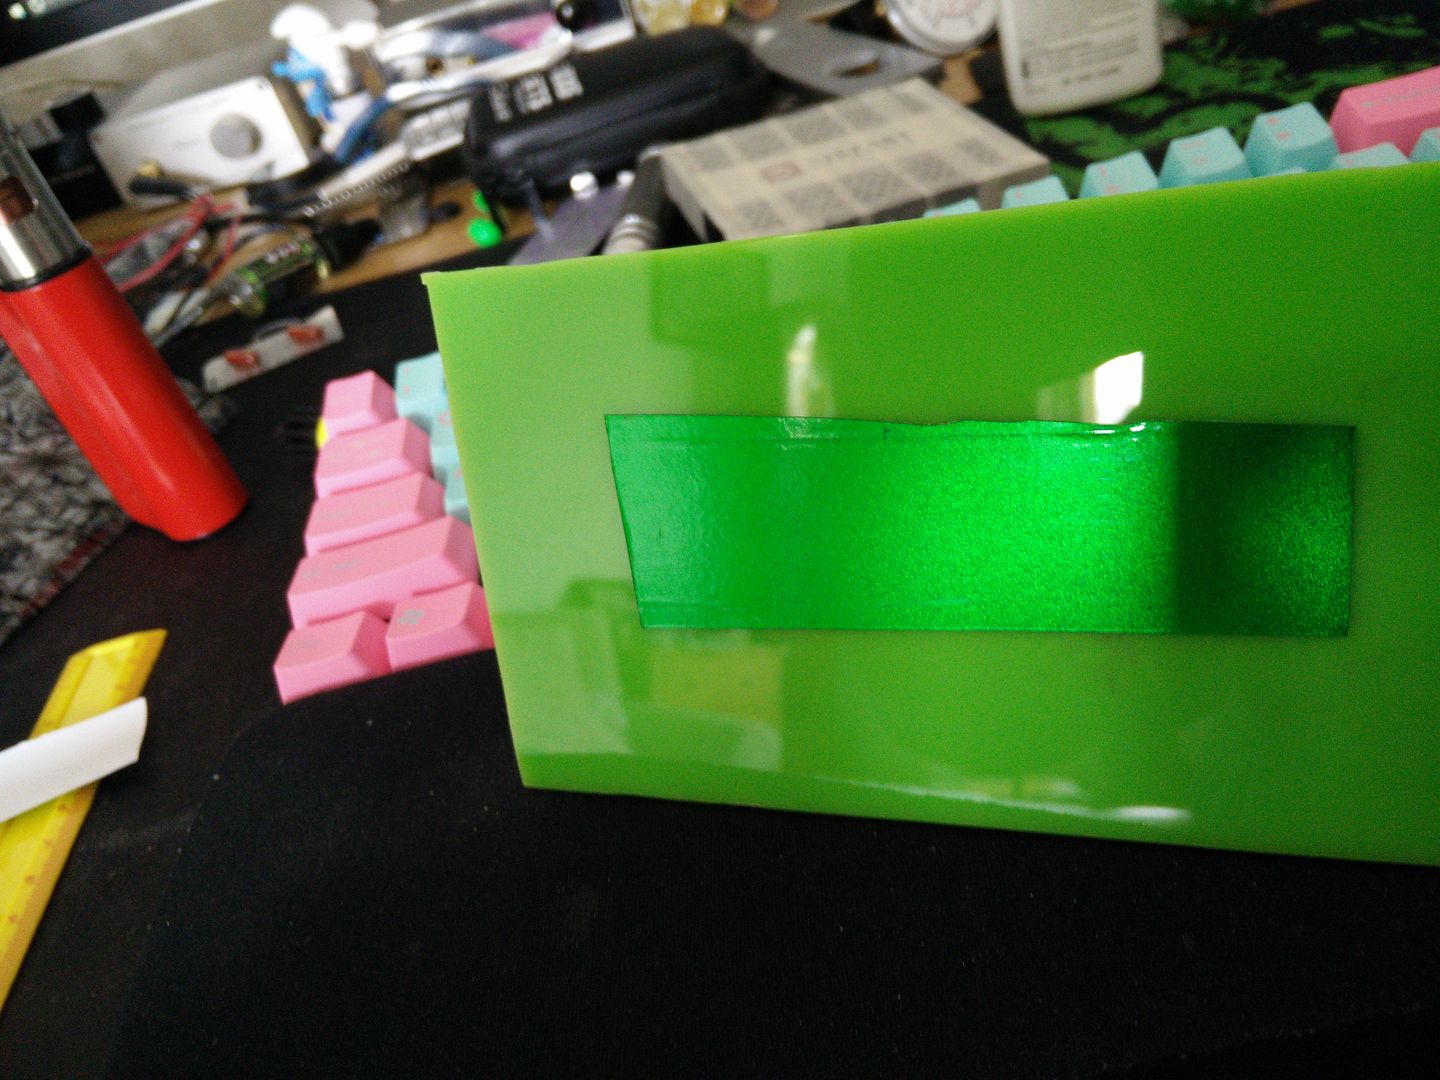
OK so now it is time to finally give away the colour scheme. You will note I have been hiding the colour of the acrylic so far.

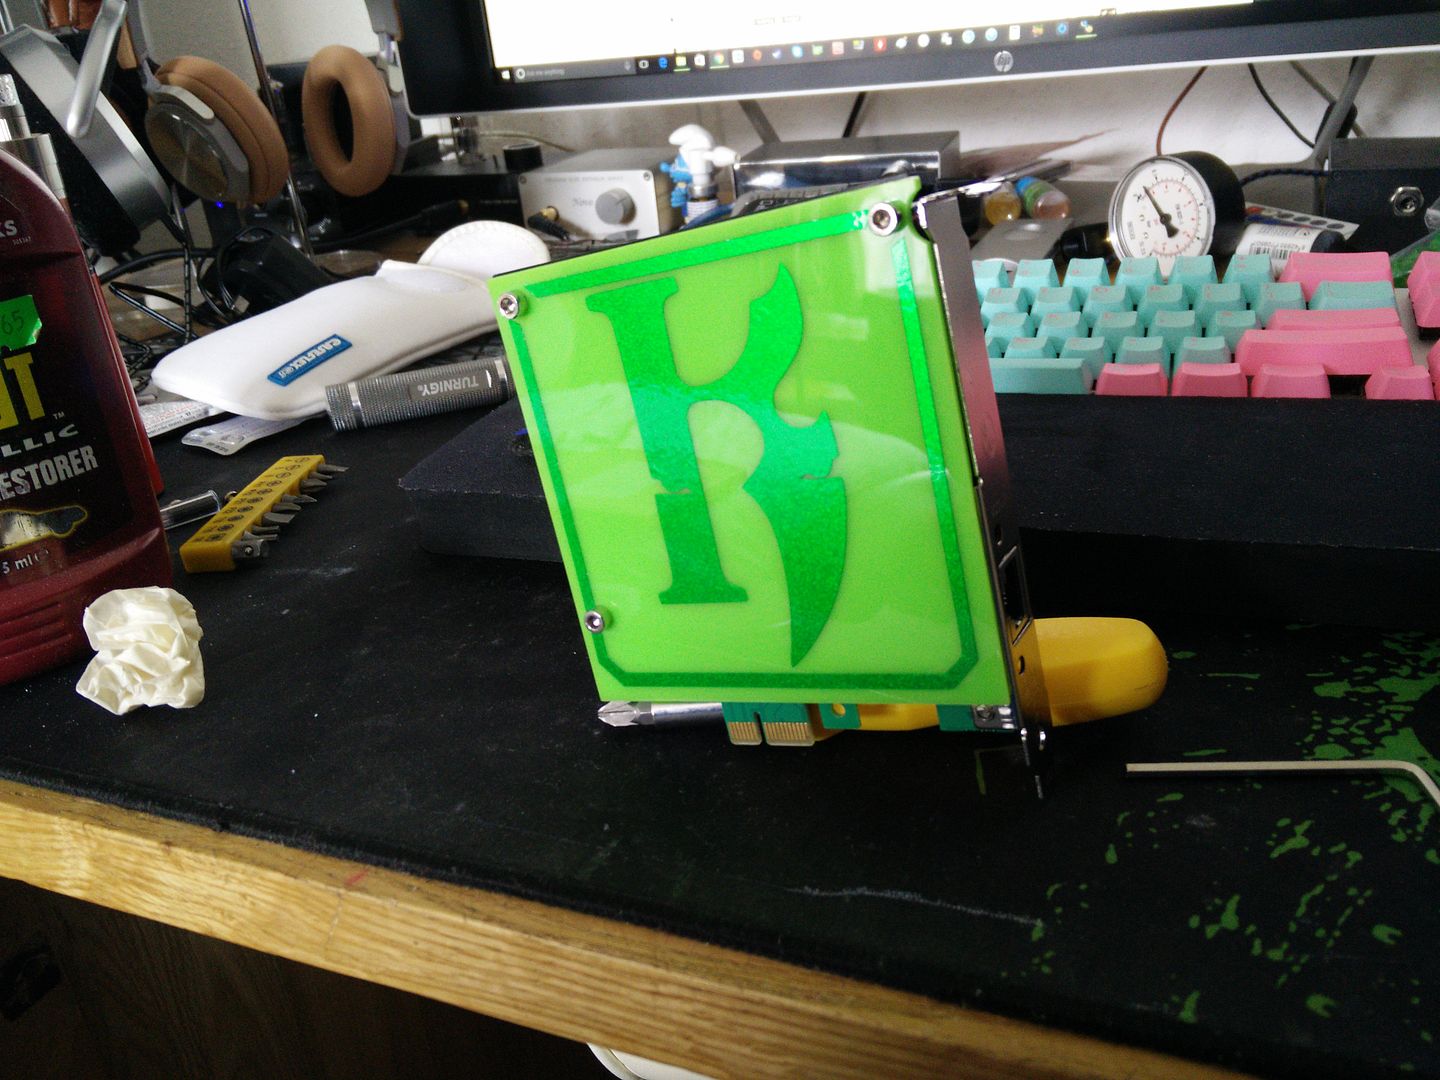
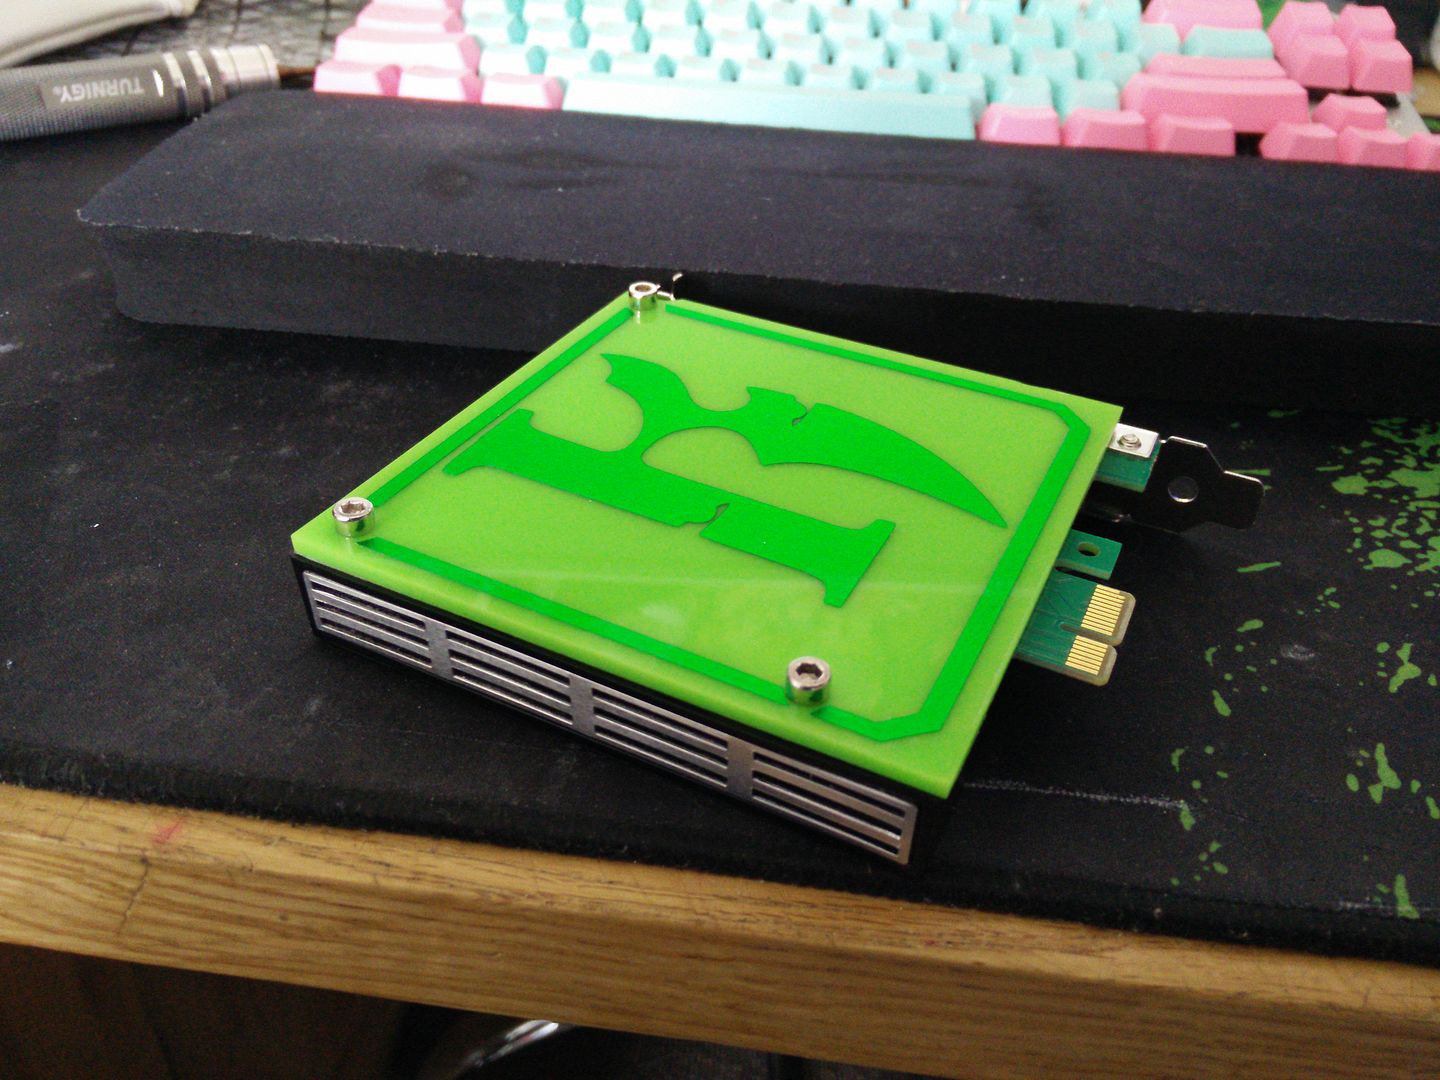
Basically it is similar in ways to Rise Of The Triad, because it is a play on shades and textures of the same colour. In ROTT I used black chrome on matt black. For Elvis (soon to be renamed) I am using gloss lime green on candy apple metallic green.


NB - those are just scraps I made a swatch with.

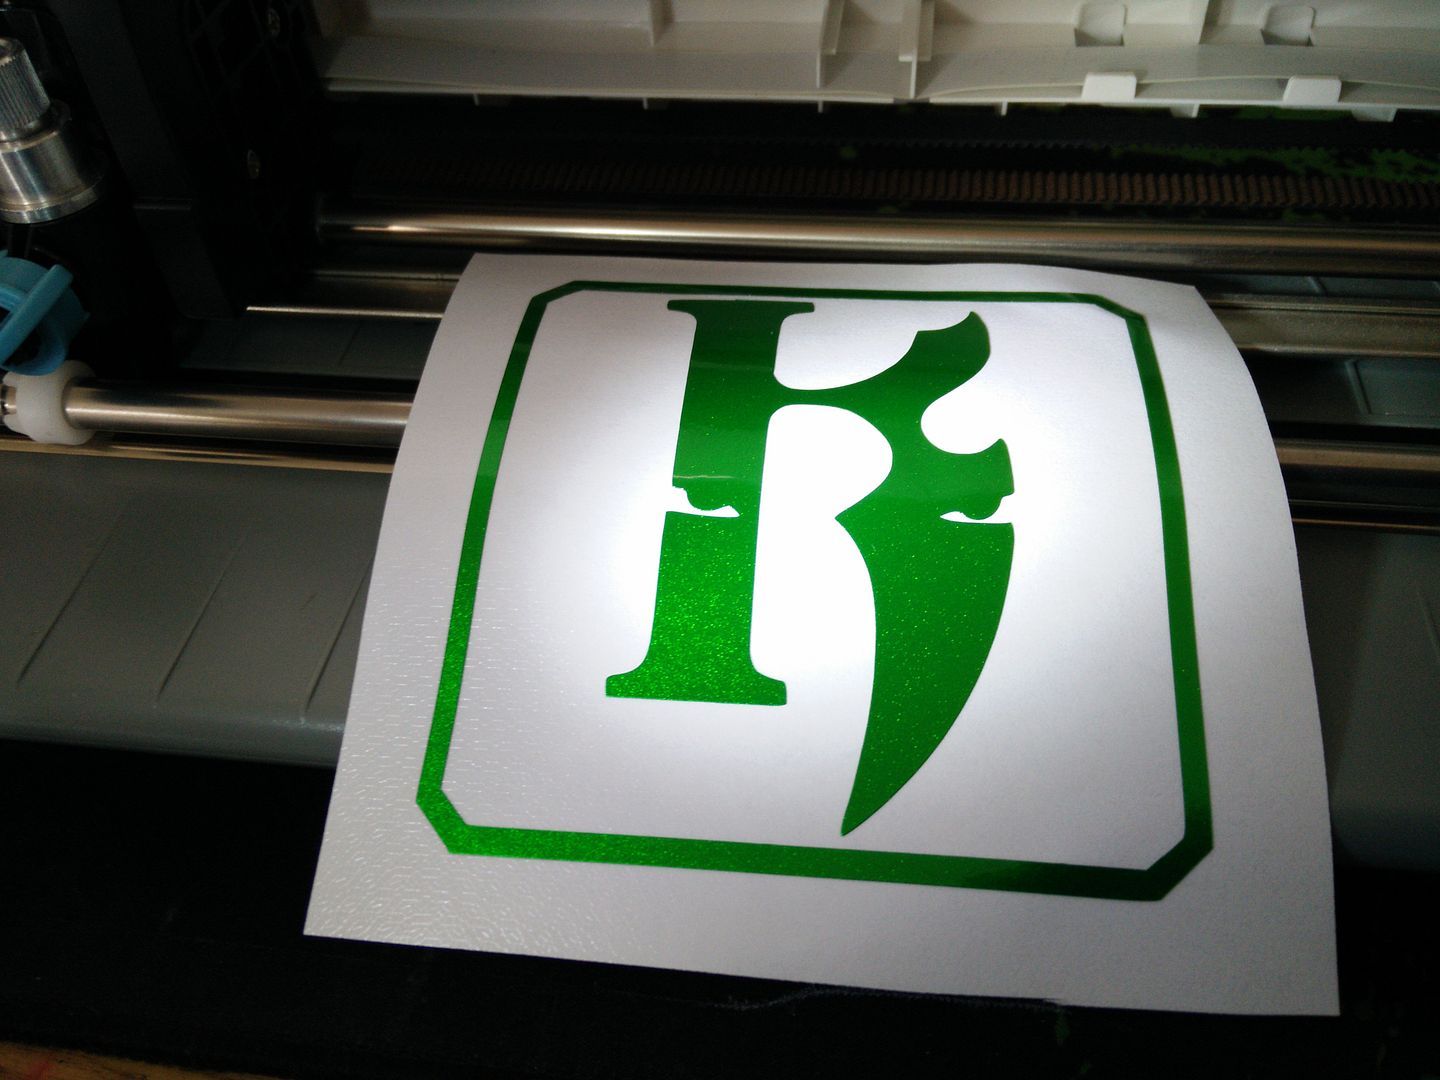
Bring out the plotter !


Glue has now dried.


Clean all of the parts ready for decals.


Mask decal.


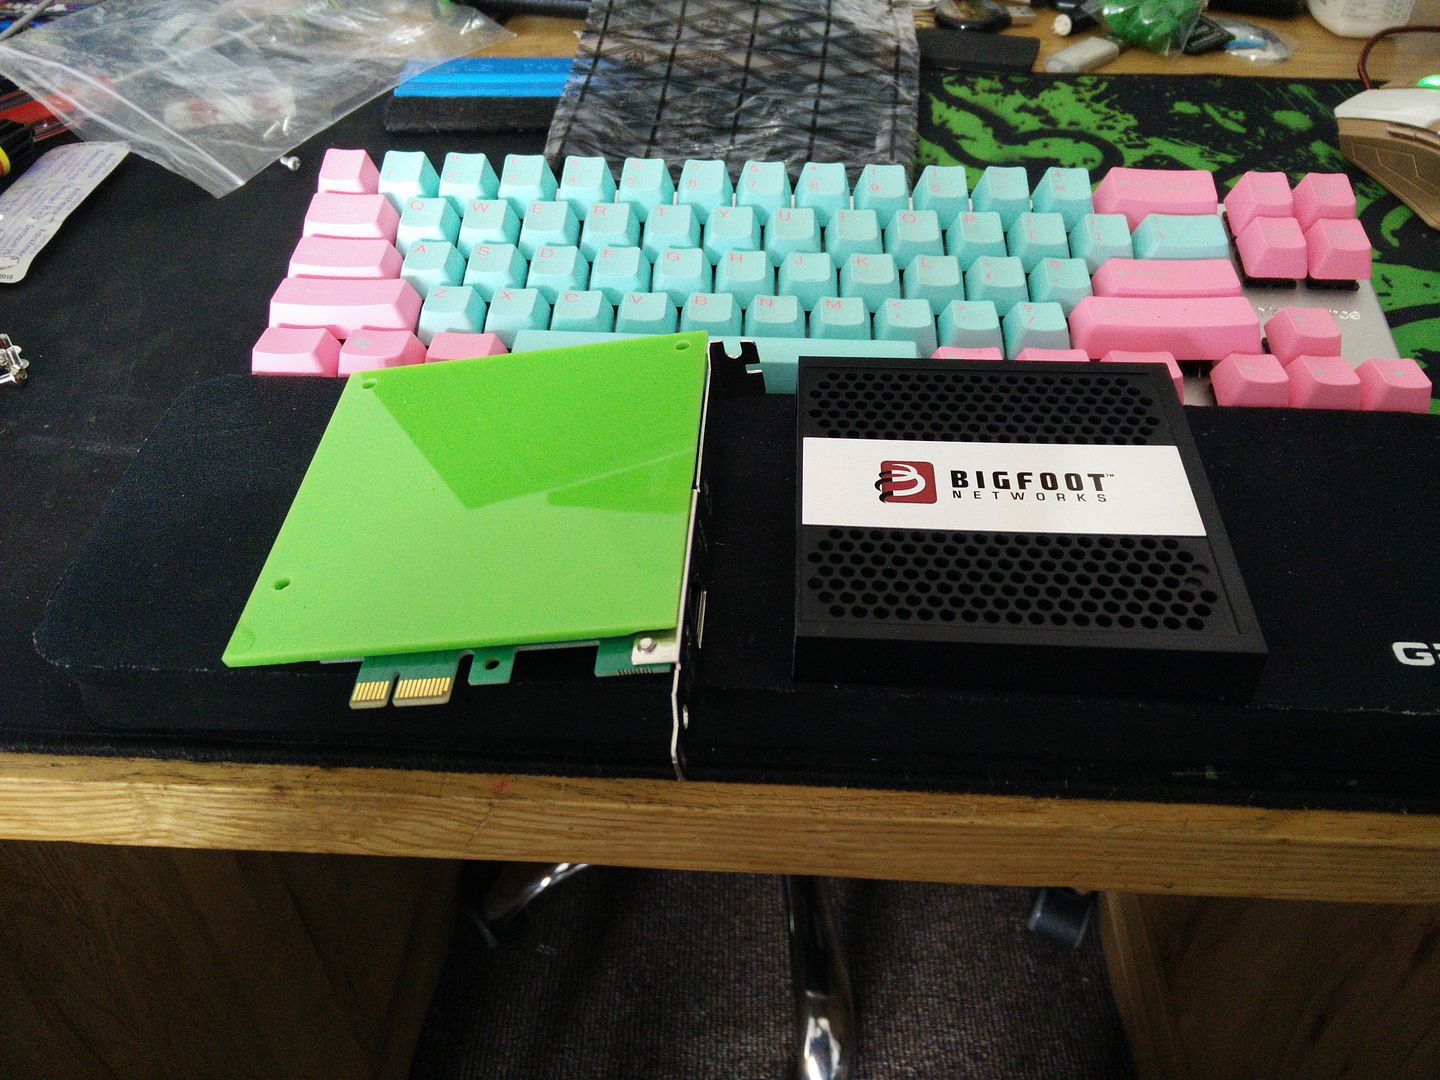
Enter the Killer....


All that is left to do now is more light masking (30 second job) and ten minutes of soldering and braiding for the LEDs.
 
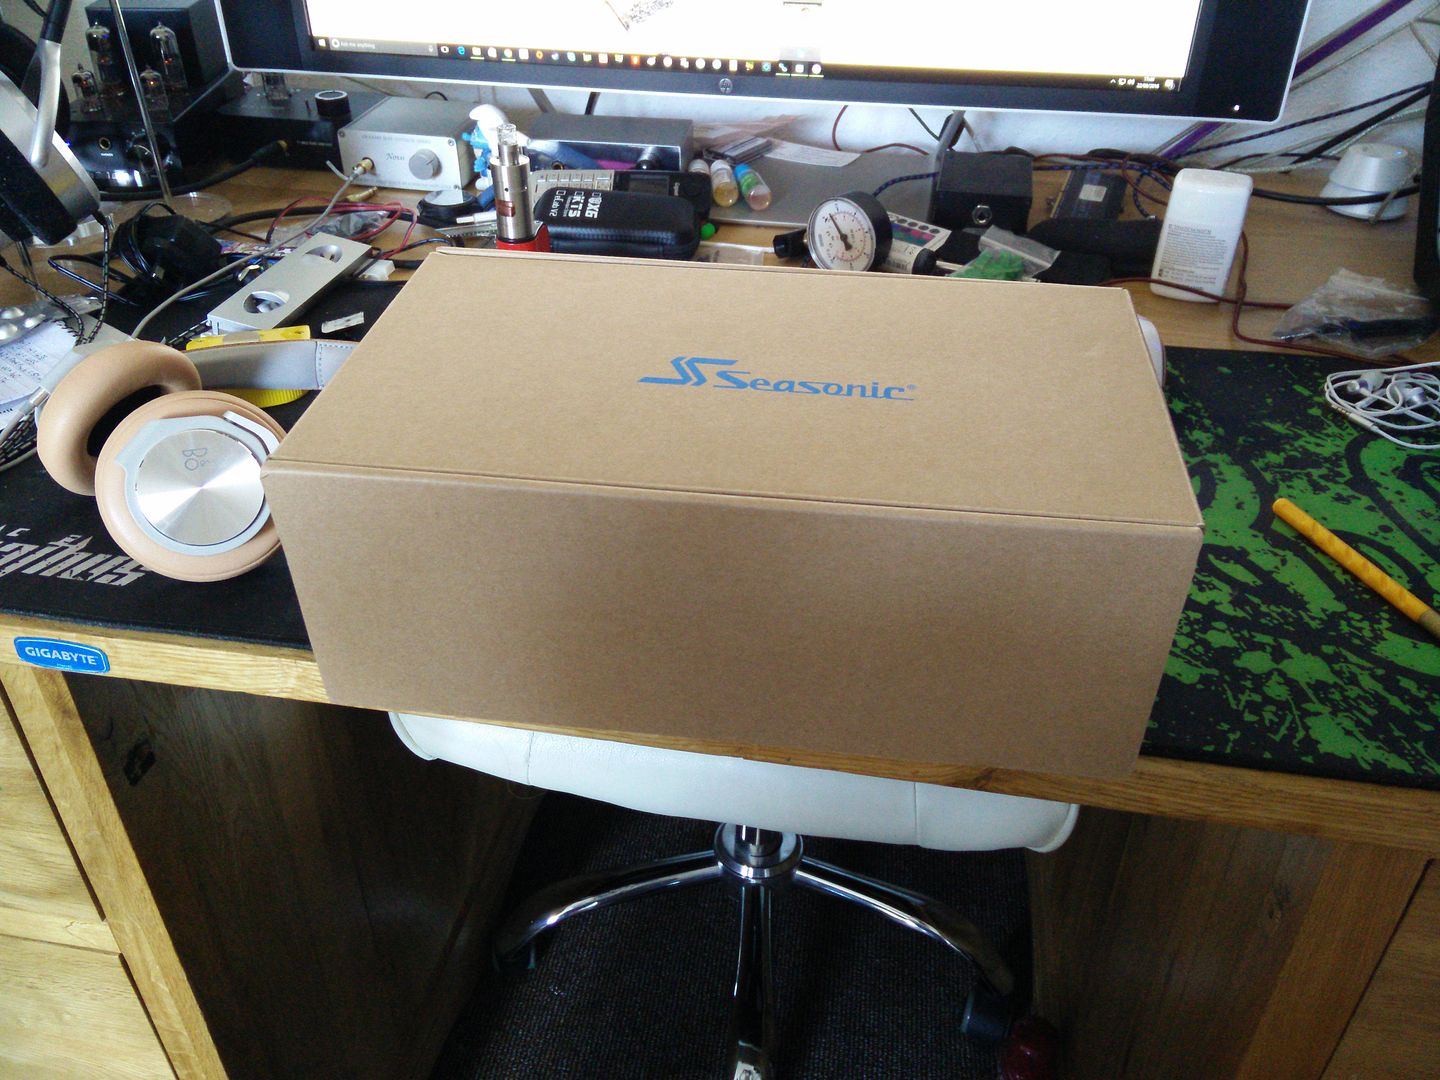
So the doorbell just went. It was Hermes.


A power supply perhaps? felt a bit light.


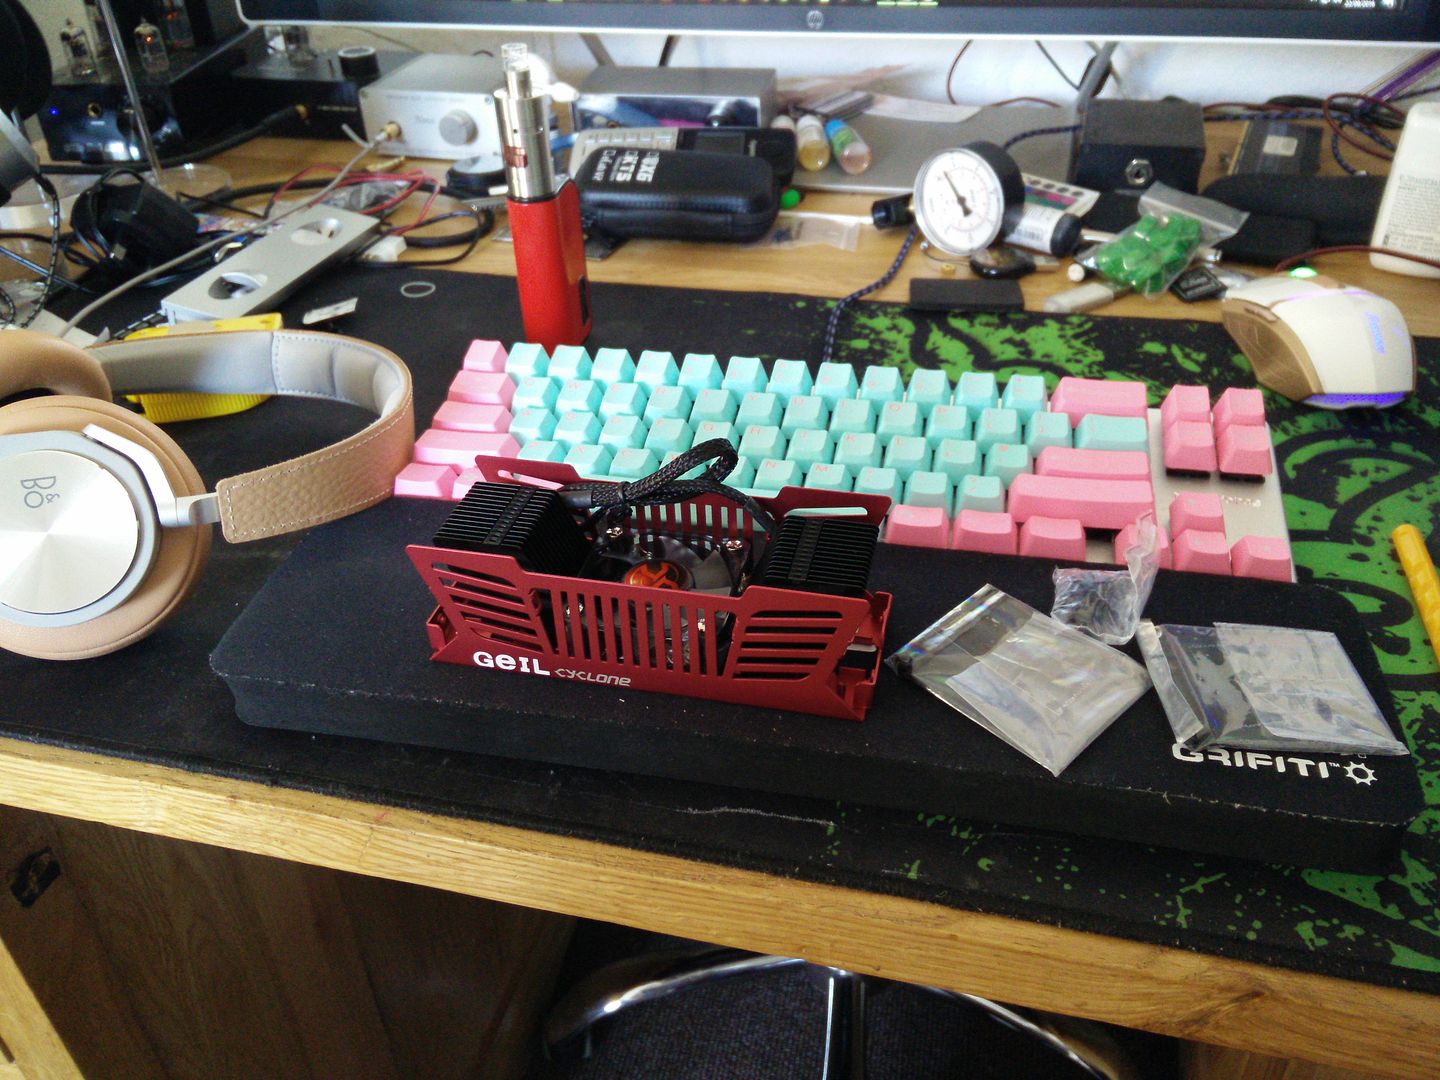
Oh wait no, it's the ram cooler lol.


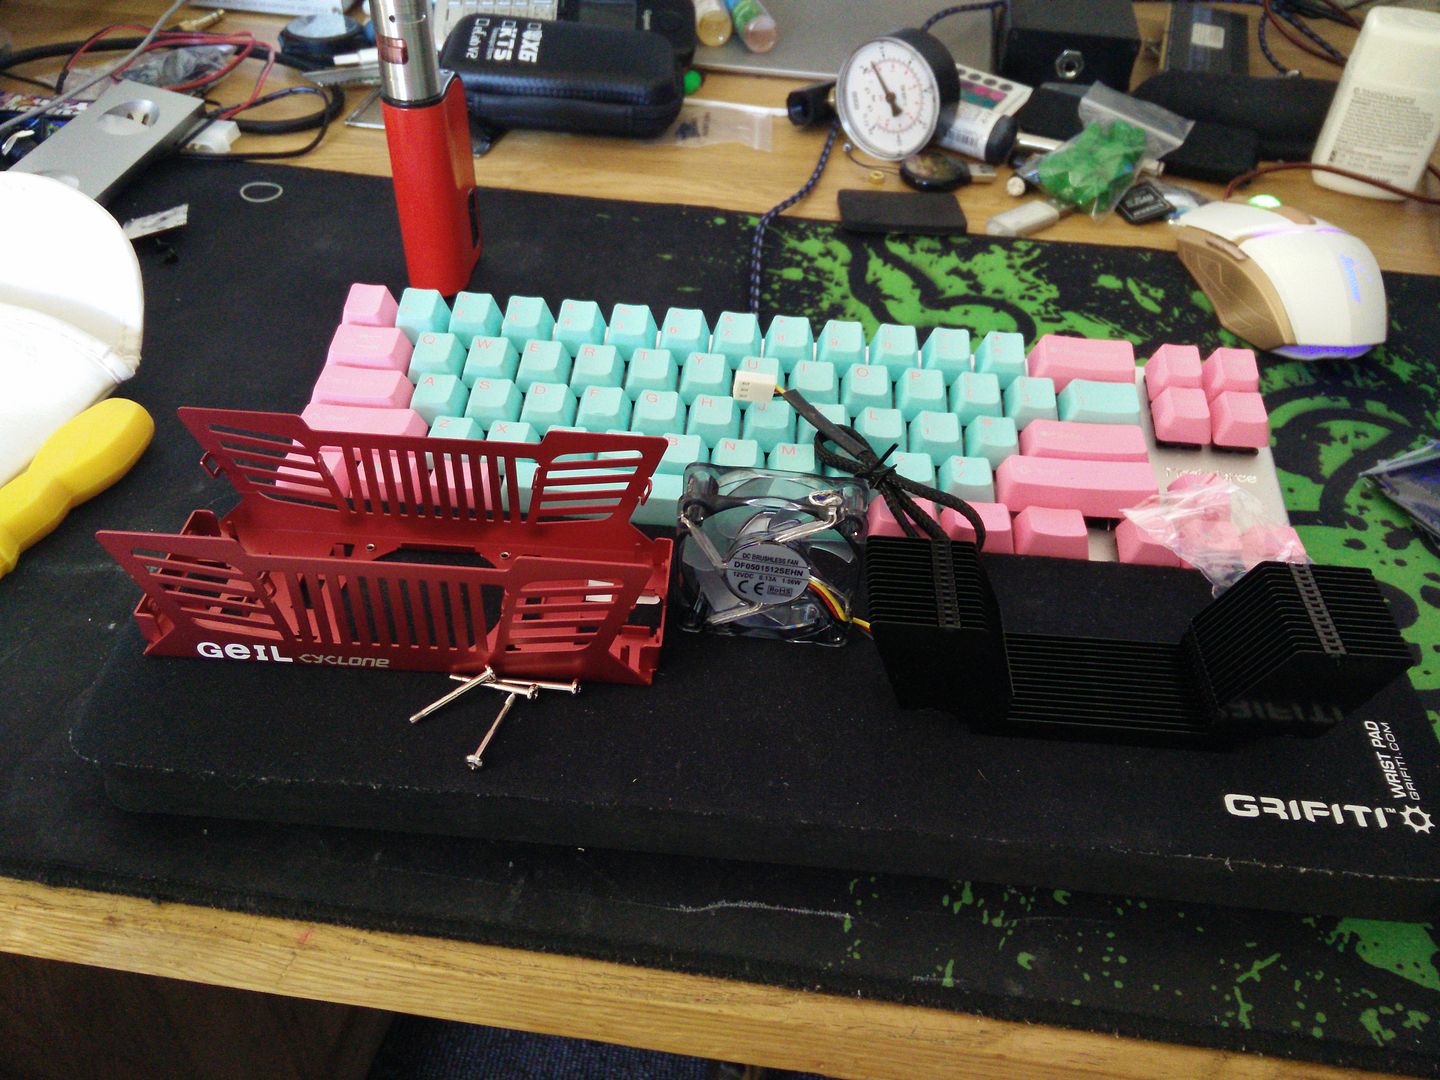
The only thing I did not know about this thing was how to get it apart. I studied photos of it for ages but could not see how the inner fins were held in. I was worried they were like pressed in or something, but....


Seems the fan holds them down. I've had a good look at it appears to use 3mm LEDs. I will connect it up later and buzz the LEDs to see how much voltage they are getting.

Not sure if I will change the LEDs yet (it will be really fiddly) or cut them out or just leave them red.
 
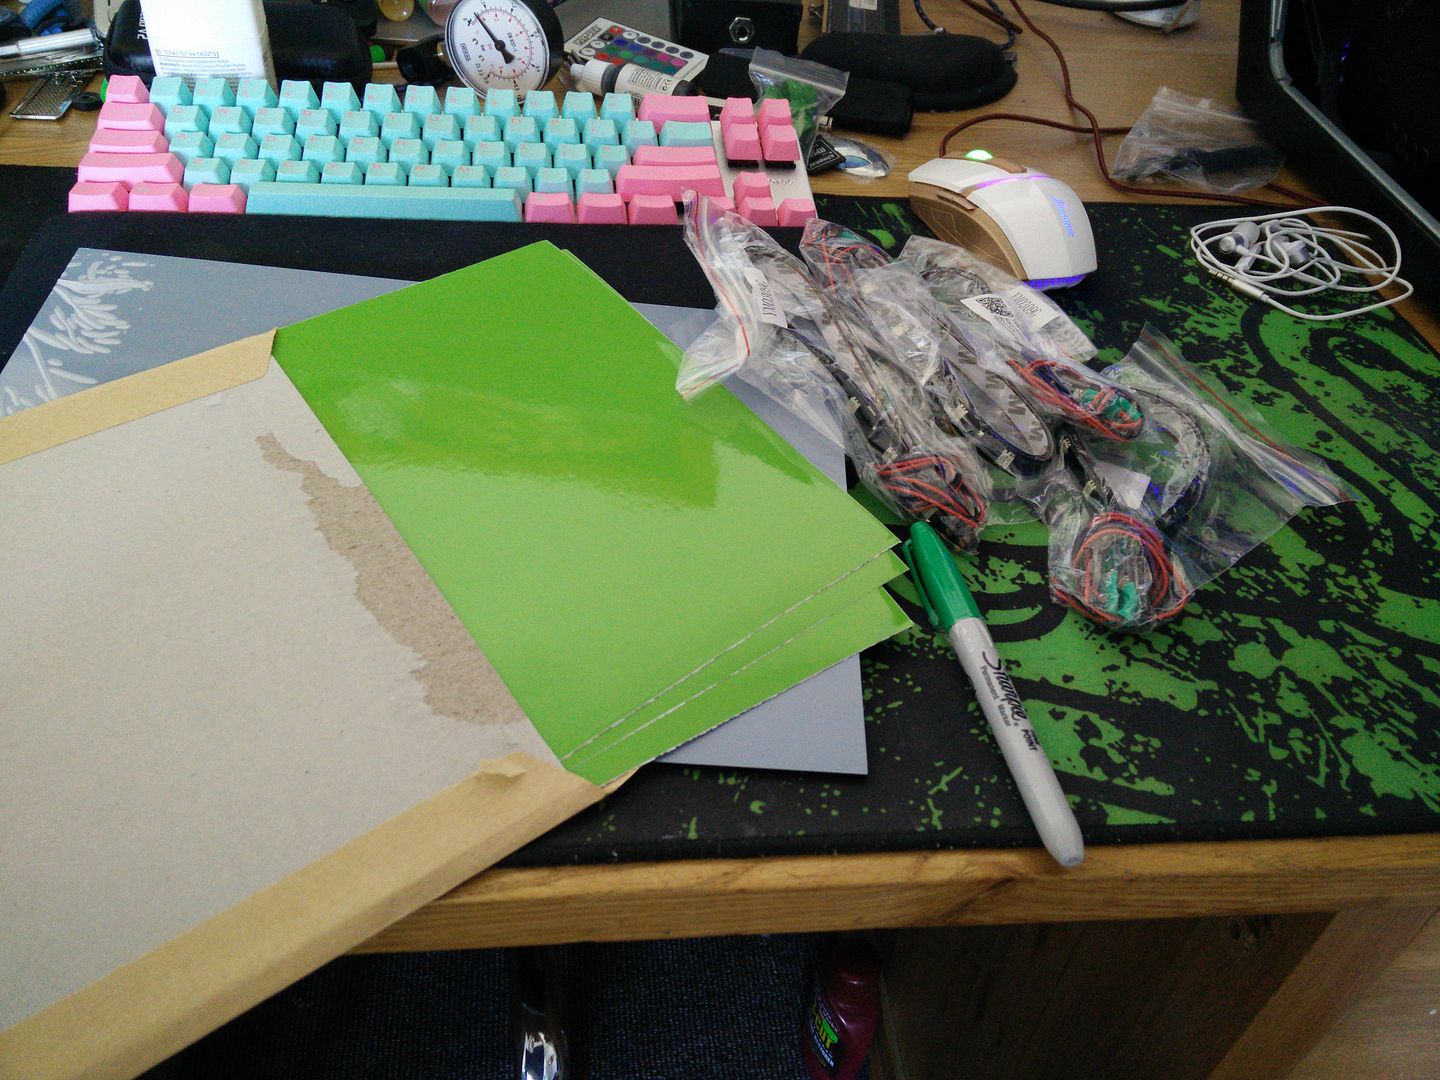
Not a bad day from the postman. One of them was from Hong Kong, these are the exciting ones. Sadly my GPU block did not arrive :(


A4 black 3mm acrylic (for the feet) Sharpie (for touch ups possibly, only on the CPU bolts) some lime green vinyl and 8 LED strips. If it all goes to plan these will be inbuilt and you won't see a single one of them.


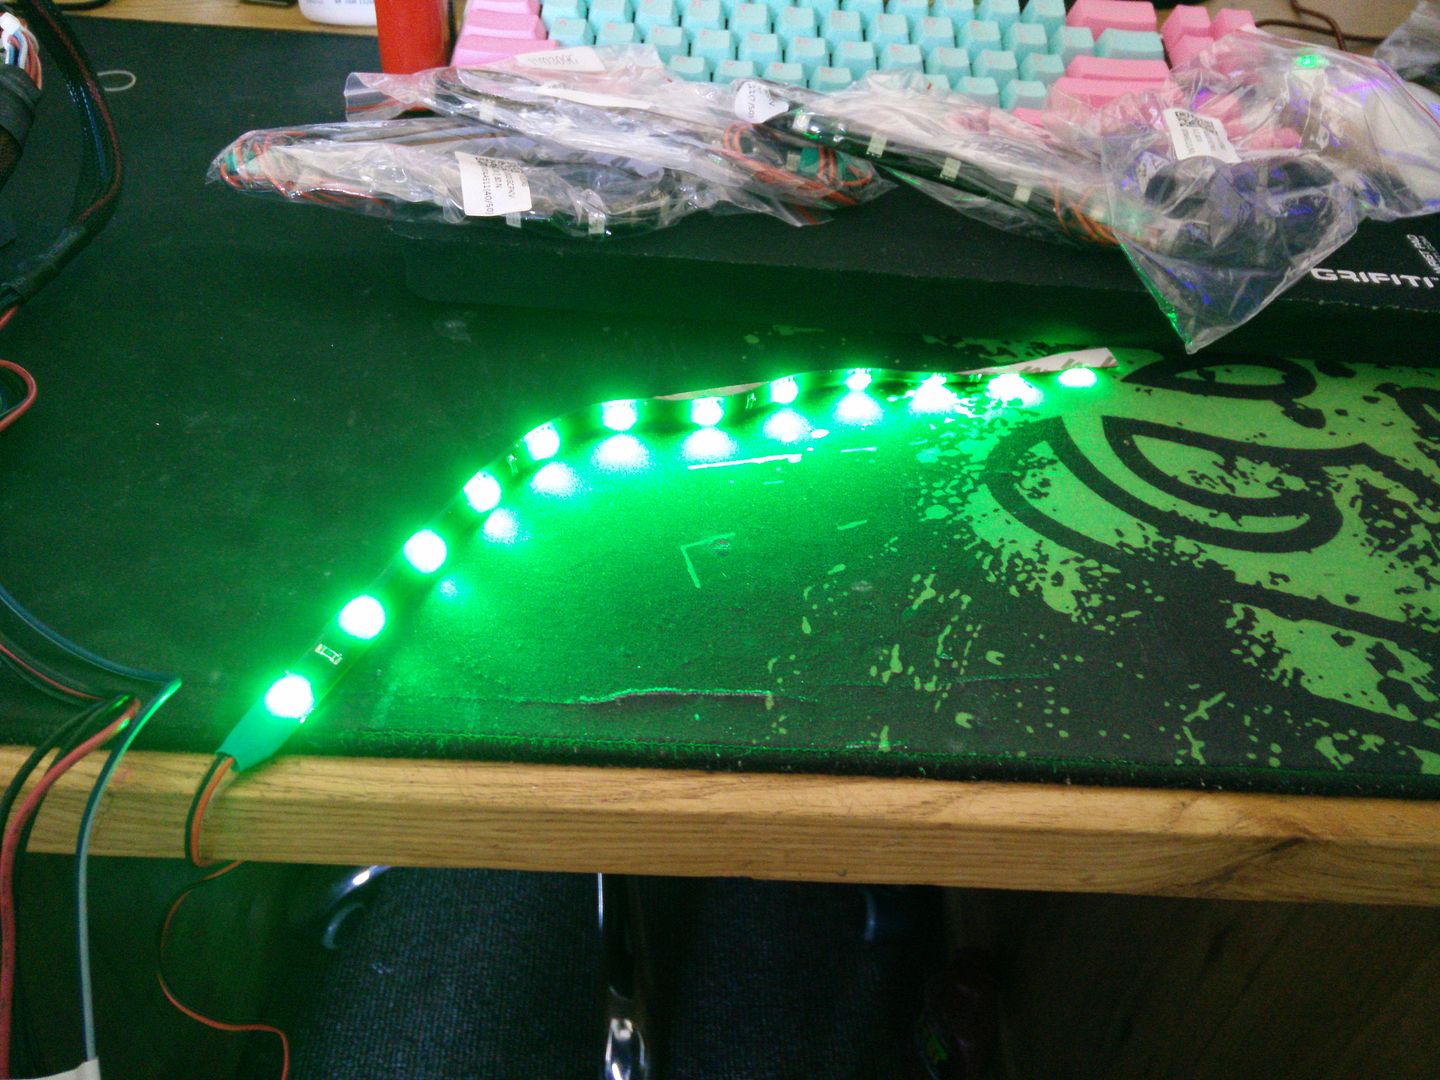
Duly tested of course. Hate the uneven nasty green shrink on there but that will come on any way and be replaced with black shrink and green paracord.

Had a bit of a result too. I got an email from the guy in China who I bought those two pumps from basically telling me they were going to be delayed because of customs for up to 30 days. In other words, he doesn't have them in stock and has wasted a week of my time.

It's not all bad though, because I actually don't even need them any more and it's £5.88 back into the pot for smalls :)
 
This is now officially a Frankenstein build!

Totally. The inspiration comes from a user of another forum called "Cheapskate". His whole ethos on modding is junk.

It was him who taught me the ghetto lathe. What you do is bolt something into a bolt then put it in a drill and run it in reverse.

I've learned a lot from him over the past few months. When I first looked at his mods I thought they looked crap, but the more I watched the more I realised just how talented he is.

So now? everything in my flat is fair game lol.

I really love my Killer NIC. I love the way the red light came out of the vents down the side. I always wished it could do other colours though.

I can't cut any acrylic today. Today is "Mum day" where my lady and I go over to visit my mother so I must be in good order (she's very fussy is the old duck).

I only have one sitting of acrylic left to do now, so I will probably bash that out tomorrow. There's no rush, as I am waiting on parts from China and Hong Kong any way.

I have a couple of clean jobs I can do. I need to triple coat the inside of the res bay cover with vinyl so no light bleeds through. I have plenty of scrap yellow orange and silver. Final covering will be silver, as the build is themed on green silver and black. Not that you will see it but yeah, if you stuck your head inside the rig and turned it upside down you would see it and that bothers me :D

Oh yeah, I just tested the fan for the memory cooler. It sounds like a frikkin bumble bee man. Now I know why I ditched my Corsair one !

I buzzed the LED and it seems that somehow they are getting 2.1v. This makes sense, as they are probably 3v LEDs in there. Still not sure what I want to do with it, but one thing I know is it ain't getting no more than 7v. It will drive me bloody crazy.

I wish I could just attach the sink with no fan, but the fan holds down the sink.. Hmm, maybe a green acrylic blank? problem is the bolts would be far too long then..
 
So probably the last log of the day is this.


It doesn't look like much I know but it's had three coatings of silver dinoc. You won't see this unless you literally stick your head in the rig (and I doubt a head will fit at the end) but it's there to hopefully eliminate any light bleed.

If it still acts up I will order some cheap black stuff, then coat it with black and then silver again. I will not be using Dinoc on this project. It was fun back in the day but there are vinyls now which literally look like custom paint jobs (the candy apple metallic for example) so there's no need to stick carbon fibre everywhere.

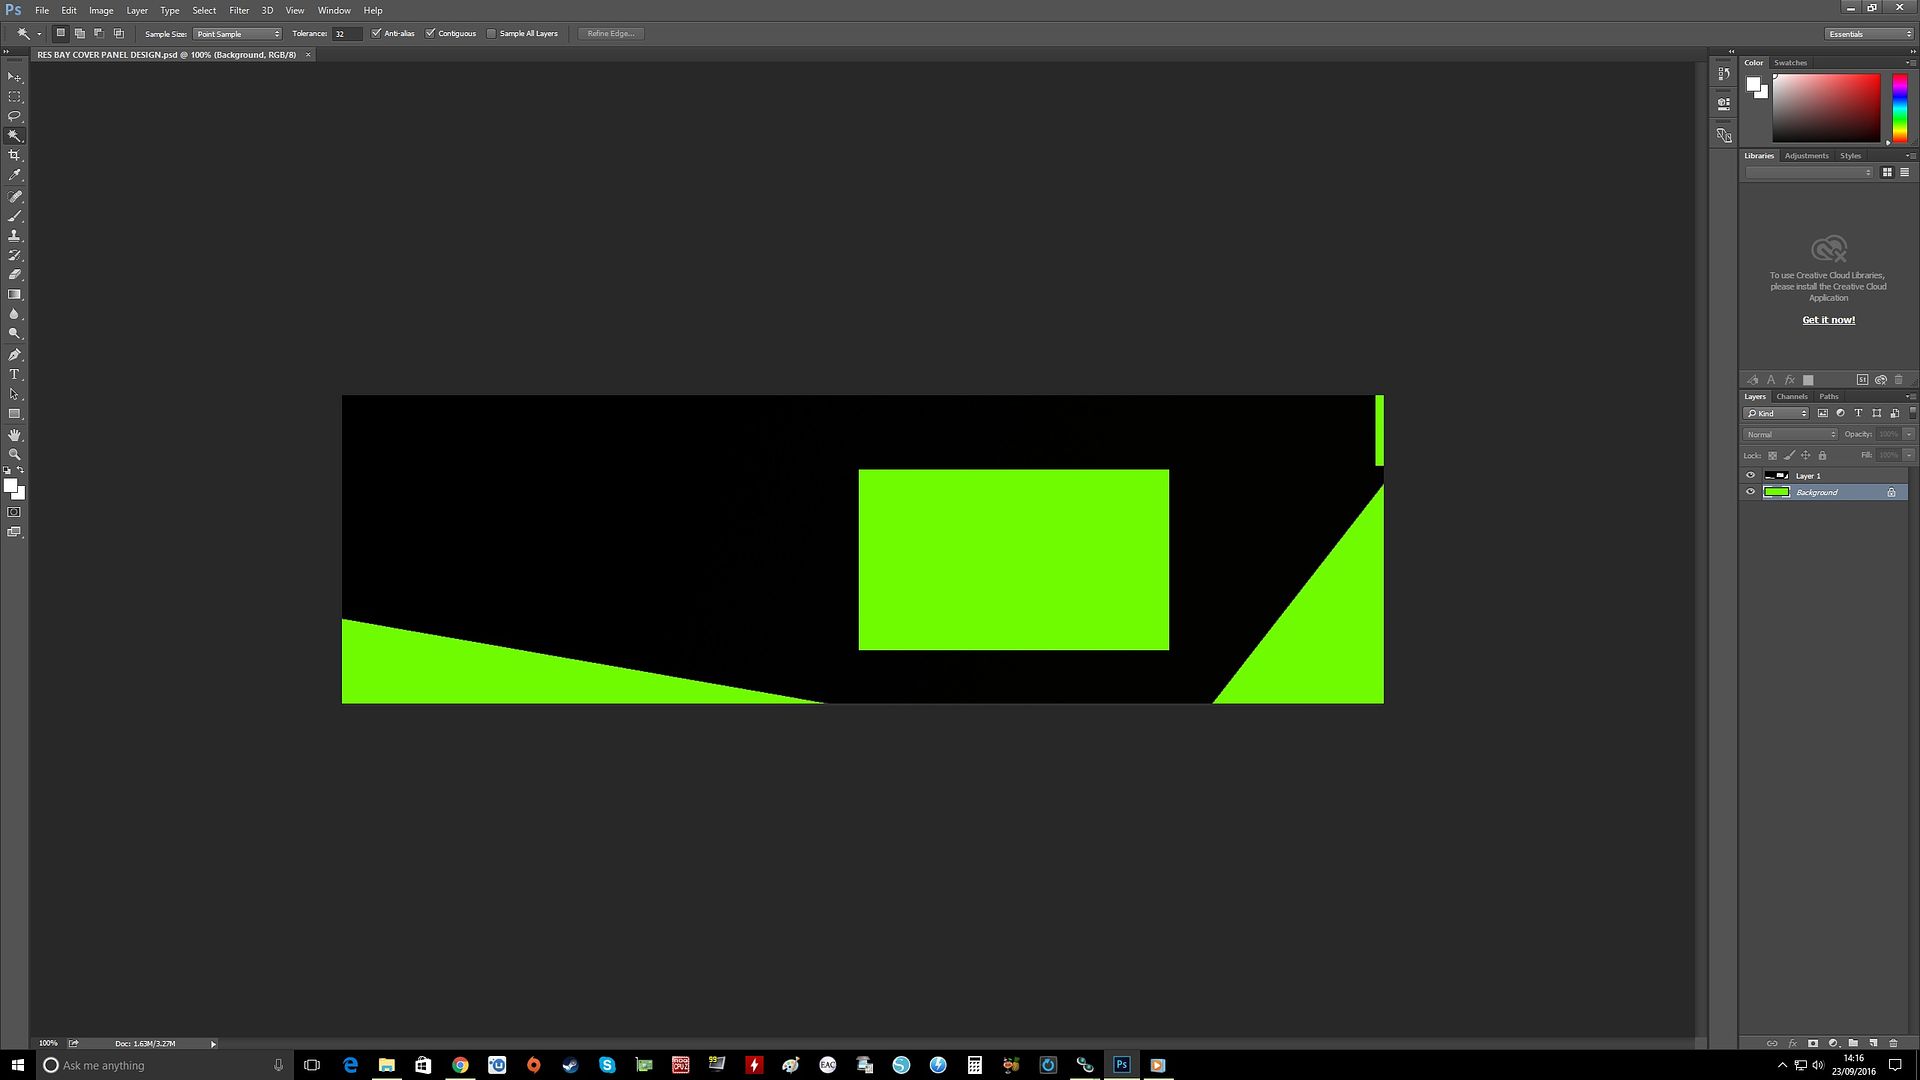
I have now mapped the panel into Photoshop with the exact dimensions etc.


That took me about an hour. Hence why something as small as a network card can take an entire day. It's not just cutting and sticking things on it has to be mapped out and put through Photoshop first.

I will probably begin the design on that tomorrow and hopefully have it all cut and masked so it can be done :)
 
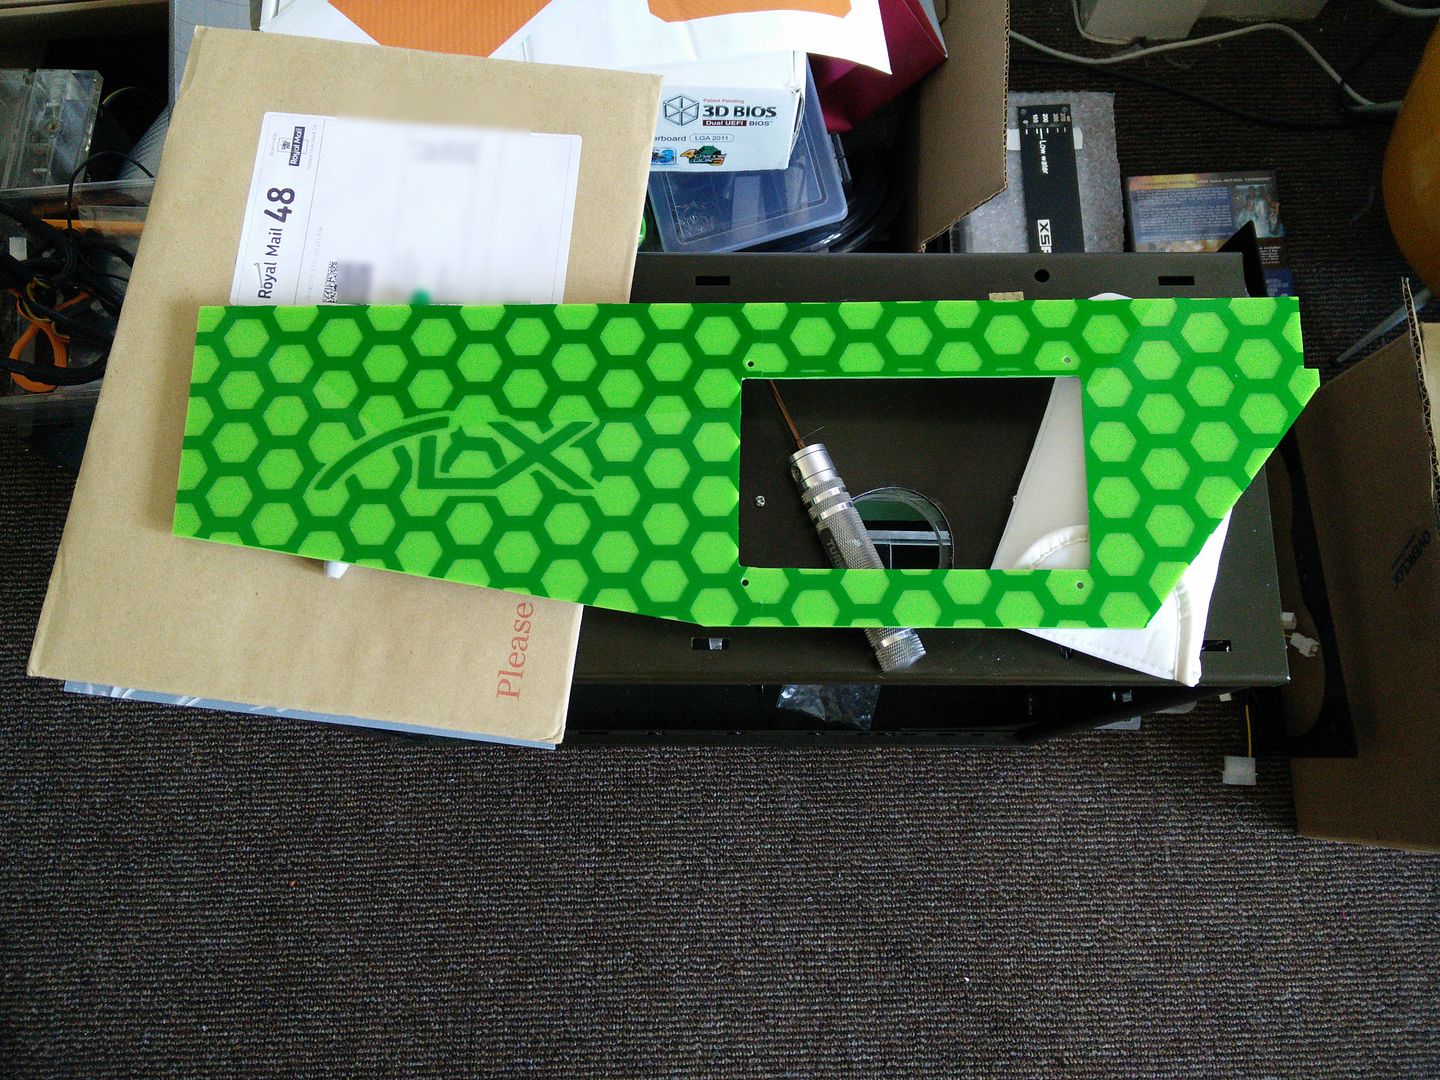
So earlier tonight (much earlier, seven hours ago !) I designed the graphics for the face panel. I decided to ramp up the difficulty a little.


It's about 90% done. By the time I was done picking vinyl I had about an inch thick of hexagons lol.

Will get some pics tomorrow, when hopefully it will be complete.
 
The keen eyed among you will notice that ATM there are two visible joins. One goes up into the case so you can't see it and the other will be covered by an engraved plaque.

 
Back
Top