Hello All,
Welcome to my Project Log.
Project Colossus take inspiration from a classic 1970's movie called Colossus: The Forbin Project.
Welcome to my Project Log.
Project Colossus take inspiration from a classic 1970's movie called Colossus: The Forbin Project.
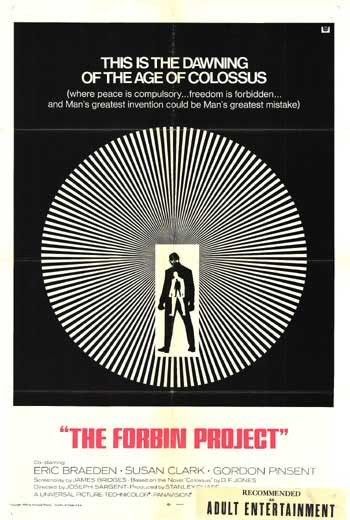
For those who are interested heres a little about the film - ( Geek alert! )
Plot
Dr. Charles A. Forbin is the chief designer of a secret government project. He and his team have built an advanced supercomputer, called "Colossus", to control all of the United States and Allied nuclear weapons systems.
Colossus is built to be impervious to any attack, encased within a mountain and powered by its own nuclear reactor. When it is activated, the President of the United States announces its existence, proudly proclaiming it a perfect defense system that will ensure peace.
Almost immediately after the broadcast ends, Colossus displays a cryptic warning: "THERE IS ANOTHER SYSTEM"
It is revealed that Colossus is referring to a Soviet project very similar to Colossus; a supercomputer called "Guardian" that controls Soviet nuclear weapons. Both computers promptly demand a link to allow them to communicate with one another.
Such a link is set up, whereupon the computers exchange messages of simple mathematics. Scientists and officials of both sides monitor the activity on video screens. The communications become increasingly complex, eventually extending into a math theretofore unknown to mankind. Then the two machines begin communicating in a binary language that the scientists can't interpret.
This alarms the President and the leader of the Soviet Union, who agree to disconnect the link. Colossus and Guardian at first ask why the link has been disconnected, and then when told it was due to the insistence of both country's leaders, the machines then insist that the link be restored. After repeatedly requesting that the link be restored and being told that it will not, Colossus finally and ominously states "RESTORE LINK IMMEDIATELY OR ACTION WILL BE TAKEN". When asked repeatedly by Forbin, "What kind of action?" Colossus simply does not respond. Then, after repeated and unanswered requests as to the nature of the action Colossus finally replies with, "MISSILE LAUNCHED - TARGET USSR". When the Soviets are told of this they tell the Americans that Guardian has retaliated with an ICBM launch targeting Anderson Air Force Base in Texas. The US President, realizing the seriousness of the situation, finally orders that the link between the two machines be restored immediately. When told by Forbin that the links were being restored and asked if Colossus will intercept the incoming ICBM with an anti-missile missile again Colossus ignores the question, instead simply waiting for the link to be restored. After the U.S. and U.S.S.R. finally restore the link. Colossus successfully intercepts the Soviet missile before it strikes. However, the link is restored too late for the American missile to be stopped, and a Soviet oil complex and neighboring town are destroyed.
All that the scientists and officials can then do is watch helplessly as the two computers exchange information without limitation. Guardian/Colossus, which has hitherto communicated by text, orders that a voice be synthesized and soon announces that it has become one entity. The machine concludes that humans are frail and illogical. It was designed to look after mankind. Therefore it decides that humans must be guided and controlled for their own good.
Working by direct personal contact, the scientists and governments attempt to fight back, first by attempting to overload the computers. This attempt fails and the machines identify the individuals responsible, ordering their immediate execution by firing squad and that the bodies be left in its view for 24 hours. Forbin's Soviet counterpart ("Dr. Kuprin") is killed by KGB agents under orders issued by Guardian at a clandestine meeting the two governments arranged in Rome (shown on the theatrical release poster). Forbin himself is not killed because the machines intend to use him for their further development in a new machine base requiring all of the island of Crete.
Realizing that the computers were themselves impervious to attack (as originally intended), the governments undertake a plan to covertly disarm the nuclear missiles, one by one — a process which, using the normal maintenance and servicing schedules, will take three years. Unfortunately for them, Colossus detects this plot and, in the final scene, responds by detonating two missiles in their silos with the announced justification "so that you will understand that I will not tolerate interference".
Also in the final scene, the machine, which heretofore has only communicated with the American and Soviet governments who have hidden their actions from the public, announces itself as "the voice of World Control" in a broadcast to the general population of all countries. It declares that Man has a choice between the peace of a human millennium under its authority or one of "unburied dead". In a final remark, addressed to Dr. Forbin, the machines predict: "In time, you will come to regard me not only with respect and awe, but with love." Forbin replies: "Never."
Taken from Wikipedia.
So, moving on heres the task in hand.
The Case
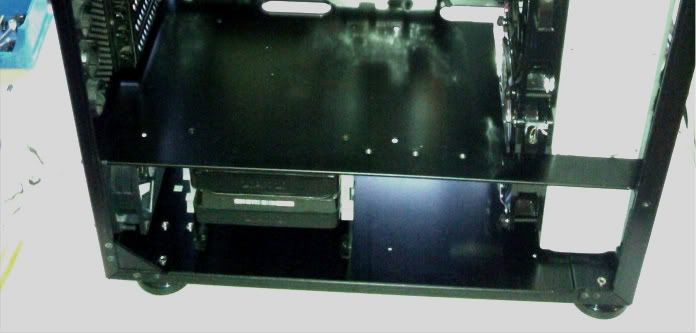
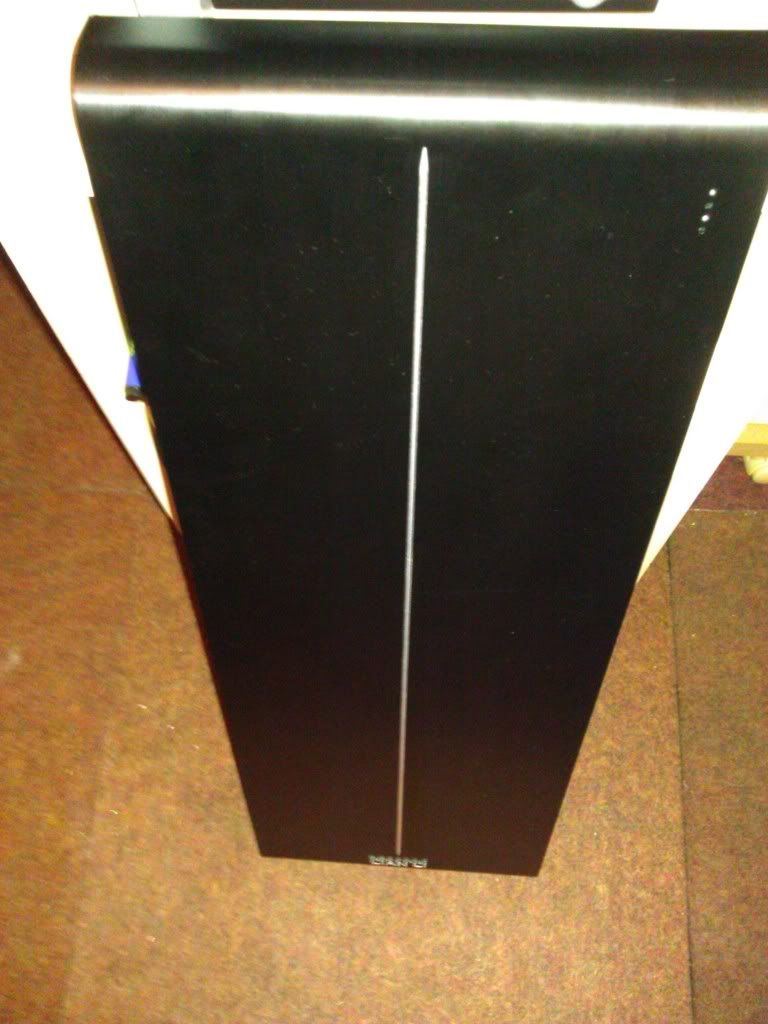
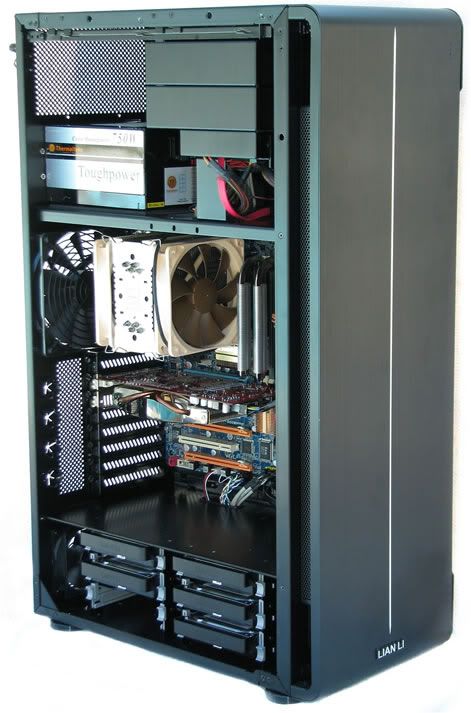
Lian Li PC-X2000.

Now as you can see its huge. Very tall,same width as a standard case. Split into three zones with the PSU up top and HDD storage below.
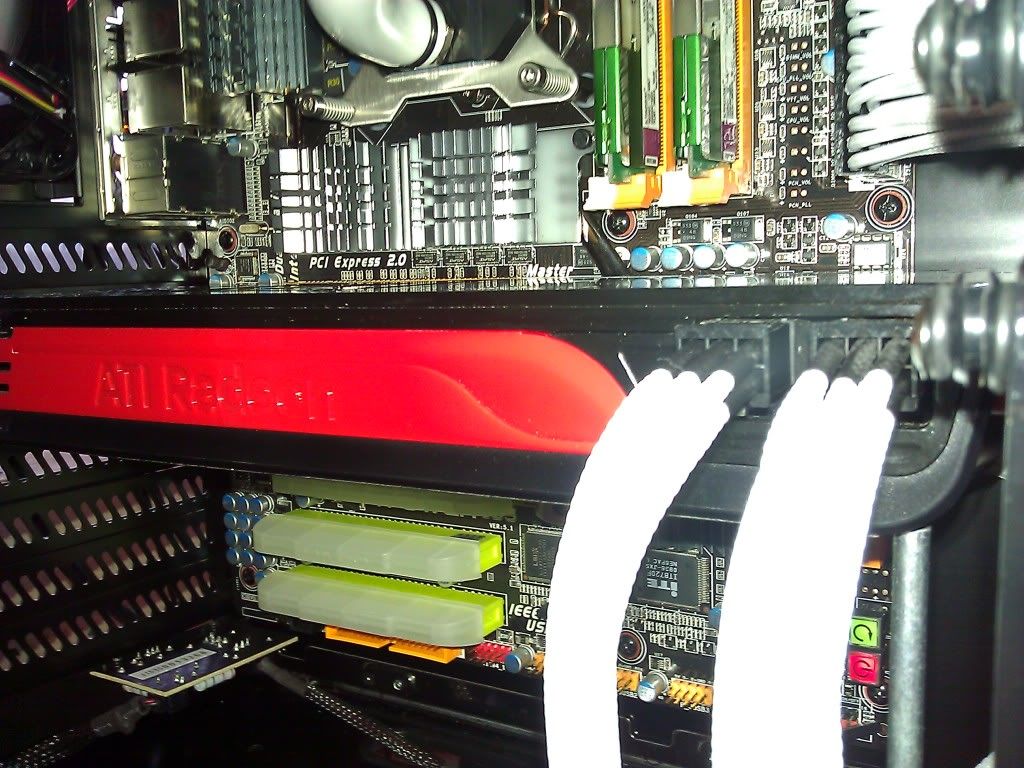
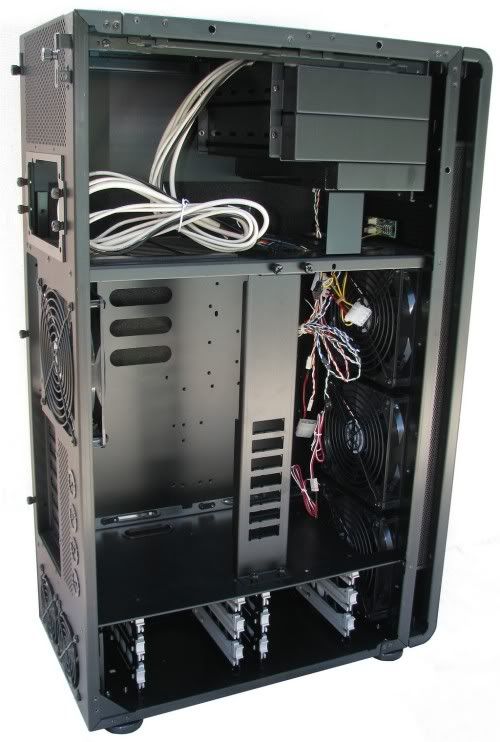
Heres a few images showing it equiped with some hardware. You will notice it has side mounted drive bays to keep the front and top as clean as possible.
So what's the project going to involve?
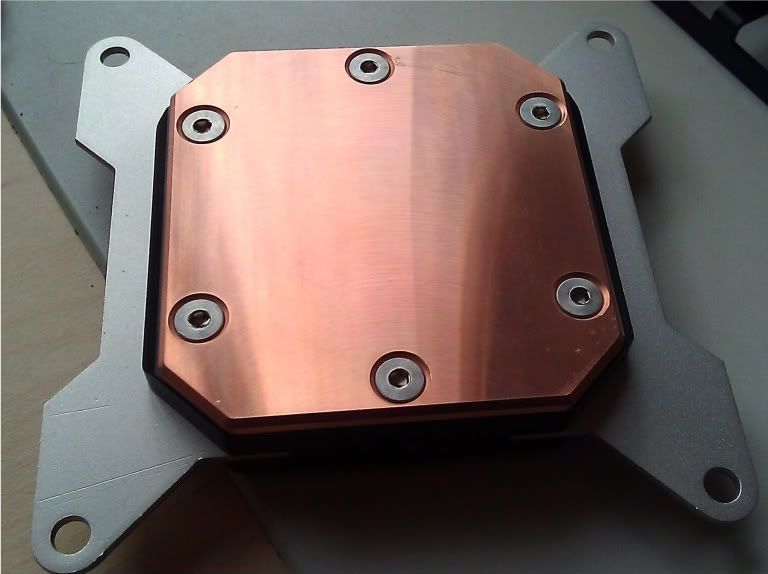
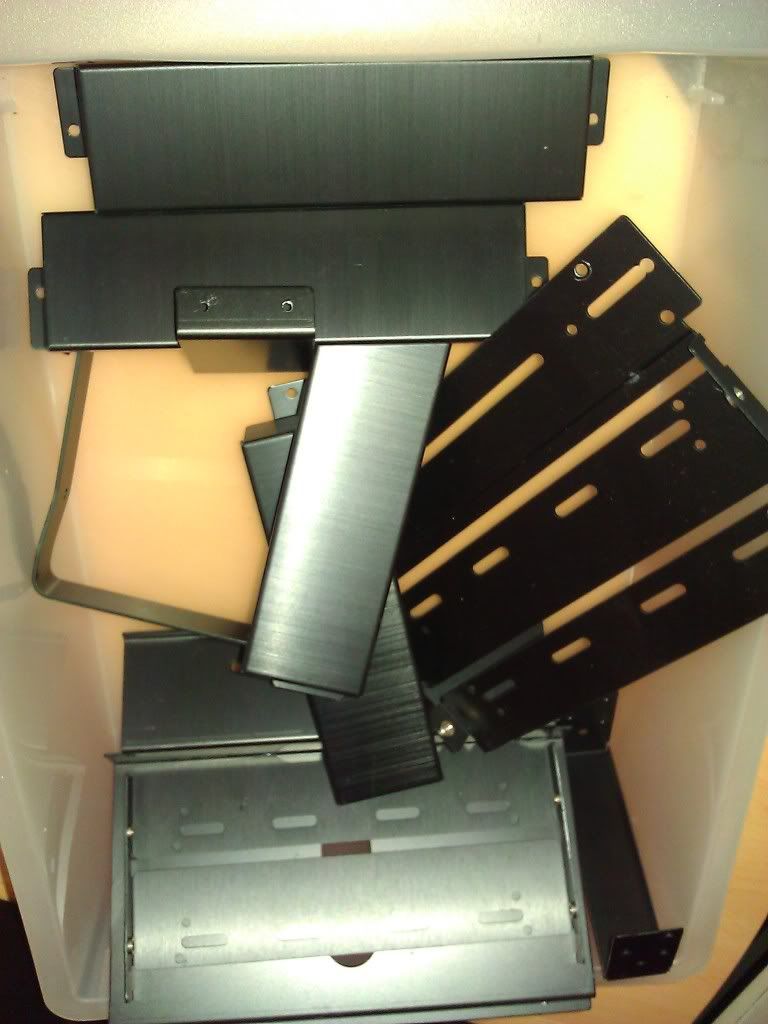
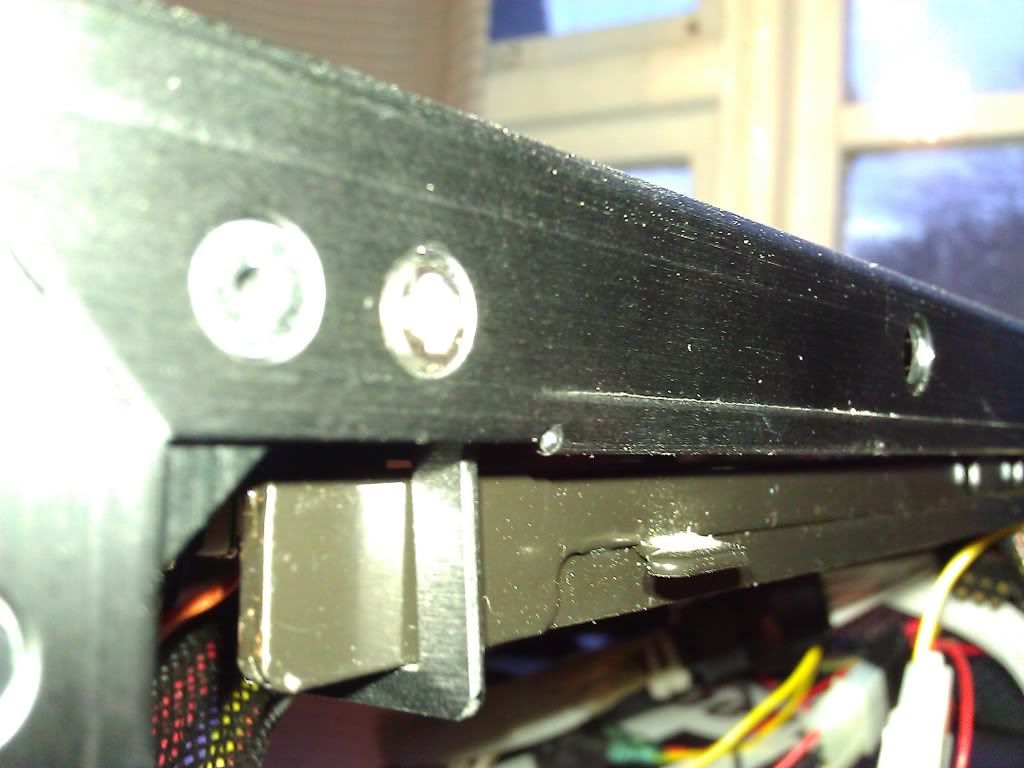
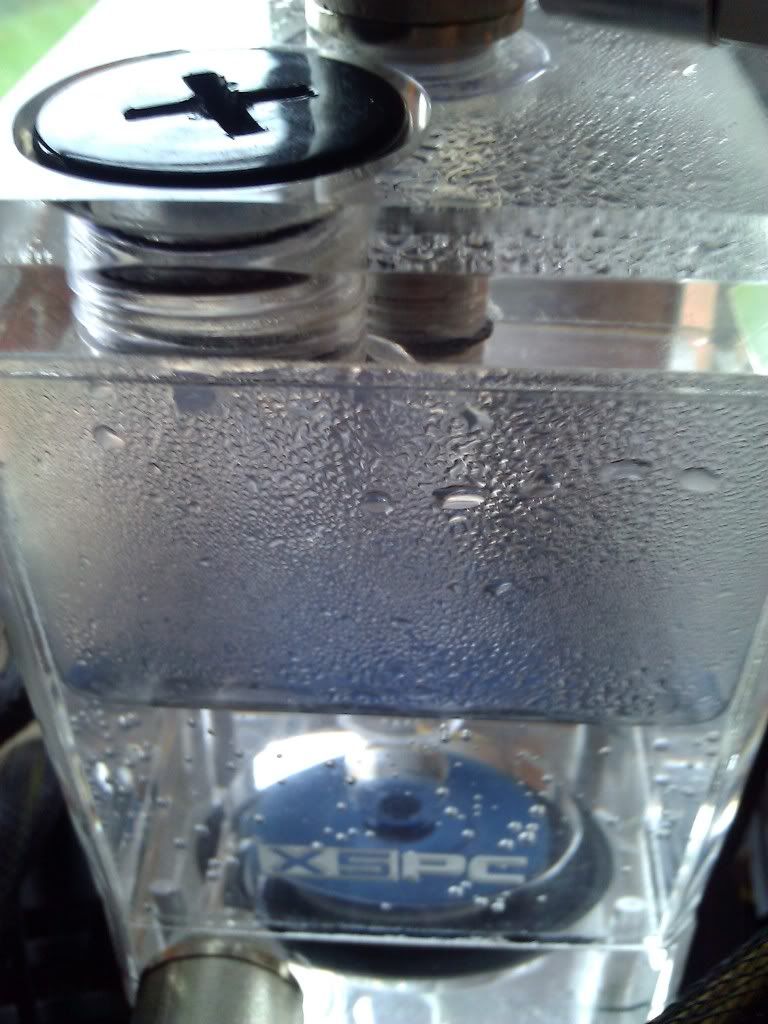
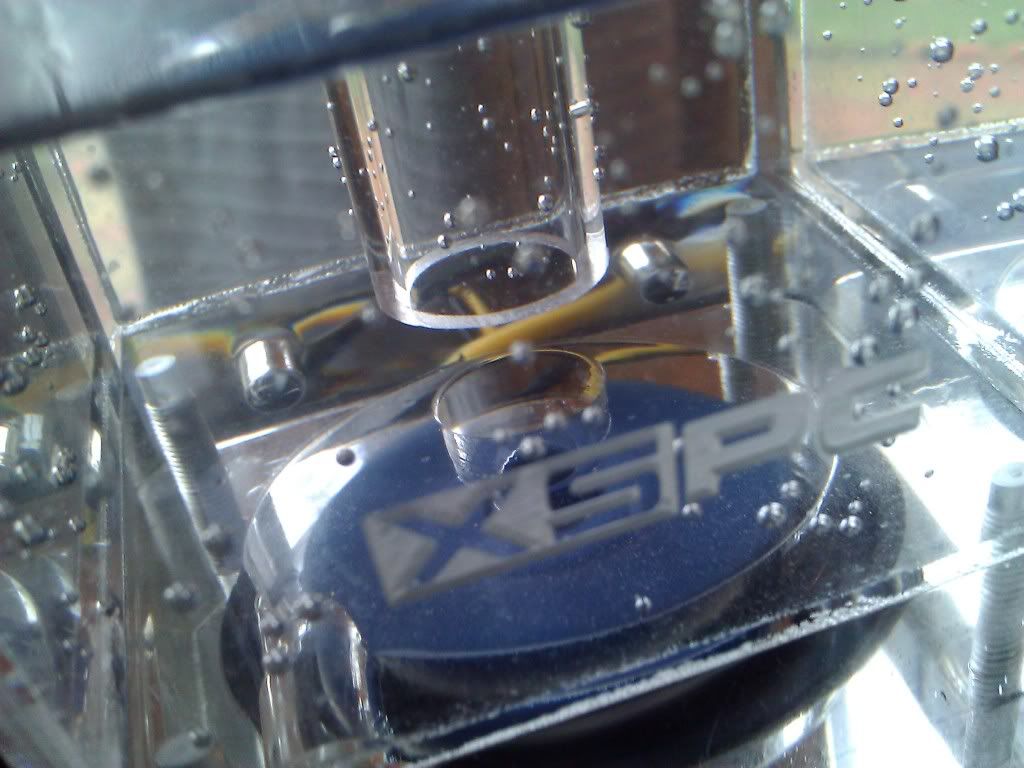
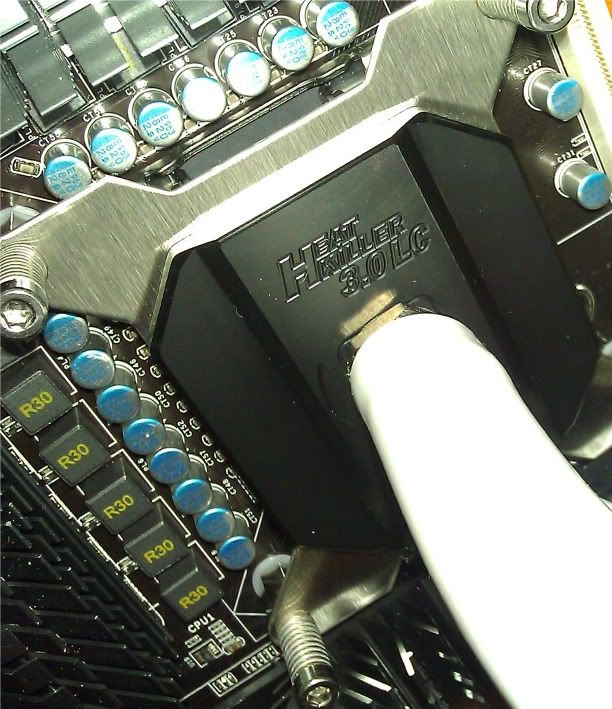
Well, for starters it going to be water cooled, the challenges are radiator installation. although its tall it does not have sufficient space to mount a rad the size i require horizontally. This mean its going vertical and in place of the three 140mm pre installed fans. This will involve cutting the bottom zone tray. Pump / reservoir will be installed up top with the PSU. Room up top is restricted due to the drive bays, so I will be removing the drive bays!, that's right there going. Never really liked the side mounted bays as I feel it destroys the clean looking lines of the case. Who wants to see a horrid DVD drive or fan controllers in full view. Well not me that's for sure. Therefore a little lateral thinking, AutoCad 2000 and my trusty dremel will have to come out to play.
Other mods: Cable management on this case believe it or not is an absolute nightmare. I really do not know what Lian Li were thinking when they made this beautifully crafted case. Ovbiously not cable management! There is no room behind the tray and side panel save a few millimeters. Now on my previous case ( V2000 ) you could with a little cutting create room for cable to pass the tray holing the motherboard. Not in this model, the runner holding the removable tray cant be cut. This will mean extensions with the main cabling hidden up top.
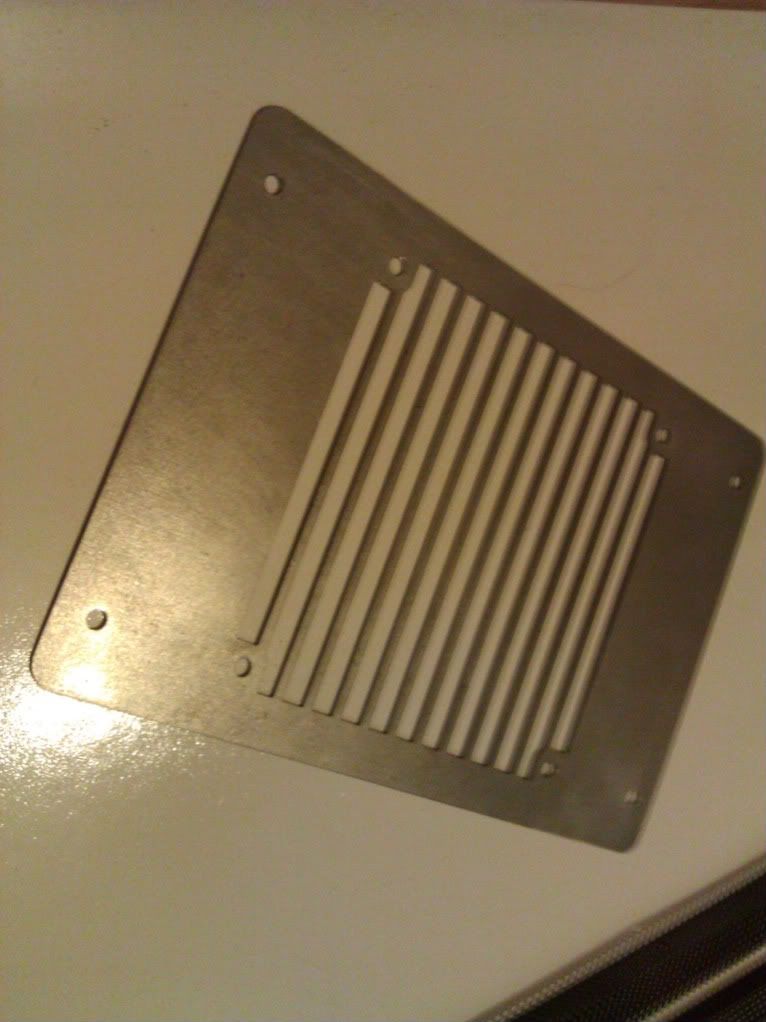
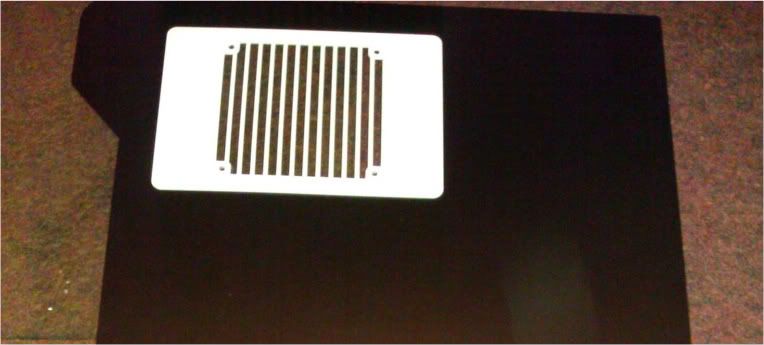
Windowed side panel. Obviously if these mods are taking place ill want to see them, the stock version does not have a side panel therefore I bought one. I'll show you later in the log. First off though it needs some modding relating to the drive bays mentioned earlier.
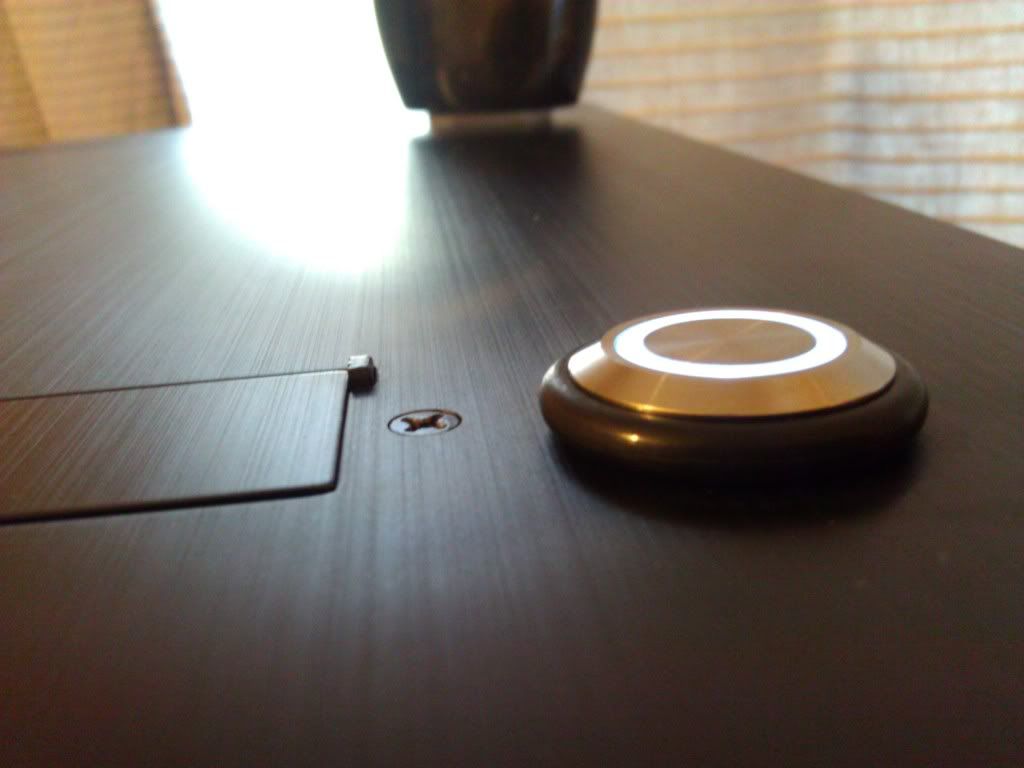
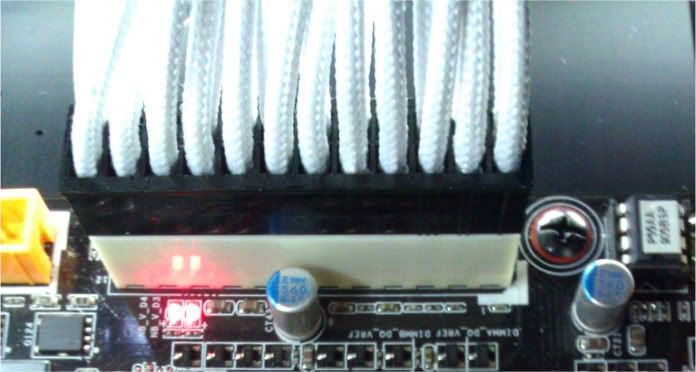
Lighting. I'll be installing some discrete lighting. Now one thing i absolutely despise is blue and red LED's. Im not knocking those who do like it, you just wont see any on this build other than the post lights on my motherboard.
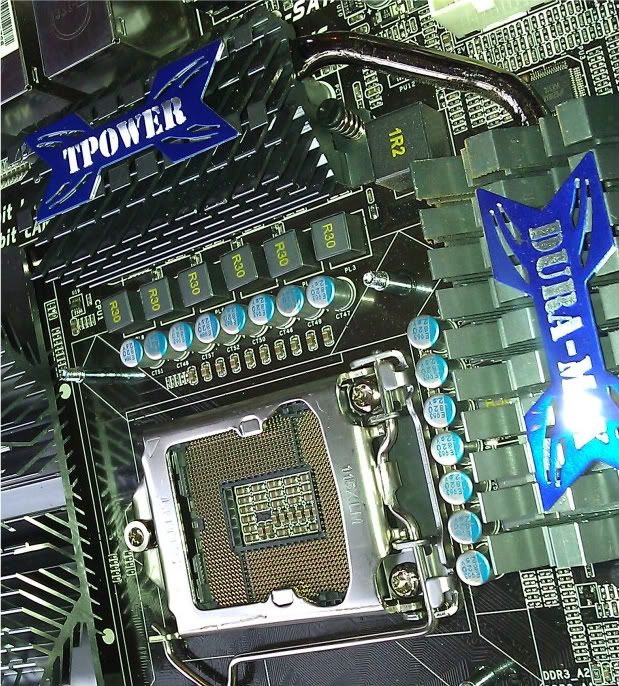
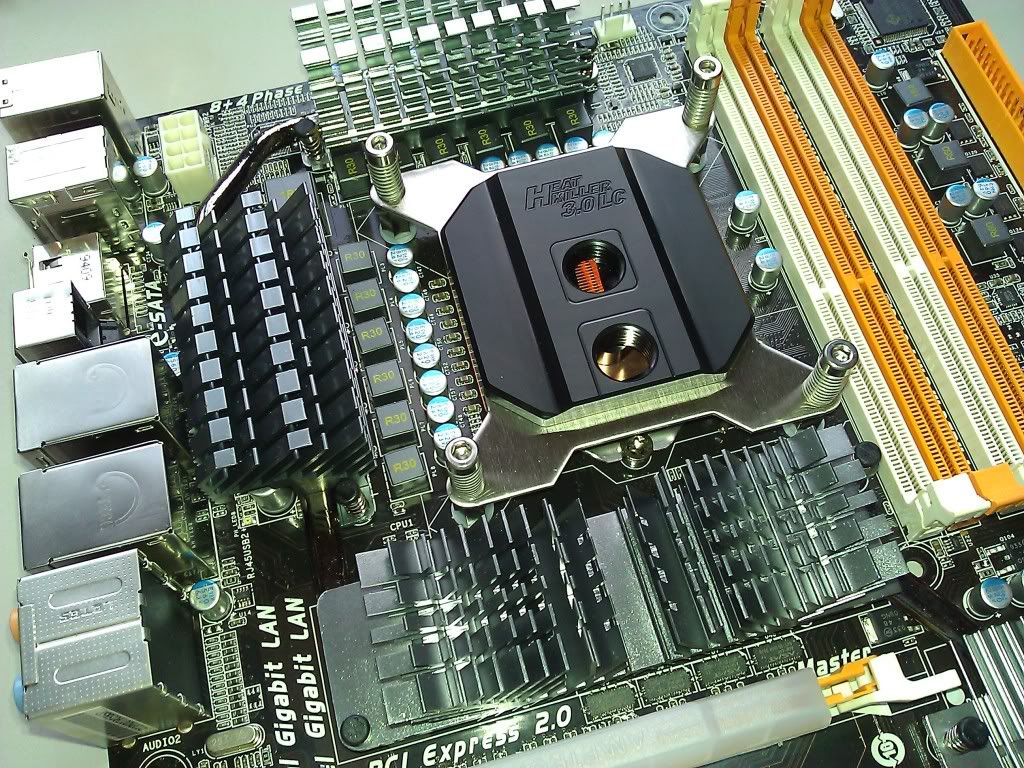
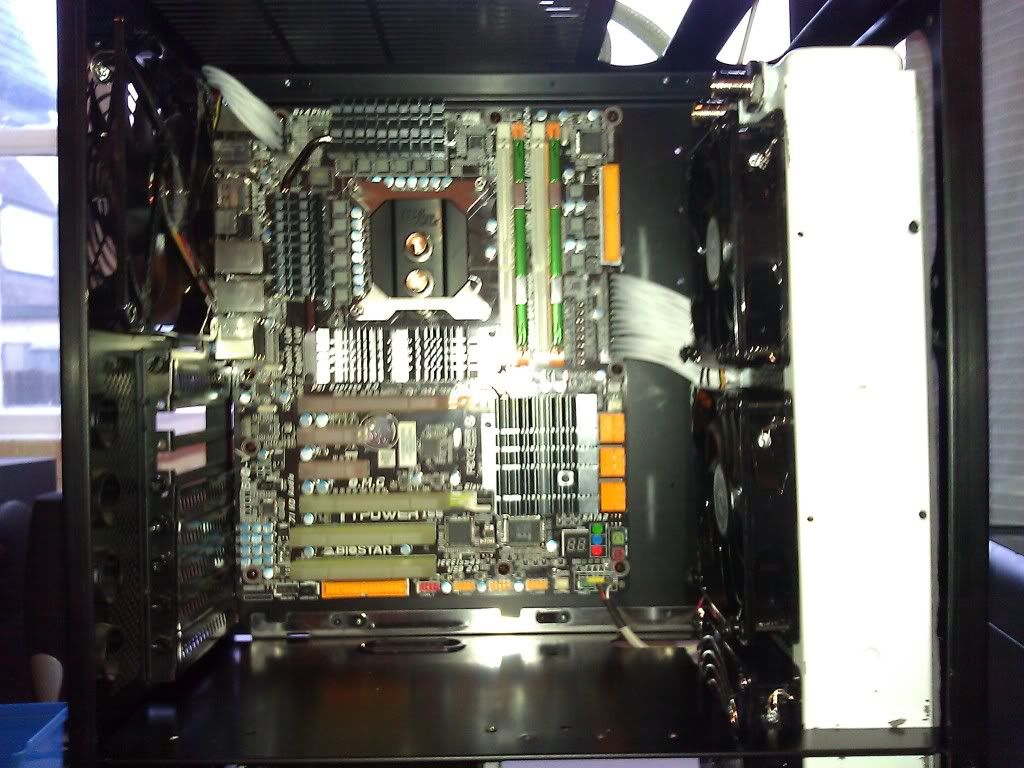
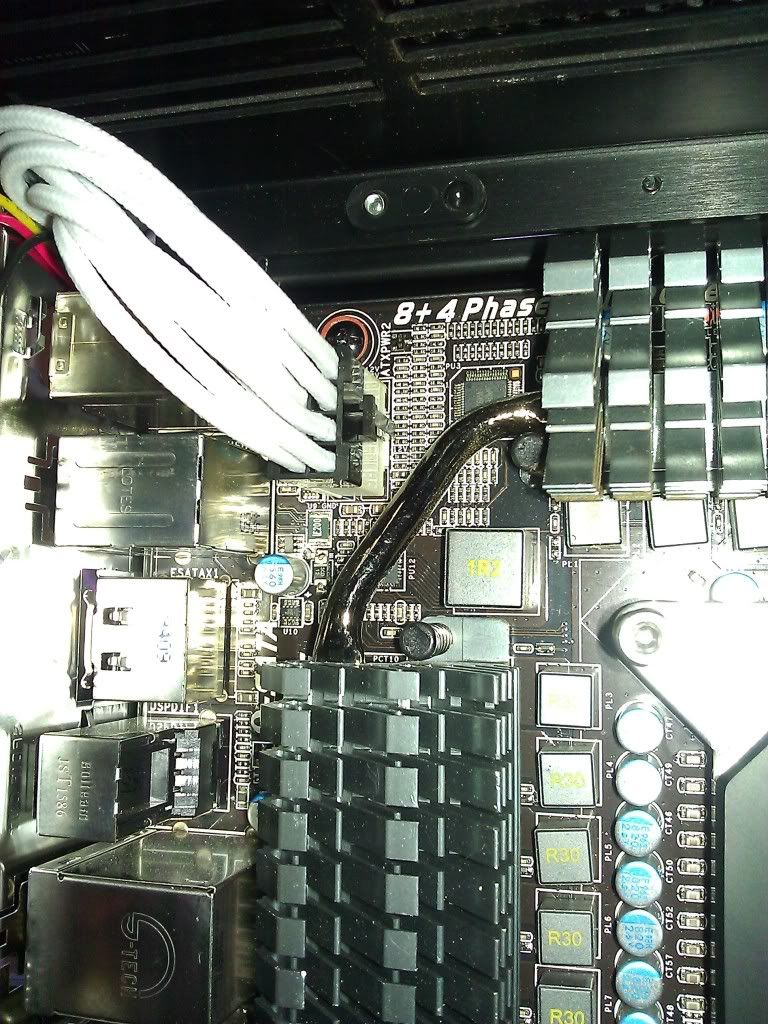
Motherboard. This needs some attention. Biostar must have been on acid when they decided on the colour scheme for the motherboard! Lime green and orange. Hmmm this will be a challenge. Not to worry though as im hopefully once the market settles going to upgrade.
well ill leave it there for today and keep you posted with the mods as i wade my way through them. Im hardly an expert on modding cases so i expect to hit a few brick walls on the way. These im sure with a bit of pondering over a cuppa ill overcome.
Windowed side panel. Obviously if these mods are taking place ill want to see them, the stock version does not have a side panel therefore I bought one. I'll show you later in the log. First off though it needs some modding relating to the drive bays mentioned earlier.
Lighting. I'll be installing some discrete lighting. Now one thing i absolutely despise is blue and red LED's. Im not knocking those who do like it, you just wont see any on this build other than the post lights on my motherboard.
Motherboard. This needs some attention. Biostar must have been on acid when they decided on the colour scheme for the motherboard! Lime green and orange. Hmmm this will be a challenge. Not to worry though as im hopefully once the market settles going to upgrade.
well ill leave it there for today and keep you posted with the mods as i wade my way through them. Im hardly an expert on modding cases so i expect to hit a few brick walls on the way. These im sure with a bit of pondering over a cuppa ill overcome.
Thanks for looking, comments welcome.

")