Hello Everyone!
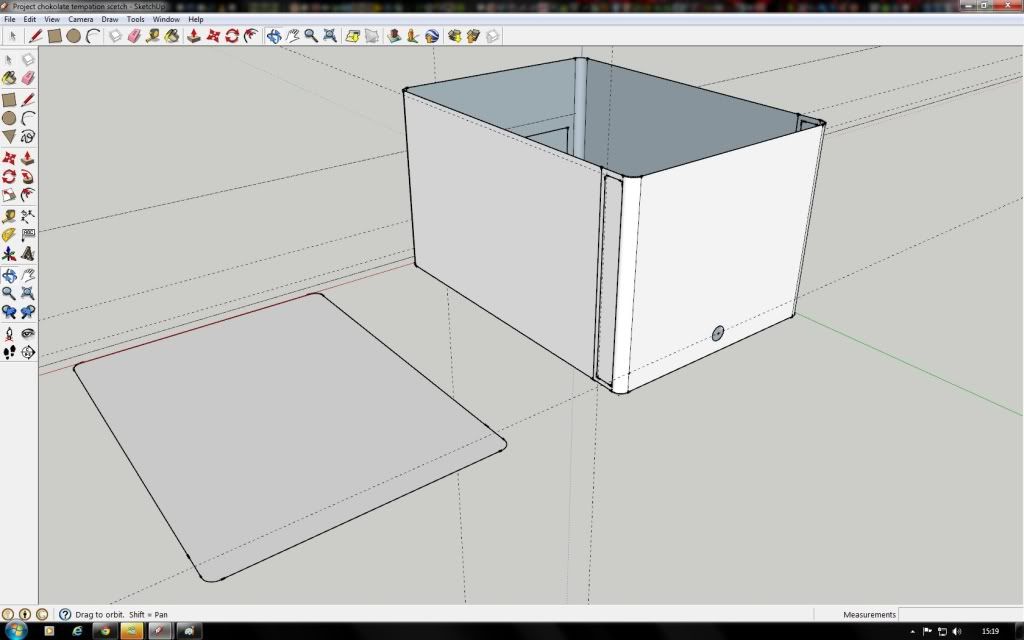
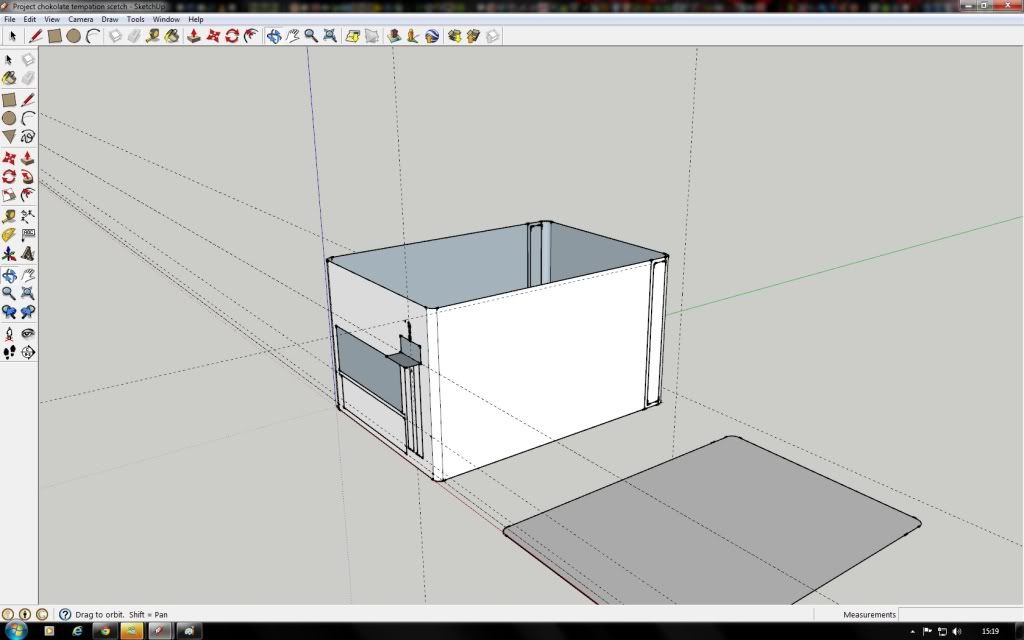
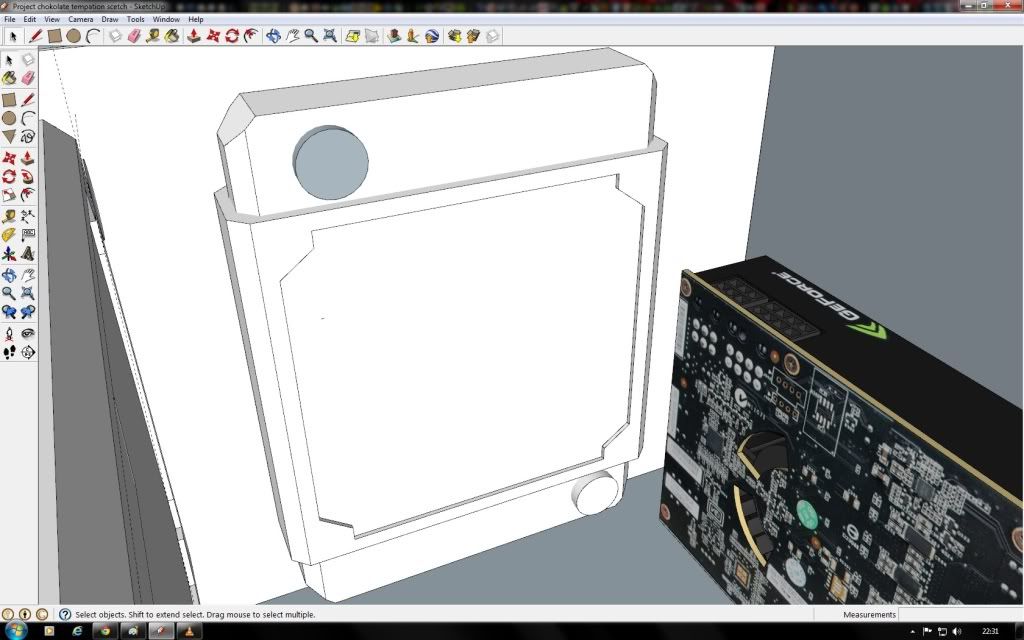
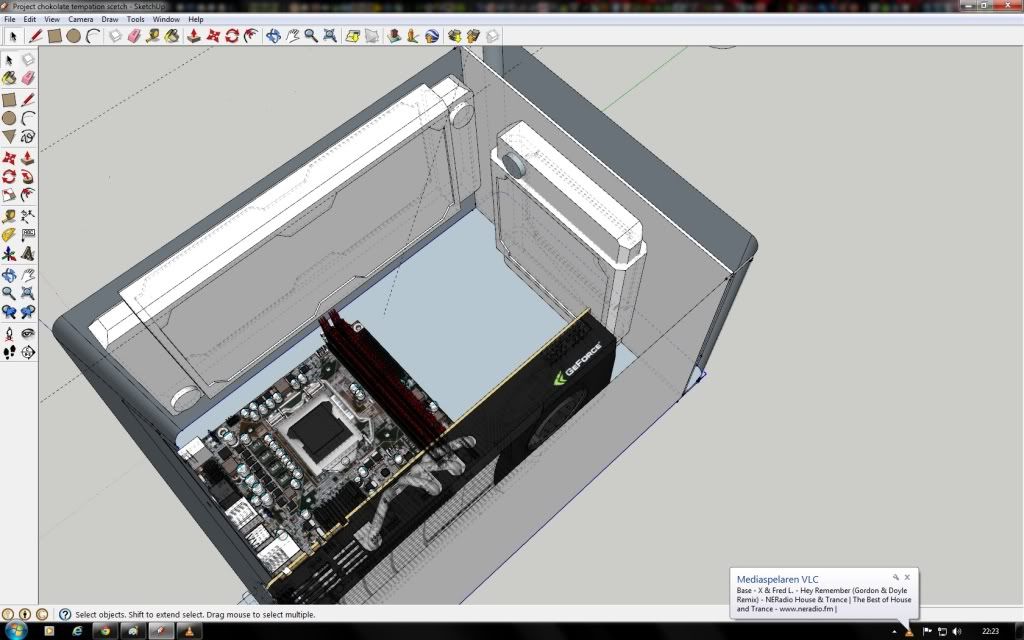
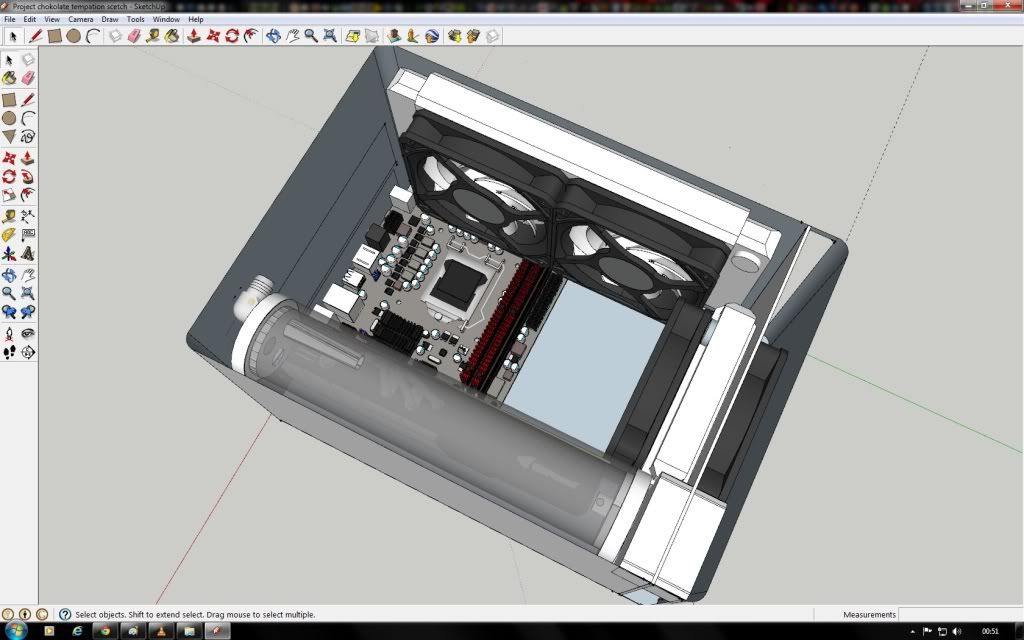
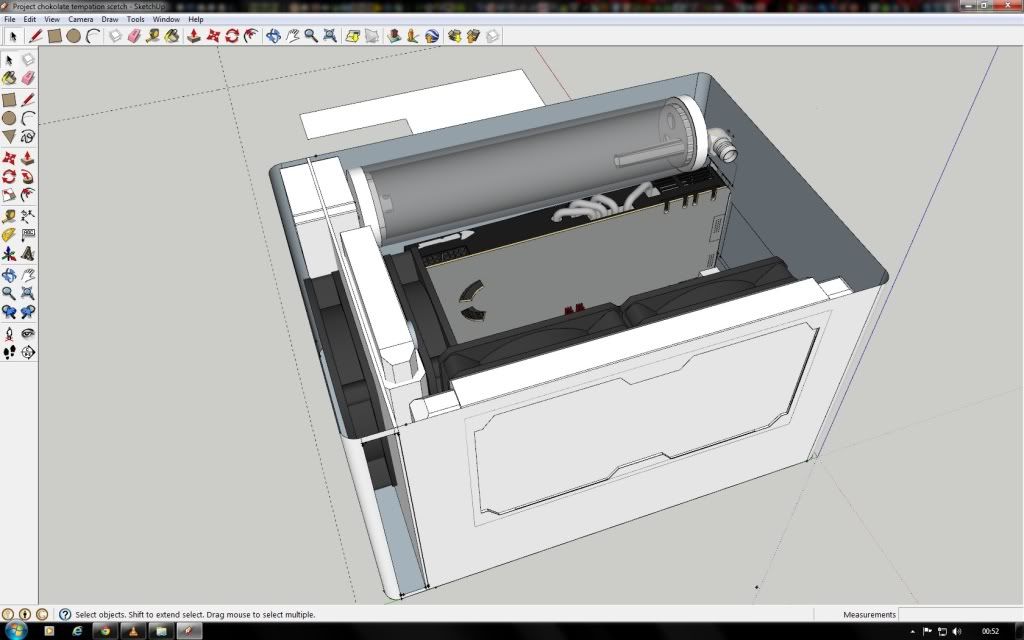
I am starting a new major project and what I had in mind is a small but powerful and also very goodlooking mini-ITX systems. My plans for the system is to use the Fractal Array R2 mini-ITX Chassis
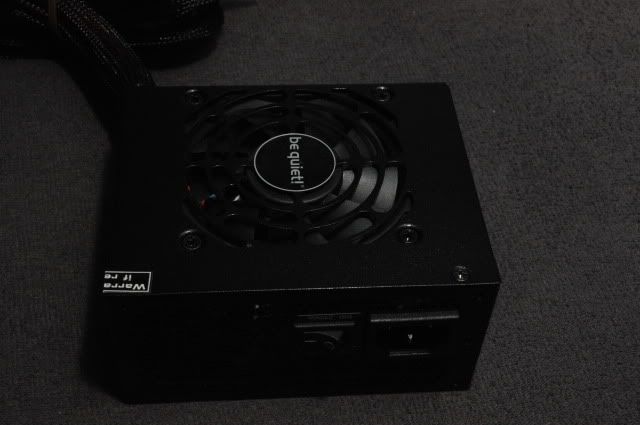
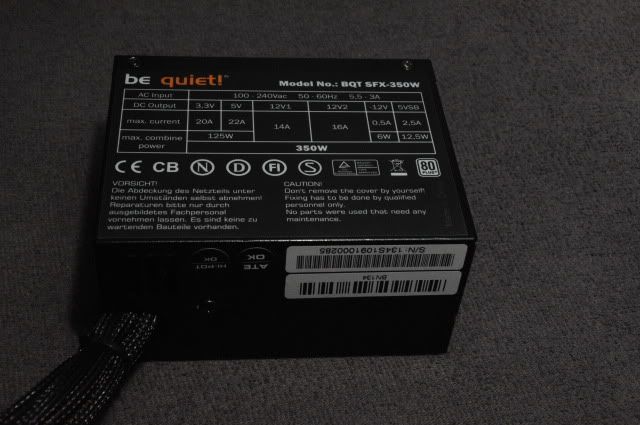
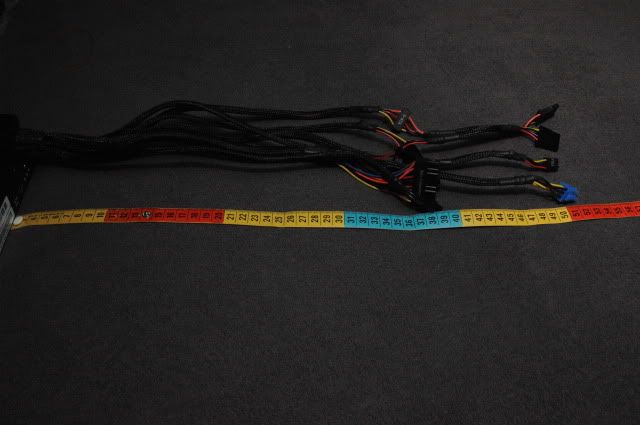
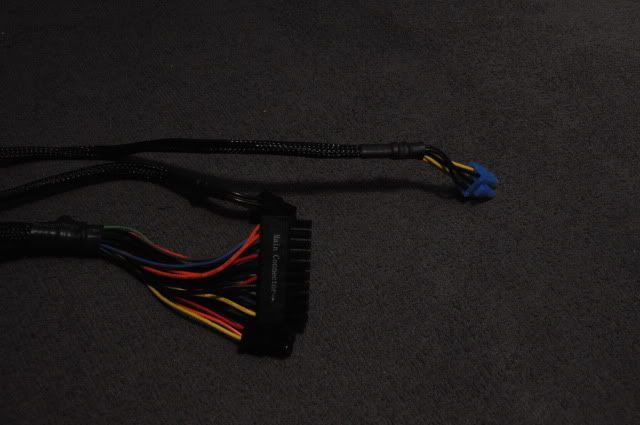
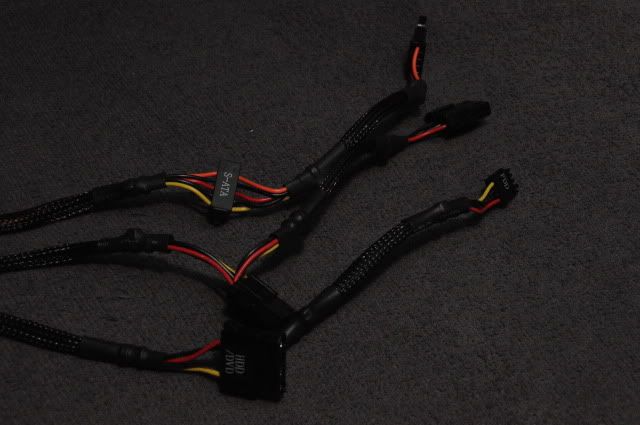
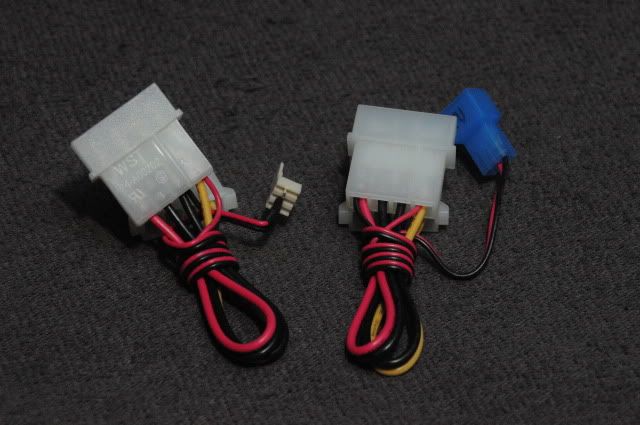
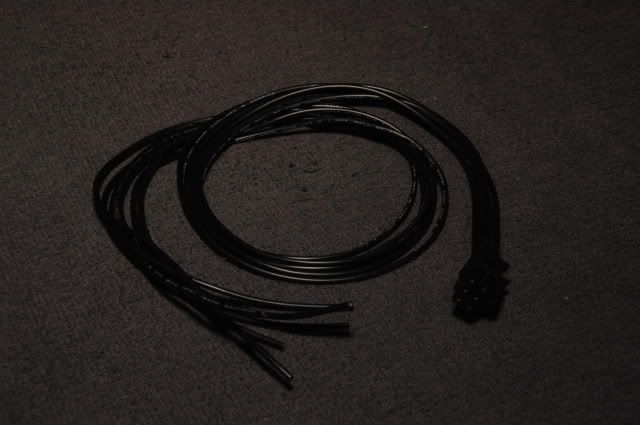
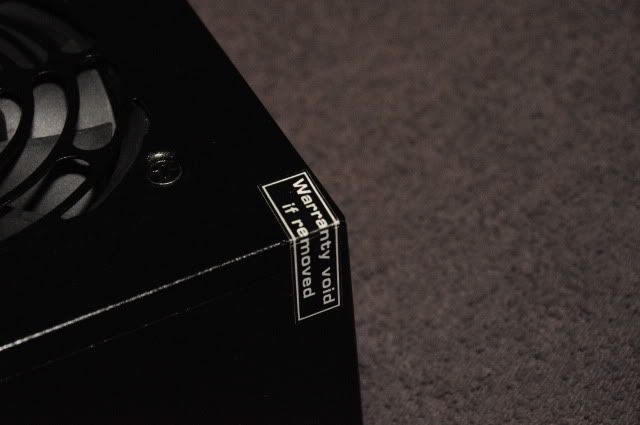
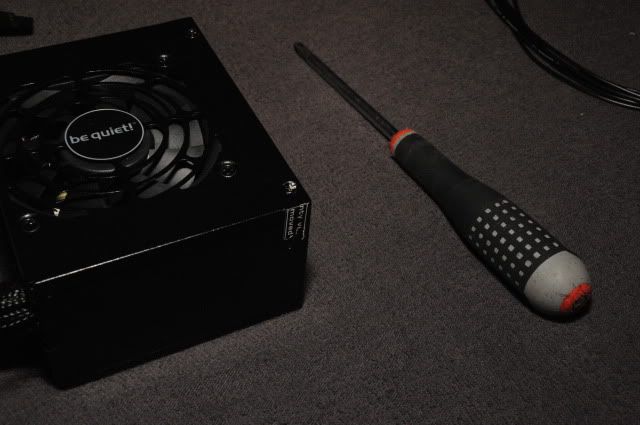
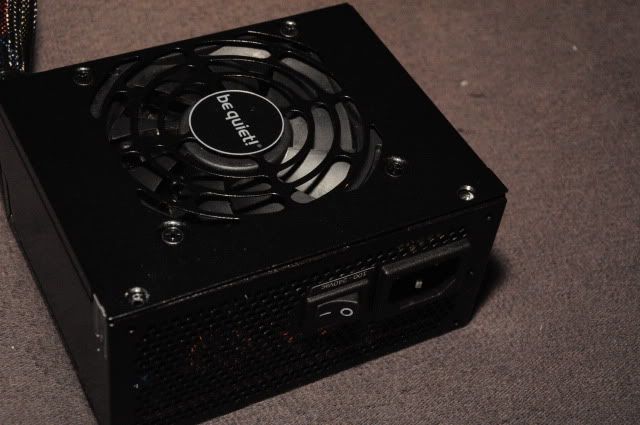
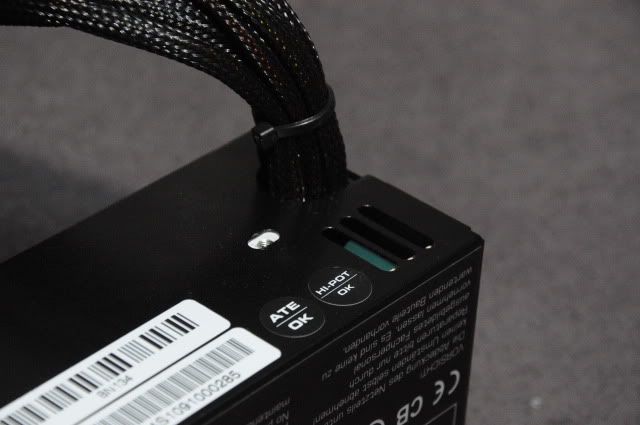
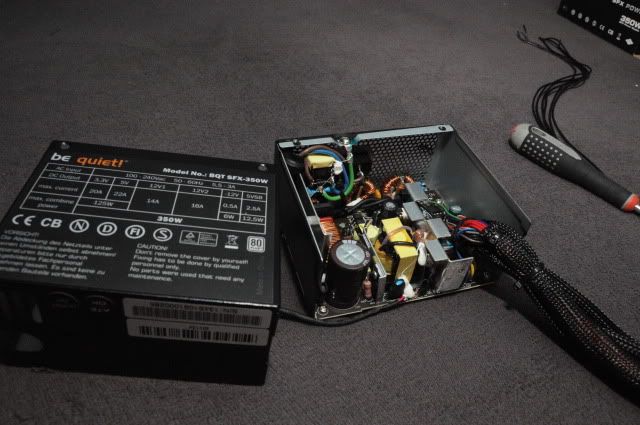
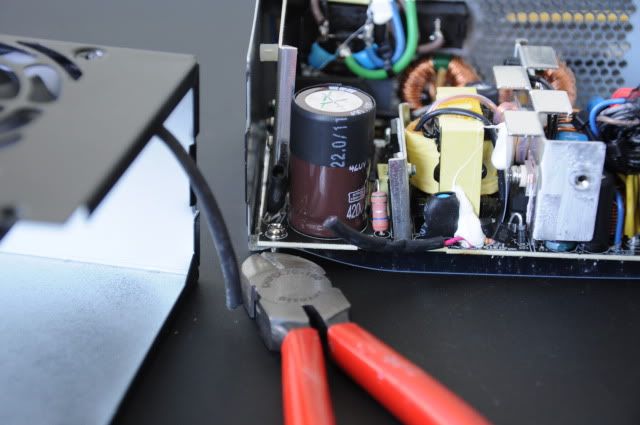
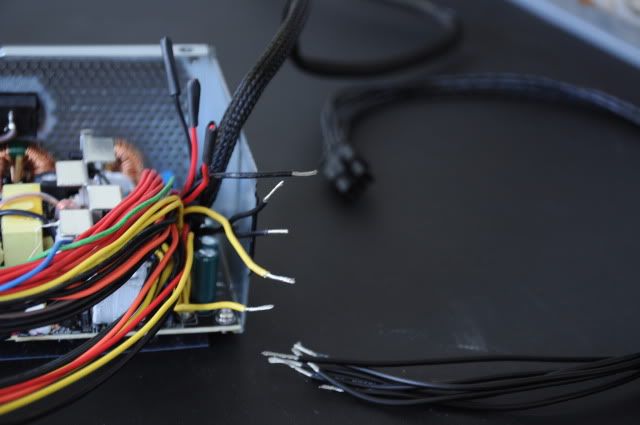
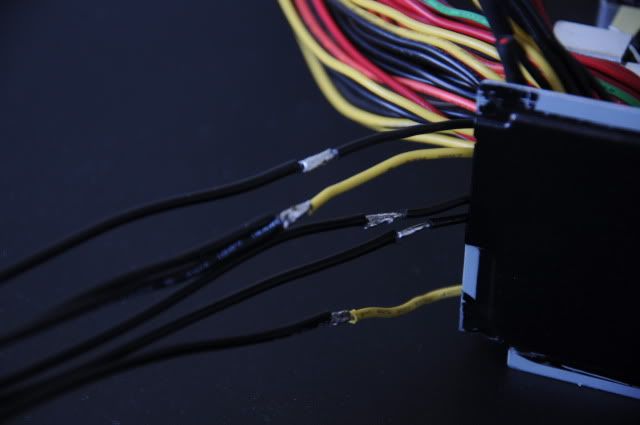
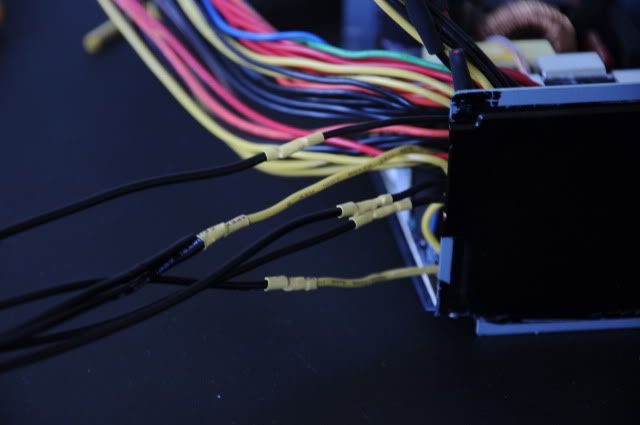
together with an BeQuiet SFX PSU wich will be modified with an extra PCI-e cable and some other major mods. As you may already have understood, I will sleeve PSU ... Of course! The theme of the
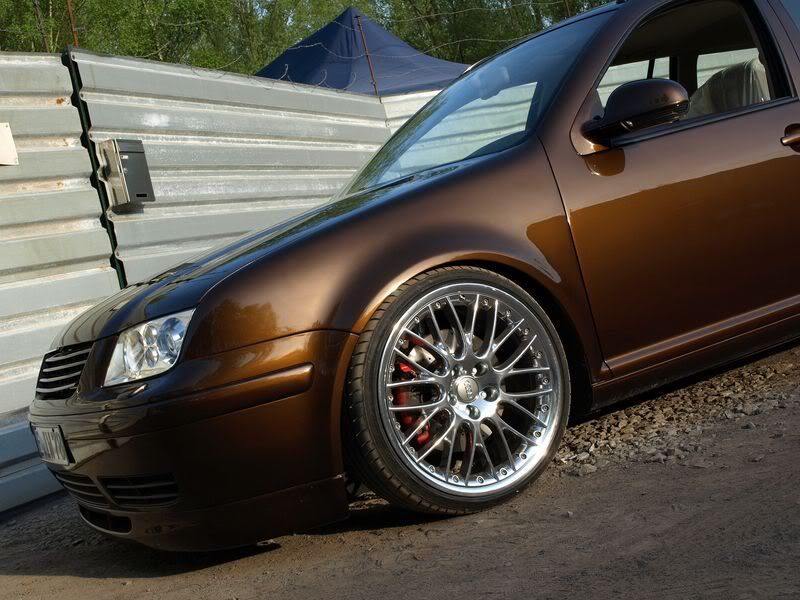
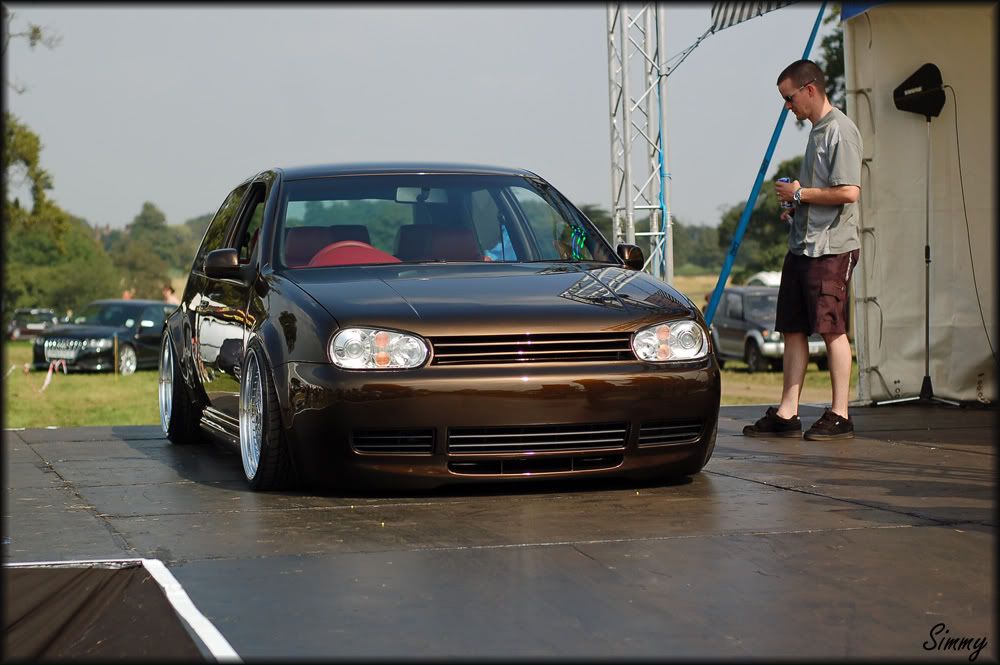
whole thing will be chocolate ... do not misunderstand me this will be a purely aesthetic construction that will have with the wonderful tasting and smelling chocolate's color to do. The Fractalchassi itself has the perfect size and it has many possibilities for modifications and difficult custom water cooling installations. It is also small but very clean and neat in the whole look and therefor which got my interest in it. I have at this stage is already planned to do a complete watercoolingsystem that will require some modifications, nerves of steel and to say the least a lot of patience. PSU itself is perfect for the purpose, it has the right amount of power needed and it does not take much space, it will blend in very well with the rest of the system when...as I said singelsleeve it. I hope you will like my latest project at least but not last it's time to enjoy the project in front of the screen with a chocolatebar in your hand! Bon apetit !
Hardware:
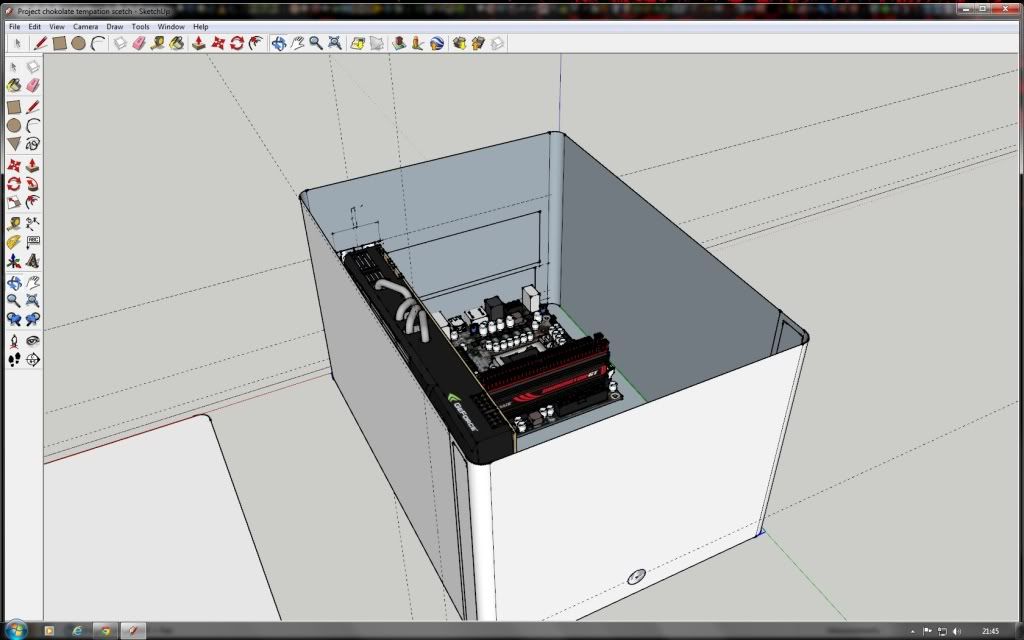
Chassi: Fractal Array R2
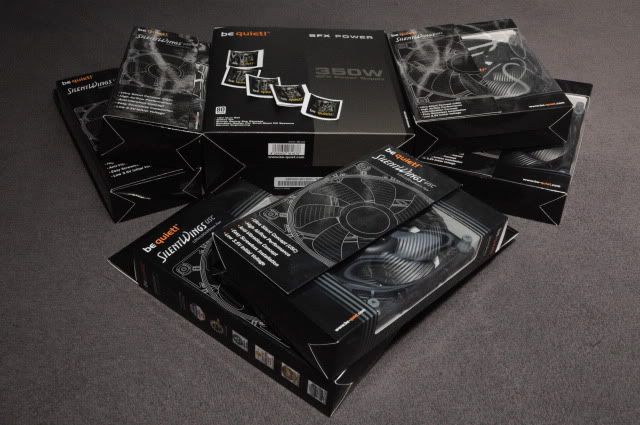
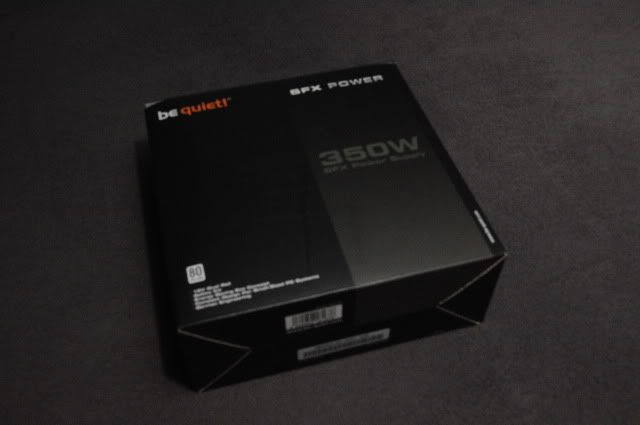
Nätaggregat: Be quiet SFX 350w
Moderkort: ?
Processor: ?
Ramminne: ?
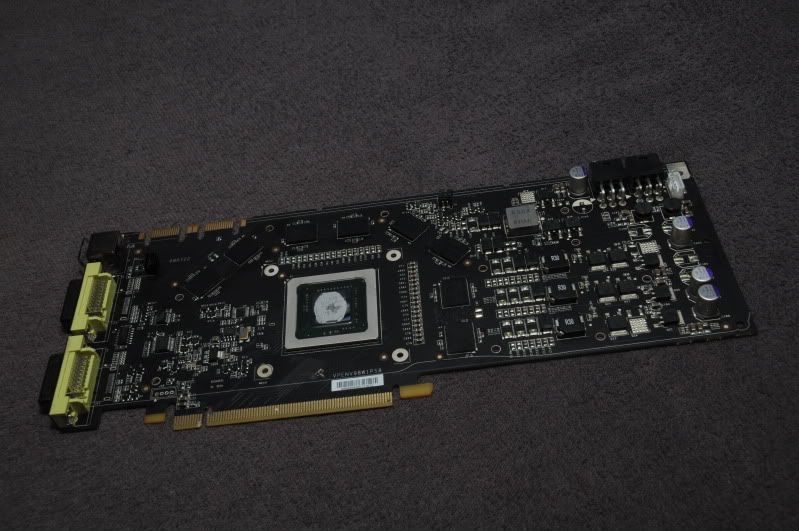
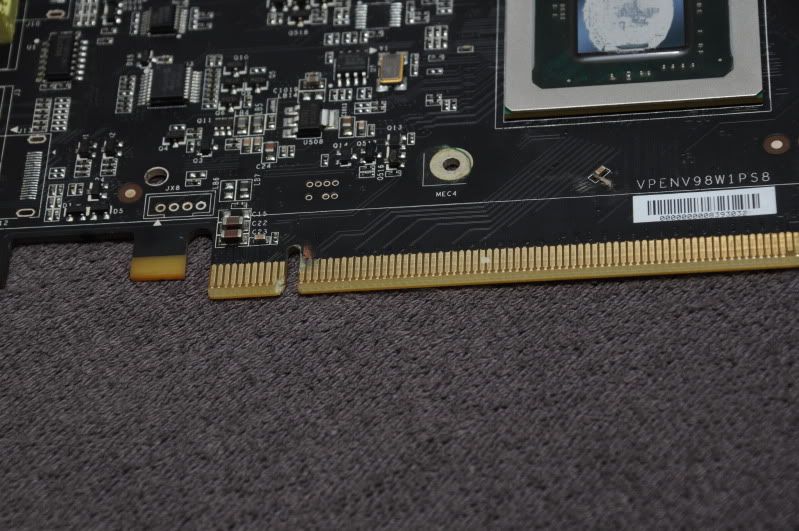
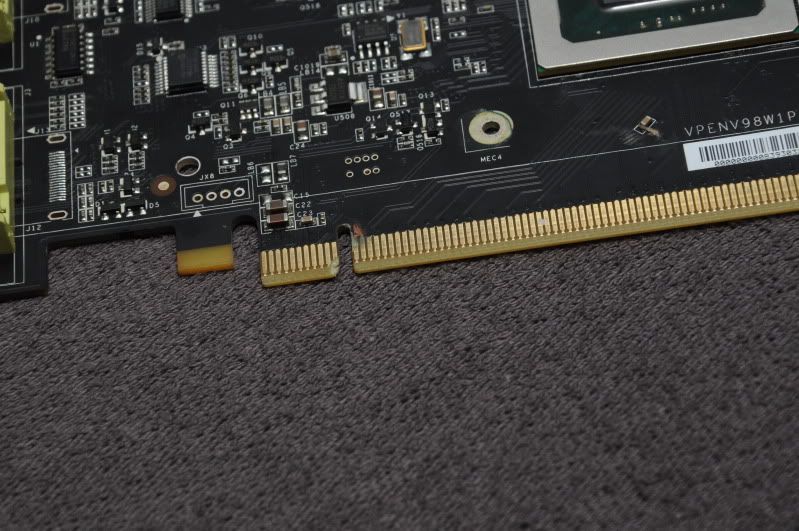
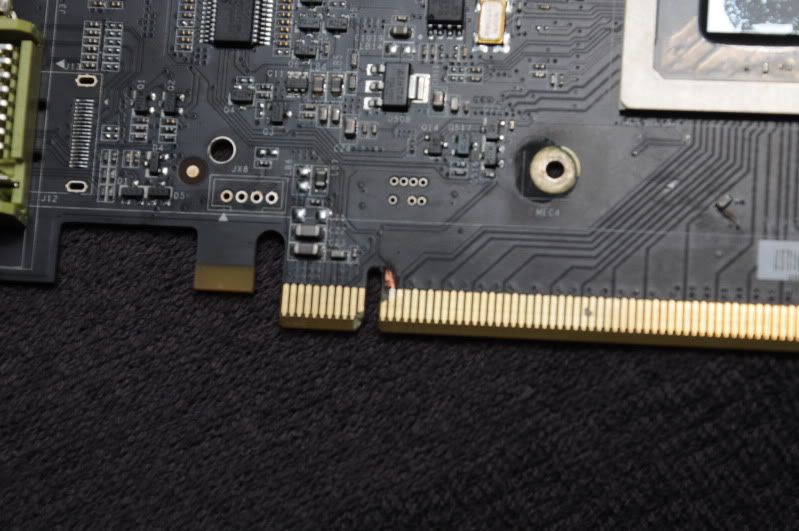
Grafikkort: ?
SSD: ?
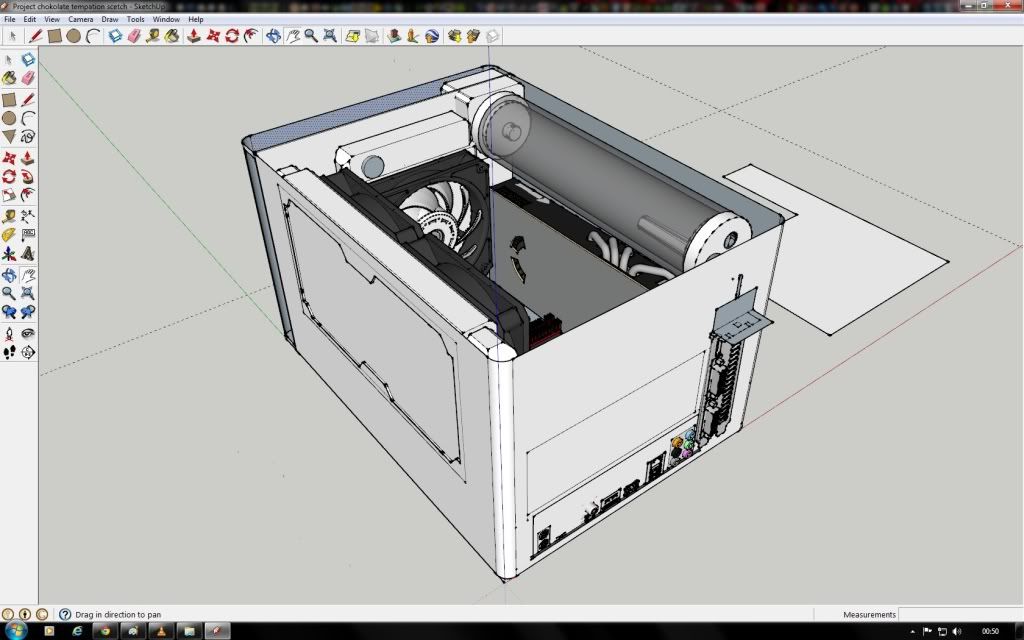
Watercooling:
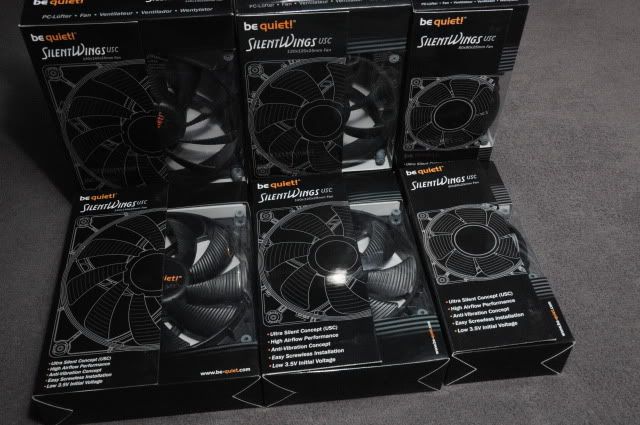
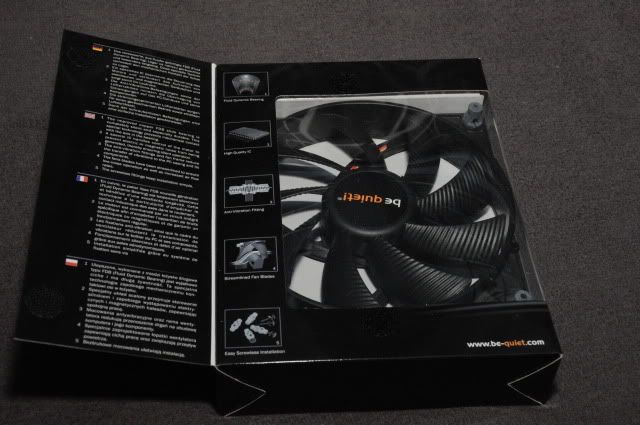
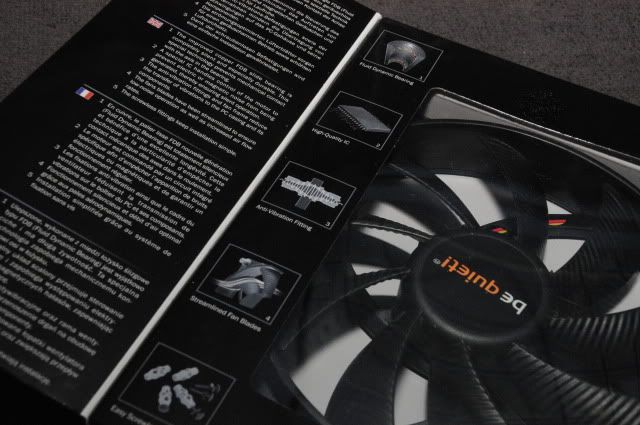
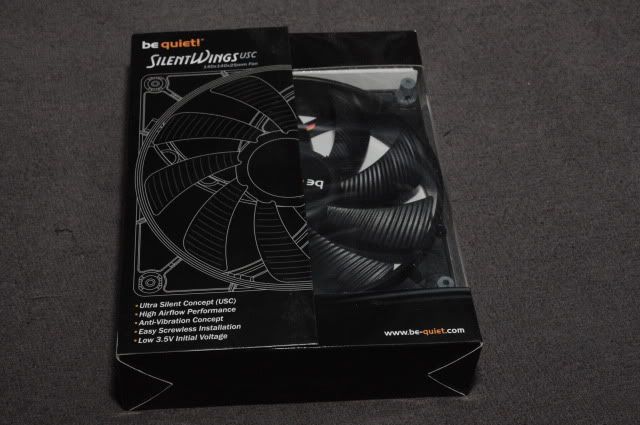
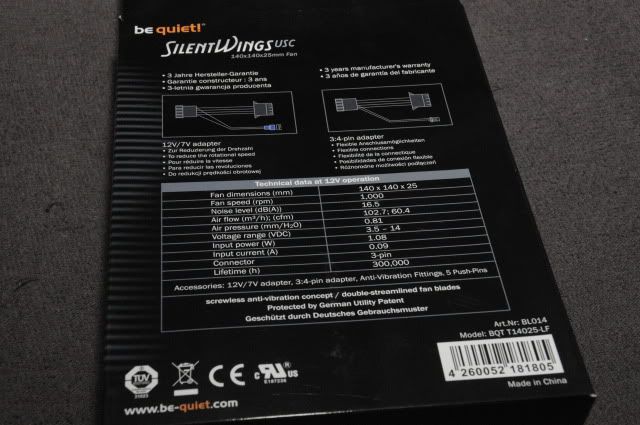
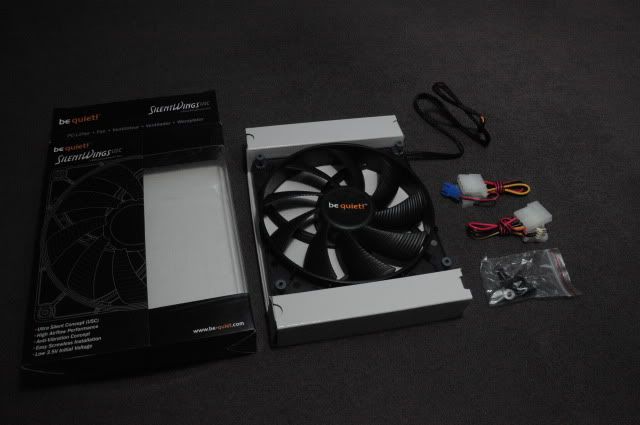
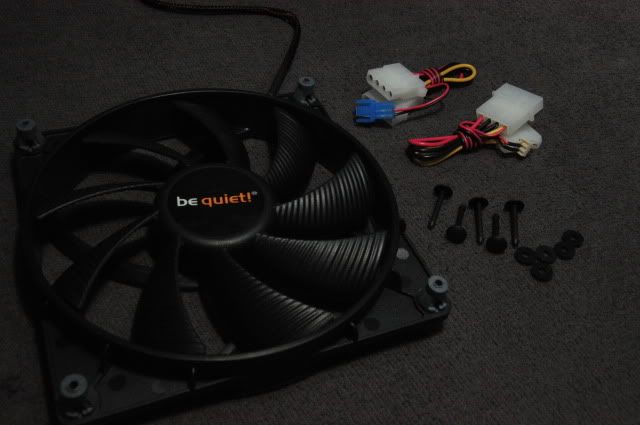
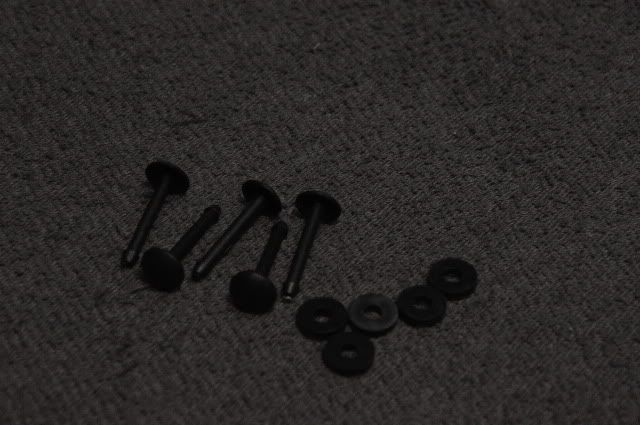
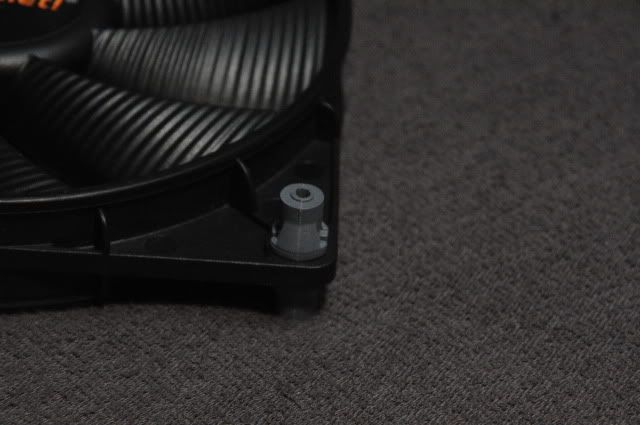
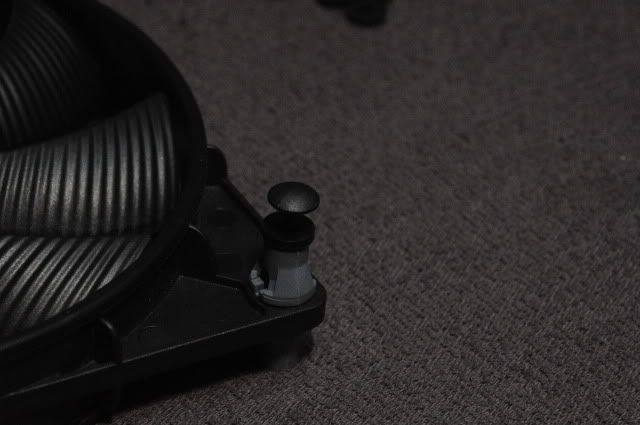
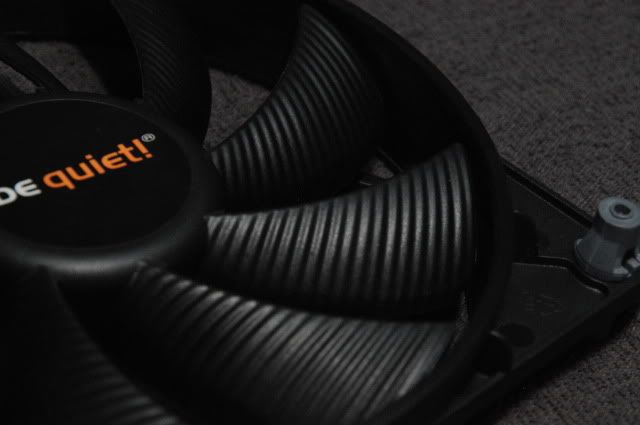
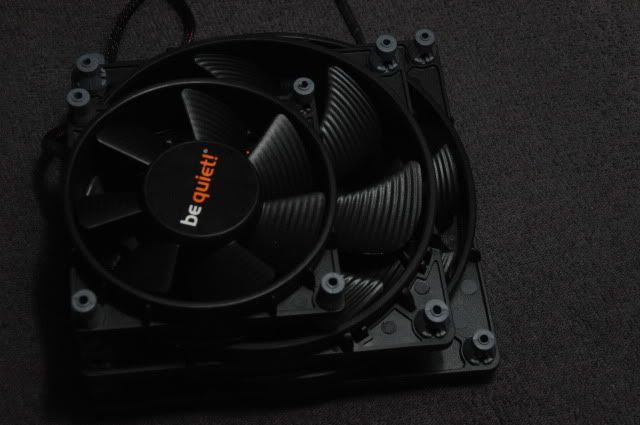
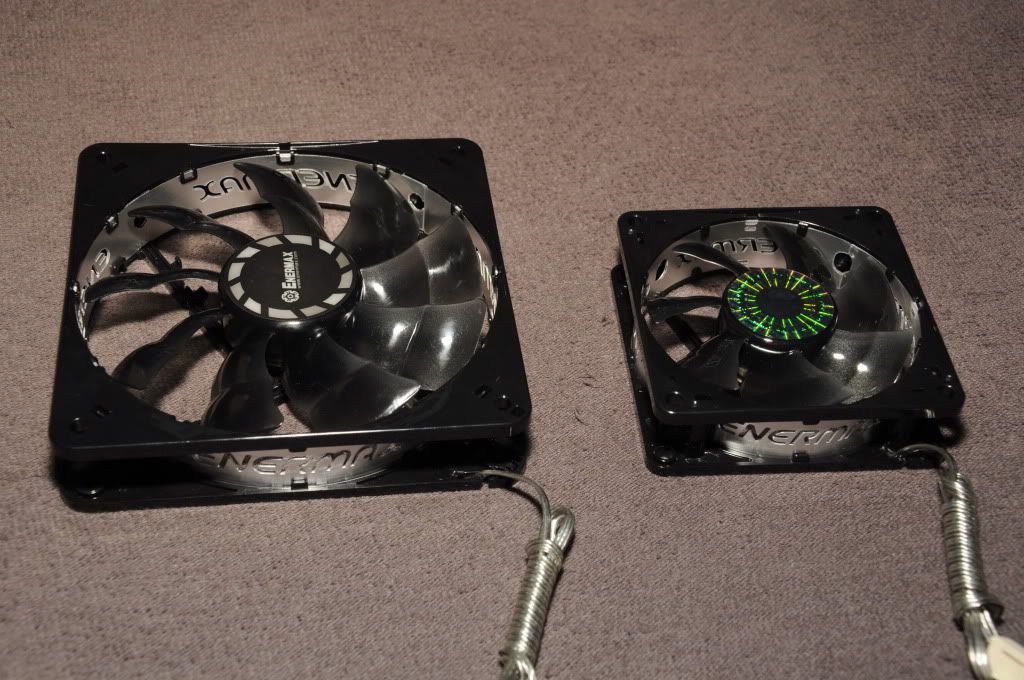
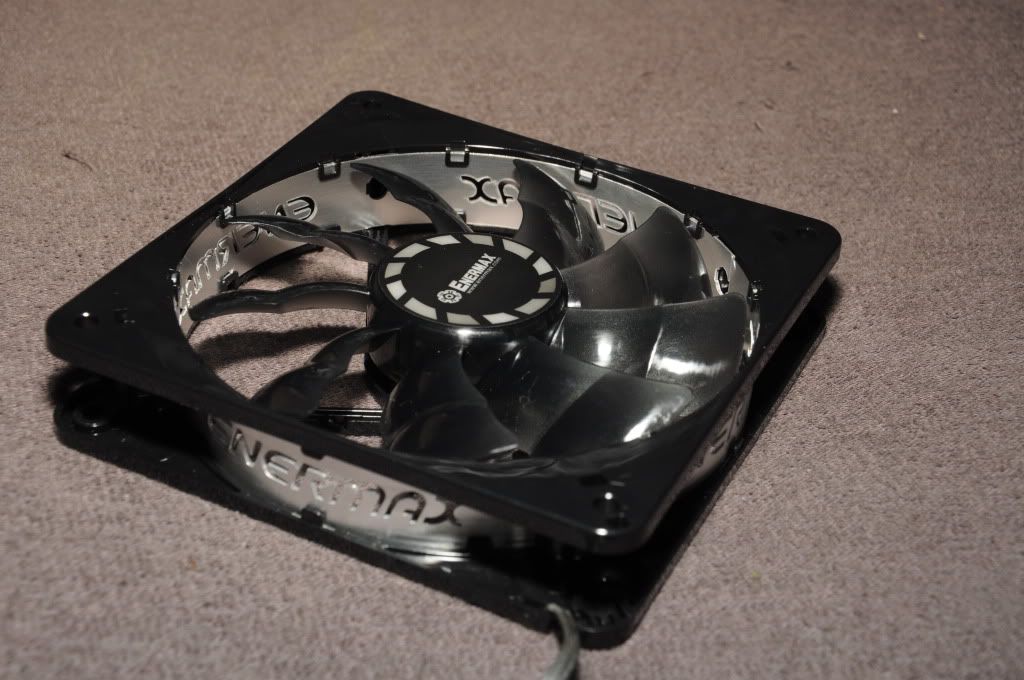
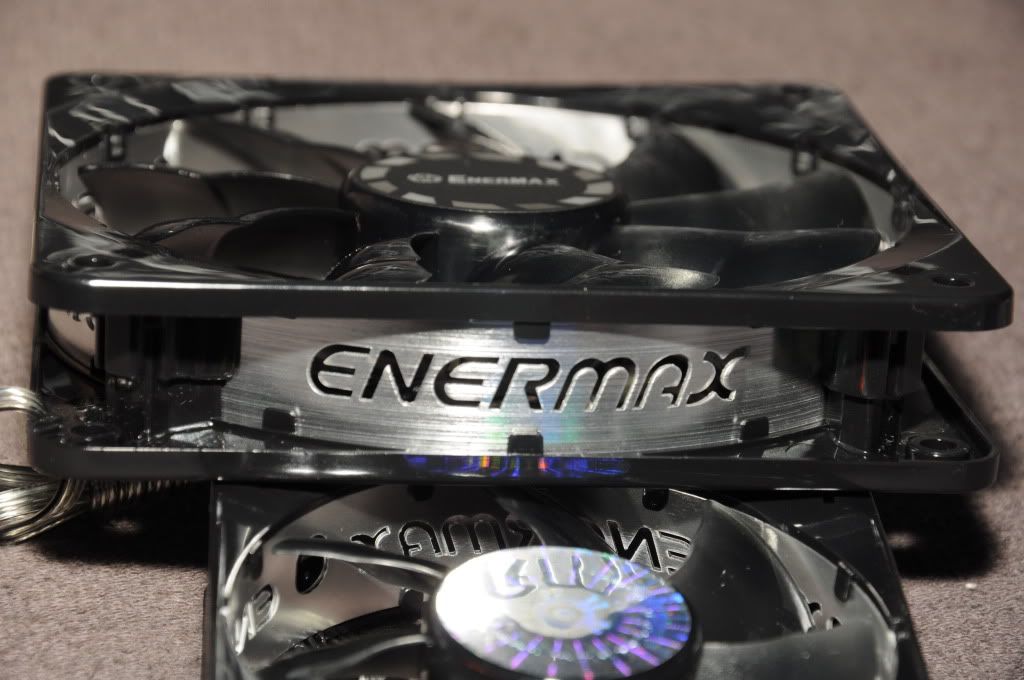
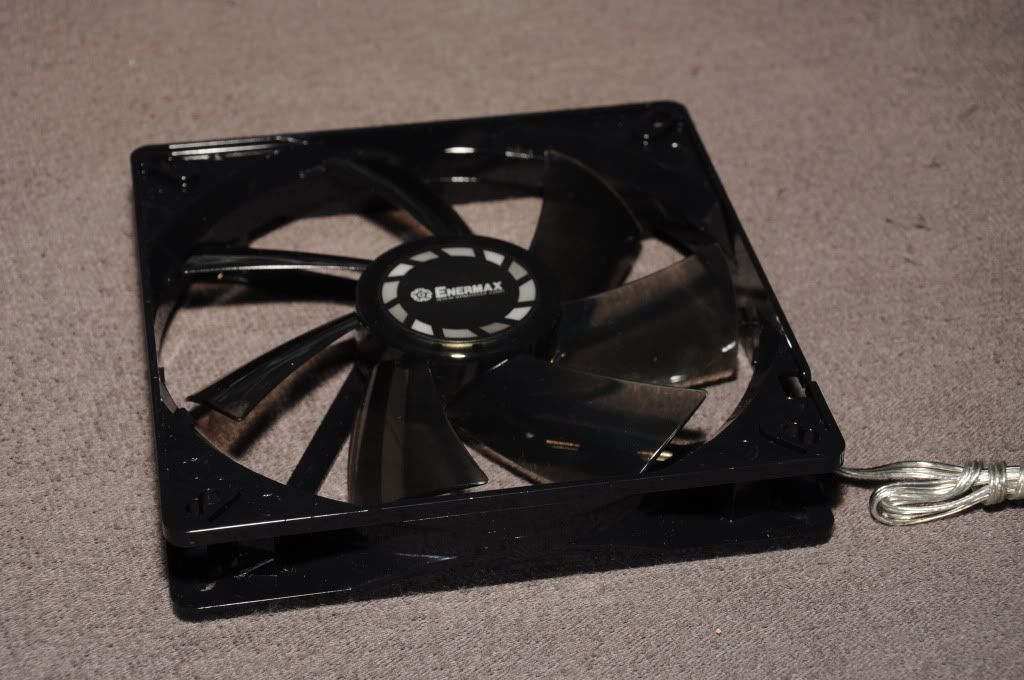
Fans: Bequiet Silentwings(2x140mm, 2x120mm, 2x80mm)
Radiator:
CPU-Block:
SB/NB-block:
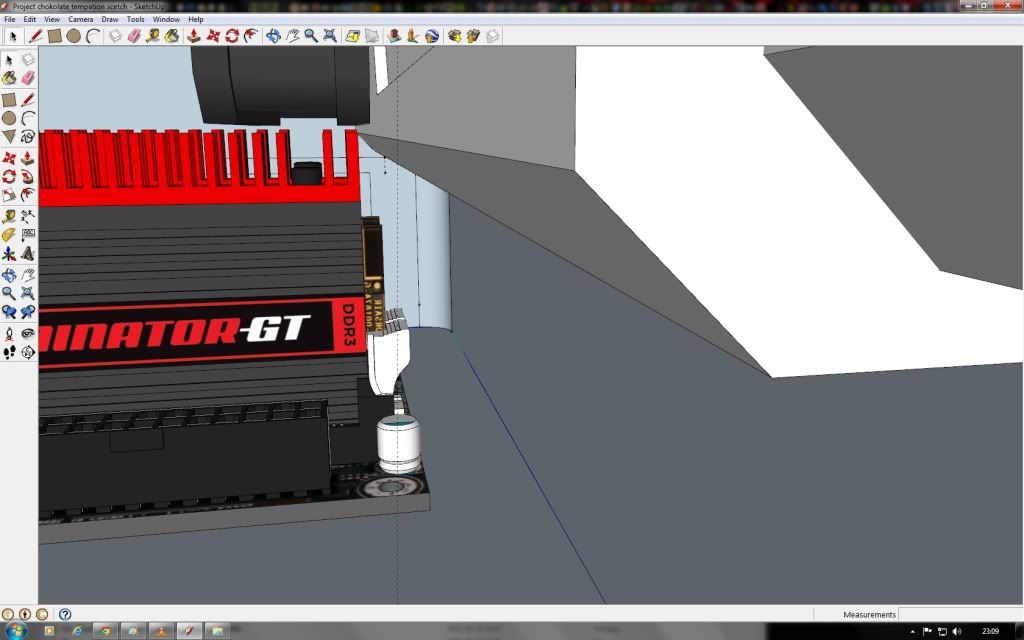
RAM-Block: Bitspower Galaxy Freezer 2
GPU-Block:
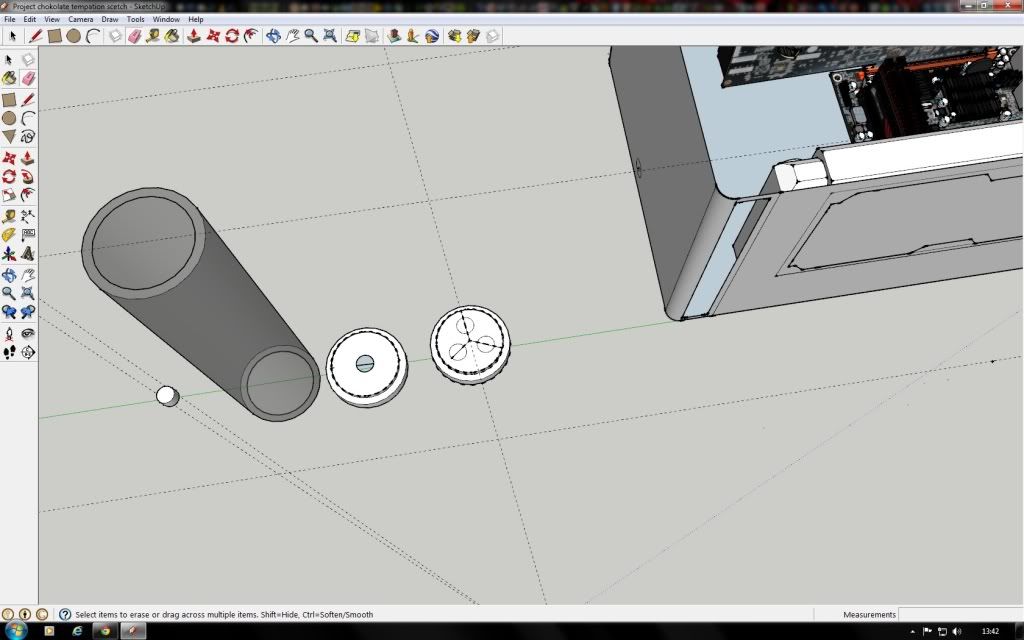
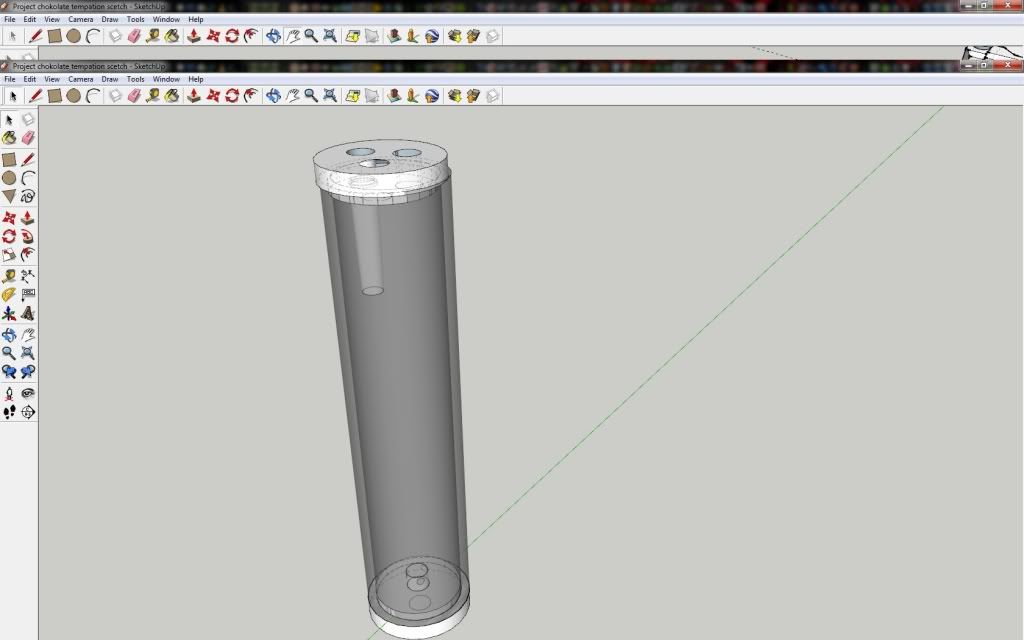
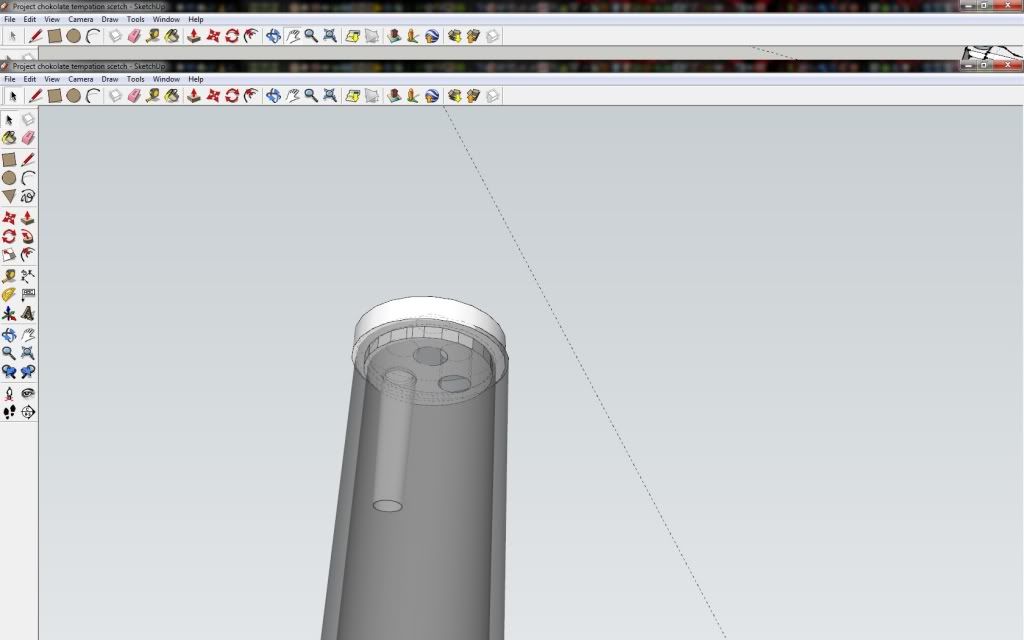
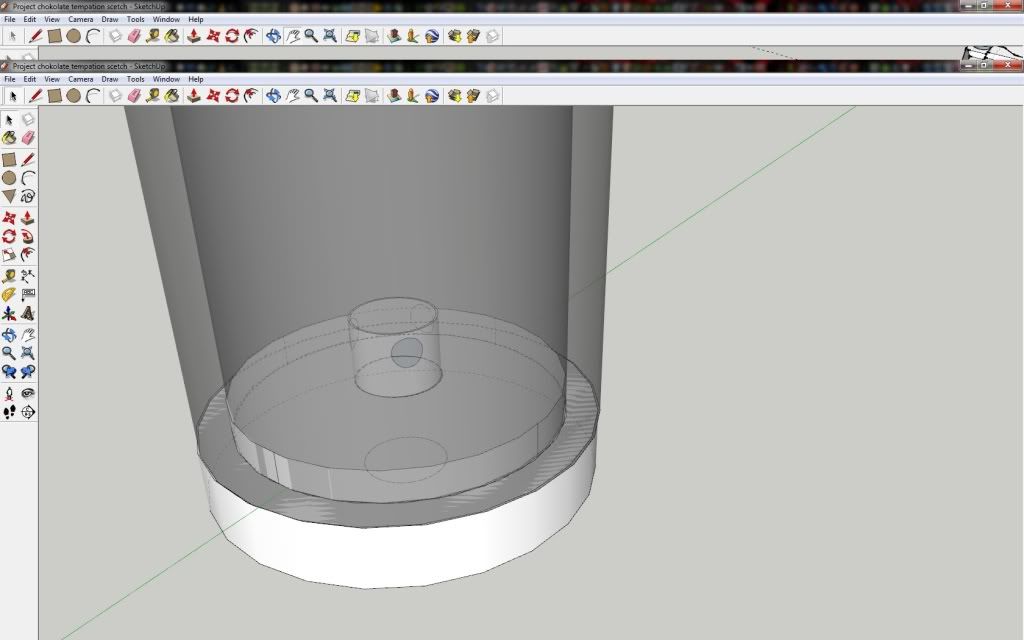
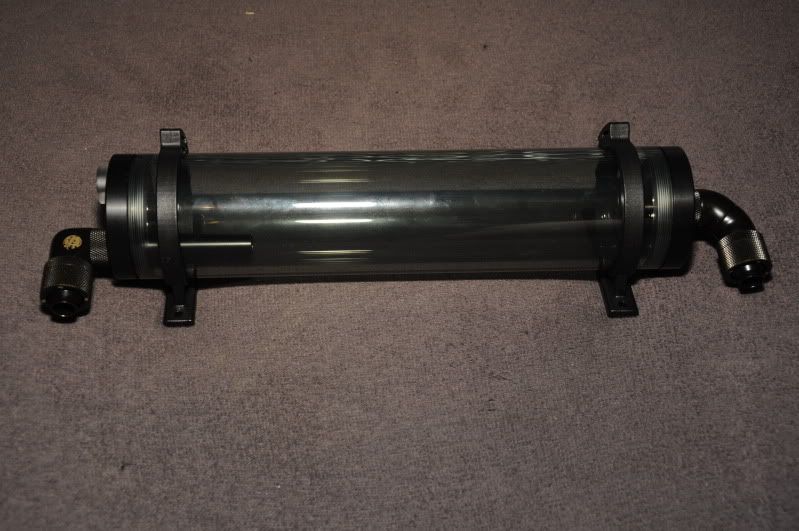
Reservoir: Bitspower Water Tank Z-Multi 250 (ICE Black Body & Black POM Cap Version)
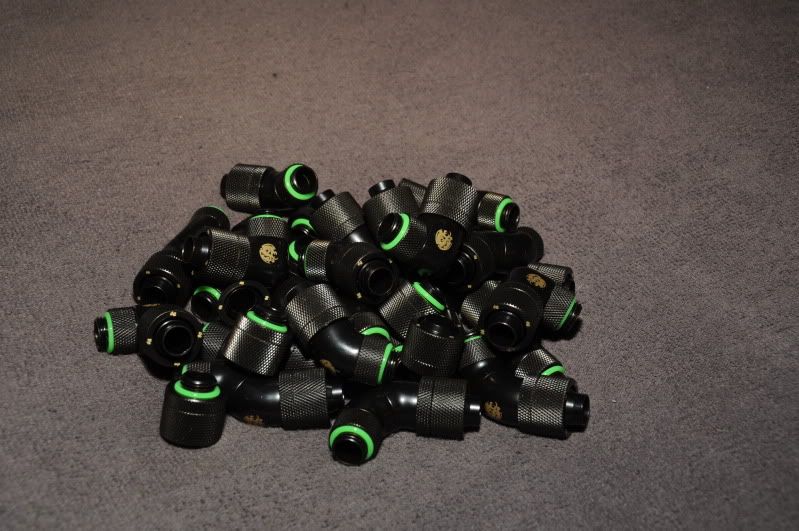
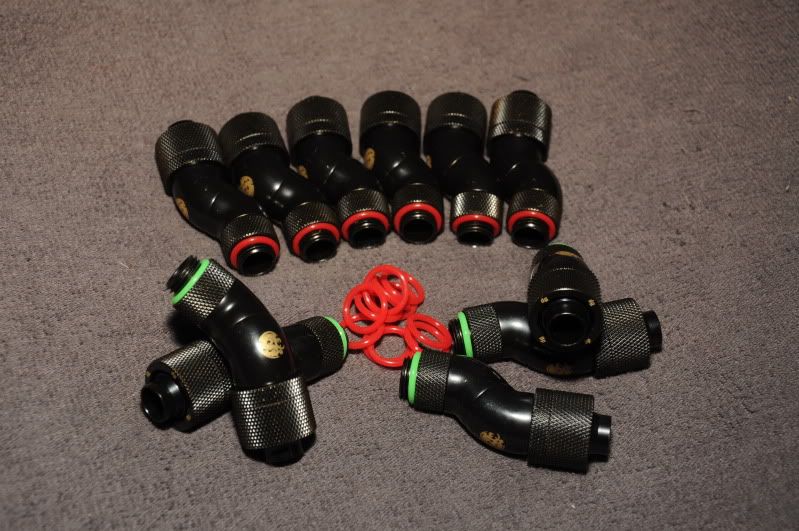
Fittings: Bitspower
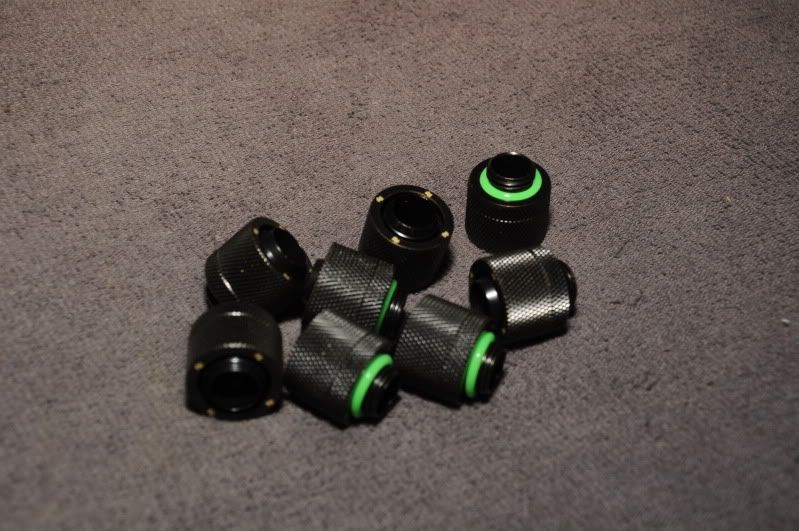
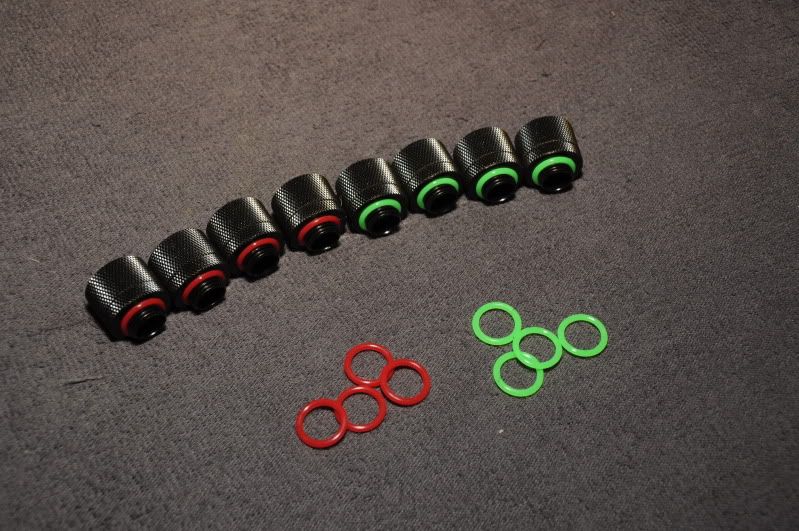
8x Bitspower Matt Black Compression Fitting CC6 (G1/4", ID 7/16" OD 5/8")
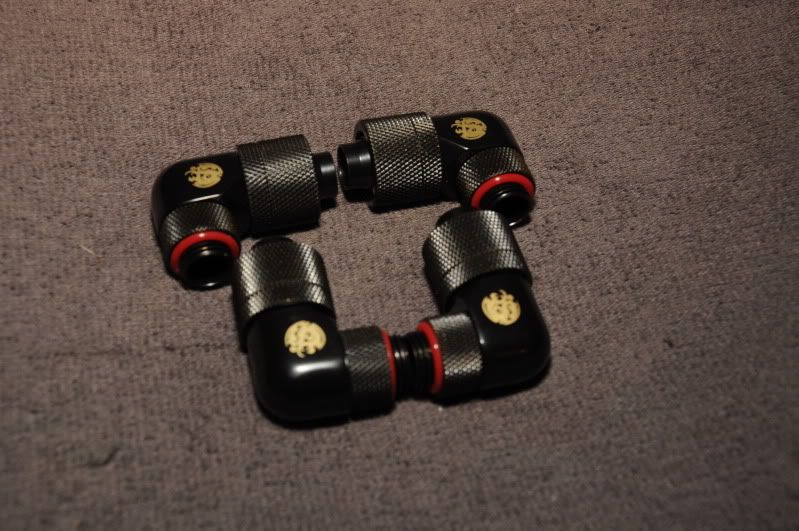
4x Bitspower Matt Black Dual Rotary Angle Compression Fitting CC6 (G1/4", ID 7/16" OD 5/8")
14x Bitspower Matt Black Triple Rotary 90-Degree Compression Fitting CC6 (G1/4", ID 7/16" OD 5/8")
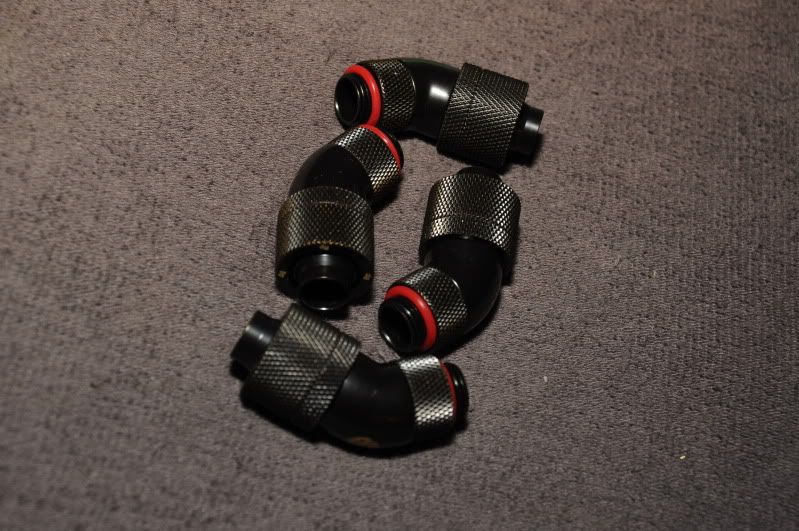
4x Bitspower Matt Black Dual Rotary 45-Degree Compression Fitting CC6 (G1/4", ID 7/16" OD 5/8")
Hose:
Coils: Bitspower UV-Reactive Smart-Coil 400 OD 5/8"
Orings: Bitspower Red Color O-Ring Set For G1/4" 30x
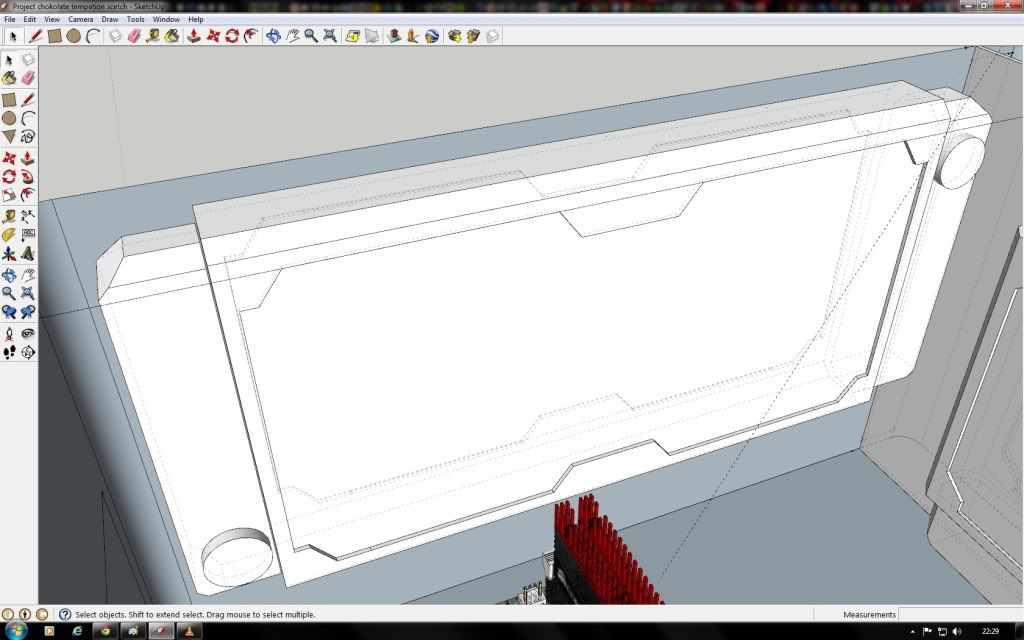
Radiatorgard: Bitspower Custom Design Radgard II 240 Acrylic UV Reactiv - Honneycomb
Chokolate Temptation is proudly sposored by:
Fractal Design
BeQuiet
Bitspower
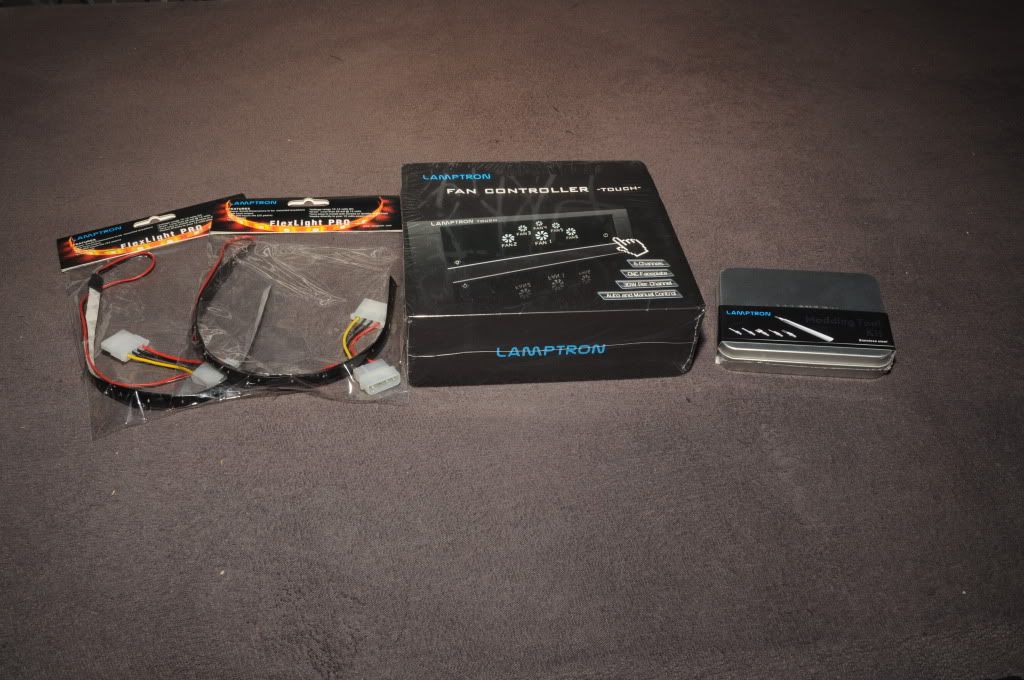
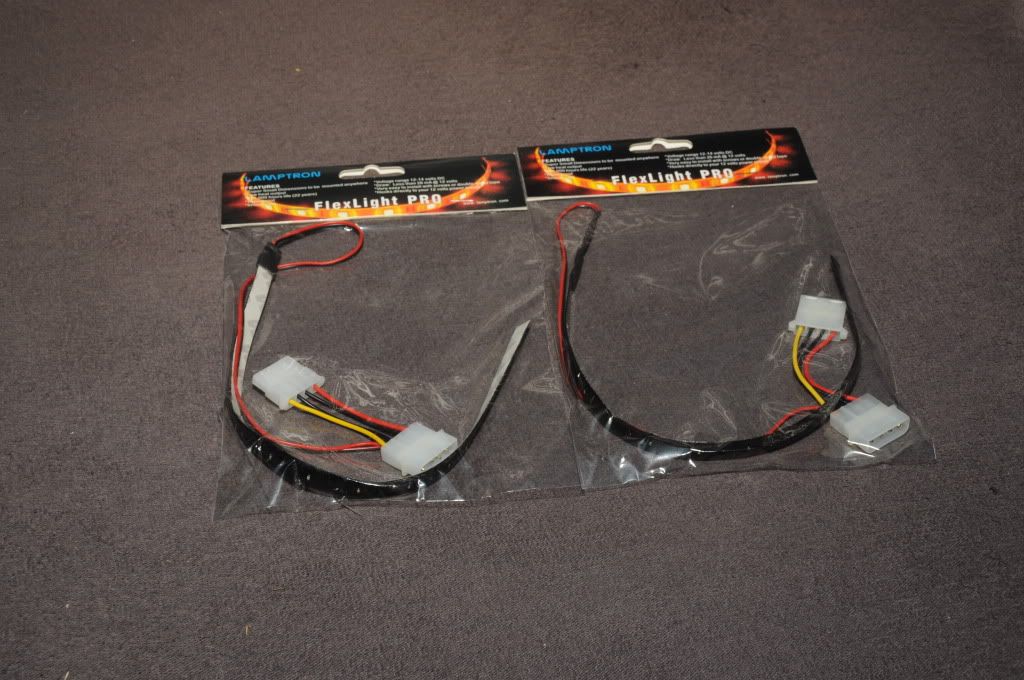
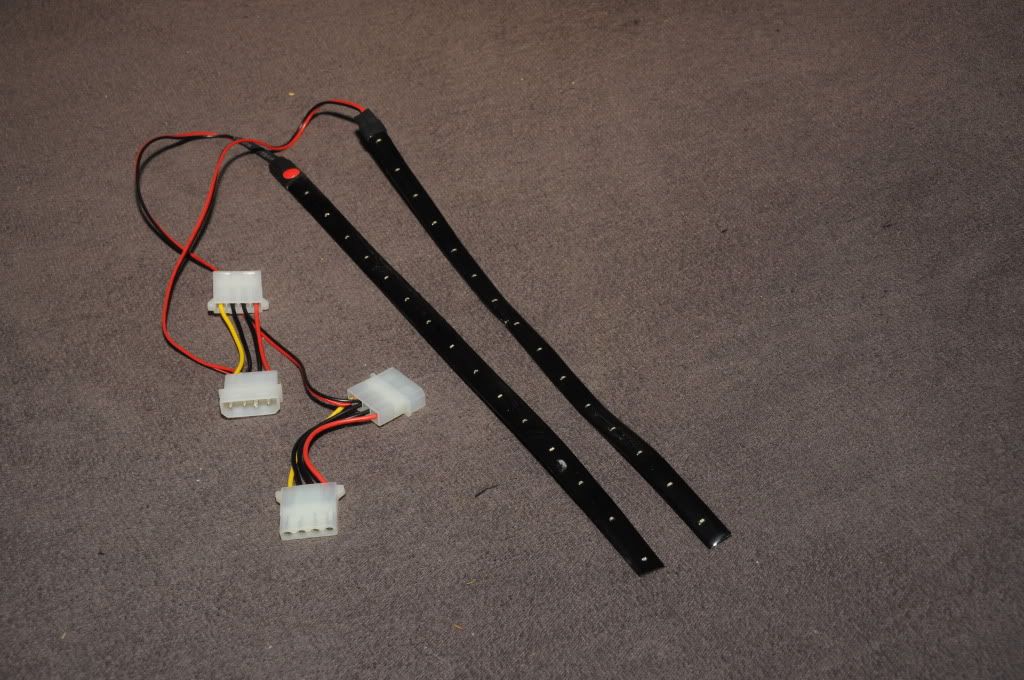
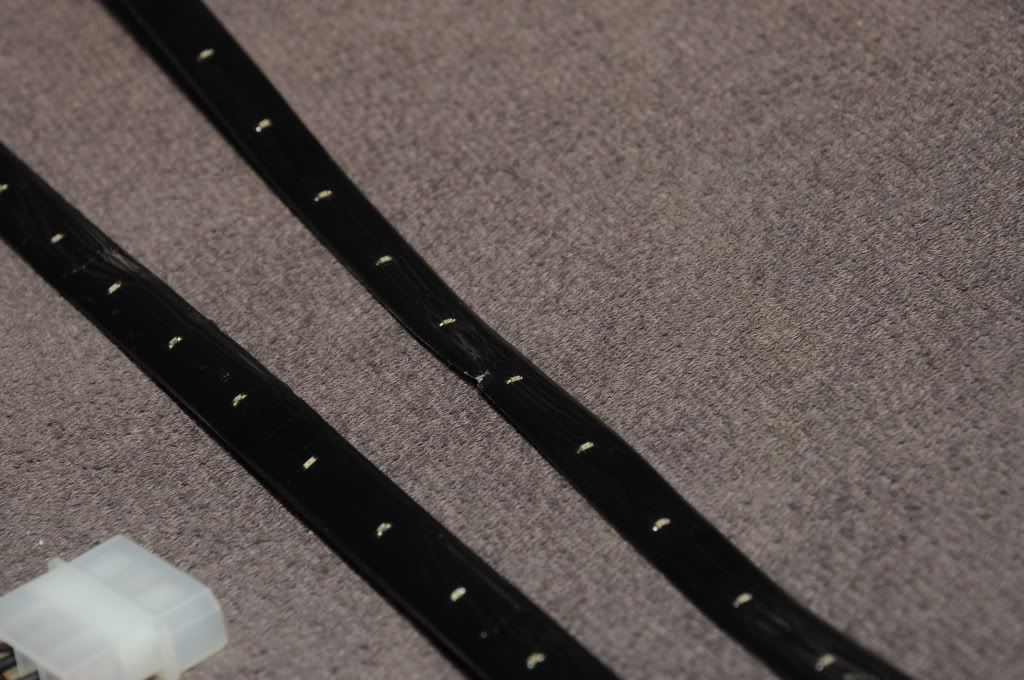
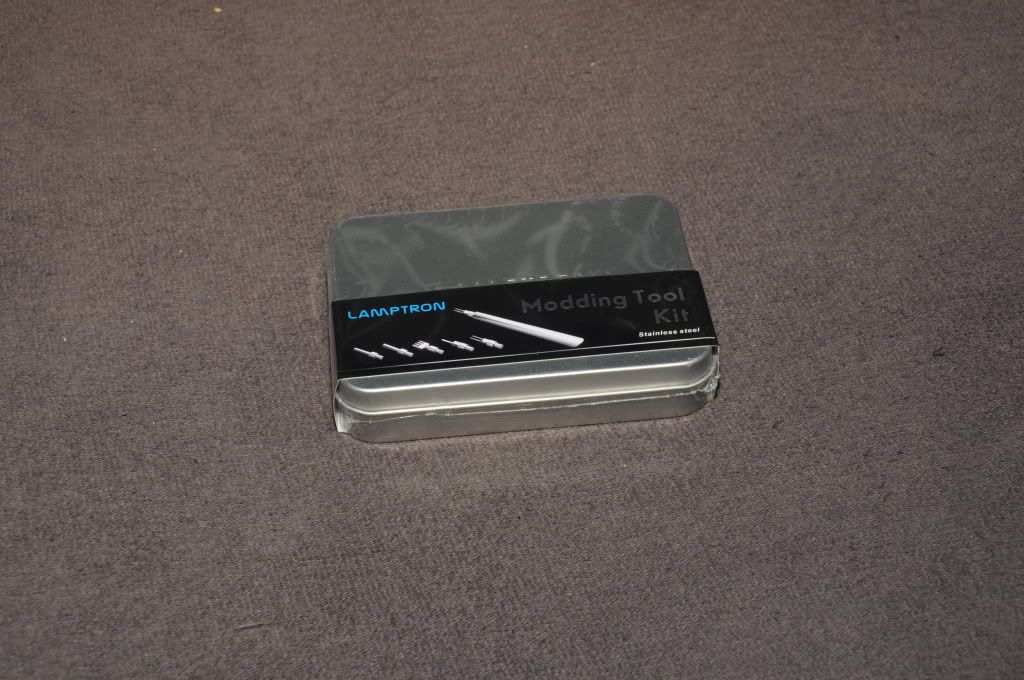
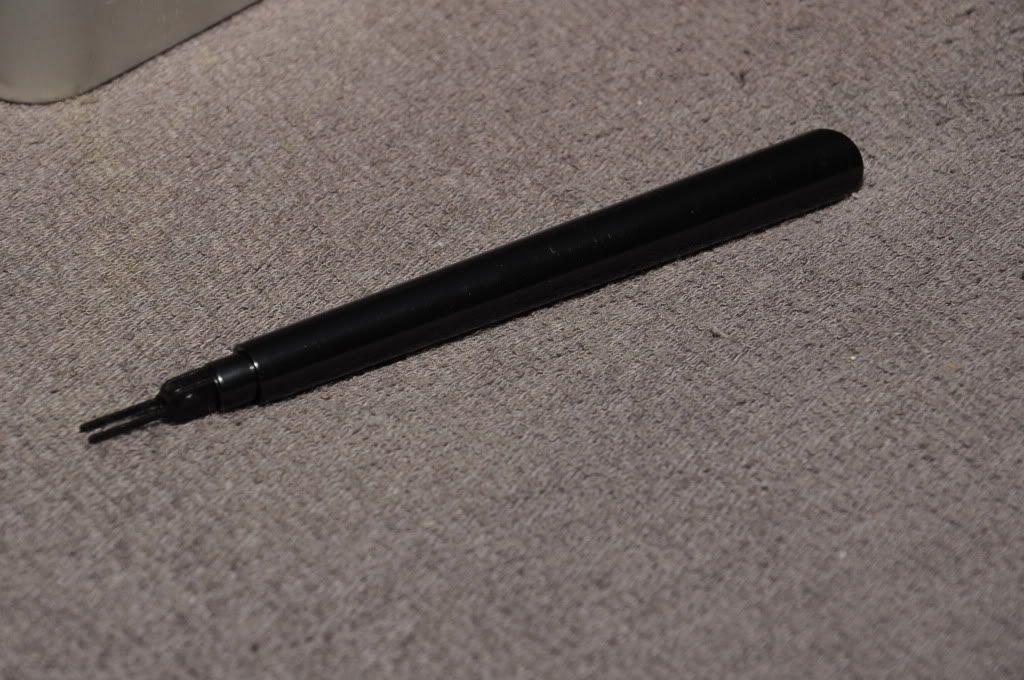
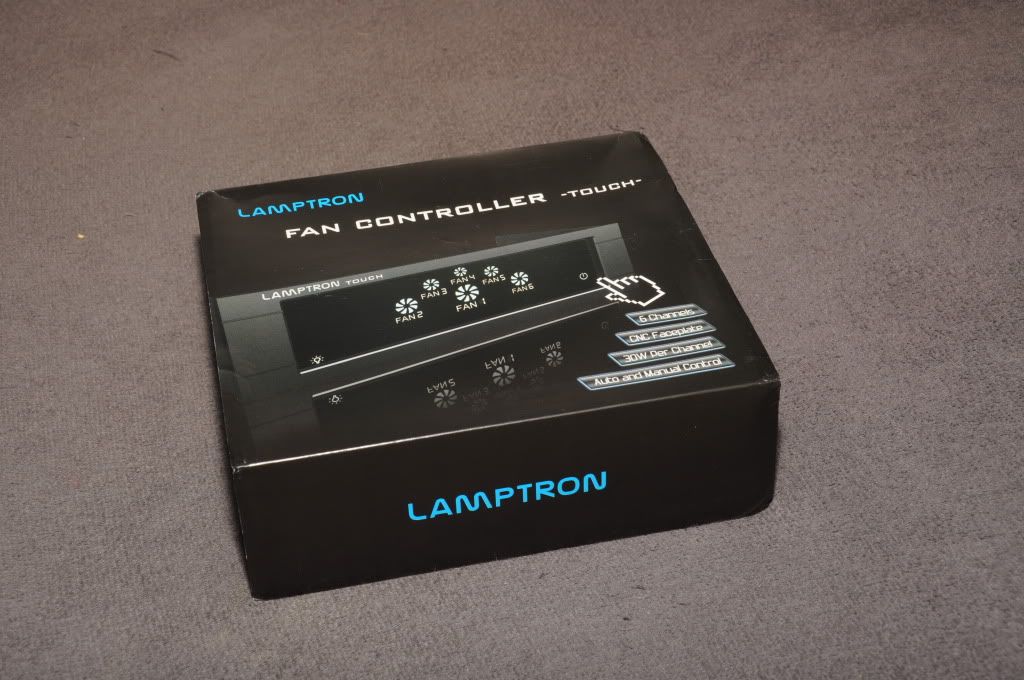
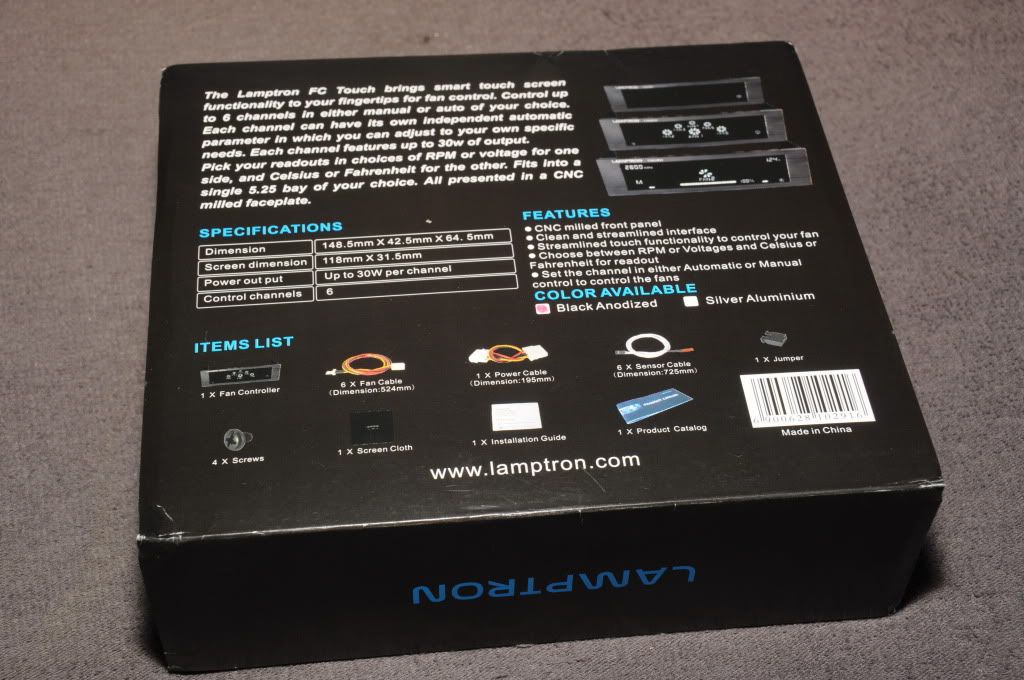
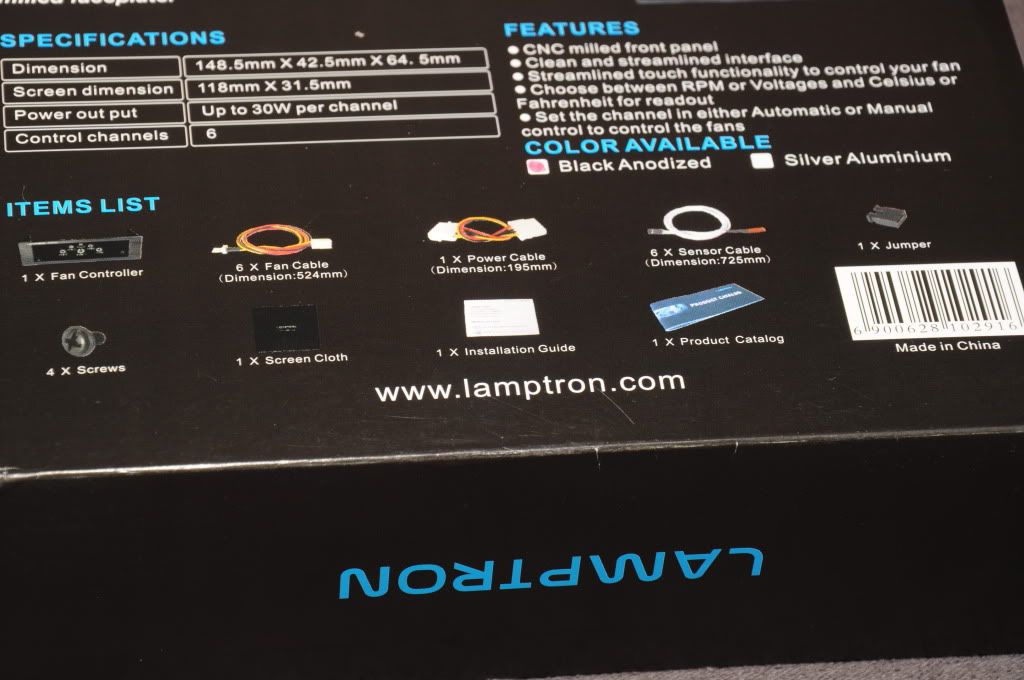
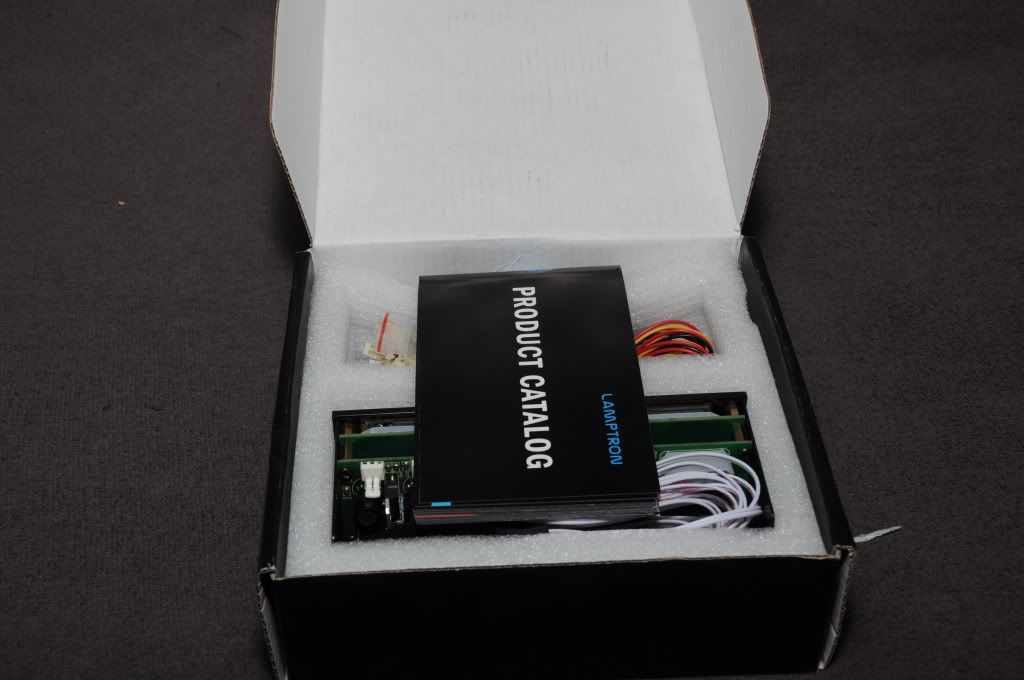
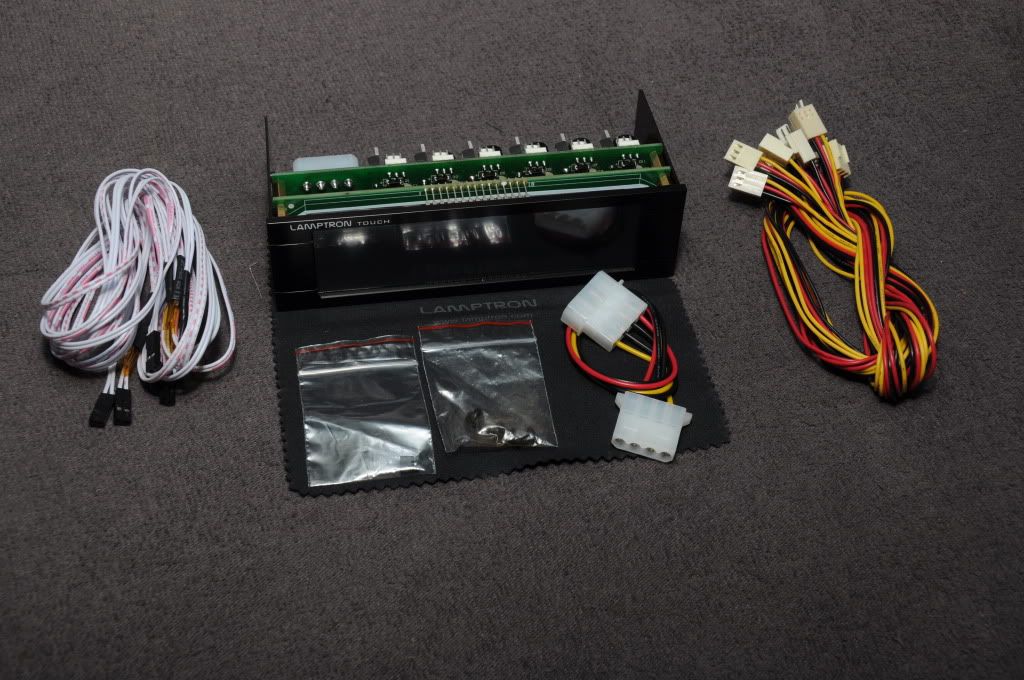
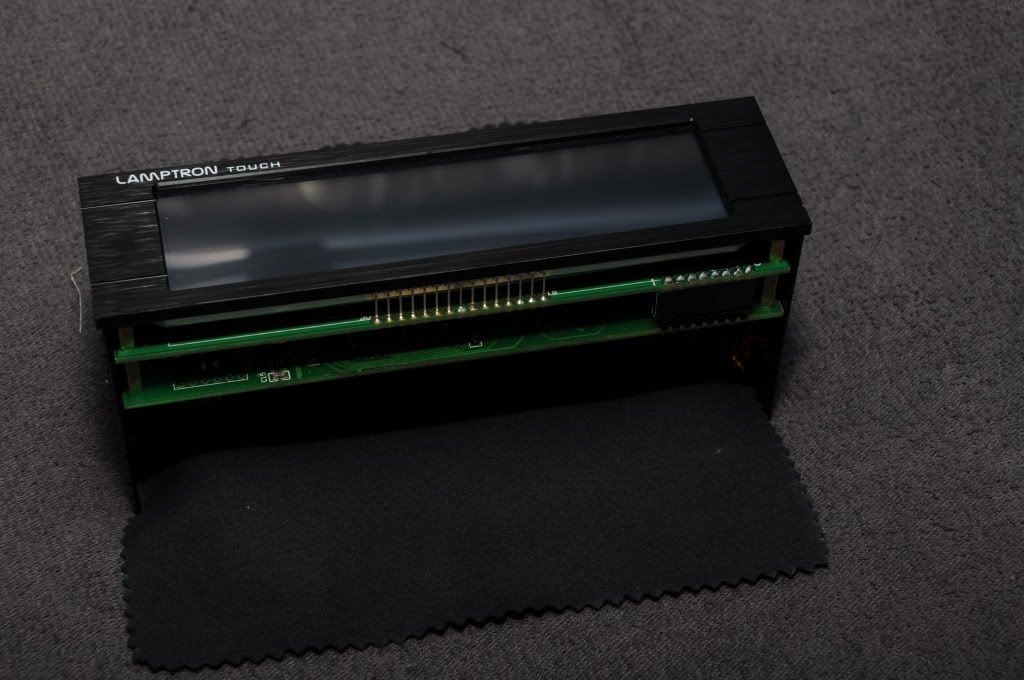
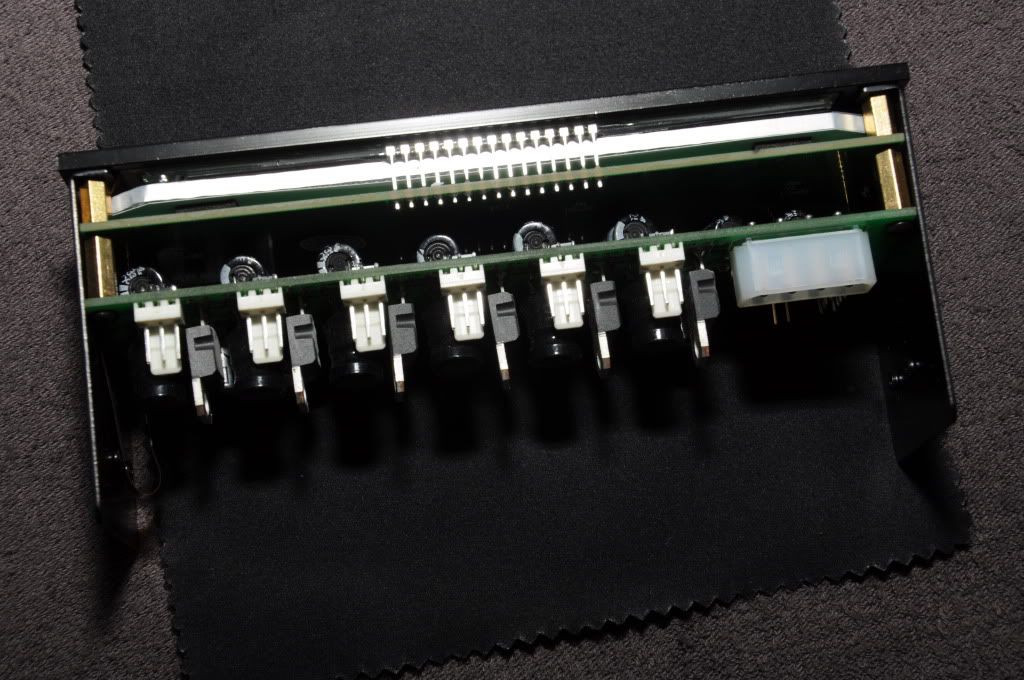
Lamptron
Djungelapa


") , but better late than never right?
, but better late than never right?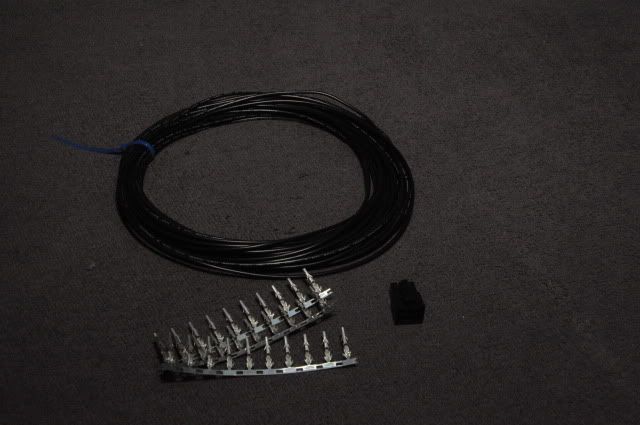


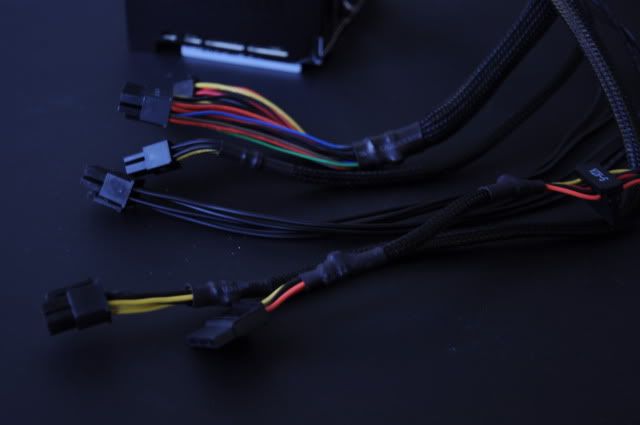

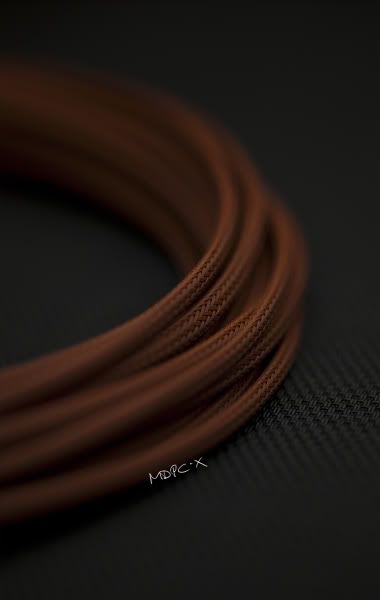
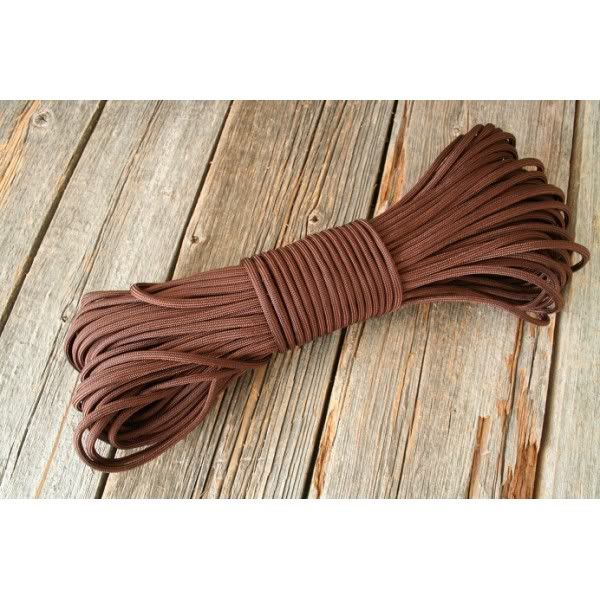
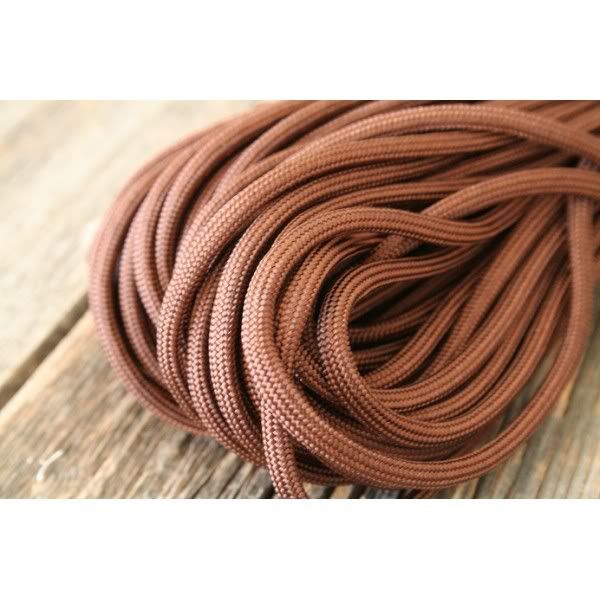
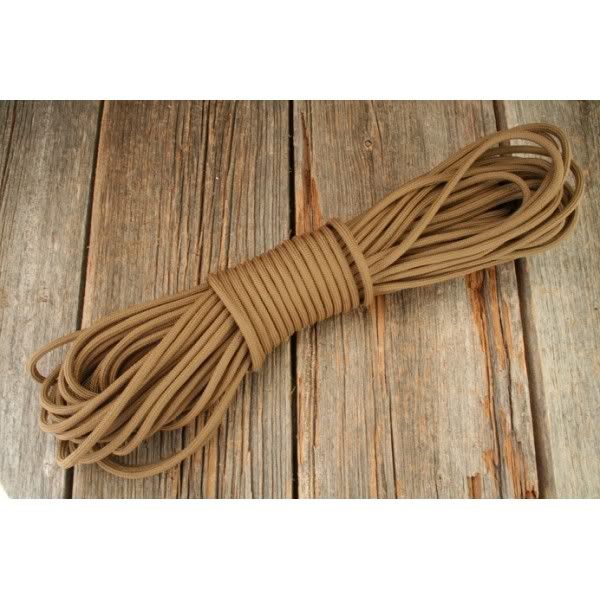
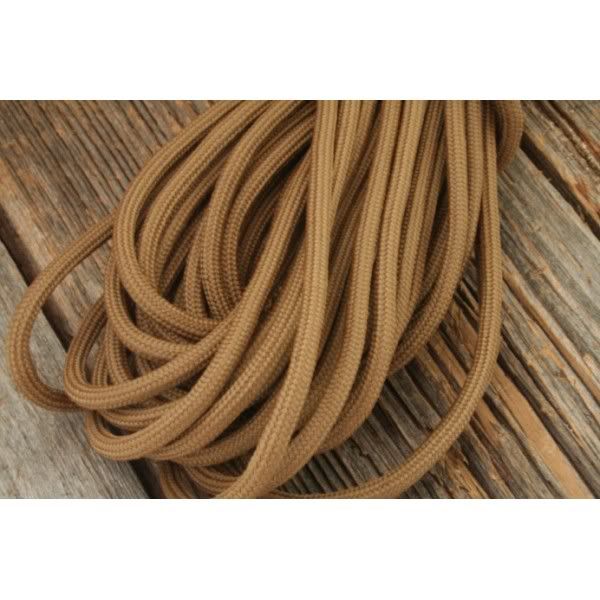
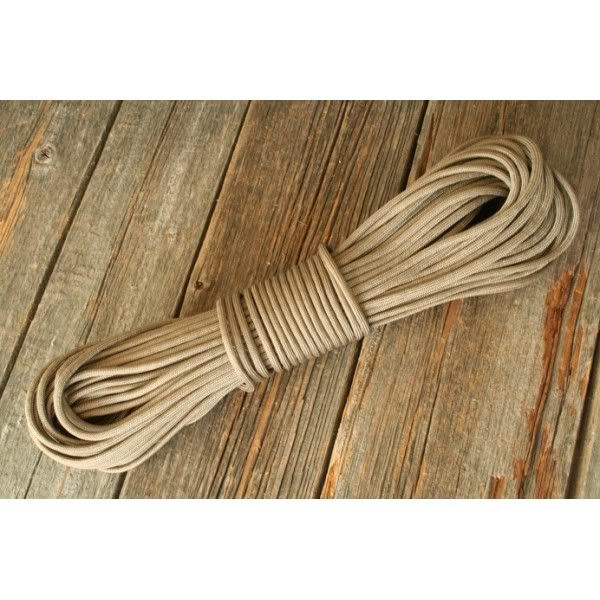
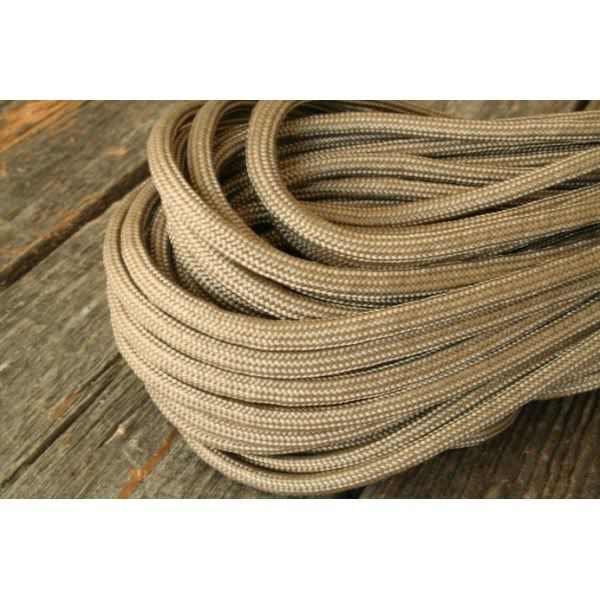
") , and not just any sleeve... limited edition fabric sleeve
, and not just any sleeve... limited edition fabric sleeve
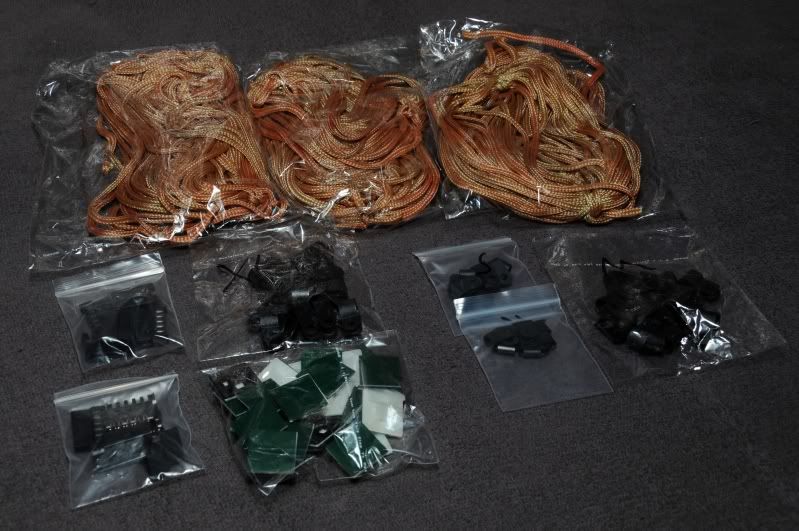
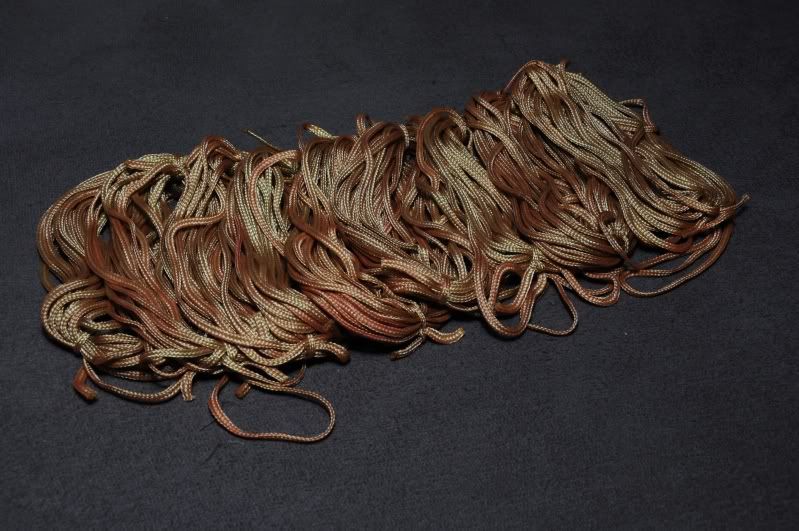


 . It seems that the sleeve is more orange than it is brown and I can not believe that picture fooled me, until i saw the others...