You are using an out of date browser. It may not display this or other websites correctly.
You should upgrade or use an alternative browser.
You should upgrade or use an alternative browser.
Project :: Black Water
- Thread starter imported_Bazza
- Start date
imported_Bazza
New member
This morning, 3 of my 4 packages arrived.....

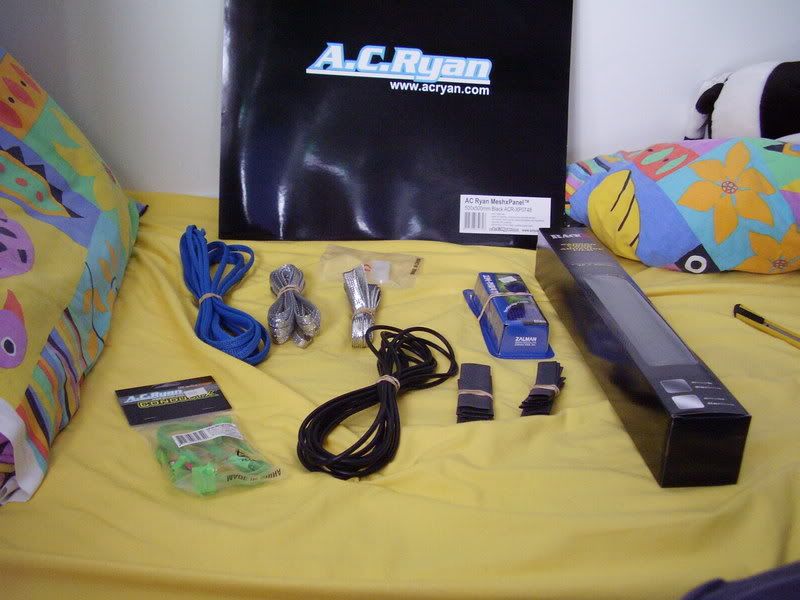
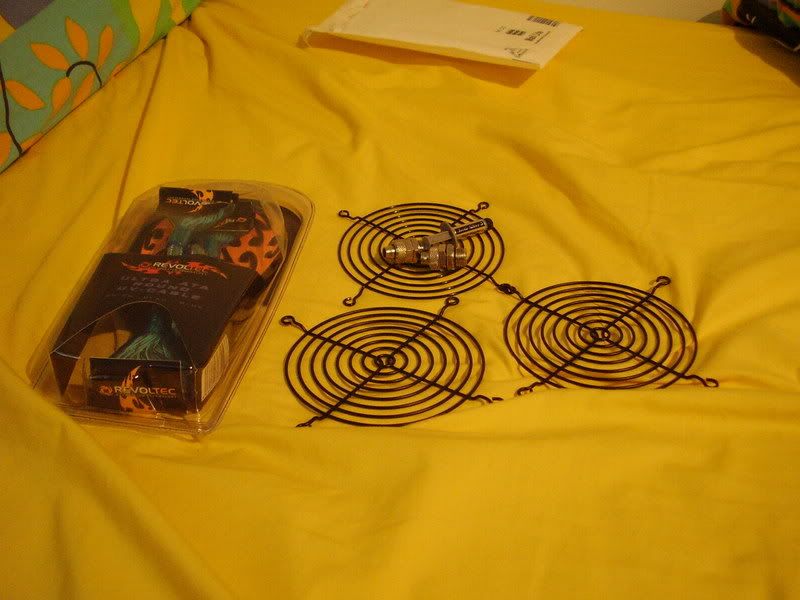
A load o' general Modding Stuff....
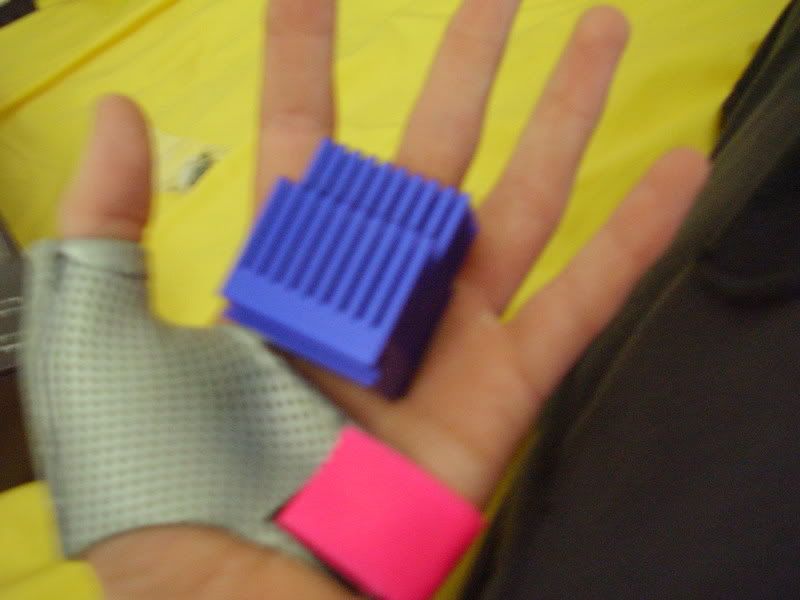
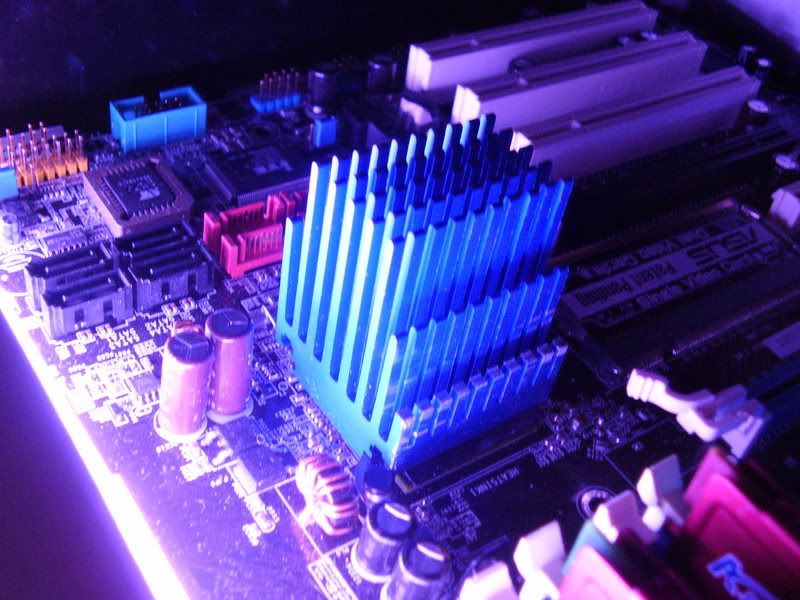
I was supprised how big this Heatsink was....
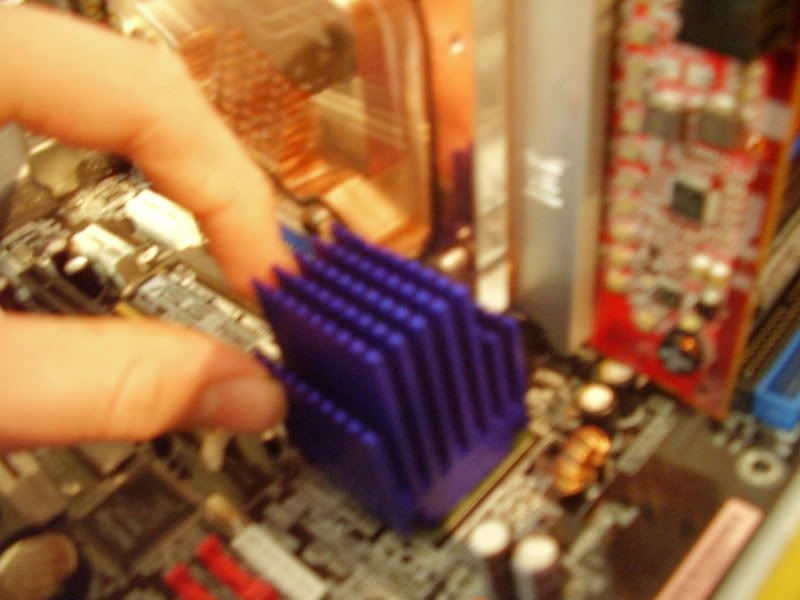
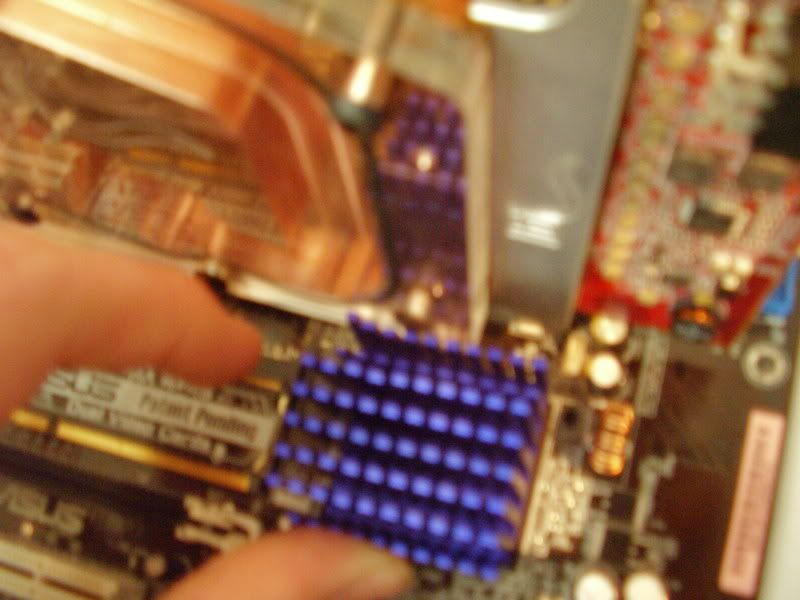

It didn't fit on becuase of my EK X18/19 so i cut down some of the smaller
fins...
i used some AS5 when mounting it instead of the funny stuff that came with it....
A load o' general Modding Stuff....
I was supprised how big this Heatsink was....
It didn't fit on becuase of my EK X18/19 so i cut down some of the smaller
fins...
i used some AS5 when mounting it instead of the funny stuff that came with it....
imported_Bazza
New member
Package 2....
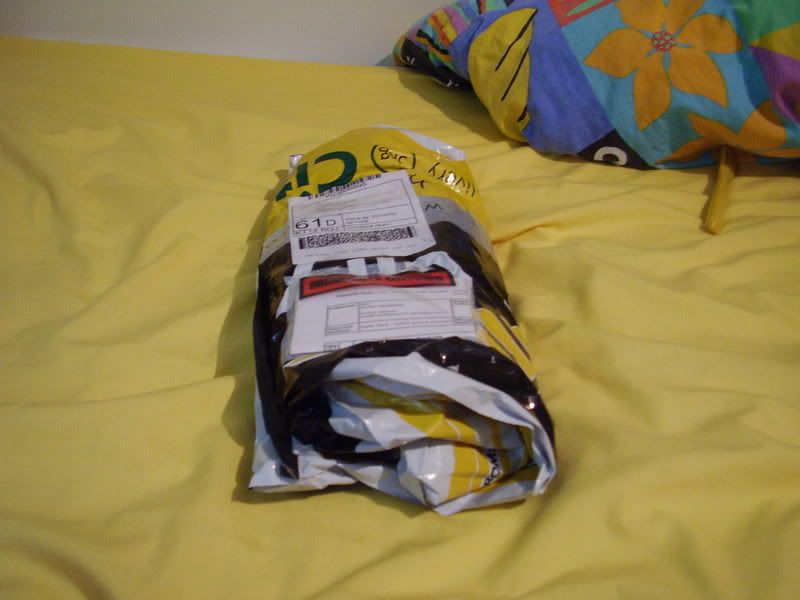
im quiet annoyed because i didn't get my PSU silencer or my Molex extractors.... :sigh:
Package 3
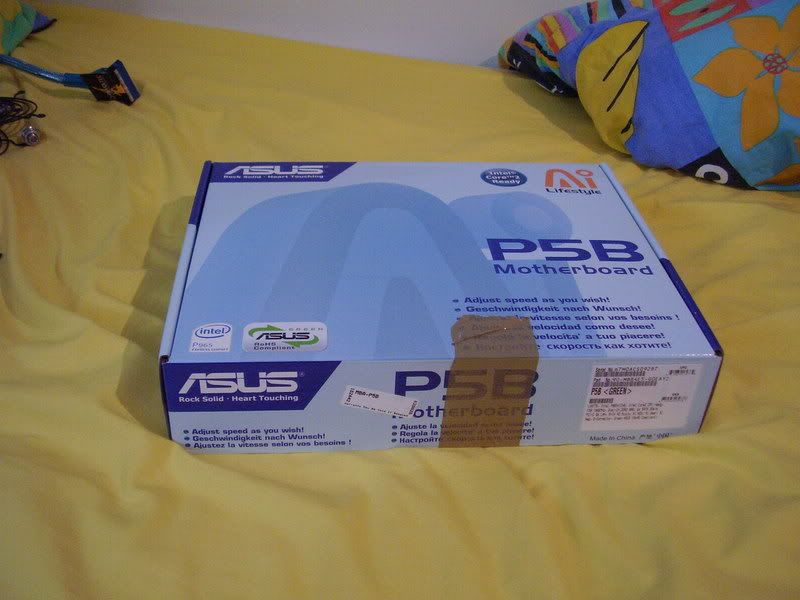
when i opened the package, i found this...

but when i opened up the box i found this...
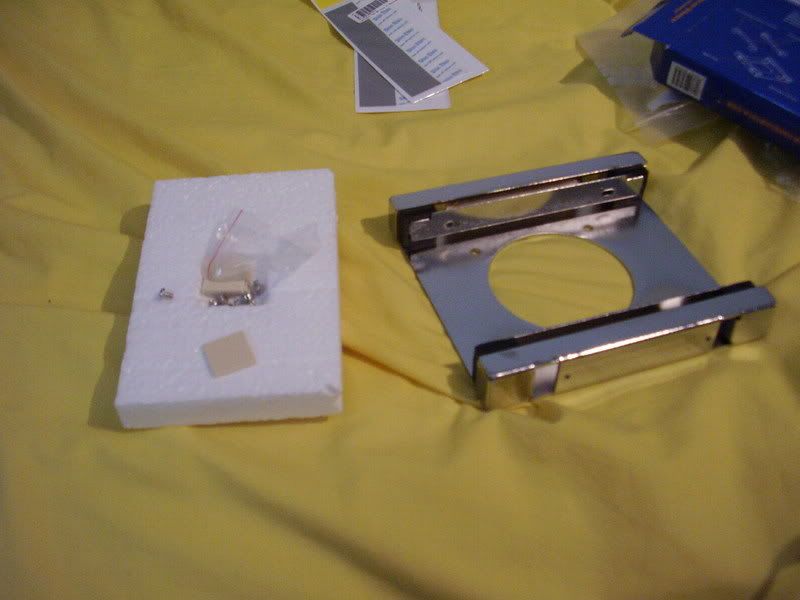
I like the look of the HDD silencer....
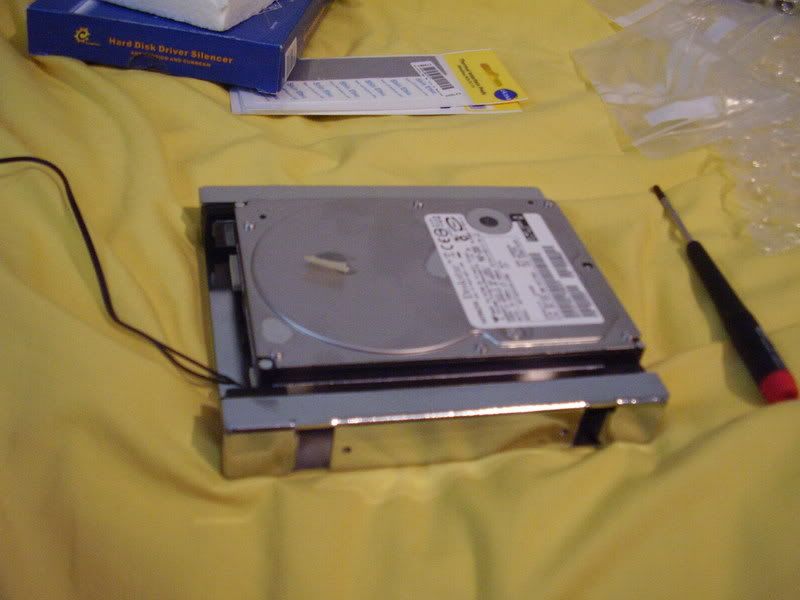
fit very nicely....
BUT... i ordered 2 right-angled barbs, 14 straight barbs, and some 'molex eyes'but only got one of ech of the barbs and non of the molex things....
so i hope they may come later today....
im quiet annoyed because i didn't get my PSU silencer or my Molex extractors.... :sigh:
Package 3
when i opened the package, i found this...
but when i opened up the box i found this...
I like the look of the HDD silencer....
fit very nicely....
BUT... i ordered 2 right-angled barbs, 14 straight barbs, and some 'molex eyes'but only got one of ech of the barbs and non of the molex things....
so i hope they may come later today....
imported_Bazza
New member
Second part of the update... :naughty:
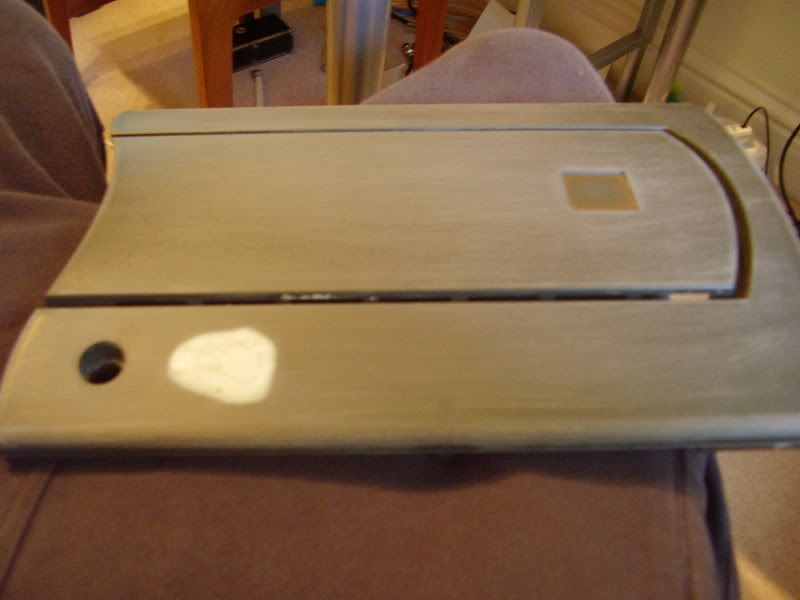
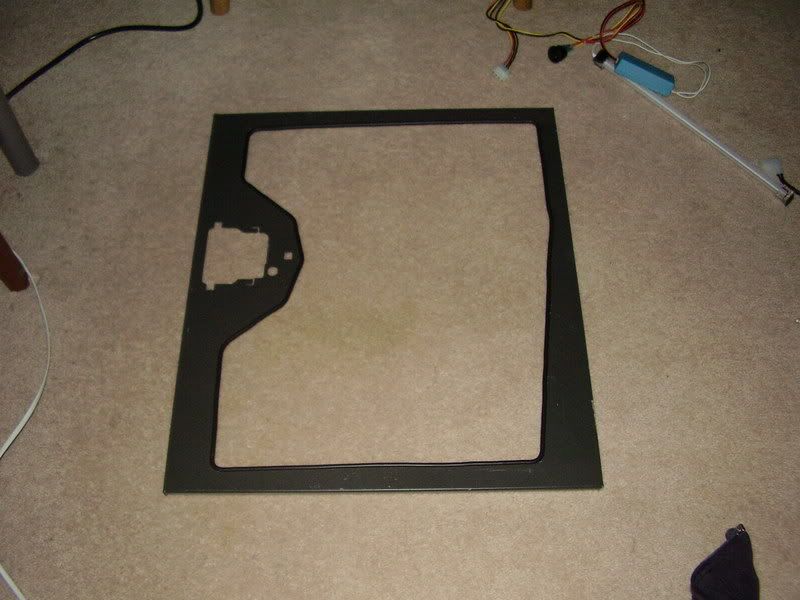
I finished off sanding the front door with first 400 Grit, then 1000 Grit Wet-and-Dry
everything will be black on the bezel, and the white bondo is actually as flat as the bezel even thought it doesn't look like it. It just need some painting and acrylic....
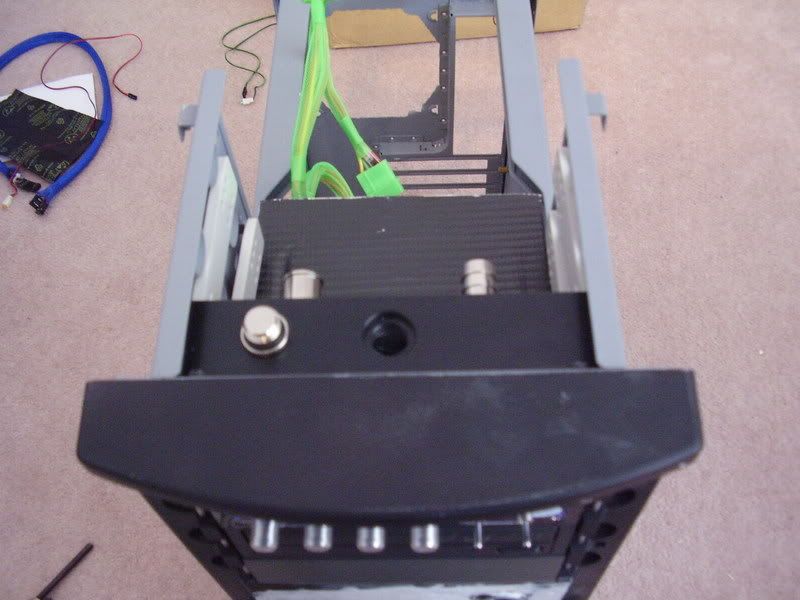
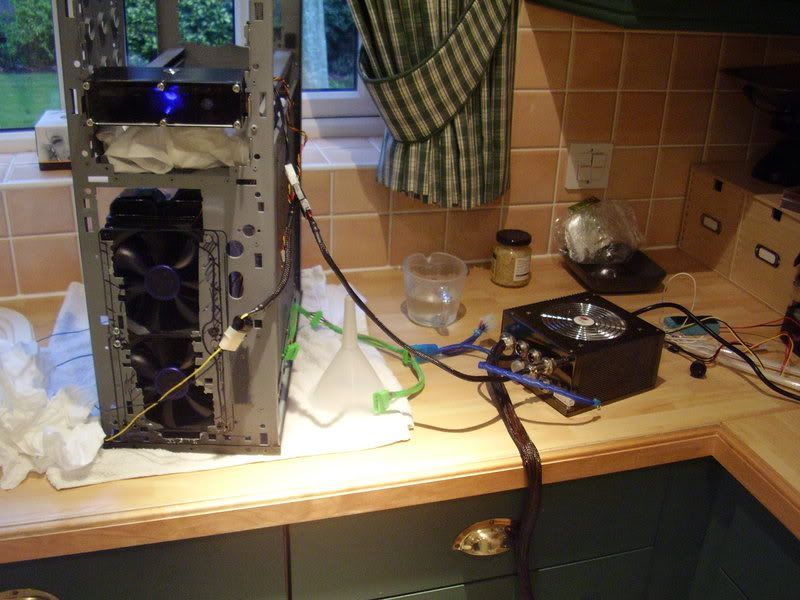
I think its easiest to plumb with the Res at the top, and also makes filling easier while the roof is off...
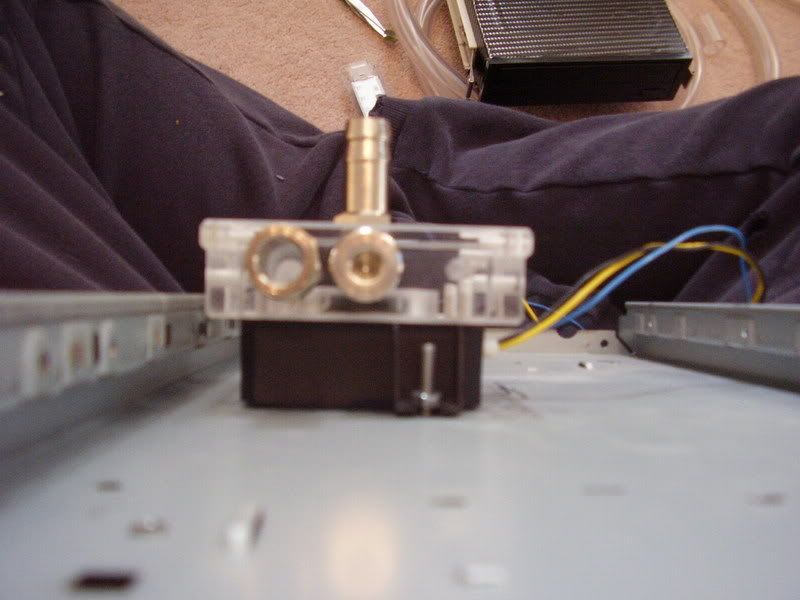
I drilled 2 x 4mm holes in the base, and then filed them off. Its mounted with M4 x 20 Bolts with a nut on each, and a bit of 3mm neoprean underneath it....
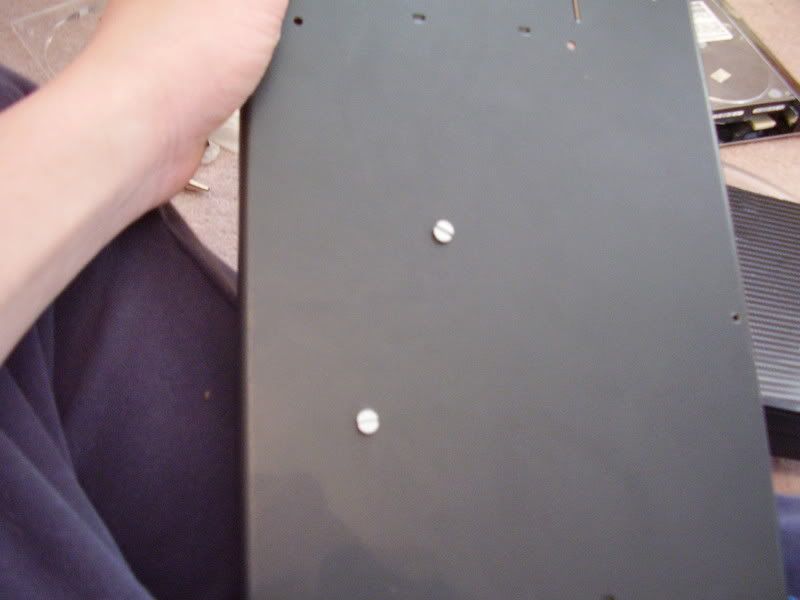
It looks quite nice on the bottom with only two small bolts..
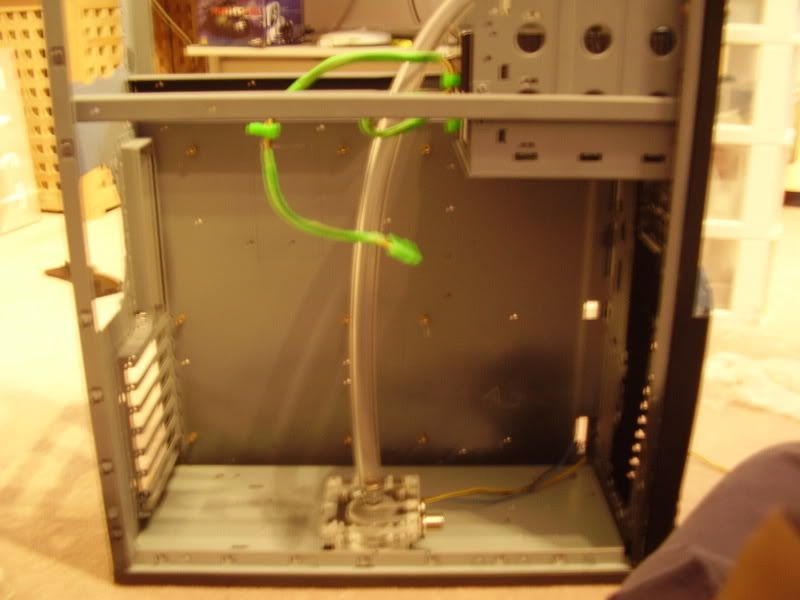
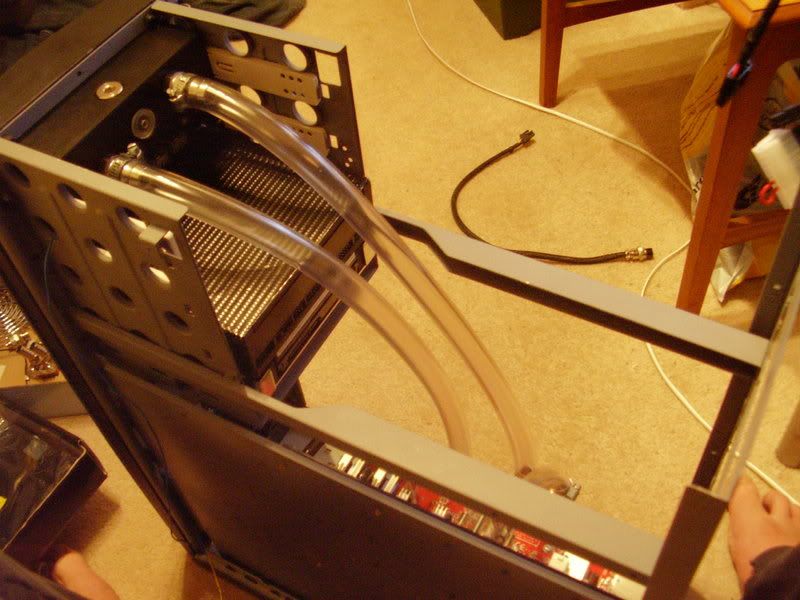
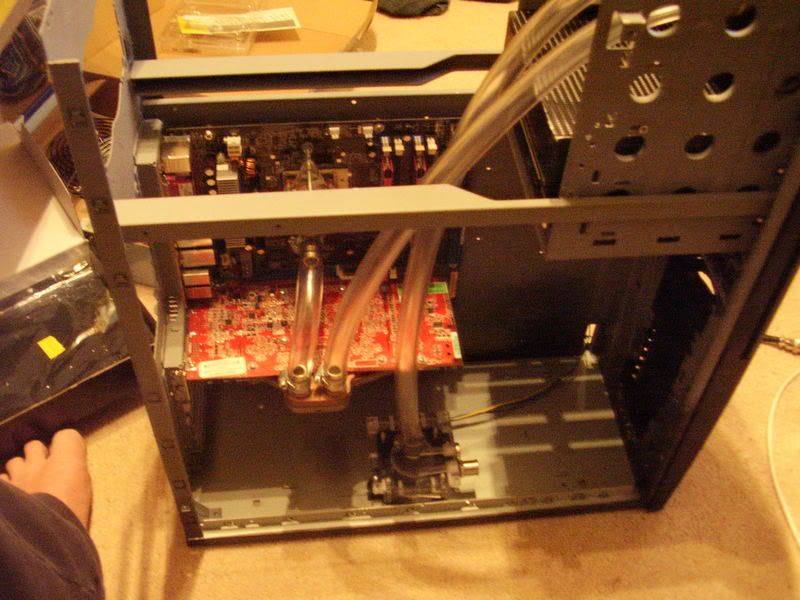
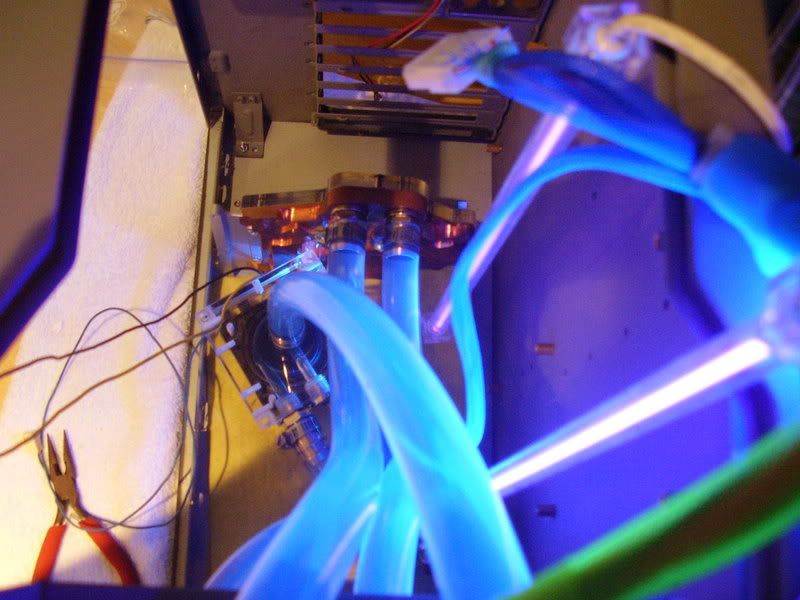
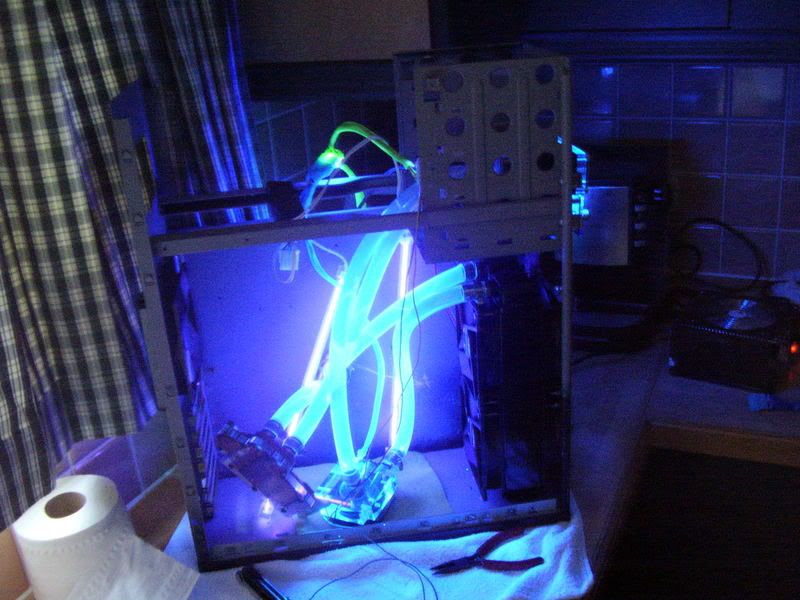
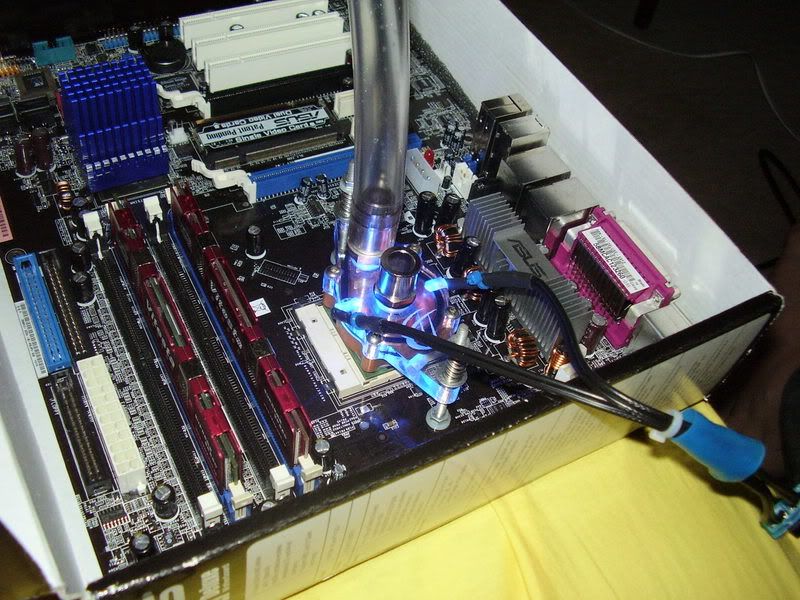
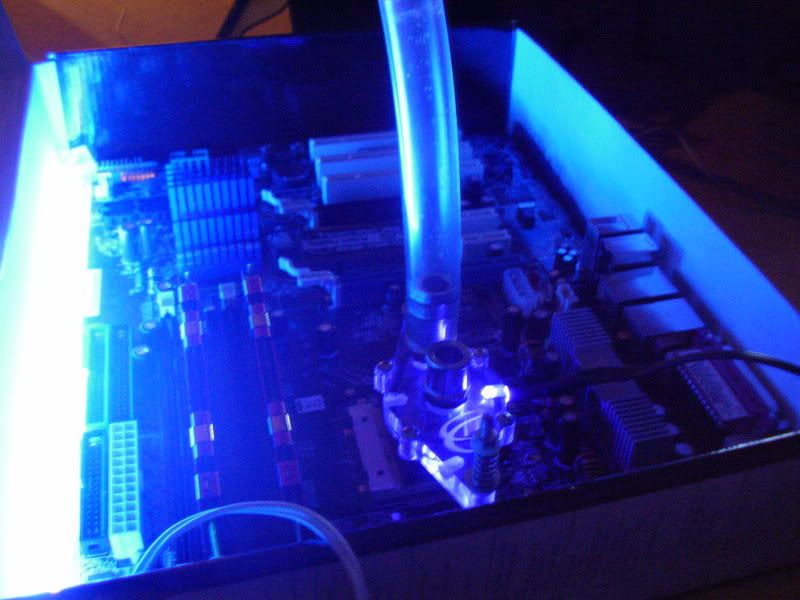
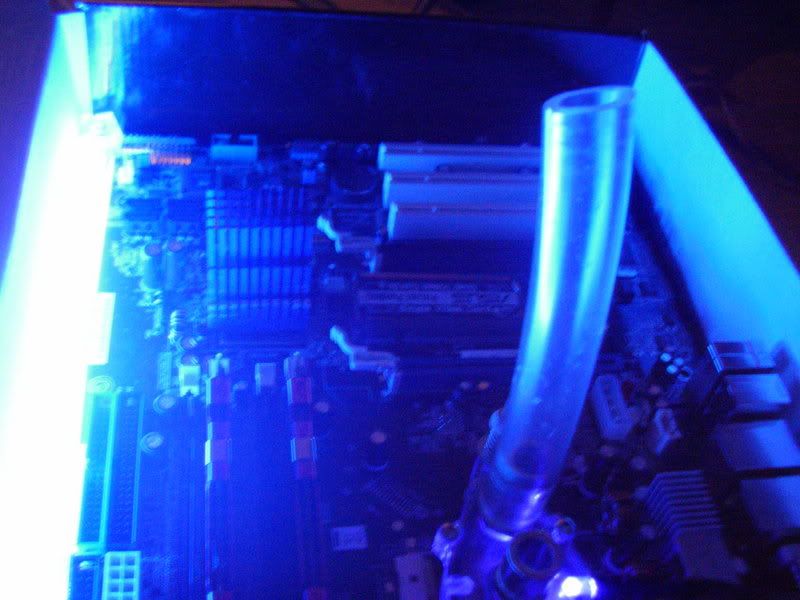
I started plumbing the loop with 1/2" ID (about 3/4" OD!!!!) tubing. I also wanted it to have a smooth curve down into the inlet of the pump..
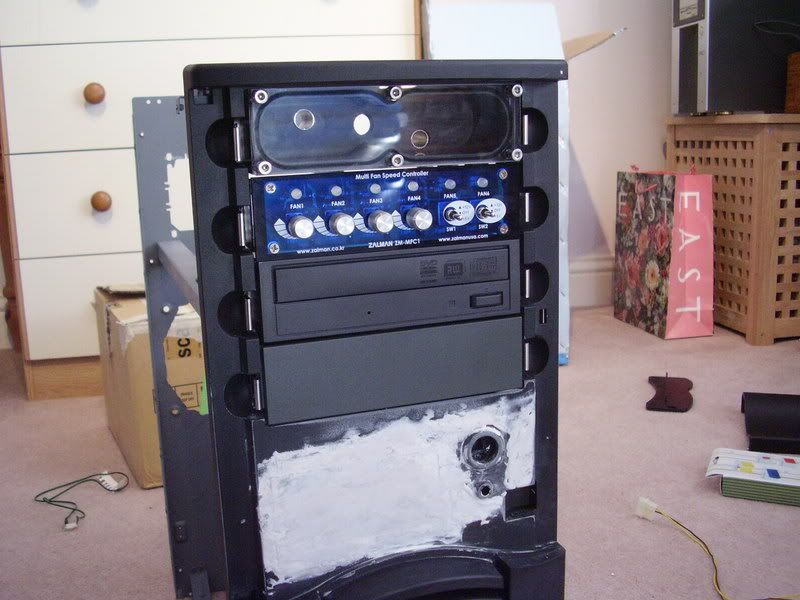
Because of the Hex nuts on the Repack 5.25" Res, i had to dremel out 3 bits from the door..
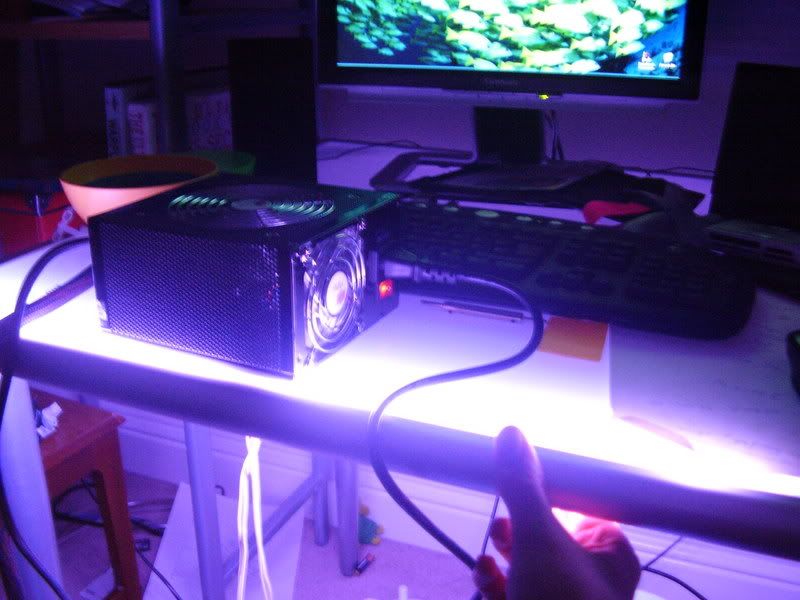
(under the glass bit of my desk, looks cool!)
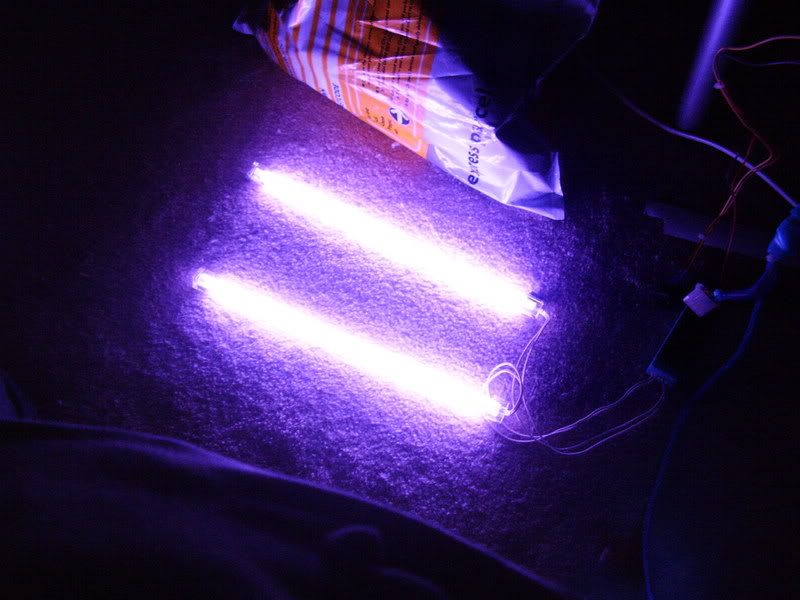
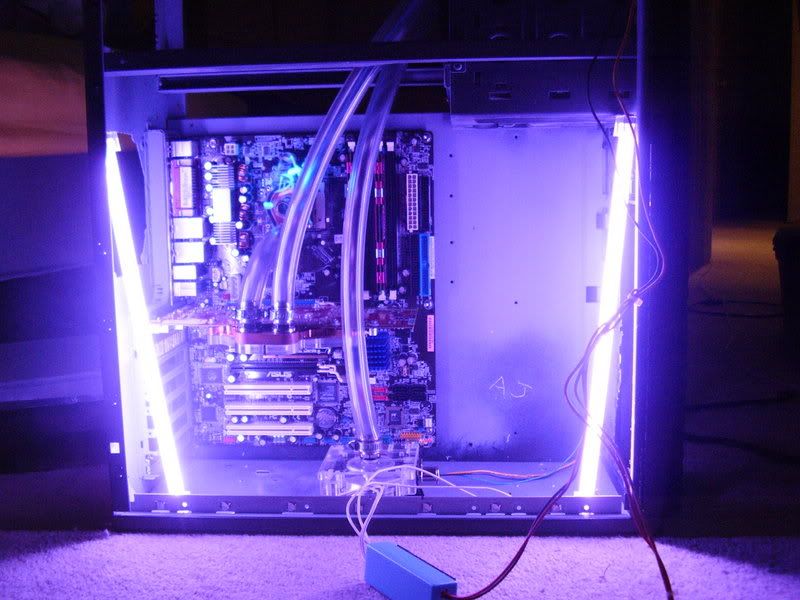
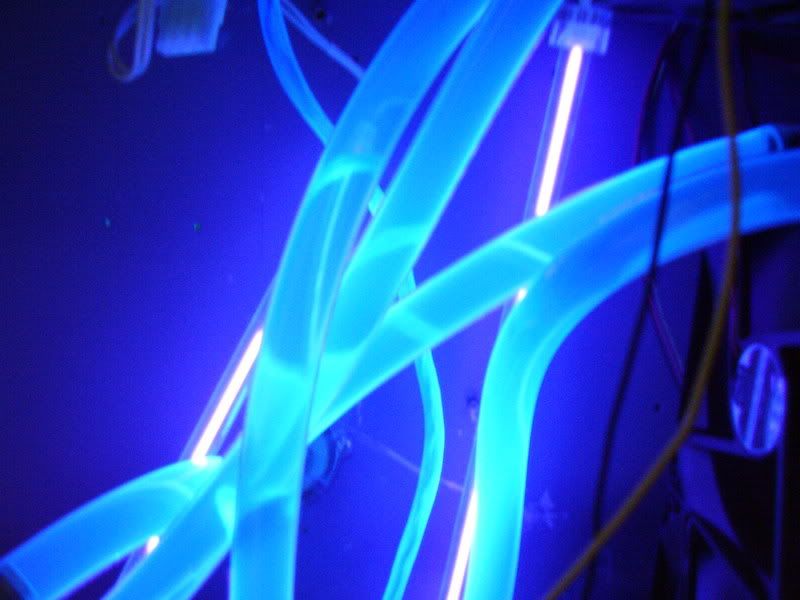
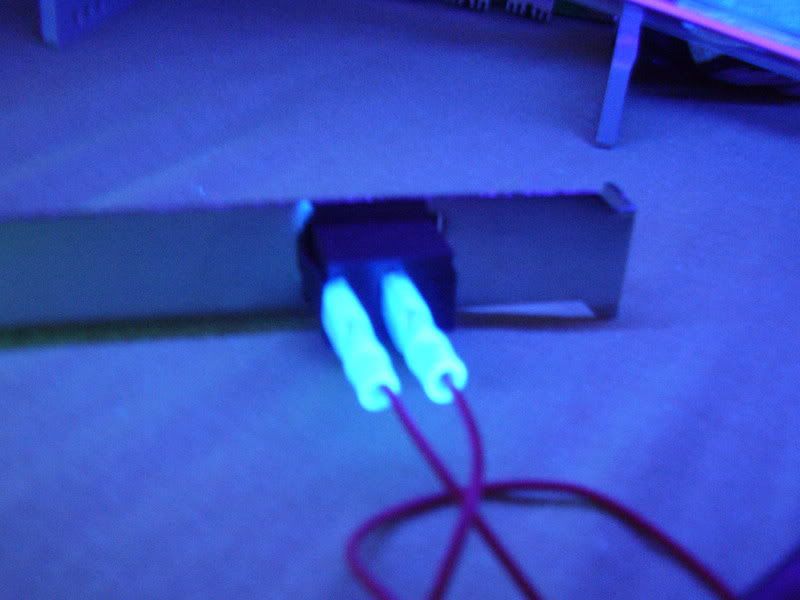
I also tested the Cold Cathodes. They are Hiper Purple ones, but i may swap them for proper UV ones....
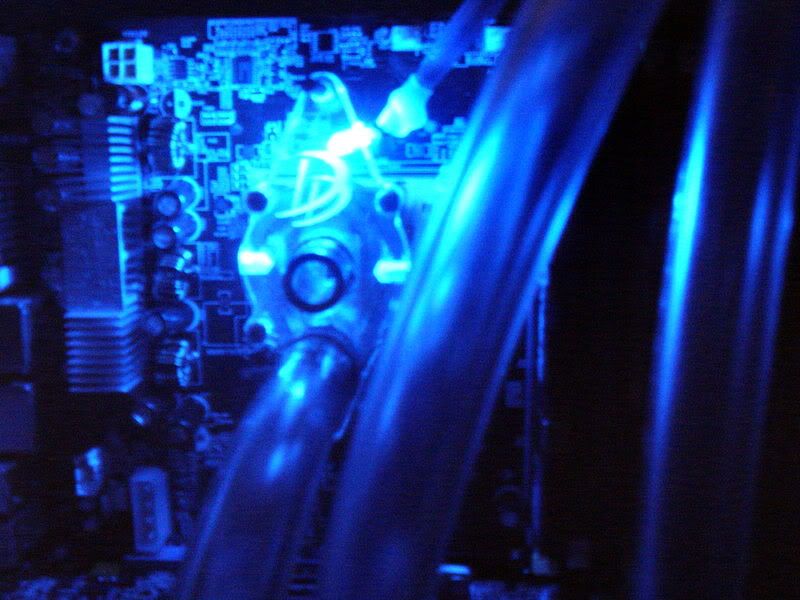
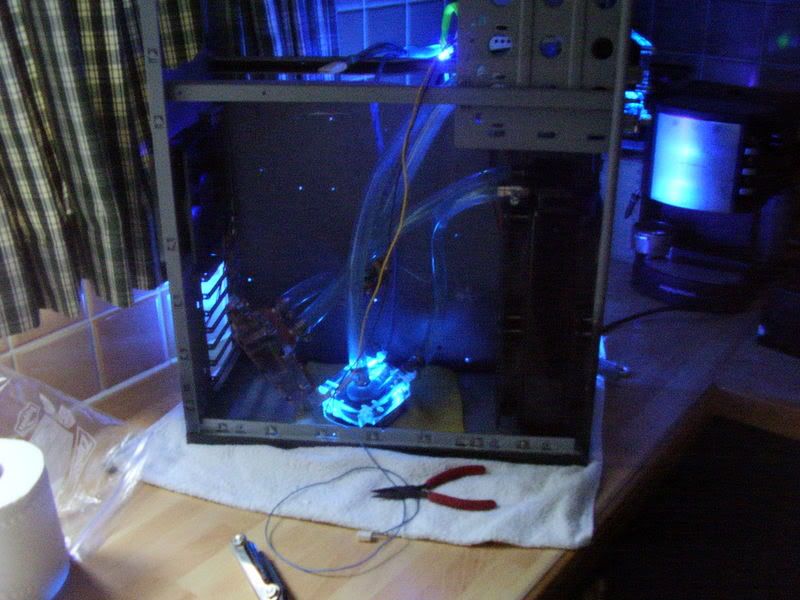
LED testing for the CPU block and the Pump. I'll tryt and pick up some that are the same colour as the CC's if i decide to keep them...
I finished off sanding the front door with first 400 Grit, then 1000 Grit Wet-and-Dry
everything will be black on the bezel, and the white bondo is actually as flat as the bezel even thought it doesn't look like it. It just need some painting and acrylic....
I think its easiest to plumb with the Res at the top, and also makes filling easier while the roof is off...
I drilled 2 x 4mm holes in the base, and then filed them off. Its mounted with M4 x 20 Bolts with a nut on each, and a bit of 3mm neoprean underneath it....
It looks quite nice on the bottom with only two small bolts..
I started plumbing the loop with 1/2" ID (about 3/4" OD!!!!) tubing. I also wanted it to have a smooth curve down into the inlet of the pump..
Because of the Hex nuts on the Repack 5.25" Res, i had to dremel out 3 bits from the door..
(under the glass bit of my desk, looks cool!)
I also tested the Cold Cathodes. They are Hiper Purple ones, but i may swap them for proper UV ones....
LED testing for the CPU block and the Pump. I'll tryt and pick up some that are the same colour as the CC's if i decide to keep them...
imported_Bazza
New member
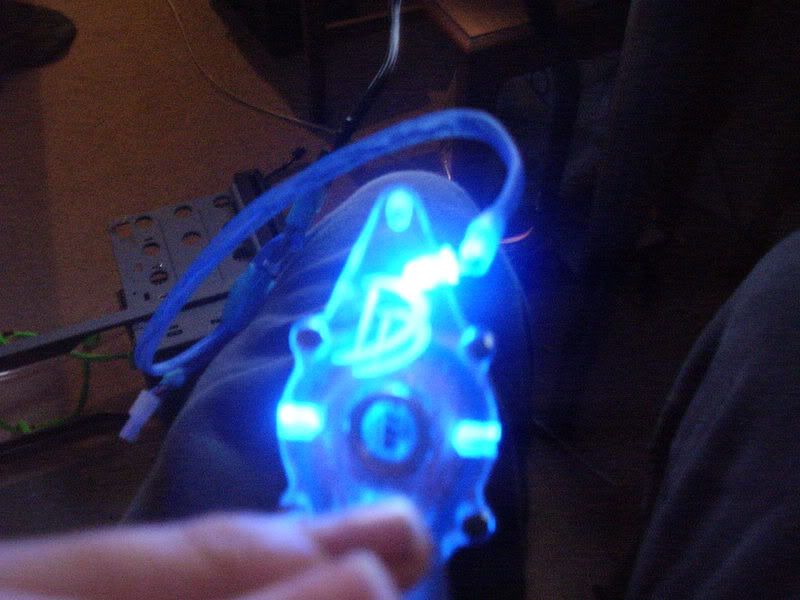
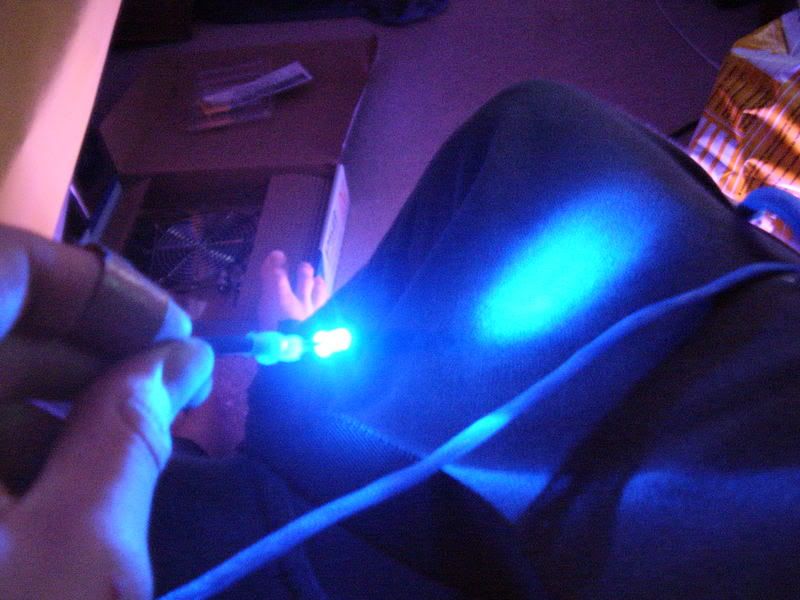
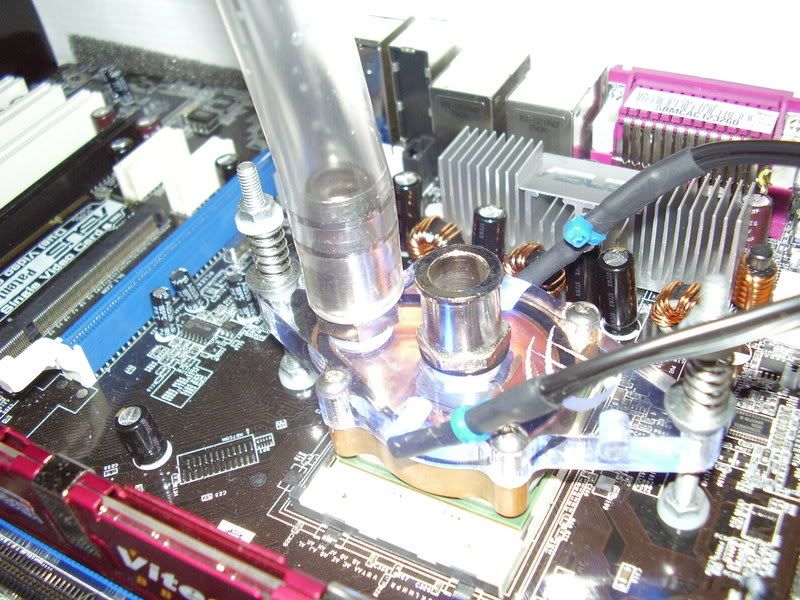
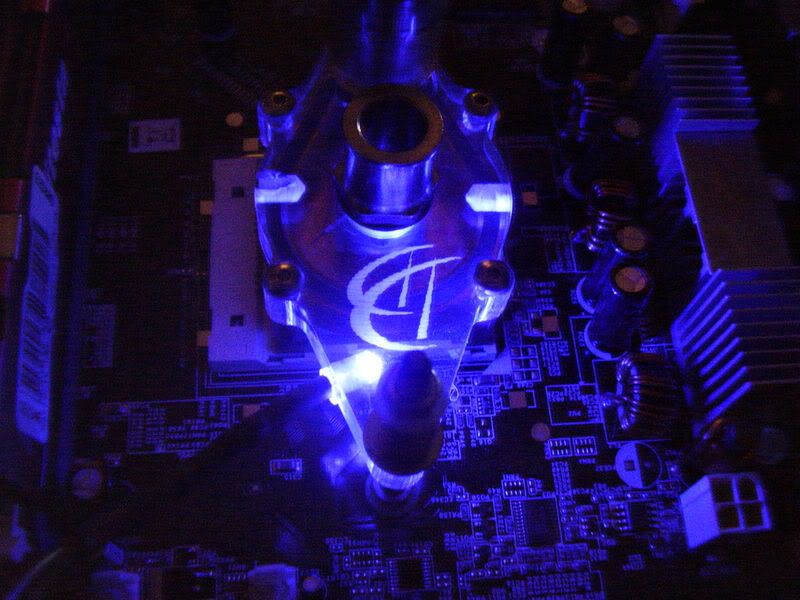
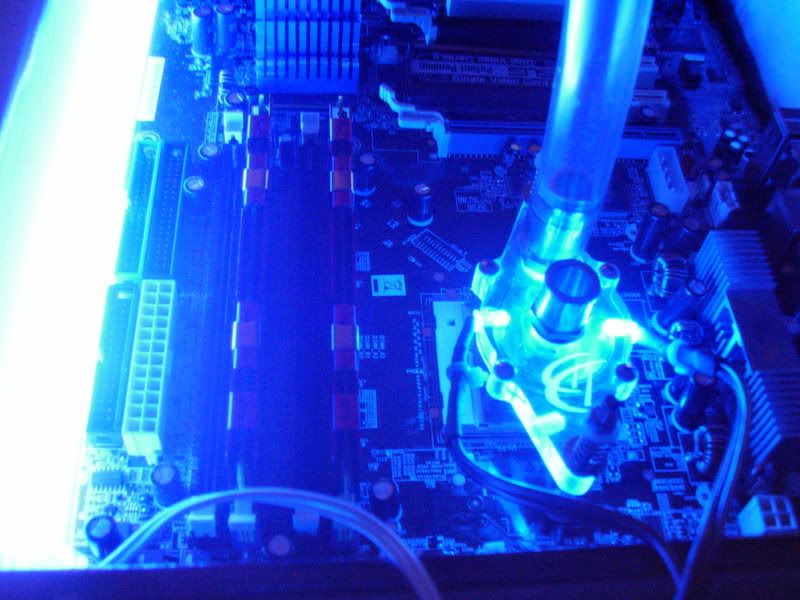
I first tested the blue LED on the TDX....
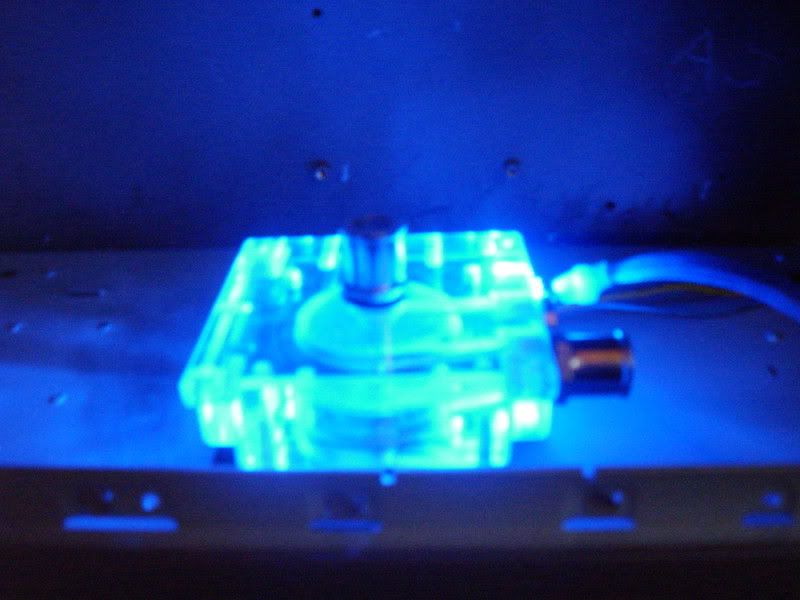
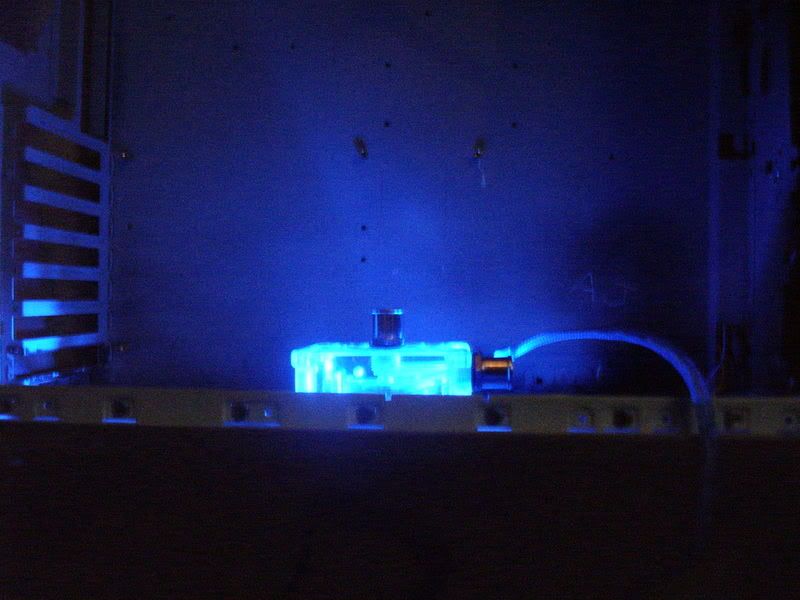
The on the Pump, which i think looks very nice..


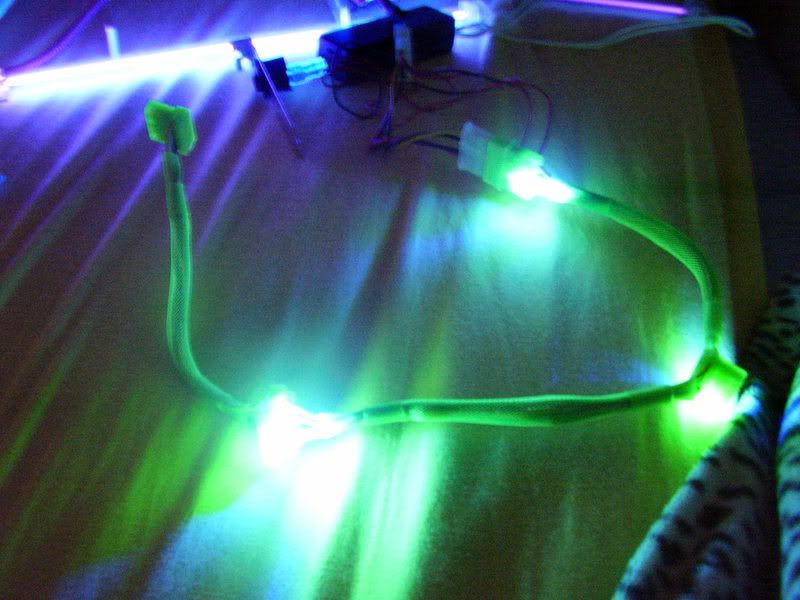
This is my ACRyan molex cable thingly... its green, but it will eventually change...
imported_Bazza
New member
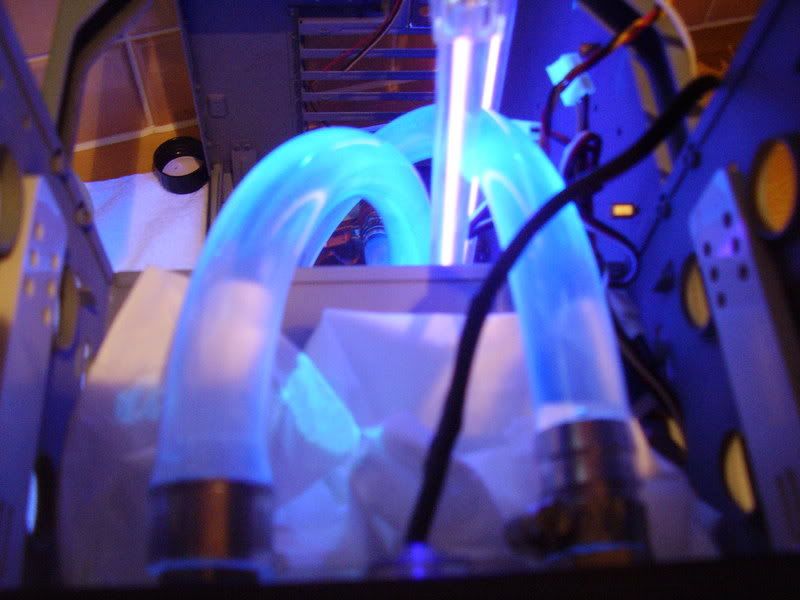
I properly started plumbing, hopefully ready for leak testing tommorow..., just aslong as my Other Package comes tommorow (it should have been here this morning, but it isn't, and they won't answer my e-mails or phone calls... 
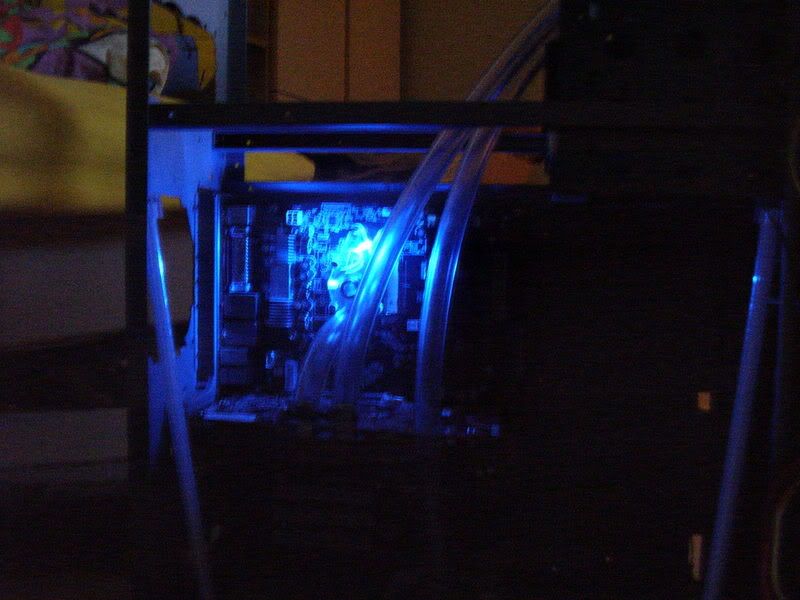
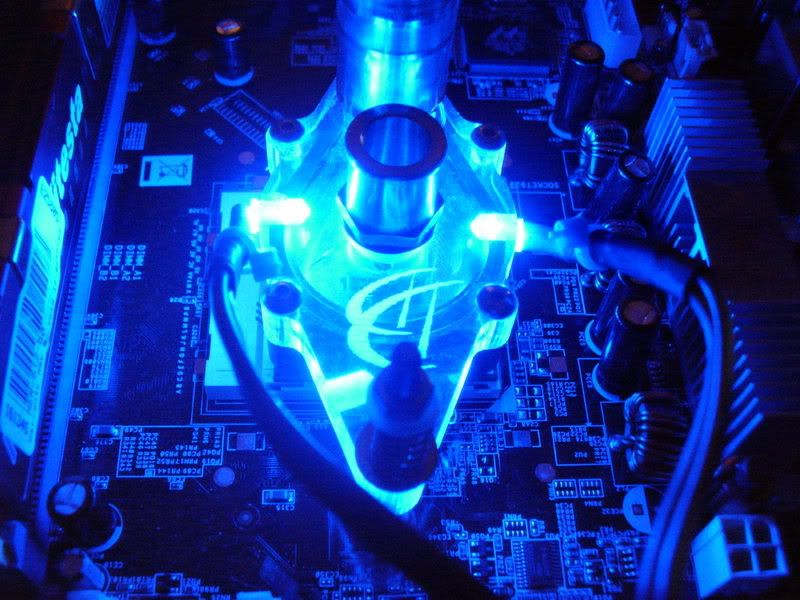
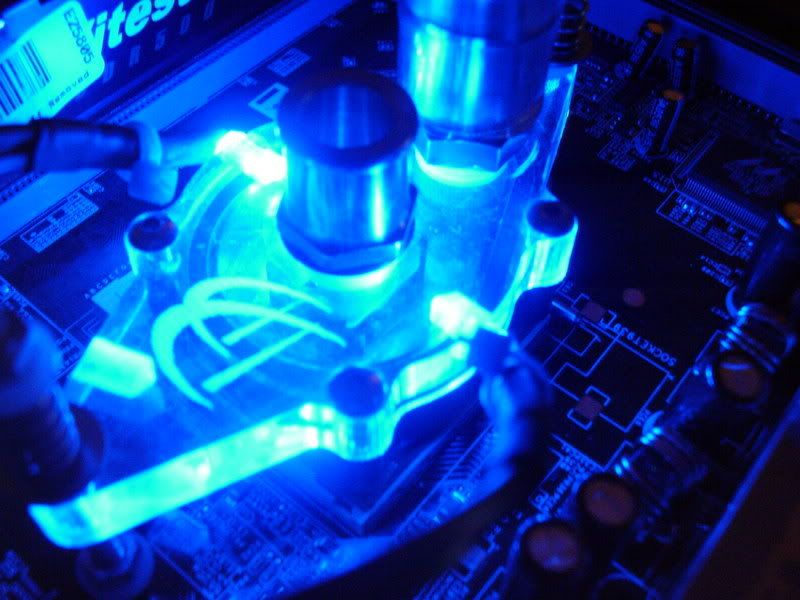
I then shoved in the CC's and the LED into the TDX, and i love it!
there should be a little update later tonight when ive finished plumbing it all.....
I then shoved in the CC's and the LED into the TDX, and i love it!
there should be a little update later tonight when ive finished plumbing it all.....
imported_Bazza
New member
i finally got my last package at 8 this morning....
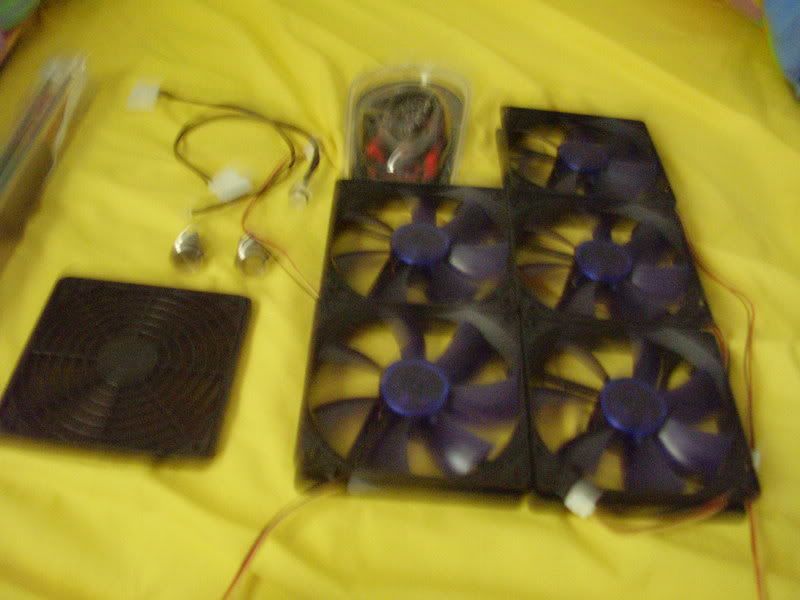
inside was::
5x XL2 Black Noiseblocker 120mm Fans
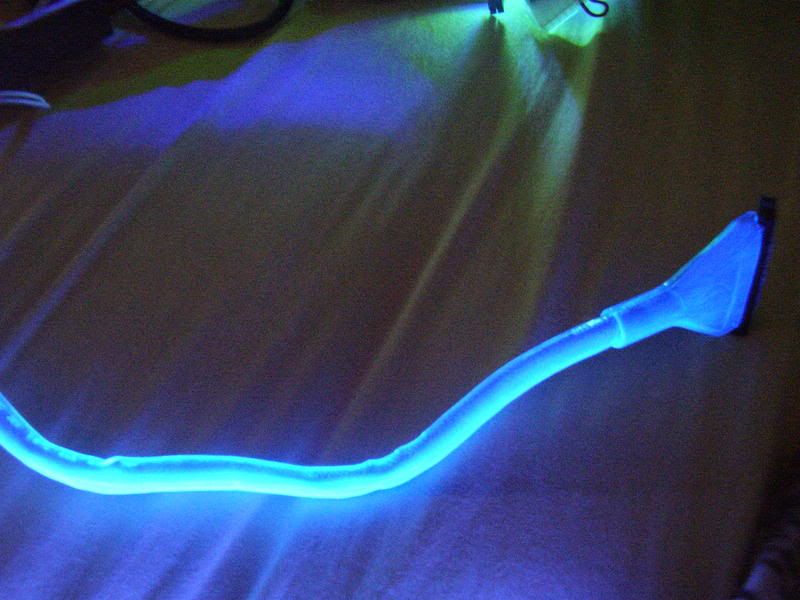
2x 12" UV CCFL's
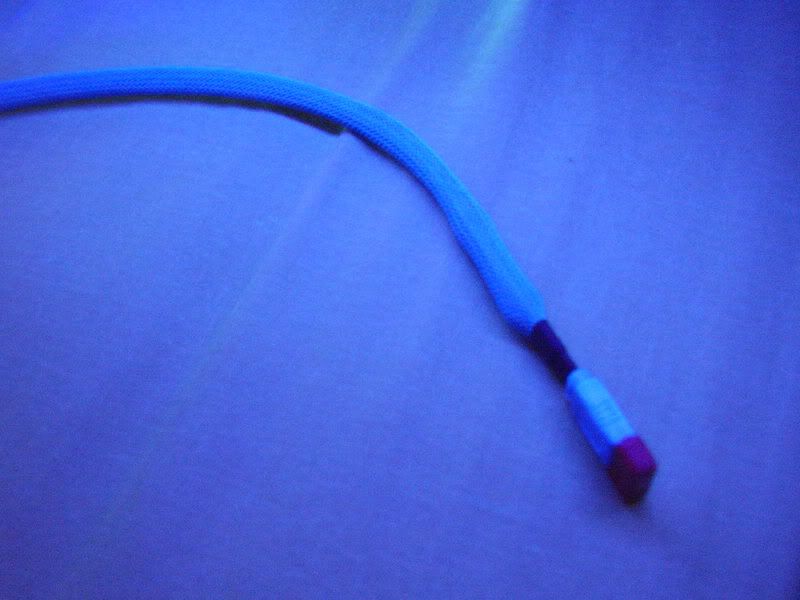
1x 50cm UV Black SATA 150/300
2x Blue Vandal Switches.
a 120mm Dust stopping thingy....
and some LED's i didn't order...!
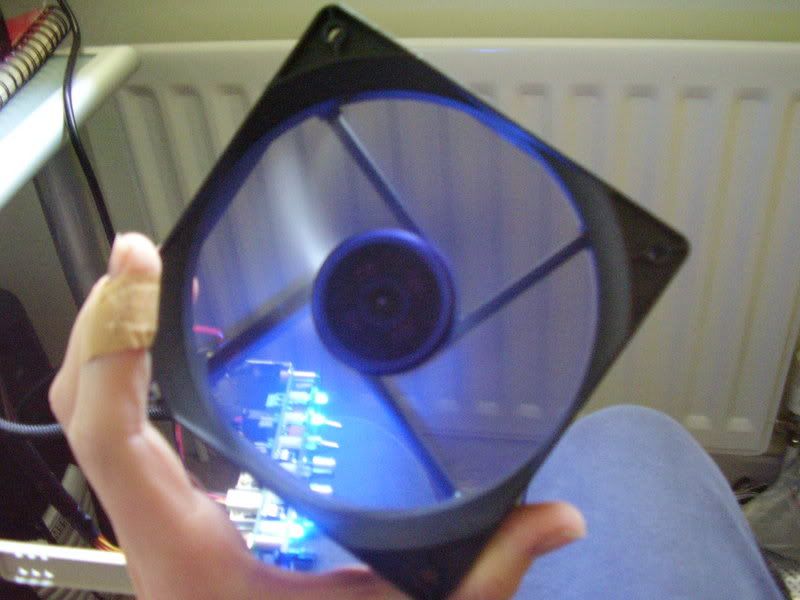
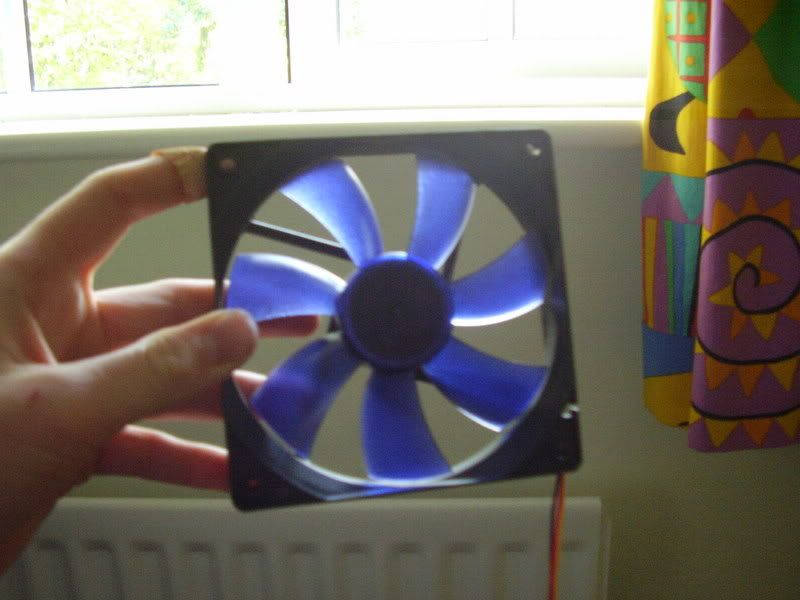
I really like these fans, move lots of ar, and i can't here them !
inside was::
5x XL2 Black Noiseblocker 120mm Fans
2x 12" UV CCFL's
1x 50cm UV Black SATA 150/300
2x Blue Vandal Switches.
a 120mm Dust stopping thingy....
and some LED's i didn't order...!
I really like these fans, move lots of ar, and i can't here them !
imported_Bazza
New member
well, after a day of getting angery, eating bacon and spend aload of time on MSN... here it is...!
and now heres a vid (I hope its gonna work....)
[IMG:]http://i49.photobucket.com/albums/f266/Mankz_91/th_PA260175.jpg[/img]
AJ
and now heres a vid (I hope its gonna work....)
[IMG:]http://i49.photobucket.com/albums/f266/Mankz_91/th_PA260175.jpg[/img]
AJ
imported_Bazza
New member
some more picceys....
and this is how it is with the CCFL's off, and no LED in the TDX..
and this is how it is with the CCFL's off, and no LED in the TDX..
imported_Bazza
New member
Well, i got home at 2ish this afternoon and got a litlle bored while waiting for the new BF2 Patch to download, so i got some new picceys and lighting shots...
Ive had some bad news in that the Powder coating never actuakky happened.
SO, im trying to find a local shop that will do it for me.
anyway, ive done my window....
I didn't want to have the window looking how it does, but after i cut out the wrong sections, this is what im stuck with.
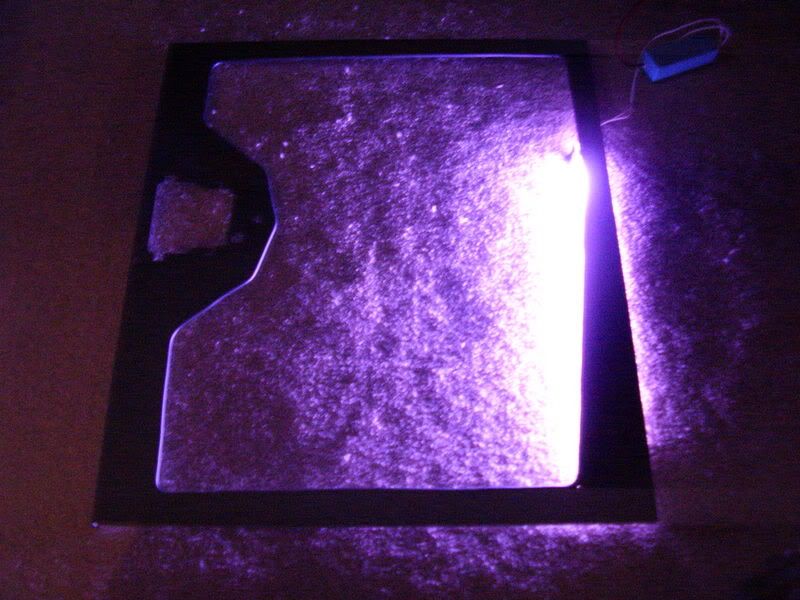
Thats my basic plan with the lighting. I'll have 4 UV cold-cathodes, and a single Purple one, hopefull running @ 5V or 7V..
any way, on with the LED's and piccys....
Ive had some bad news in that the Powder coating never actuakky happened.
SO, im trying to find a local shop that will do it for me.
anyway, ive done my window....
I didn't want to have the window looking how it does, but after i cut out the wrong sections, this is what im stuck with.
Thats my basic plan with the lighting. I'll have 4 UV cold-cathodes, and a single Purple one, hopefull running @ 5V or 7V..
any way, on with the LED's and piccys....
imported_Bazza
New member
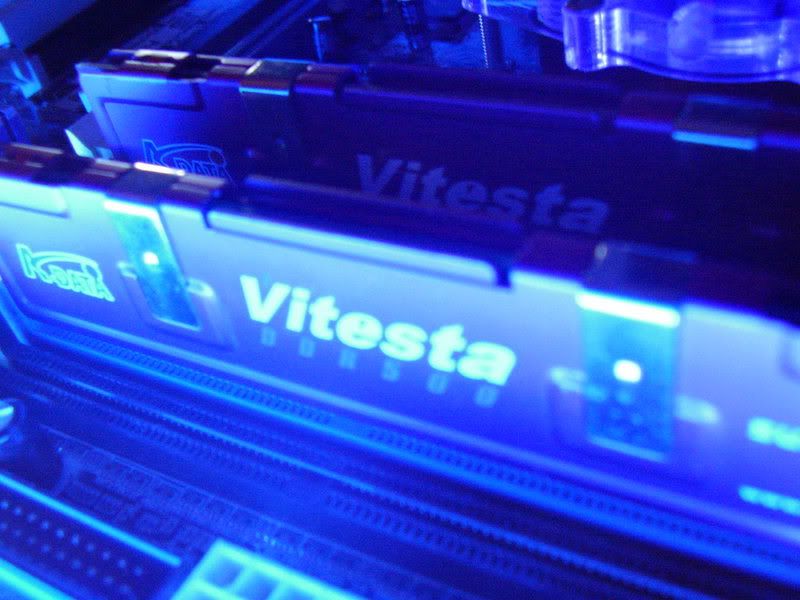
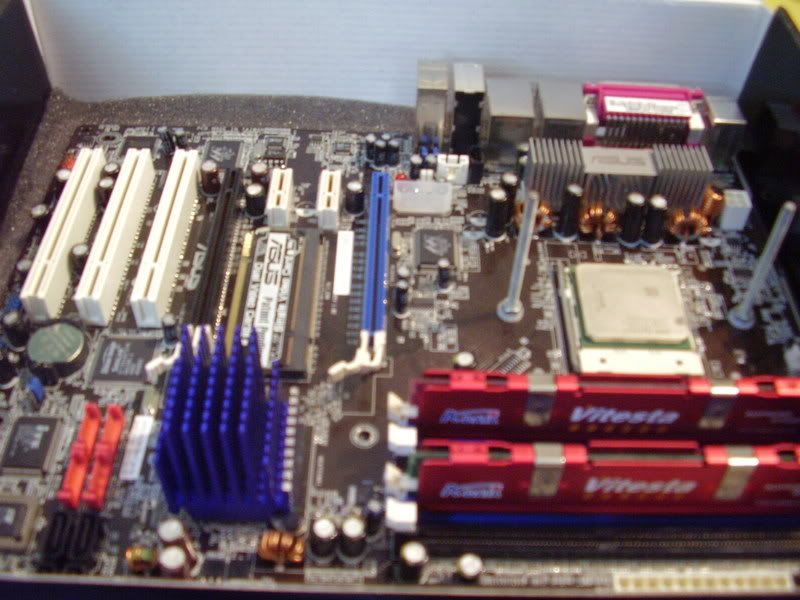
My lovely RAM, which i'm lead to believe is CH-5..
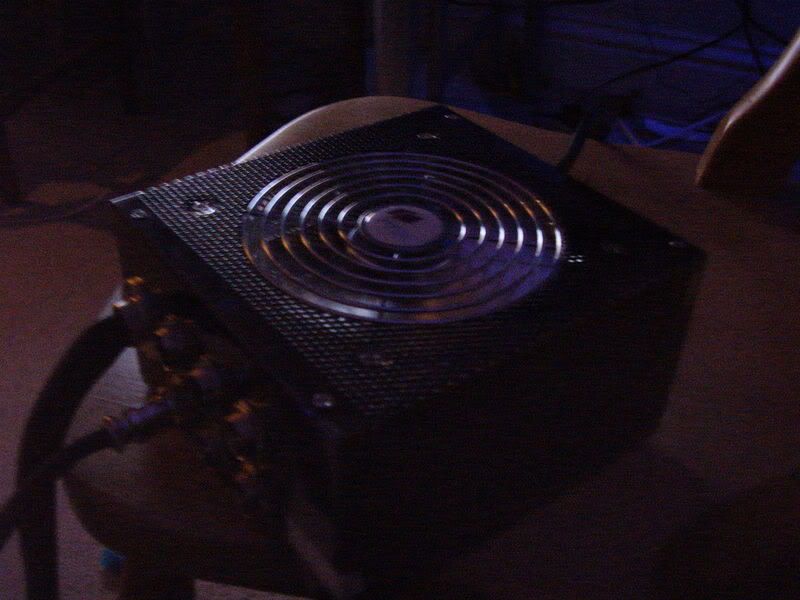
Ive changed my Opinion on the PSU, allthough the modualr Connectors are very long, its nice and quiet, and was fairly cheap. Id give it 2 thumbs up.
")
AJ
imported_Bazza
New member
now another update.
time to look at the various little UV bits ive got my grubby little mits on..
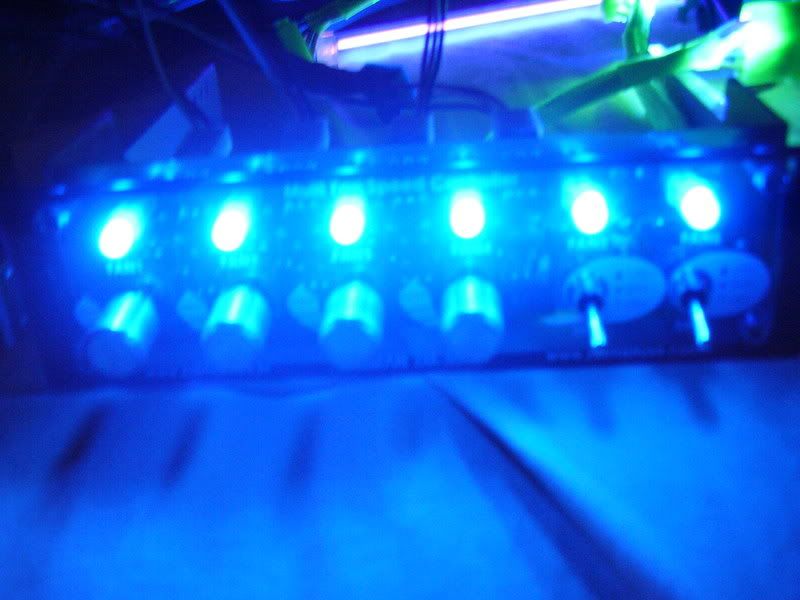
And been playing with my Zalman fan-controller.

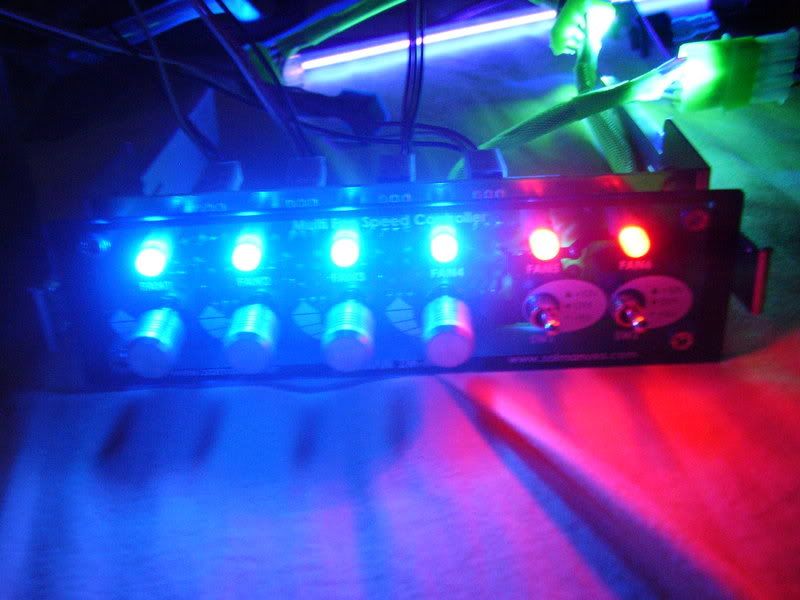
AJ
time to look at the various little UV bits ive got my grubby little mits on..
And been playing with my Zalman fan-controller.
AJ
advancedkill
New member
I dont suppose you could post us some pics of what the whole system now looks like?
Looks Good Keep Us Updated!
Looks like you're still spending money on pc's then!
") ...
...
Keep Us Updated!Looks like you're still spending money on pc's then!
Bazza@17/9/2006 said:ive realised howmuch money ive been spending on all this stuff, and realised i don't really need it.
im giving up my PC buliding hobby. forever.,
...advancedkill
New member
Hard to give up. I just buy components when
a) They break and im not covered by a warranty
b) They're 2 years old
c) They dont let me play games at med detail with 2*aa
That's it. Apart from that widescreen monitor. .. .
a) They break and im not covered by a warranty
b) They're 2 years old
c) They dont let me play games at med detail with 2*aa
That's it. Apart from that widescreen monitor. .. .
imported_Bazza
New member
Nope.
The case is in the paint shop, and everything else is in boxes.
The case is in the paint shop, and everything else is in boxes.
imported_Bazza
New member
Update - 7 | 01 | 06
Well, happy New Year all! I got back from Skiing in Italy today, and have been having lots of trouble with an old knee problem, and my left hand, especially my wrist is playing up
Me bum is also a litte sore from the Ice at the Snow-park....
So, this afternoon, after lunch, i got my Dad to come up and help me out...
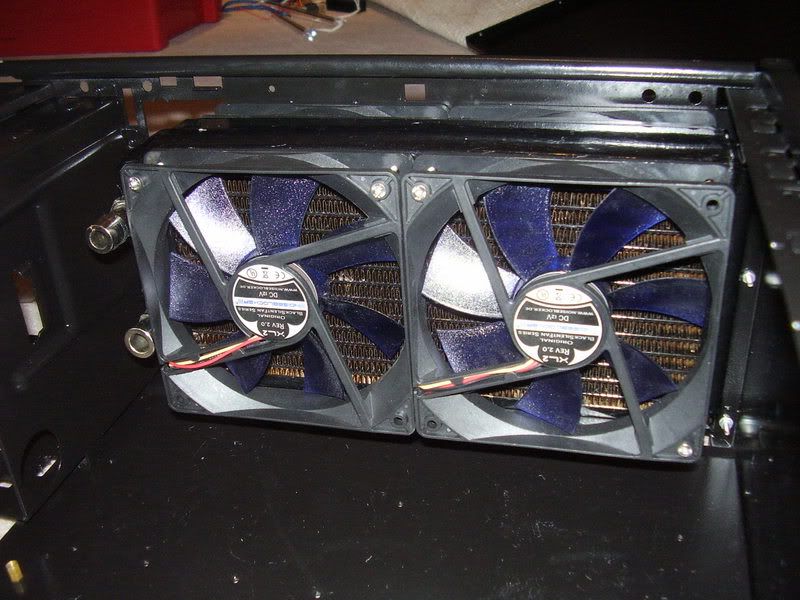
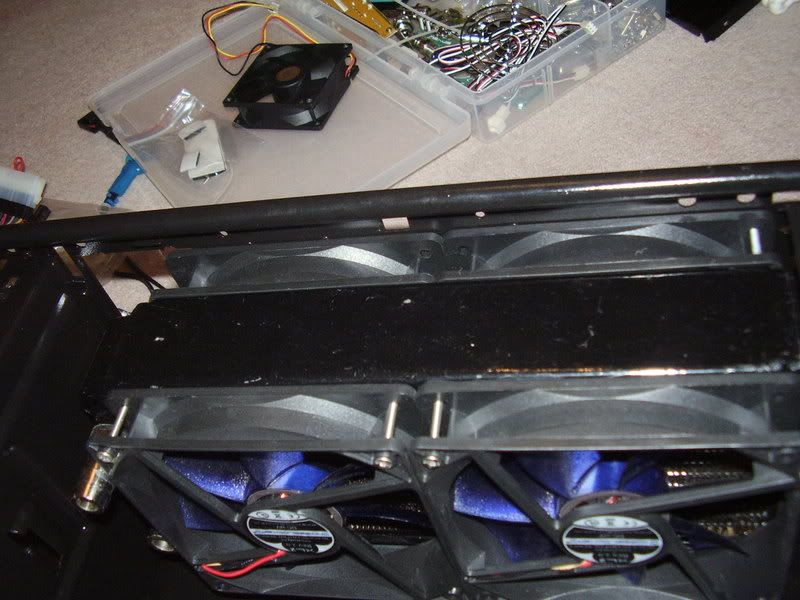
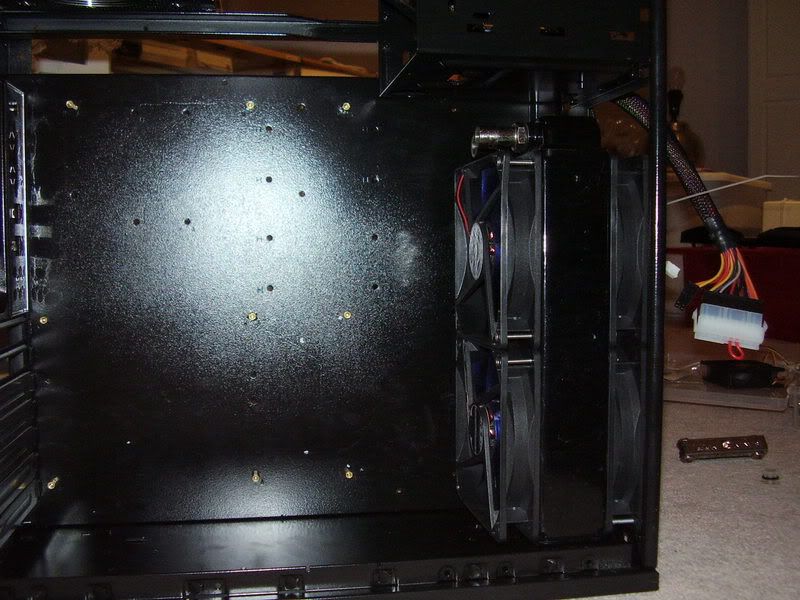
I think all of these Noiseblocker XL2's go very well with the general colour scheme, as well as fitting in with the rad.
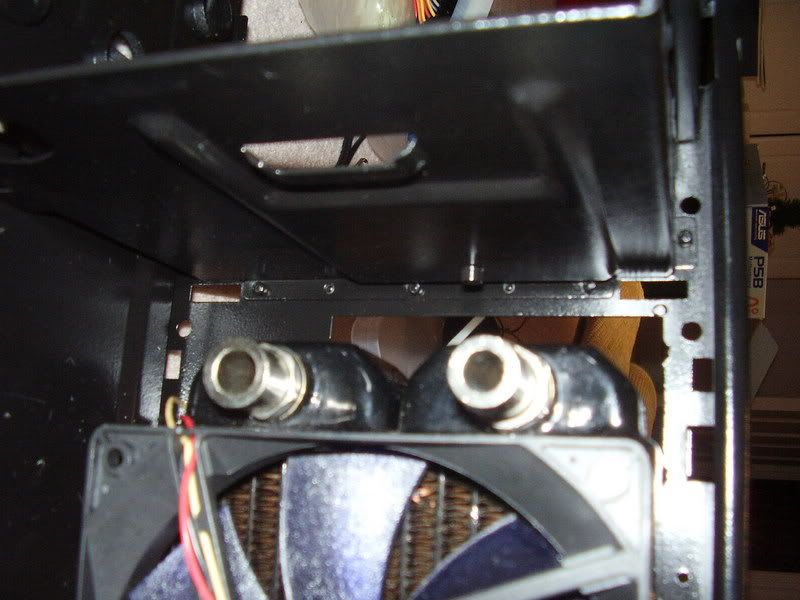
The BIX2 fits perfectly into these Chieftec Midi-Tower cases, with pretty much un-impeaded air-flow.
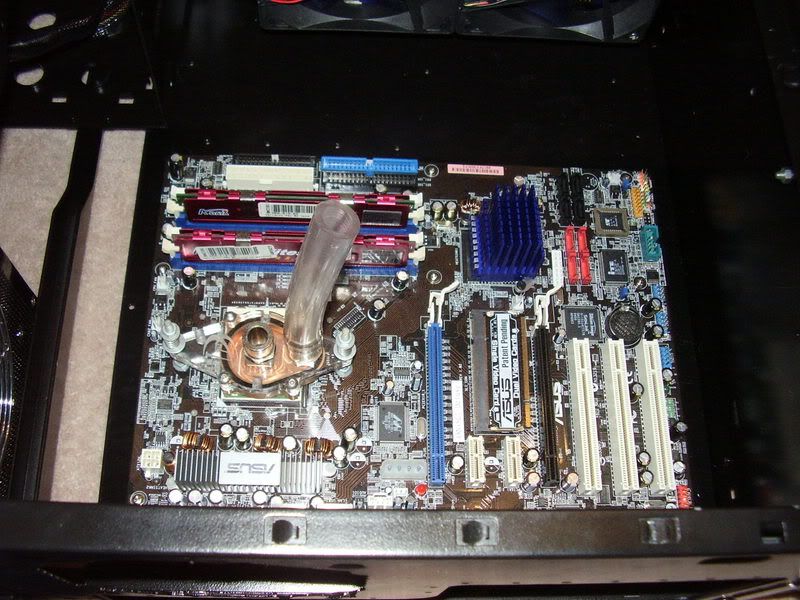
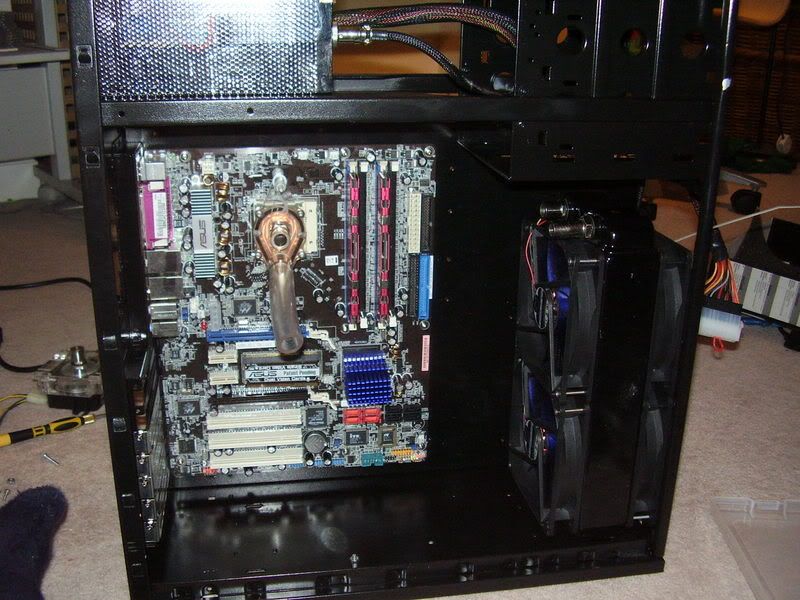
Mobo shoved in there....

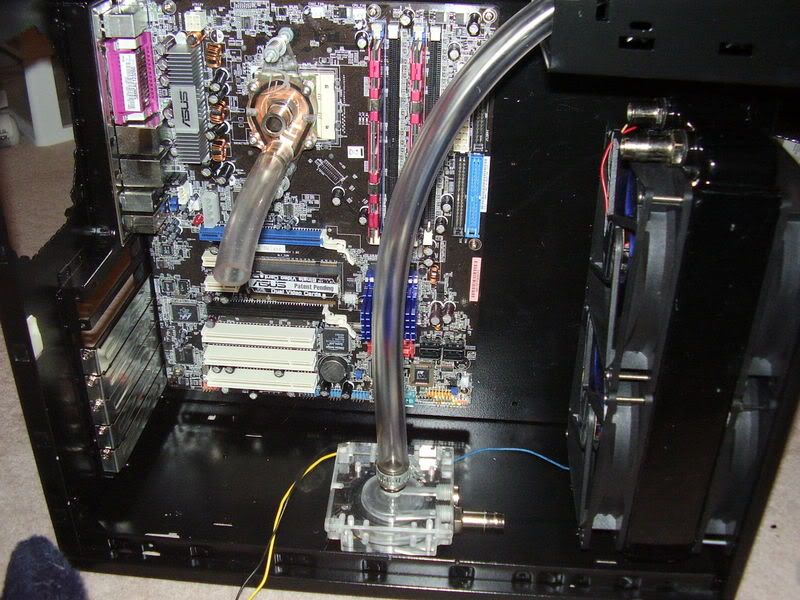
The DDC is mounted on some special anti-noise foam that i got... seems to do the trick.
Well, happy New Year all! I got back from Skiing in Italy today, and have been having lots of trouble with an old knee problem, and my left hand, especially my wrist is playing up
Me bum is also a litte sore from the Ice at the Snow-park....
So, this afternoon, after lunch, i got my Dad to come up and help me out...
I think all of these Noiseblocker XL2's go very well with the general colour scheme, as well as fitting in with the rad.
The BIX2 fits perfectly into these Chieftec Midi-Tower cases, with pretty much un-impeaded air-flow.
Mobo shoved in there....
The DDC is mounted on some special anti-noise foam that i got... seems to do the trick.
Similar threads
- Replies
- 13
- Views
- 6K