Project :: Black Water

imported_Bazza

New member
Here it is..............

Well, this summer is going to be long, and modding is set to be the cure..

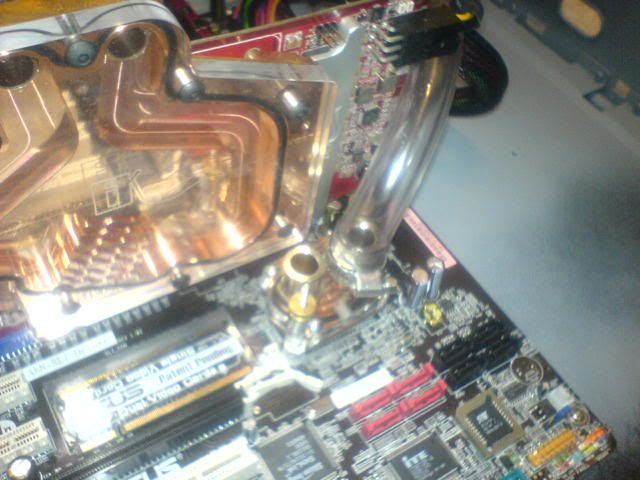
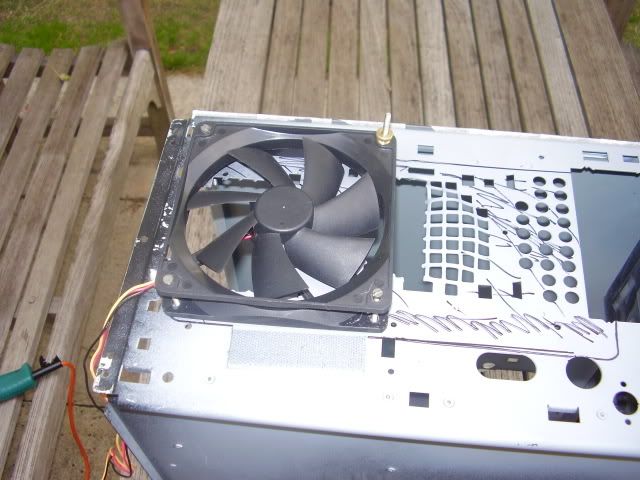
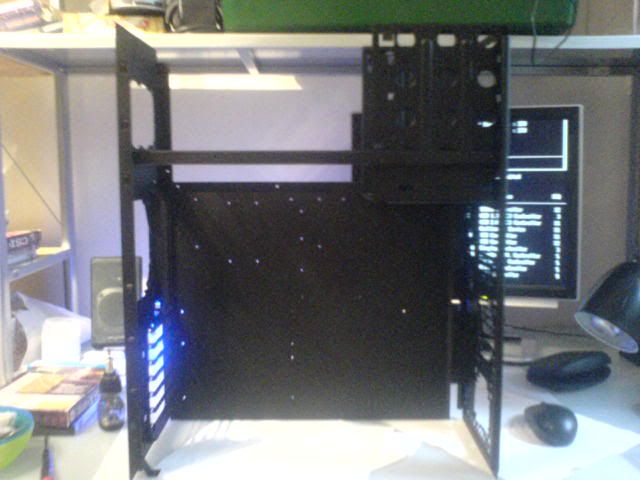
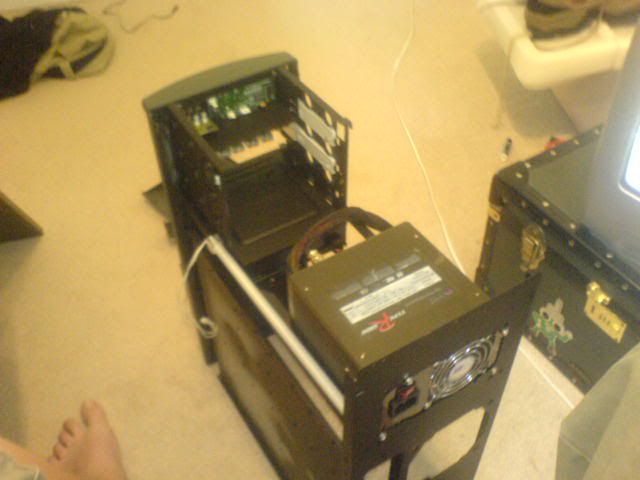
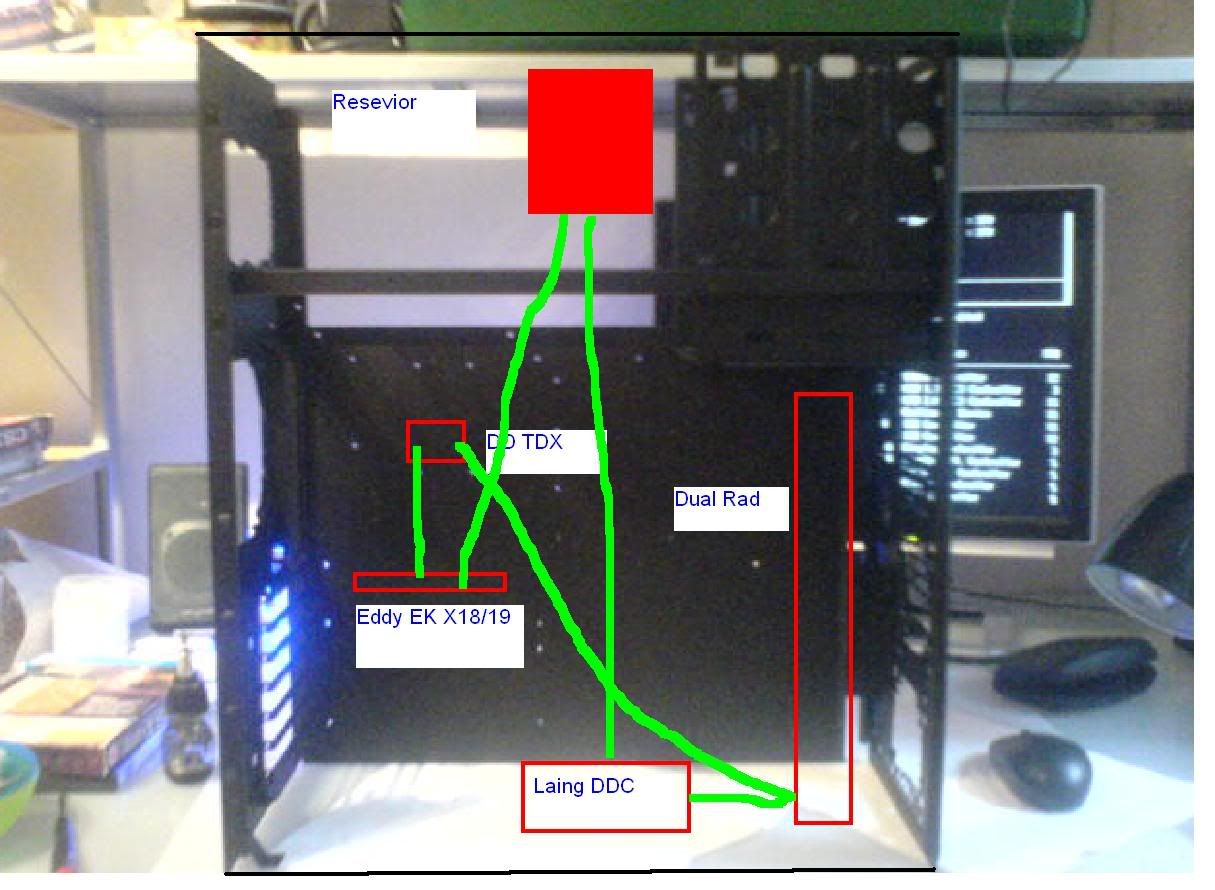
This is based upon a Chieftec Dragon case, where everything will be made Matt Black, and have lots of Blue LEDs, in the fans and buttons, and lots of 4" and 12" CCs. Its going to be an Alphacool Watercooler COnroe Rig, using an E6600 CPU and the other bits havn't been decided yet...

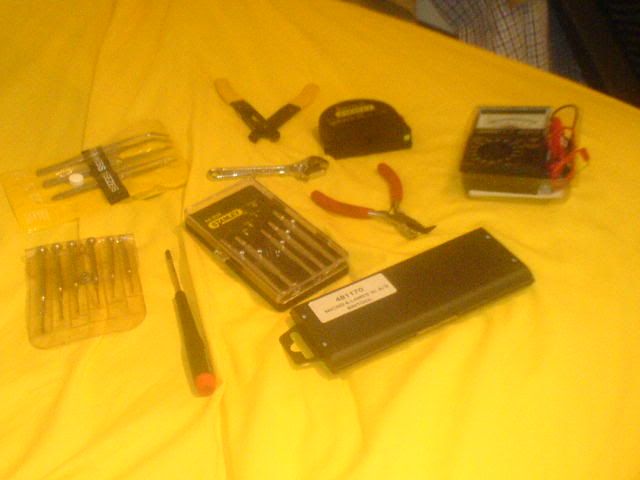
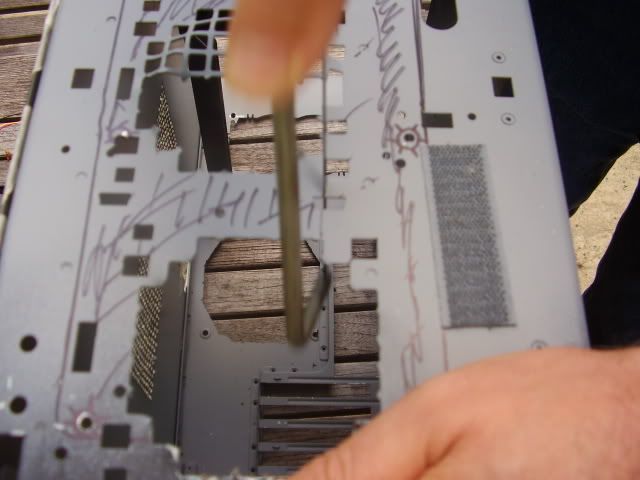
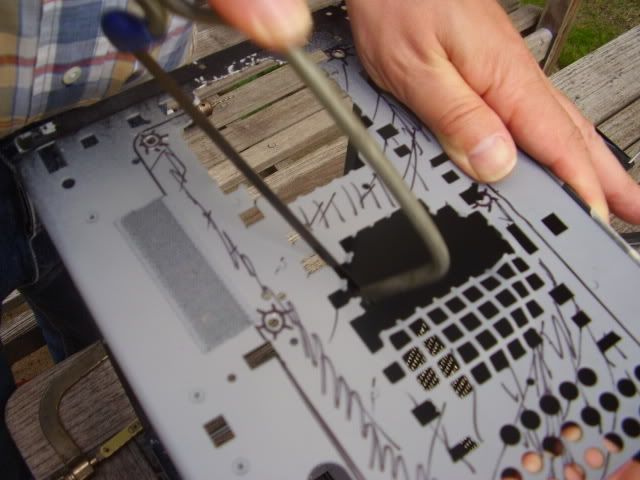
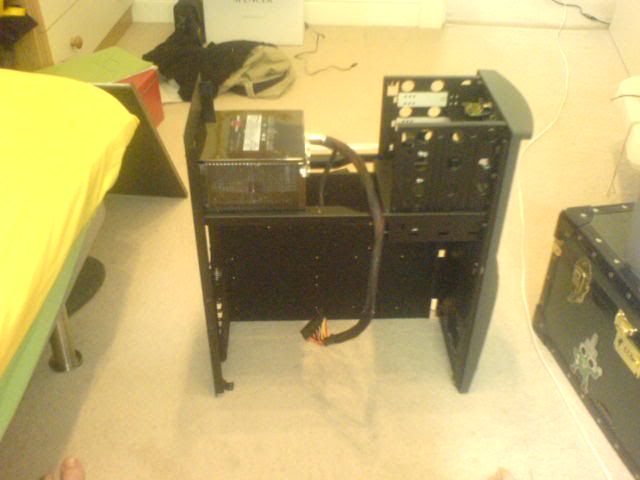
SO, today, i got out the trusty Matt black Spray paint, primer and wet and dry paper...

DSC00091.jpg


DSC00096.jpg


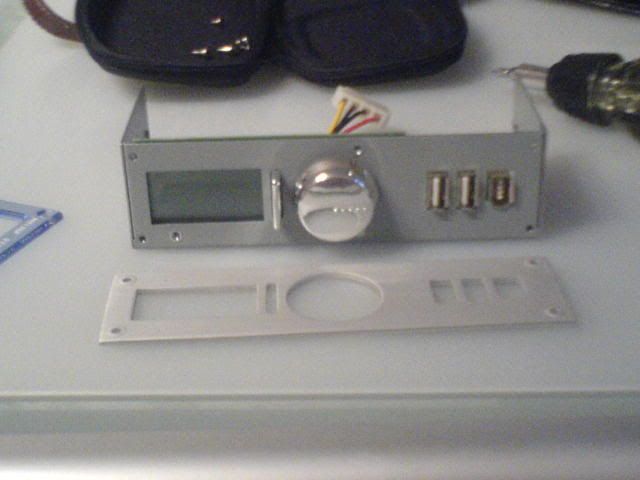
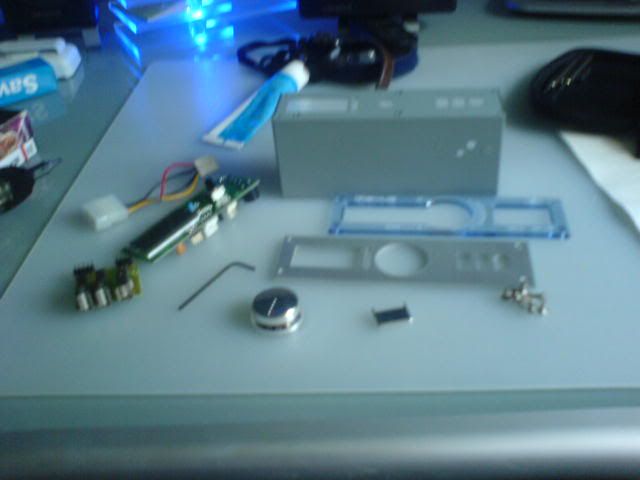
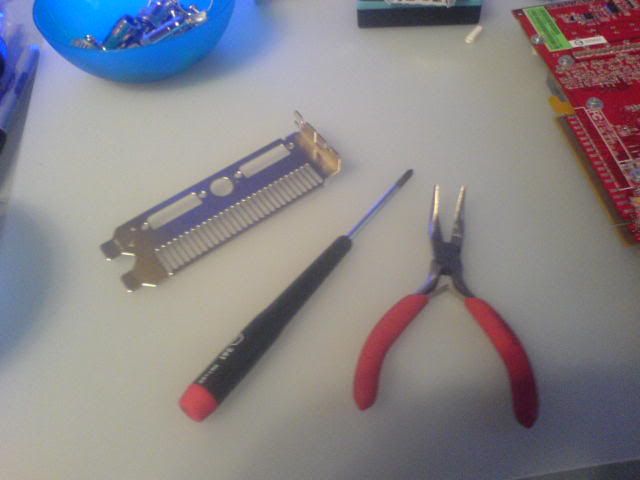
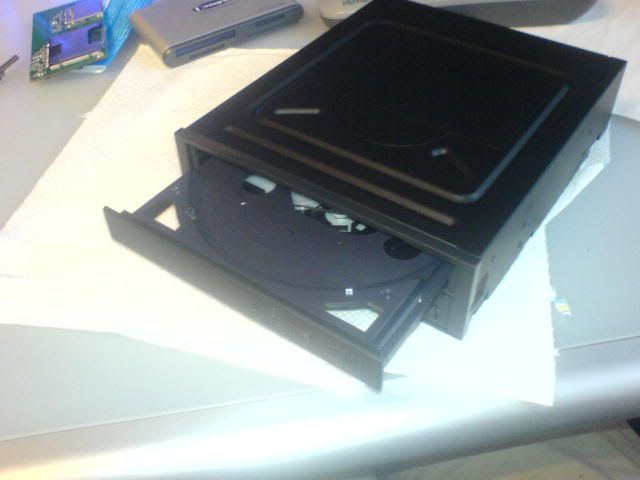
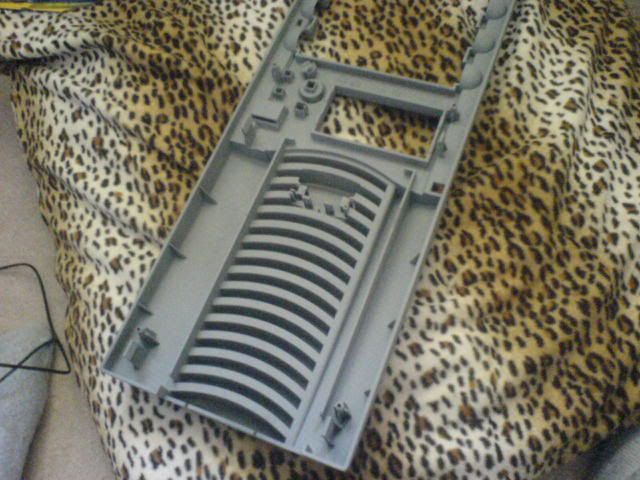
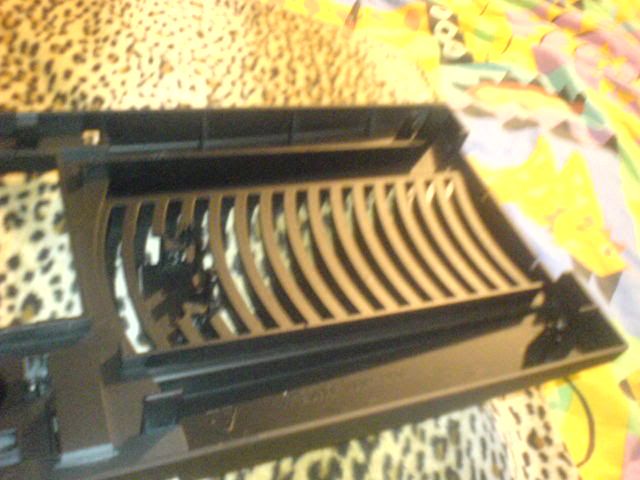
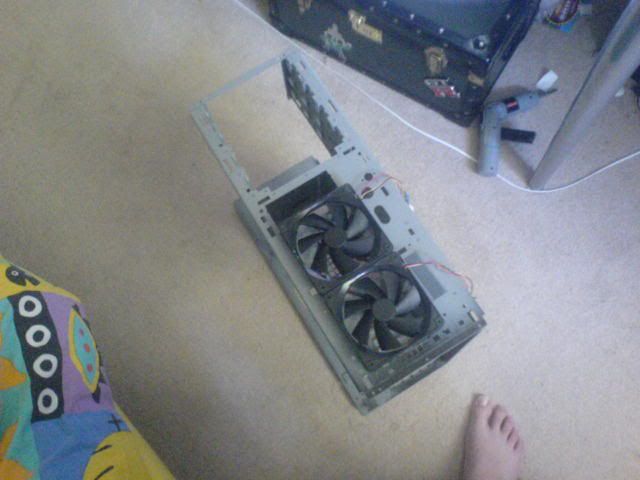
I started off stripping the Fan Controller, so that its ready for painting...

DSC00097.jpg


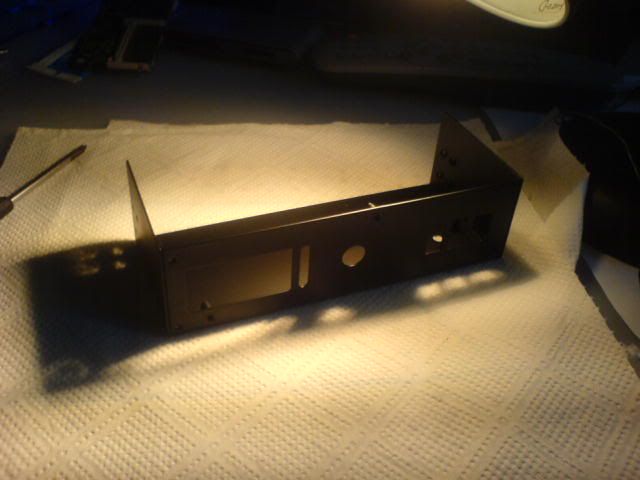
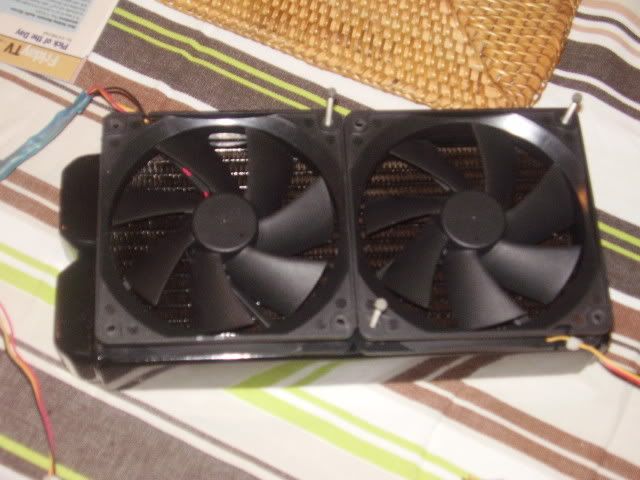
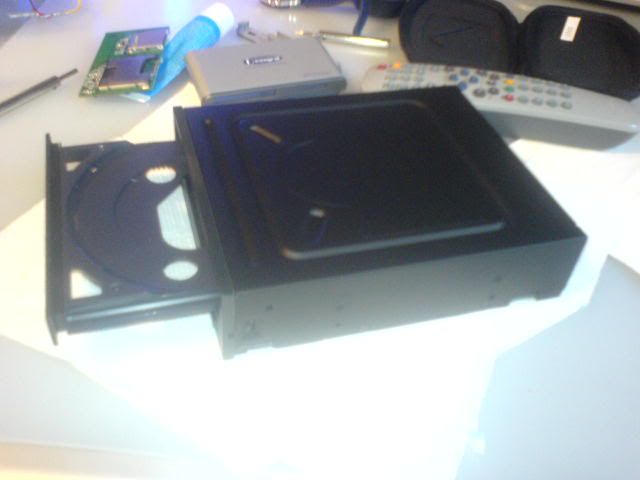
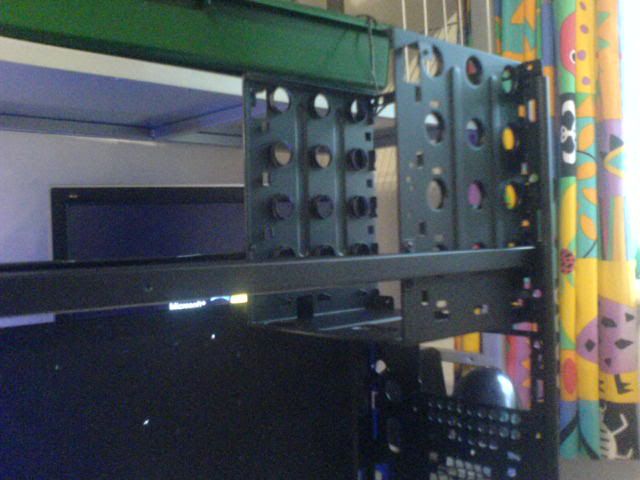
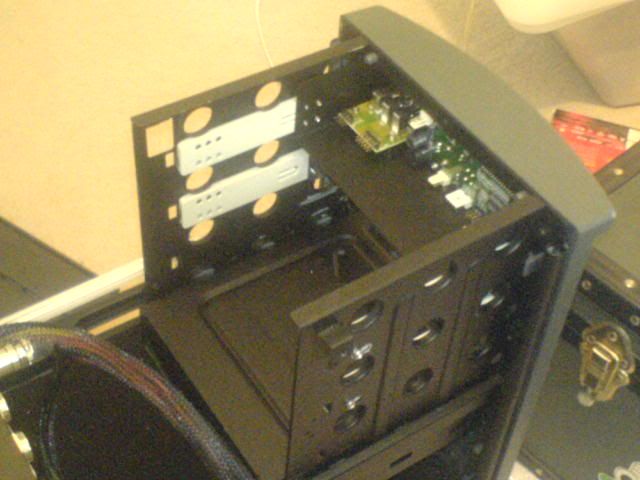
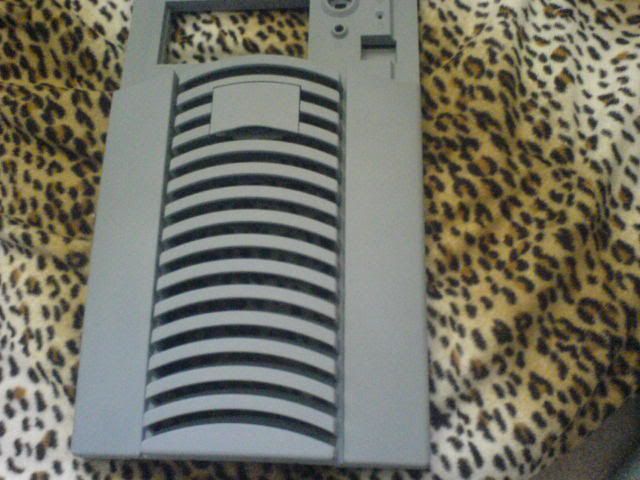
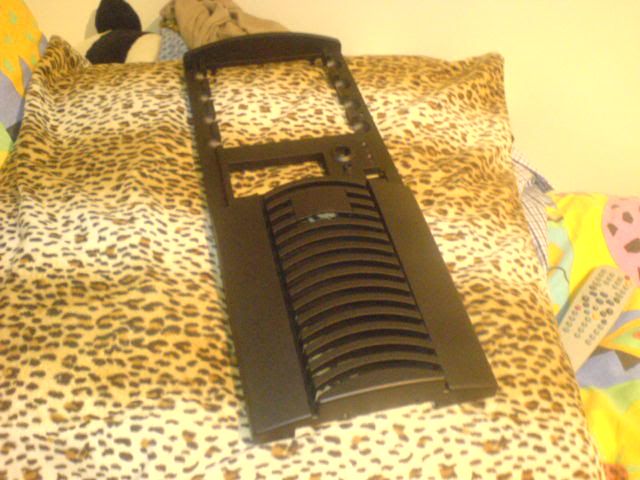
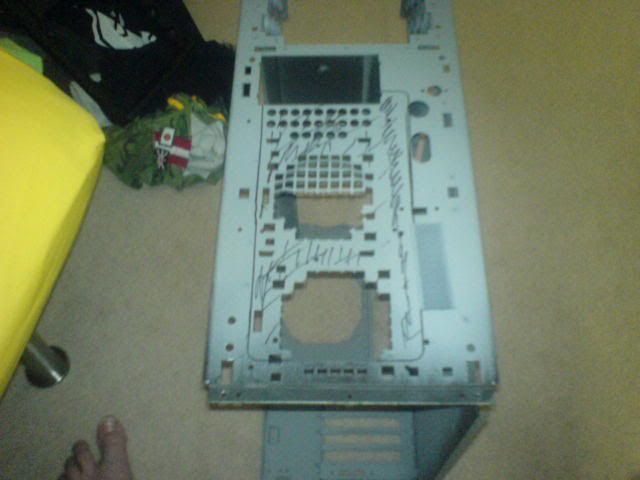
The Metal bracket after painting ( 2 coats of Matt with 800 grit between)

DSC00098.jpg


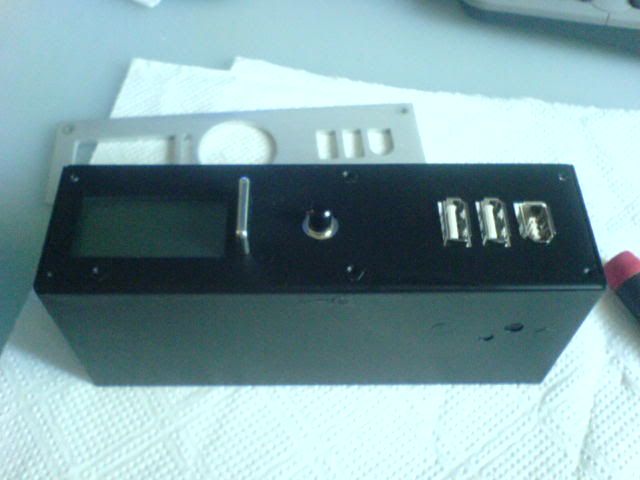
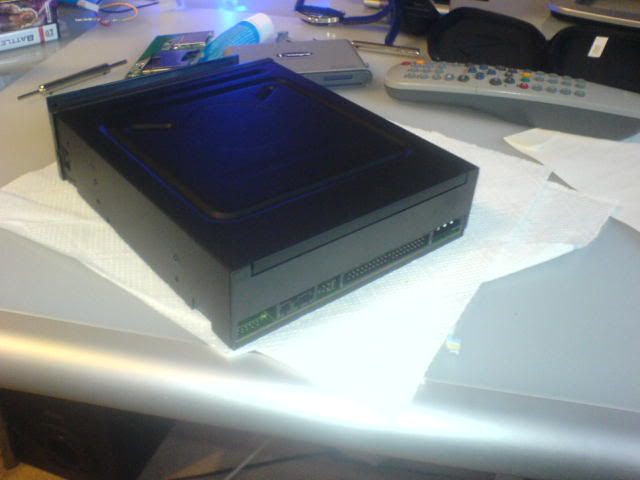
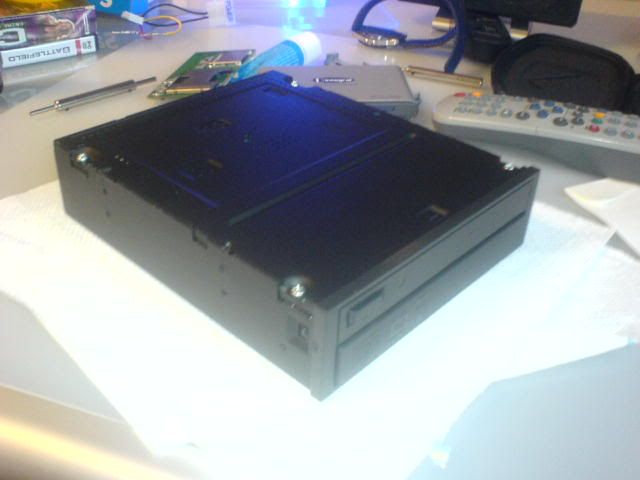
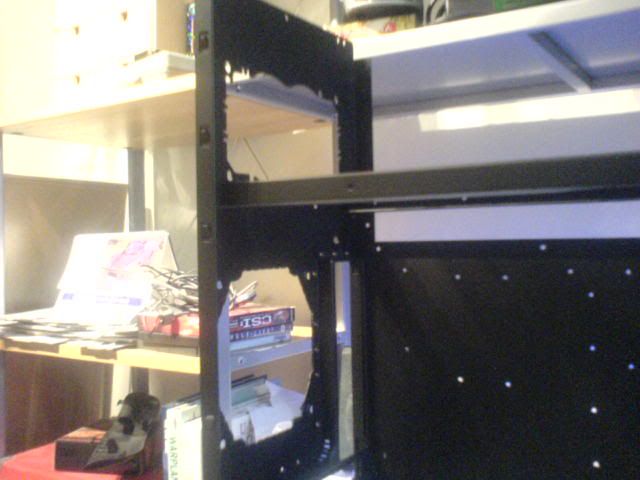
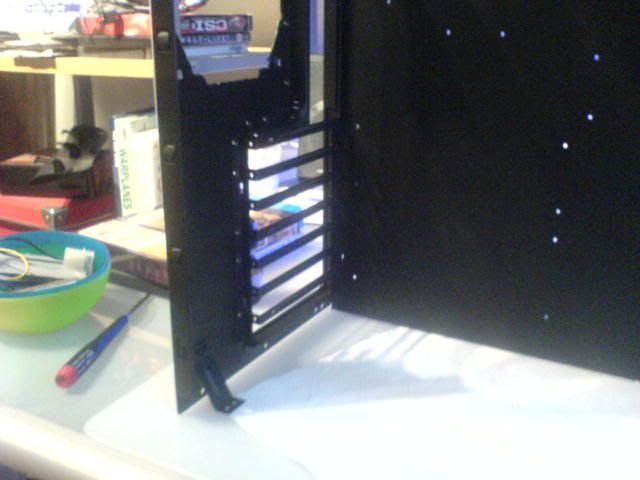
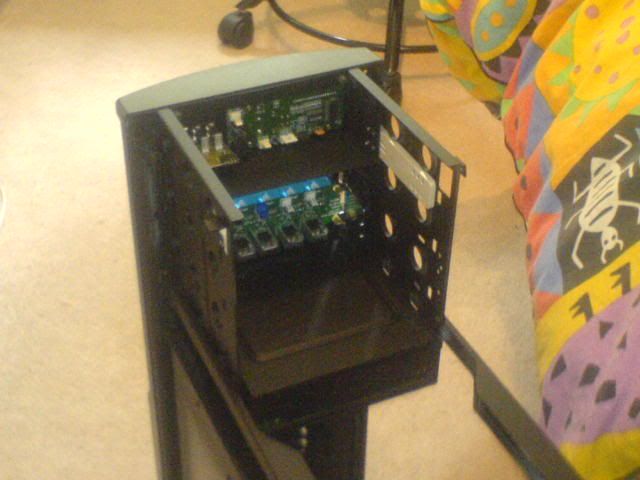
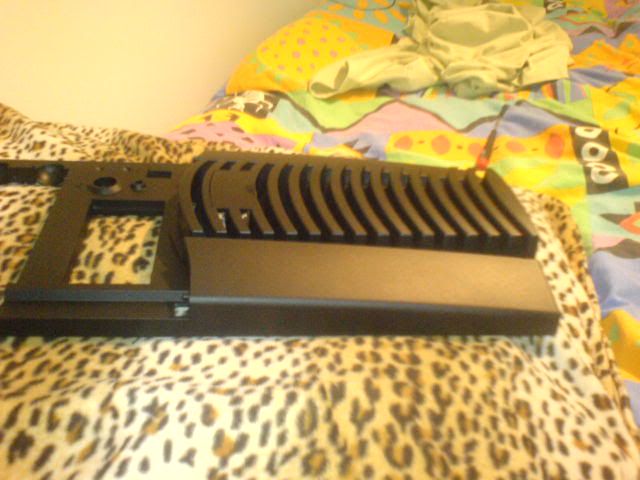
With the Daughterboards in...

DSC00101.jpg


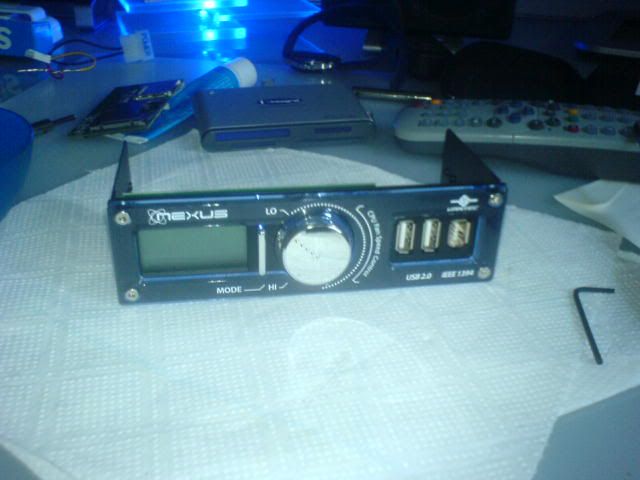
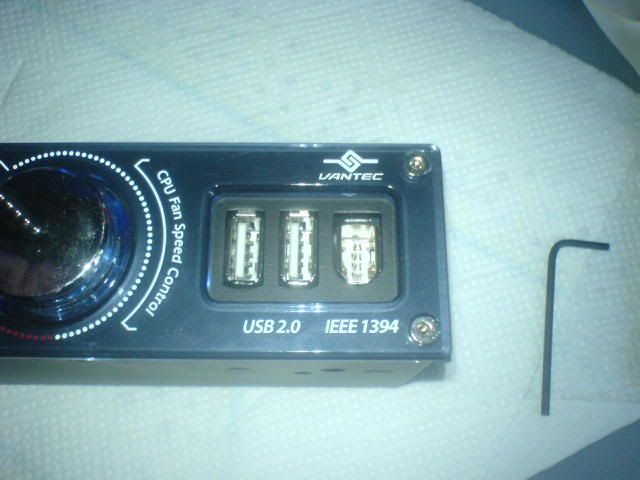
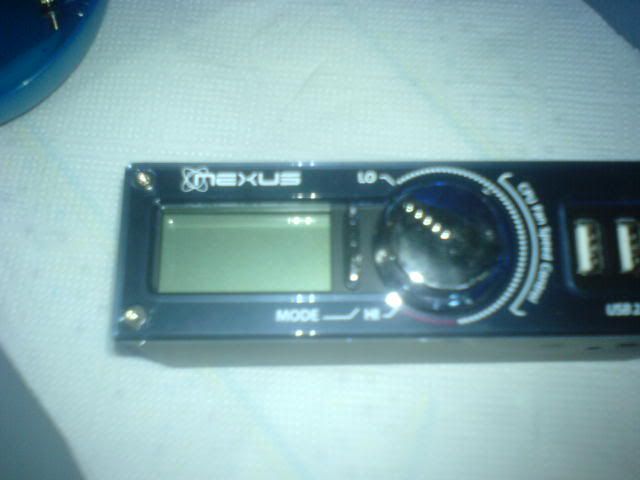
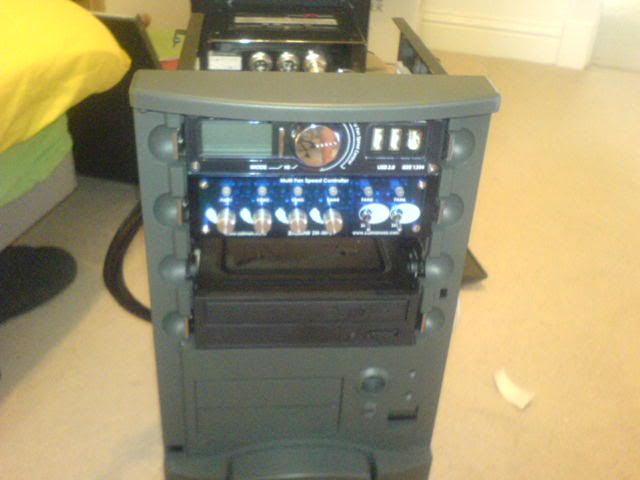
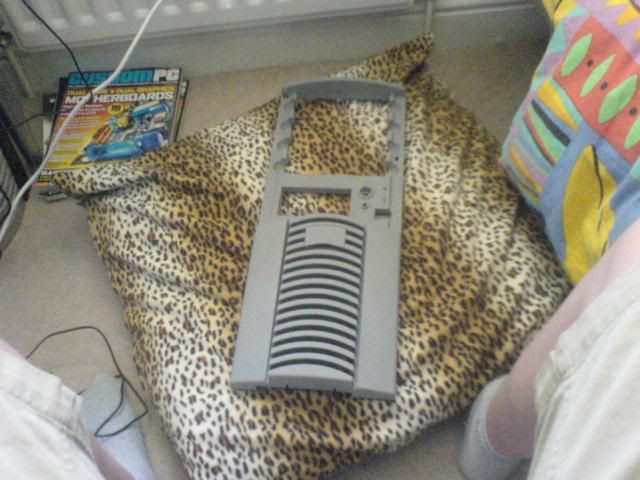
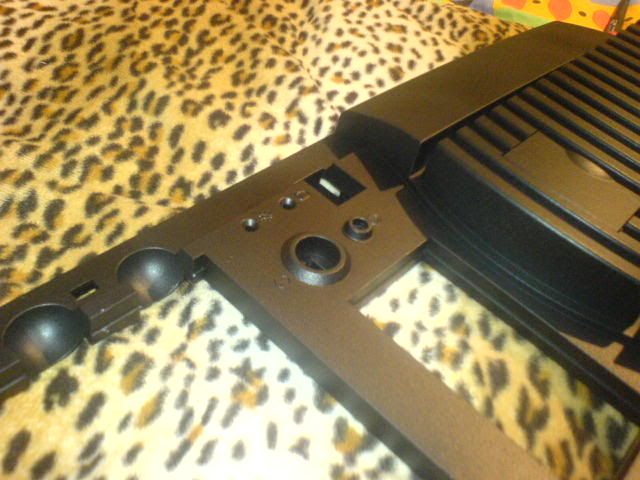
And with the aluminium fascia and platic bits...

DSC00102.jpg


DSC00104.jpg


DSC00105.jpg


I'm uploading the rest of the picceys for the other bits done.

AJ.
 
DVD Drive... and Insides of Case

I also took apart the DVD drive, and gave it 2 coats off Matt.

DSC00106.jpg


DSC00107.jpg


DSC00108.jpg


DSC00110.jpg


The finish doesn't need to be amazing, just black so that it blends into the theme of the case

Speaking of the insides of the case.....:

DSC00111.jpg


DSC00112.jpg


DSC00113.jpg


DSC00114.jpg


This is only one coat, with a very thin layer of Primer. I'll eventually apply another coat, but only near the end of the project...

Hope you enjoy...

AJ.
 
Today, i finally found the drive-rails for the case, and when it came to test fitting the drives, i was very suprised how good they were, all it needed was a quick squeeze on the metal progs, and out they came.. to be honest, i love this case, and would reccomend it to anyone. Its about £40, but has no fans, removable mobo-tray and is made of steel, but its the perfect size and has features....

well, i decided in a moment of madness that i needed to use a second FC, so i whipped out my Zalman FC from its box and shoved it in...

DSC00125.jpg


The 4 dials will be for the push / pull fans and i will try and get the 5V / OFF / 12 V switches for the Cold Cathode power things... ( i hope!¬!!)

DSC00121.jpg


DSC00122.jpg


Its quite small, this case, and eventually, the PSU will be a OCZ 600W new thing....

DSC00123.jpg


DSC00118.jpg


the driverails still need painting, but im not sure f it would look better..

opinions?

DSC00120.jpg


Now, back to BF2

AJ.
 
well, after some 200 grit quickly and one layer of primer and a bit more 600 Grit this is were we are upto..

DSC00130.jpg


DSC00129.jpg


DSC00128.jpg


please dont take the rip out of my fake leopard skin cushion, my mum made it for me...

now, back to my current life...

DSC00127.jpg


(ooohh love my viewsonic moniter....)
 
Frount Bezel Update......

her it is after the first layer of primer as above, then one layer of paint and some 1200 grit paper, then another layer, its alot nicer and more shiney than it looks, and im realy pleased as this is my first go with painting a case....

welll, i'll let the picceys talk....:

DSC00139.jpg


DSC00140.jpg


DSC00141.jpg


DSC00142.jpg


and now for all you people who like to take the p*ss, here is another object from my room...

DSC00143-1.jpg


DSC00144-1.jpg


Its a long coushin (i think thats how to spell it..) that looks like a cat..
 
Little update, im now in the middle of planning how i can mount all of my watercooling system in my case....

here is a stone-age mock-up done in Paint with an old photo...

untitled-5.jpg


the problem is that the outlet of the DDC is flat, not at 90* , so i'll eitther have to mount the rad so thats its impossible to bleed, or i will have to go and get a little box so that i can put the DDC in and it still looks black, with some small holes for the barbs, so it'l look like an aquacomputer FMJ sort-a-thing..

Otherwise, ive been hunting around for some blow-hole trim, and no-one has any... awwww...

And ive been planing the cutting area and holes to mount the rad and fans to the case..

DSC00145-1.jpg


DSC00146.jpg


DSC00149.jpg


(the reason its not fully painted is cos. i ran out of primer...) and these fans will be on the otherside of the metal, its just easier to work out how to mount it this way,,,

AJ
 
Thats going really well, looks like it'll be sweet when finished.

I'd say the best way is to put all the stuff in place, get the right lengths for your tubing, and then assemble and leak test it out of the case.... then slap it all in.... that is what i did with my old chieftec (long time ago now lol)

I did: pump >> rad >> cpu >> res >> pump

If you add you gfx after your cpu... someone may have other order but that was mine and it was good for me :D

Anywayz here are some pics that might help you out:

http://img245.imageshack.us/my.php?image=installed6st.jpg

http://img244.imageshack.us/my.php?image=leaktest6md.jpg

http://img255.imageshack.us/my.php?image=installedpowered6ye.jpg

Keep us updated ;)
 
I know how to Plumb a loop!, i was trying to say, how would you plumb it as in wich way round would you mount the rad and pump, and would you reccomend i put a small (25mm thin) rad at the back between the CPU and GFX- im going to try and OC the poop out of my E6600...;
 
name='Bazza' said:
I know how to Plumb a loop!, i was trying to say, how would you plumb it as in wich way round would you mount the rad and pump, and would you reccomend i put a small (25mm thin) rad at the back between the CPU and GFX- im going to try and OC the poop out of my E6600...;

A rad after the CPU before the GPU's is a good idea - takes out some heat before the GPU's.

I like to run the card cooling in parallel - most go for in series but the temps difference between card1 and card 2 can be as high as 5 degrees loaded which could effect your overclock.
 
Im only running a single card, becuase thats all i need...

im quite interested in either getting a BIP or a one of the new GT-Steath rads as they are only 25mm thick.. this is helpful as it makes the case less clustered, but still takes out most of the CPUs heat dump into the loop....

For my res. im going to be using a Cape Coolplex Buyseye ses, with a load of LEDs in the bottom lighting it...

Hopefully tommorow i'll get round to ordering another dremel and i'll also post an update of how i want my WCing to be....

Night People...

DaGuv....@ no Probs M8...
 
well havn't done much.....

i decided to take off the PCI back panel of my X1800 to get it ready for painting..

DSC00153-1.jpg


Before...

DSC00154-1.jpg


After...

DSC00156-1.jpg


and the back panel and tools i used-

DSC00158.jpg


And my little toolkit i use for my PC's that cost me £7.94 delivered off eBay...
 
first real update... ive actually had this all running out of the case, and have had the CPU ticking over running Prime 95 for 5 hours @ stock and everything seems fin, which is nice!

At the mo, im trying to work out the best place to mount the rad..but this morning, ive started re-plumbing the loop nto the case....

DSC00182.jpg


DSC00183.jpg


DSC00184.jpg


DSC00186.jpg


Barry- :Z
 
Looking good M8, best place for the rad is at the bottom or front of the case as it will draw in cool air though the rad, you dont want it at the top or back of the case as this will draw in hot are from the system.
 
i got bored today, so i decied to have a little go....

P9010002.jpg


I firstly re-drilled the holes...

P9010003.jpg


A little cutting...

P9010004.jpg


And a little more.. the rest of the cutting will be done with a jig-saw, when i can convince my dad to get one that works...

P9010007.jpg


as we are now, where the rad and fans actually fit..

P9010009.jpg


and ive been testing fans allday.. thinking of going for some Akasa Ambers...

AJ
 
Back
Top