lutherus
New member
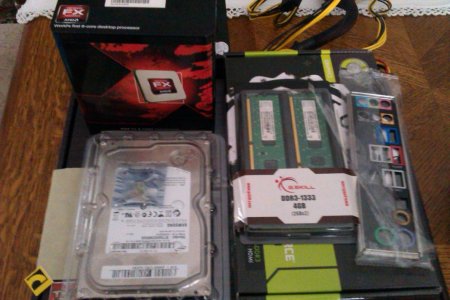
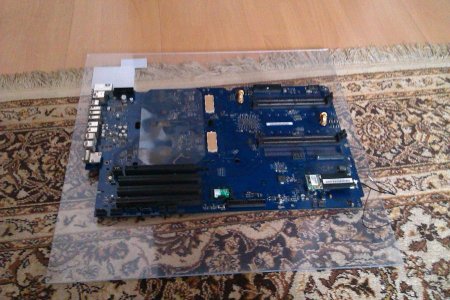
I tried to sell some parts from that Mac. I could only sell the graphics card and ram. The MBO come back as the address was fake. So if i can not sell it in next 10 days i will use it as picture on my wall and CPU 1 as paper holder and CPU 2 as mug holder.
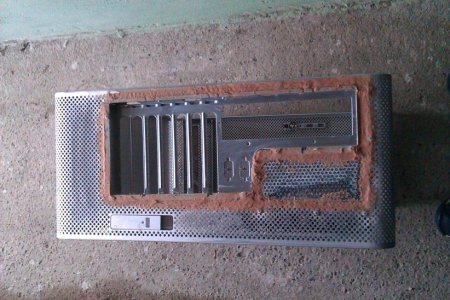
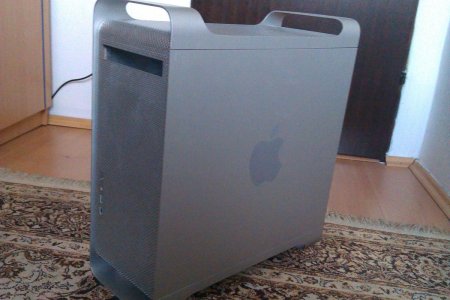
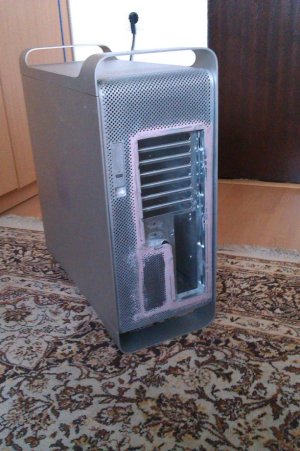
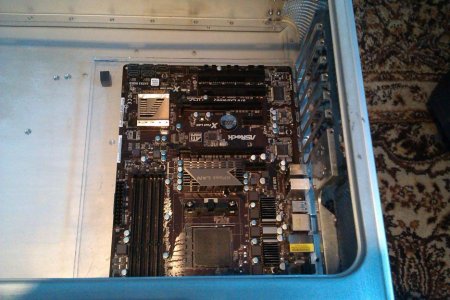
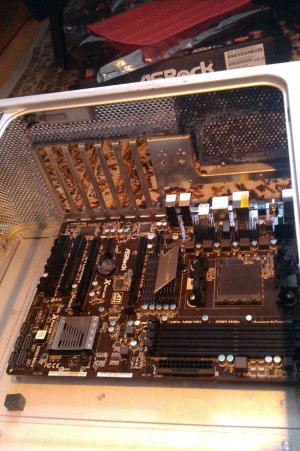
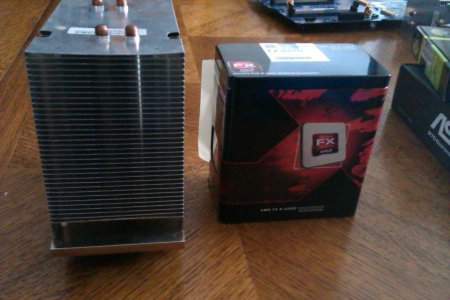
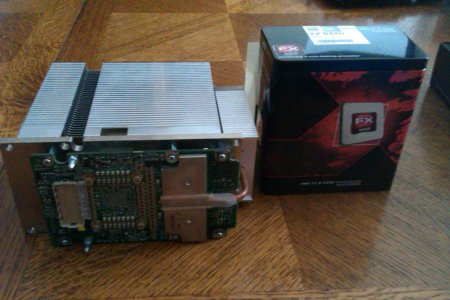
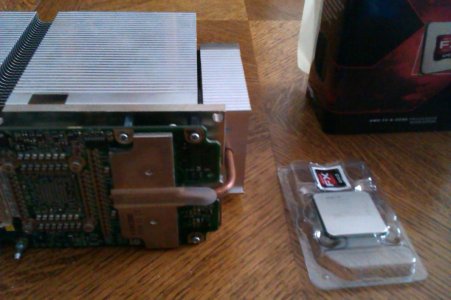
Today i put all that carp on one piece and also made some comparison between AMD FX 8320 and Mac CPU.
Today i put all that carp on one piece and also made some comparison between AMD FX 8320 and Mac CPU.
")
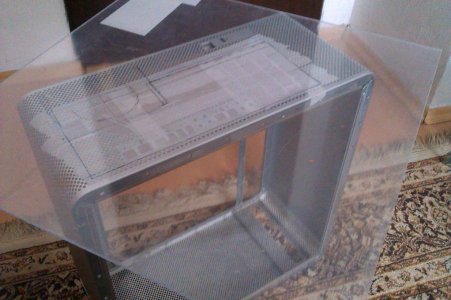
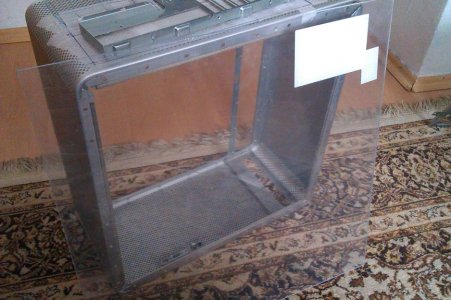
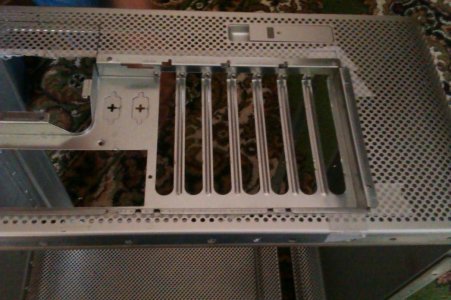
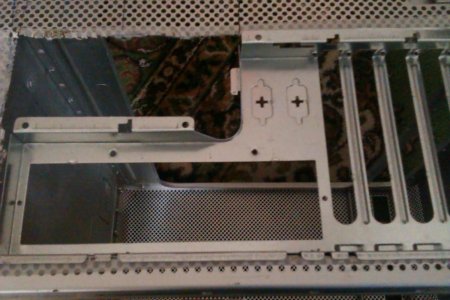
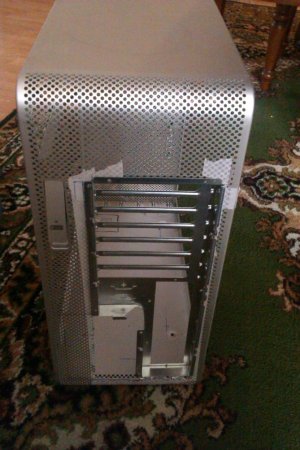

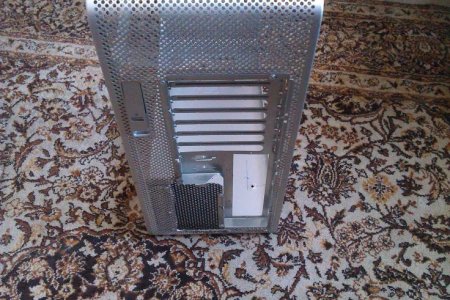
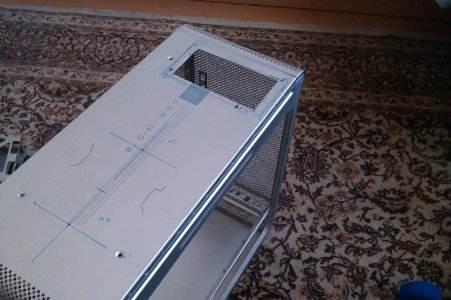
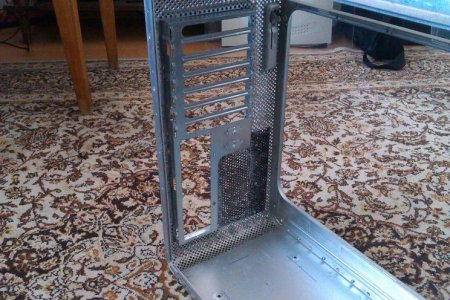
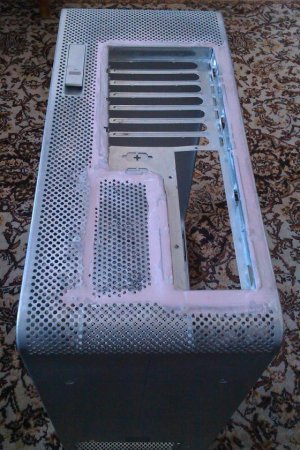
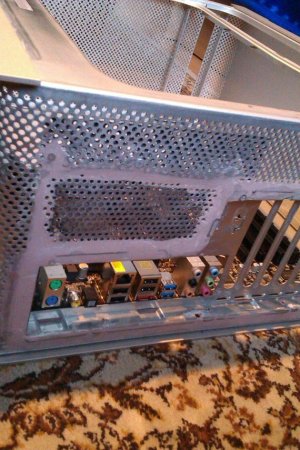
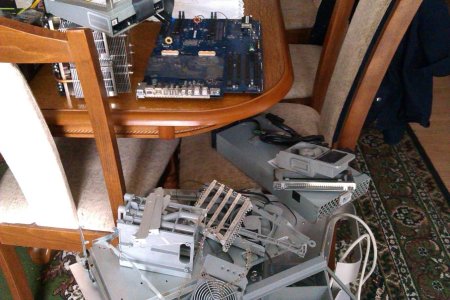
 reverse ATX too