Hi, just about to start my first watercooling build.
Parts i already have are....
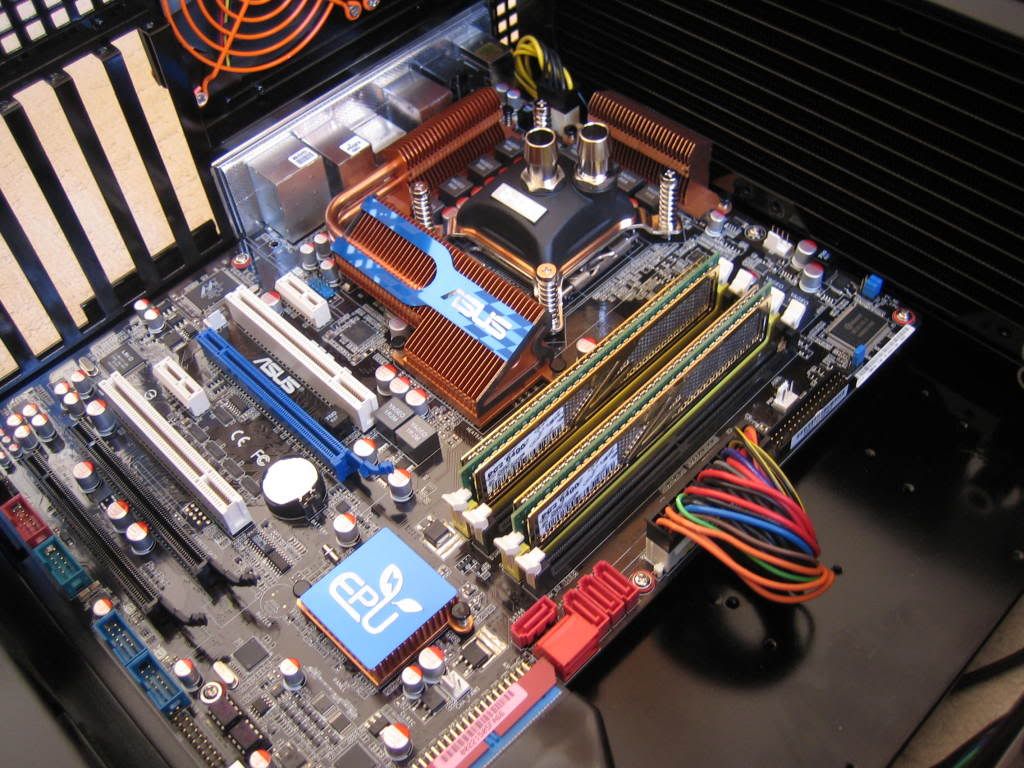
asus p5k
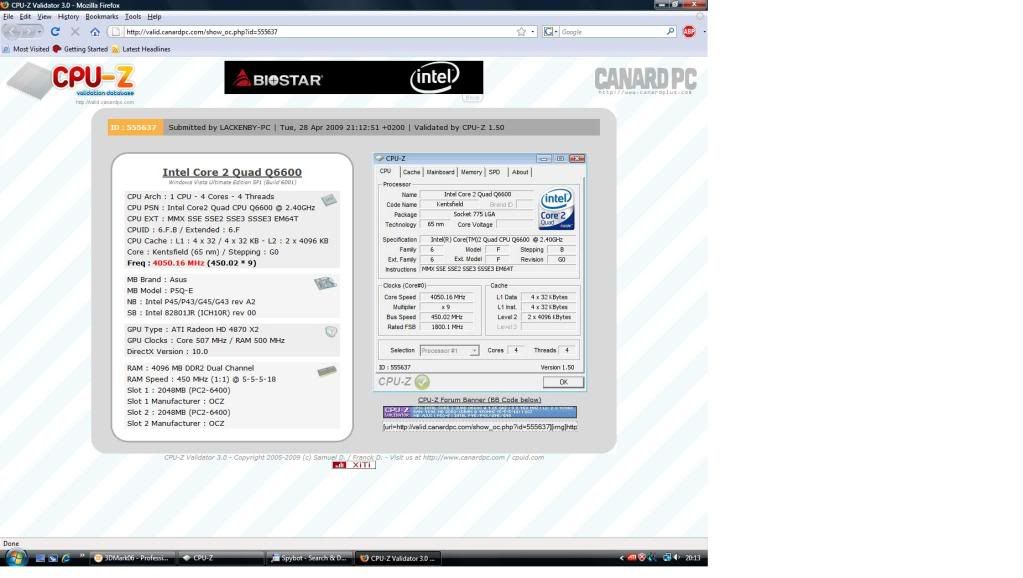
q6600/3.6ghz
4gb/OCZ Gold/6400
Radeon 4870/1gb
Enermax Galaxy/1000 watt
Samsung spinpoint/500gb
New parts ive got or ordered....
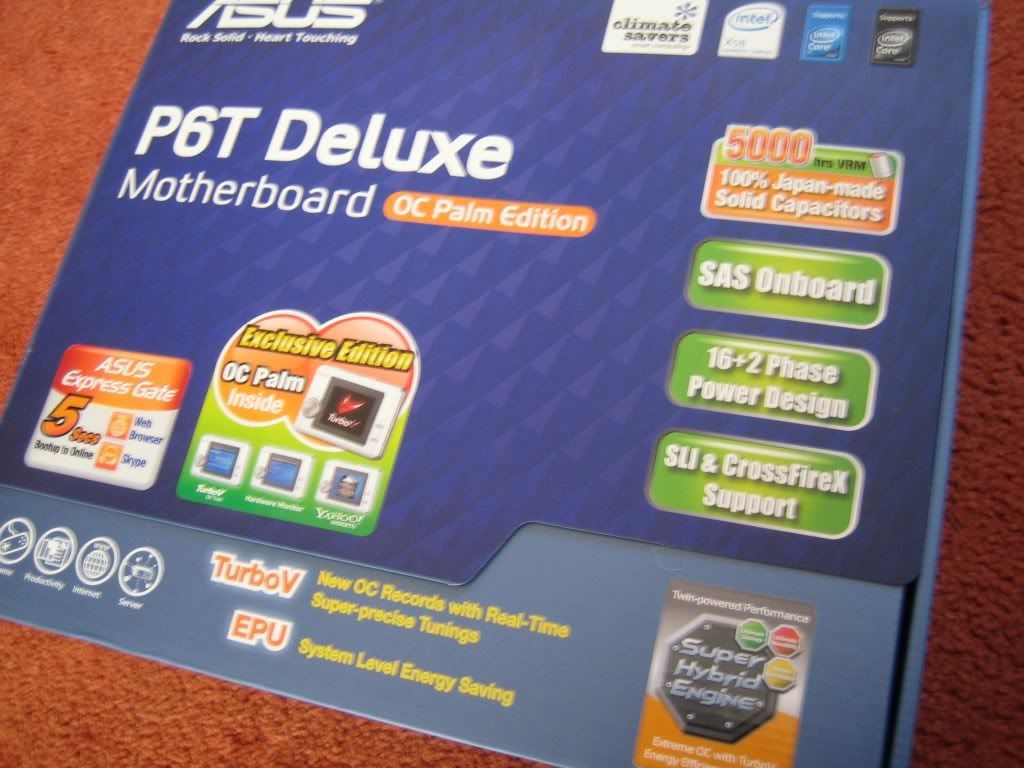
Asus P5Q-E
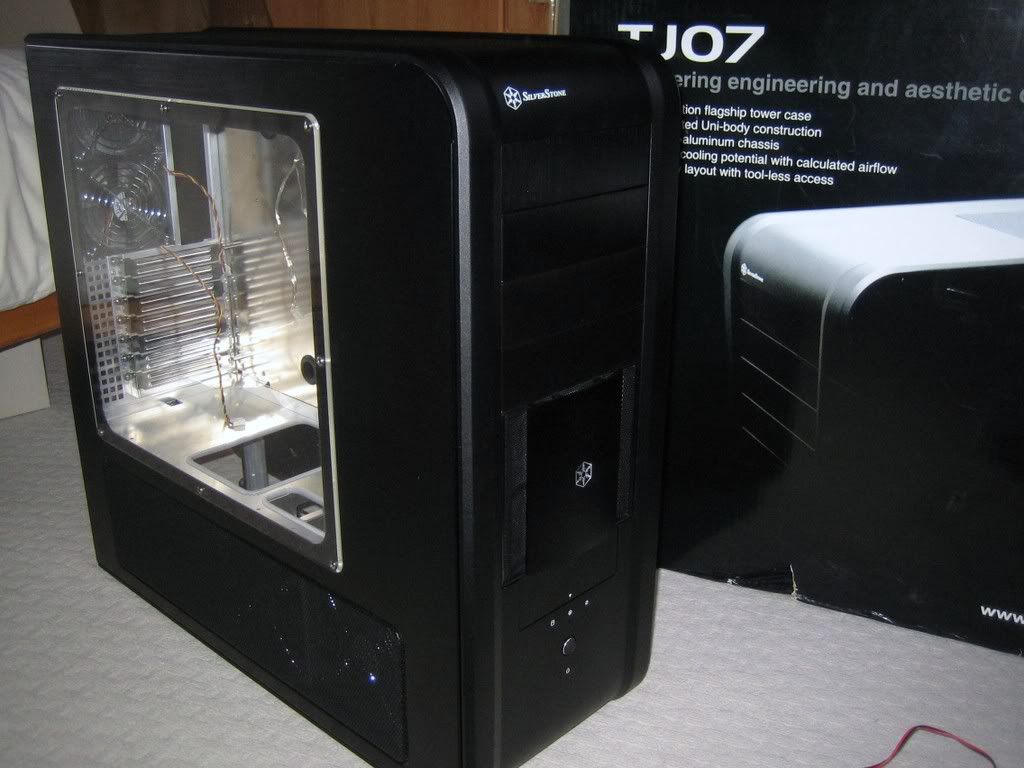
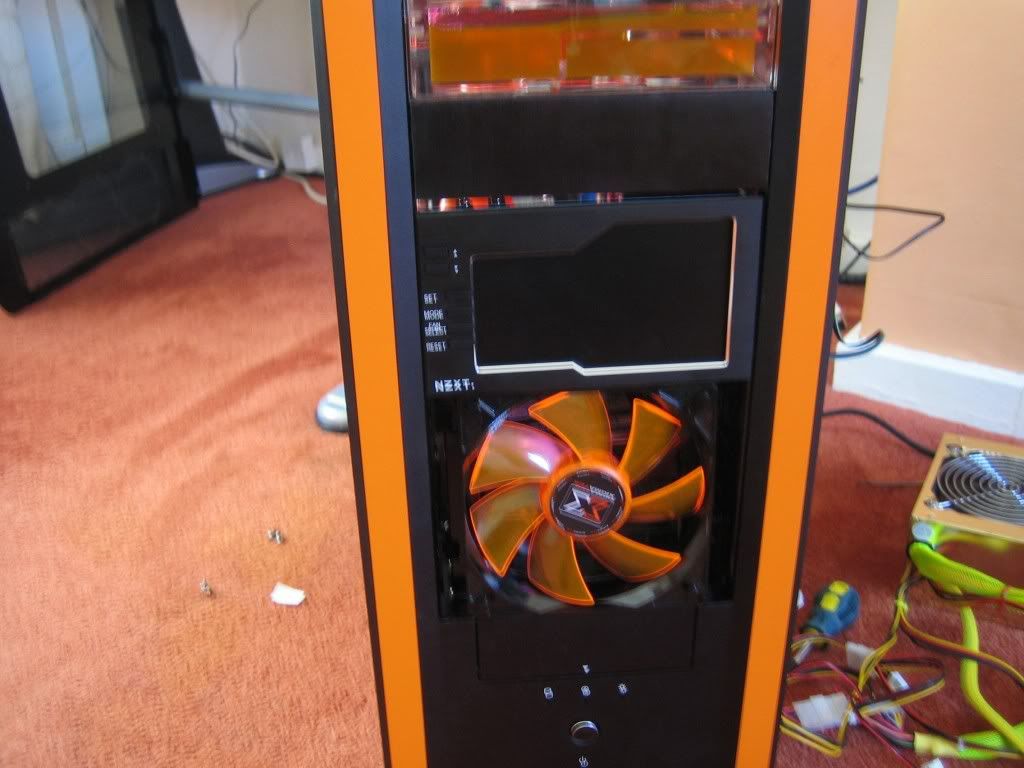
Silverstone Tjo7 case/window
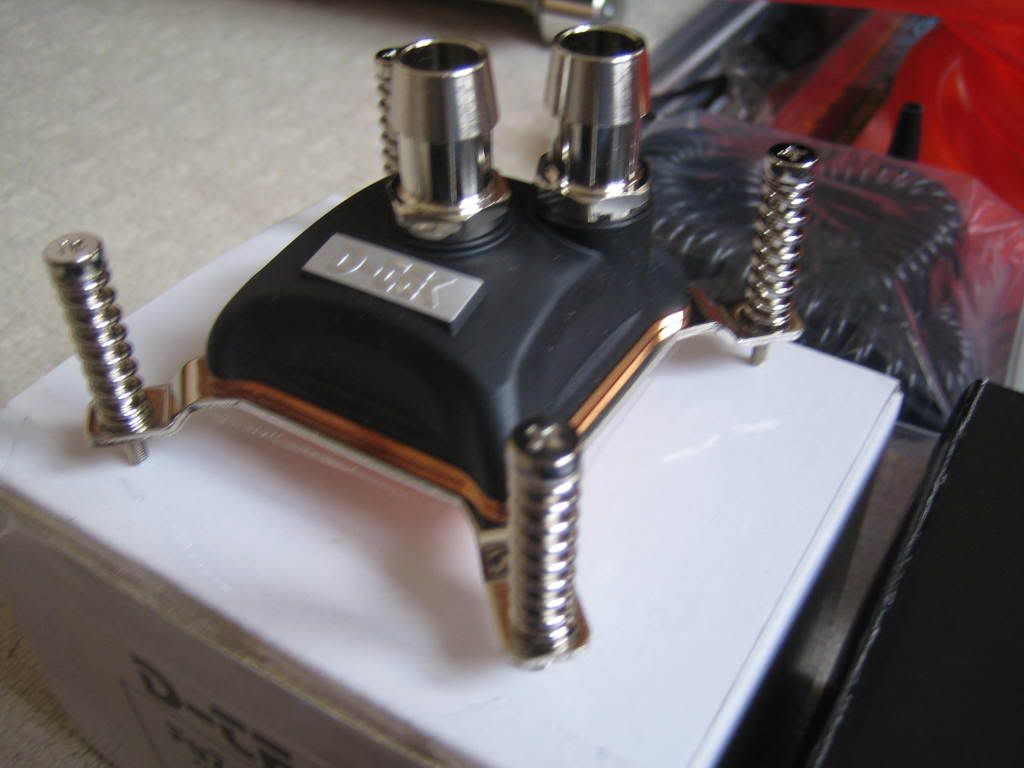
D-tek fusion V2 (courtesy of Lloyd from Limited edition computers)
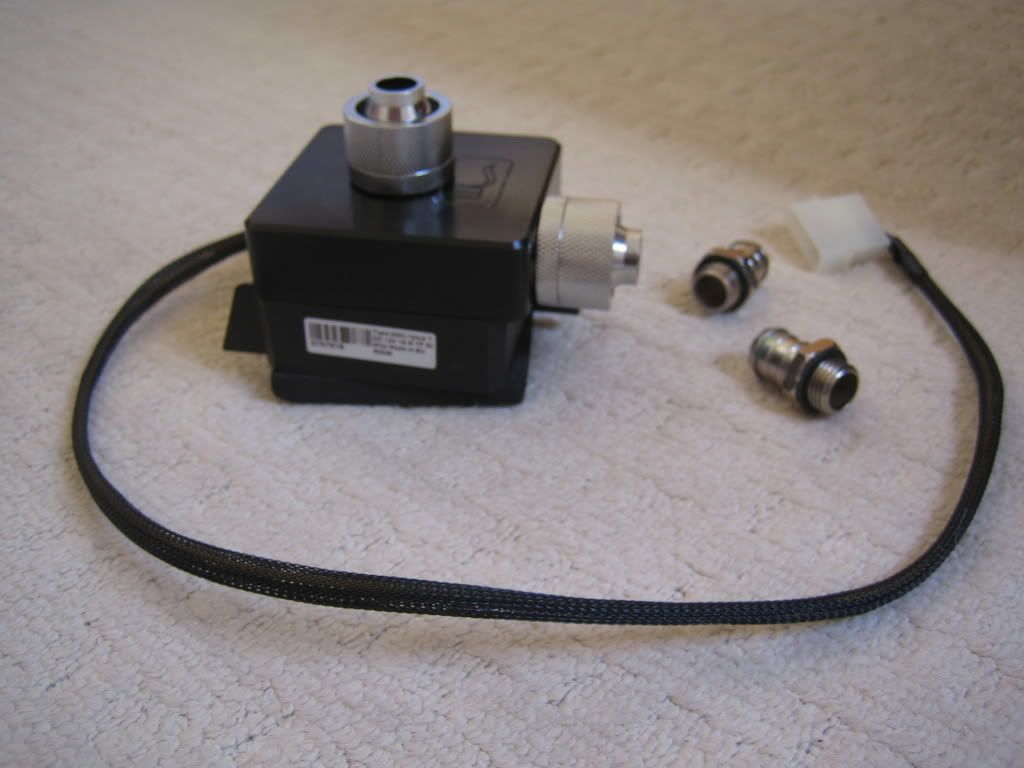
Laing DDC 18W pump and EK DDC top
thermochill pa120.3 radiator
black ice x-flow 120.2
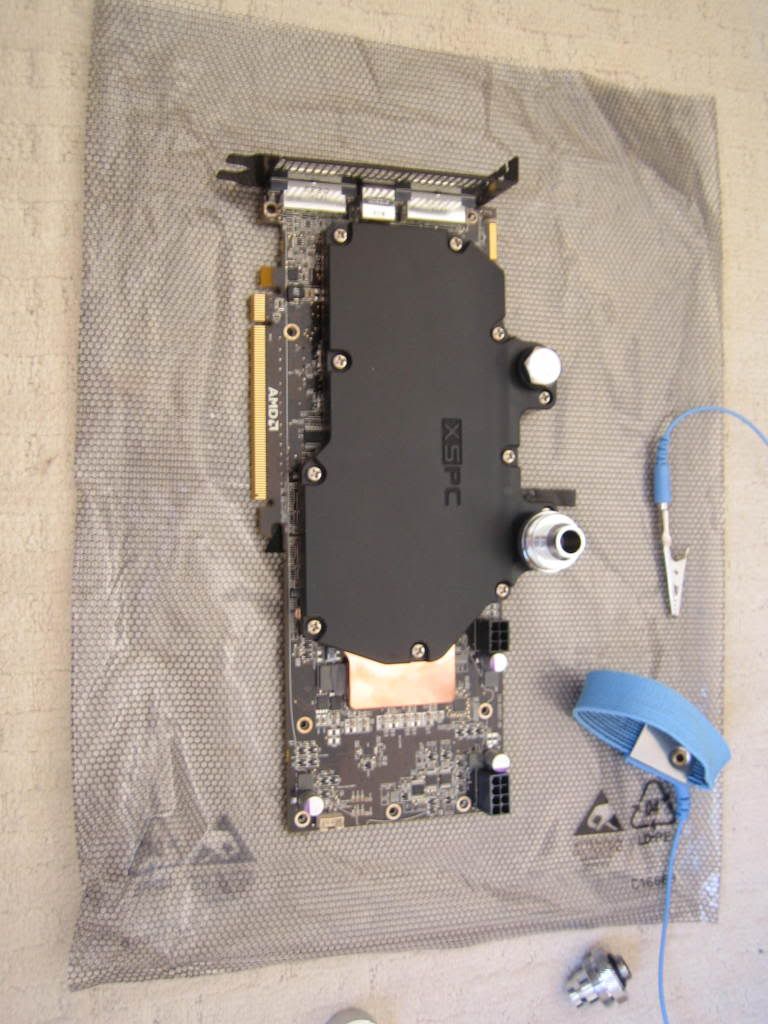
EK-FC4870 gpu block
XSPC Bay Reservoir (Clear)
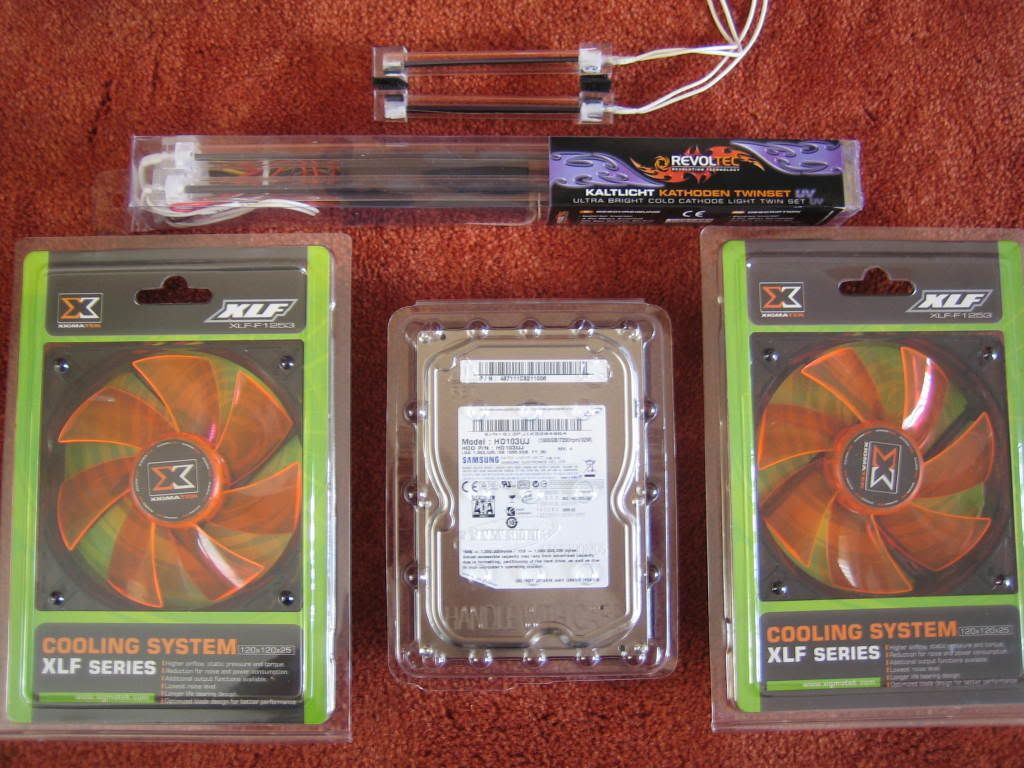
x5 Xigmatek XLF-F1253 White LED 120mm Fan
1/2" tubing and barbs.
kazemaster fan controller.
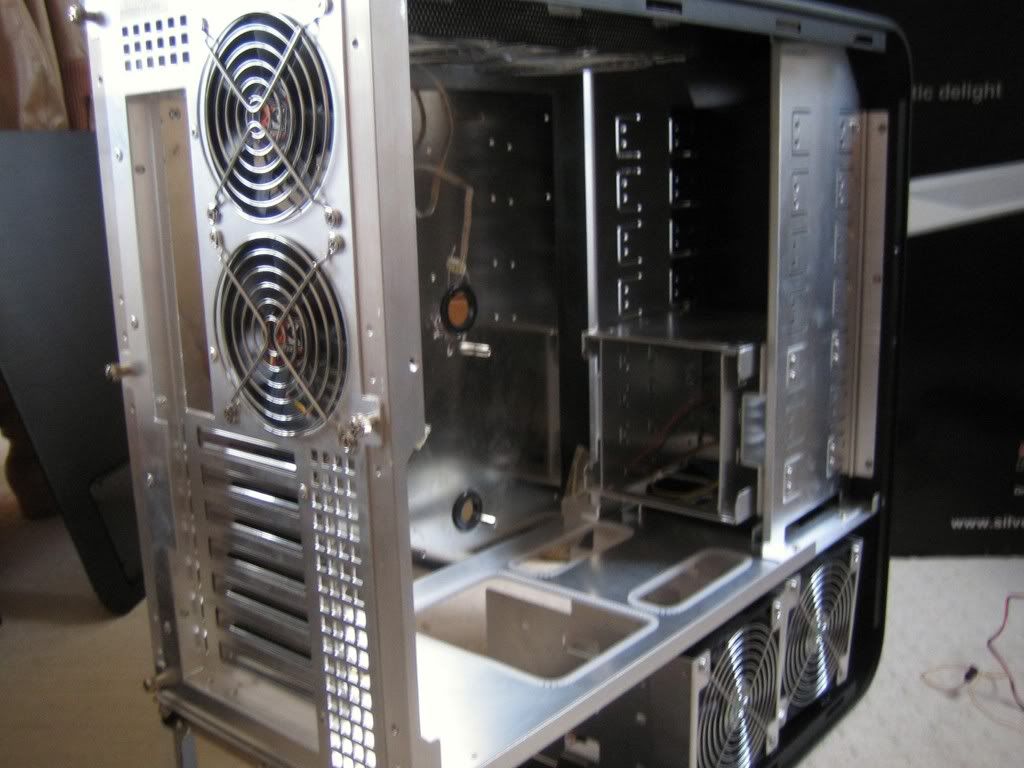
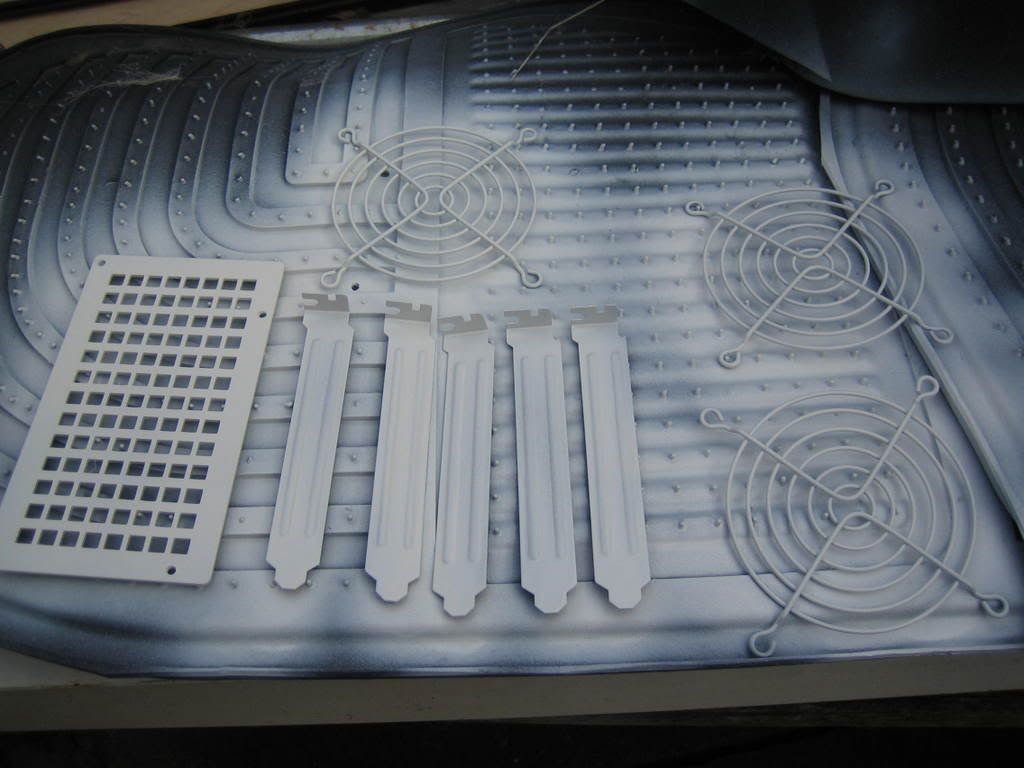
Decided to spray the internals black with a little bit orange so i need to strip the case and prep it.
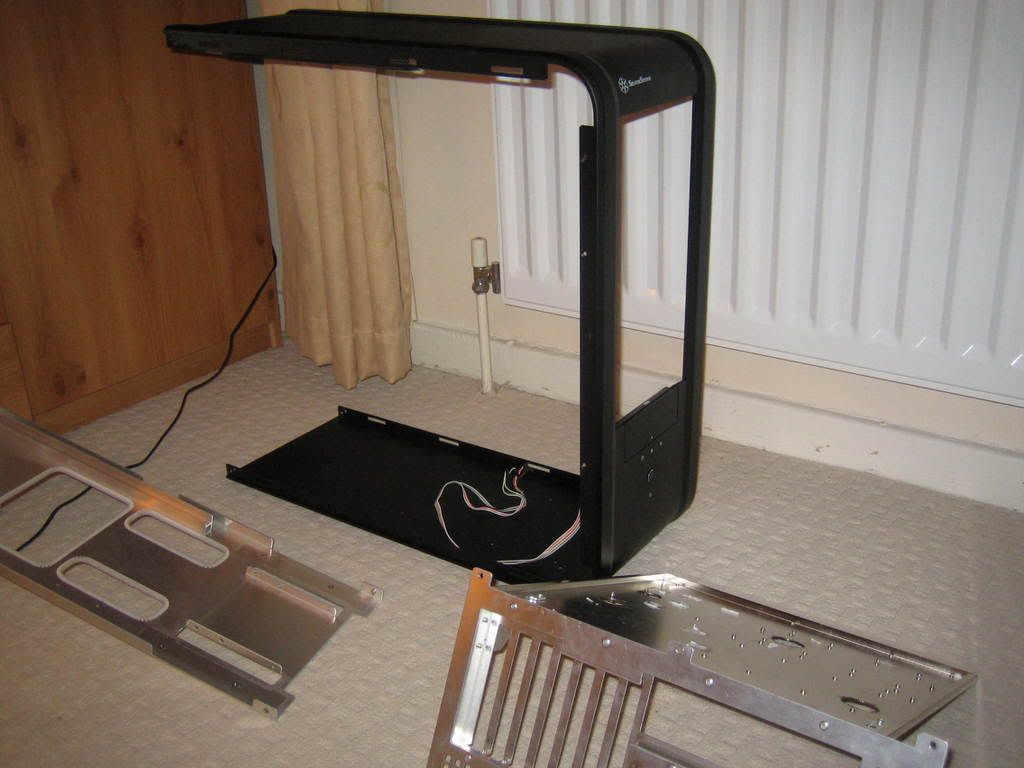
and stripped....
Any thoughts and advice will be appreciated as i go along with the build. :scared:
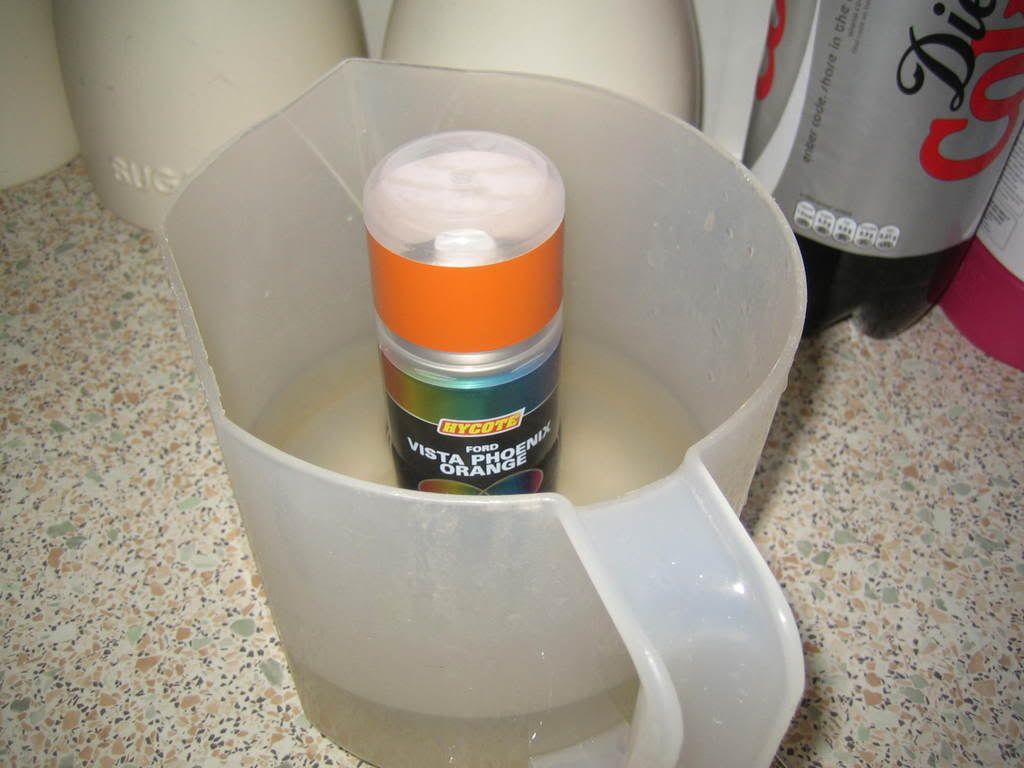
Thought i would make a start painting today as the sun was shining.
Was too cold to paint tbh, so i had to warm up the paint first before priming and also the bits i was gonna paint with the wifes trusty hairdryer.
Primed....
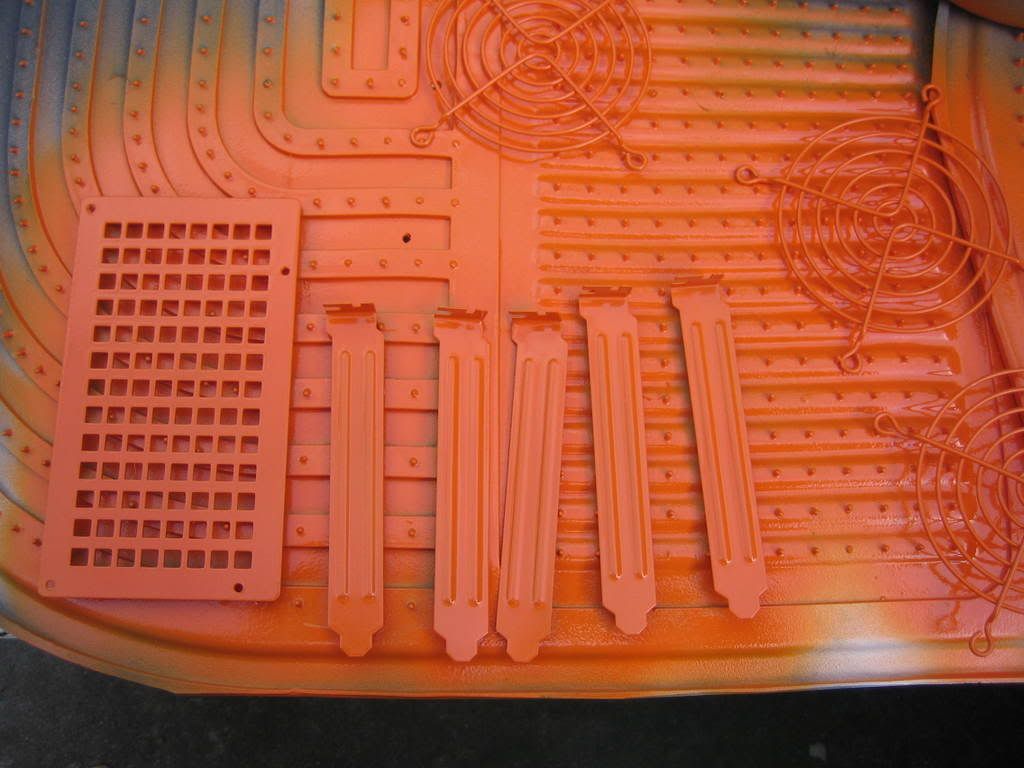
and finally..
Hope to make a start on the case soon.......
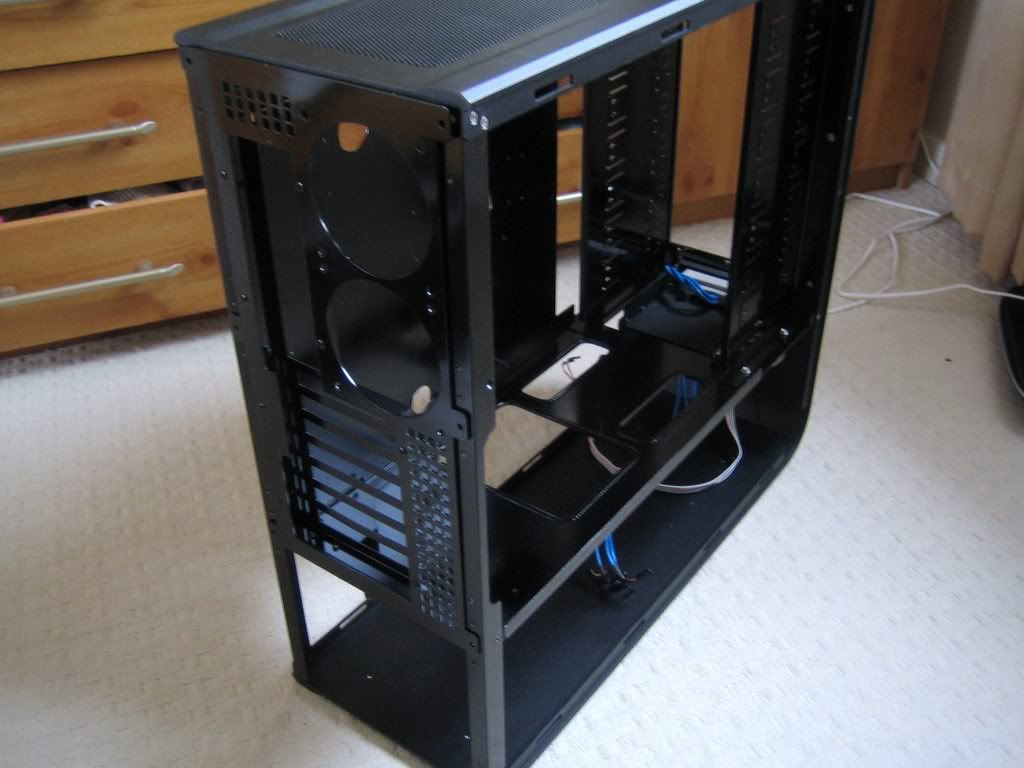
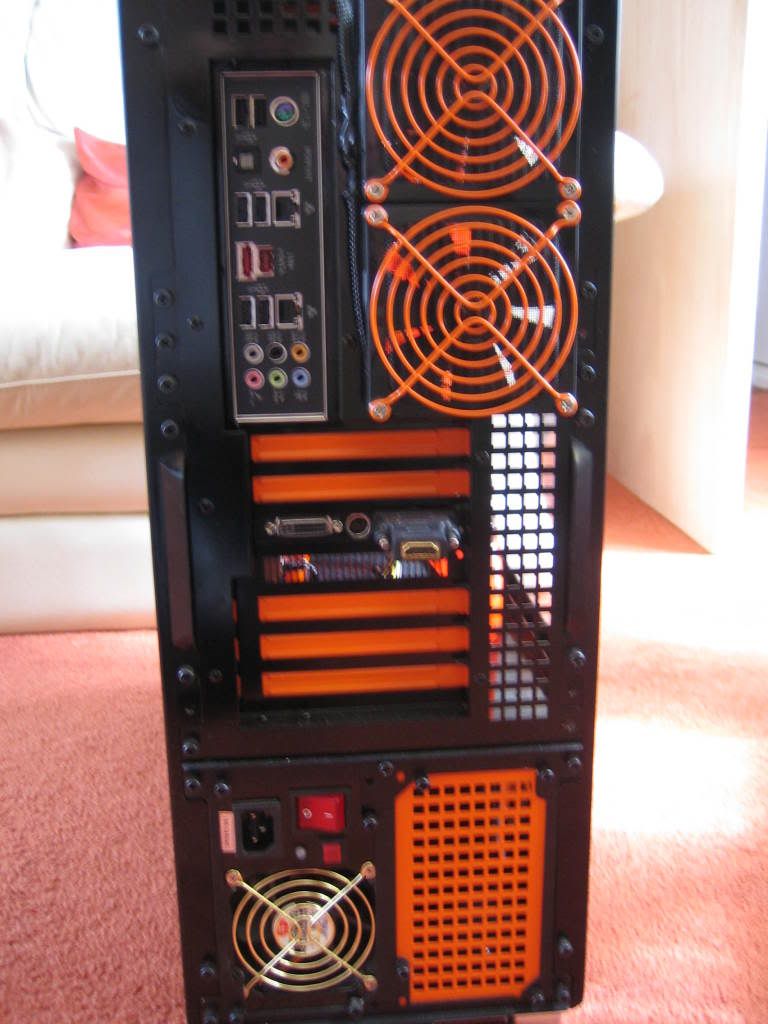
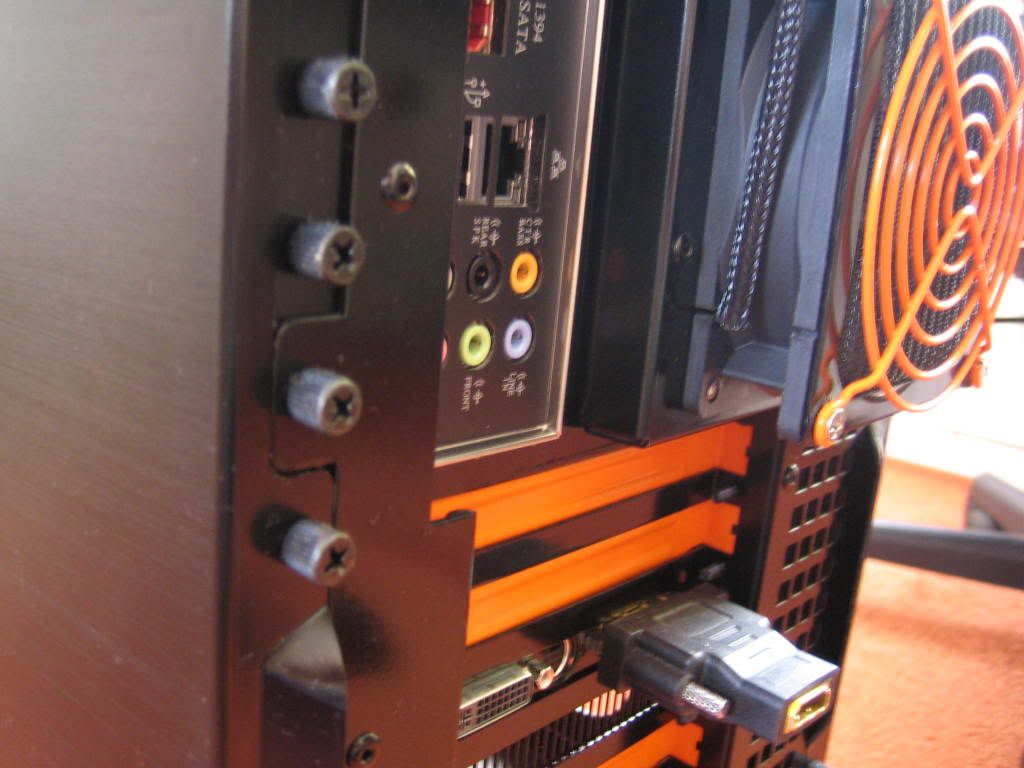
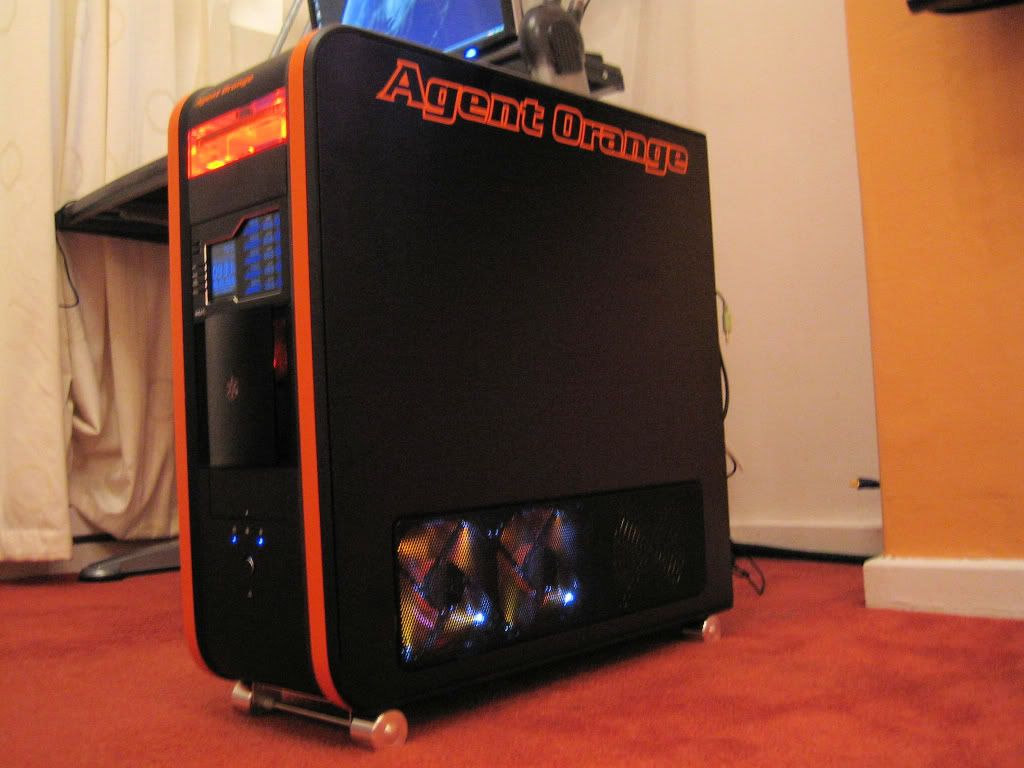
Painted case....
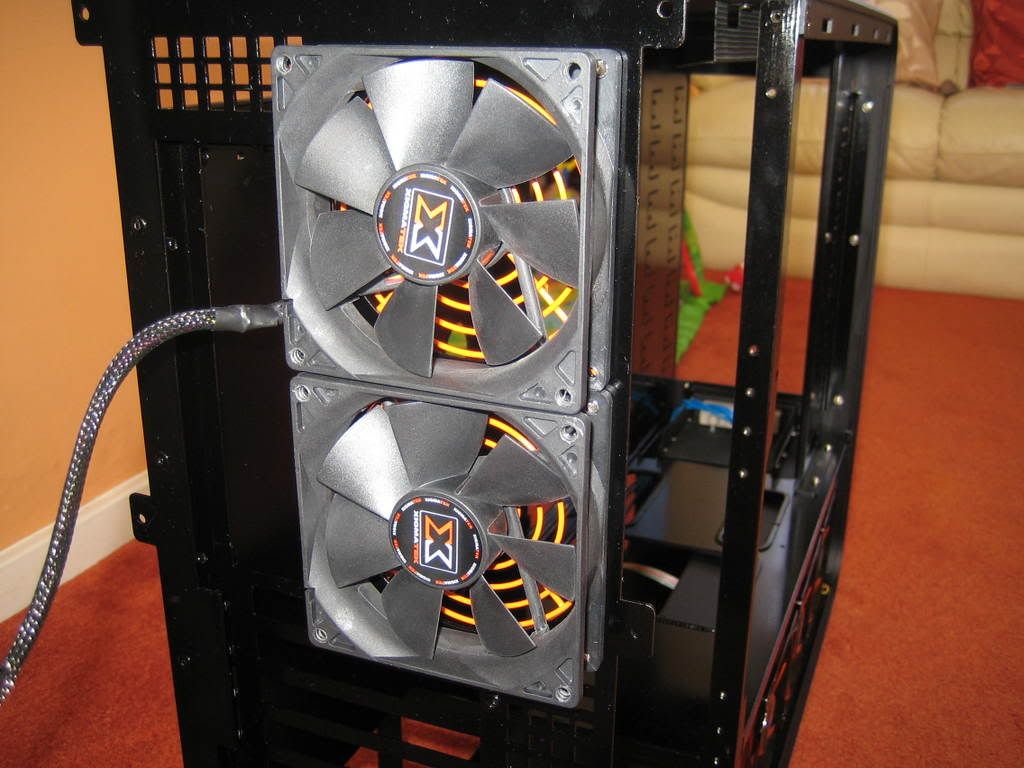
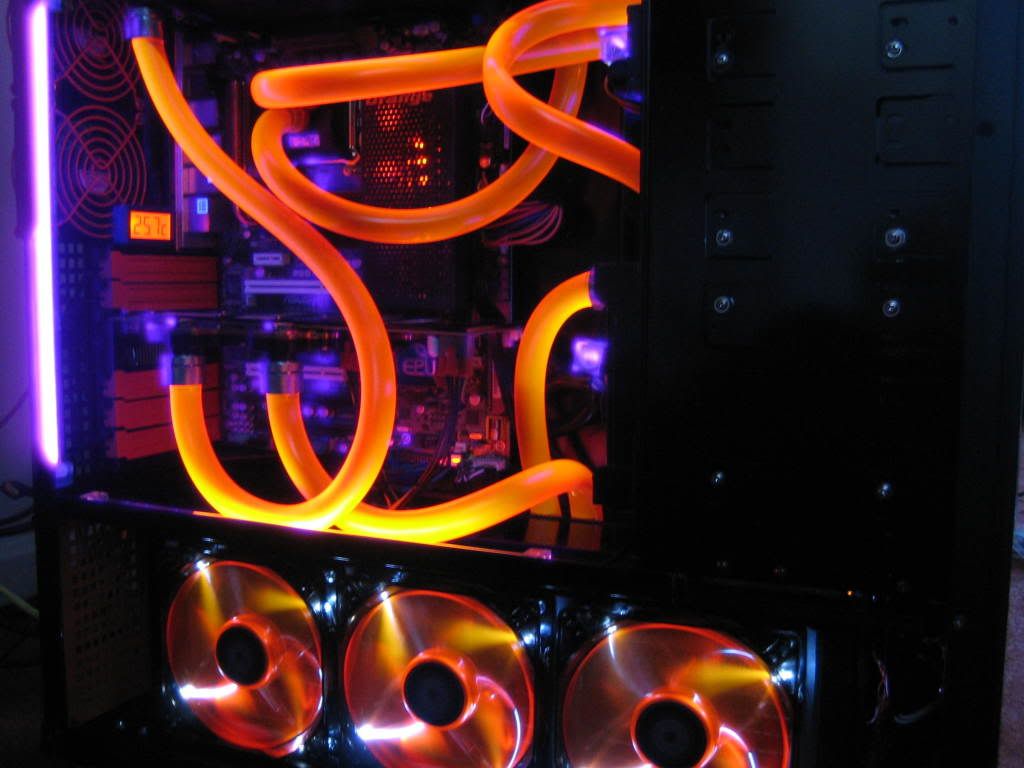
got most of my stuff today....just need my gpu block, fan filters and some more feser 1 ....daisy chained 3 fans for the pa 120.3 rad...just about to daisy chain the 2x 92mm intake fans now. and x2 fans for the top rad (all xigmatek )...will post pics soon.
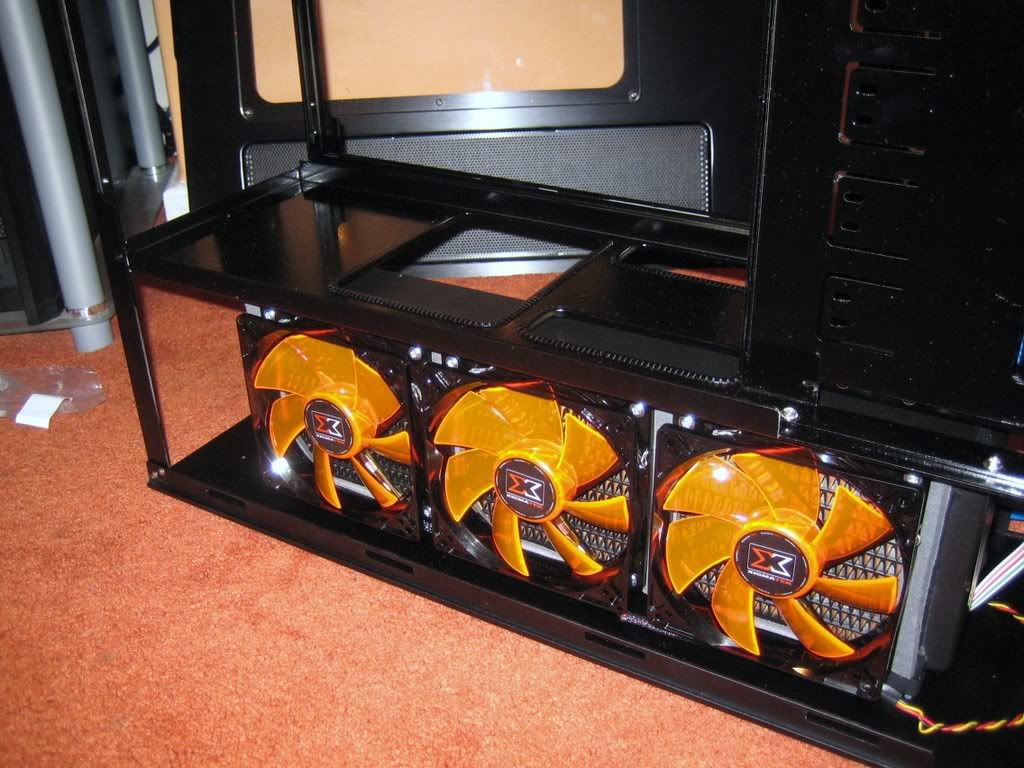
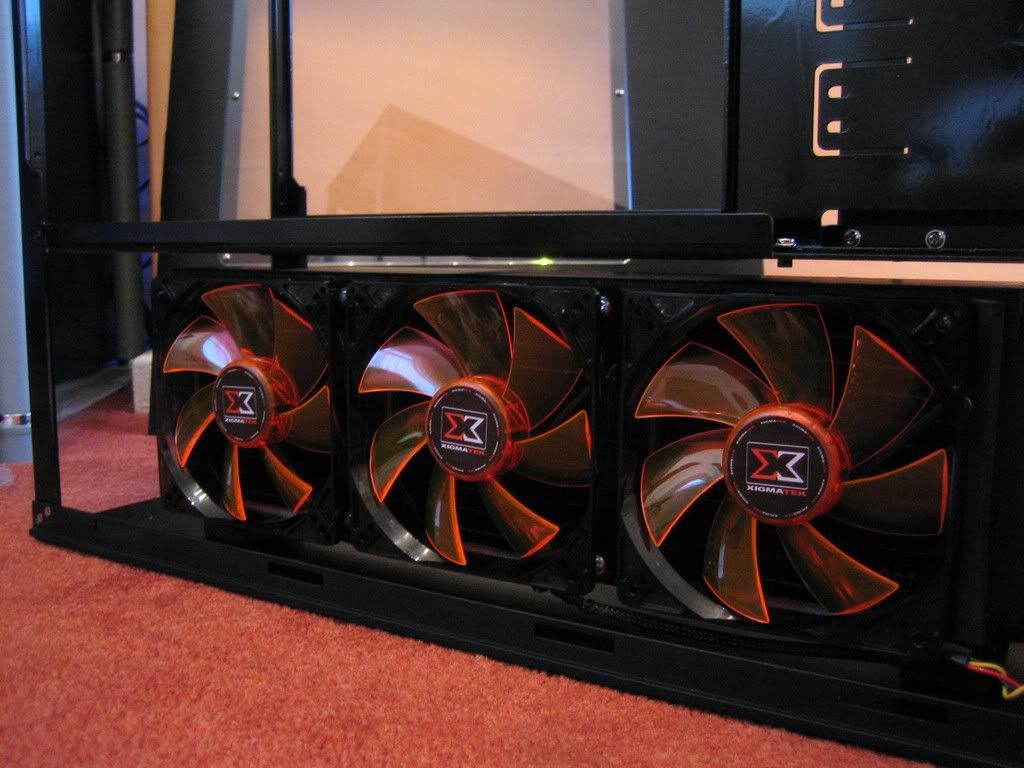
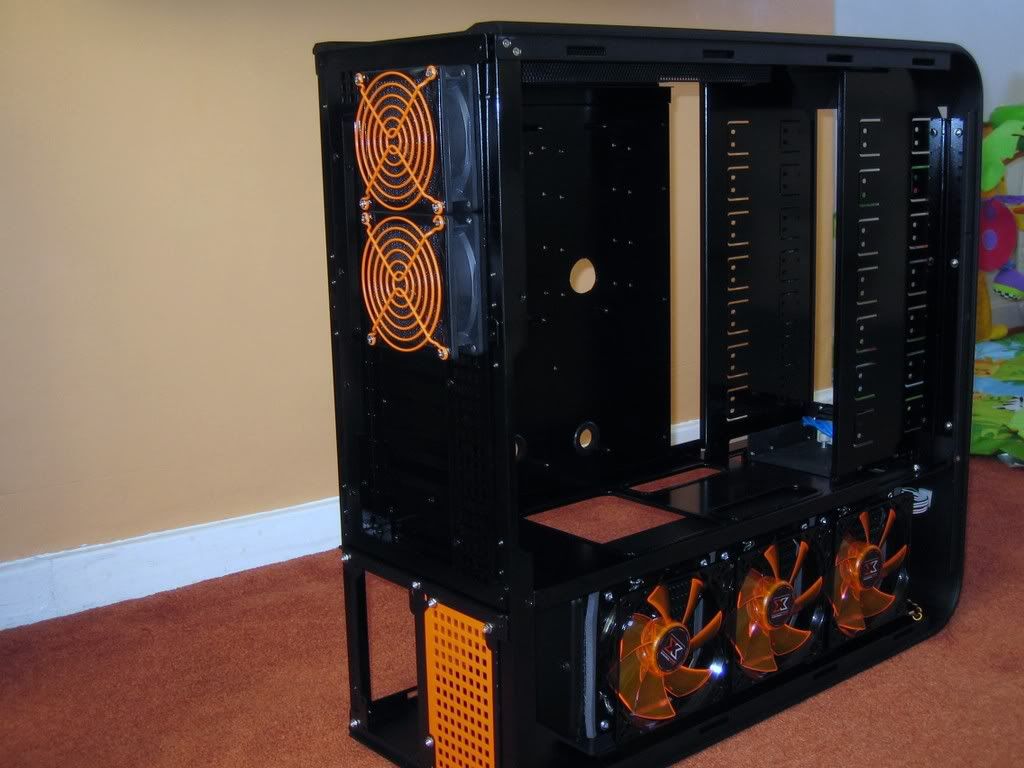
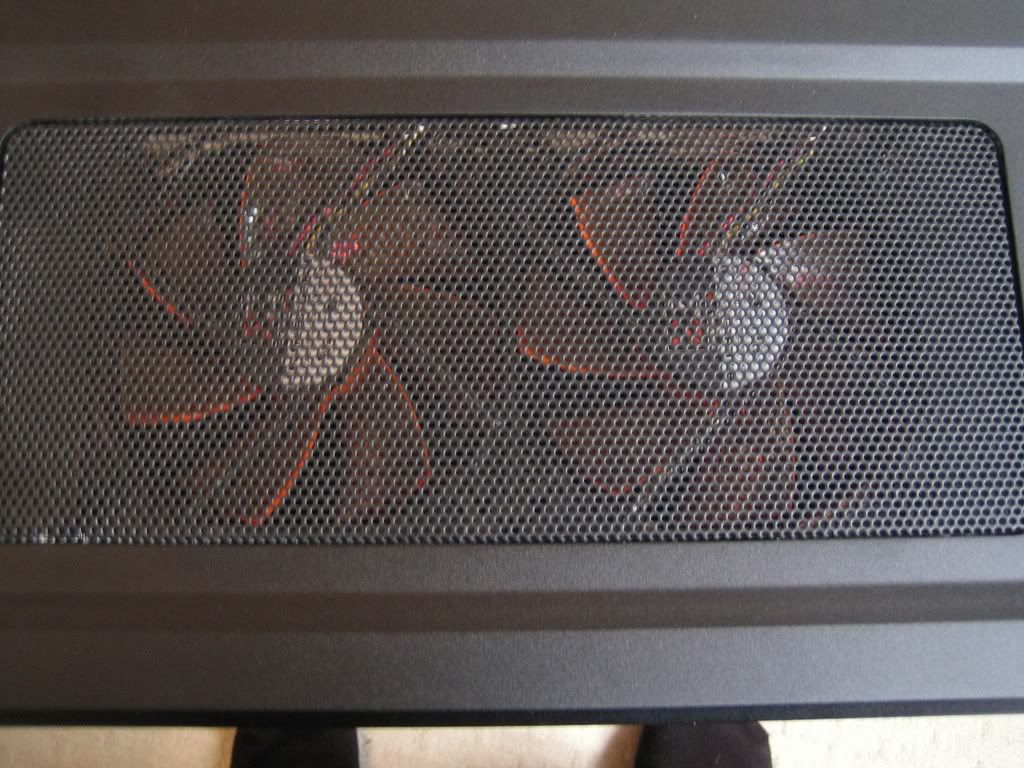
Thought i would fit the triple thermochill pa120.3 rad in today.
Bought some little boxes from maplins for a plinth to lift the rad up too be the right height for the side mesh, held on by some double sided car plastic trim tape.......
Put some velcro on the bottom for easy removal and to hold the rad in place.
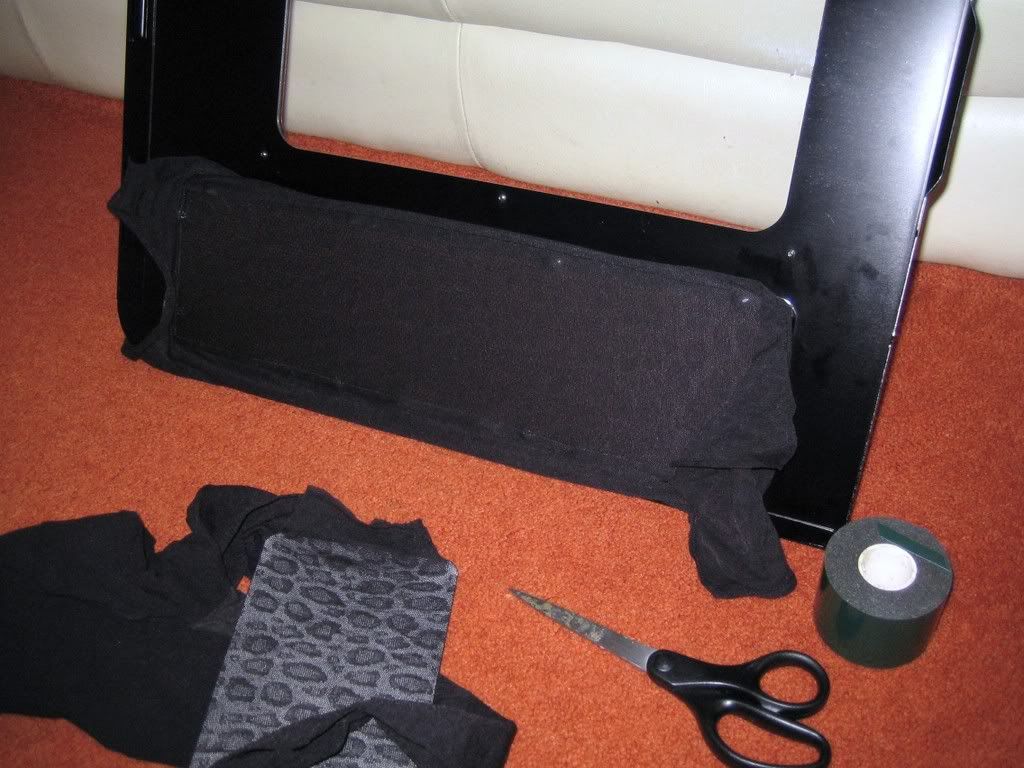
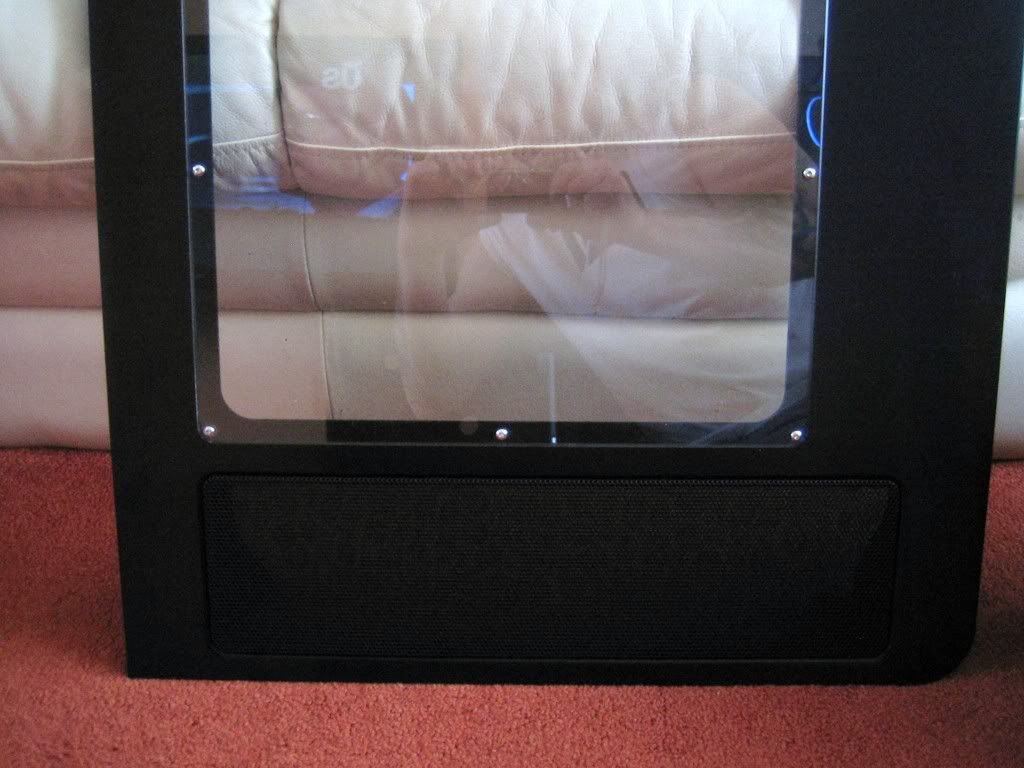
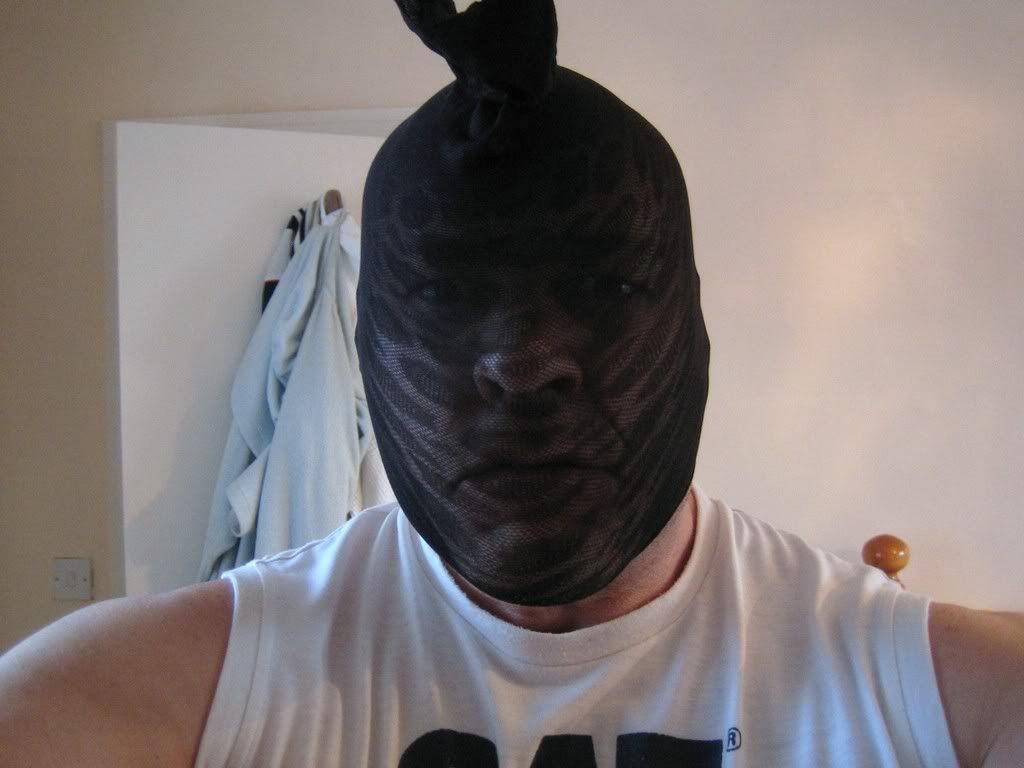
Now the tricky bit....bought some £3.00 tights for the side mesh as fan filters wouldn't keep all the dust out as the psu will also suck air into the case.
Used trim tape to line the edge of the mesh and stretched it over the gap....you need an extra pair of hands to do this.
Trimmed the excess off..
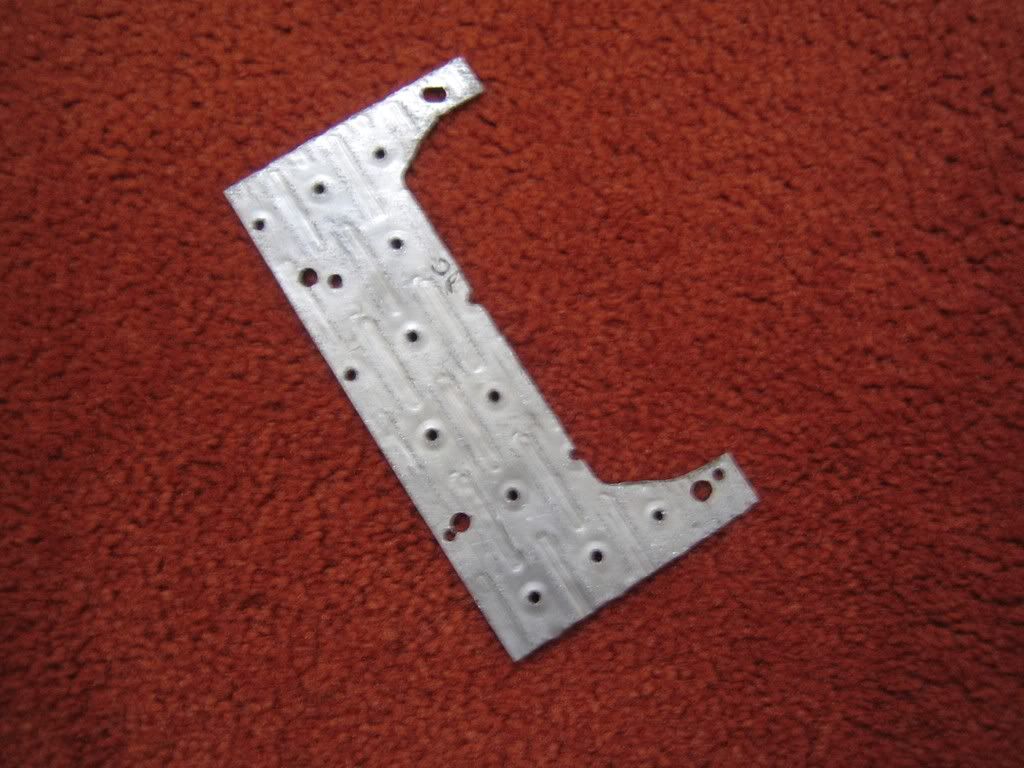
The spare leg can also be used to rob banks to pay for all this stuff......
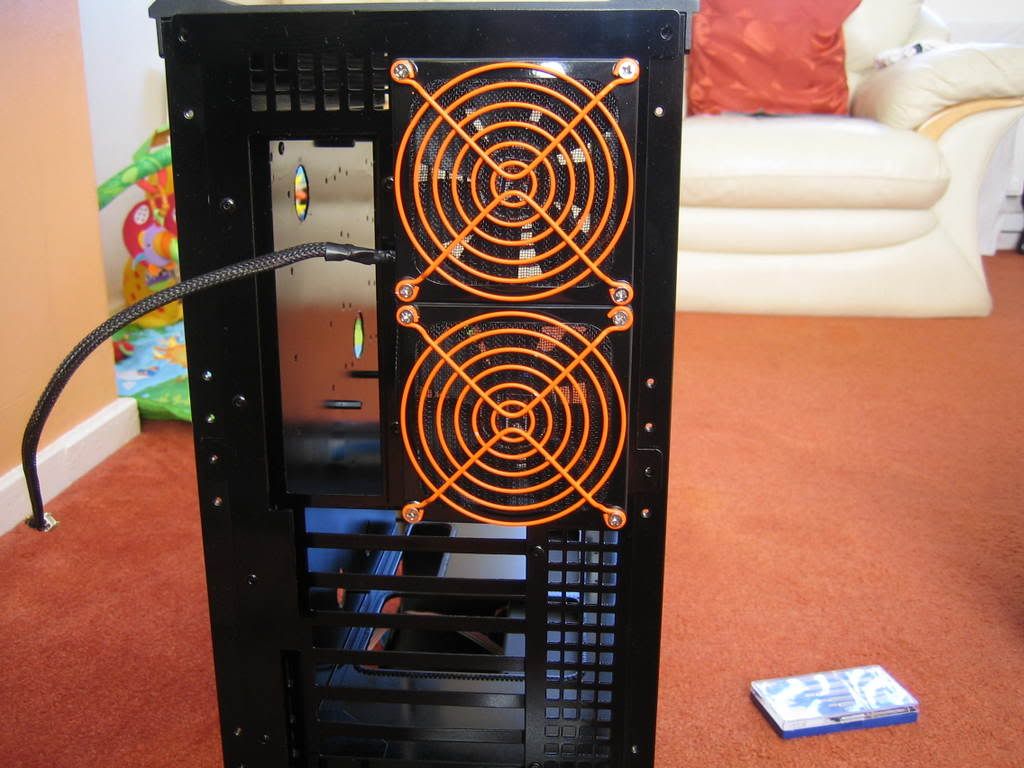
Had an hour to spare today, so i thought i would fit the rear 92mm rear fans as i received the ac ryan filters yesterday.
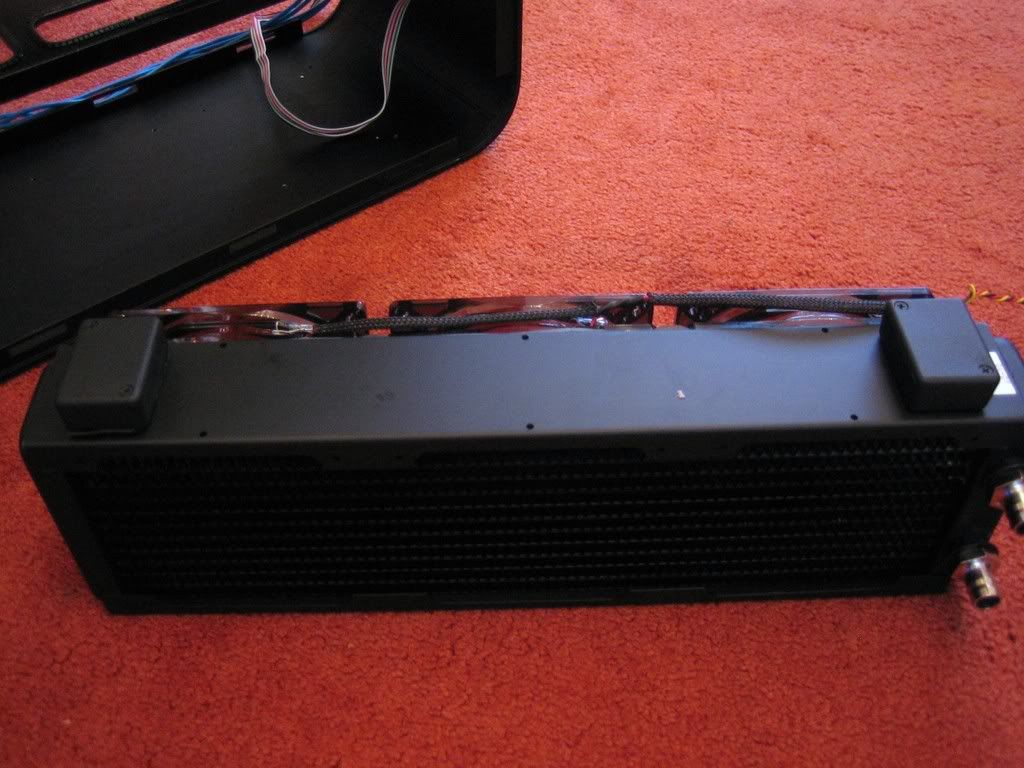
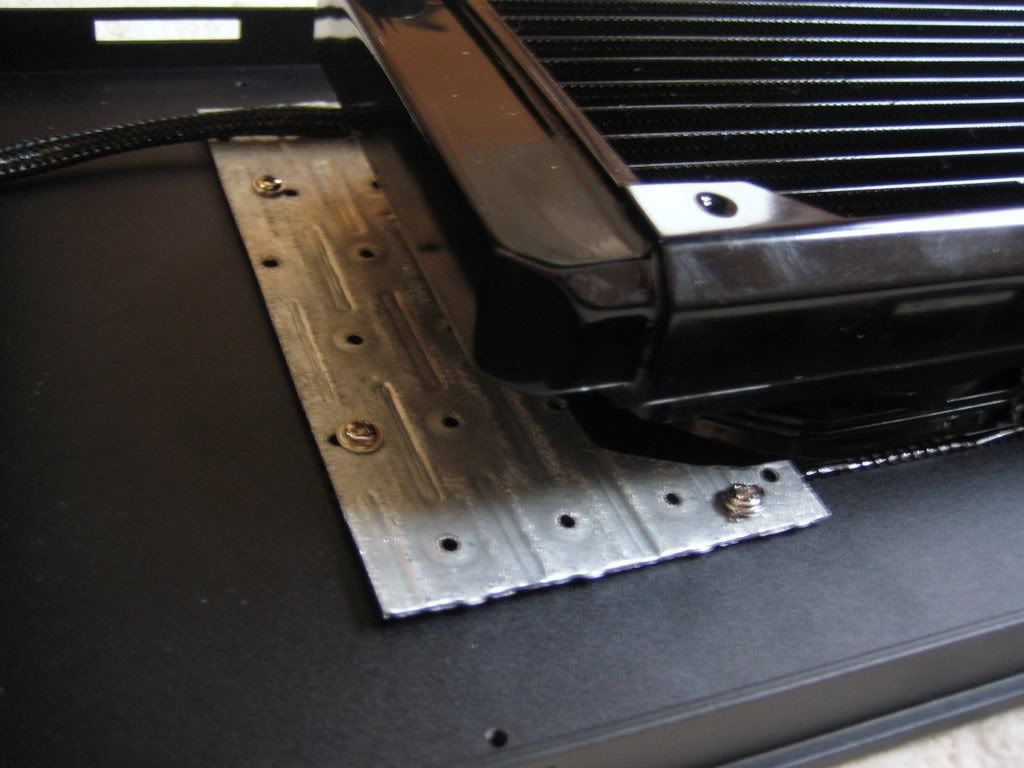
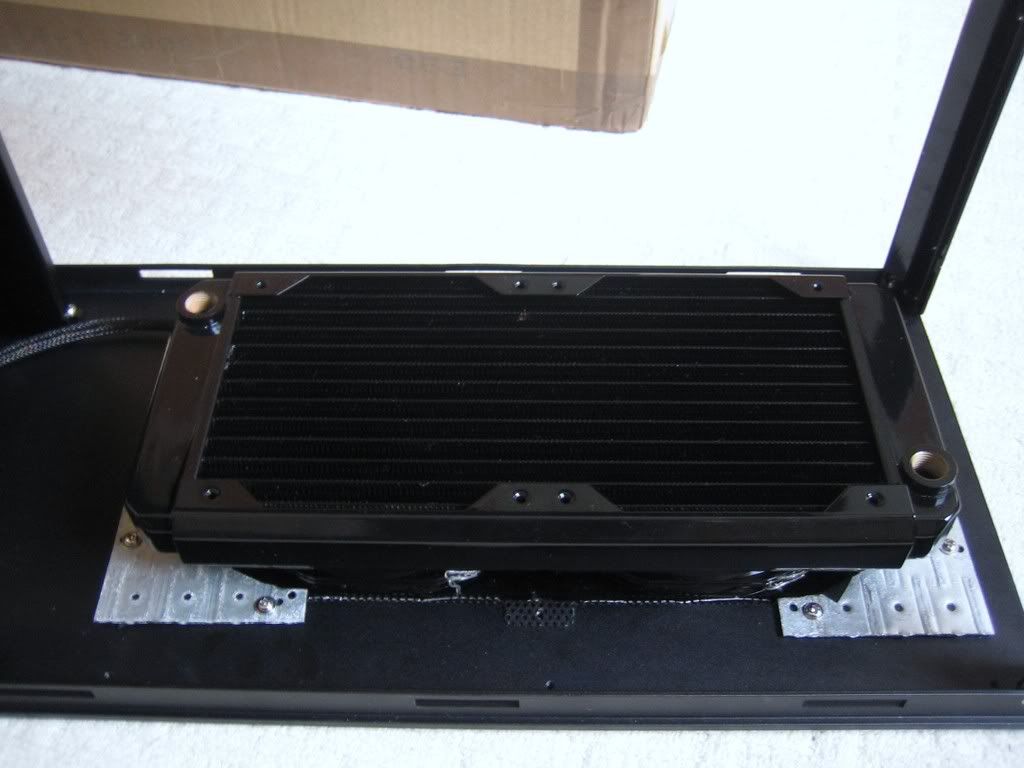
Got my double rad from Lloyd at limited edition computers the other day so i thought i would fit it today.
Had to make some brackets for it to go into the roof of my tj07. got the measurements thanks to waffles_is_win (cheers mate) and made a template with a piece of paper. then it was off to my local wickes to find a couple of pieces of metal to do the job.
A big thanks to geordie charlton for the use of his bench grinder and the cup of coffee, even tho he lied about not having any milk to try and get out of making it.
Just have to paint the brackets black....
Sorted.
")
Gave some thought to air flow today and wasn't happy with the warm air that's gonna be trapped in the bottom of the case. So initially i was gonna strap another 2 fans ( cant use 3 cos of the size of the galaxy 1000 watt psu wont fit) onto the triple rad (push pull) but still thought that it still wouldn't solve the problem of trapped air.
Might still put 2 fans on the rad for extra oomph.
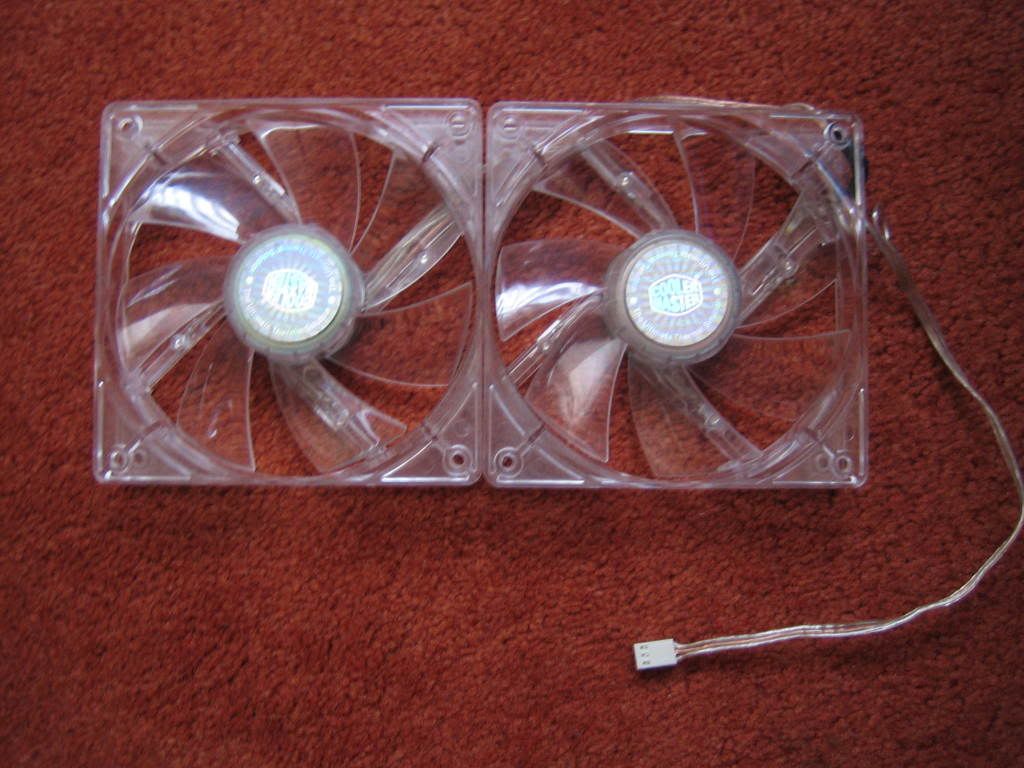
So i wanted to get rid of the warm air quickly and have daisy chained a couple of coolermaster 120mm fans together.
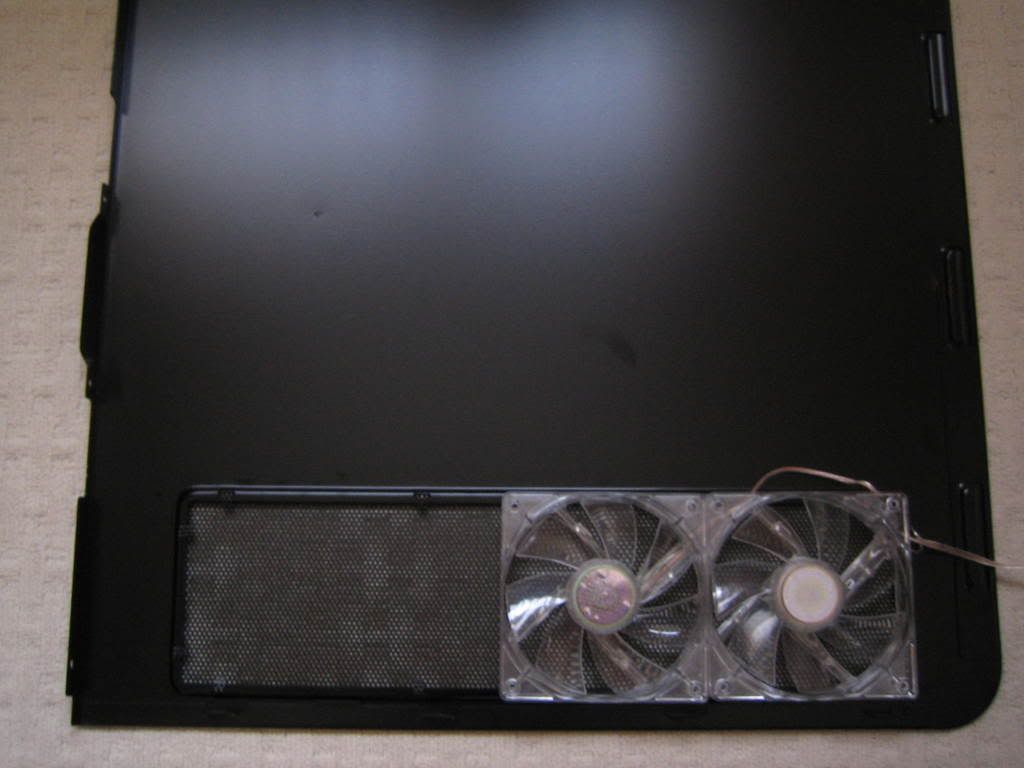
Gonna put them on the side case panel as soon as i figure out how to attach them securely. Got some 1 sided sticky rubber roll that im gonna use as a sound dampener and gasket.
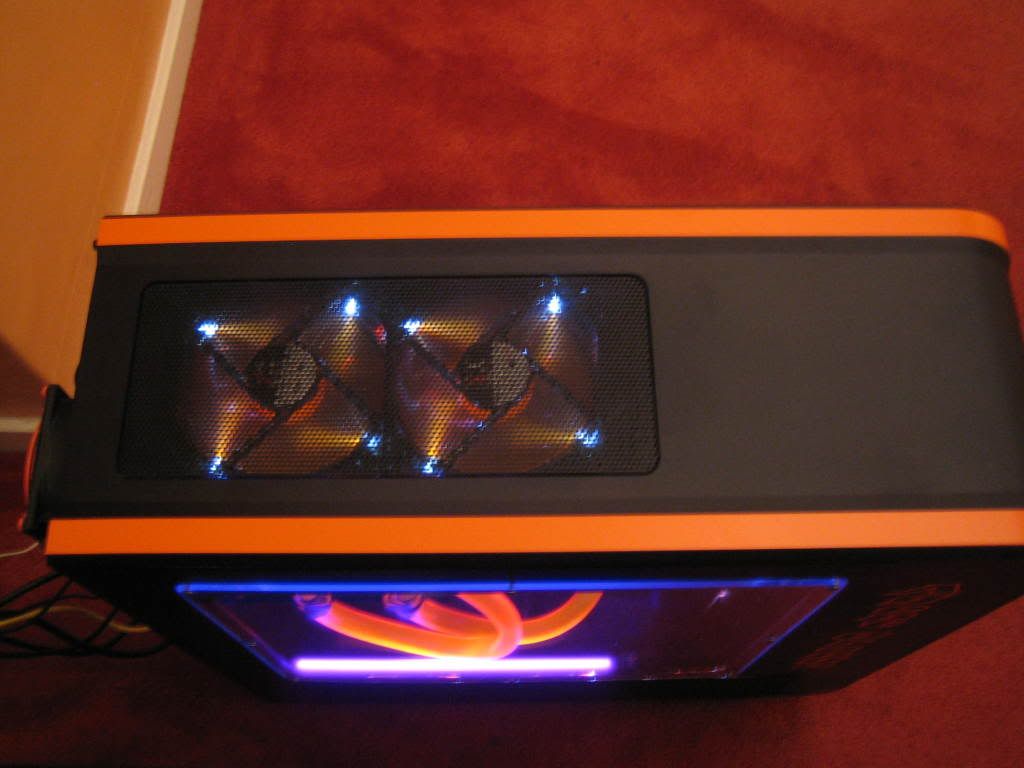
I also cut the wires to the 4 blue leds and probably get a orange strip light to go in the bottom.
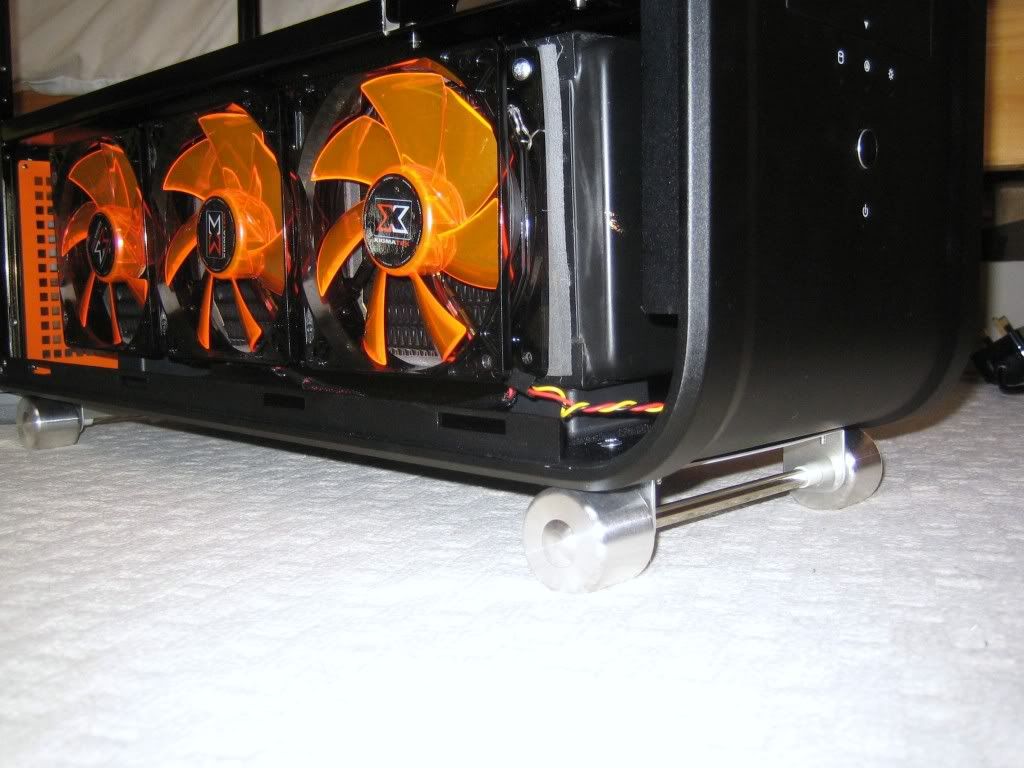
Fitted the lian li wheels today.....was a bit of a problem tho, the tj07 has a large recess in the middle, so this means the wheels touch the sides of the case.

Had to improvise as i didn't have any washers, decided to use cable tidy clips to raise it up a bit.
Screws were not long enough so i had to use some rad screws i had left over.
finished.......
I also fitted those 2 coolermaster fans to other side casing and done a bit more cable braiding.
Update....
Decided to change my 4870/1gb for a 4870x2, and also my scythe kazemaster for a different fan controller. hopefully get them tomorrow, or monday. then its time to put it all together.
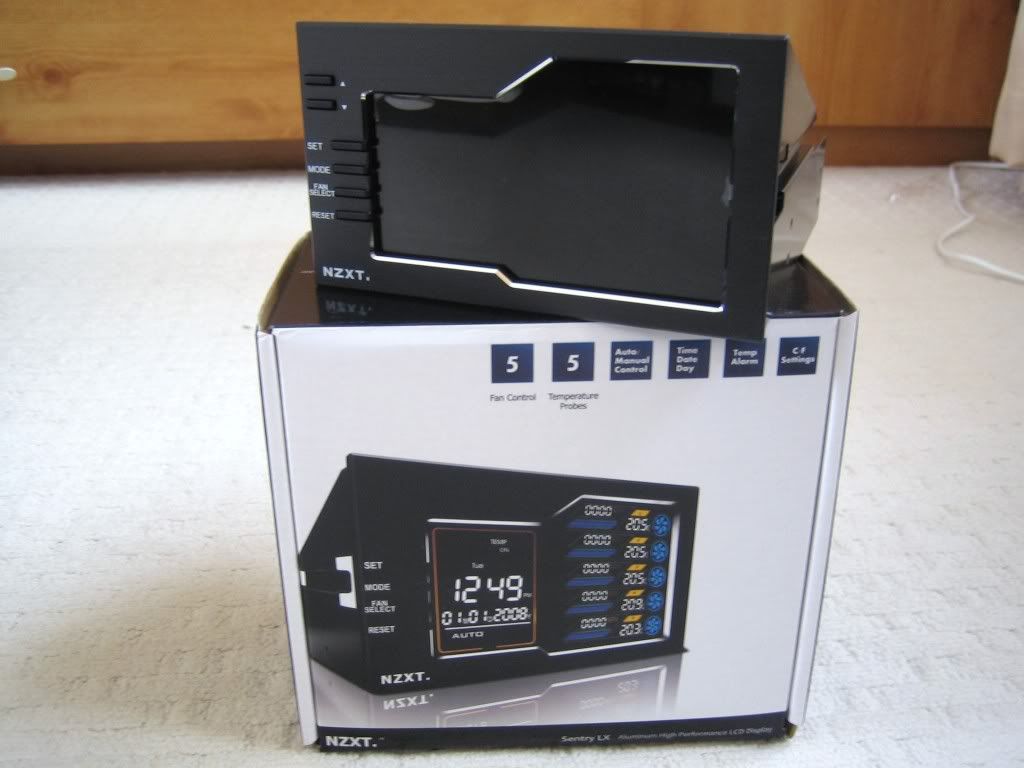
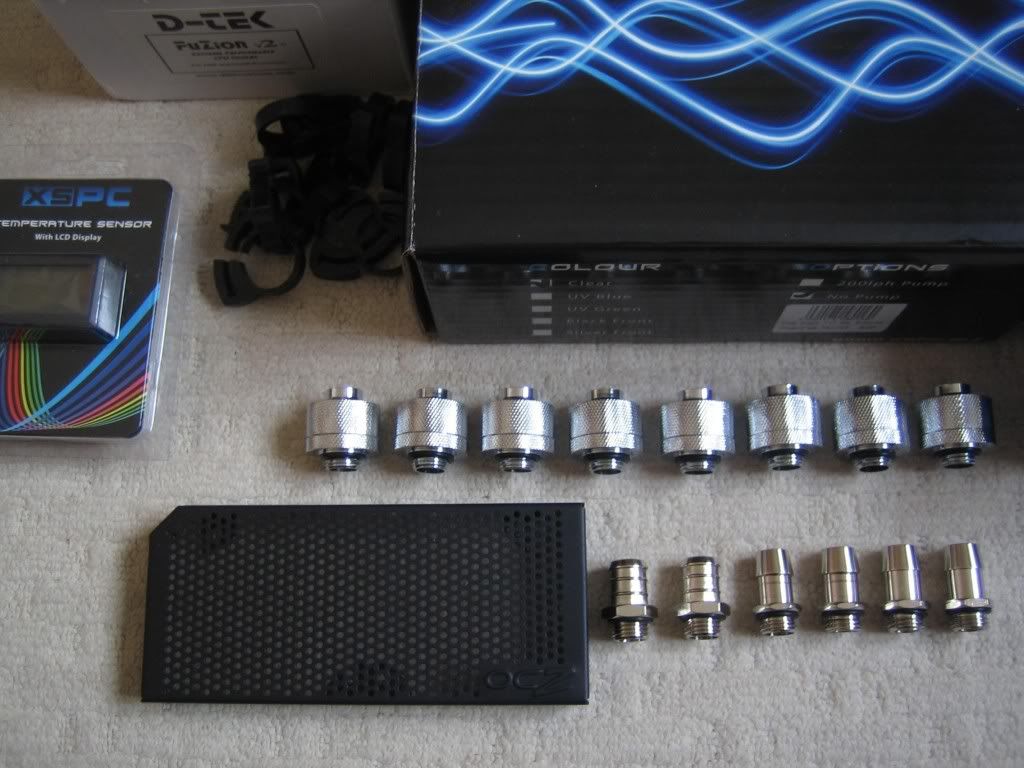
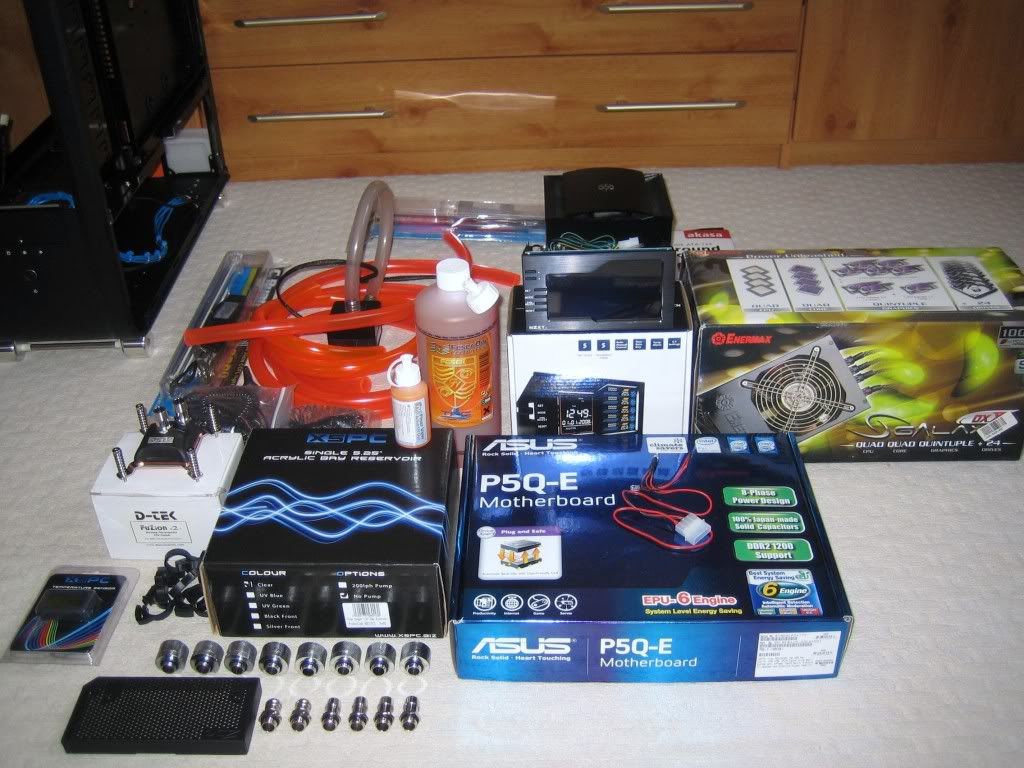
Got some stuff today.
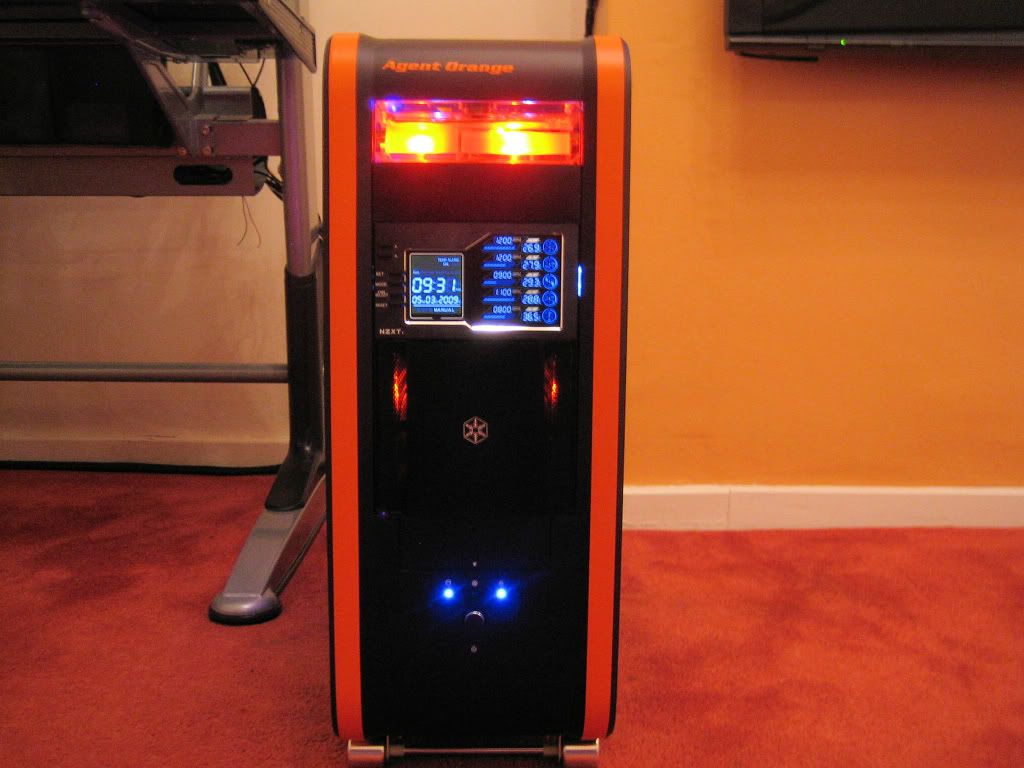
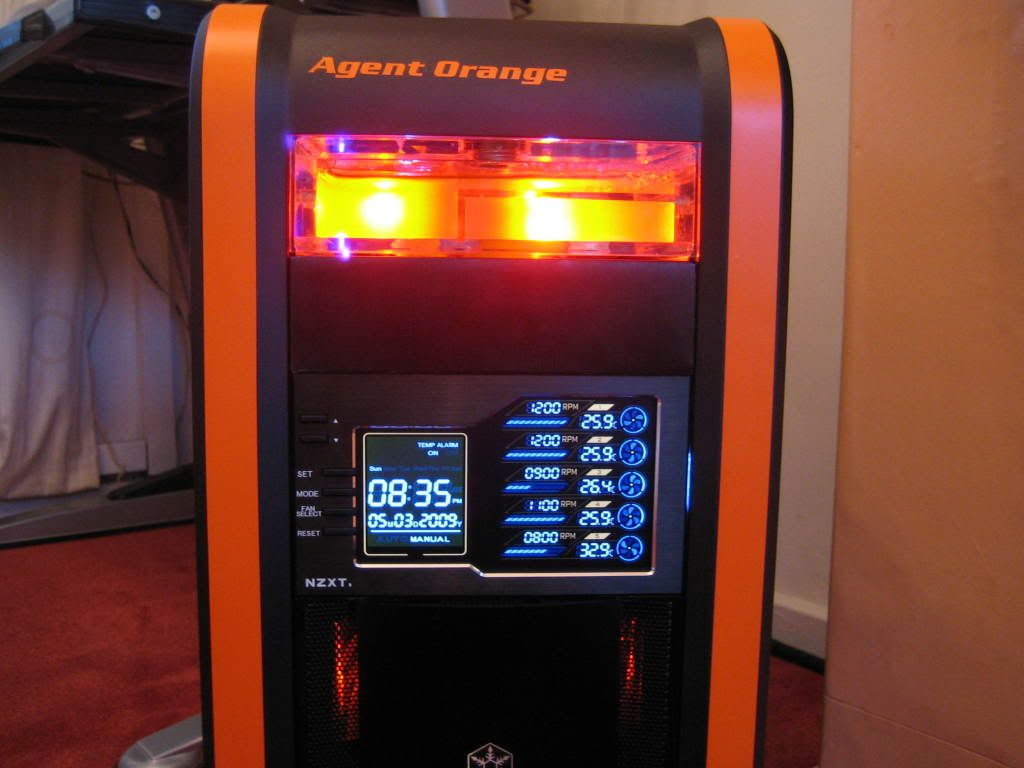
......sent my scythe kazemaster back and got me one of these in. I can control 5 sets of fans with this controller....was gonna struggle with the scythe. I also got me a custom double orange LED for my xspc res....
Thought i might aswell post some pics of the other stuff i have....
and.....
Gonna make a start tmoro. thing is im giving my son my antec 900 and psu and p5k mobo....he has a p5k mobo exact same model as mine, but i pencil modded mine a while back and cant be bothered to do it again.
Im gonna clock his e5200 chip....already clocked his 8800 gts/512mb so he needs a good case for cooling.... (hes only 6 ha ha)....my 4870x2 hasnt arrived but ive sold my 4870/1gb so im gonna have to sort his rig out first so im not offline for long. So bit of a faff on tbh.
Update time again.....
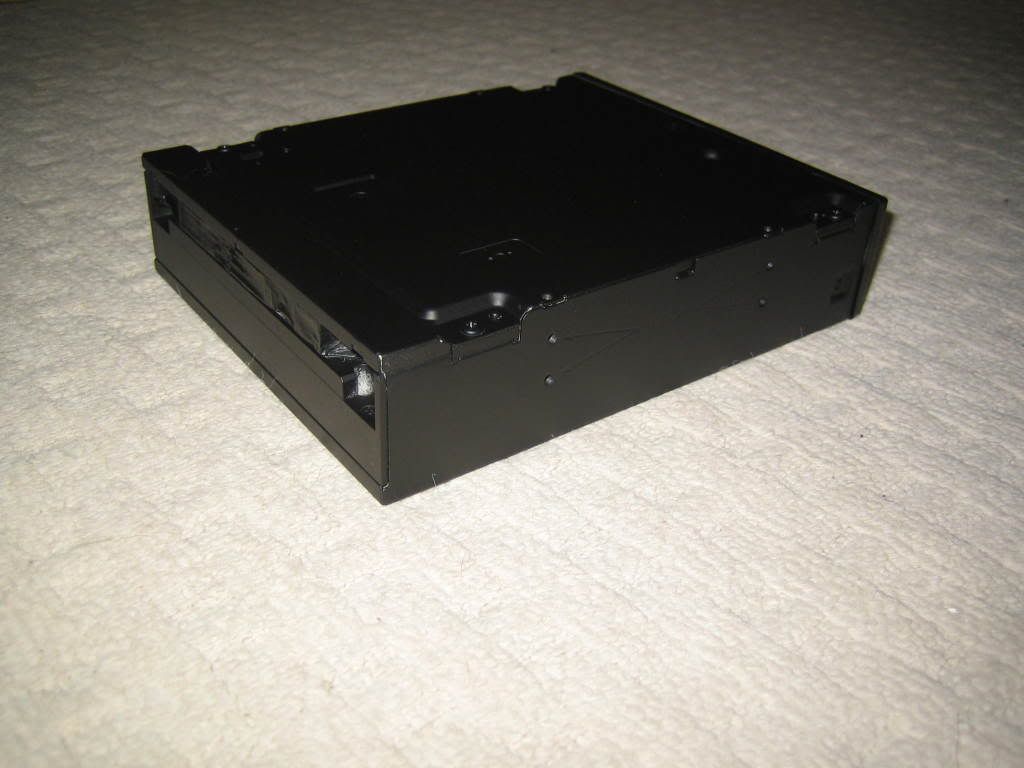
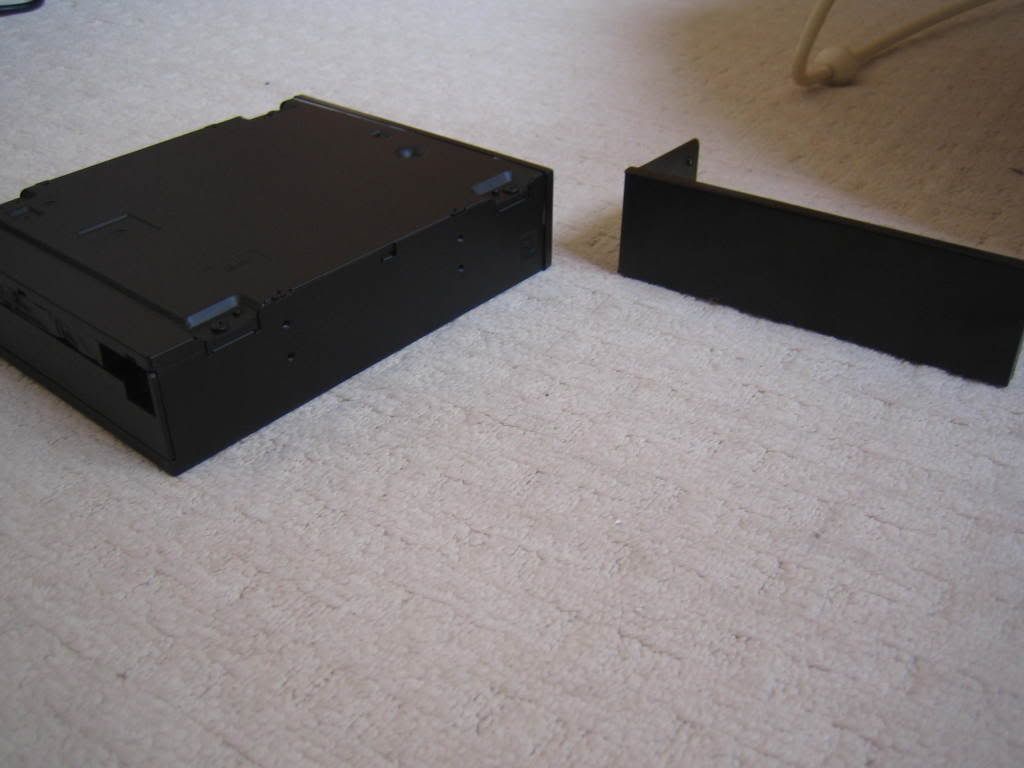
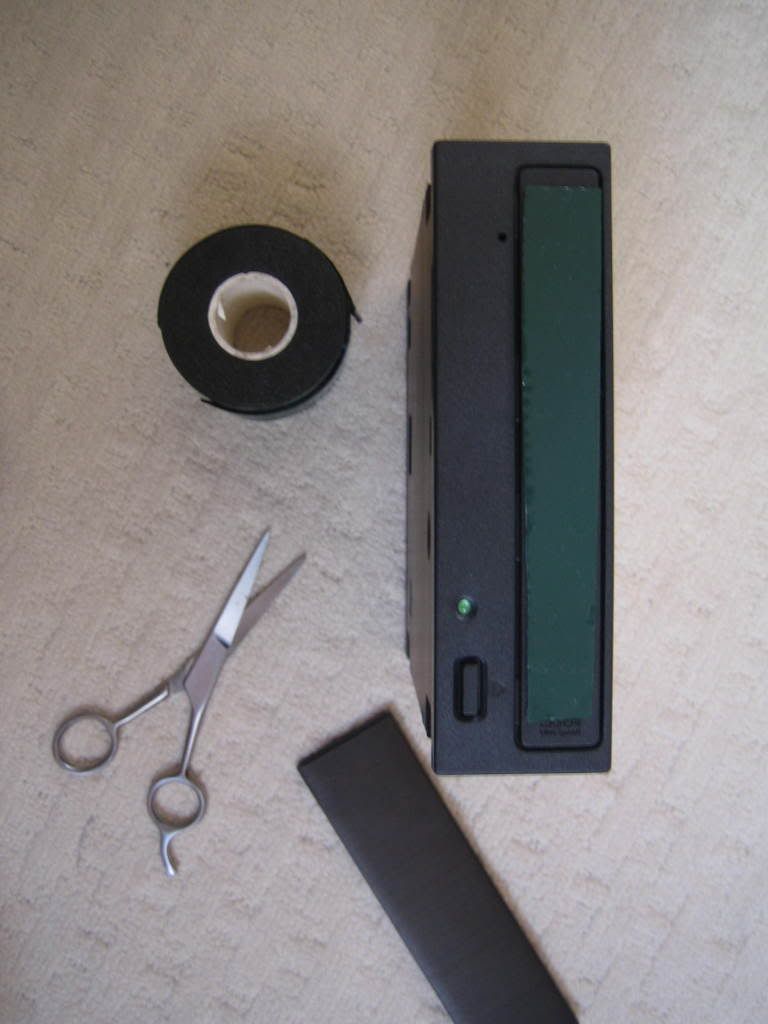
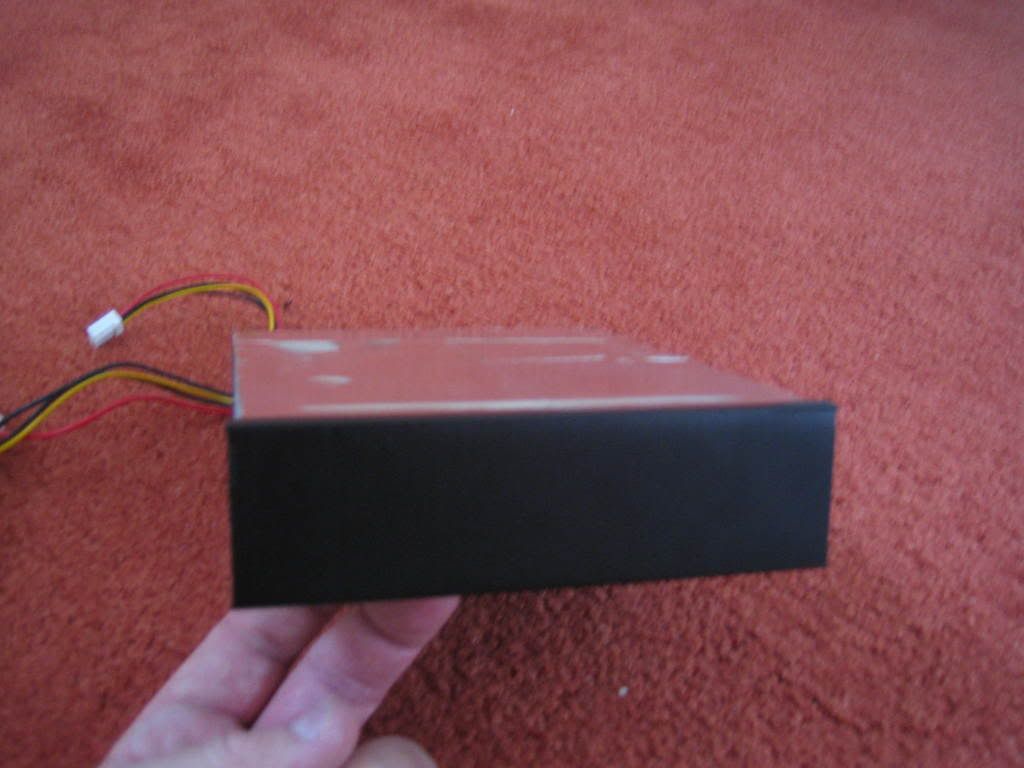
Decided the dvd drive looked el naffo grey and didnt go with anything in the case....so it was out with the simoniz satin black tough paint.
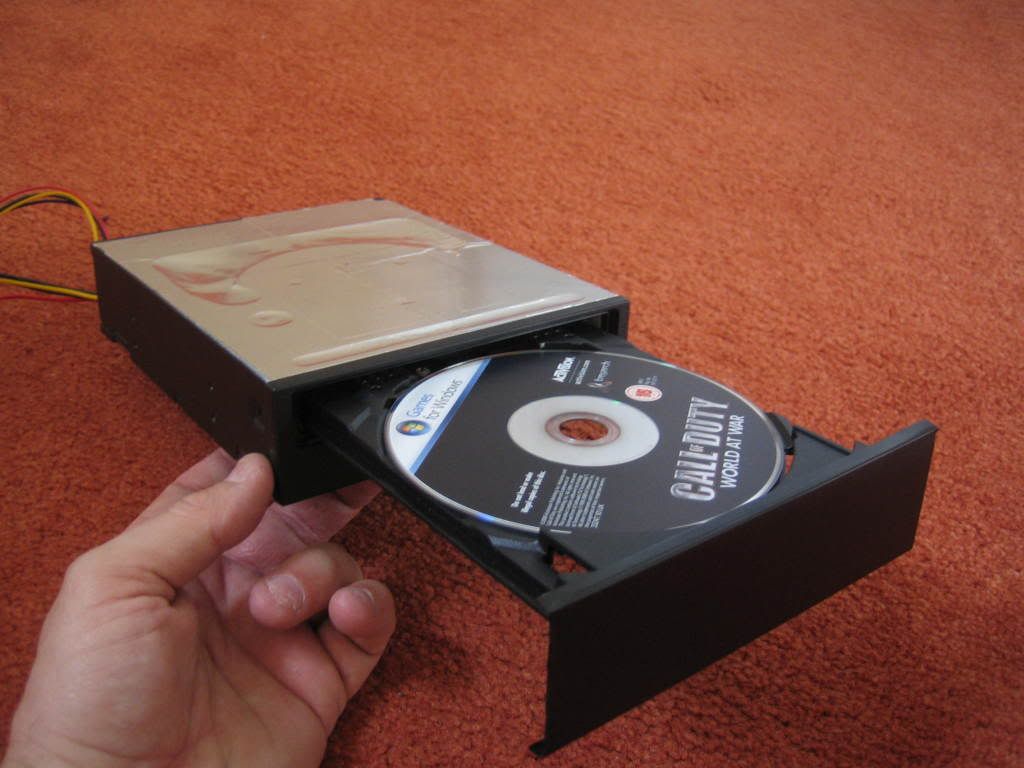
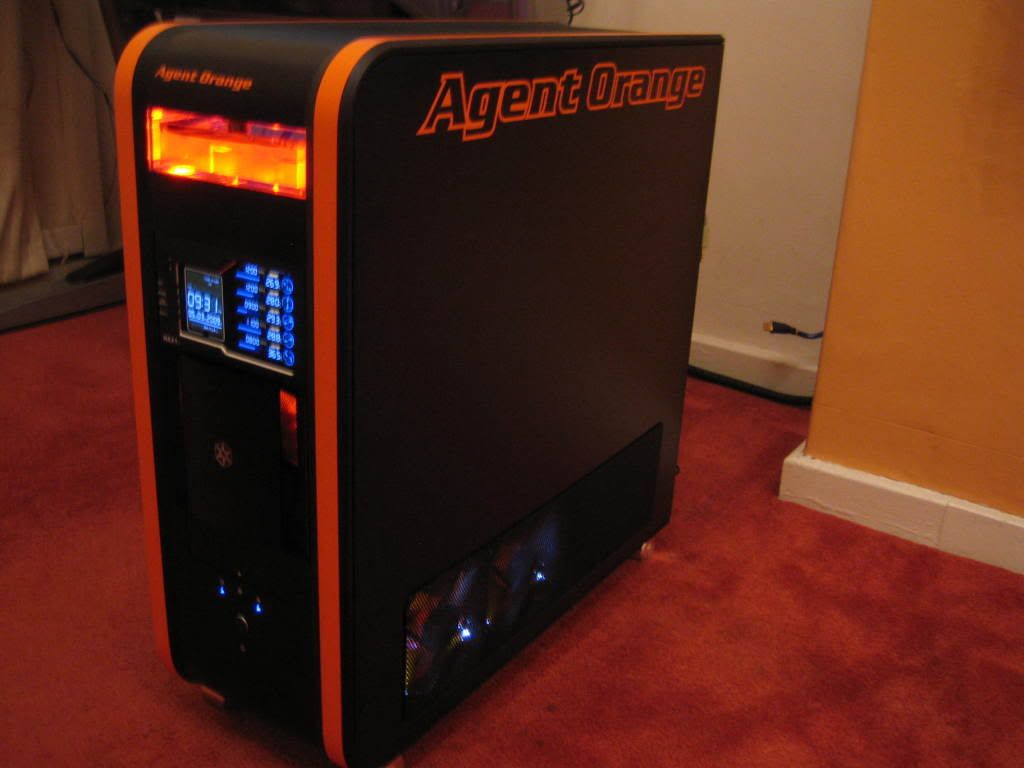
Also stealthed the front with original tj07 ally front besel...
1
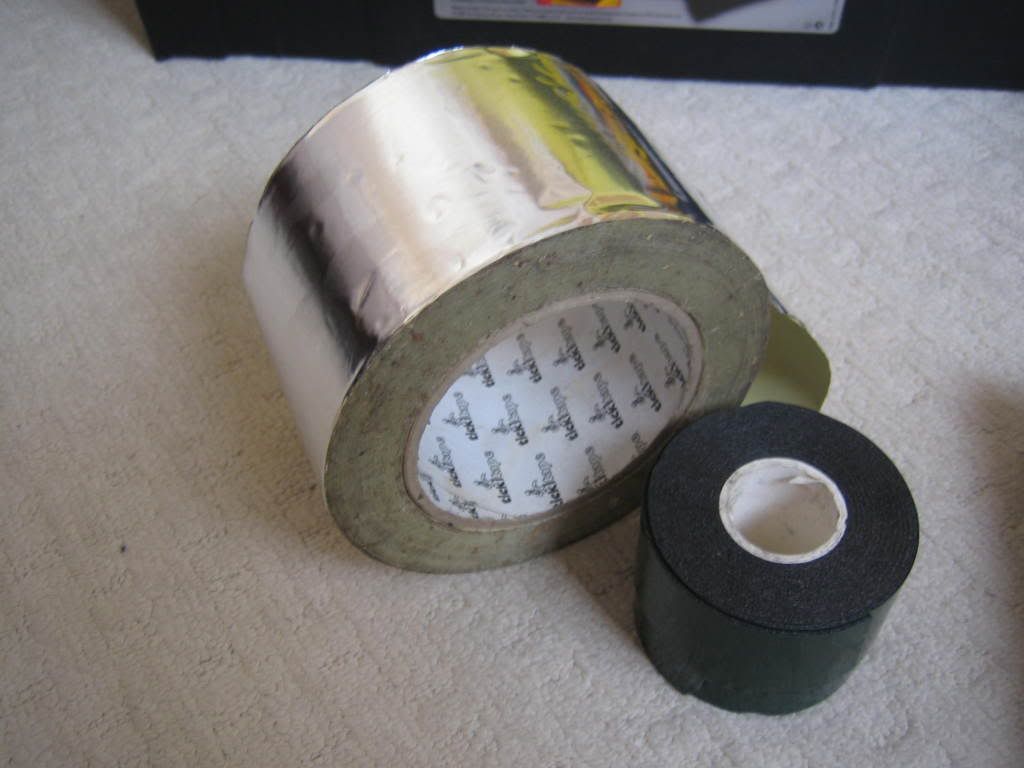
Out comes the car trim tape again (dunno how i could live without it, it also comes in handy for your car.)
The dvd drive is going under the xspc clear bay res with x2 orange leds, i want to highlight the leds, so i decided to put some of my tin foil sticky tape on the top to reflect the light a bit more. i also lined the inside of the hard drive bay caddy for my triple led aswell.
Rigged it up to my spare psu to test it... you just press besel where the button is, and hey presto.

Update time again....spent a good 4 hours yesterday and 3 today and its starting to come along nicely....used a whole hour just getn the drive bay to open properly, as it was touching the top of the fan controller...then when i had sorted that out i put the res in and it was touching the bottom of that. so i had to start from scratch again and cut the lips off top and bottom and file them down....sorted it eventually.
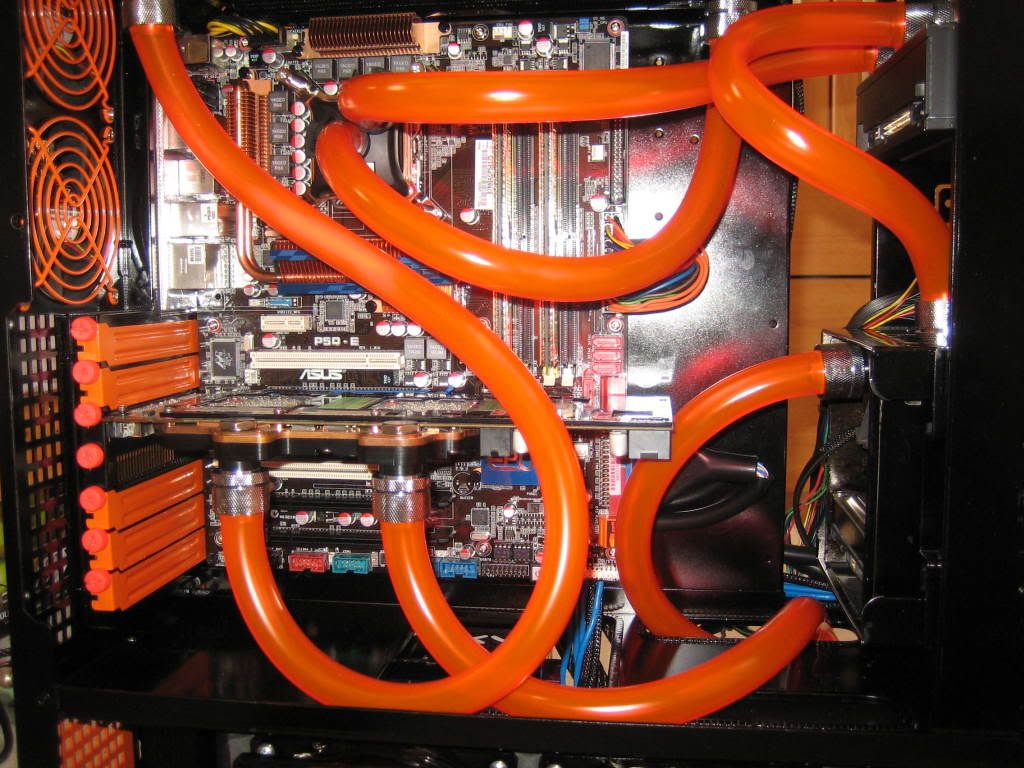
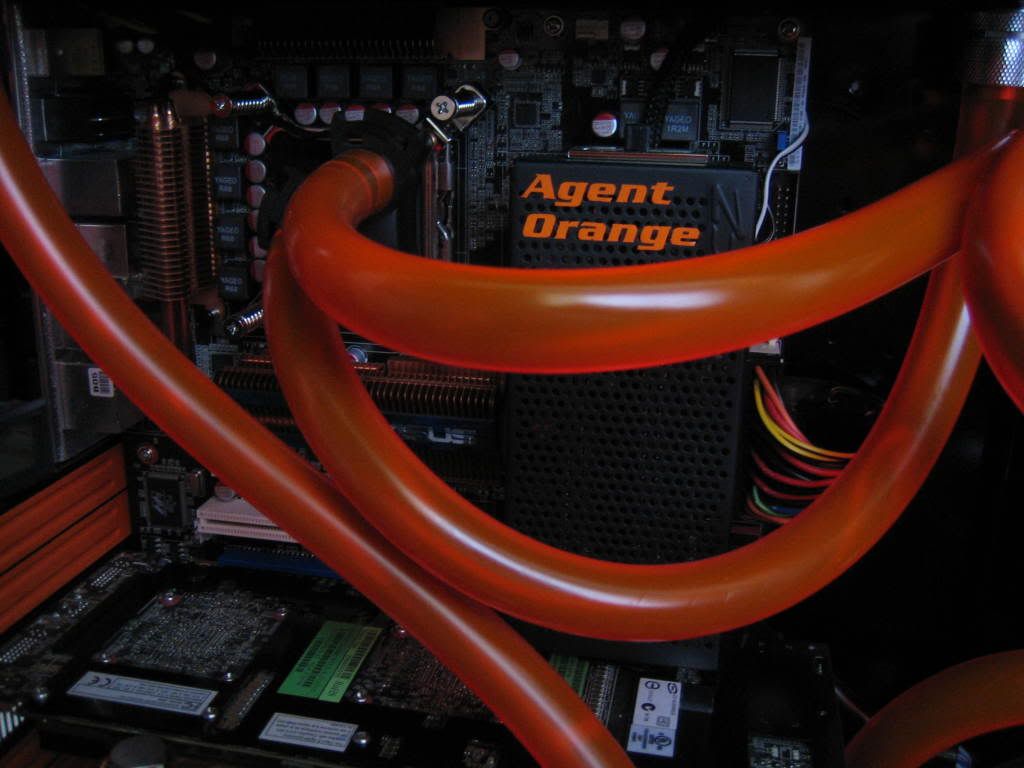
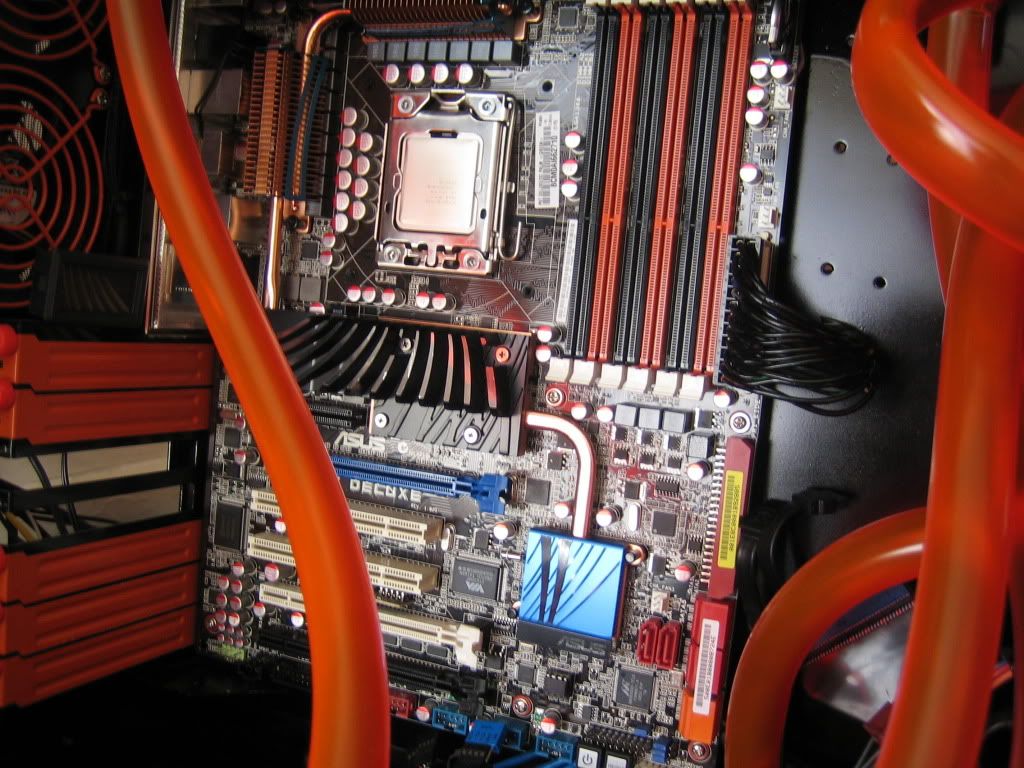
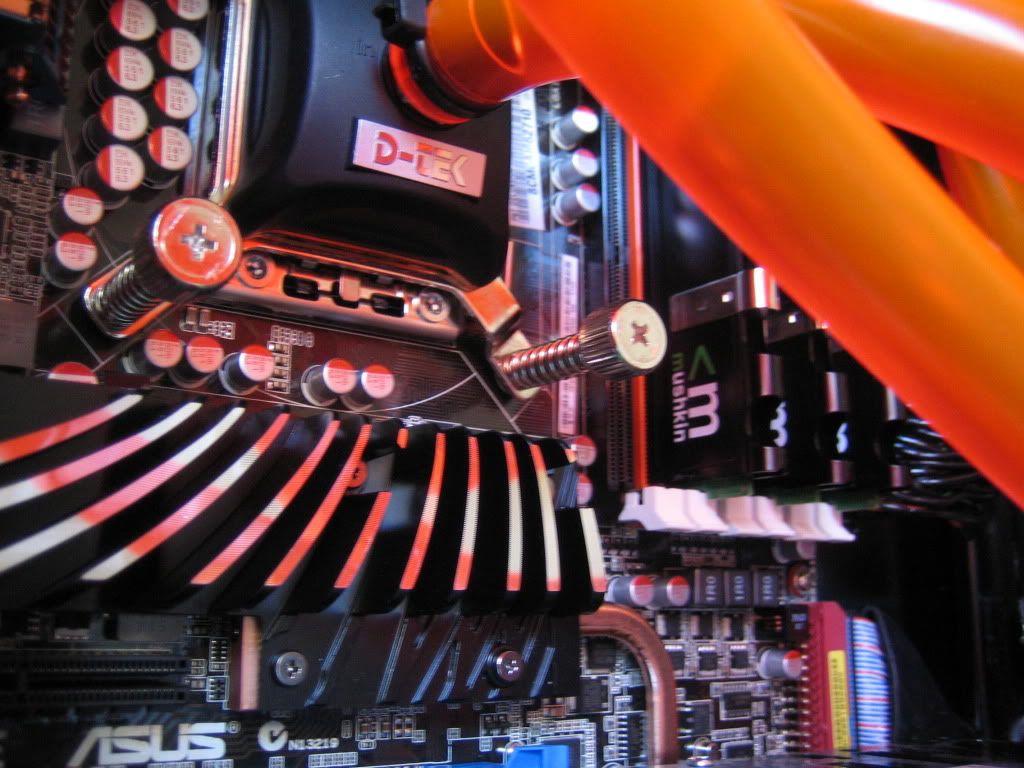
Put the d-tek on with some mx2.....compression fittings dont fit....touching eachother, so had to use normal barbs.
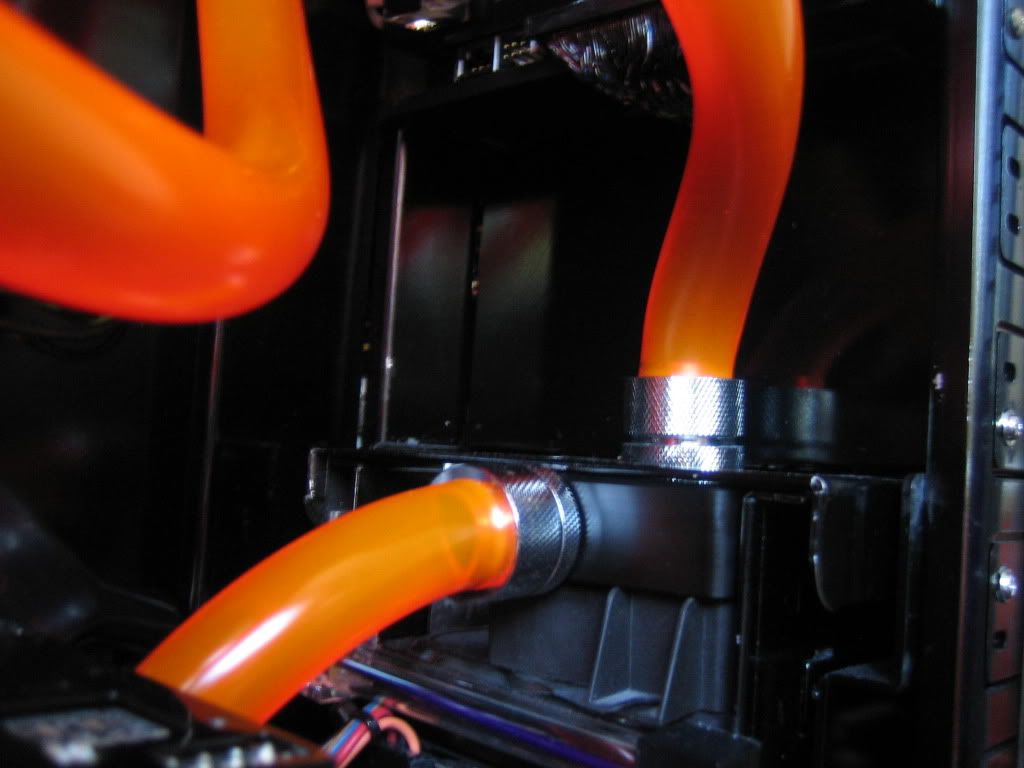
Zee pump....
graphics card was also a problem....could only fit compression fittings on the bottom as they foul the pcb, and there was no way around that either.
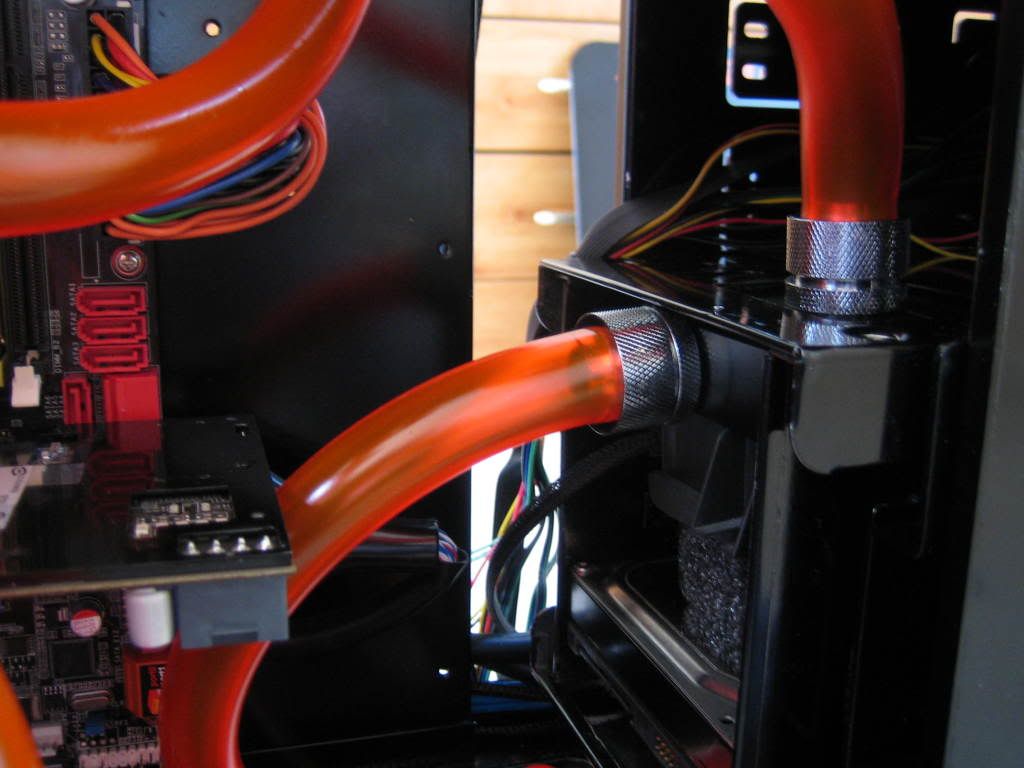
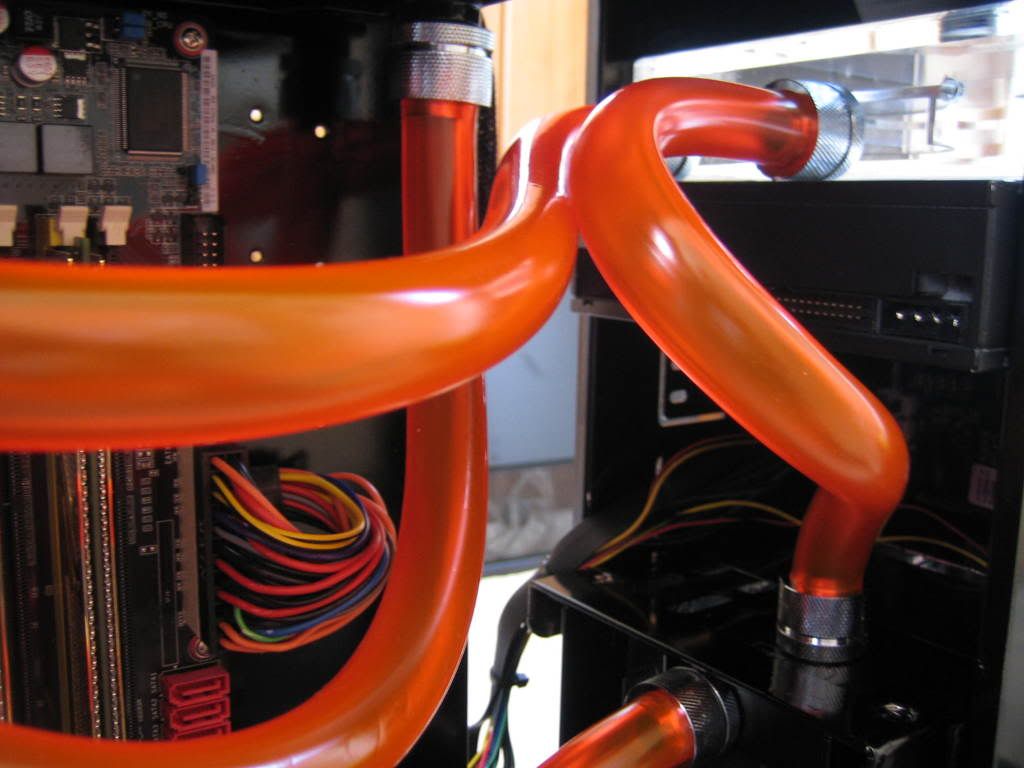
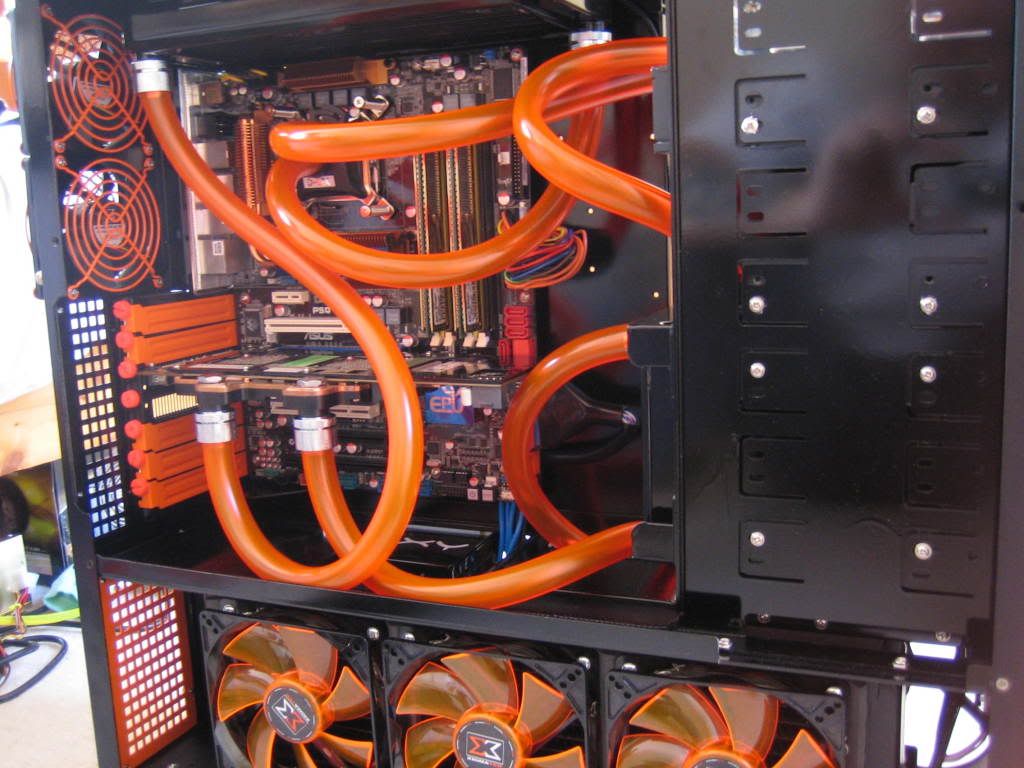
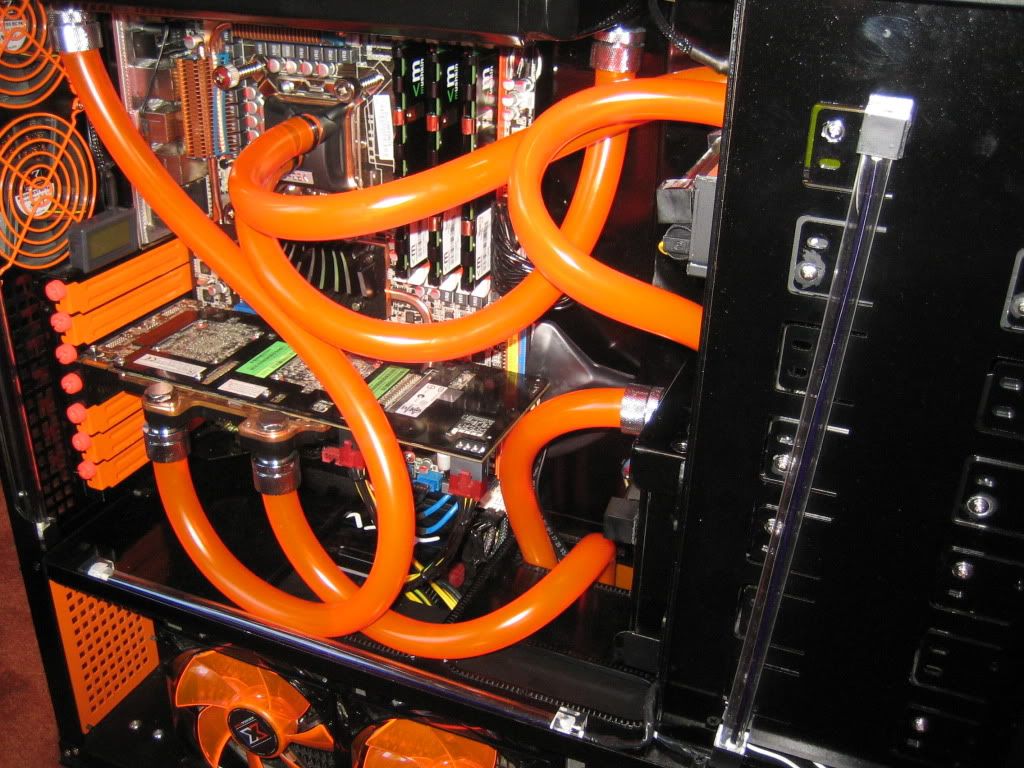
Tubing time....i used the spare tubing i had to measure and fit just in case i made a mistake as i wasn't sure if i had enough if i cut 1 the wrong length.
Had a slight problem with the pump. it was tilted to the side and looked naff, but that's where i wanted it so i cut some bits of foam and jammed it underneath, sorted.
res............
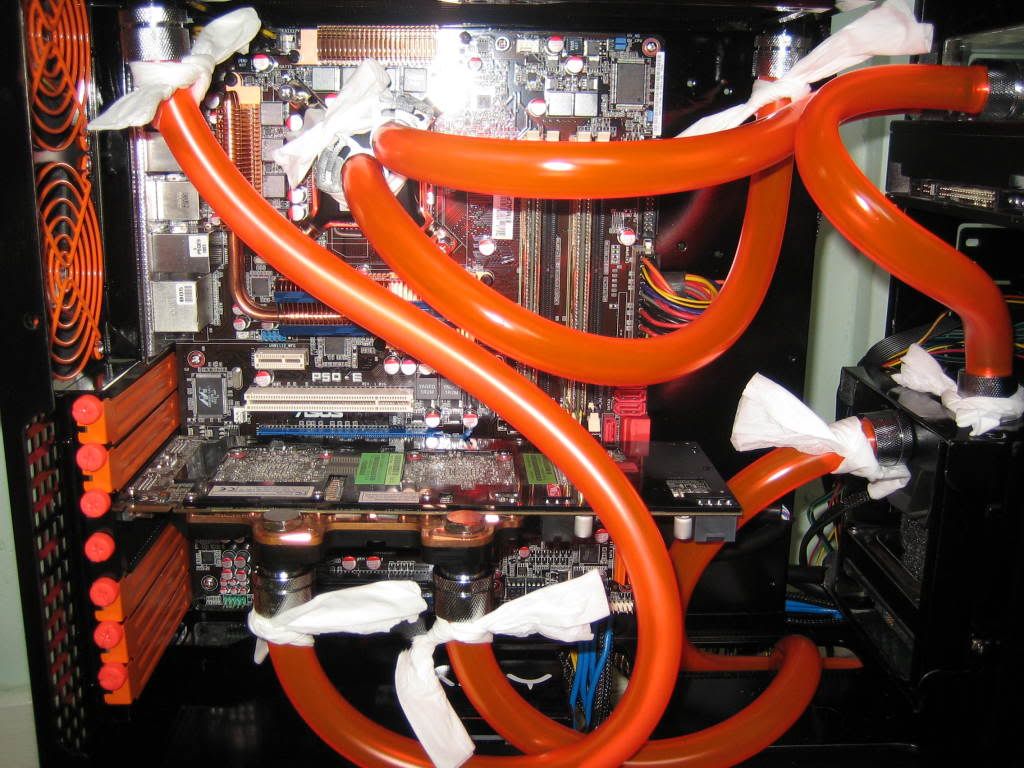
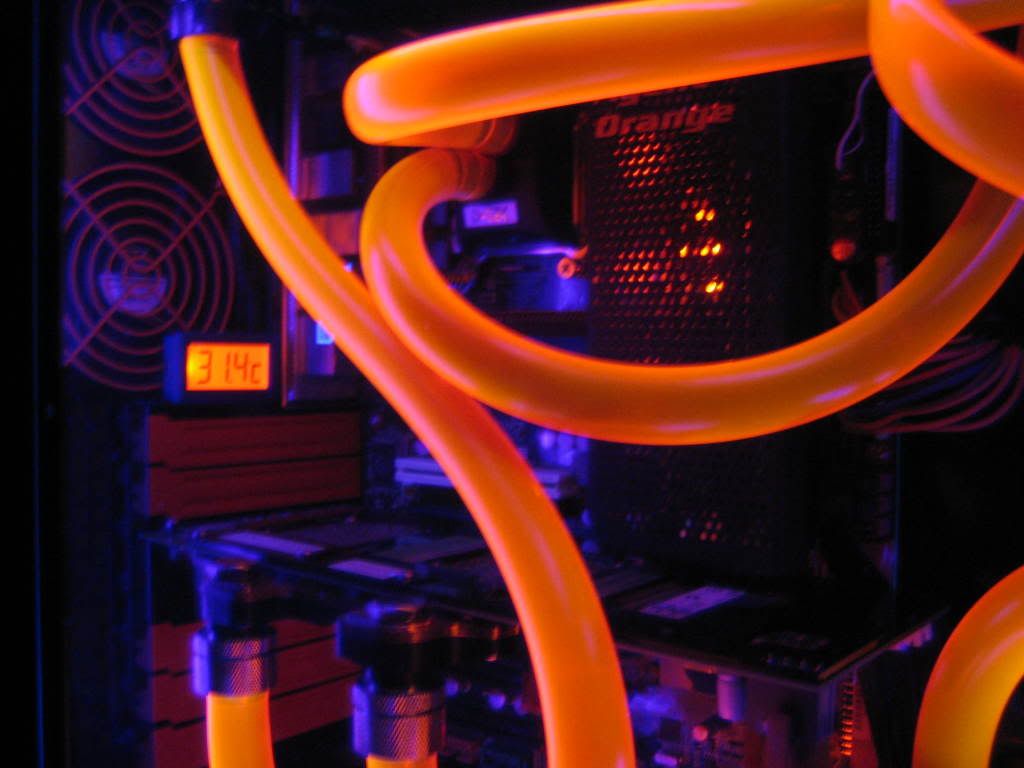
leak testing......
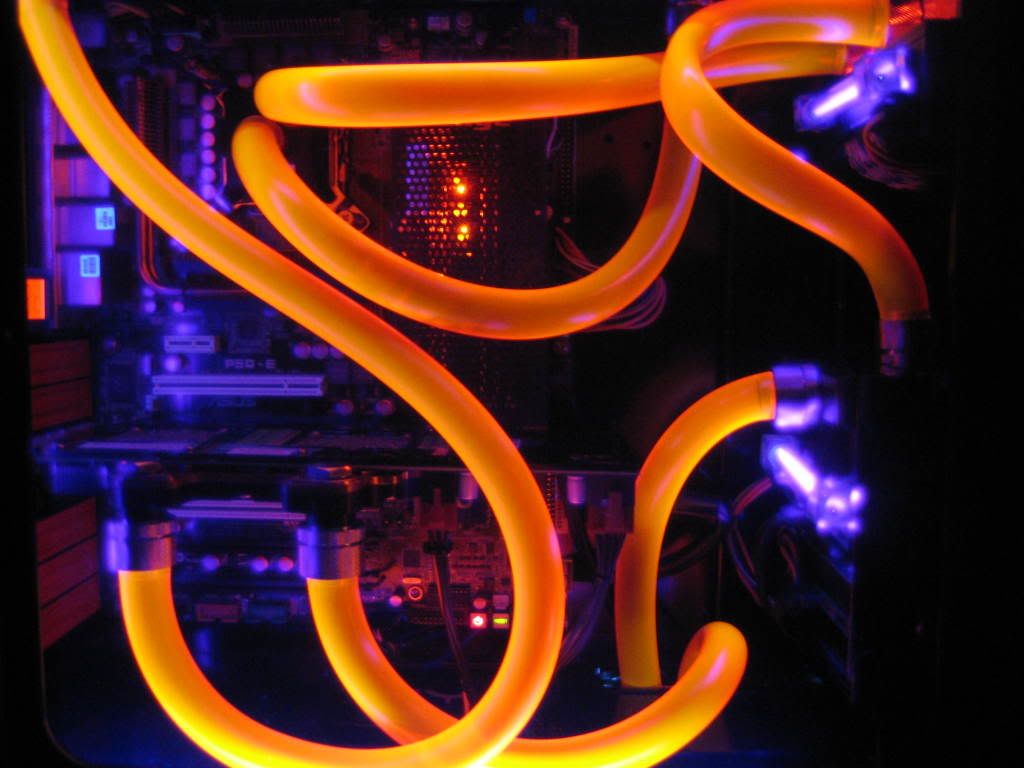
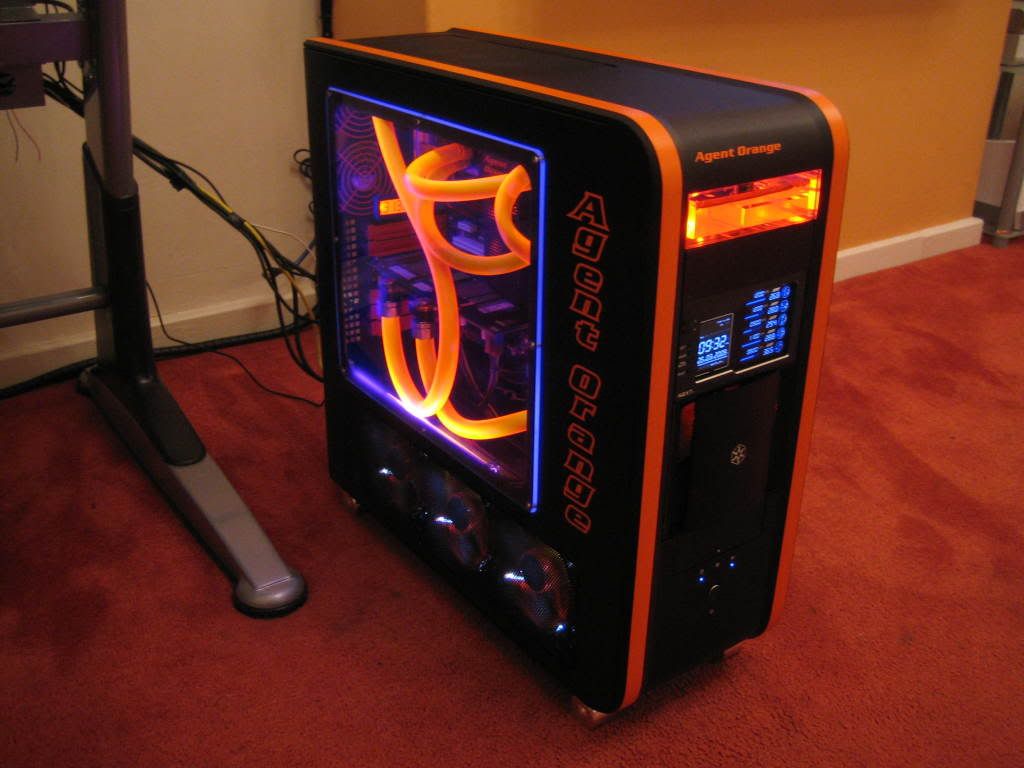
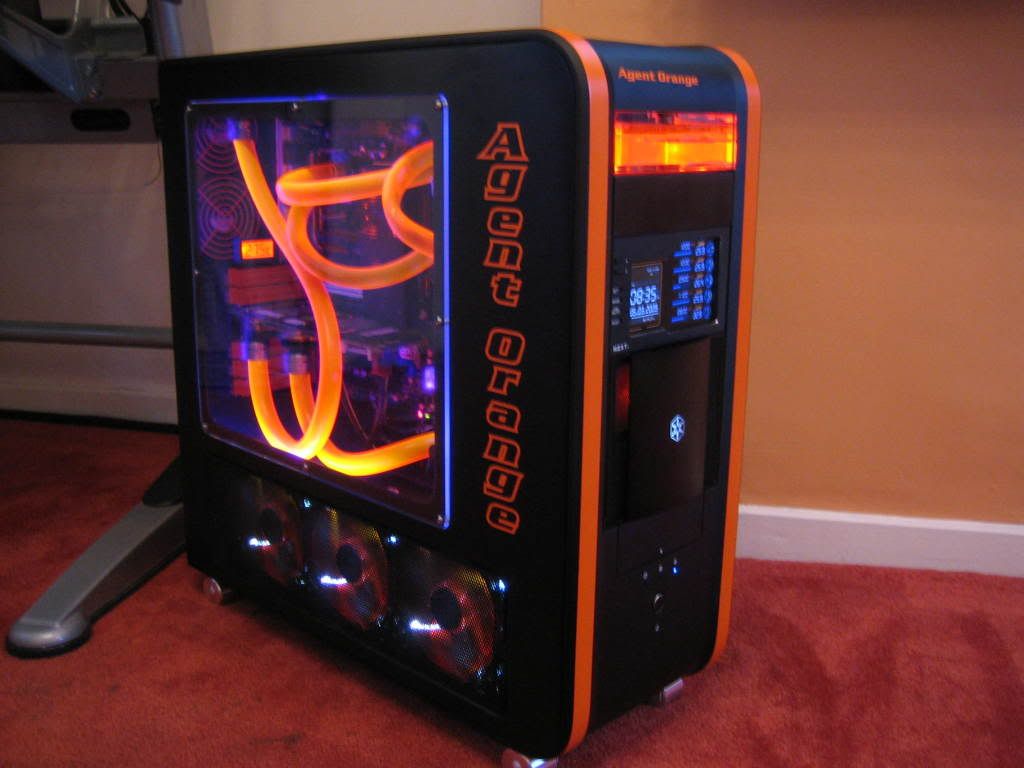
Been 2 hours now and all dry....had a bit foam in the res but all gone and just a few little bubbles left......tapped tubing to get rid of bubbles that were clinging to the sides, and its looking good.. gonna leave overnight then start some cable managment tmoro.
I might leave the anti kink coils off, havent got any kinks and i like the clean look tbh....see how i feel. thanks for looking.
Update....
Still on with the cable tidying.....nightmare....theres about 20 wires just from the fan controller alone. and the temp sensors just reach some places, so they stretch across the gap between the mobo tray and the main 5.25" uprights.
You could also see the cables from the fan controller and the ide cable and molexes above the pump.
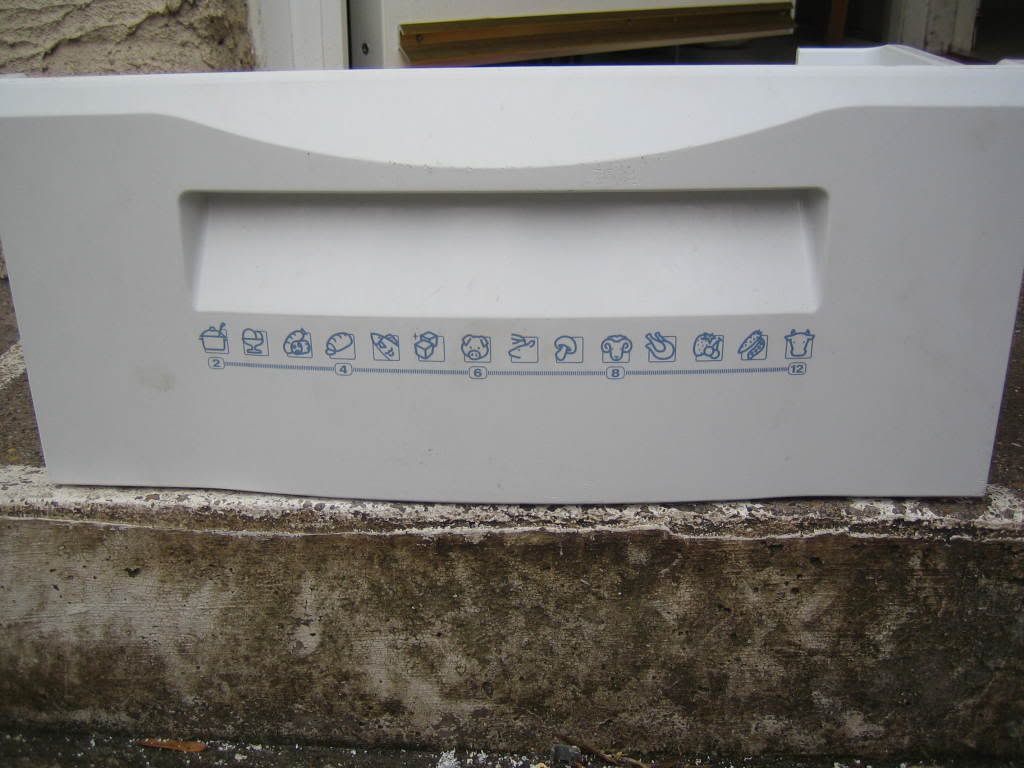
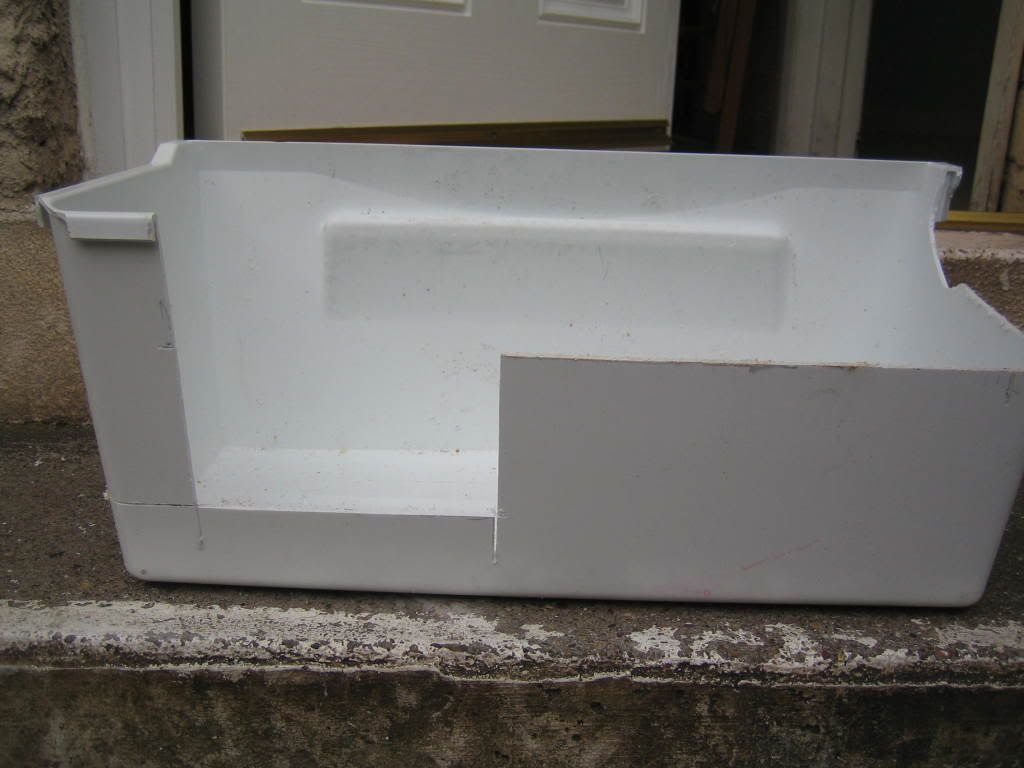
so it was improvisation time again.....(was gonna order some black acrylic but wouldnt have got it till late next week) were getting a new fridge freezer cos the bottom tray keeps icing up in our frost free fridge, so i had to take the bottom tray out the other day.
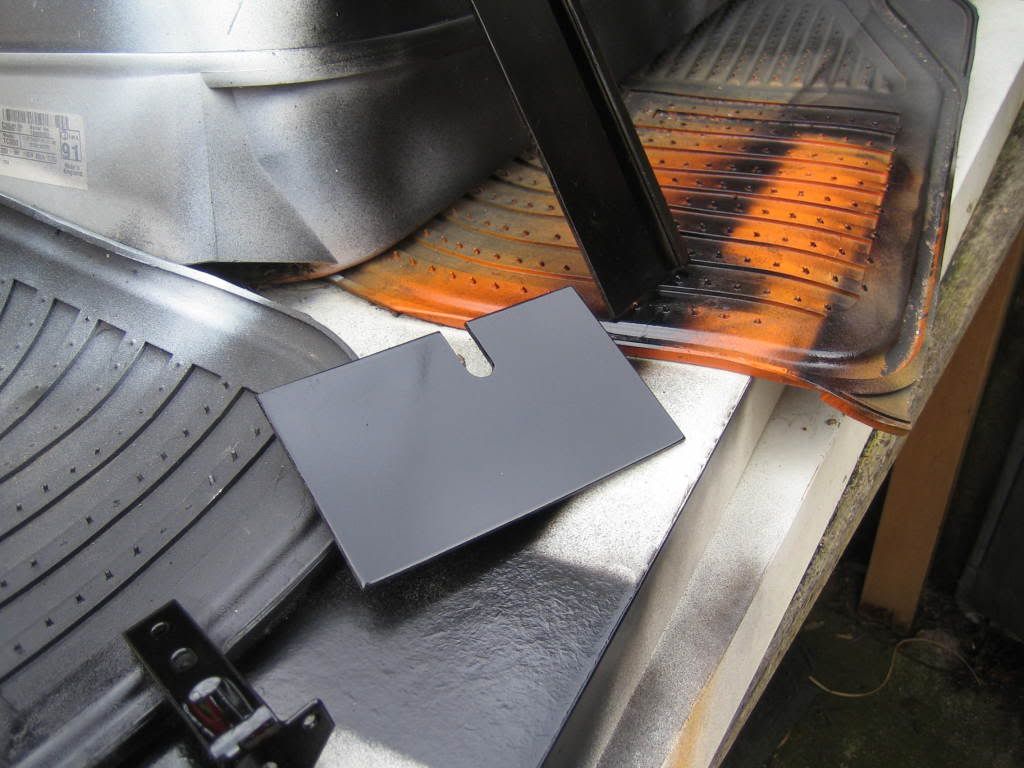
A few quick measurements and my trusty hack saw.
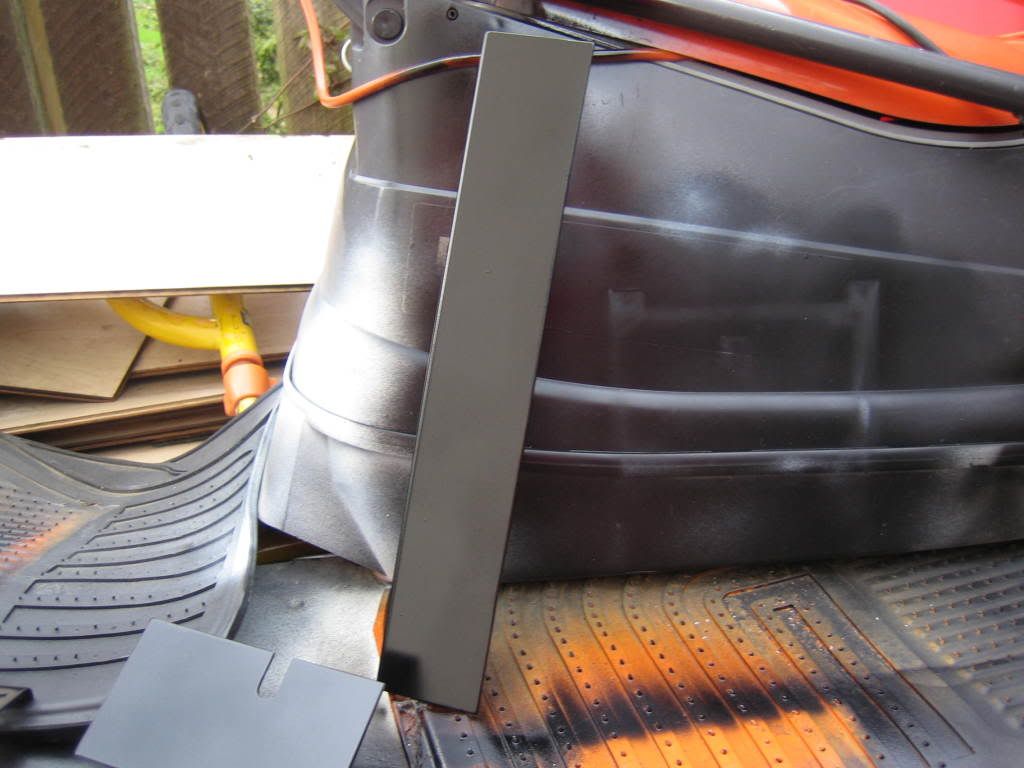
Cut a groove for the ide cable, Filled down the edges and sanded.
Will post pics of them fitted tmoro as the paint is still wet.