EVOLUTION by PEXON Cable management/ few pics of progress

Looking really good. Keep the updates coming
smile.gif
.
 
Change of plans this week, was meant to be going to Erith in Kent to start a job from Sunday/ Wednesday, so I'll have a few updates this week.
 
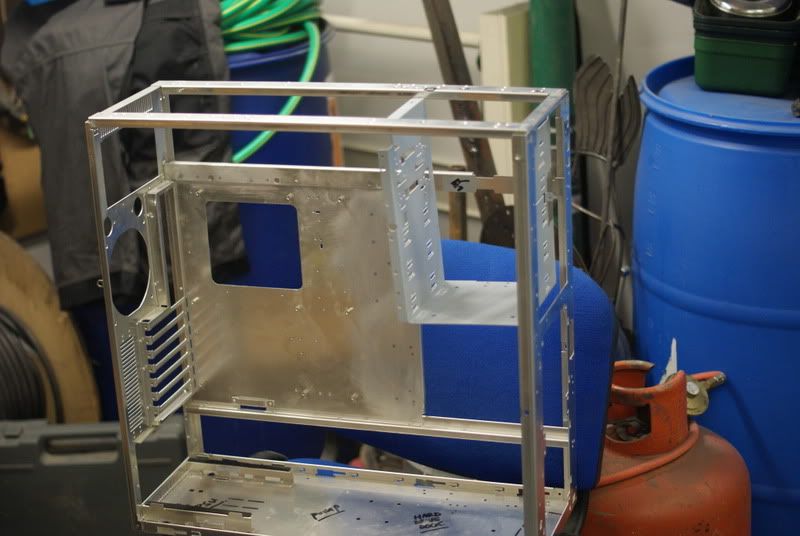
Righto another little update, just been fiddling around removing more bits and sorting out the 5 1/4" drive bays and covering up some mobo stand-off holes.

First, I set about removing the case feet, simple task, just remove the 4 screws and off come the feet.

DSC05965.jpg


DSC05966.jpg


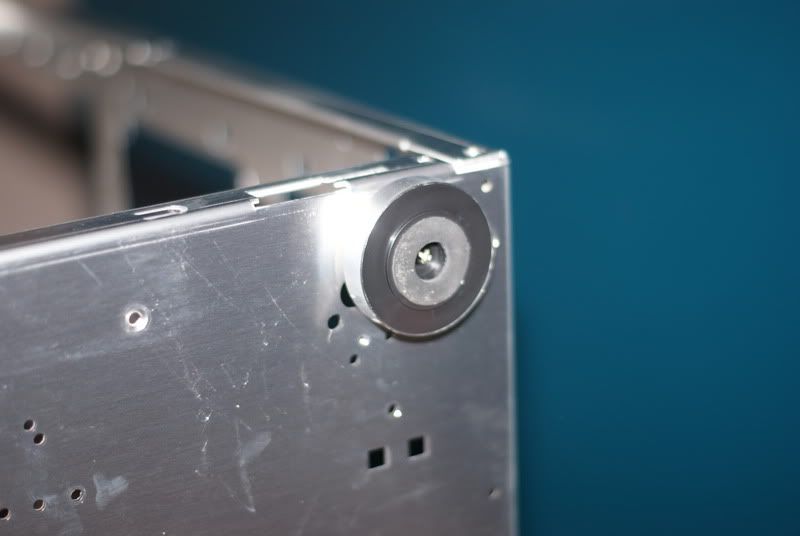
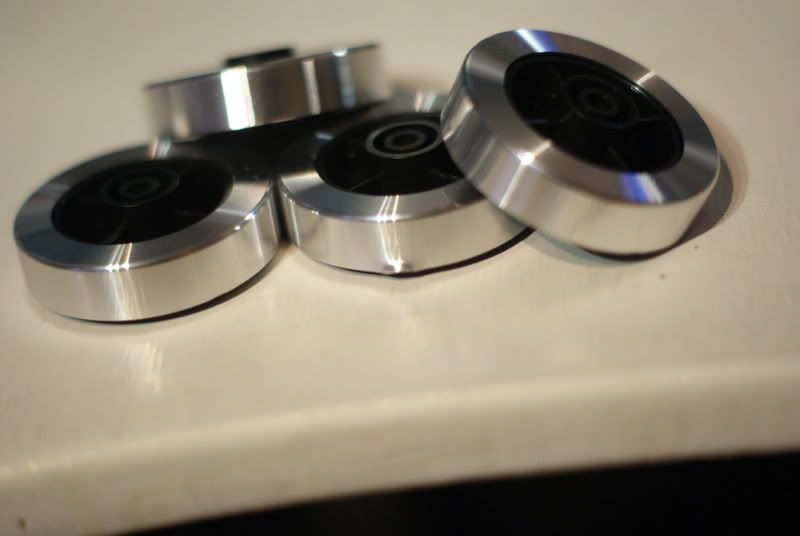
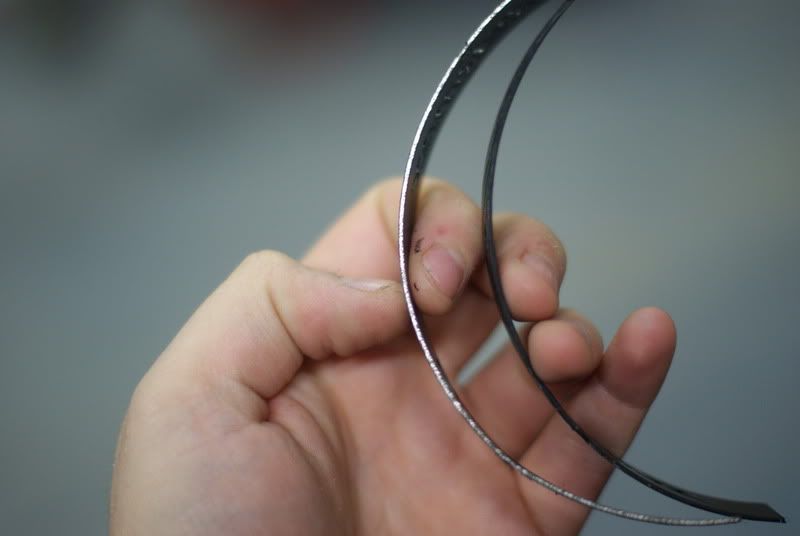
I really like the Lian-Li case feet, they are rubberised at the base to stop any vibration/ sound leaking, BUT unfortunately, one of them has a dent in. I'm unsure whether to knock it out and risk damaging the ally, leave it as it wont really be seen, or get some aftermarket feet; perhaps the black anodized MNPC ones.

I don't know if you can see it, but its not perfect, so I won't be using, I don't think.

DSC05975.jpg


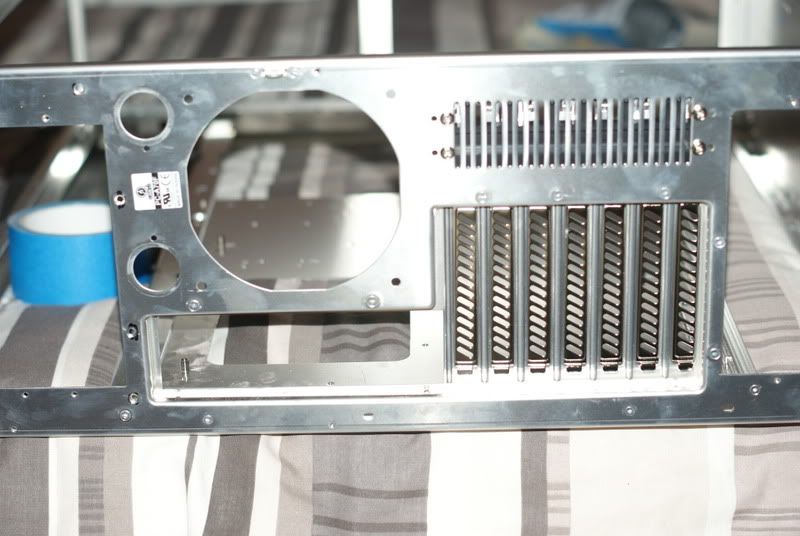
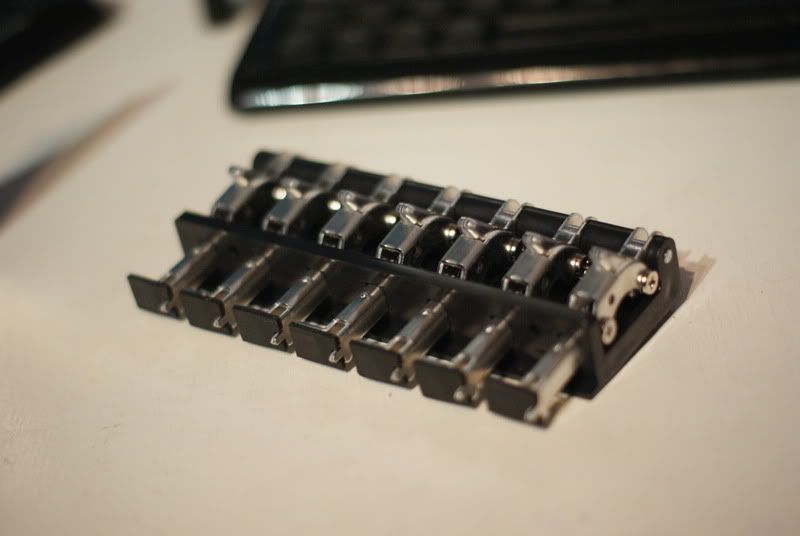
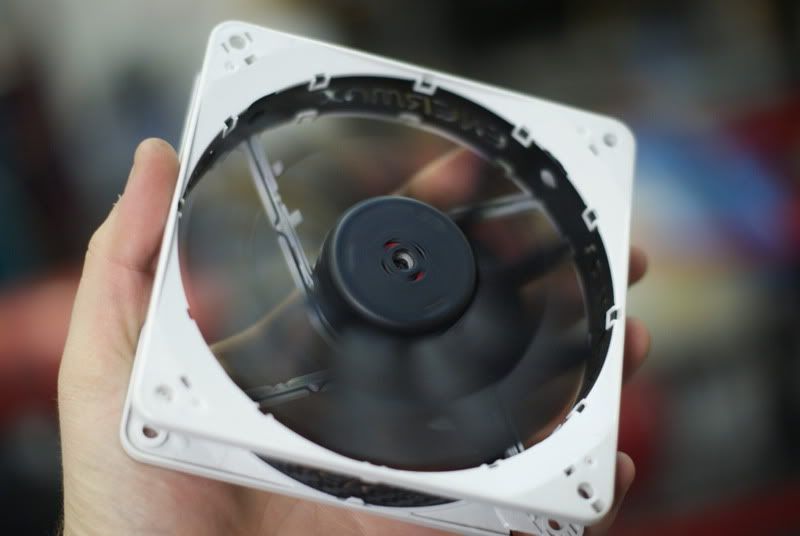
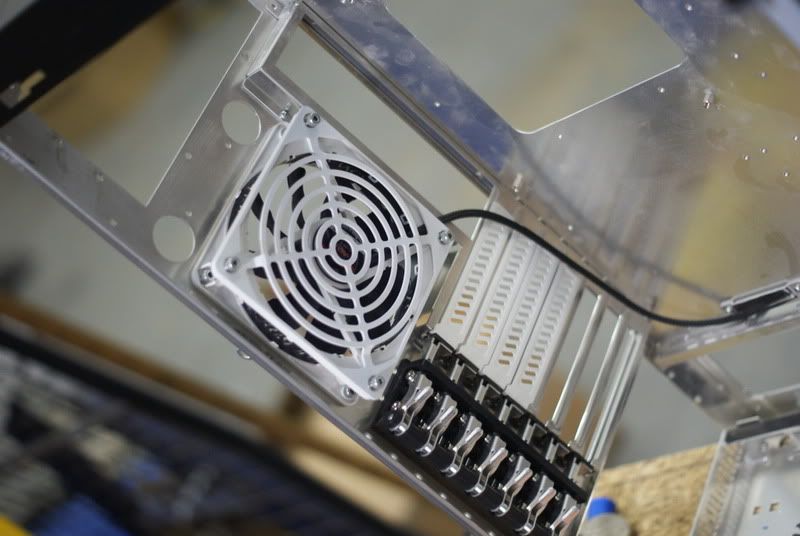
Next up, simple task of removing the expansion slot hot-swap system type deal-i-o.

DSC05967.jpg


DSC05970.jpg


DSC05973.jpg


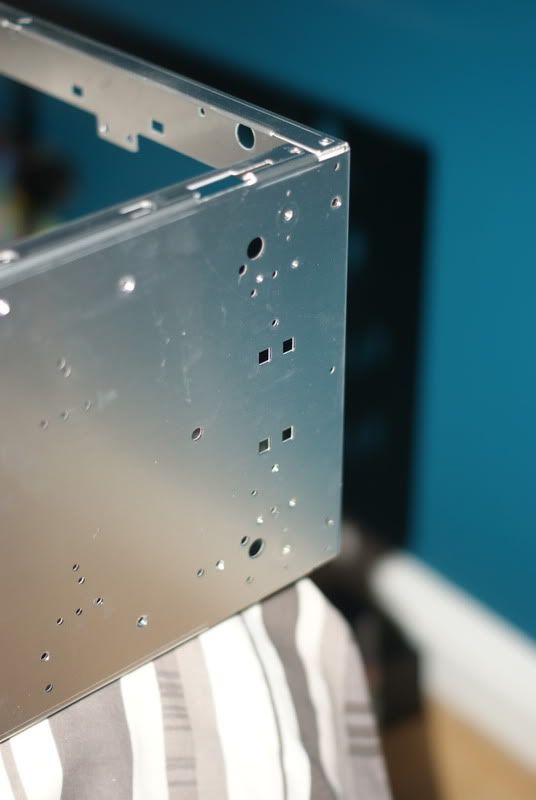
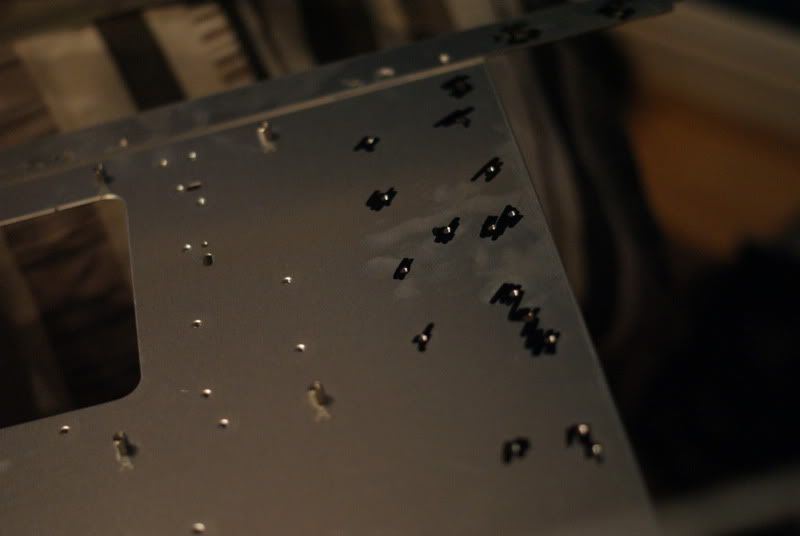
Next, as I am most probably only going to be using standard sized ATX mobo's , the plethora of extra mobo stand off holes are simply not needed, so, I'm going to fill them in.

DSC05977.jpg


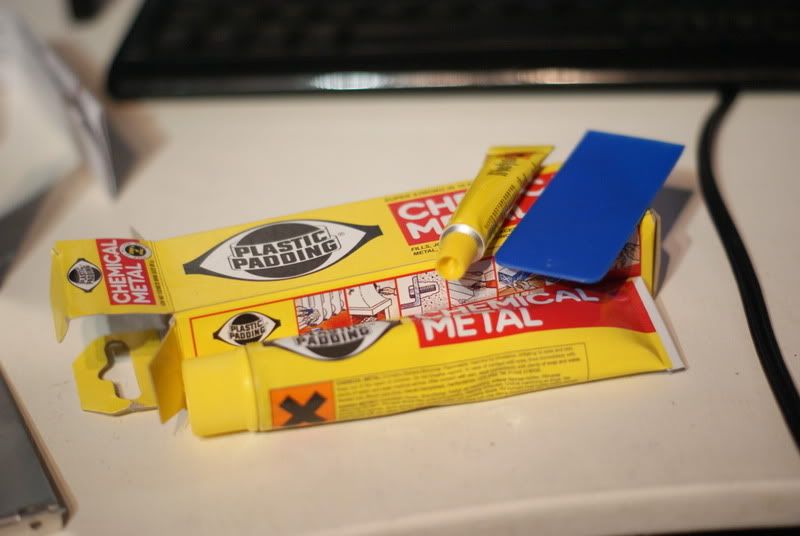
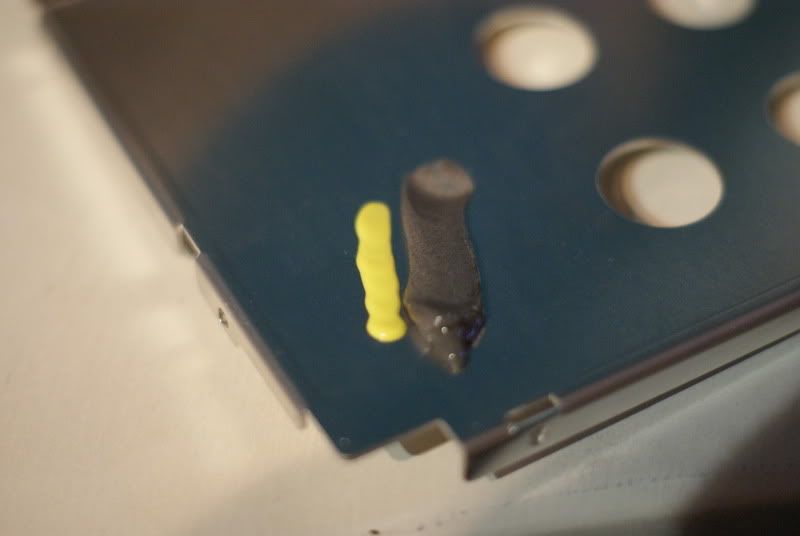
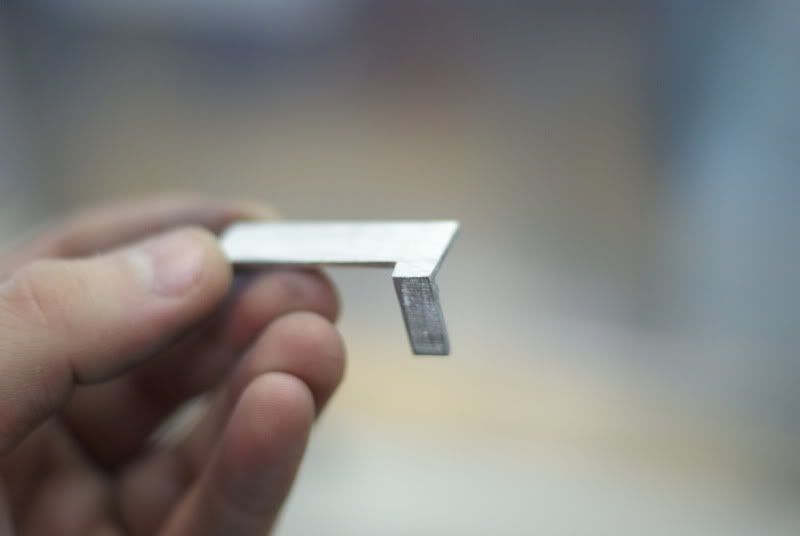
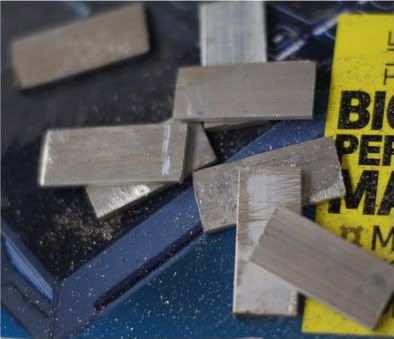
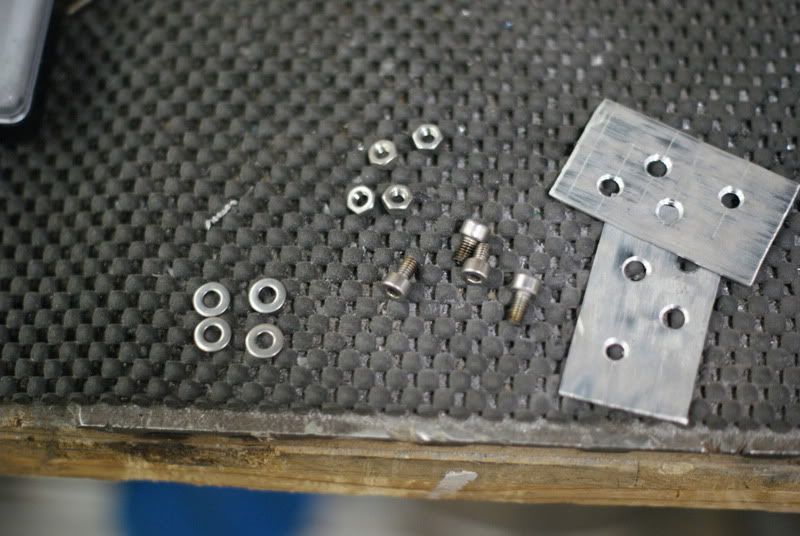
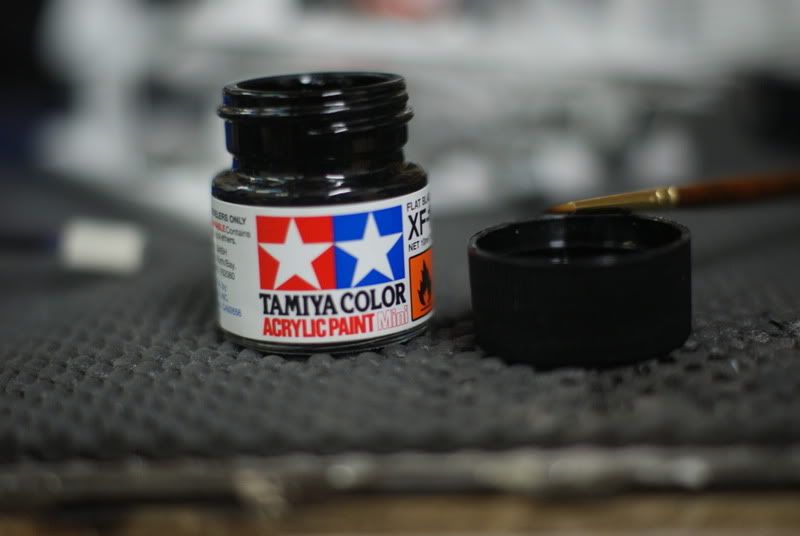
Padding metal to fill the holes in.

DSC05978.jpg


Mix the 2-parts up, equal lengths, not quantities.

DSC05979.jpg


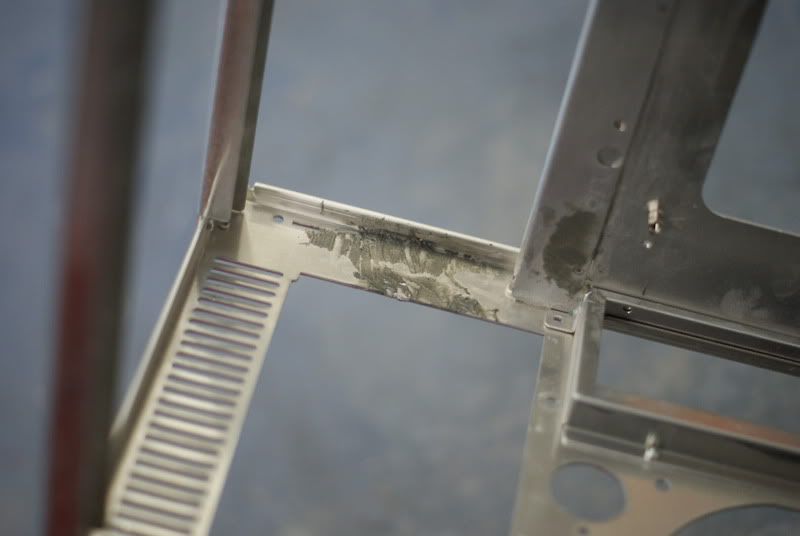
Wasn't bothered about how much i put on, I wanted to ensure the holes were filled with enough to be able to be sanded down flush with the mobo tray.

DSC05986.jpg


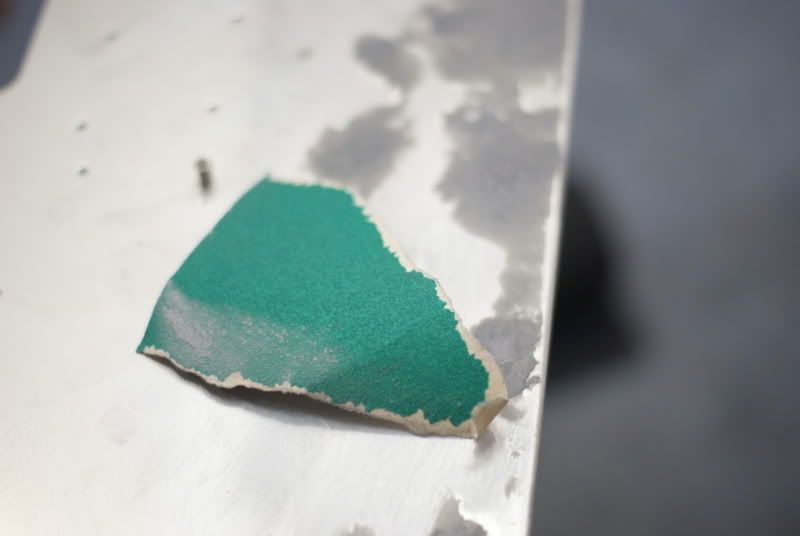
To get the bulk off, I used Liberty Green 160 grit, then 400 grit and finished with 1200 grit.

DSC05994.jpg


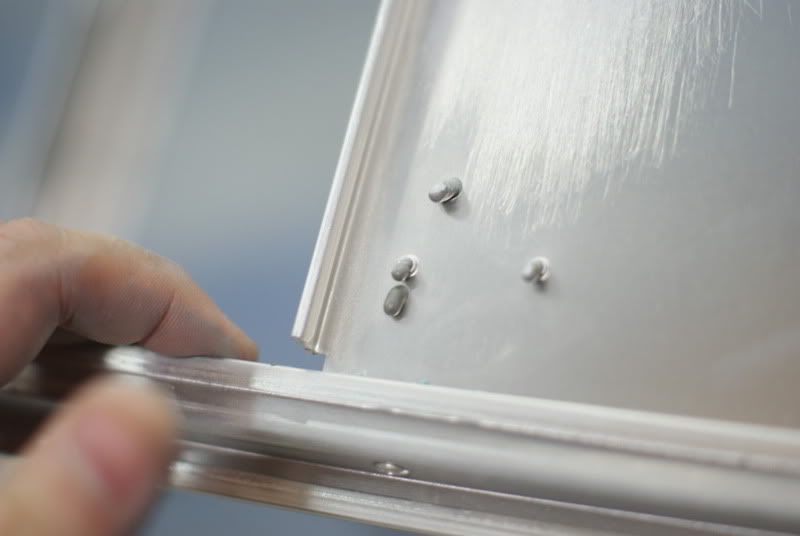
Cleaning off the run off at the rear of the mobo tray.

DSC05995.jpg


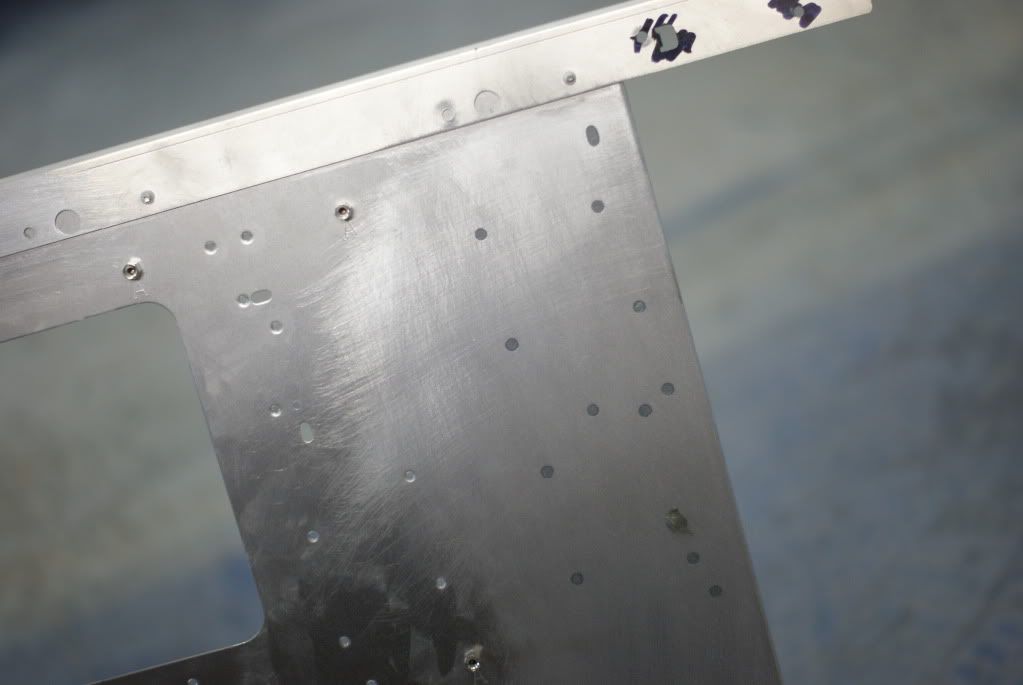
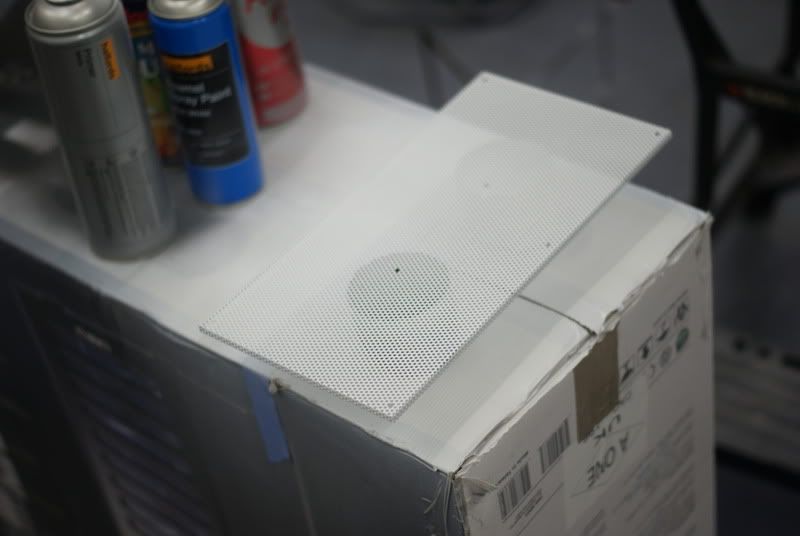
All flush and smooth at the front, ready for painting.

DSC05997.jpg


Also had a few chunks that were needing to be filled in at the top off the case, where I had to get the rotary tool out to cut off the top bay.

DSC05998.jpg


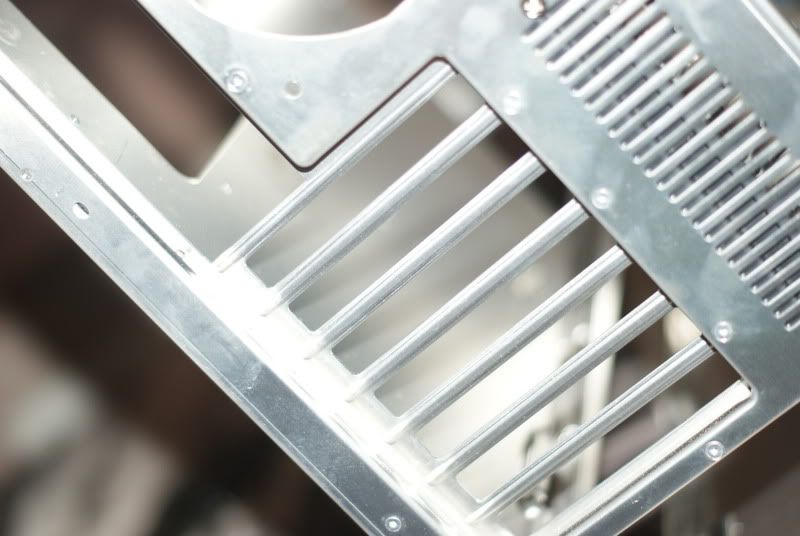
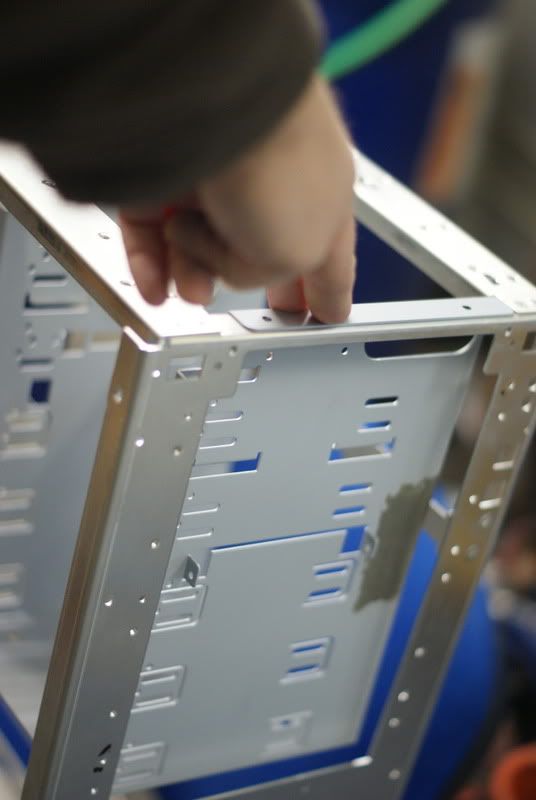
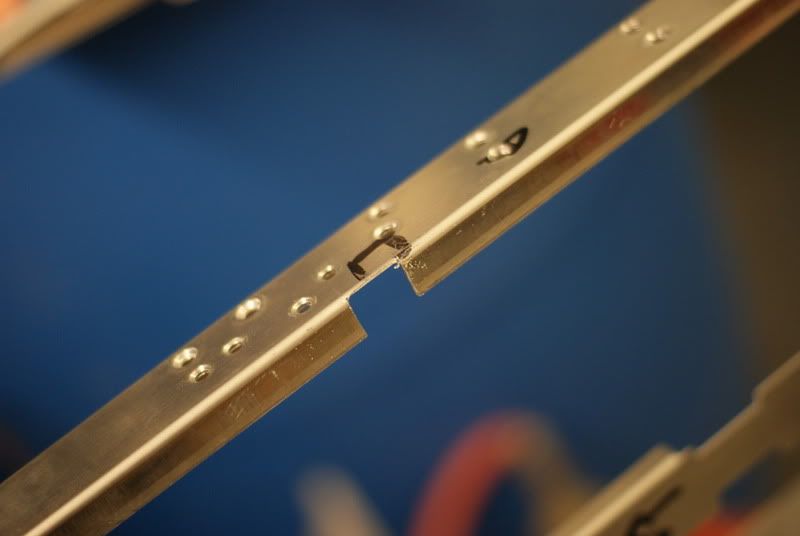
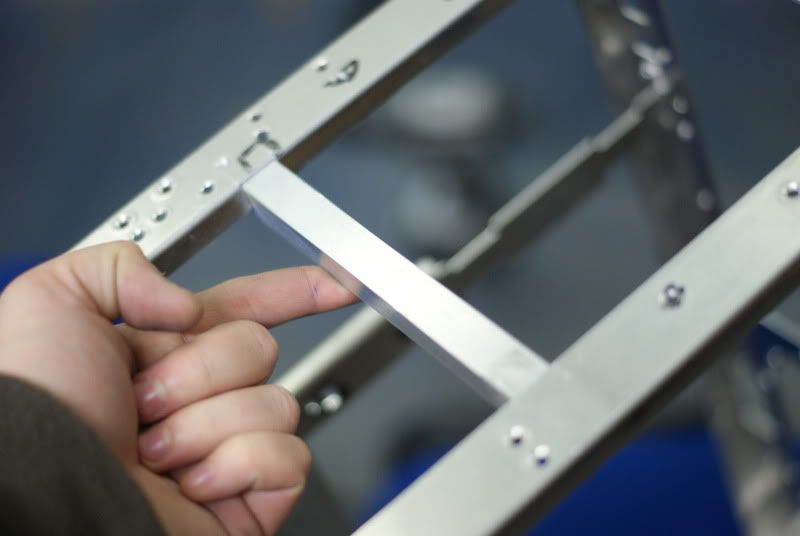
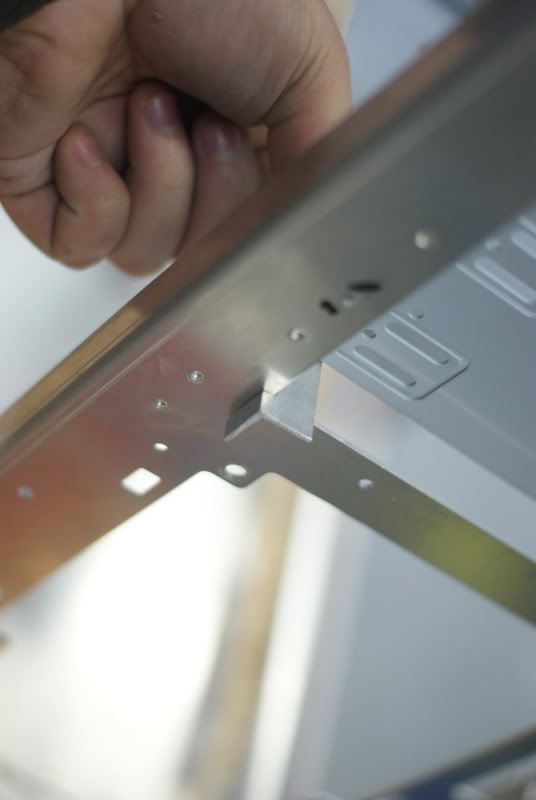
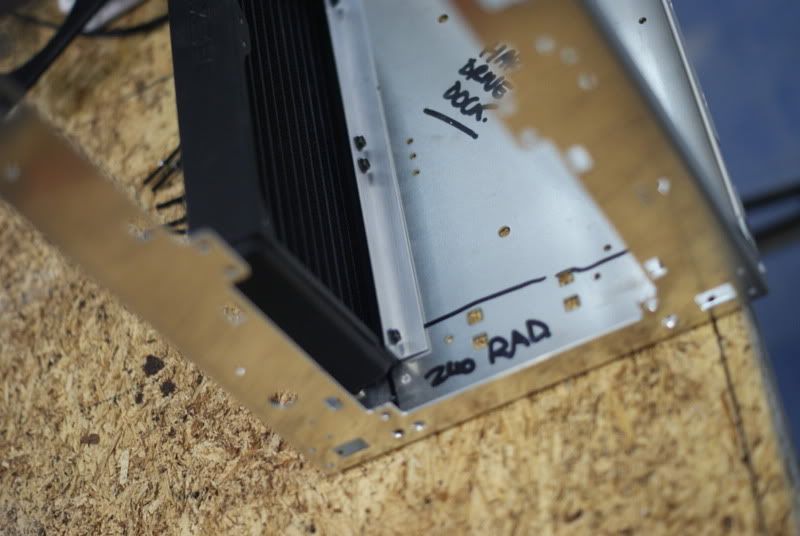
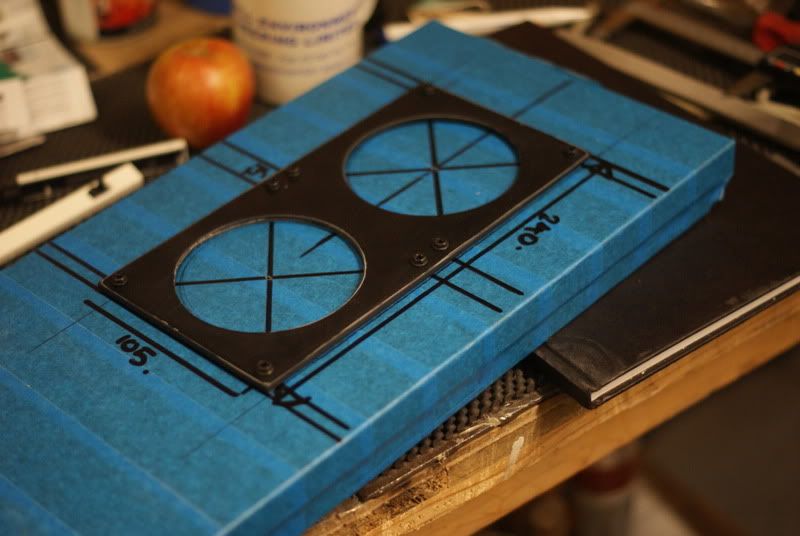
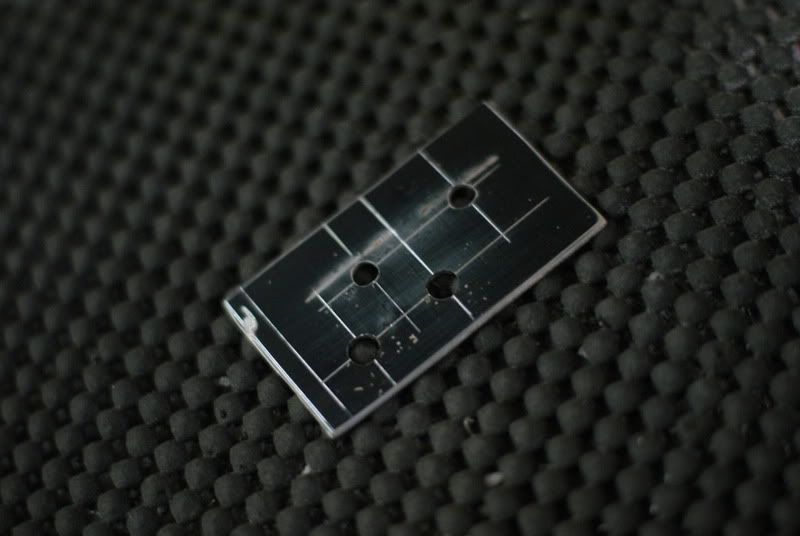
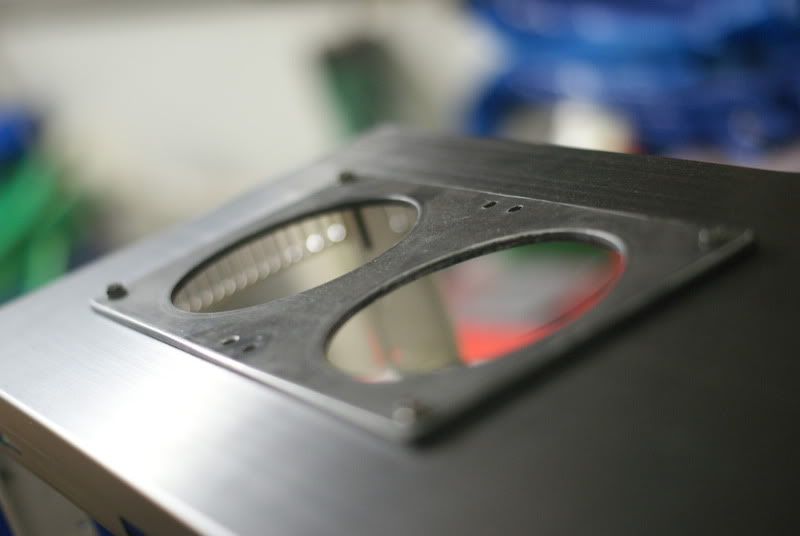
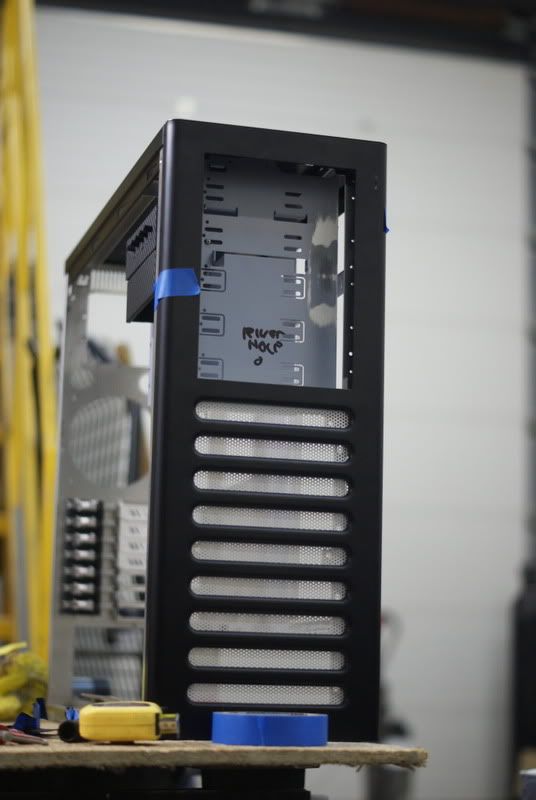
Next up, the 5 1/4" drive bay, I want it rotated 90 degrees as shown here.......

DSC06003.jpg


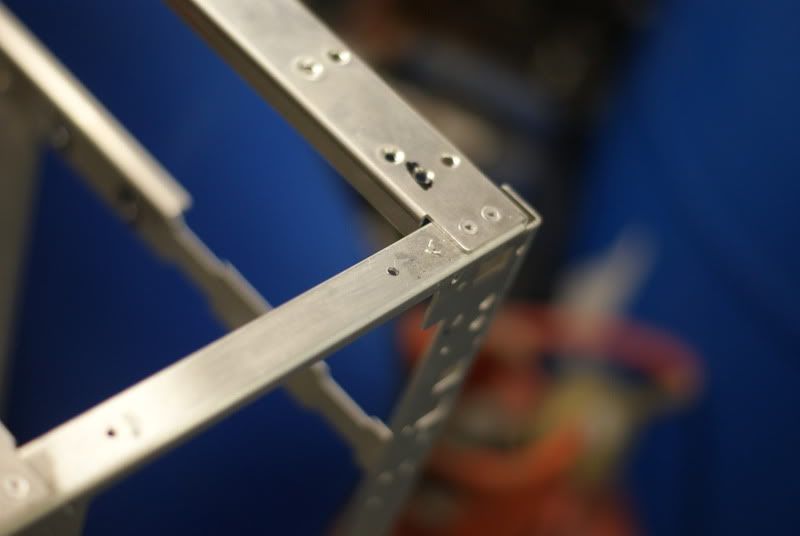
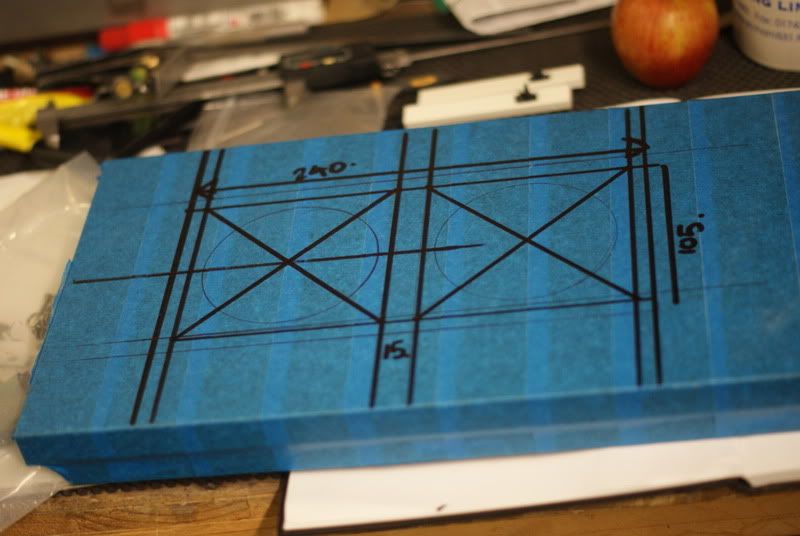
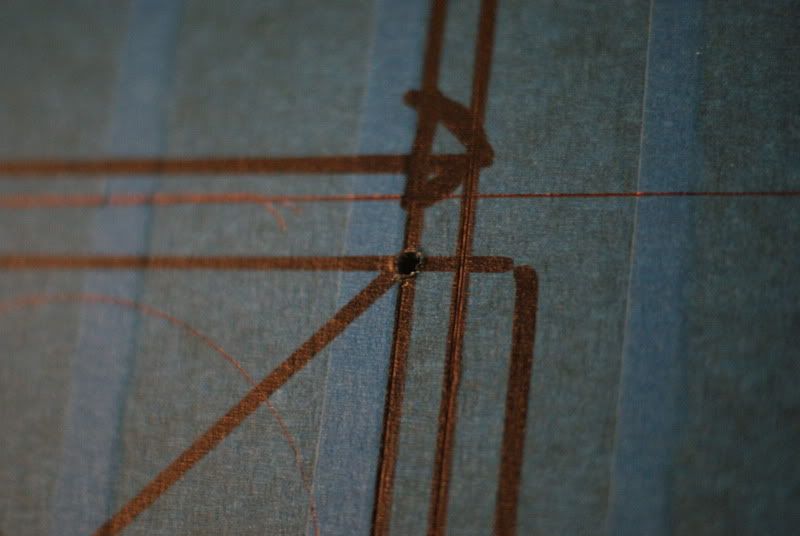
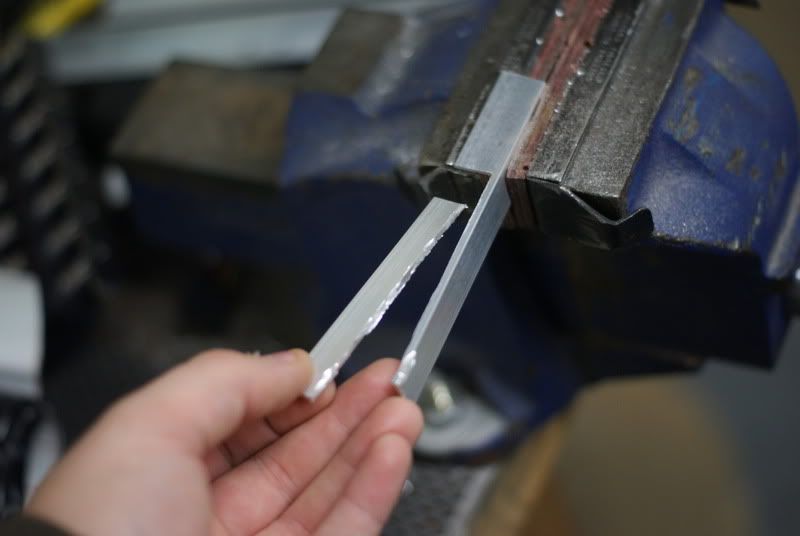
Simple enough, drill two holes in the frame...

DSC06004.jpg


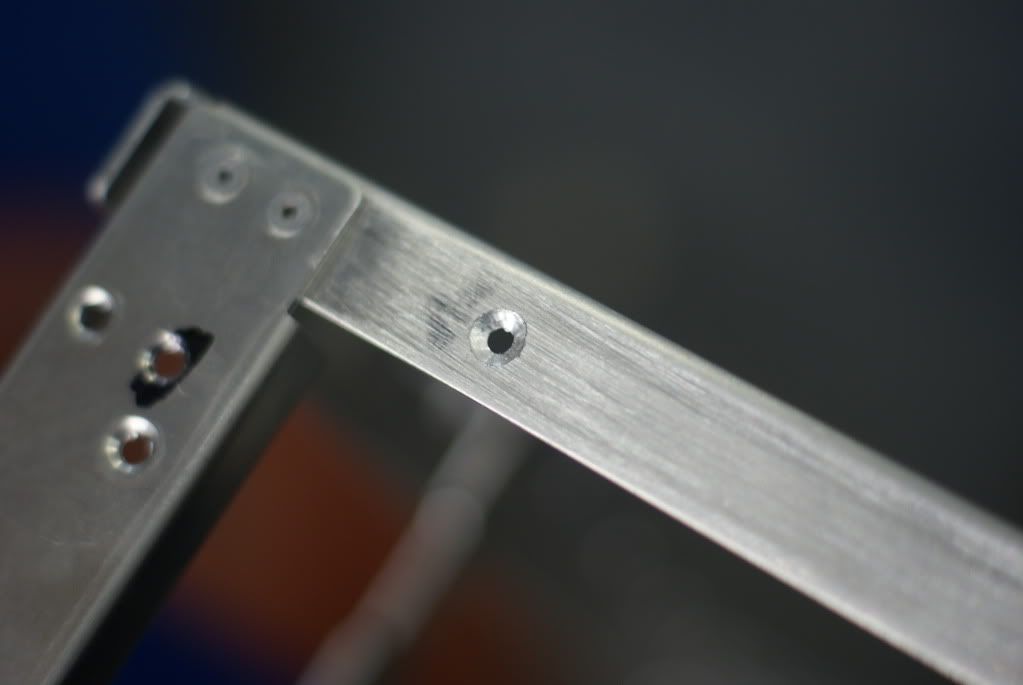
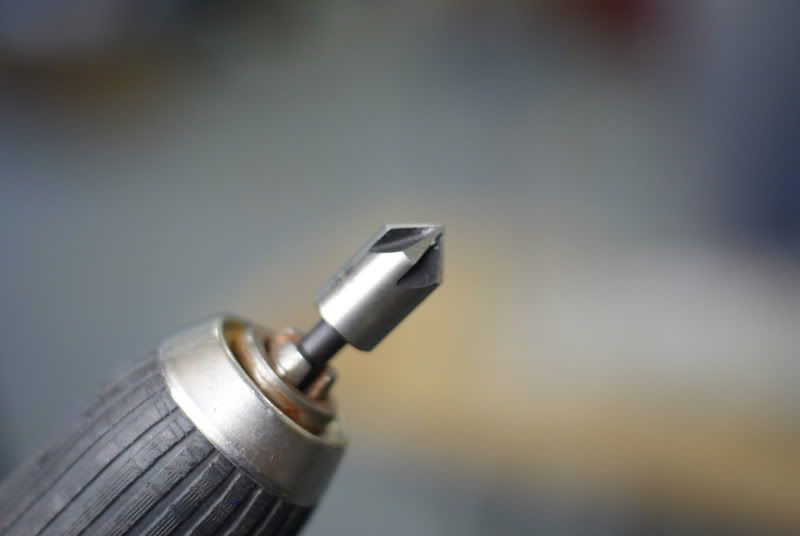
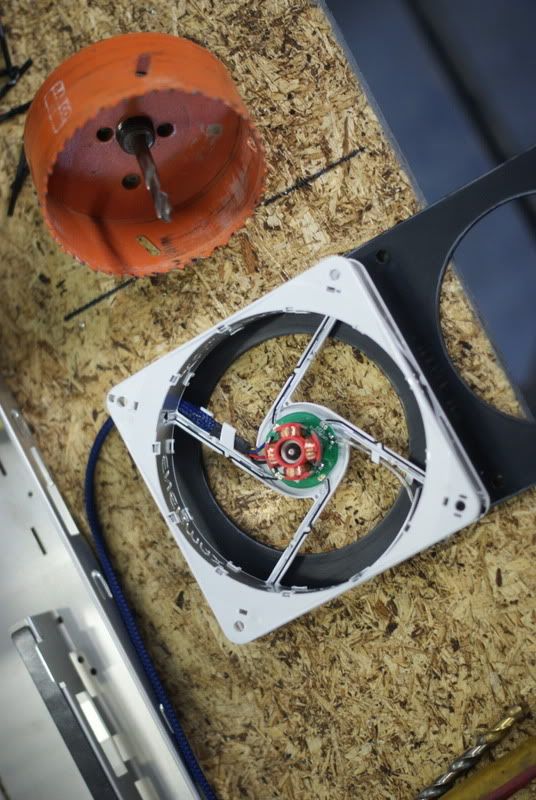
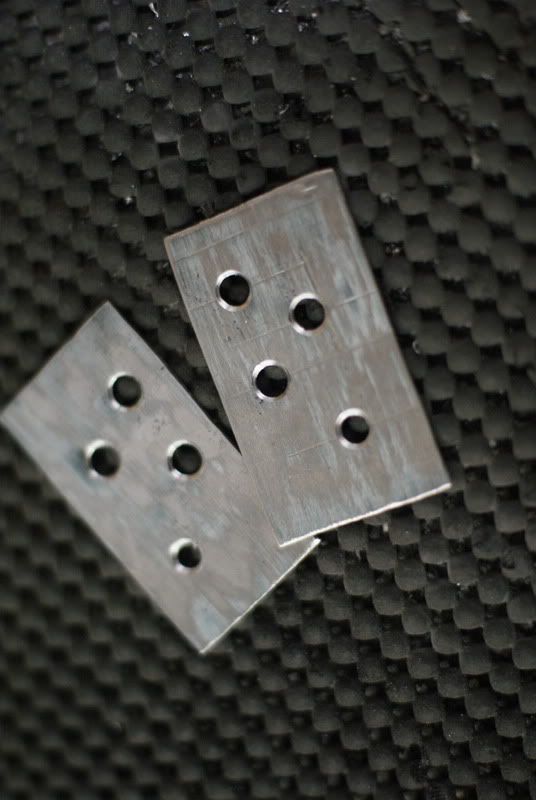
counter-sink the holes....

DSC06007.jpg


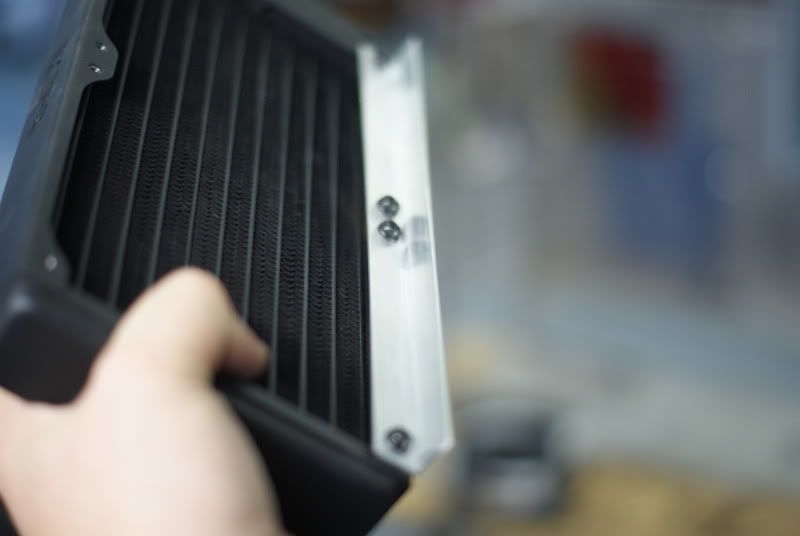
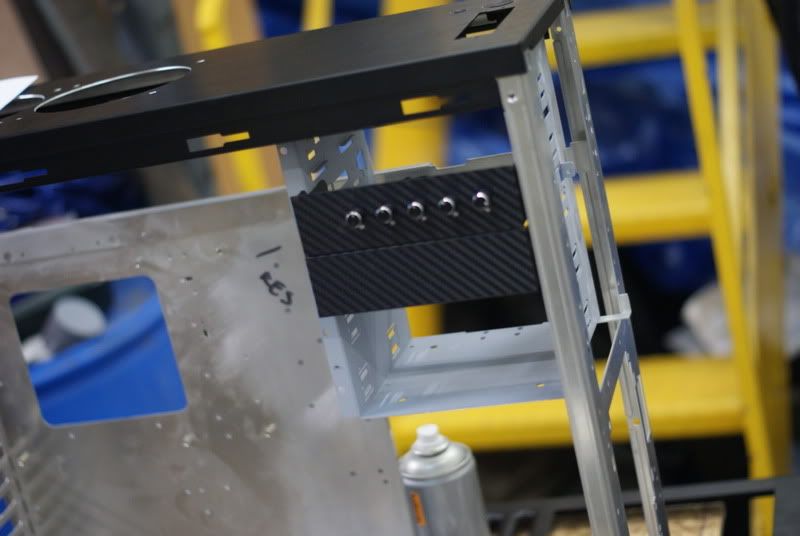
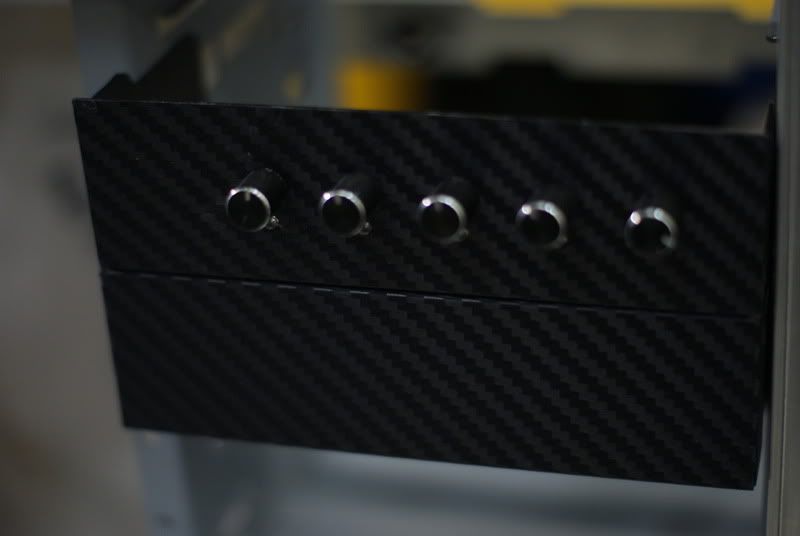
Done, one drive bay twisted around.

DSC06009.jpg


I need to get a slim-line optical bay then, I have 200mm width, but I need plenty of room on the back for the cables, as well as the front, the drive it sitting back from the extremity of the side panel, so there is a few mill there for when the drive is installed, obviously the drive doesn't sit in all the way flush to the bay, it juts out about an inch. I'll have to see....

Thanks for looking.
 
I love your attention to detail and perfectionism...I'd be the exact same
tongue.gif

+1 for the perfectionism - unfortunately my standards are not as high - I would just turn it around and use it at the back and forget about it.
wink.gif
 
Thanks for the kind words, as per usual!
wub.gif
I'm doing work on her today too. I've managed to think of a new way of mounting the rads, so I'll have 3x 240mm radiators (basically a 480 and a 240mm), due to the fact I am actually using the 5 1/4" bay and can't really squeeze in a 360 at the top. Damn this is going to cost a ton!
dry.gif
laugh.gif


Anyway, I've been taking photos and will upload when I get back from the workshop. I've also been making some mounting brackets for the rads which work nicely. Thanks again, see you tonight.
boink.gif

woop! sounds good
biggrin.gif


-looking forward to more pictures
boink.gif
 
Another little update. I needed to make a support bracket for the 5 1/4" drive bay to stop it from bowing and sitting at a nasty off vertical angle. I used 90 degree 1.5mm ally to fit in with the ally used on the main build of the case.

DSC06015.jpg


In the top of the case, I measured the distane of the bay from the inside of the case frame and cut two notches on either side of the top of the case.

DSC06018.jpg


To create something like this.

DSC06020.jpg


I simply drilled some 4.5mm holes for some M4 counter-sunk screws, purely for aesthetics.

DSC06021.jpg


I also needed to make a little bracket on the bottom of the bay to again, help kick it out to make it sit and a nice 180 vertical.

DSC06024.jpg


DSC06025.jpg


Well that's that.... I also started making some 240mm radiator mounts for the bottom of the case. Simple case of cutting the 90 to length, measuring the holes on the rad, drilling and tapping some M3 holes.

DSC06026.jpg


DSC06027.jpg


DSC06032.jpg


Down the bottom, instead of having a single 240mm rad, I think I am going to squeeze two in tandem, basically a 480 and instead of having a 360 up top, due to actually using the 5 1/4" drive bays means I can't physically squeeze one in, I can only use a 240mm.

DSC06028.jpg


DSC06031.jpg


I need to get a larger hole saw, the one I used for the 240mm fan grill was a 92mm saw and obviously, it cuts down airflow, so I need to invest in a 110mm or 111/115mm hole saw (as that is all I can find).

DSC06033.jpg


I mounted the 240mm rad cover up top to see if my drill centres were ok and they were.

DSC06034.jpg


All good from the underneath, mount and solid. :thumb: Thats it for know, I need to wait for payday to order the other 2, 240mm radiators and fans. I may also start getting the stainless fittings for the rads too, so fingers crossed, next month I can start to get the ball rolling.
 
Been a while since I've updated, I'm sorry. I've been away working and various other things have come up, not a massive update, but whats new?! Lol, Christmas is coming and money seems to be going elsewhere for some reason. :sigh::grr:

The fan bus and bezel covers slotted in great. I may have to work a bit of magic on the side panel to be able to get the fan controller knobs through, as I doubt the panel will go on with the bay rotated the way it is. Anyway, I think I'll need to do a fair few measurements and work out where to drill a few holes, fingers crossed it shouldn't be too hard.

DSC06104.jpg


DSC06105.jpg


For mounting the 1st 240mm rad in the front, I needed to make a few brackets, as the case came with standard 140mm fans in the front.

DSC06107.jpg


DSC06109.jpg


I made 8 and chose the ones with the best centres, problem is though, I had to use some cack, I mean CACK Black and Decker 240v drill. Its terrible, tap the trigger and it revs up to like 10000rpm, its not good, the drill bit danced around everywhere.

BEWARE OF NASTY TOOLS
sad.gif
(NSFW LOL)

DSC06113.jpg


I used a scrap bit of ally that I cut the top rad air outlets to make a few middle supports.

DSC06116.jpg


DSC06117.jpg


I chopped down some screws so they wouldn't be jutting into the front bezel.

DSC06118.jpg


DSC06119.jpg


Pretty inconspicuous.
biggrin.gif


DSC06120.jpg


Not the prettiest solution, I will neaten them up later on, at least they work well.

DSC06122.jpg


DSC06123.jpg


I also got some paint, enamel this time on some of the PCI-slot covers, in white. I want the rear all white. I used a heat-gun to stop any cracking this time due to the cold, damp weather.

DSC06124.jpg


I also bought a shiny new 114mm Bosch holesaw, which is identical to the inside diameter of the Enermax fans I'm using. Awesome, makes life much easier now, plus more air flow than the smaller 92mm fan I used on the fan grill, I'll have to make another one with the new saw soon.

DSC06125.jpg


Lastly, a shed load of cap headed screws, washer and nuts for the build. No odd screws and bolts now, all matching shiny chrome cap heads, which look good, well I think they do!
biggrin.gif
Thanks for looking as always.

DSC06150-Copy.jpg
 
Update time. Another small update, even though most of the day I have been playing with various parts on the case. I has about 5-6 hours on it today, so you can get an idea of my pace, not fast!
sad.gif


Righto. The front, mesh styled grill; I thought accenting the front white would look pretty nice, black and white is a great contrasting combo. Again, I used a heatgun to dry the paint thoroughly to stop any cracking from the cold weather. I used Halfords white primer, 3 coats and 3 coats of Enamel white. Of course, I sanded the old powder coat off first.

DSC06156.jpg


DSC06168.jpg


DSC06169.jpg


I'm really happy with how it came out, the finish came out really nice, for a change, I'm sure using the heat gun helps seal the coat and stops or at least lessens the chance of the paint cracking whilst drying naturally.

On the fan frames, that I have coated in Di-Noc and sprayed the rear black, needing touching up. I sprayed the backs black as the raw ally didn't look nice, but after peeling off the masking tape to protect the front from spraying, a few parts of the film lifted and some residue from the tape was left; I had to use my craft knife to lift off some of the gunk. I touched up the edges with some Tamiya model paint and an old paint-brush from my Warhammer days. Yes, I'm cool!
biggrin.gif


DSC06165.jpg


Before and after....

DSC06166.jpg


Other bits and bobs I sorted out were the fan cover for the rear 120mm fan. I will be using spring washers and regular penny washers to stop any vibration creeping into the ally case and resonating creating a nasty hum.

DSC06172.jpg


DSC06171.jpg


DSC06173.jpg


Finally, I wanted to have the control knobs on the fan hub poking out the side panel, for easy access due to the orientation of my desk and where I have my PC at the moment, the front would be awkward. It was quiet a task, I took an hour measuring, double checking marking out the drill holes, checking marking and double checking lol.
biggrin.gif
I was over the moon when the fan controller poked right through the drill holes! I needed to chop a bit out the panel to get the steel rule and the set square through.

DSC06178.jpg


DSC06181.jpg


It looks pretty snazzy I think, I am really happy how it turned out, the checking and double checking paid off, let me know what you guys think, I'm sure it will be like marmite.

DSC06183.jpg


That is all for today, over the weekend, I am going to try and knock some of the carbon on the fan frames on the head; it takes forever to do it, but it looks smart so all the effort is worth it. I may update this page later with some RAL colour ideas. Thanks for looking and any feedback is appreciated.

First post updated too
 
Brilliant cutting mate. I like the fan controller knobs on the side, but aren't you missing a screen. I'm assuming you will be adding that later.
 
Love the controller on the side, nice a different, will look sick cant wait for the finished product, you're going for a similar style of cabling to me too
smile.gif
 
Yep, it looks like we are going for the same sleeving colours. I really like it, it is simple and understated.
cool.gif
 
Back
Top