PEXON
SleevingMaster
EVOLUTION
This is my first endeavour into the wonderful world of watercooling, so if I cock up, you know the reason why! The thinking behond this build is simple and clean. No garish paint, ultra-violet cathodes and LED's cluttering up the rig. The colour scheme I am going to try and stick to will inclue; white, black, grey and blue. Misc' items such as tubing and water-cooling fittings will be clear/ white and nickel fittings as well as nickel/ zinc plated mounting hardware. The interior and exterior of the case will be powder coated/ sprayed in a clean black/ grey
colour.
Hardware:-
Case- Lian-Li PC A70F
CPU- Intel Ivy Bridge socket CPU/ Z77 chipset
MOBO- Intel Ivy Bridge socket mobo
GPU- AMD 7000 series/ Nvidia 600 series GPU
PSU- Lepa G900 Power-supply
RAM- ??? Currently using Corsair Vengeance, possibly upgrade to something around 2133MHz
HDD- 1x Samsung F3 1TB
SSD- ??? Something 120 GB for caching and games
Control and Fans:-
1/2: Phobya 6 way fan controller
1/ Aquacomputer inline temp sensor.
9x Enermax UCCL12 120mm Cluster w/ white LED
Watercooling Hardware:-
Laing D5 pump
Bitspower black/ nickel coloured pump mod kit
2x XSPC EX 240mm rads
1x XSPC RX 240mm rad (possibly push/ pull)
Aquacomputer Aquatube (white/blacl delrin).
Aquacomputer or XSPC GPU/ CPU blocks as and when Ivy/ 6XX/7XXX series GPUs
13mm ID/ 19mm OD compression fittings (XSPC/ Bitspower/Enzotech/ ???)
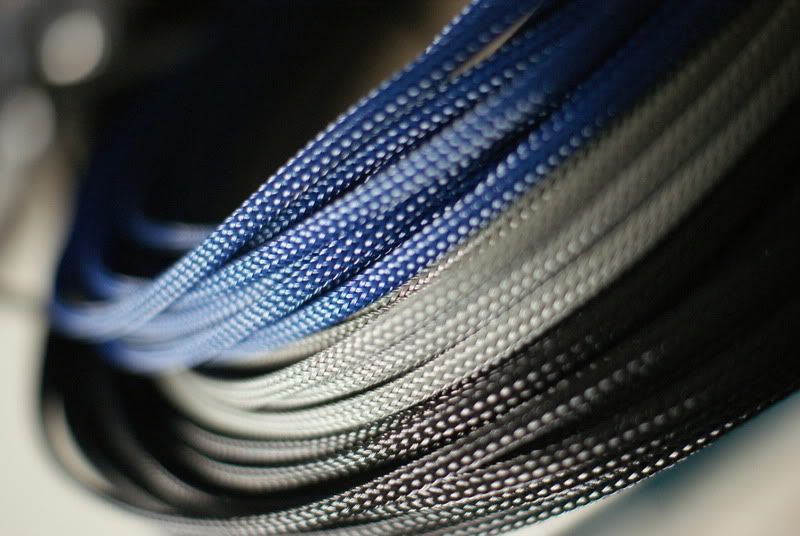
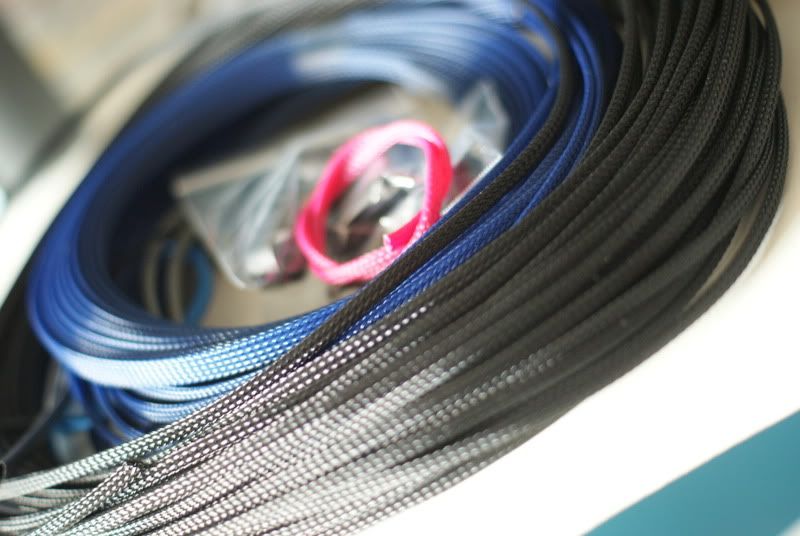
Sleeving:-
MDPC black small
MDPC royal blue small
MDPC grey small
MDPC royal blue SATA
MDPC 4:1 shrink tubing
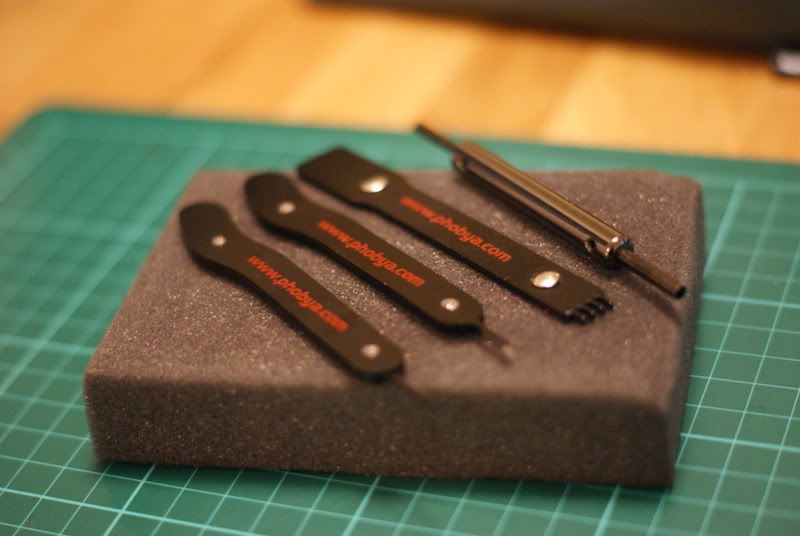
Crimping tool, crimps
Pin removal tool
Misc:-
There will most probably be other things taht will be added down the line, such as various tools,
fittings and screws/ mouting materials.
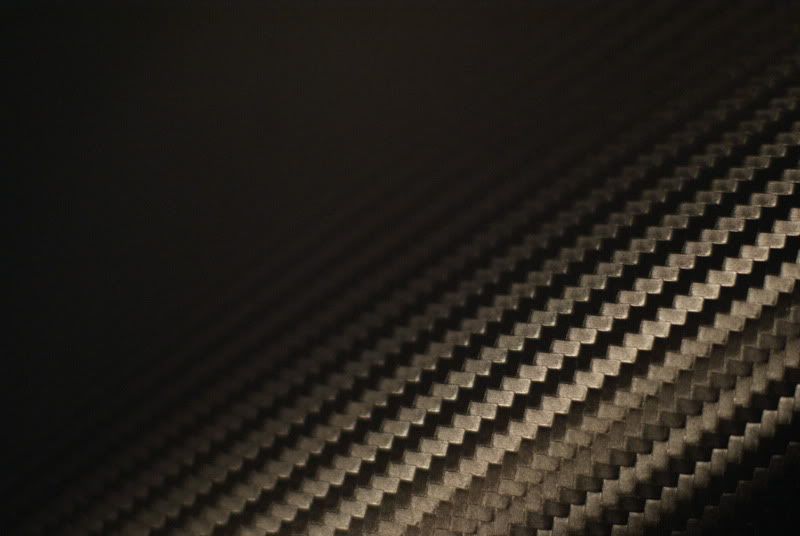
3M Di-Noc carbon effect film
I currently have a few bits and pieces to get me started, such as a radiator, fans, sleeving a new PSU etc. I will be using compression for fittings, Enermax Cluster fans for the rads and XSPC rads.
At this moment in time I have no sponsors.
So, onto my progress so far. All of my images are taken with either a Sony A-200 or an A-330, with any 18-70mm, 50mm or 70-300 macro lens.
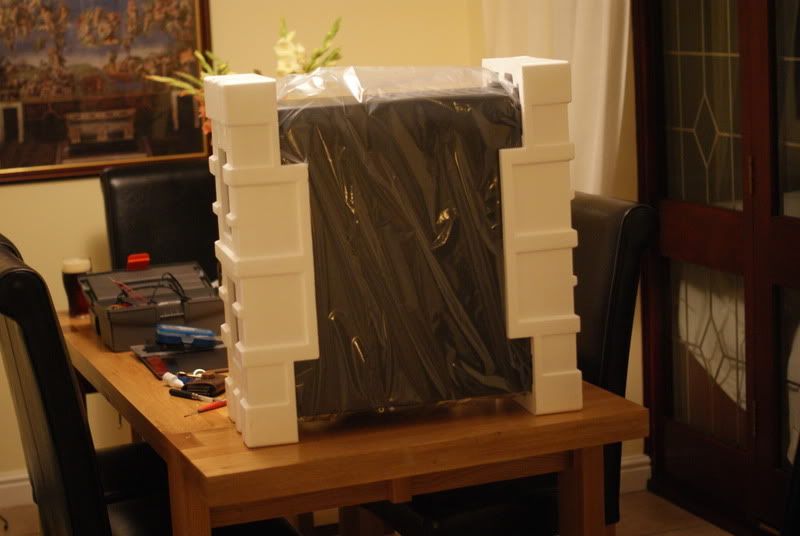
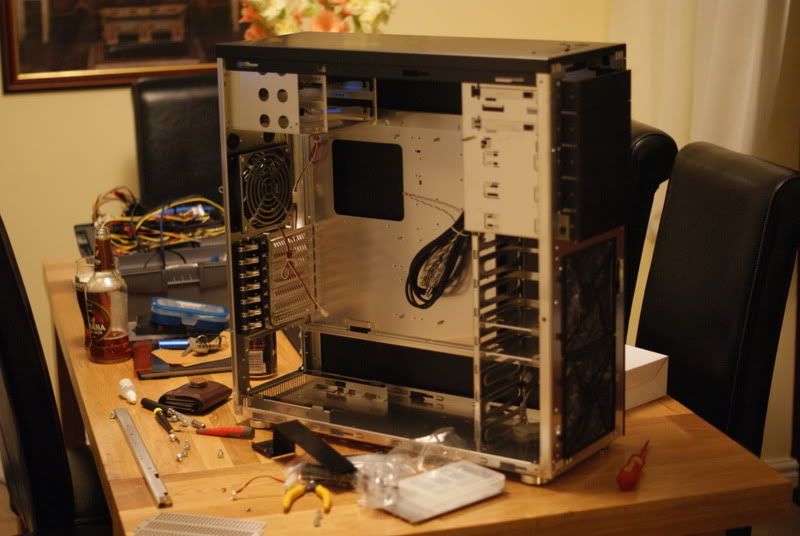
The first task was to strip this baby down. After coming from an NZXT m-59 mid-tower case, I was blown away by the size of my new case. This thing is HUGE! Plenty of room for radiators, pumps, reservoirs and any other goodies I may end up putting in her.
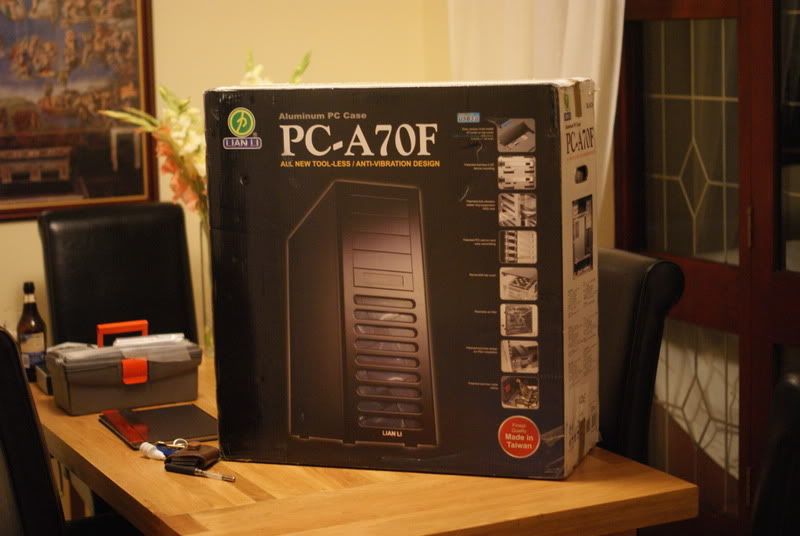
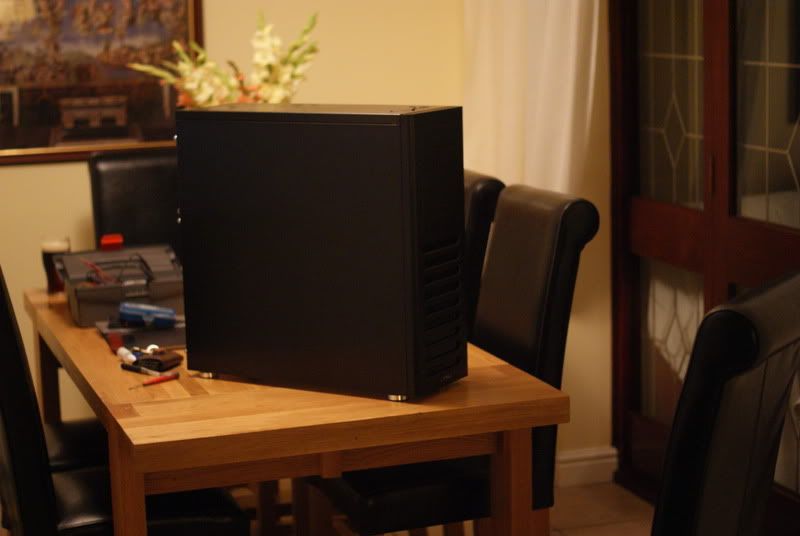
All unboxed. Wow! What can I say, the build quality is phenomenal! Lovely aluminium brushed panels and it was surprisingly light, even being a full-tower, it is lighter than my clunky, steel bodied NZXT case. I must aplogise for the rubbish picture, the light in the dining room was bad!

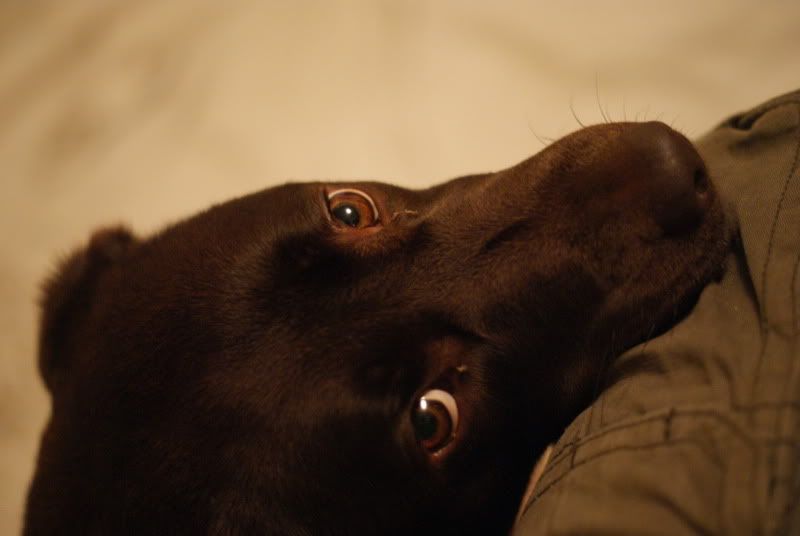
After the unboxing, a little helper came to see what was going on...
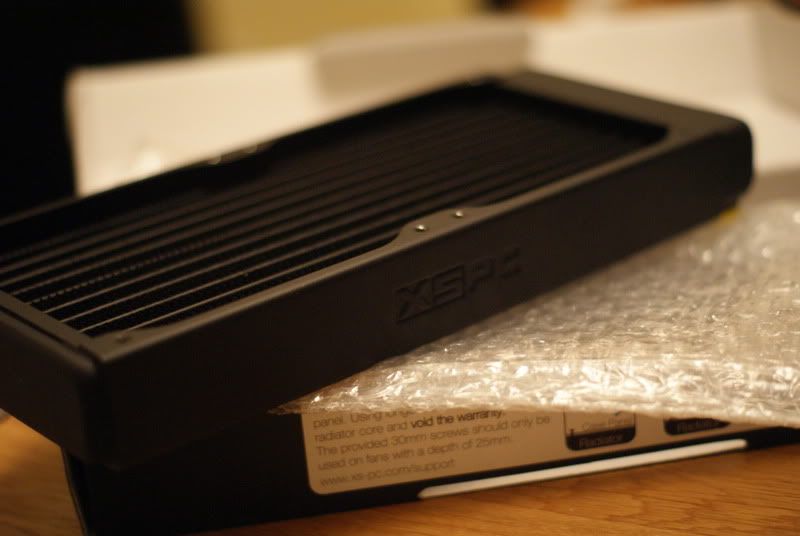
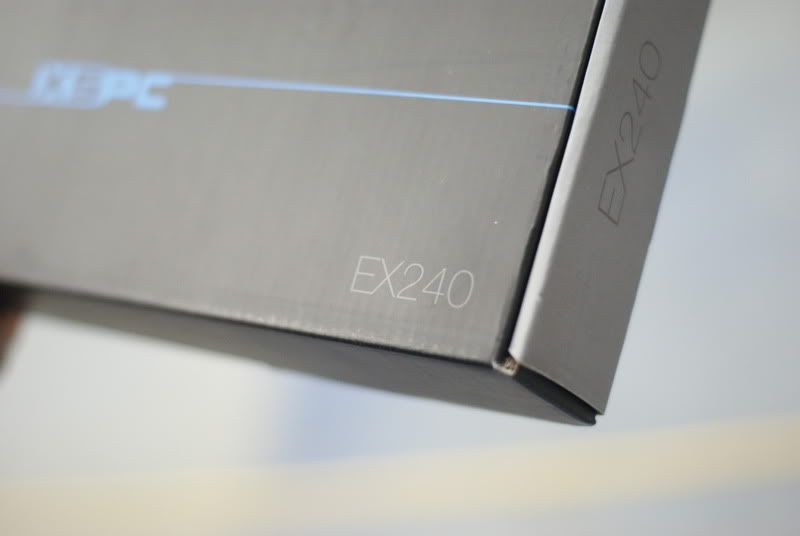
I also bought an XSPC EX 240 rad to go in the front...
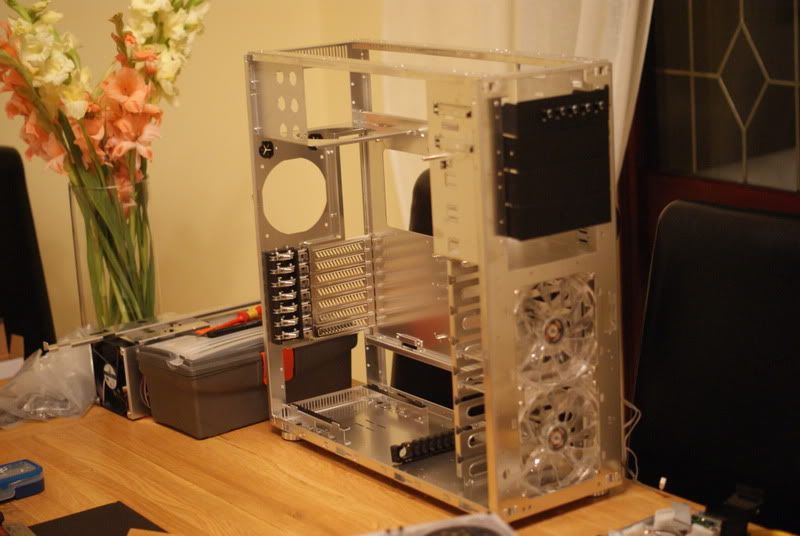
Right, time to strip the guts out of this baby. Now, where are my screwdrivers?
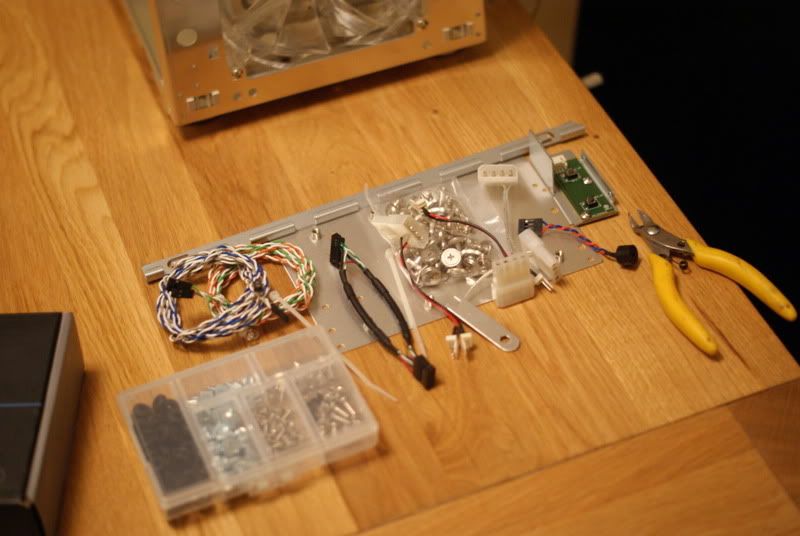
Right, now I sorted all the screws into the little case that came in the box, some cables to sleeve and a few other bits and bobs.
Fan Controller and PSU
I am going to be using a fair bit of regular black, 3M Di-Noc carbon film to accent against the black of the case.
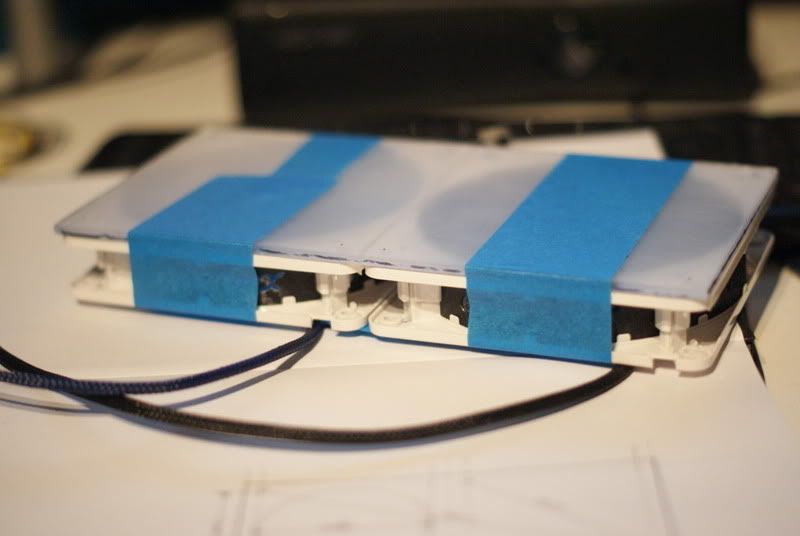
For the fan controller, I will be using a 6 channel, Phobya controller. I stripped it down to its barebones...

I bent down the side tabs and applied some carbon film to the sides and front... but.. DISASTER! One of the side tabs was becoming to flimsy for my liking, after the bending, it felt like it was going to give way at the slightest of pressure. I decided to give it a going over with some 2 part repair putty, for metals, so I sanded the sides down with some 400 grit and mixed up some putty and gave it a liberal spread.
After the putty dried solid, after about half an hour I gave it a running over with some 1200 grit and 2500 to finish off with. I also managed to loose one of the control knobs, it must have fell on the floor and gone missing somewhere, as I couldn't find it anywhere! :duh: Anywho, I applied the carbon and cut around the but out to mount it to the 5 1/4" drive bays and control knobs...
Very happy with the result! :thumb: A few days later, guess what got jammed in the hoover!
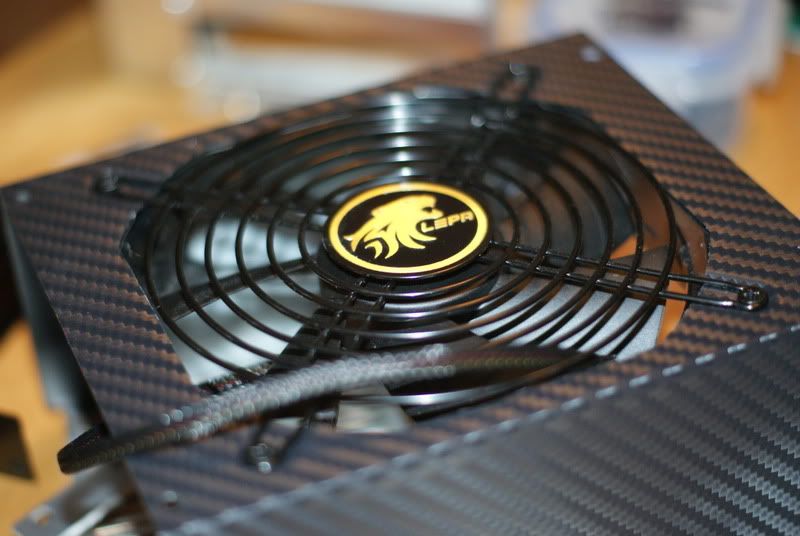
u mad bro?! Hell yea! :wallbash: Next up, new PSU. I opted for the Lepa G-900. Its pretty much an Enermax MODU 87+, or so I gather. Nice looking PSU, with an 80+ Gold certification.. Nice!
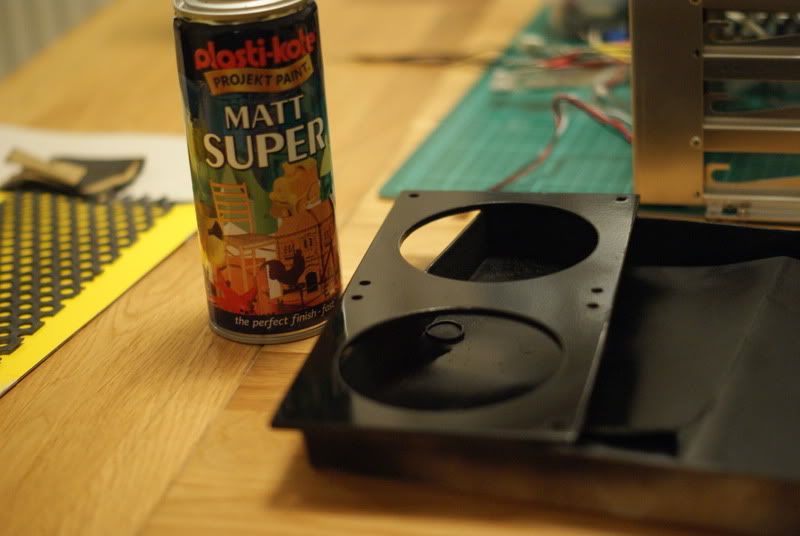
I wasn't a fan of the gold fan, so I stripped the PSU down, removed the fan, gave it a quick buff with some wet and dry, masked him up, primed it and spray it black.
Going, going, going.... GONE!
Much better! :thumb:
The PSU cover got a coat of 3M Di-Noc too!

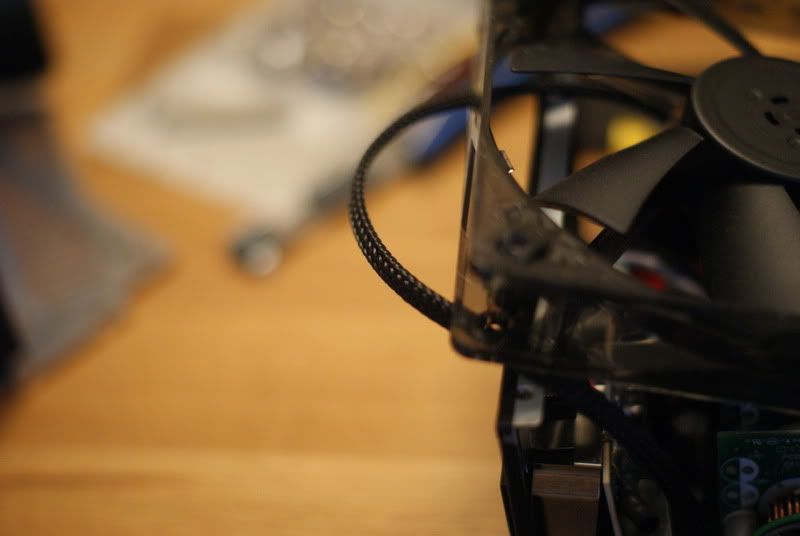
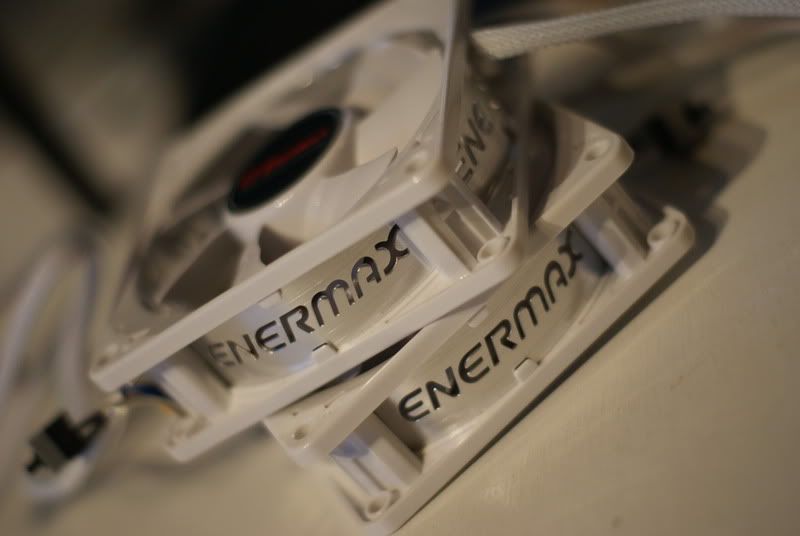
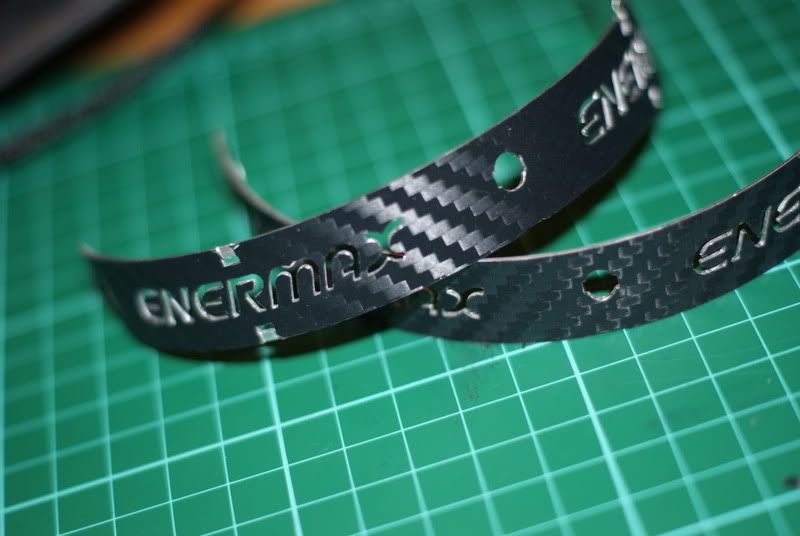
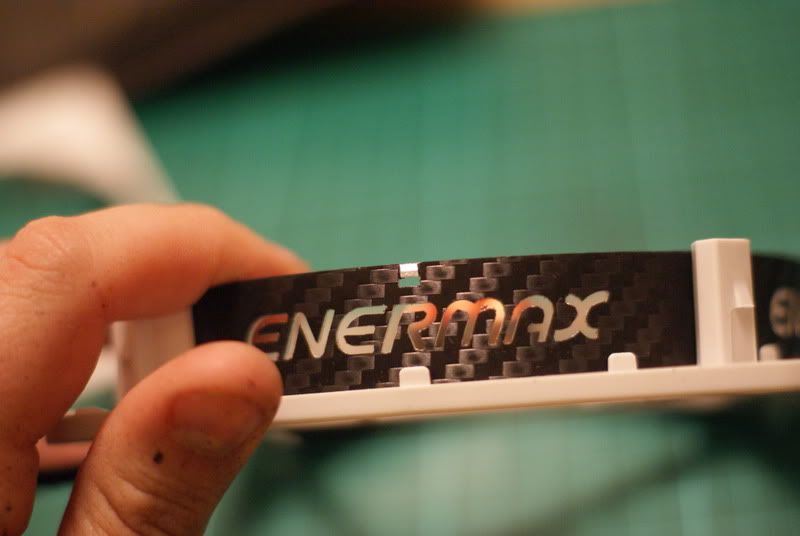
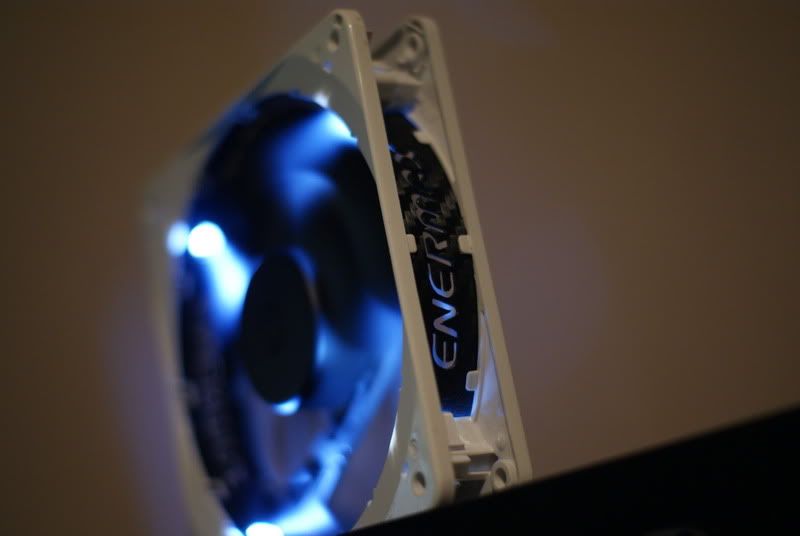
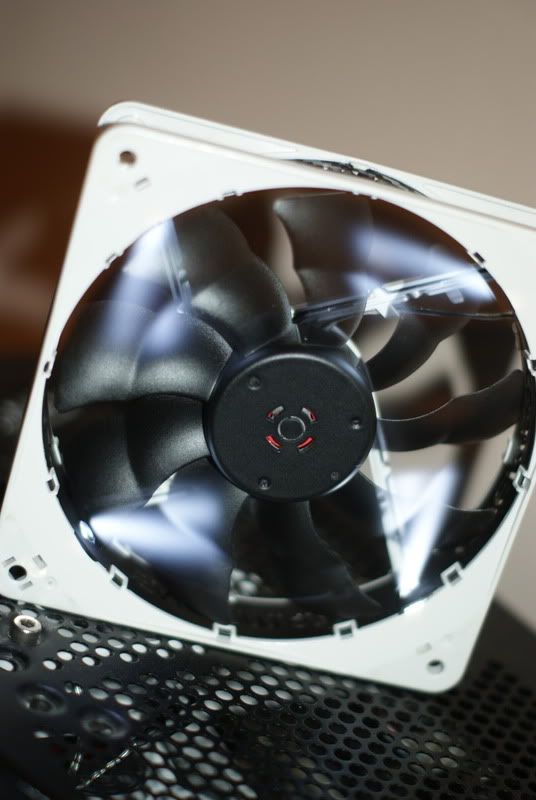
Next up, I started blinging out my Enermax Cluster fans. Awesome looking fans in the first place, but a little to much white. I disassembled them, sprayed the fan blades black and gave the frame supports a coat of the good old carbon film!
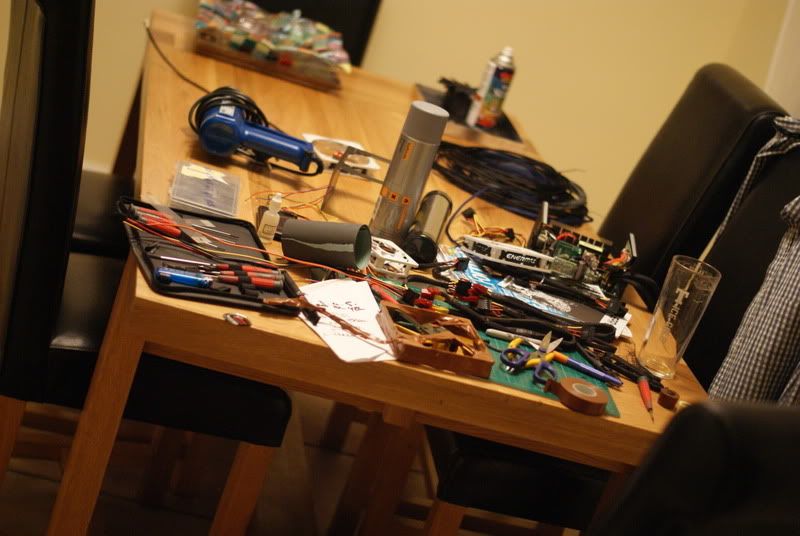
The table was getting a bit messy! Time for a tidy up! XD
I sprayed the reverse of the supports black so you couldn't see any silver showing through the lettering...
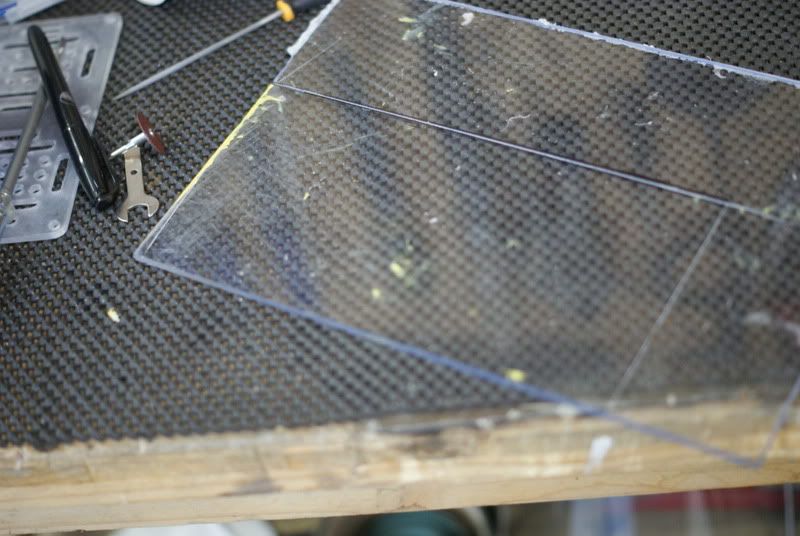
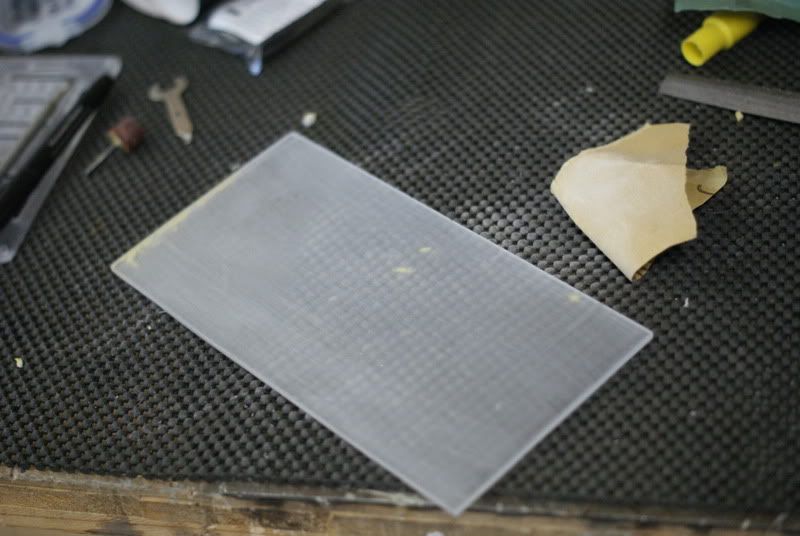
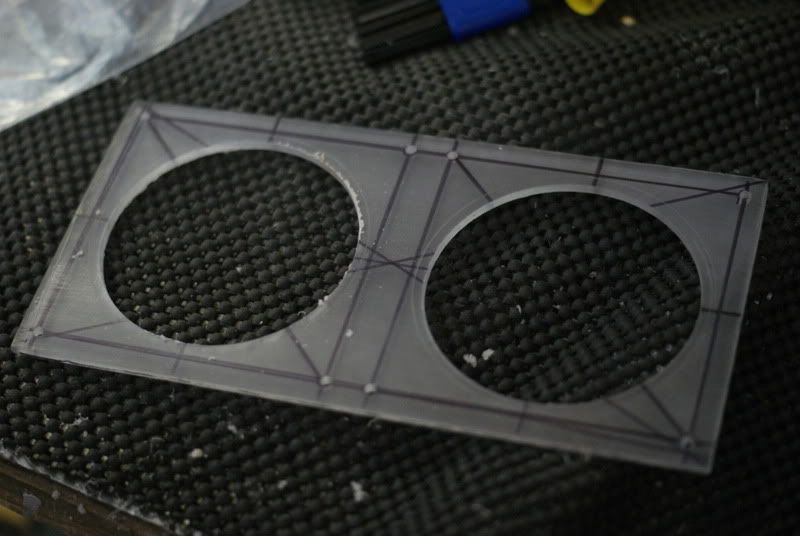
Time to work on a rad-grill for the 240 rad. Starting off with a sheet of acrylic.
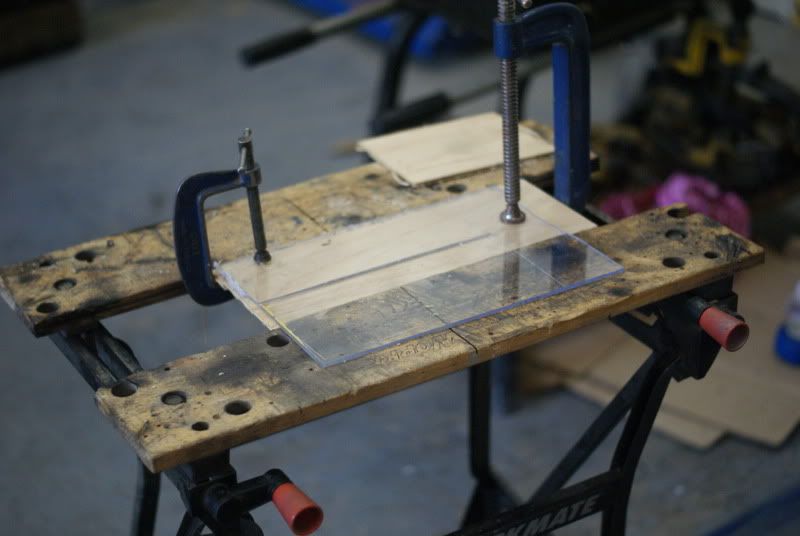
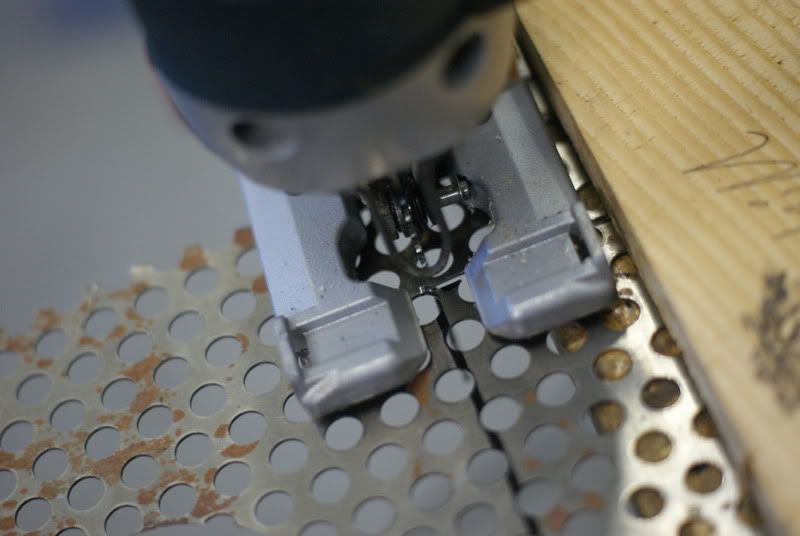
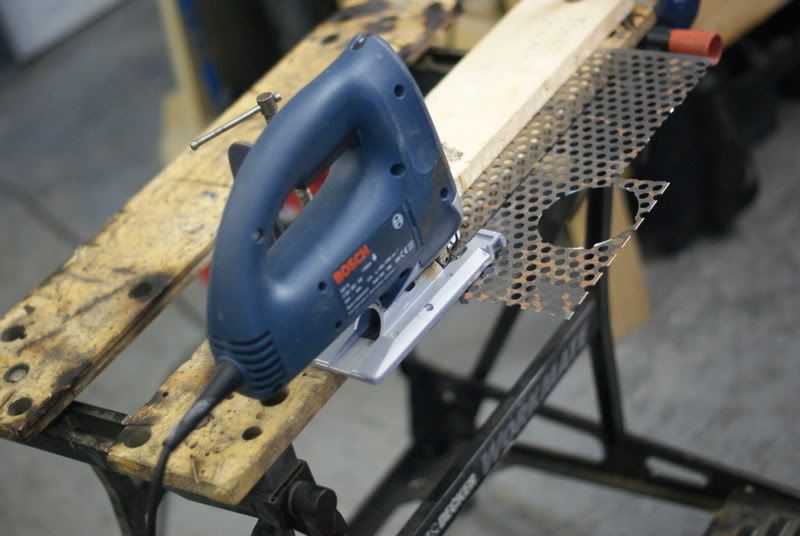
Cutting using the good old Black and Decker work bench and a Bosch jigsaw.
All cut out and frosted up and cleaned with some sandpaper.
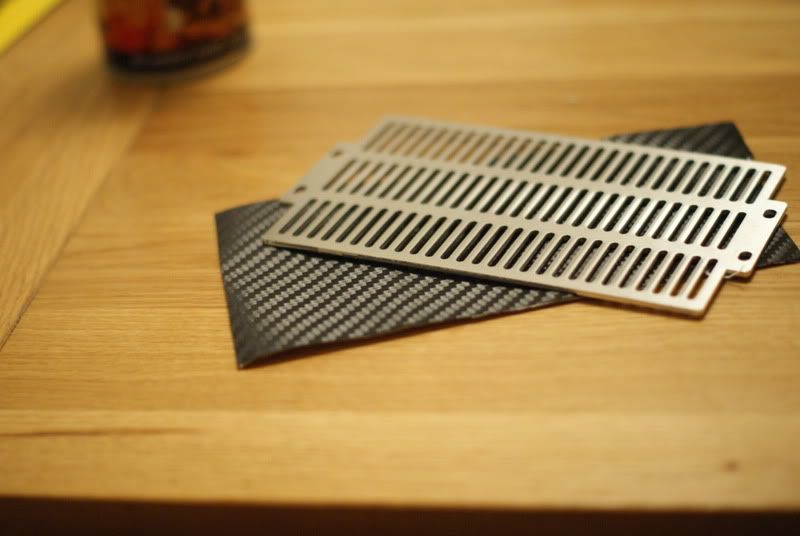
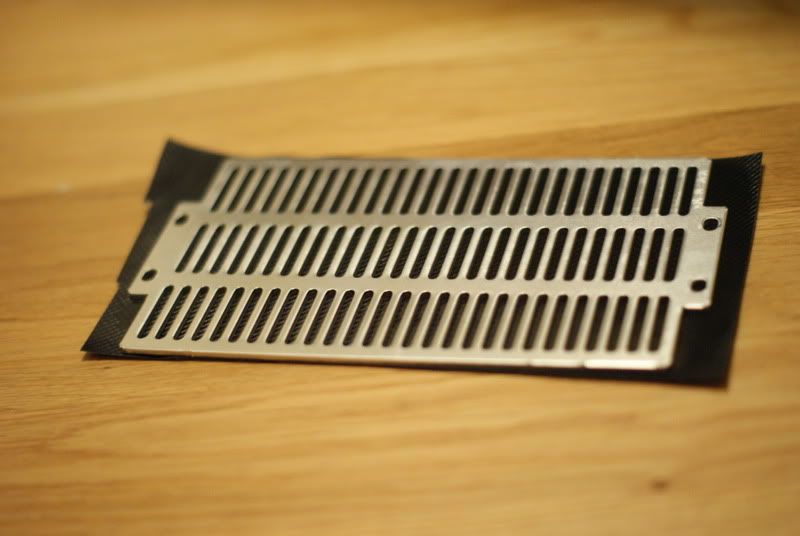
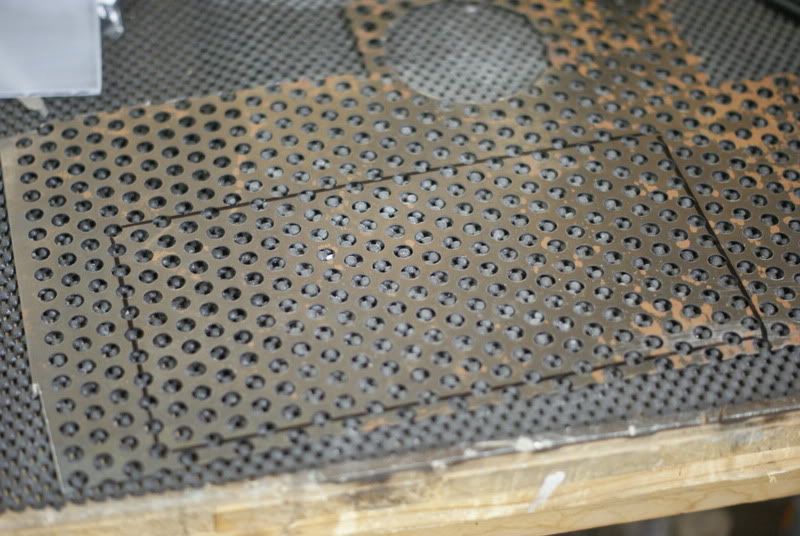
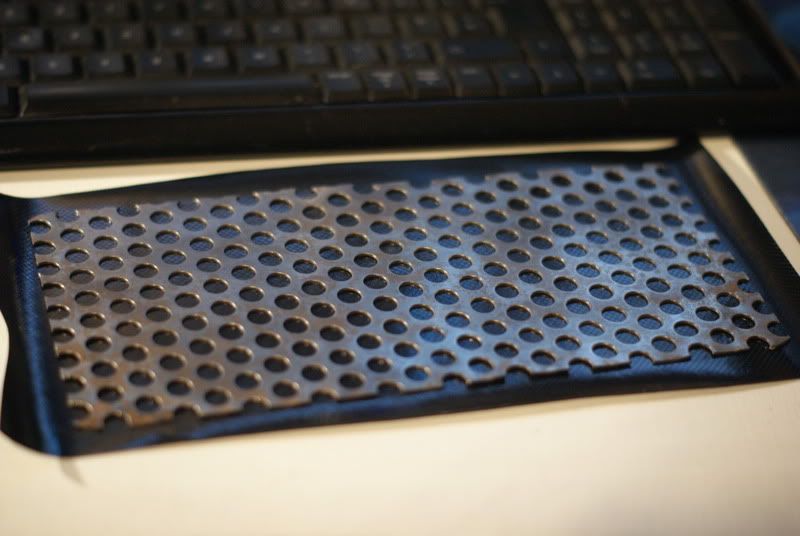
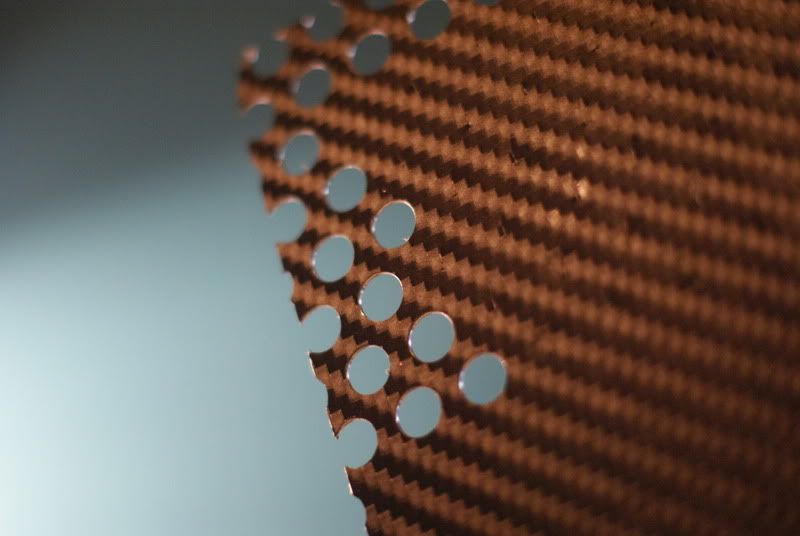
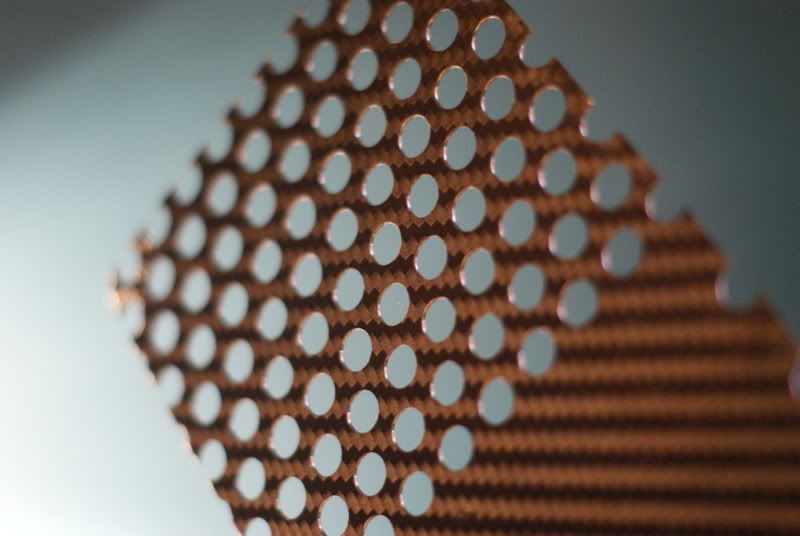
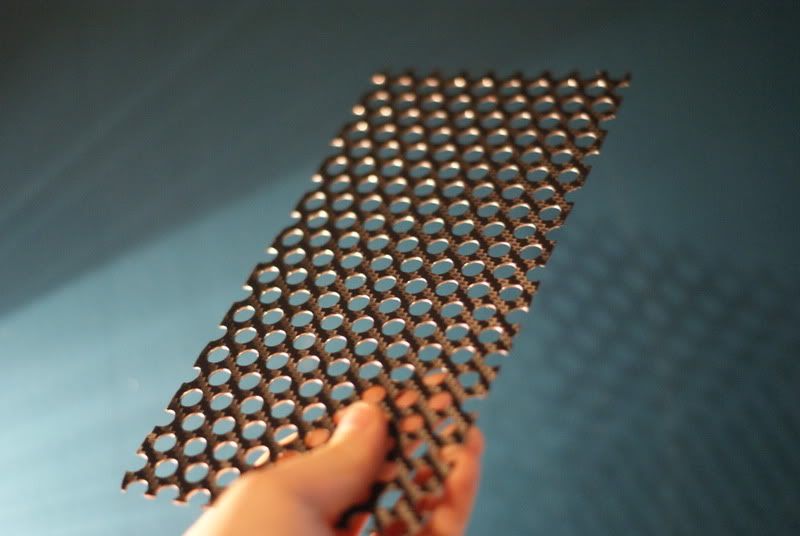
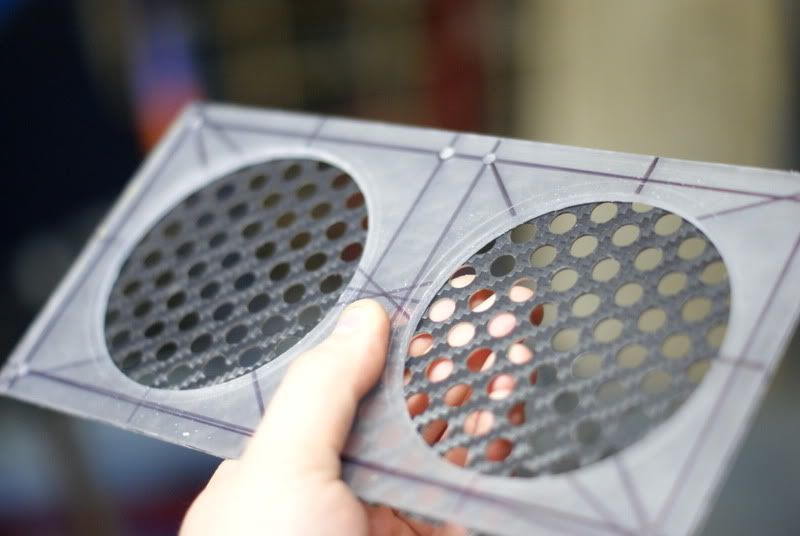
I had an idea of using some meshed sheet to add a behind the acrylic, so I marked it out and cut it.
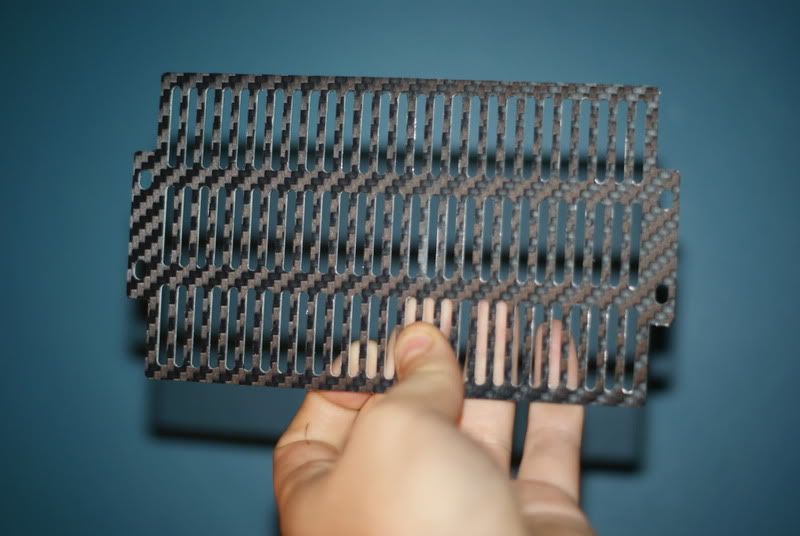
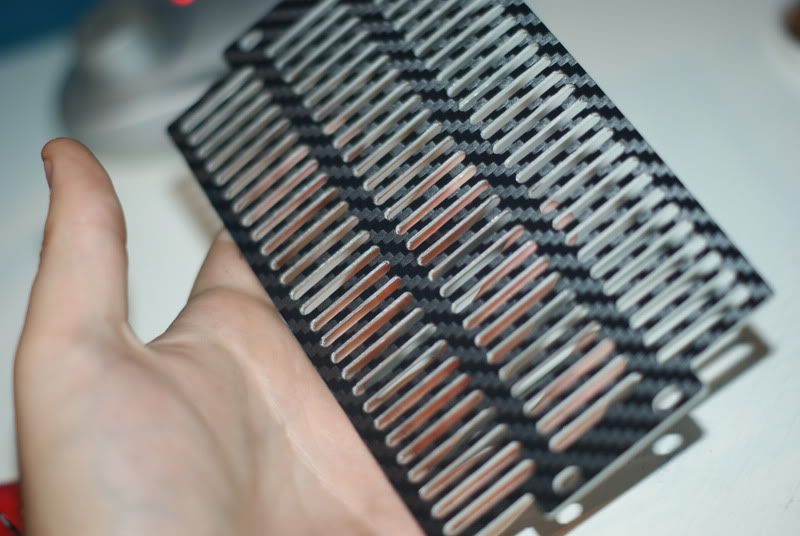
Guees what? MOAR CARBURN!
Nearly there
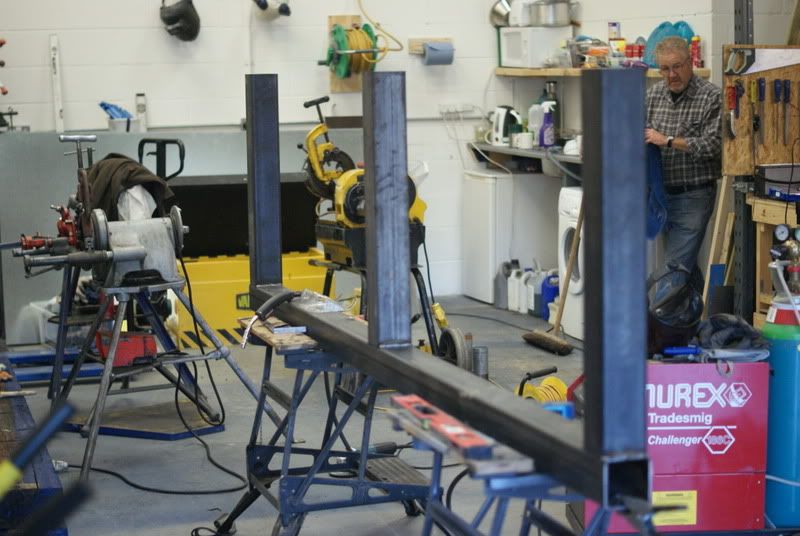
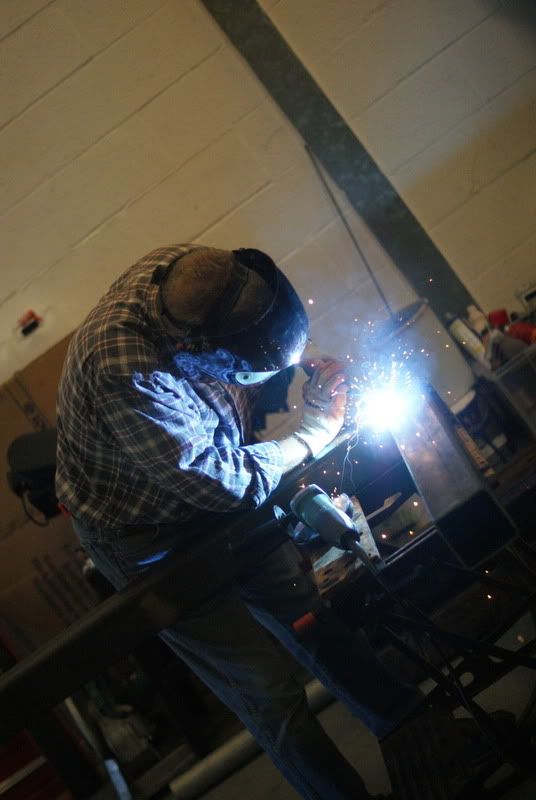
Time for some 'real,' work. We fabricated a steel frame for a siding for a wheel wash system... :eyebrow::hehe:
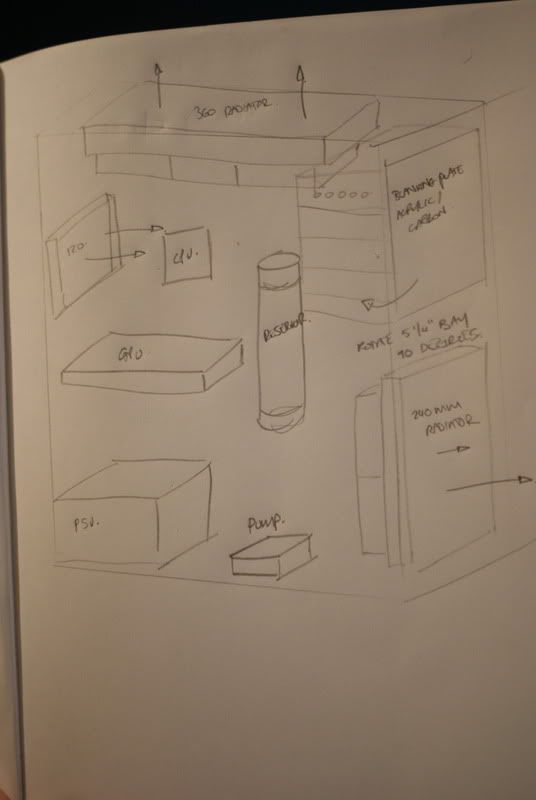
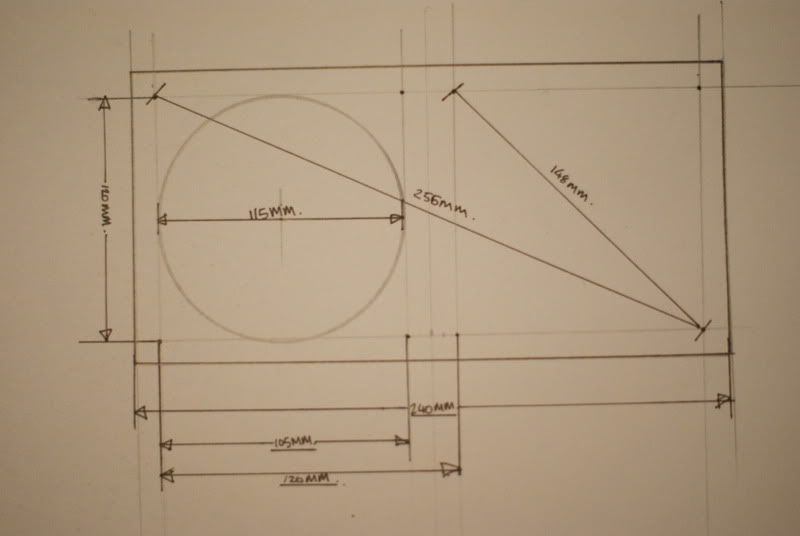
Right, none of this CAD stuff, old school drawing time! :hehe: I drew out a rough sketch for a rad grill, (which a started cutting out before the little fabrication job).
Marked up and centre-punch the positions for drilling. 1mm them 3mm then 3.3mm drilled and tapped with 4mm tap.
I got a new toy as well... Just £10 too!
Time to take out some acrylic with a big ass hole-saw!

One down...
Two down! Nice... Time for a sanding to get rid of any nasty edges.
The idea goes something like this... But I'm not sure of what to think of it!
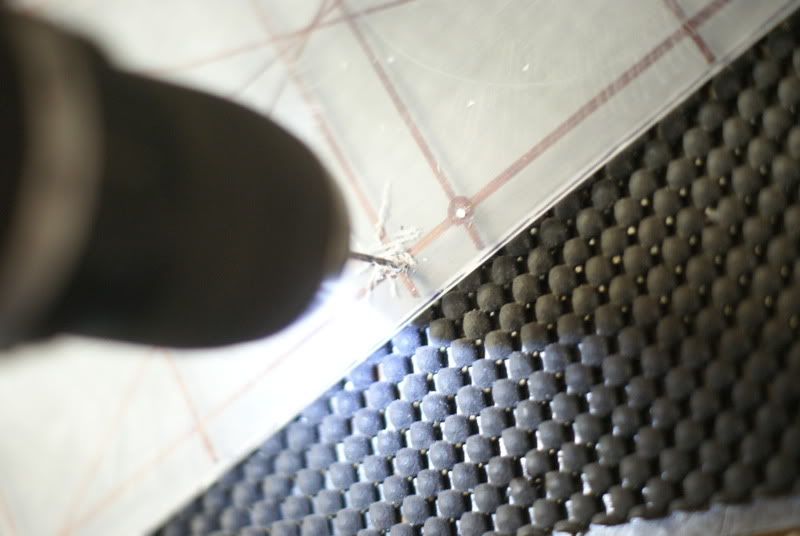
15mm hole spacing for the fans? I'll take 14.99mm

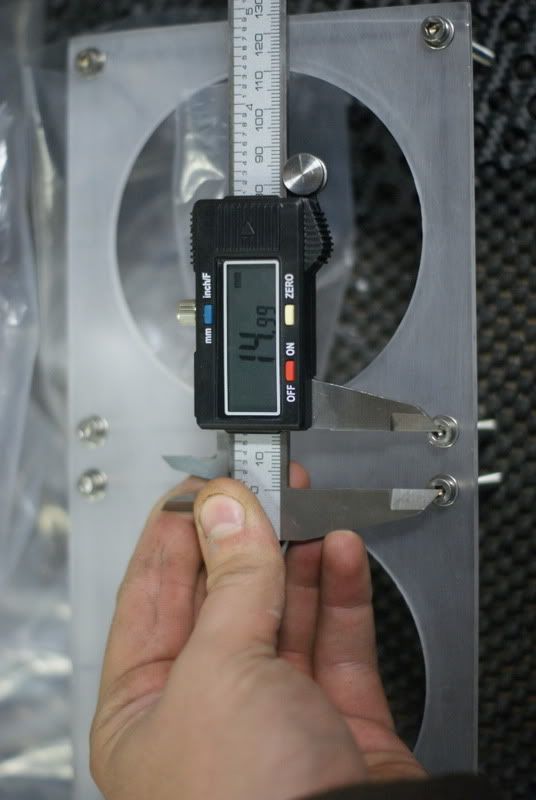
At least the M4 holes I drilled and tapped were nice and straight, baring in mind I used an 18v Makita battery drill!
Presents! lol. Not sure whether to give them a coat of paint?! :eyebrow:
This is how far I've gotten so far. I will plastic prime it tomorrow I think, if the rain holds off. MD-PC sleeving is here too, so fingers crossed I can crack on with some sleeving tomorrow as well!
:rock:
Thanks folks!
This is my first endeavour into the wonderful world of watercooling, so if I cock up, you know the reason why! The thinking behond this build is simple and clean. No garish paint, ultra-violet cathodes and LED's cluttering up the rig. The colour scheme I am going to try and stick to will inclue; white, black, grey and blue. Misc' items such as tubing and water-cooling fittings will be clear/ white and nickel fittings as well as nickel/ zinc plated mounting hardware. The interior and exterior of the case will be powder coated/ sprayed in a clean black/ grey
colour.
Hardware:-
Case- Lian-Li PC A70F
CPU- Intel Ivy Bridge socket CPU/ Z77 chipset
MOBO- Intel Ivy Bridge socket mobo
GPU- AMD 7000 series/ Nvidia 600 series GPU
PSU- Lepa G900 Power-supply
RAM- ??? Currently using Corsair Vengeance, possibly upgrade to something around 2133MHz
HDD- 1x Samsung F3 1TB
SSD- ??? Something 120 GB for caching and games
Control and Fans:-
1/2: Phobya 6 way fan controller
1/ Aquacomputer inline temp sensor.
9x Enermax UCCL12 120mm Cluster w/ white LED
Watercooling Hardware:-
Laing D5 pump
Bitspower black/ nickel coloured pump mod kit
2x XSPC EX 240mm rads
1x XSPC RX 240mm rad (possibly push/ pull)
Aquacomputer Aquatube (white/blacl delrin).
Aquacomputer or XSPC GPU/ CPU blocks as and when Ivy/ 6XX/7XXX series GPUs
13mm ID/ 19mm OD compression fittings (XSPC/ Bitspower/Enzotech/ ???)
Sleeving:-
MDPC black small
MDPC royal blue small
MDPC grey small
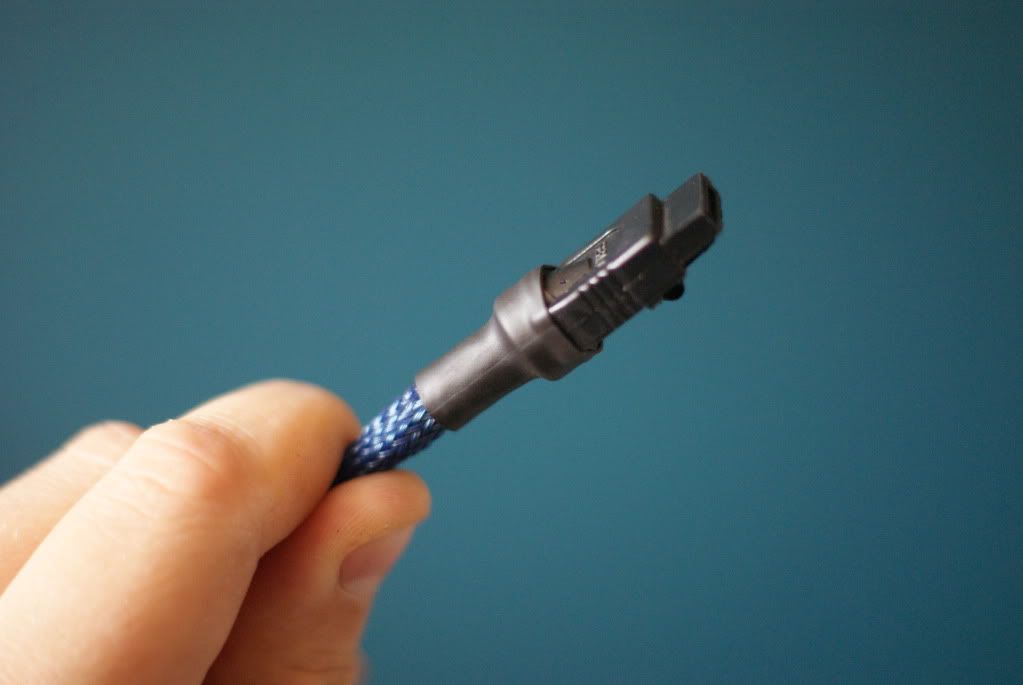
MDPC royal blue SATA
MDPC 4:1 shrink tubing
Crimping tool, crimps
Pin removal tool
Misc:-
There will most probably be other things taht will be added down the line, such as various tools,
fittings and screws/ mouting materials.
3M Di-Noc carbon effect film
I currently have a few bits and pieces to get me started, such as a radiator, fans, sleeving a new PSU etc. I will be using compression for fittings, Enermax Cluster fans for the rads and XSPC rads.
At this moment in time I have no sponsors.
So, onto my progress so far. All of my images are taken with either a Sony A-200 or an A-330, with any 18-70mm, 50mm or 70-300 macro lens.
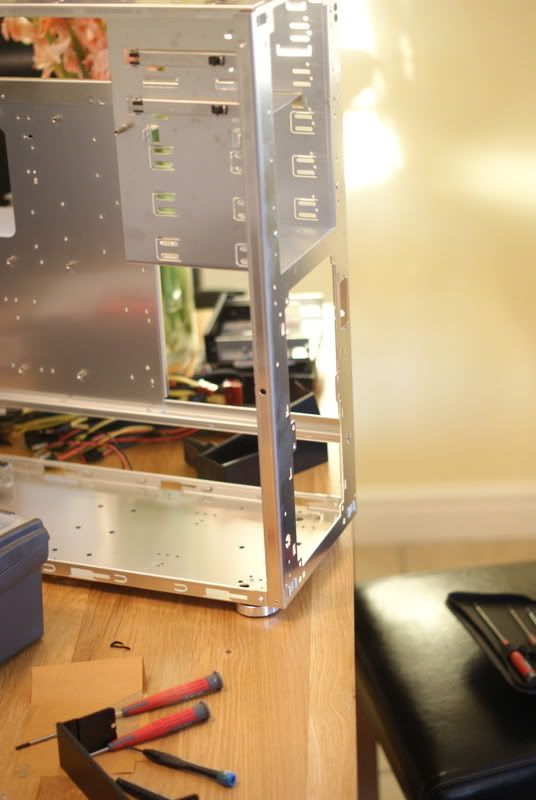
The first task was to strip this baby down. After coming from an NZXT m-59 mid-tower case, I was blown away by the size of my new case. This thing is HUGE! Plenty of room for radiators, pumps, reservoirs and any other goodies I may end up putting in her.
All unboxed. Wow! What can I say, the build quality is phenomenal! Lovely aluminium brushed panels and it was surprisingly light, even being a full-tower, it is lighter than my clunky, steel bodied NZXT case. I must aplogise for the rubbish picture, the light in the dining room was bad!
After the unboxing, a little helper came to see what was going on...
I also bought an XSPC EX 240 rad to go in the front...
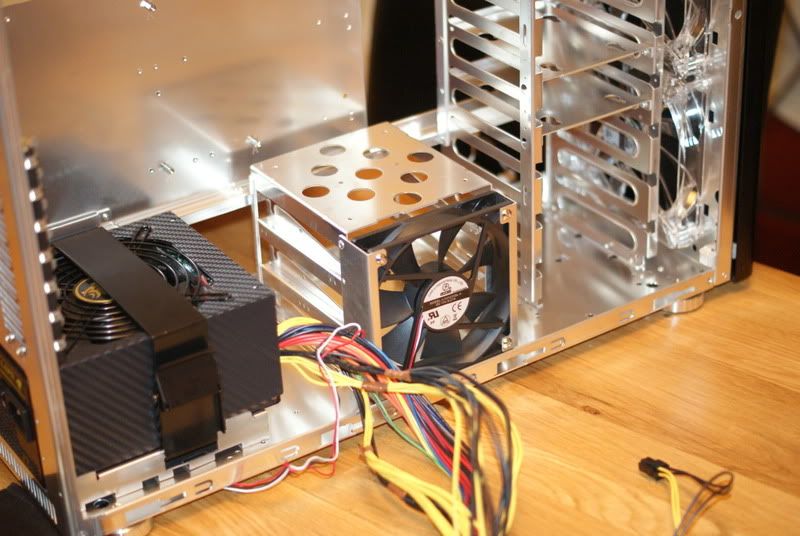
Right, time to strip the guts out of this baby. Now, where are my screwdrivers?
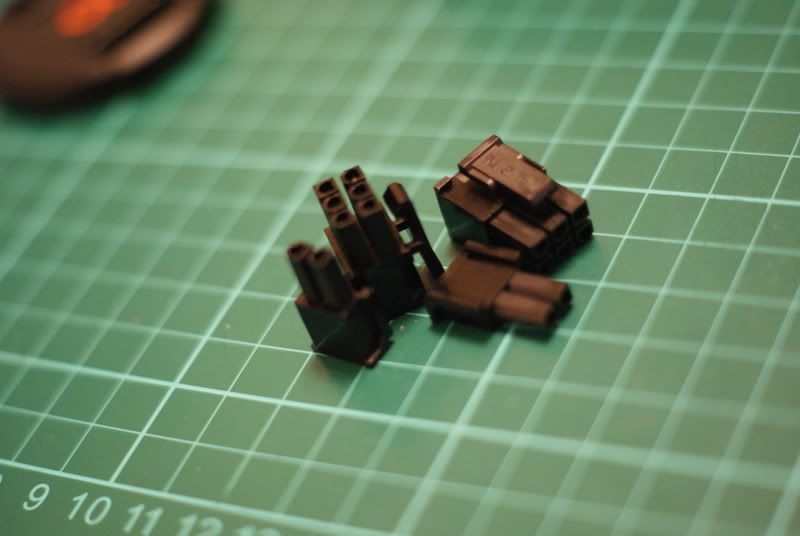
Right, now I sorted all the screws into the little case that came in the box, some cables to sleeve and a few other bits and bobs.
Fan Controller and PSU
I am going to be using a fair bit of regular black, 3M Di-Noc carbon film to accent against the black of the case.
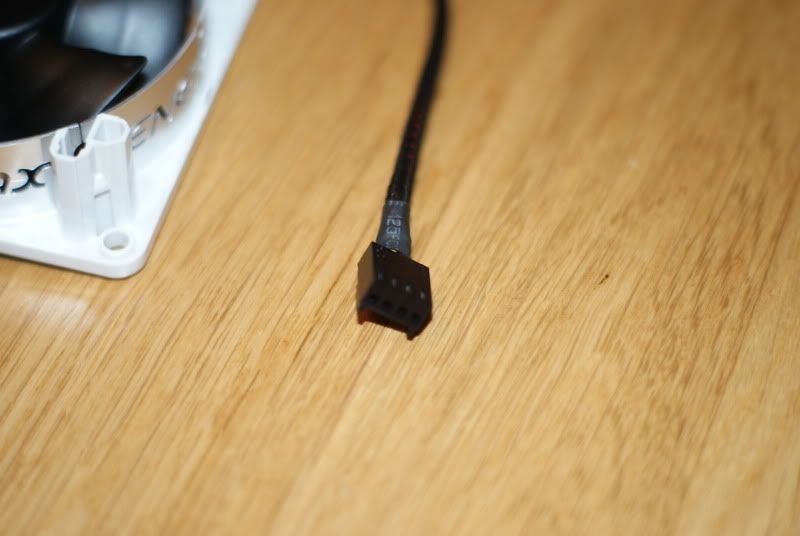
For the fan controller, I will be using a 6 channel, Phobya controller. I stripped it down to its barebones...
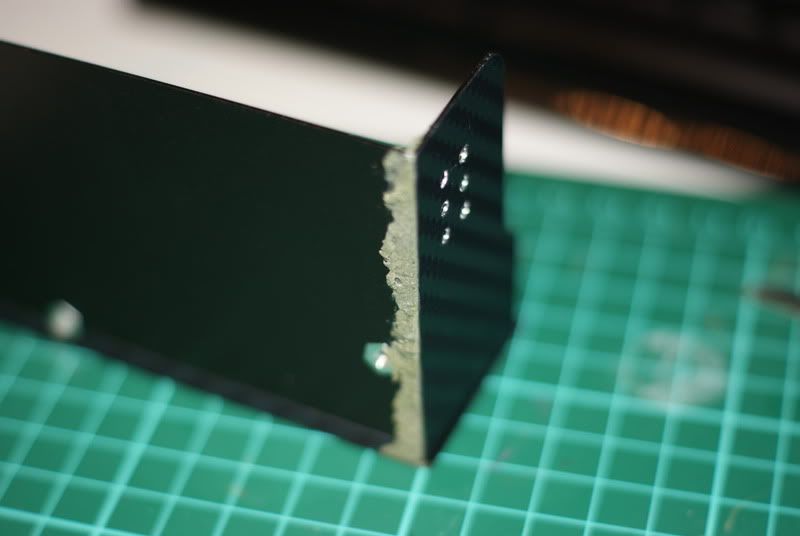
I bent down the side tabs and applied some carbon film to the sides and front... but.. DISASTER! One of the side tabs was becoming to flimsy for my liking, after the bending, it felt like it was going to give way at the slightest of pressure. I decided to give it a going over with some 2 part repair putty, for metals, so I sanded the sides down with some 400 grit and mixed up some putty and gave it a liberal spread.
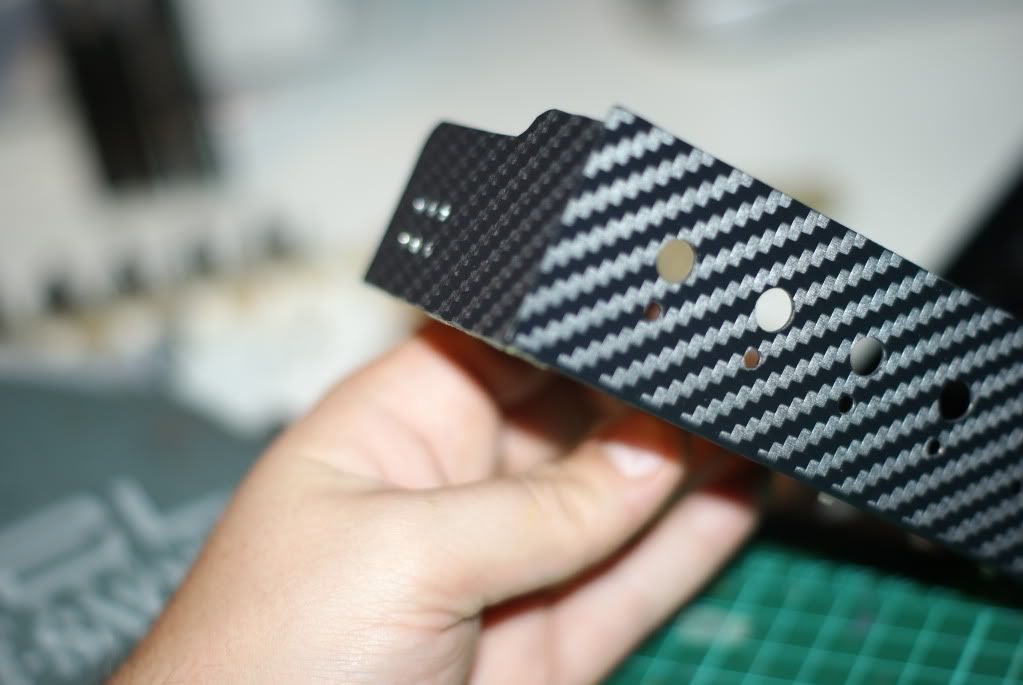
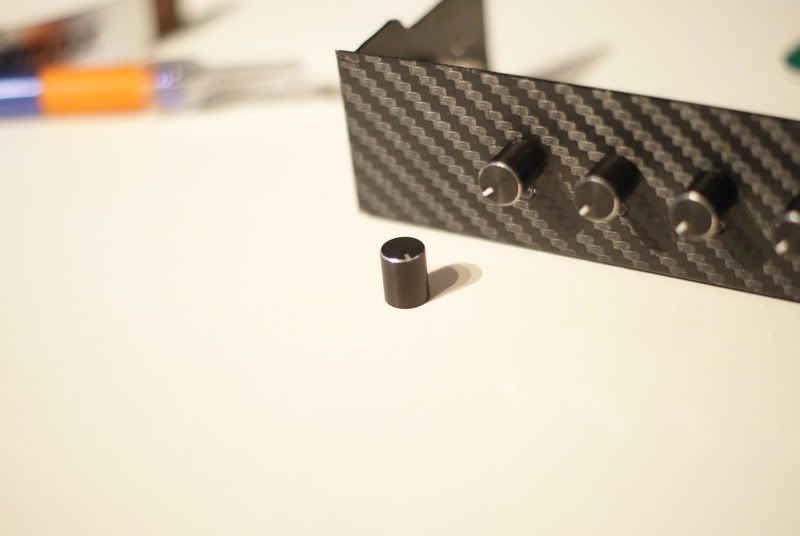
After the putty dried solid, after about half an hour I gave it a running over with some 1200 grit and 2500 to finish off with. I also managed to loose one of the control knobs, it must have fell on the floor and gone missing somewhere, as I couldn't find it anywhere! :duh: Anywho, I applied the carbon and cut around the but out to mount it to the 5 1/4" drive bays and control knobs...
Very happy with the result! :thumb: A few days later, guess what got jammed in the hoover!
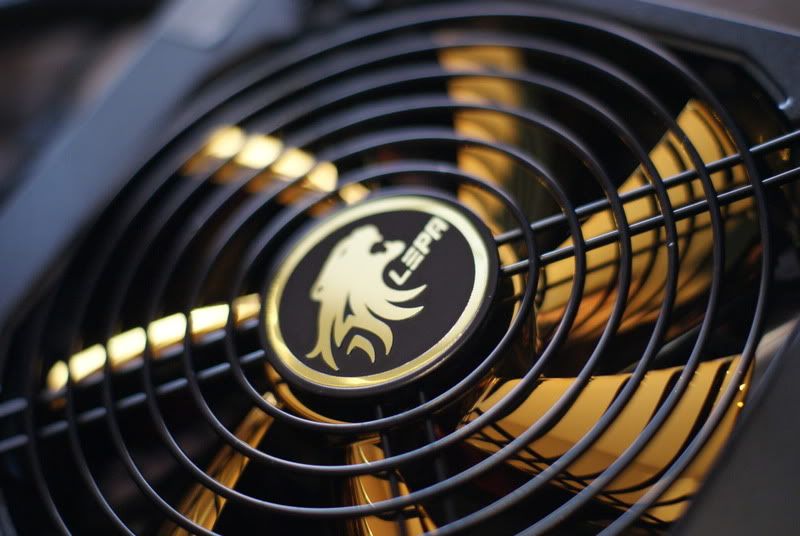
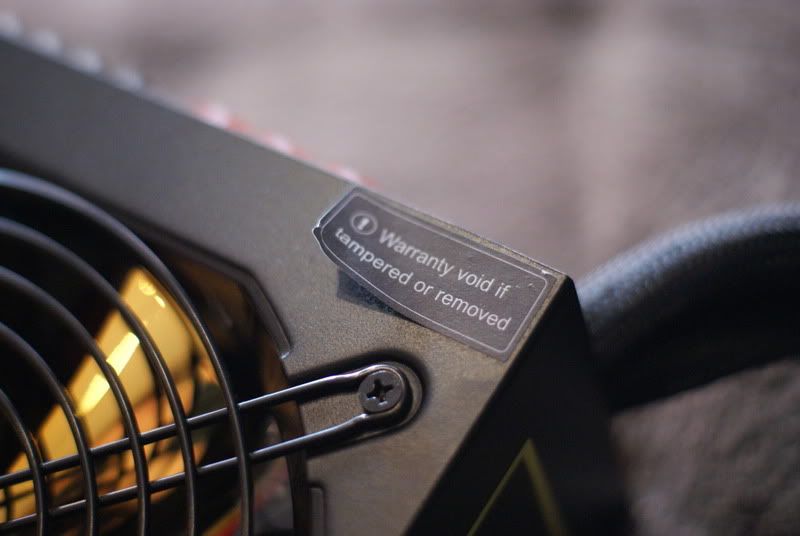
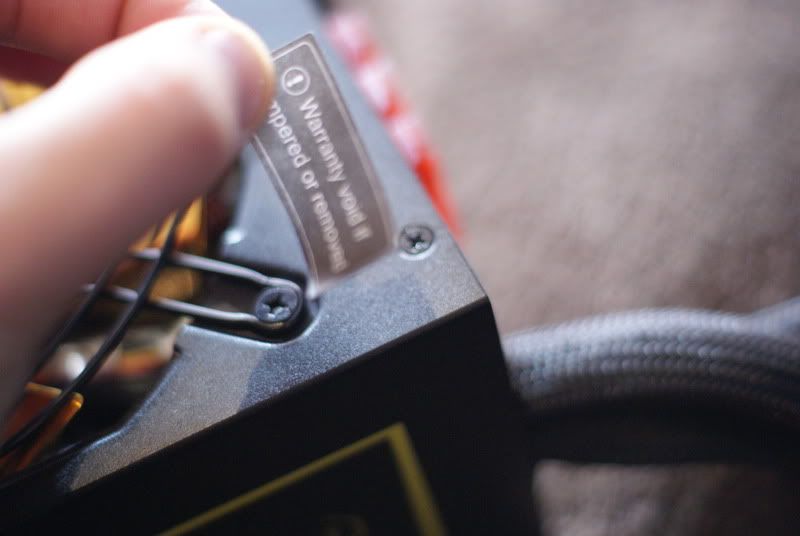
u mad bro?! Hell yea! :wallbash: Next up, new PSU. I opted for the Lepa G-900. Its pretty much an Enermax MODU 87+, or so I gather. Nice looking PSU, with an 80+ Gold certification.. Nice!
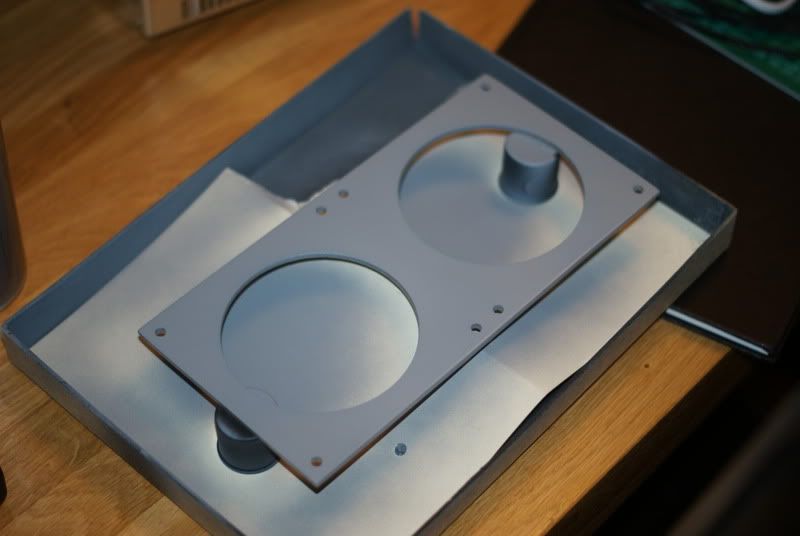
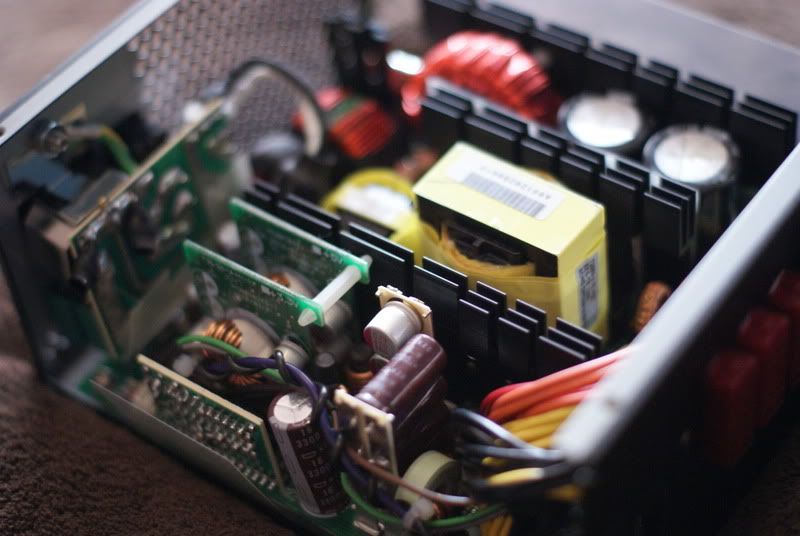
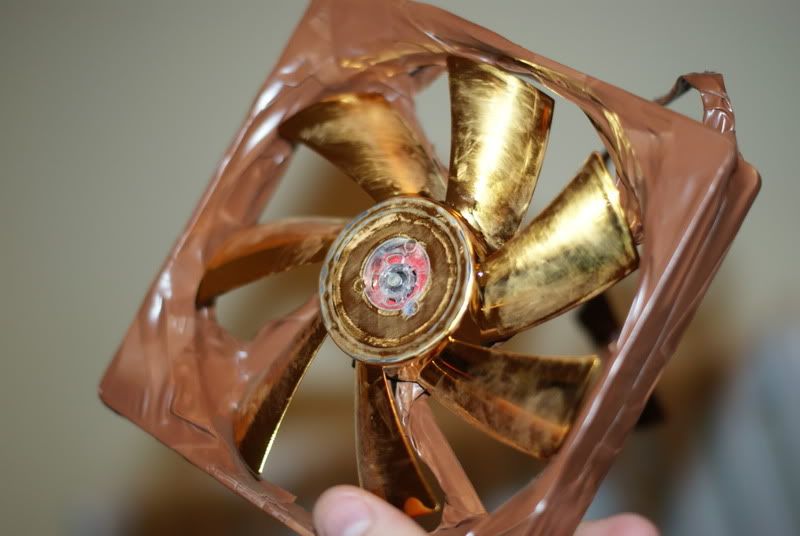
I wasn't a fan of the gold fan, so I stripped the PSU down, removed the fan, gave it a quick buff with some wet and dry, masked him up, primed it and spray it black.
Going, going, going.... GONE!
Much better! :thumb:
The PSU cover got a coat of 3M Di-Noc too!
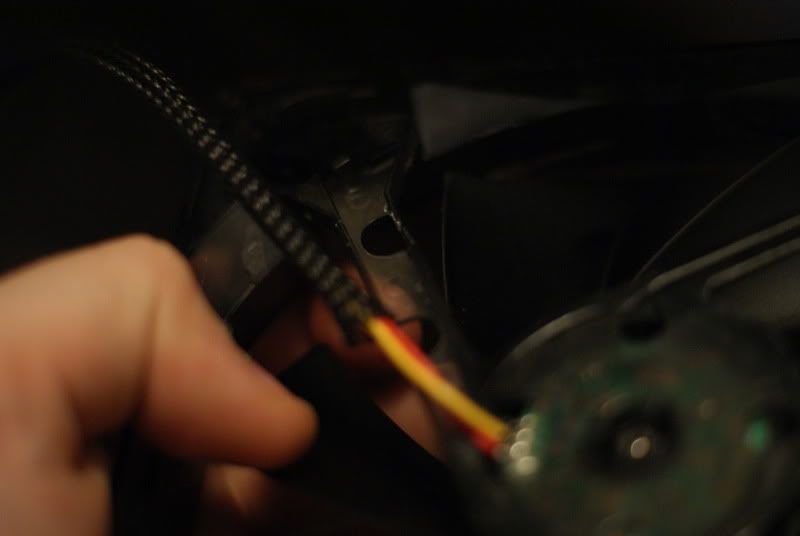
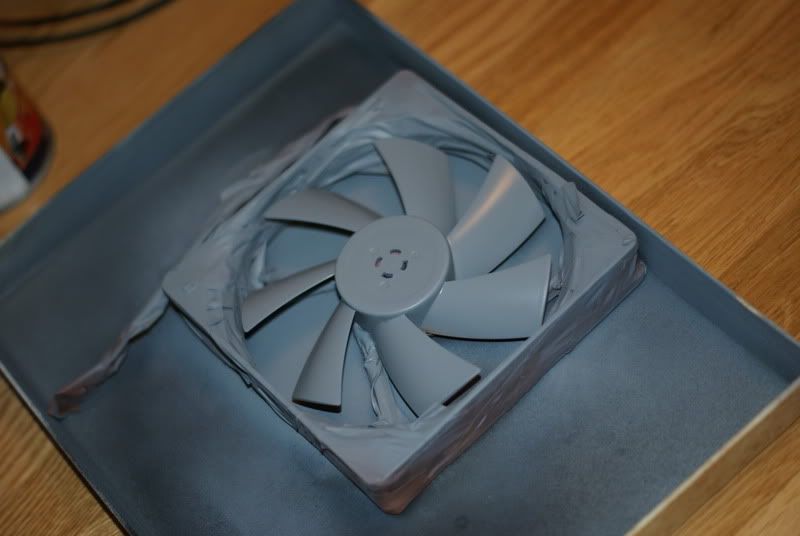
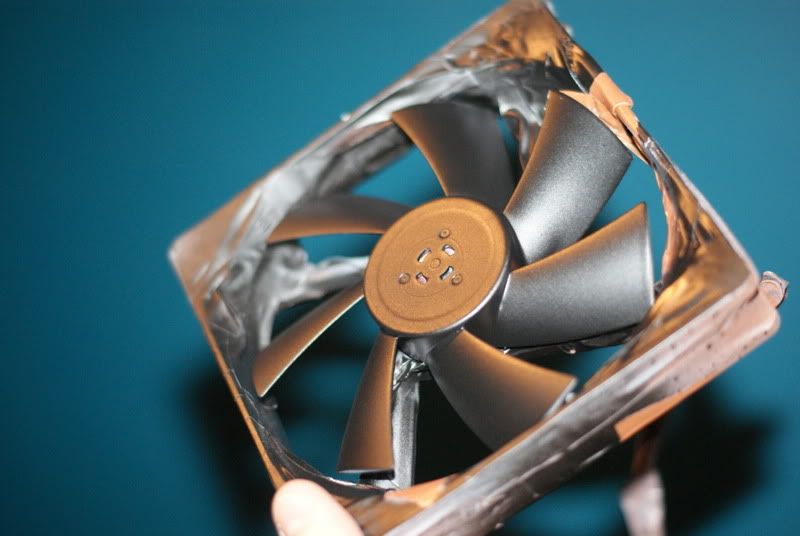
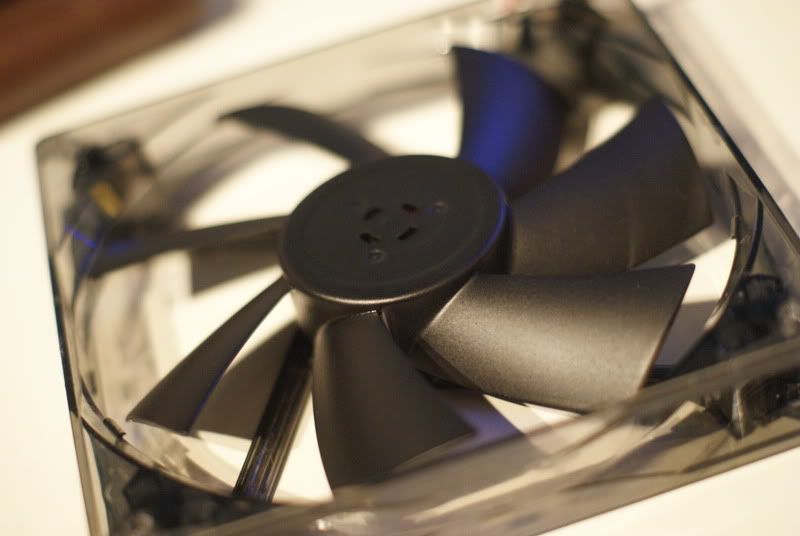
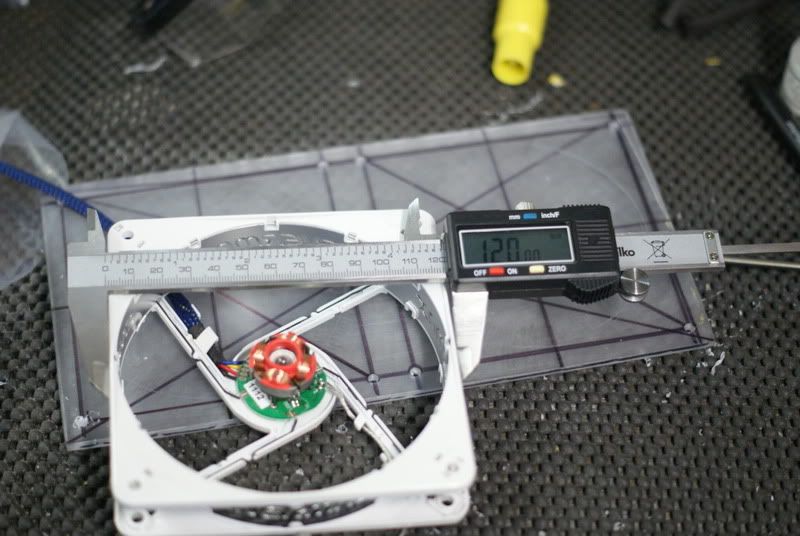
Next up, I started blinging out my Enermax Cluster fans. Awesome looking fans in the first place, but a little to much white. I disassembled them, sprayed the fan blades black and gave the frame supports a coat of the good old carbon film!
The table was getting a bit messy! Time for a tidy up! XD
I sprayed the reverse of the supports black so you couldn't see any silver showing through the lettering...
Time to work on a rad-grill for the 240 rad. Starting off with a sheet of acrylic.
Cutting using the good old Black and Decker work bench and a Bosch jigsaw.
All cut out and frosted up and cleaned with some sandpaper.
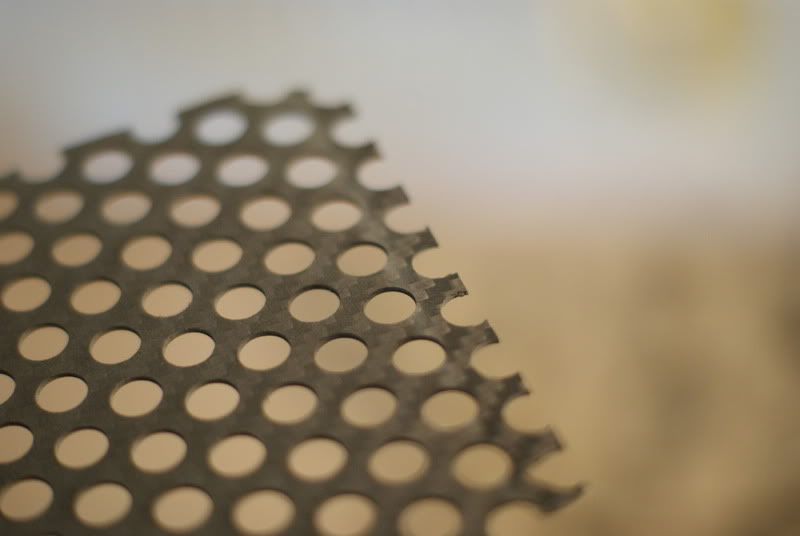
I had an idea of using some meshed sheet to add a behind the acrylic, so I marked it out and cut it.
Guees what? MOAR CARBURN!
Nearly there
Time for some 'real,' work. We fabricated a steel frame for a siding for a wheel wash system... :eyebrow::hehe:
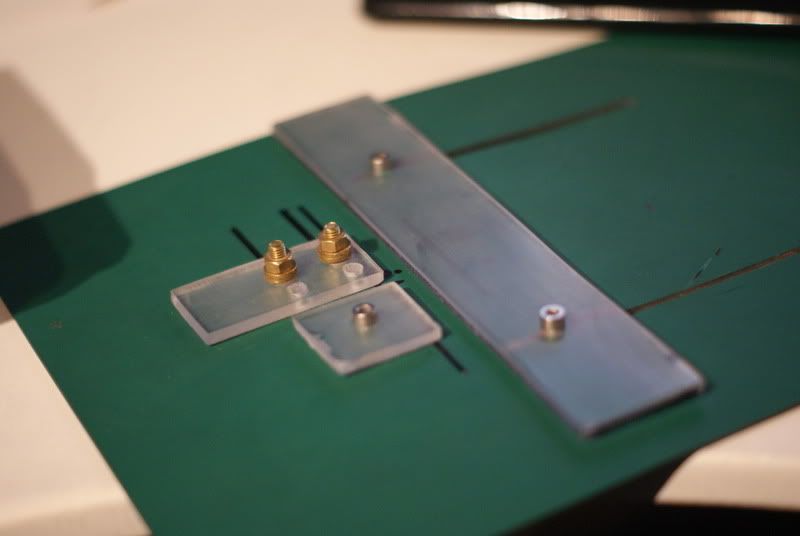
Right, none of this CAD stuff, old school drawing time! :hehe: I drew out a rough sketch for a rad grill, (which a started cutting out before the little fabrication job).
Marked up and centre-punch the positions for drilling. 1mm them 3mm then 3.3mm drilled and tapped with 4mm tap.
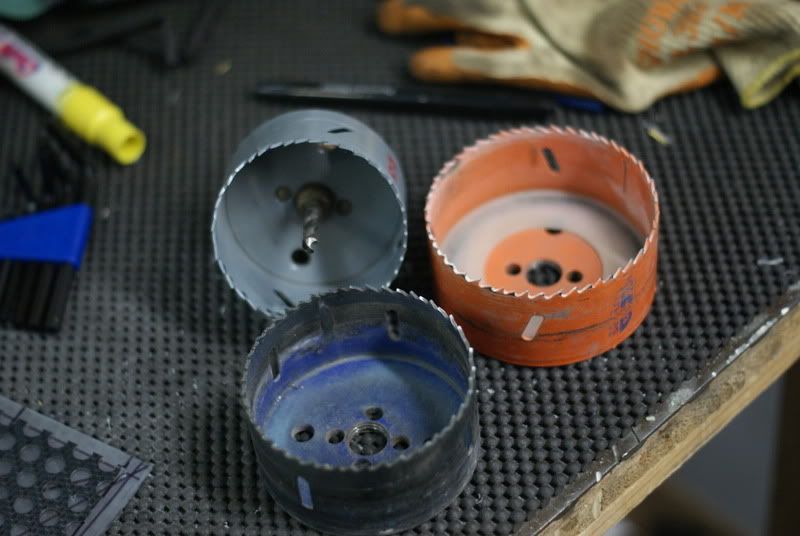
I got a new toy as well... Just £10 too!
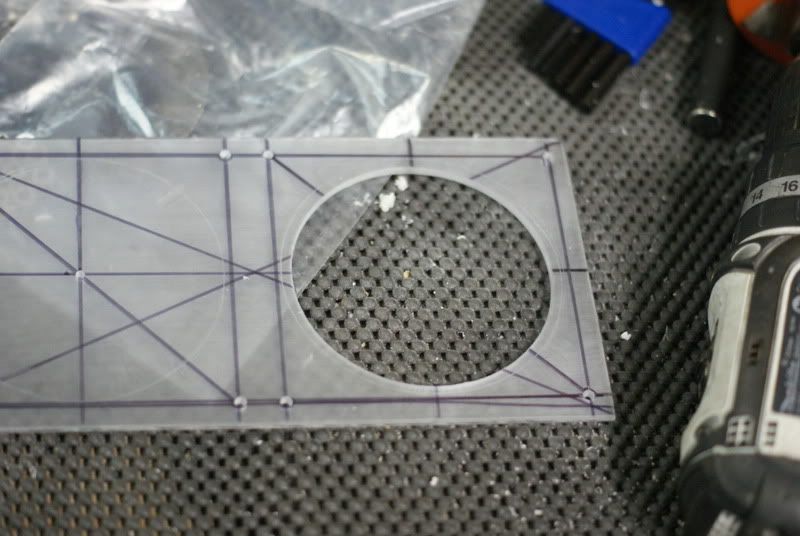
Time to take out some acrylic with a big ass hole-saw!
One down...
Two down! Nice... Time for a sanding to get rid of any nasty edges.
The idea goes something like this... But I'm not sure of what to think of it!
15mm hole spacing for the fans? I'll take 14.99mm
At least the M4 holes I drilled and tapped were nice and straight, baring in mind I used an 18v Makita battery drill!
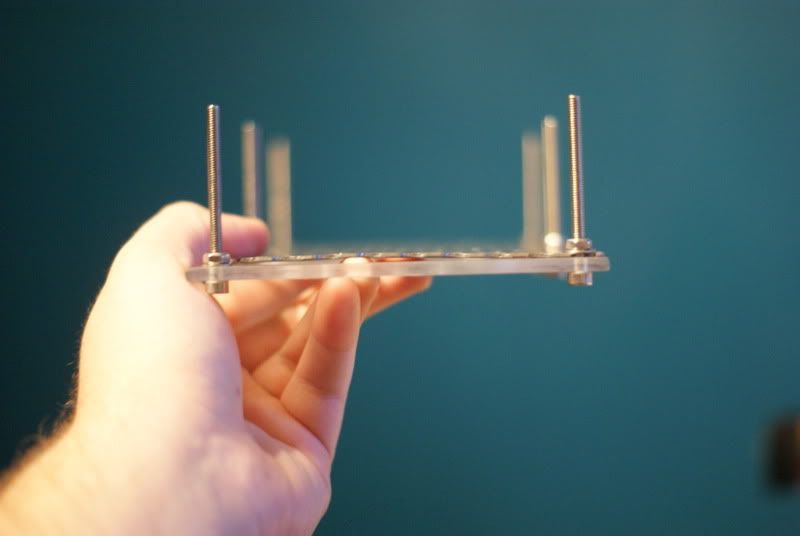
Presents! lol. Not sure whether to give them a coat of paint?! :eyebrow:
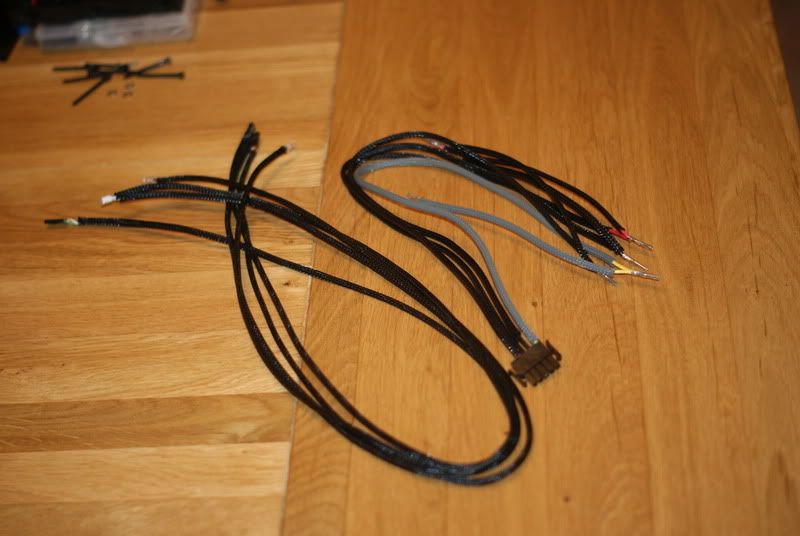
This is how far I've gotten so far. I will plastic prime it tomorrow I think, if the rain holds off. MD-PC sleeving is here too, so fingers crossed I can crack on with some sleeving tomorrow as well!