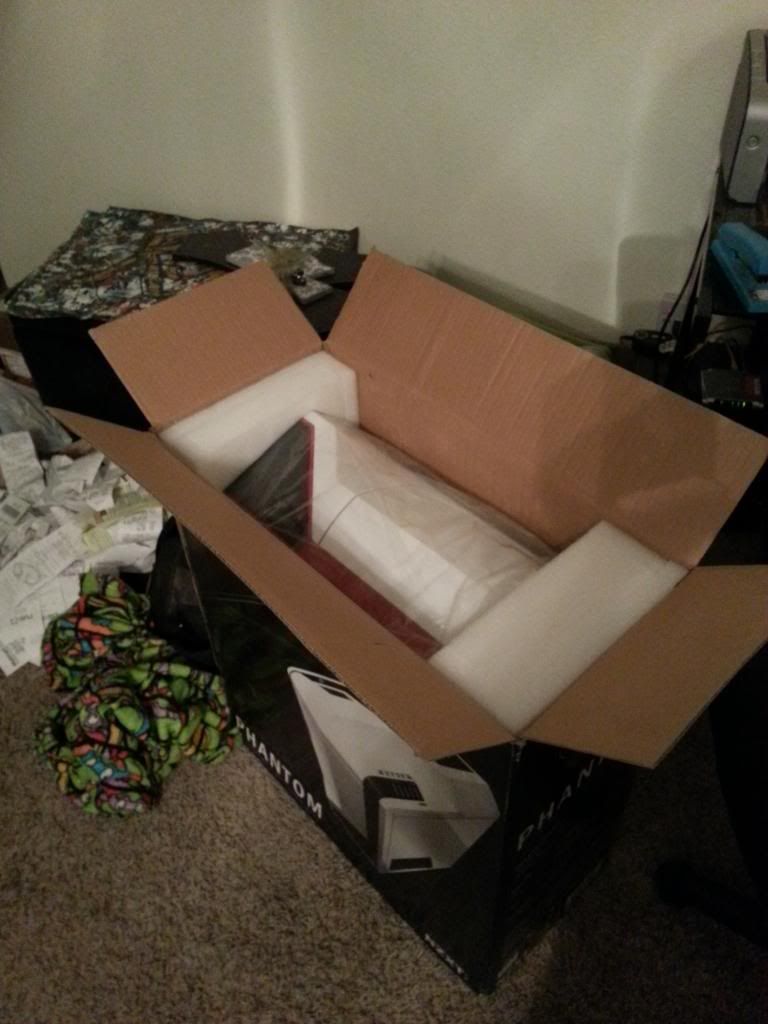
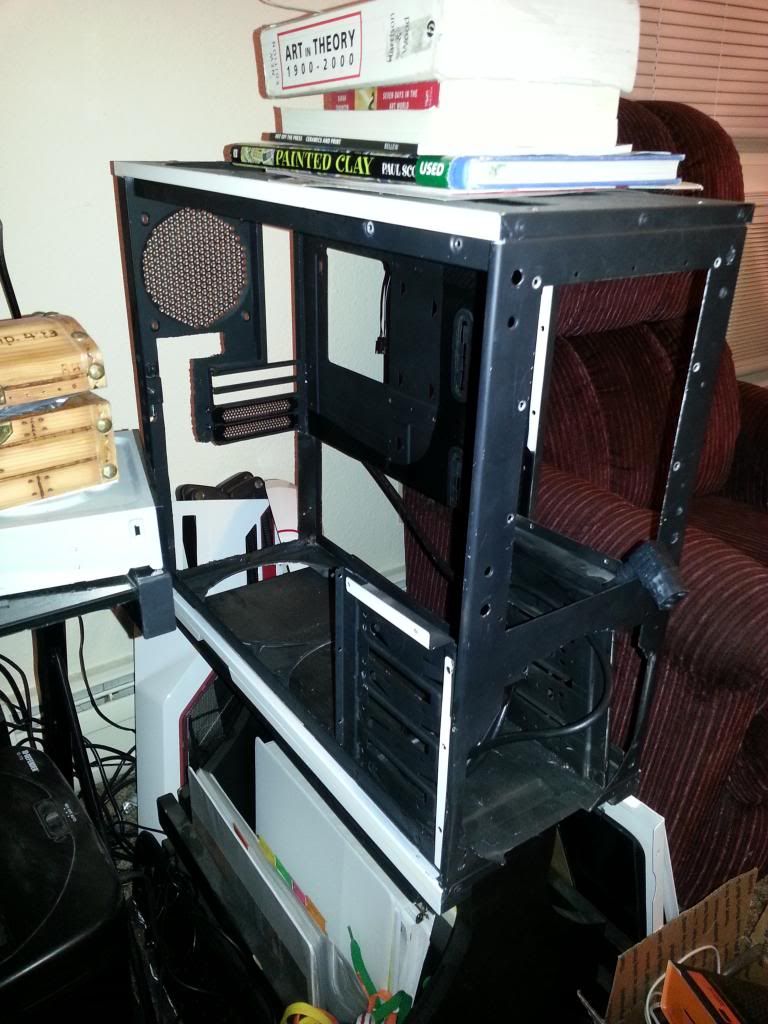
[Build Log] Project Mini Me - M-ATX Phantom, 3820, RIVG, 7970, watercooled

Phelan

New member
The Plan:

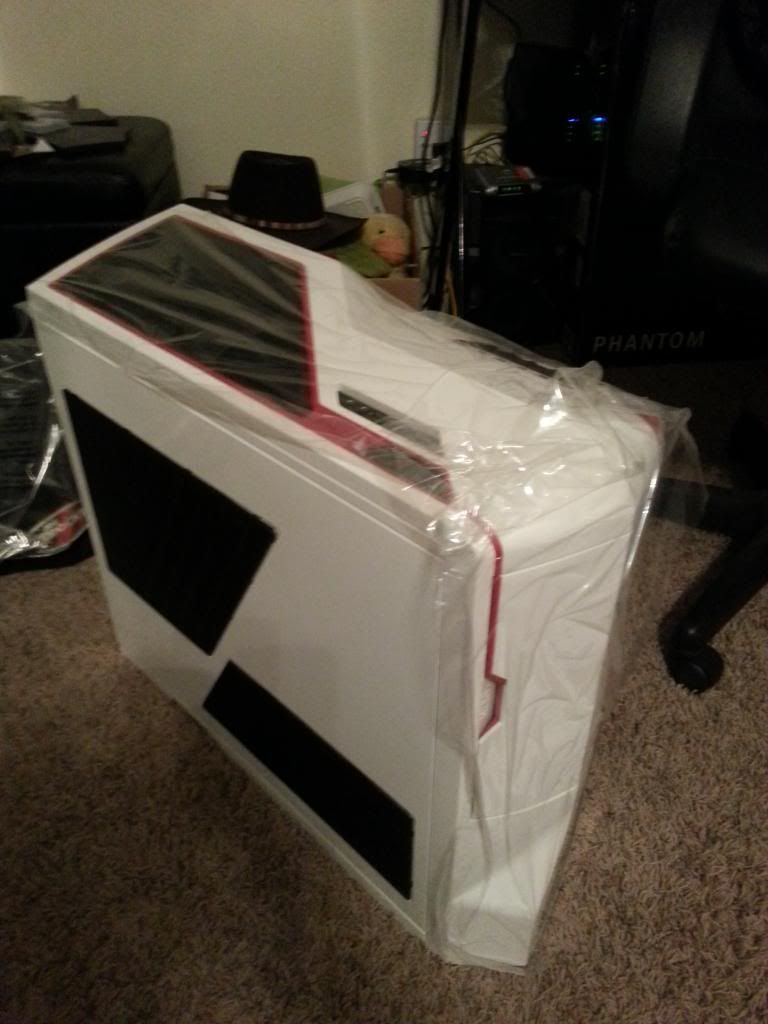
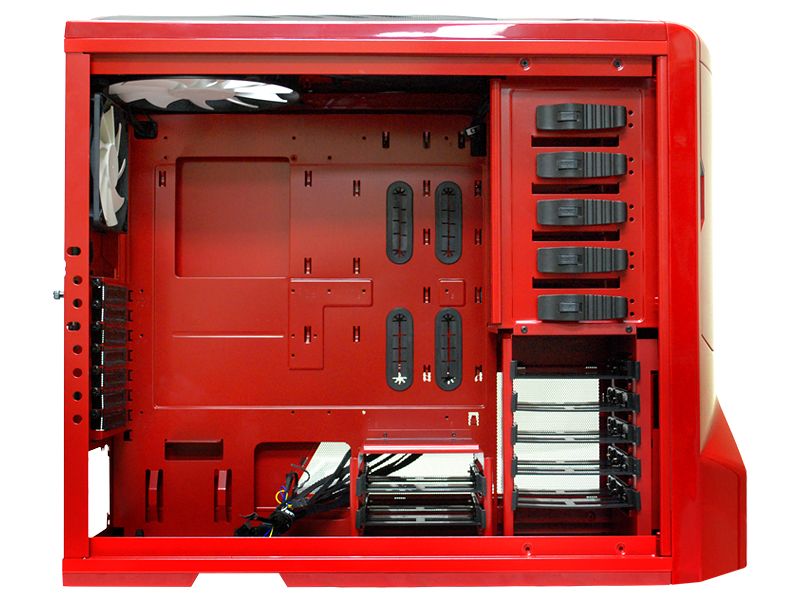
Make a Phantom go from this:
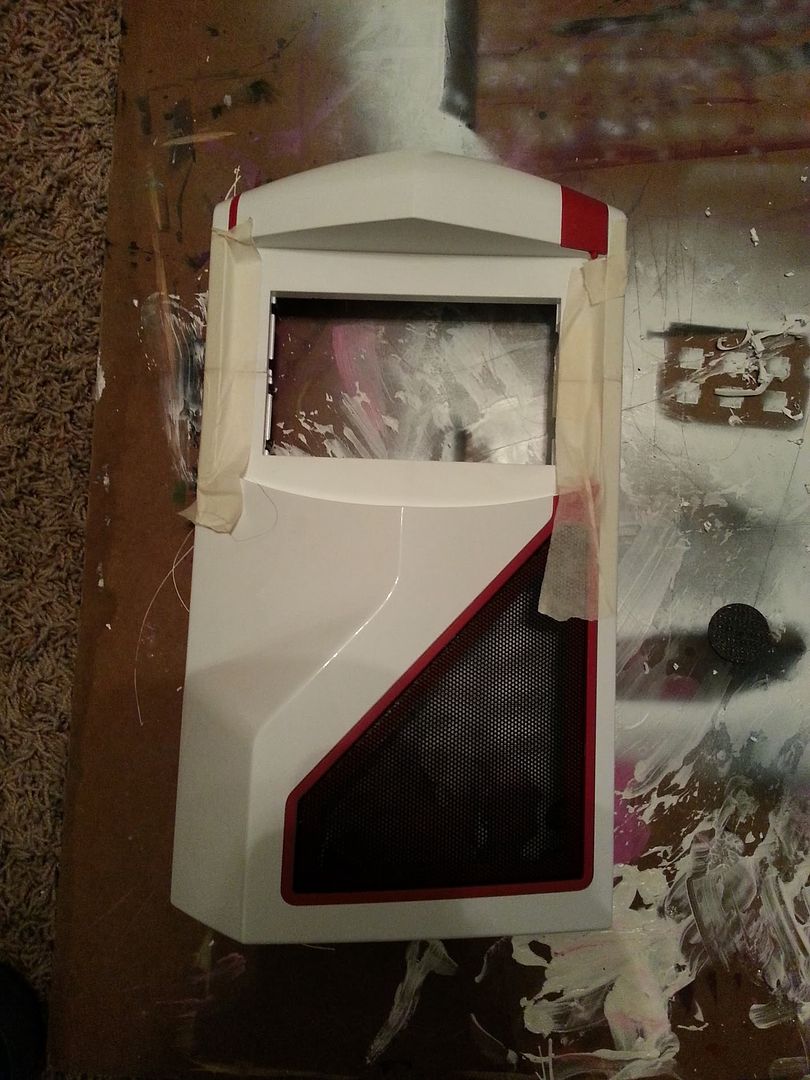
DSC_0874_zps516bd8f0.jpg


To this:
DSC_0894-2_zps63a57cc3.jpg


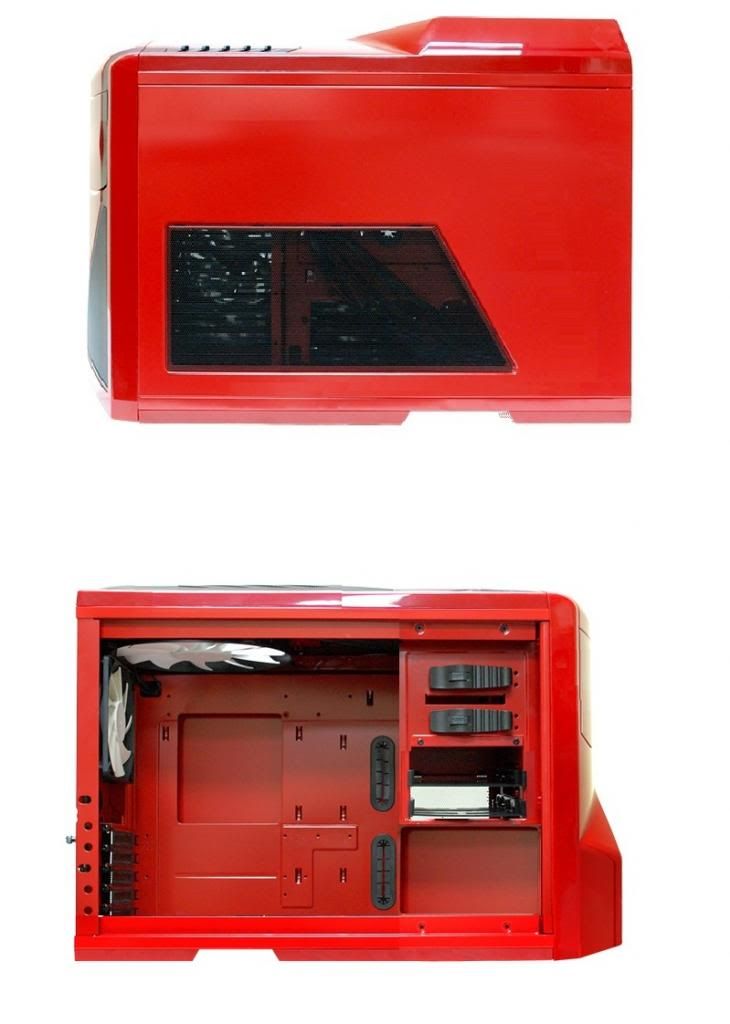
And stuff a whole lot of awesome in it.


A couple things to note about this build:
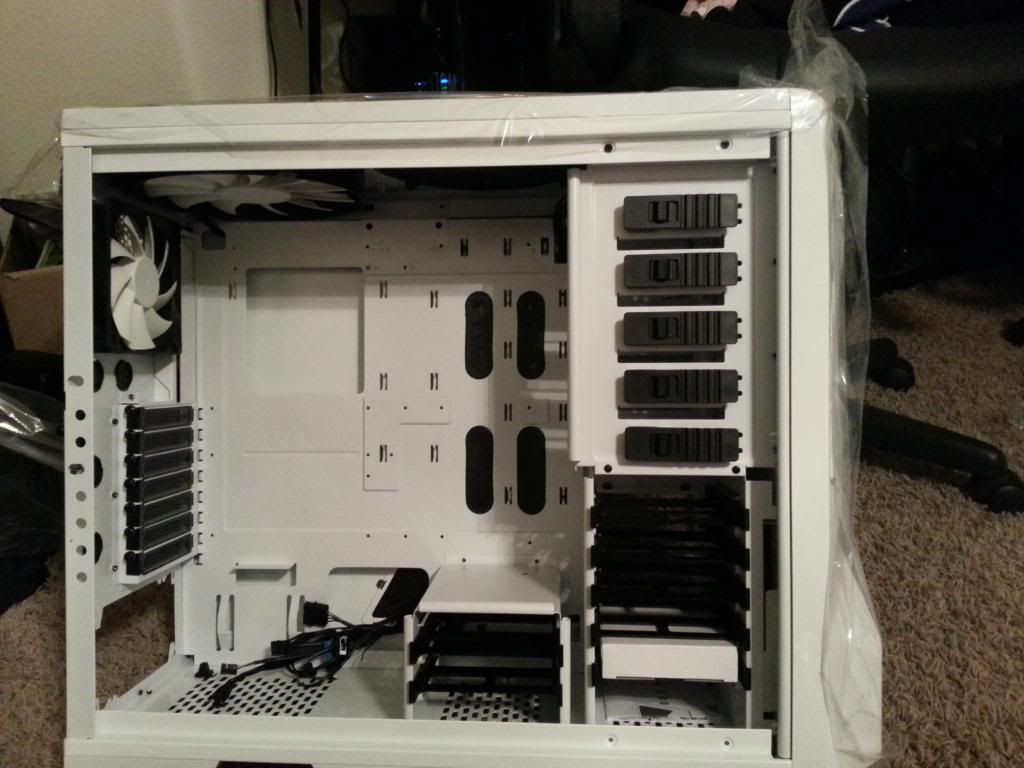
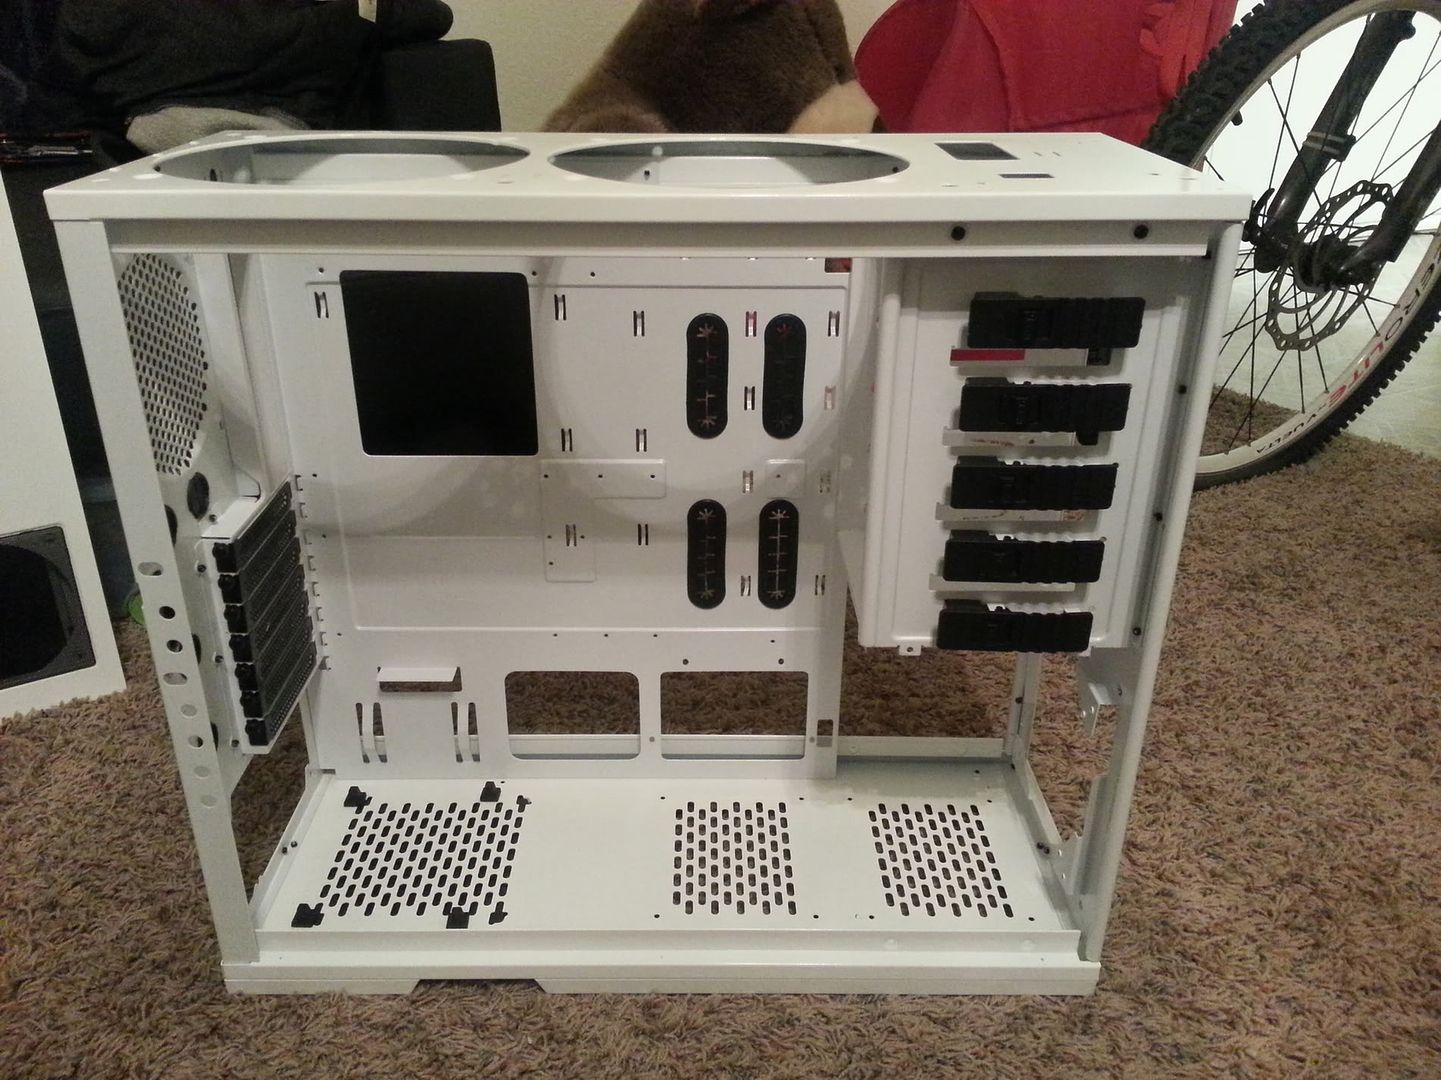
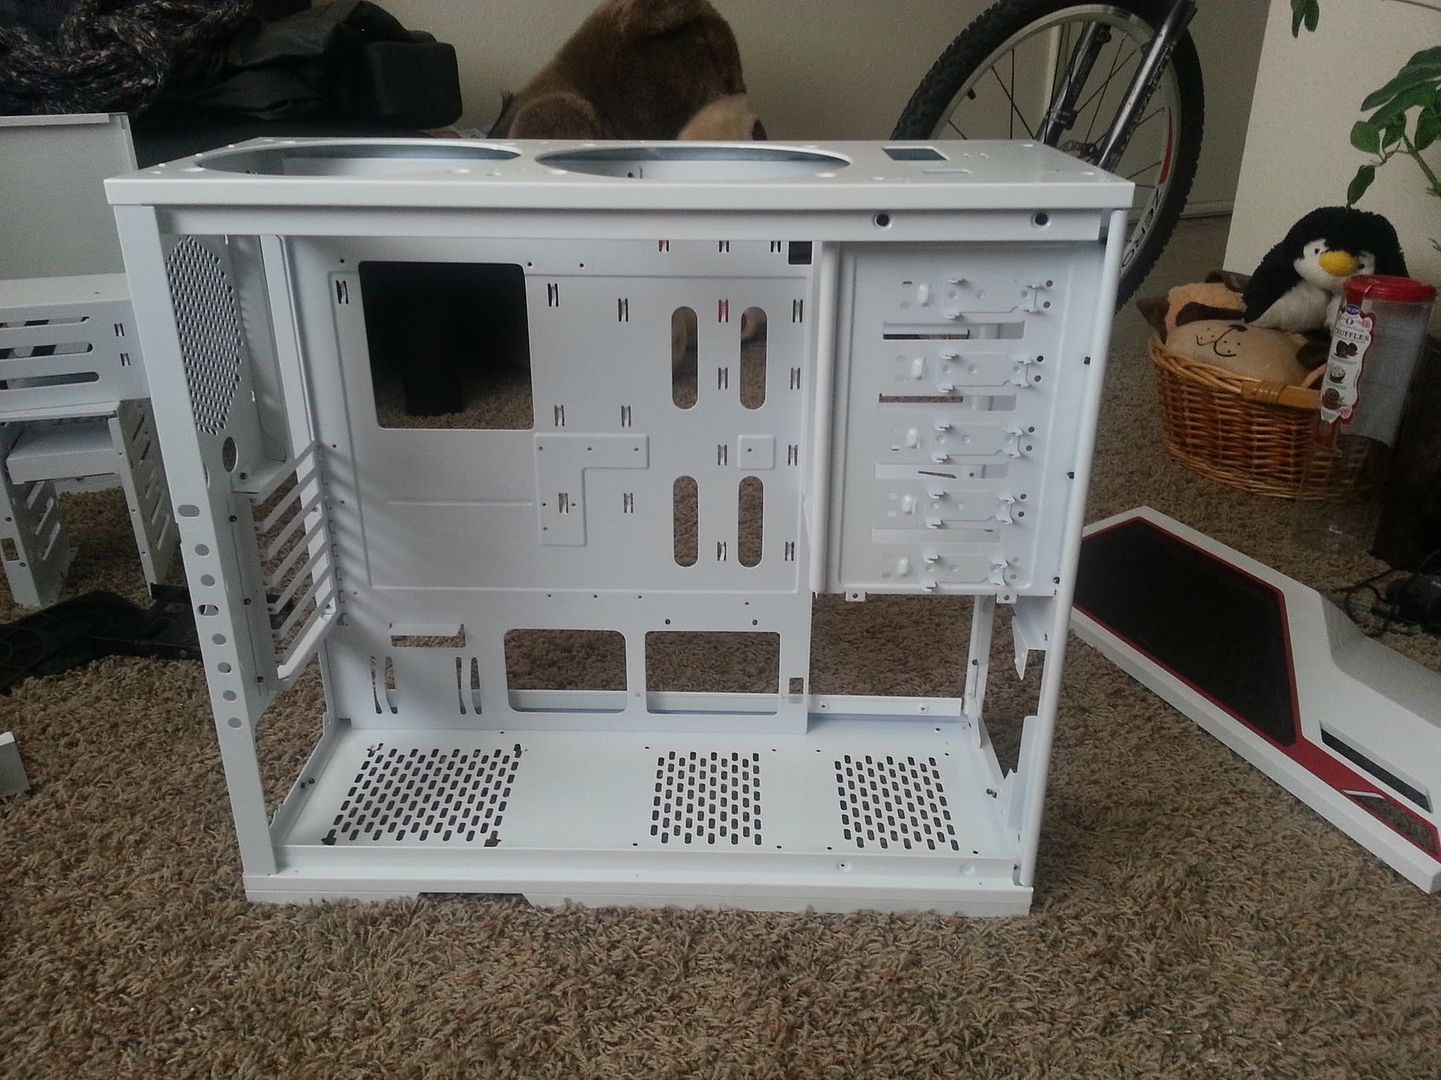
-The above pic was done in MS Paint as a reference point. The plan is to shorten the height by 6" and the length by 3.5".
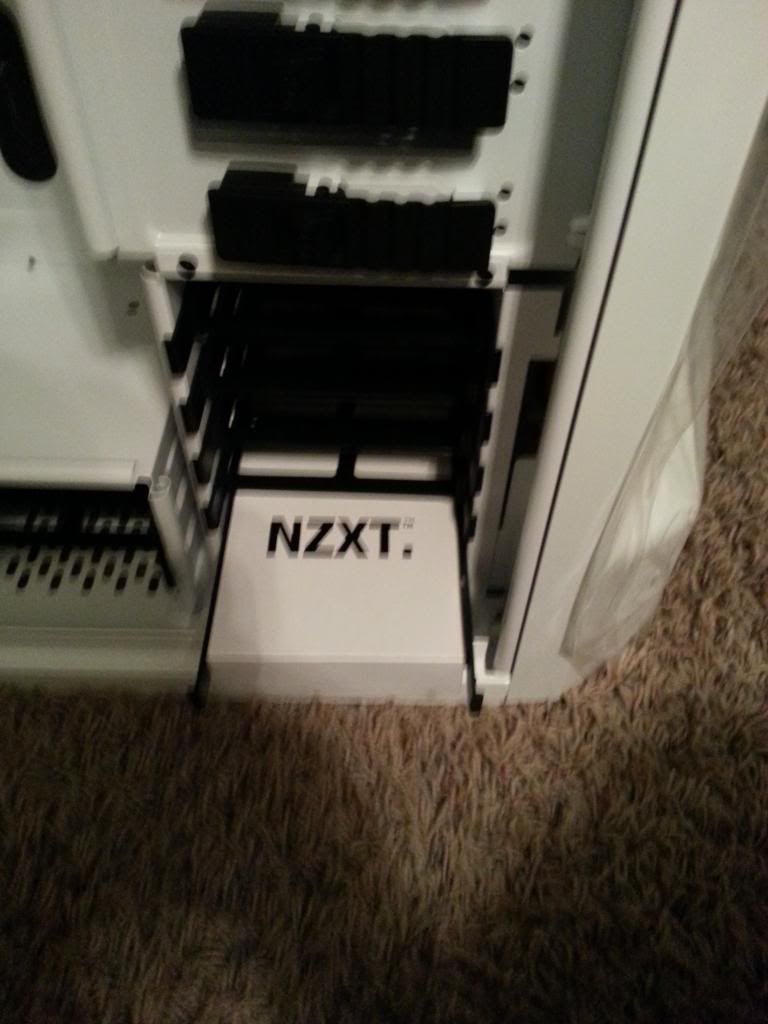
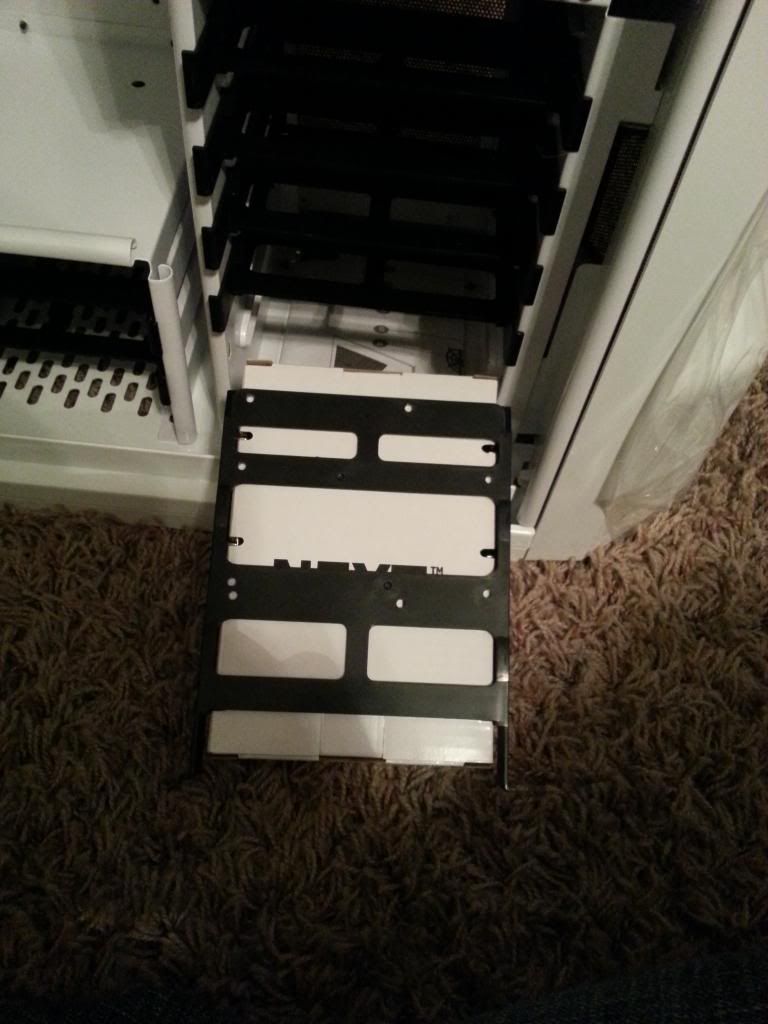
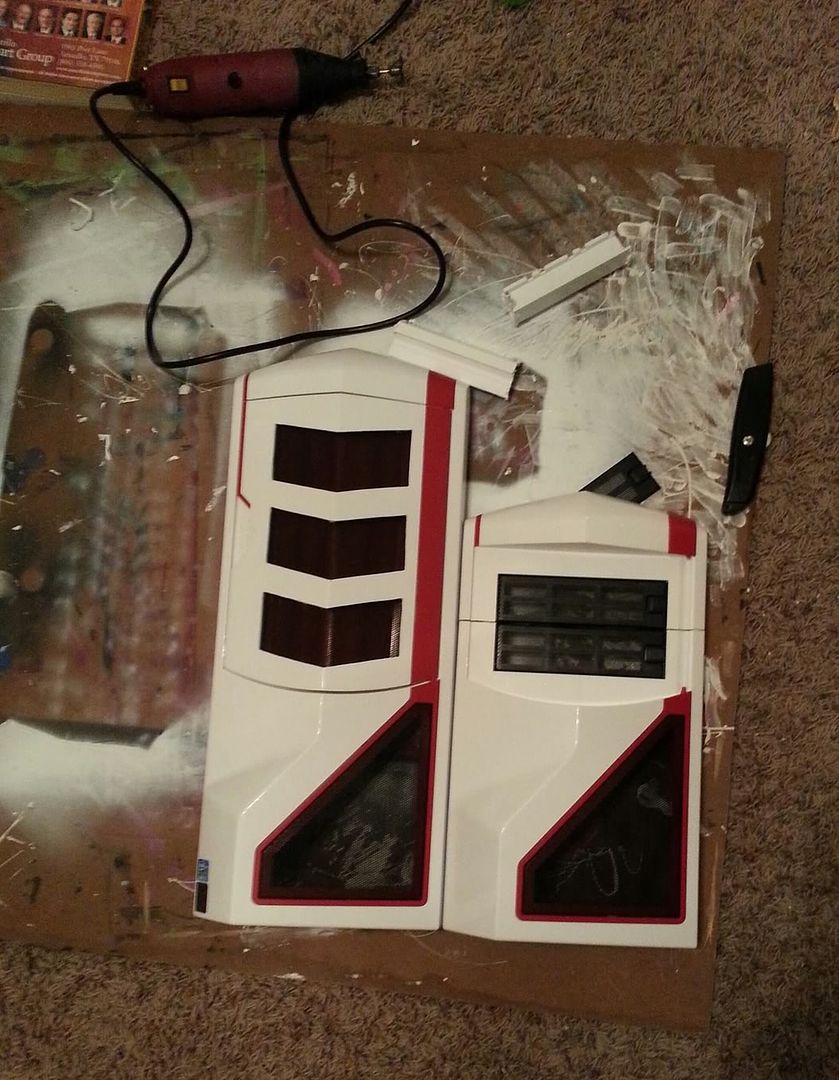
The final will have 2 5.25" bays and 2 3.5" bays
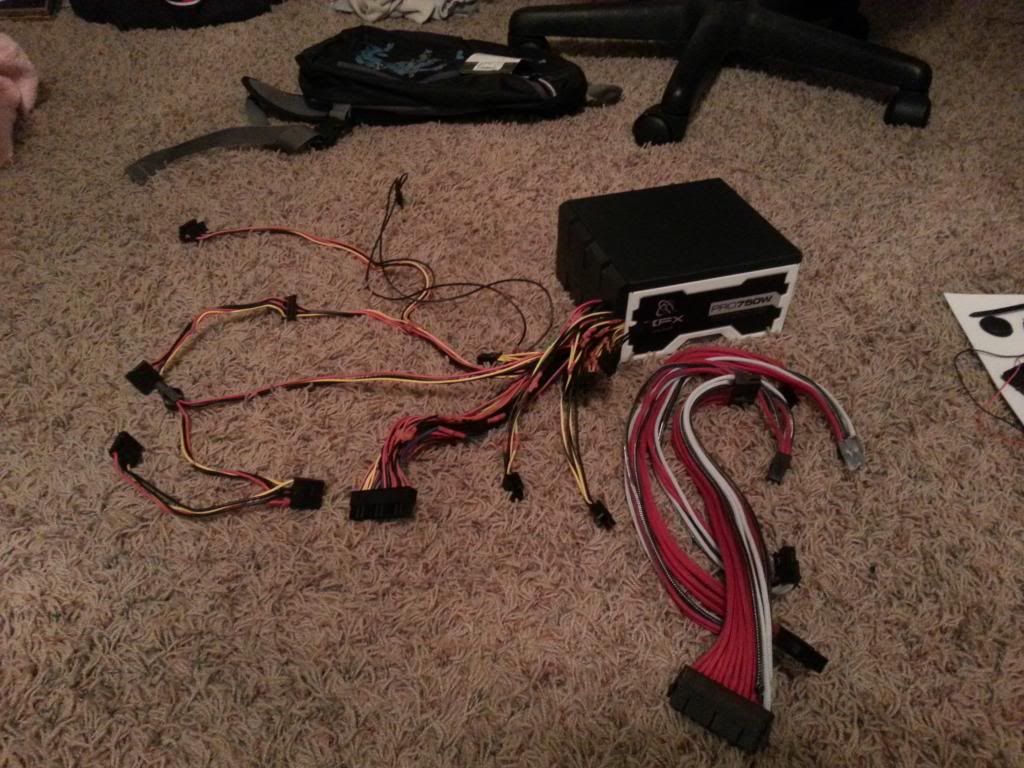
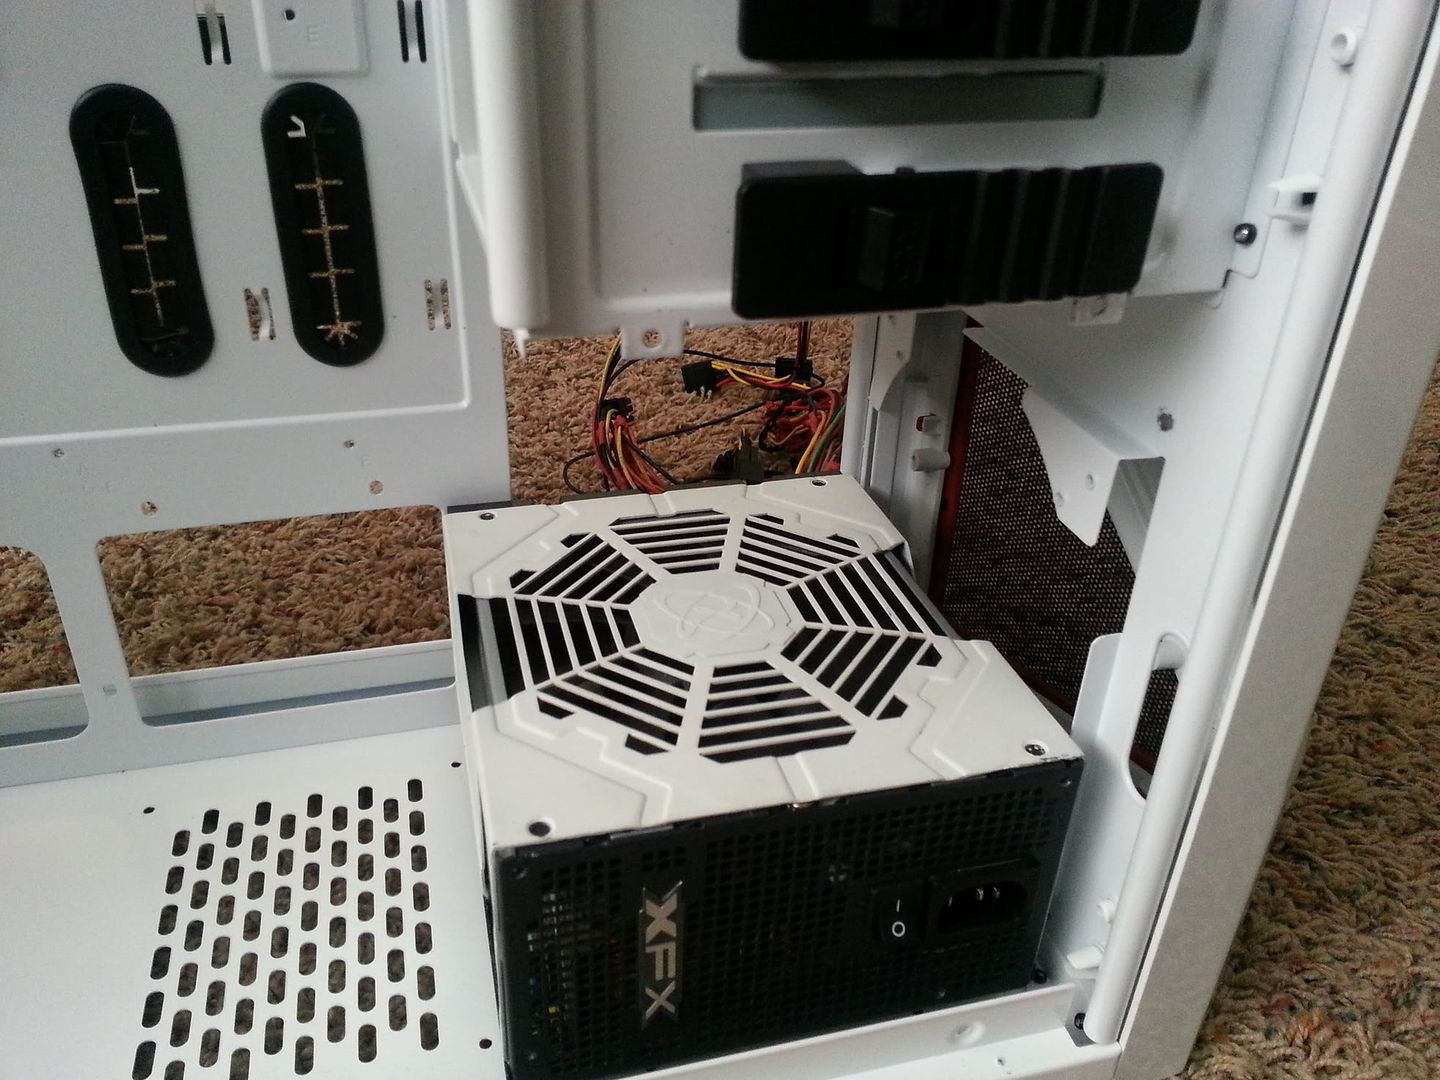
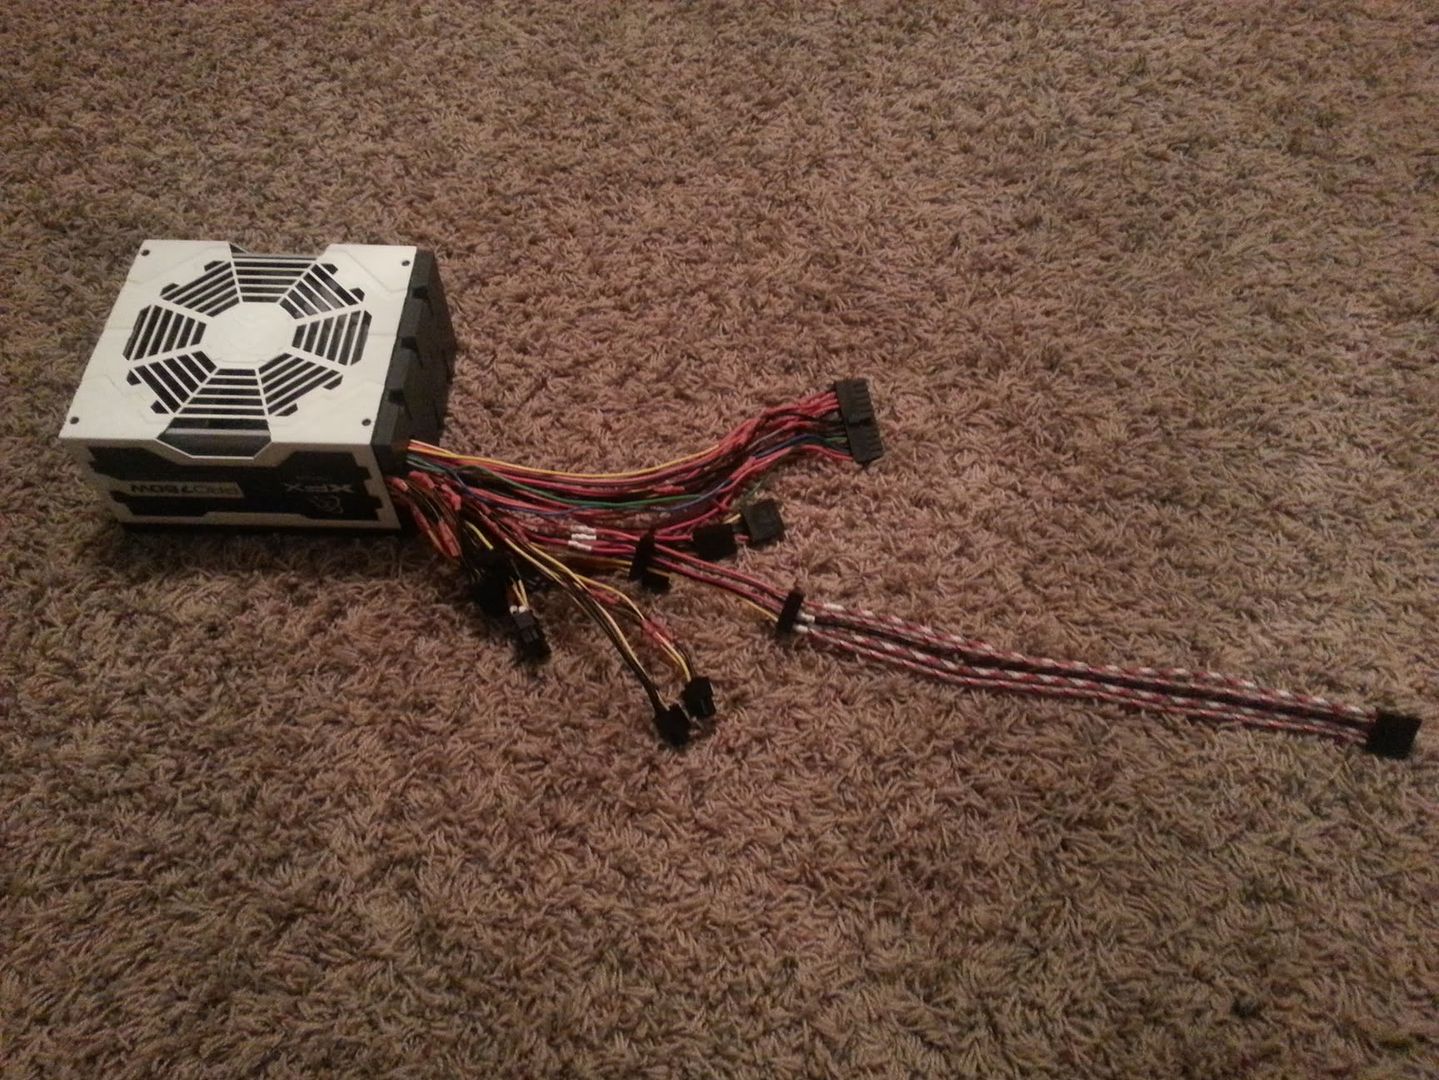
-The power supply will mount sideways in the bottom-front, like in silverstone cases.
-The final will not have a 200mm fan in the top, though it will likely have one in the bottom, similar to my last build.
-Door design is still being decided.
 
New Case!!! This is my third Phantom Full Tower!
027_zpsa5446373.jpg


I got it in white/red for the red LEDs, since I'll be sandblasting and painting it anyway.
029_zps7afbbe26.jpg


I believe this is revision 3.0 for the Phantom, since it has updated drive bay locks. I believe 2.0 only had a revised fan controller PCB and an added USB 3.0 port, since those were the changes my second Phantom had in camparison to the first.
028_zps017f4f36.jpg


It even has a new hardware box. Sorry for the bad focus on the first pic.
031_zps91458d74.jpg

032_zps5de27081.jpg


Here's a pic of my old, jealous Phantom in pieces.
030_zpse185cc50.jpg


Some of the hardware for this build (before I had to send the mobo back for replacement)
010_zpsacac43c0.jpg


A pic of the capacitor I replaced on my Diamond 7970 (front left)
007_zps07447e9a.jpg


And a few pics of my Mad Max PSU. Those extensions won't be used in this build; I'm going to sleeve the PSU as well as build new sleeved extensions. The hole on one side is where the wires used to come out when this was in my previous build. For now I just flipped the metal shroud.
026_zps9b1b560f.jpg

025_zps59e2462d.jpg

024_zps3db3ce6f.jpg


And here's what the Paracord colors look like.
Red_Camo_Paracord__74521134197519612801280_zps43564855.jpg

Thin_Red_Line_Paracord__59290135009866012801280_zpsf8e30bef.jpg
 
Parts List.

case: modified NZXT Phantom Full Tower (ordered)
processor: Intel i7 3820 (owned)
motherboard: Asus Rampage IV Gene (sent back and being replaced)
RAM: TBD, currently Avexir CORE series 4x4 GB 1600mhz (owned)
graphics card: Diamond 7970 reference (owned)
storage: Mushkin Chronos 120 GB SSD for OS, WD Scorpio blue 2.5" 640GB and 250GB for storage (all owned)
power supply: TBD, currently XFX 750w (owned)
CPU block: Swiftech Apogee Drive II (owned)
GPU block: Swiftech Komodo (needed, currently own a Danger Den block)
chipset blocks: XSPC RIVG chipset blocks (needed)
radiators: Swiftech MCR220-QP-RES and Swiftech MCR120-XP (both needed)
pump: Swiftech MCP35X, integrated in the Apogee Drive II
reservoir: integrated in the MCR220-QP-RES 240mm radiator
fans: TBD
fittings: TBD
tubing: TBD
 
My overdue holiday update:

I hope everyone that celebrates had a great Christmas; over the last few days I got my sleeving stuff in and got some stuff done! :D
Here's a shot of all the stuff I got in.
001_zps1f70facf.jpg


I wasted no time building the first cable extension, a 6 pin PCIE.
002_zpsfd3474ba.jpg


I later found this approach rather troublesome, as for some reason the male pins kept getting stuck in the plug. So now I'm building the female end of the plug and sleeving the wires before I start the male end, so I don't waste more pins. But I managed the first cable.
20121227_211431.jpg


After boring out the connectors with a box knife on the first extension, I decided that took too long and didn't have the cleanest finish, so I opted for my trusty $35 35k RPM rotary tool from Harbor Freight for the rest of them.
007_zps25a04eb9.jpg


Quick an easy.
008_zps84a3b55c.jpg


And here's the other tools I used.
009_zps89ae0cbe.jpg

FrozenCPU crimper
Walmart Wire tool
wire cutters
box knives
FrozenCPU atx pin removal tool
scissors
electrical tape

Today I managed finishing the business end of the 8 pin PCIE as well. But I'm tired and burnt out already for the day at sleeving.
010_zpsdf164e16.jpg
 
Another update.
First I took out the 3.5" drives so I could do some test fitting.
20121229_212445.jpg


Unfortunately, the front fan mount protrudes to far inward, moving my PSU back too far. To remedy this, I will cut off the fan mounts and weld them back on flush with the front. There is still plenty of room for a 25mm wide 140mm fan up front.
20121230_121345.jpg


Just another day, working on a power supply...
20121231_205123.jpg


And here's the finished result. If I had the pns and connectors to make the SATA cable detatchable, I would have made a multi SATA extension and left tha cable short. I like short cables for less clutter, and I also decided against sleeving the wires that aren't seen in the build. Too much work when there's so much more to be done for the rest of the build.
20130101_181900.jpg


Now we're getting somewhere... No plastic on the case (except for the feet that I forgot to take off before the pic).
20130101_125017.jpg


Oh snap! Dissassembly complete!
20130101_132630.jpg


ALL RIVETS MUST DIE. (drilled these out with a power drill btw :D)
20130101_132620.jpg


Too bad these won't fit in my build. They were awesome in the last one.
006_zps0171c2f6.jpg


I also have a 25lb box of crushed walnut shells to blast the case. I hope to sandblast the case this week and maybe even start cutting.
 
Sorry for the lack of updates; things are moving slow since I now have another co-project, a model of a '56 Ford F-100 that I'm modding with '07 GT500 running drivetrain and misc parts, as well as some crazy stuff. It's brushing up on my plastic skills so it ties in. Speaking of which, I cut down the front panel today! I needed to do this first to find out how much I can cut the height of the case itself. I can't cut the top panel yet though because the length change is dependant on clearance inside the case, which I still need to do.

Here it is after I cut it down. I used my rotary tool for the preliminary cuts, then a box blade for the closer cuts, and finally sandpaper to fine tune it before I glued it together. You can see the significant height difference. It's 5.125" shorter.
20130109_190707-1.jpg


Here it is with glue on it, tape to hold it in place while the glue dries.
20130109_203940.jpg
 
i'm really curious to see how this turns out. Wood and metal are one thing but plastic is a whole different thing. But i'm sure you got an ace up your sleeve. Keep up the good work! :)
 
Back
Top