You are using an out of date browser. It may not display this or other websites correctly.
You should upgrade or use an alternative browser.
You should upgrade or use an alternative browser.
Zombie Mods - The Pockit Rockit
- Thread starter AlienALX
- Start date

AlienALX
Well-known member
Opinions wanted...
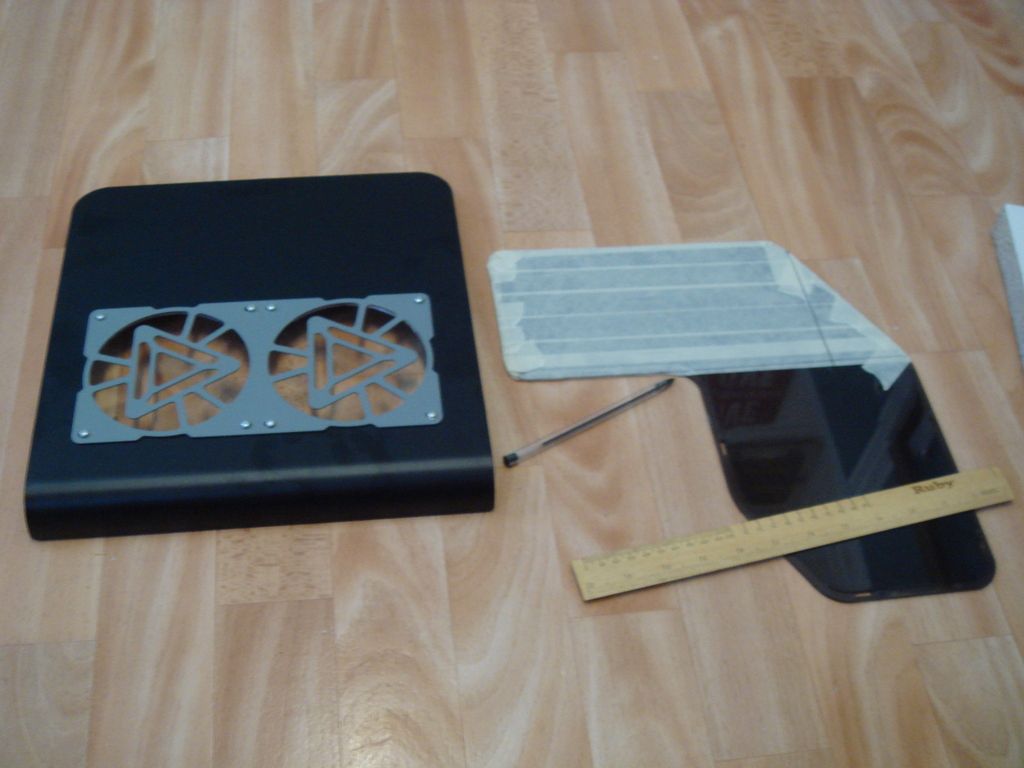
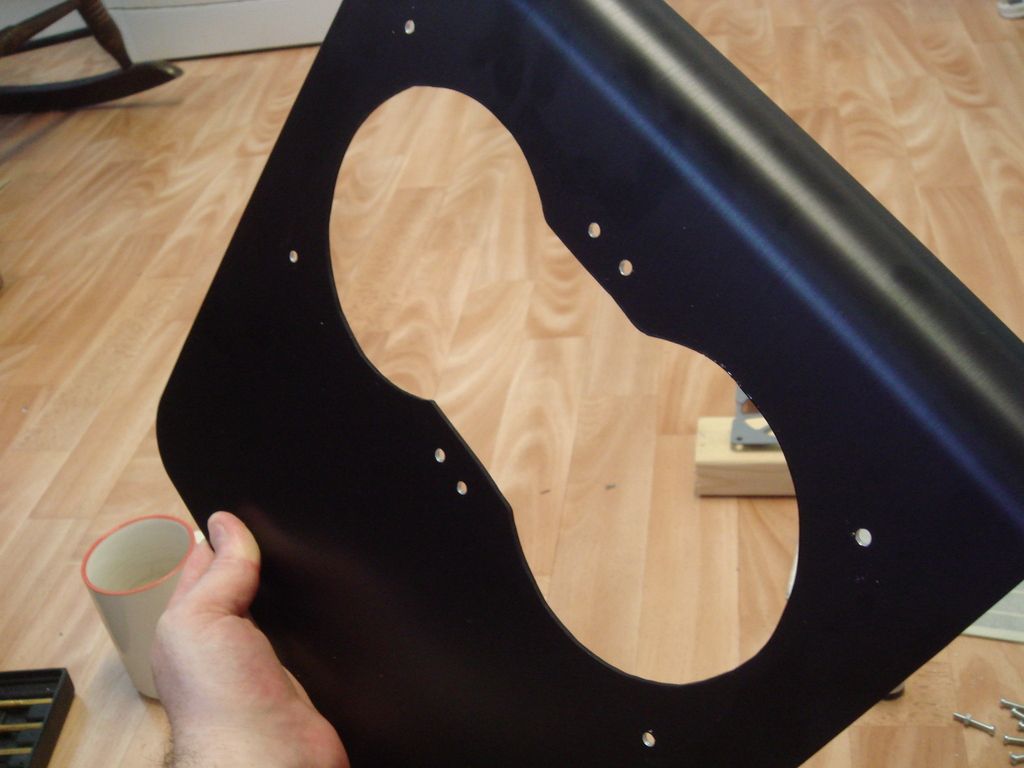
OK so the side vent thing. Do I vent it using the mesh I bought, or, do I slap a piece of smoked acrylic on the back side of it making it a window?
See, here's my reasons why I'm tempted. Basically the bottom fans are going to be loaded into the enclosure giving it awesome airflow. They will act pretty much as the Silverstones do in my Raven, forcing all hot air up and out of the exhaust.
So do I compromise that by having a big open hole, or, turn that into a focal point and slap in some acrylic and put some LEDs inside to show off the Titan Black?
Opinions fellas please. I think I even have a piece that is large enough to be fitted in there. Also bear in mind; I have decided to paint the raw edges where the hole was cut. I'm gonna pop around to the model shop around the corner tomorrow and get some paint.
AlienALX
Well-known member
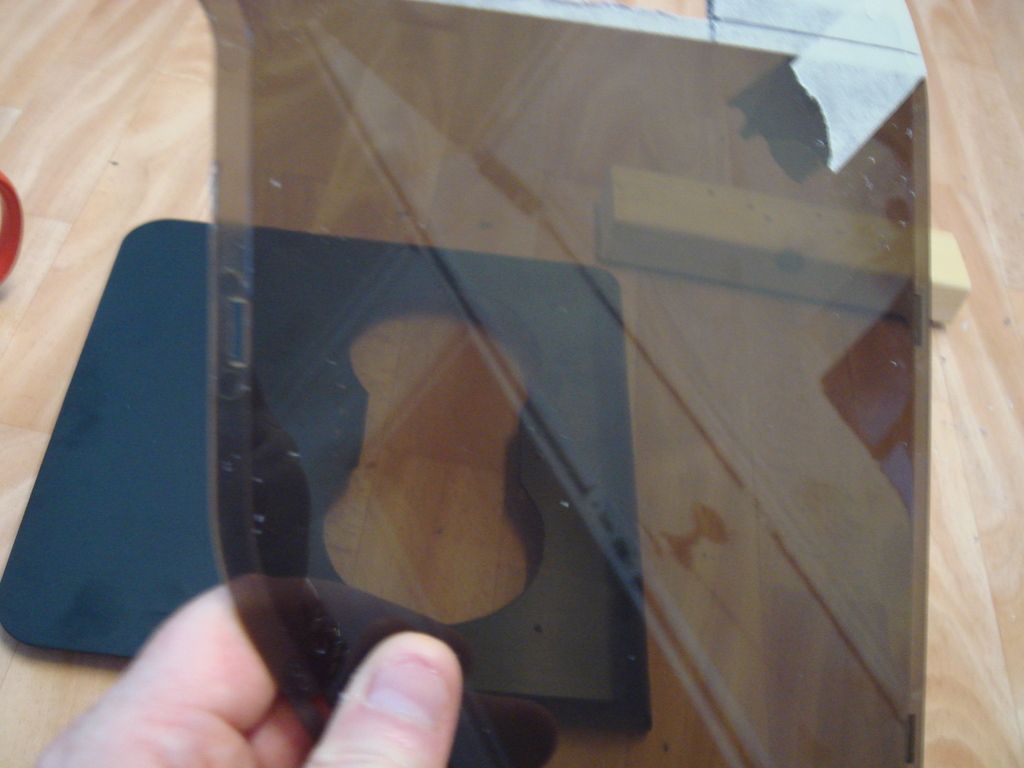
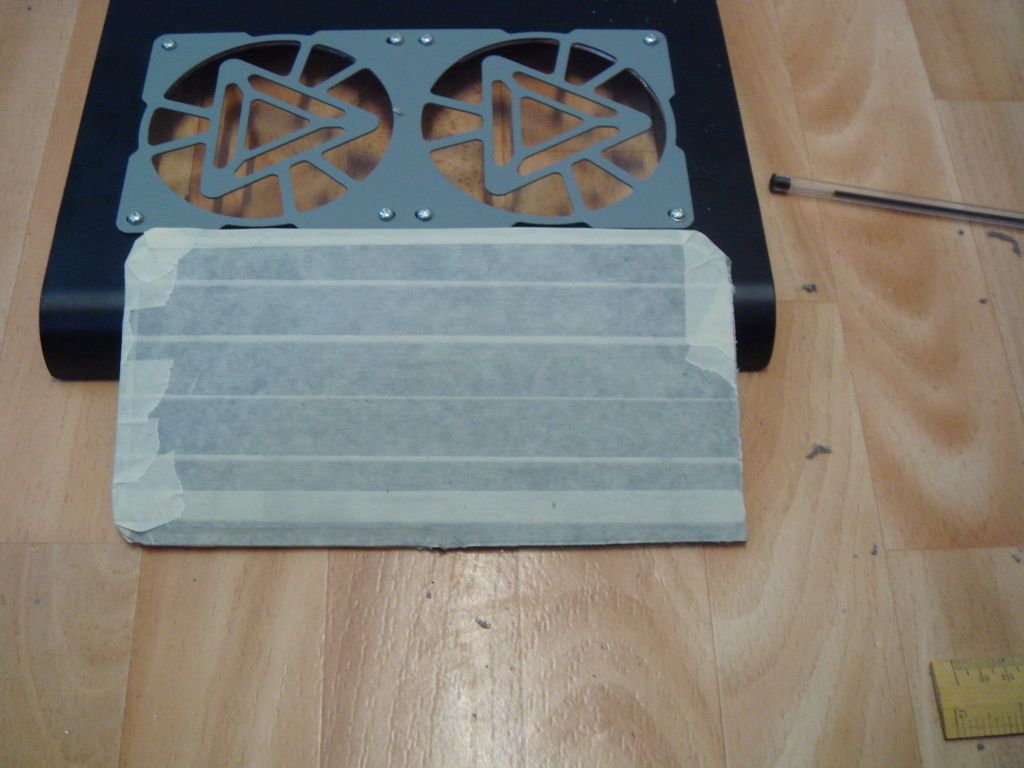
OK so I decided on a window. First up I had an old scrap piece lying around so let's mask it ready for work.
This is it here. Got a nice smoked look.
OK so cut.
Mark holes.
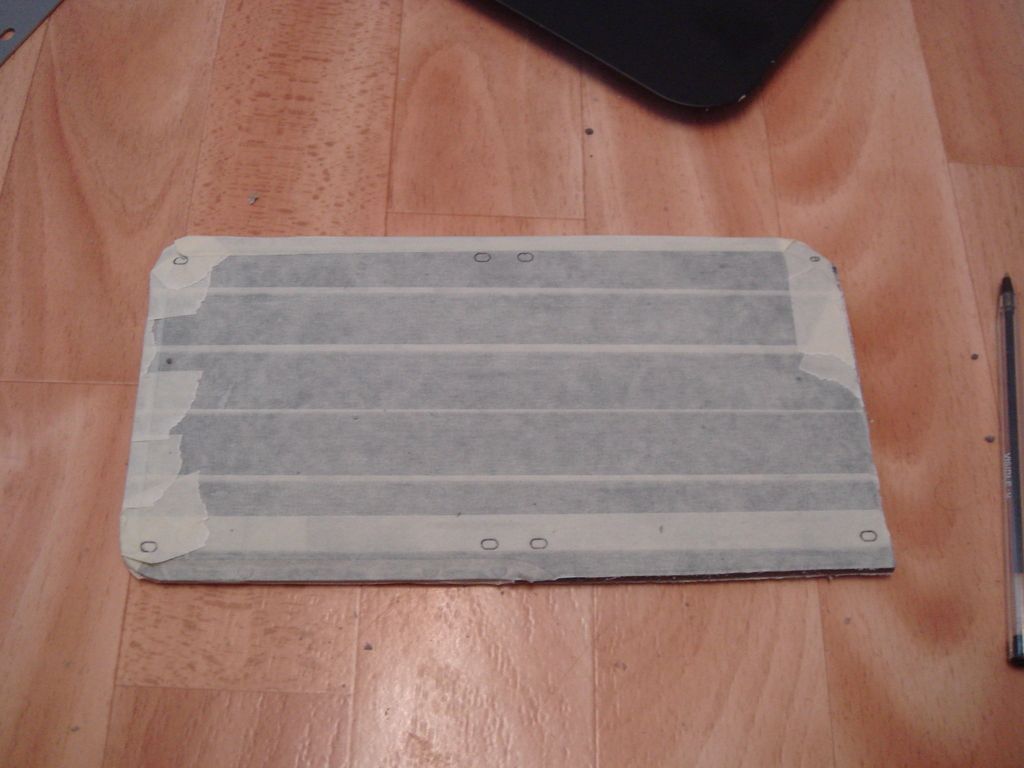
Drill holes.
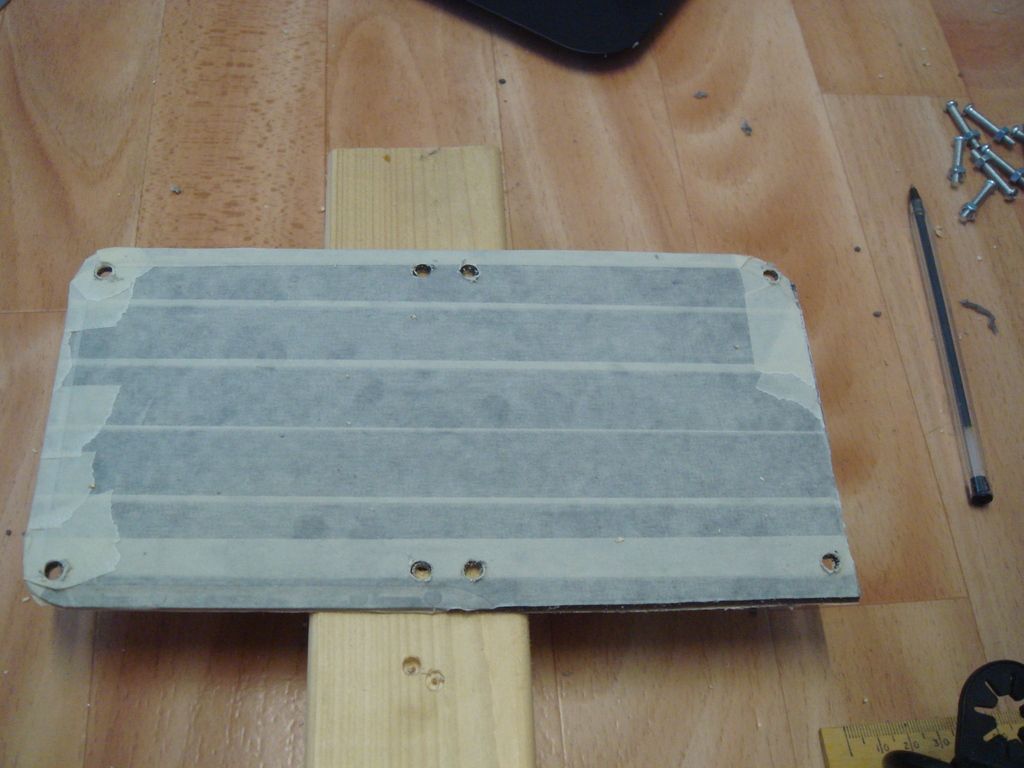
Round off square corner.
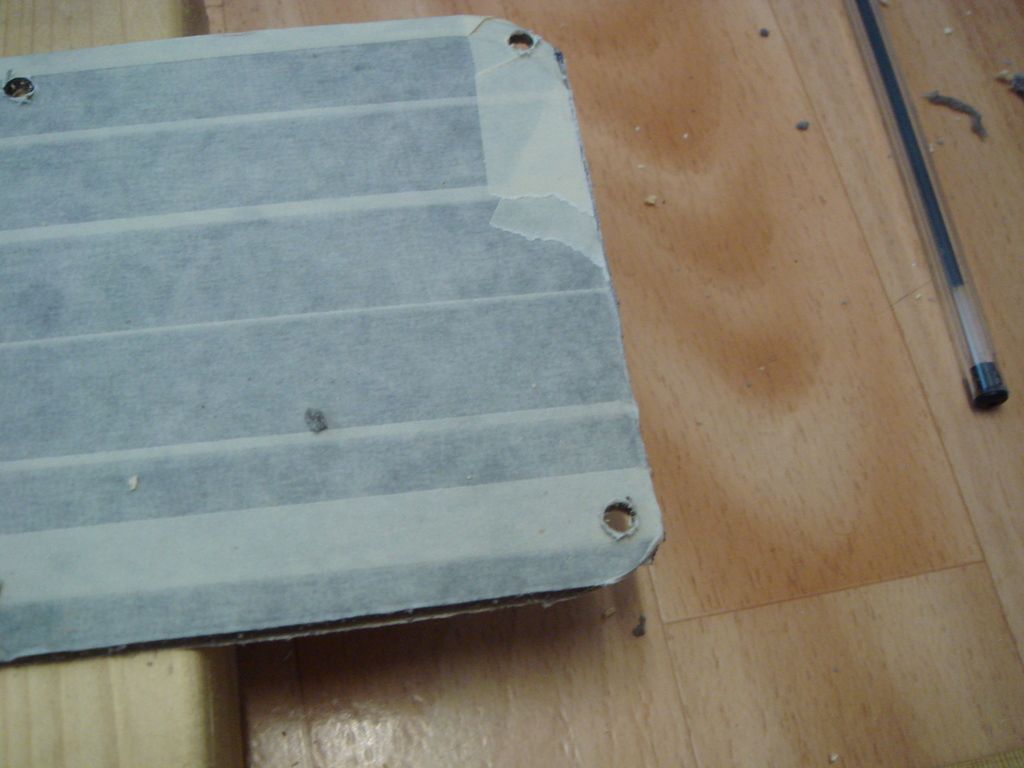
Test fit.
Ugly silver edging.

Cue this.
And paint.

And a short while later.
So now when you look through if you look up down or sideways you see a nice painted edge. I have to give it another coat later but it looks 100% better like that.
Tomorrow I will be painting the grill itself and getting that bit all buttoned up and finished")

This is it here. Got a nice smoked look.

OK so cut.

Mark holes.

Drill holes.

Round off square corner.

Test fit.

Ugly silver edging.

Cue this.

And paint.

And a short while later.

So now when you look through if you look up down or sideways you see a nice painted edge. I have to give it another coat later but it looks 100% better like that.
Tomorrow I will be painting the grill itself and getting that bit all buttoned up and finished
AlienALX
Well-known member
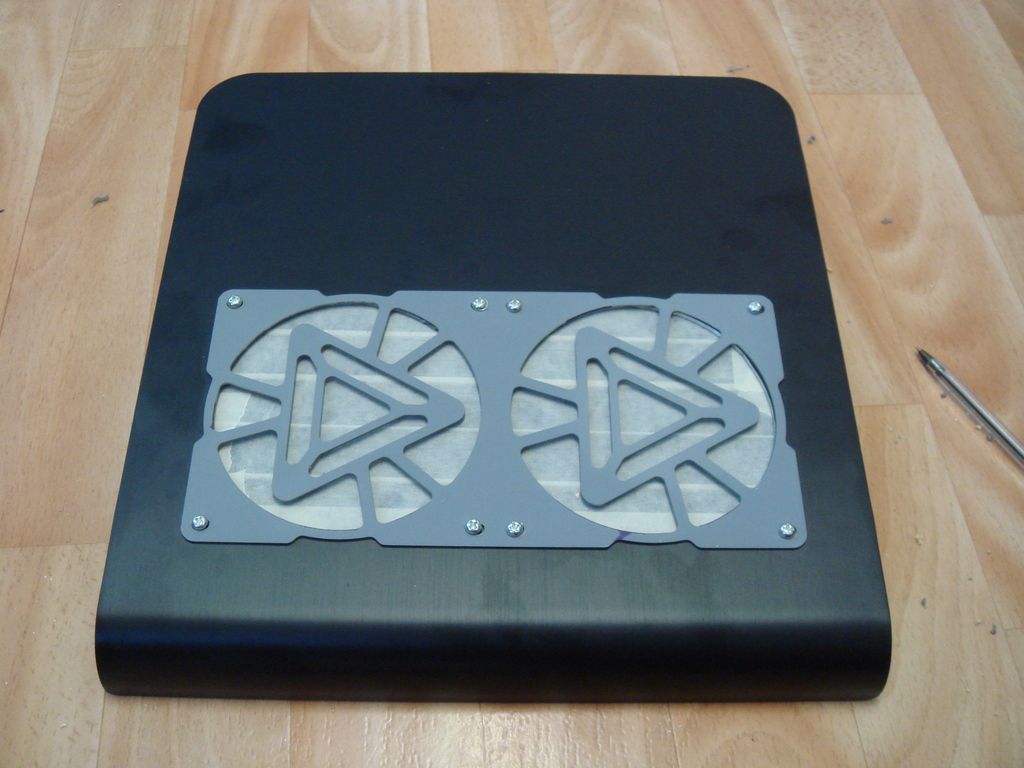
Right that's the grill painted.
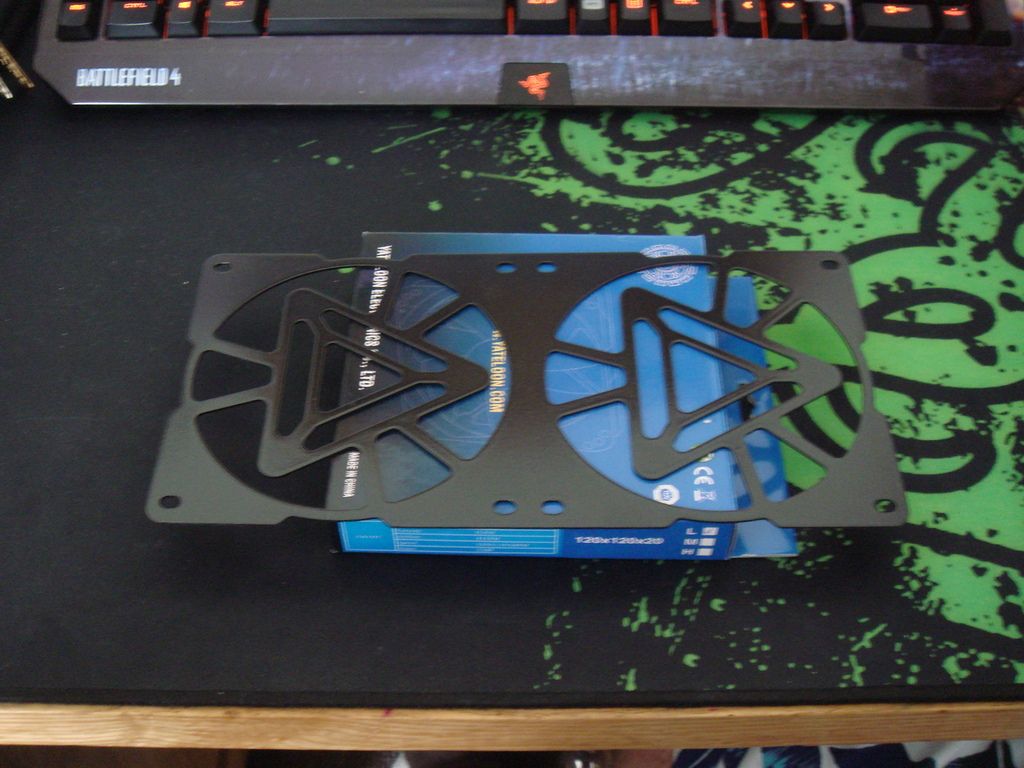
And temp fitted.
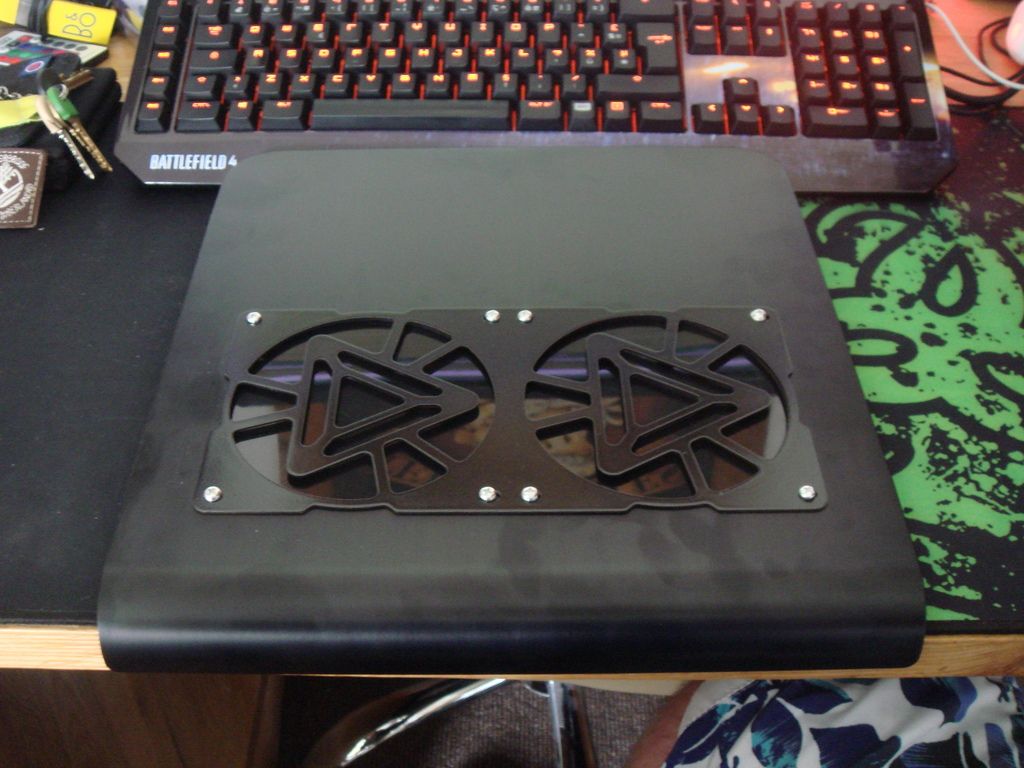
Couple of notes.
It's filthy and really needs to be cleaned.
The screw heads are to be painted black.
Other than that it's almost finished now.
Oh yeah, and the Yates came.

But sadly the green paint got stopped at the post office so the seller has sent another one out.

And temp fitted.

Couple of notes.
It's filthy and really needs to be cleaned.
The screw heads are to be painted black.
Other than that it's almost finished now.
Oh yeah, and the Yates came.

But sadly the green paint got stopped at the post office so the seller has sent another one out.
AlienALX
Well-known member
Screw head japes...
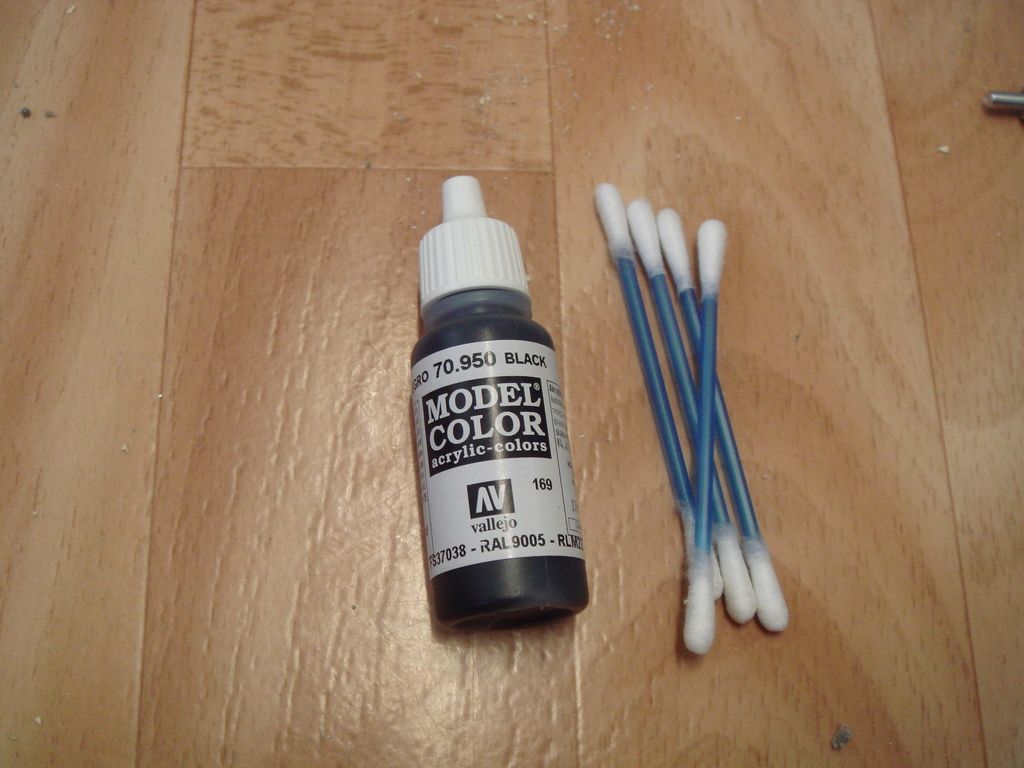
Basically I have been using Smoothrite spray paint that seems to be very heavily oil based and takes 24 hours before it stops being sticky. That means that I can only really put down a meaningful coat every day which has slowed me greatly. Can't say I'm enamoured with it but it has put a nice coat on the grill. The screw heads however? well even after three coats you could still see the primer coming through.

And after one coat of model paint using a cotton bud (Q tip to you yanks)
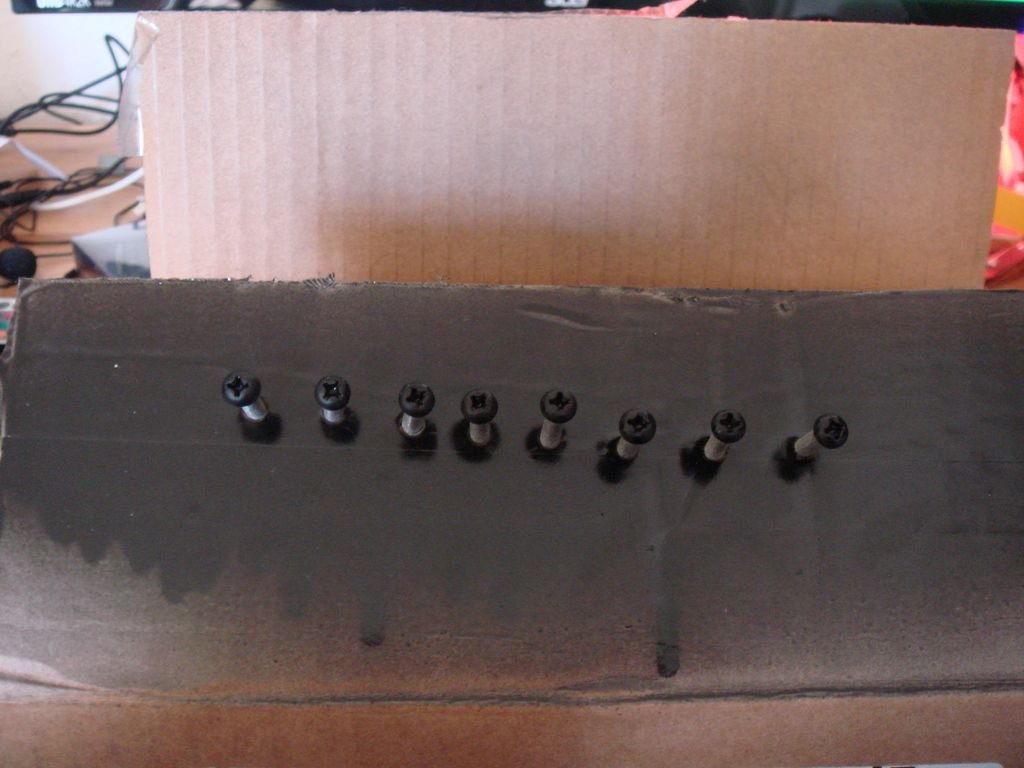
Normally I would not become so caught up in tiny little details like this but I want it to be right.


AlienALX
Well-known member
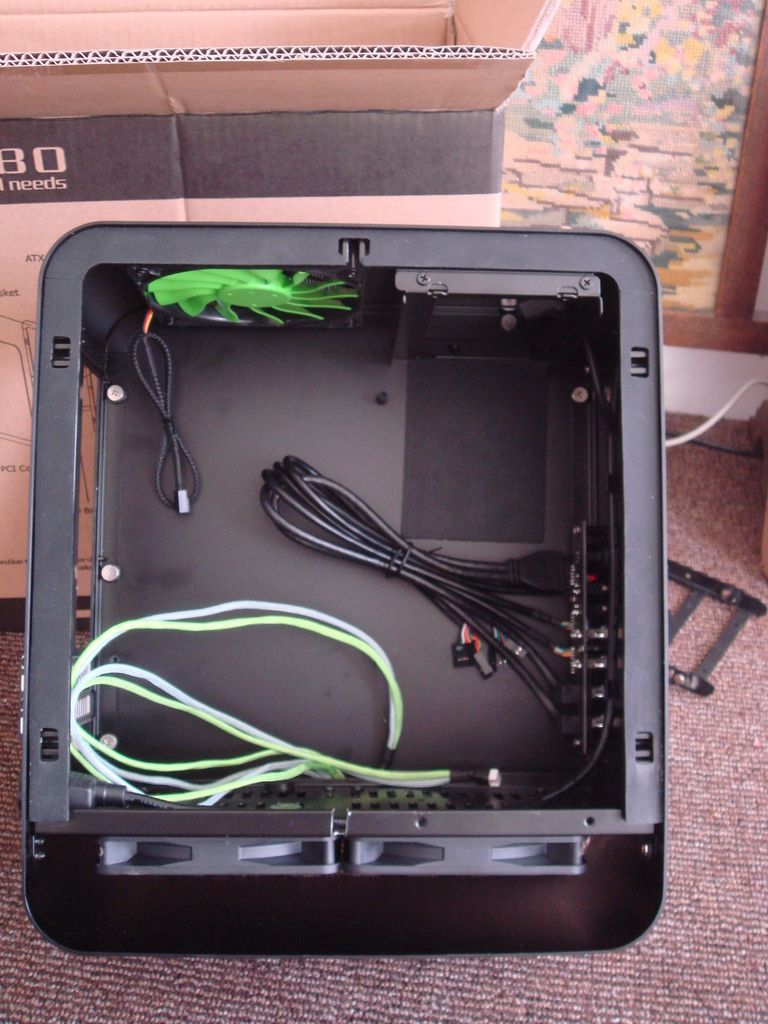
Update. Now that the side was finished I can concentrate my efforts on the rest. So today I took the floor of the case that I removed at the start and test fitted the two intake fans to it.

And the other side, still masked.
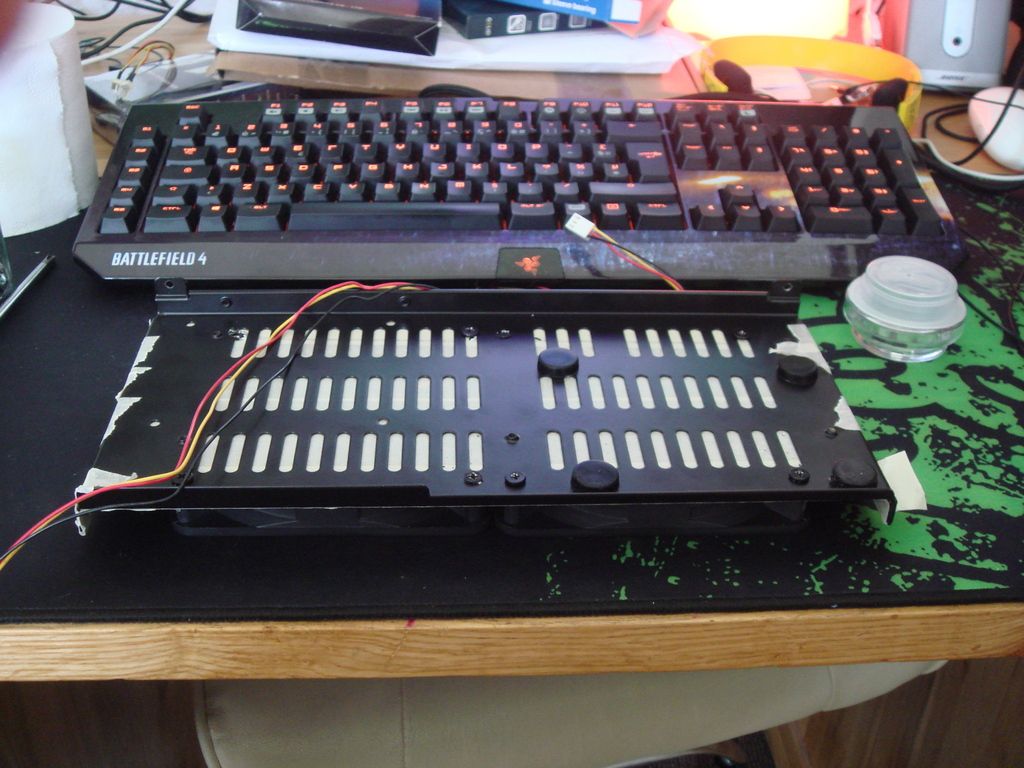
Then braided the fans. I decided on light green and silver grey.
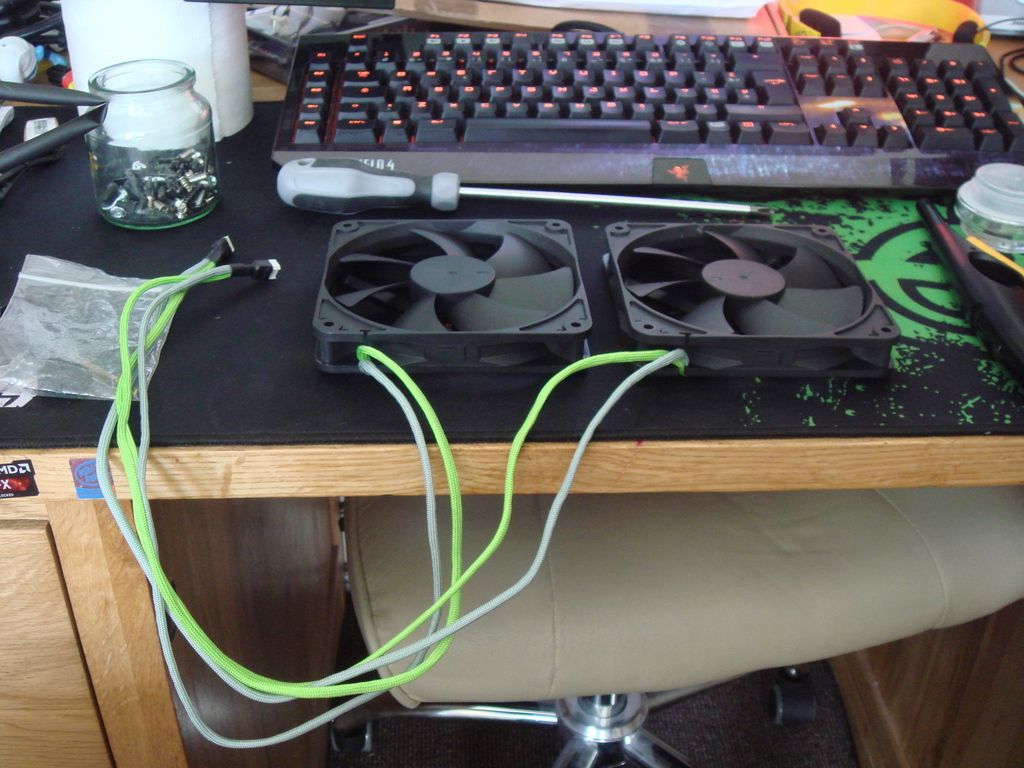
Then cut a notch so the wires can come into the case.
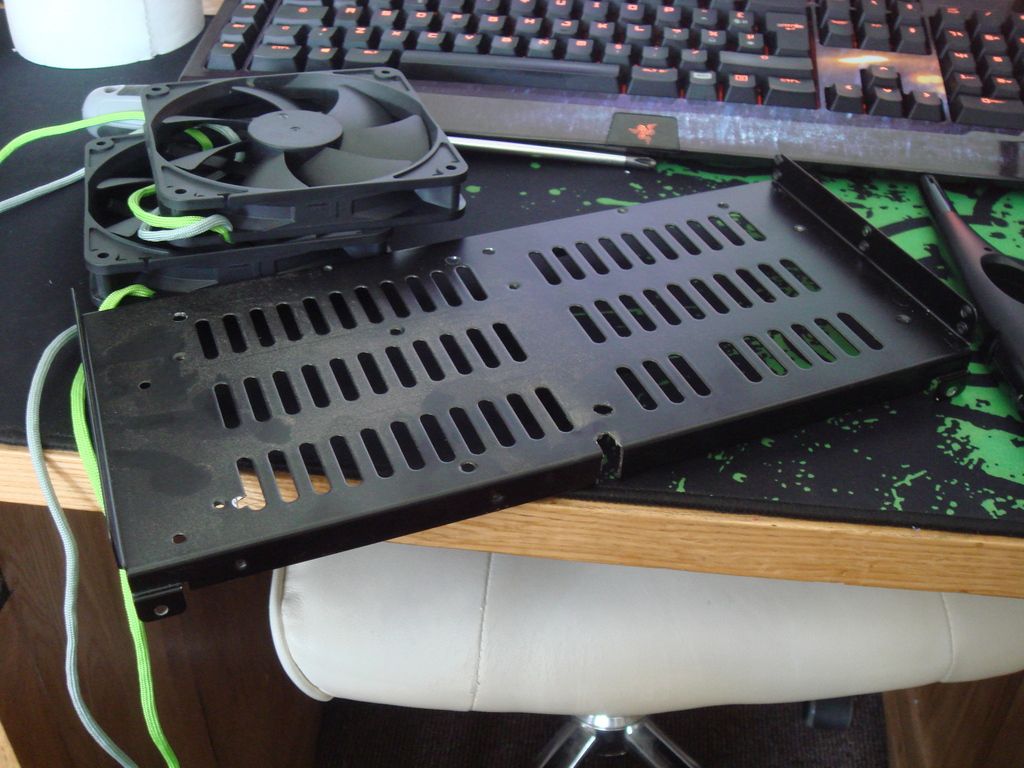
Clean and assemble.
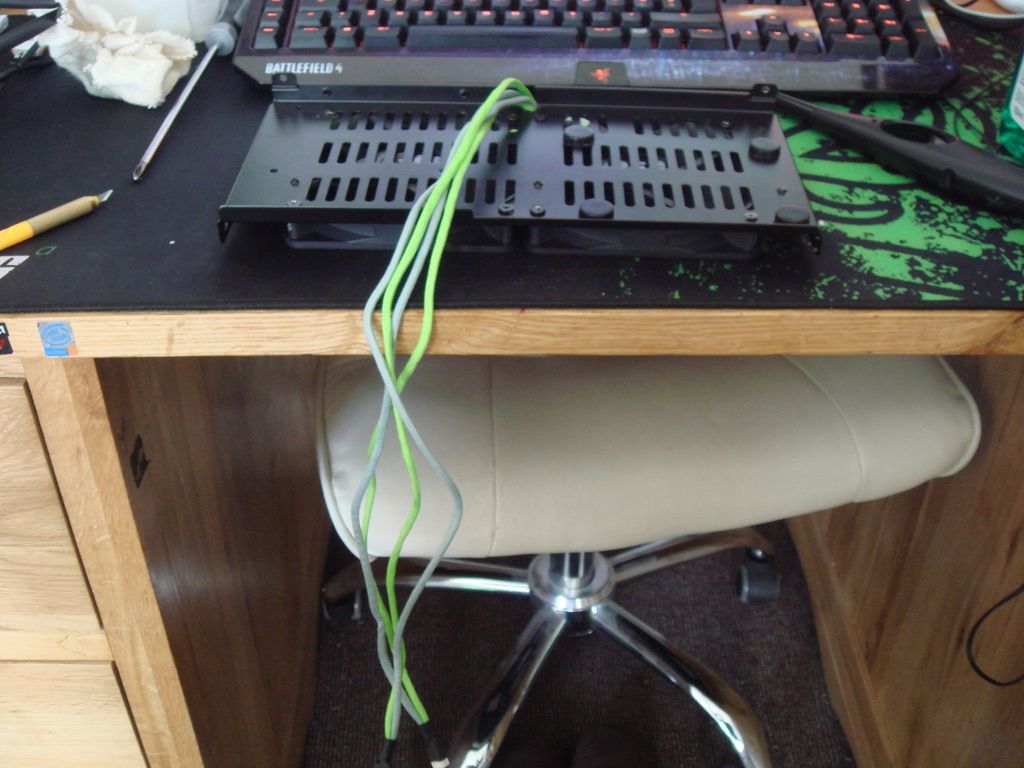
And the other side.
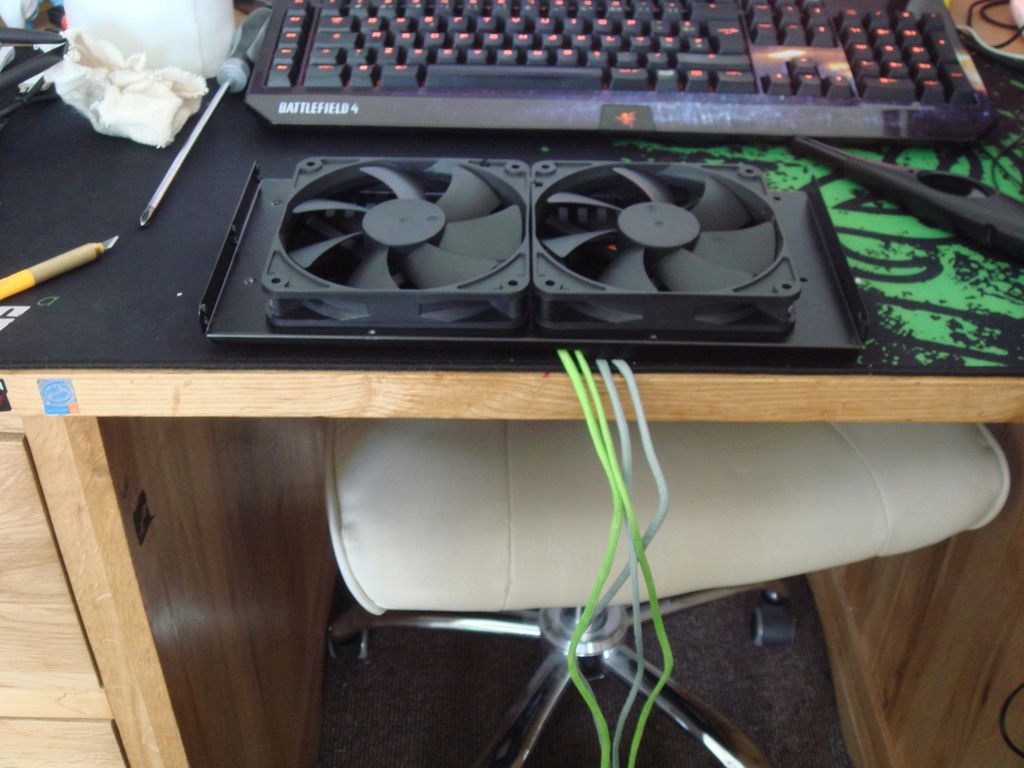
In case you have forgotten how the case works here is a shot of it assembled, and I've pointed to where they go.

So now I have something similar to Silverstone's rotated cases with pure intake at the bottom. I know the GPU will block a lot of the air but it's the GPU I am concerned about temp wise in such a small box.
As for the fans? well I have ordered one of these. This will be the main connector for all of the fans I connect.
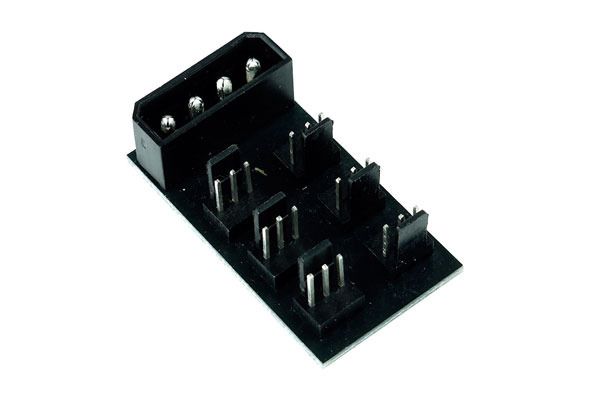
I will most likely fit a 7 volt resistor to the 12v molex line that feeds it. I used one in X8 White Lightning and it worked brilliantly, allowing me to do a nice job of the fan wires.
")
AlienALX
Well-known member
And it was time to put the case back together.
I made a bit of a booboo, though. The relief hole I cut was in the wrong side and it turns out it didn't need one. Stupid = me. However along that part there are a couple of ugly screw holes I want nothing to do with so I am going to cut a piece of acrylic and cover the side up. Any way, here she is all put back together. In my old age I very, very rarely ever get excited over PC hardware any more but I must say I'm very happy with how this turned out.
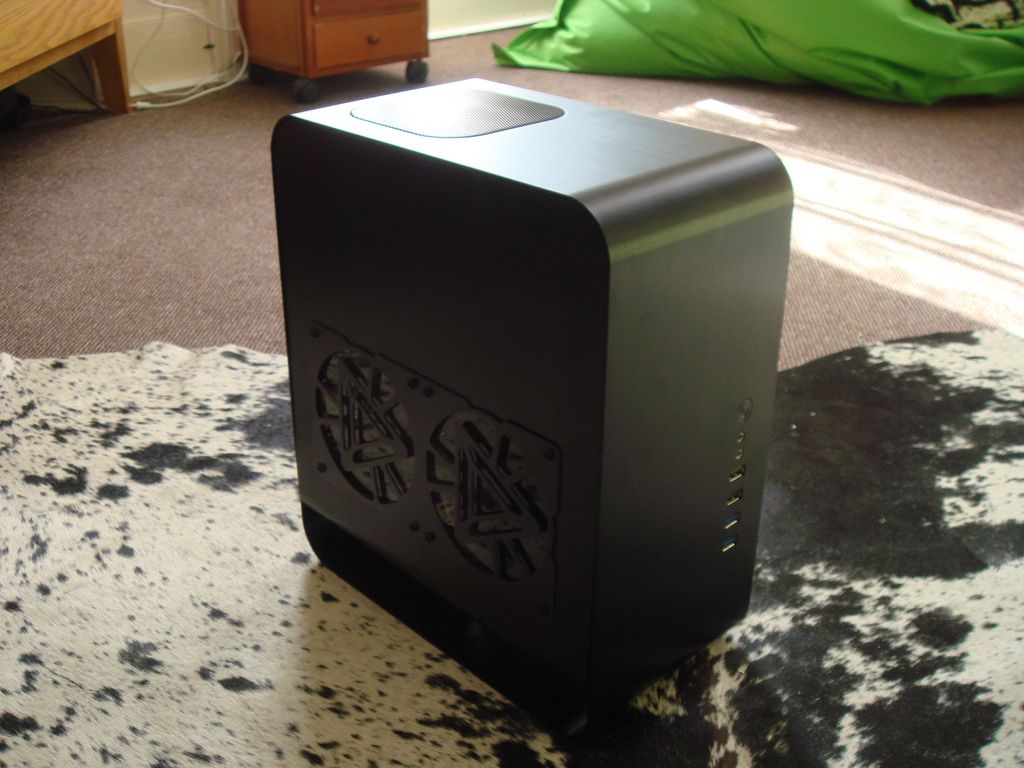
The case is pretty much done now other than the cover I need to make and the hard drive rack I want. The case comes with two mounts for drives but I want two on the floor so I am going to make an acrylic floor panel with vents in to allow the air to the drives.
I am sending the cables away tomorrow to a company who are going to be braiding the entire PSU end to end.
Then it's pretty much just building the thing and she will be ready to game on
AlienALX
Well-known member
very clean thus far. I do like Aluminum cases. They have a certain air of 'business' about them.
Yeah this one is absolutely flawless mate tbh. It's so solid, literally twice as thick as a Lian Li.
Only issue I see now is getting it all in there. The cables are going to be quite messy no matter what I do, but at least they'll look nice so I will try and make them a feature rather than trying to hide them which would be impossible.
I've got a few covers to make now whilst the cables are away. I need a strip to cover that cut out, PSU cover and two HDD covers, one for the SSD one for the mechanical.
Going to stick to Titan colours, so silver grey green and black. I'm hoping the GEFORCE logo shows well through the window.
Then once it's all built I need to find one of them carry on suitcases that can hold it, so I can take it out with me. I stay with my mother for weekends quite often so it would be nice to be able to cart it there with me.
Very happy with it though. Took a while to find the right case but this one is spot on size wise
barnsley
born in a.....
Yeah this one is absolutely flawless mate tbh. It's so solid, literally twice as thick as a Lian Li.
Yeah,Lian Li stuff is very well made but they never seem to be as thick as you'd expect. I believe my inwin aluminium case is about as thick too. I do like the black more though, I imagine it isn't a finger print and dust magnet in the same way my case is.
AlienALX
Well-known member
Yeah,Lian Li stuff is very well made but they never seem to be as thick as you'd expect. I believe my inwin aluminium case is about as thick too. I do like the black more though, I imagine it isn't a finger print and dust magnet in the same way my case is.
Yeah it's a pig I gotta say.
Thankfully I always have a bottle of Windolene close by
AlienALX
Well-known member
Just testing to make sure everything fits. Cue moment of utter panic when I couldn't get the GPU in and realised the PSU must be removed for it to fit. Phew ! I thought I had wasted £600 !!!
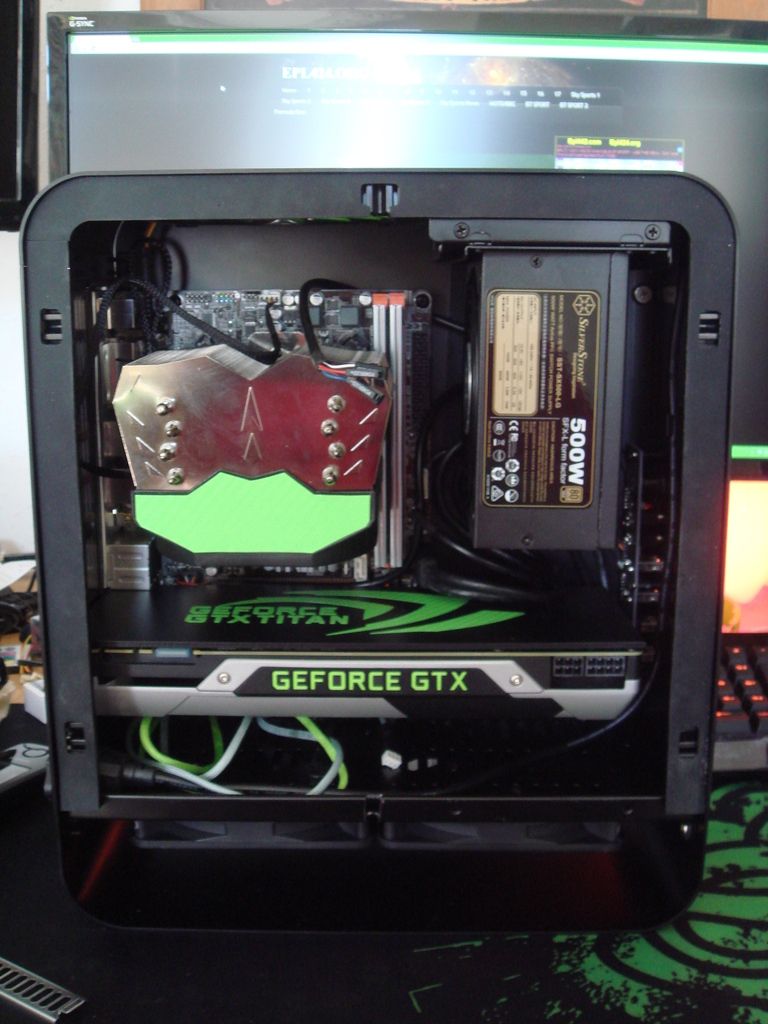
Next up I need to make a stand for two 2.5" drives to go in the bottom and make the cover panels for the rest. Can't believe the cooler actually fits in there !

Next up I need to make a stand for two 2.5" drives to go in the bottom and make the cover panels for the rest. Can't believe the cooler actually fits in there !


AlienALX
Well-known member
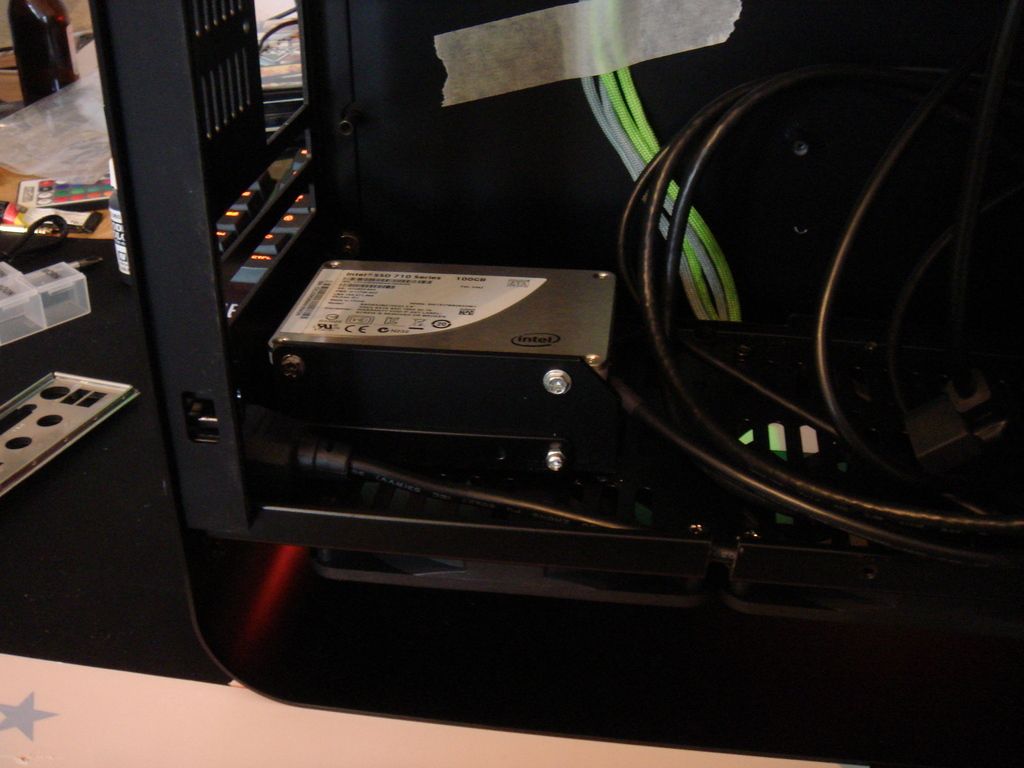
OK so today I got more done. First of all here is the hard drive mount that holds the two 2.5" drives. It originally only held one, but I made some plates from acrylic.
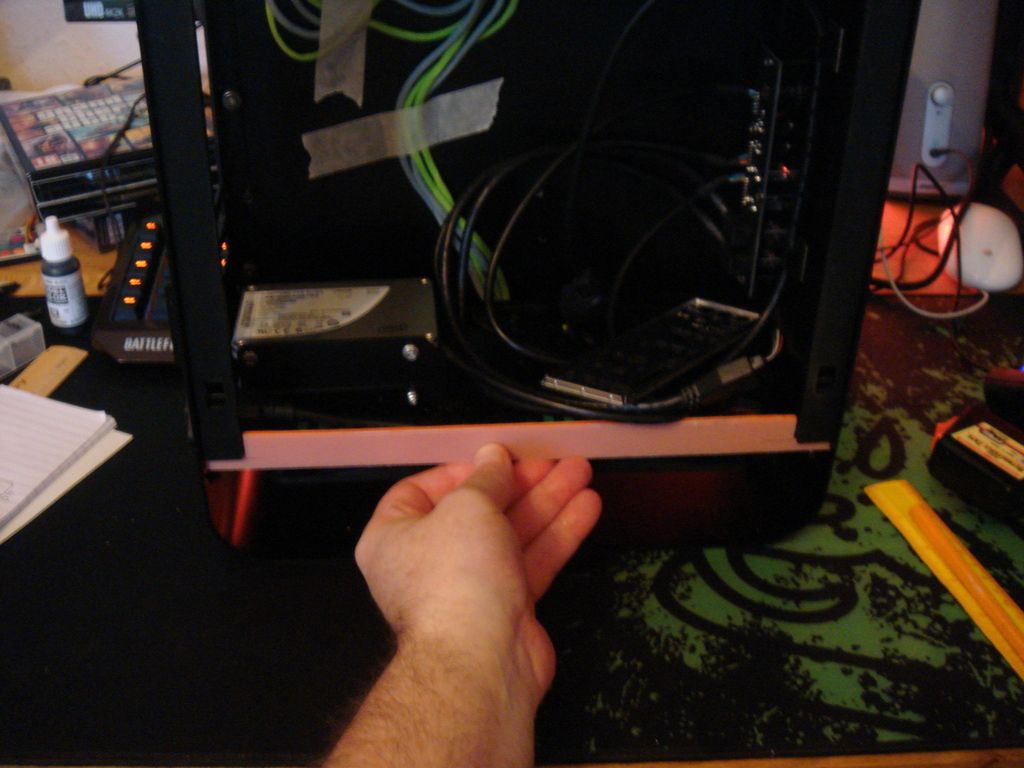
I will obviously be painting the screw heads in black. OK so next up I needed two cover panels for the rig. One is to cover where I accidentally cut out for cable relief, the other is a general cover panel which will hide all of the messy wiring. So mark.
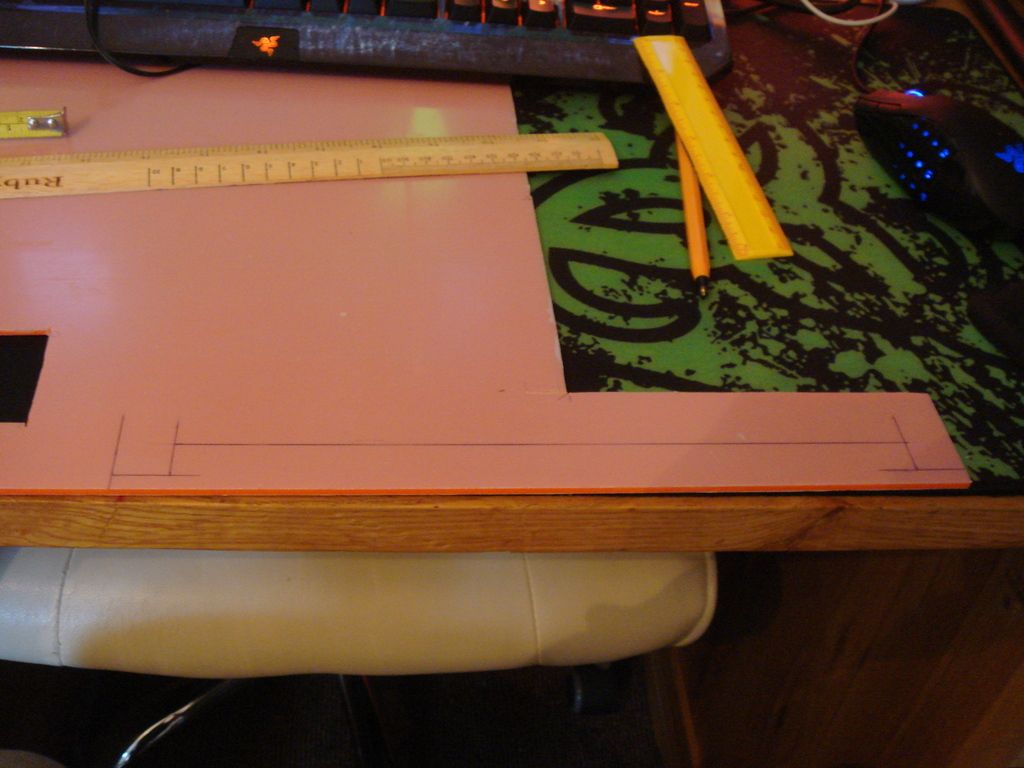
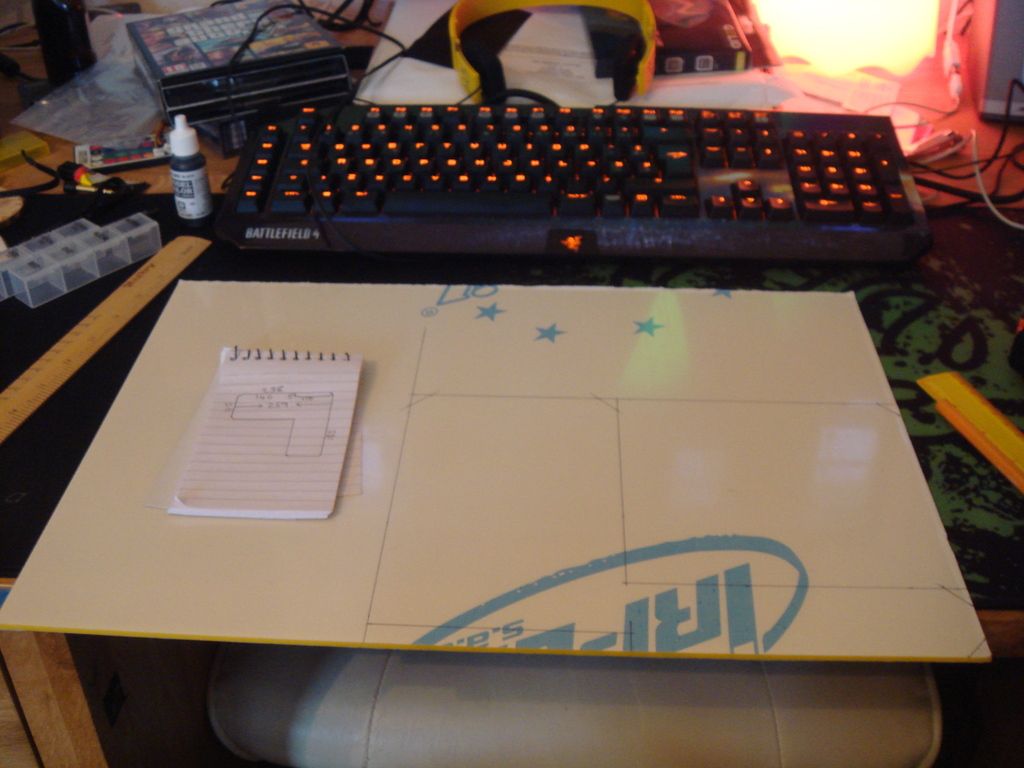
And then cut.

They will be covered maybe later on today. Then I can set up the plotter and do all of the graphics

I will obviously be painting the screw heads in black. OK so next up I needed two cover panels for the rig. One is to cover where I accidentally cut out for cable relief, the other is a general cover panel which will hide all of the messy wiring. So mark.


And then cut.


They will be covered maybe later on today. Then I can set up the plotter and do all of the graphics


AlienALX
Well-known member
That GPU is VERY close to the front I/O PCB. The case should not have been 2mm shorter :lol:
Dude honestly if you value your sanity stay clear of ITX rigs lmao.
Get this. To get the GPU in you have to remove the PSU and the hard drives. Then you have to try and get the hard drives back in with the GPU bolted in place. I swore, a lot..
Just for LOLs...
So yeah today I decided I was going to build it to the point that I could actually fire it up and use it. I spent about an hour figuring out how all the cables would go in as there is 0 cable management. Got it all in, fitting the cables to the PSU with it fitted was a nightmare. Pressed the power button... Nothing. Removed the 24 pin and got out a paper clip.. Nothing. Unplugged the 240v cable from the back and changed the fuse.. Nothing. Got a completely different power cable.. Nothing....
So I decided to phone the guy who made the cables. As I was speaking to him I noticed that the Pac Man lamp on my desk wasn't on.
I'd forgotten to turn on the main power as you enter the room.
Seriously I don't think I've ever had a bigger fucking face palm in all of my life. I'd literally built, stripped and rebuilt it three times before I realised what I had done..