that lacing look well sweet
Thanks!
") Reservoir Modding
The Problem
Reservoir Modding
The Problem
A few years ago (probably ~2007) I bought this nice little reservoir for my Eheim 1046.
It's a very handy little thing, and it's built like a bloody tank (seriously, you could bludgeon
somebody to death with this).
However, back then Aquacomputer had not yet fully jumped on the G1/4" train and was still
using G1/8" in many of their products (as they had since their inception).
This requires a rather ugly and unwieldy adapter when wanting to use modern fittings, such
as the lovely blue Monsoon ones I've bought.
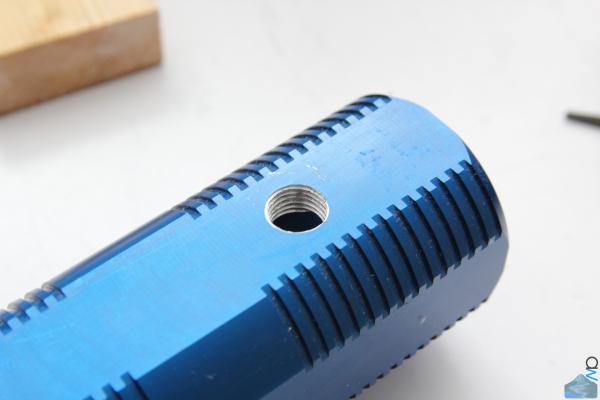
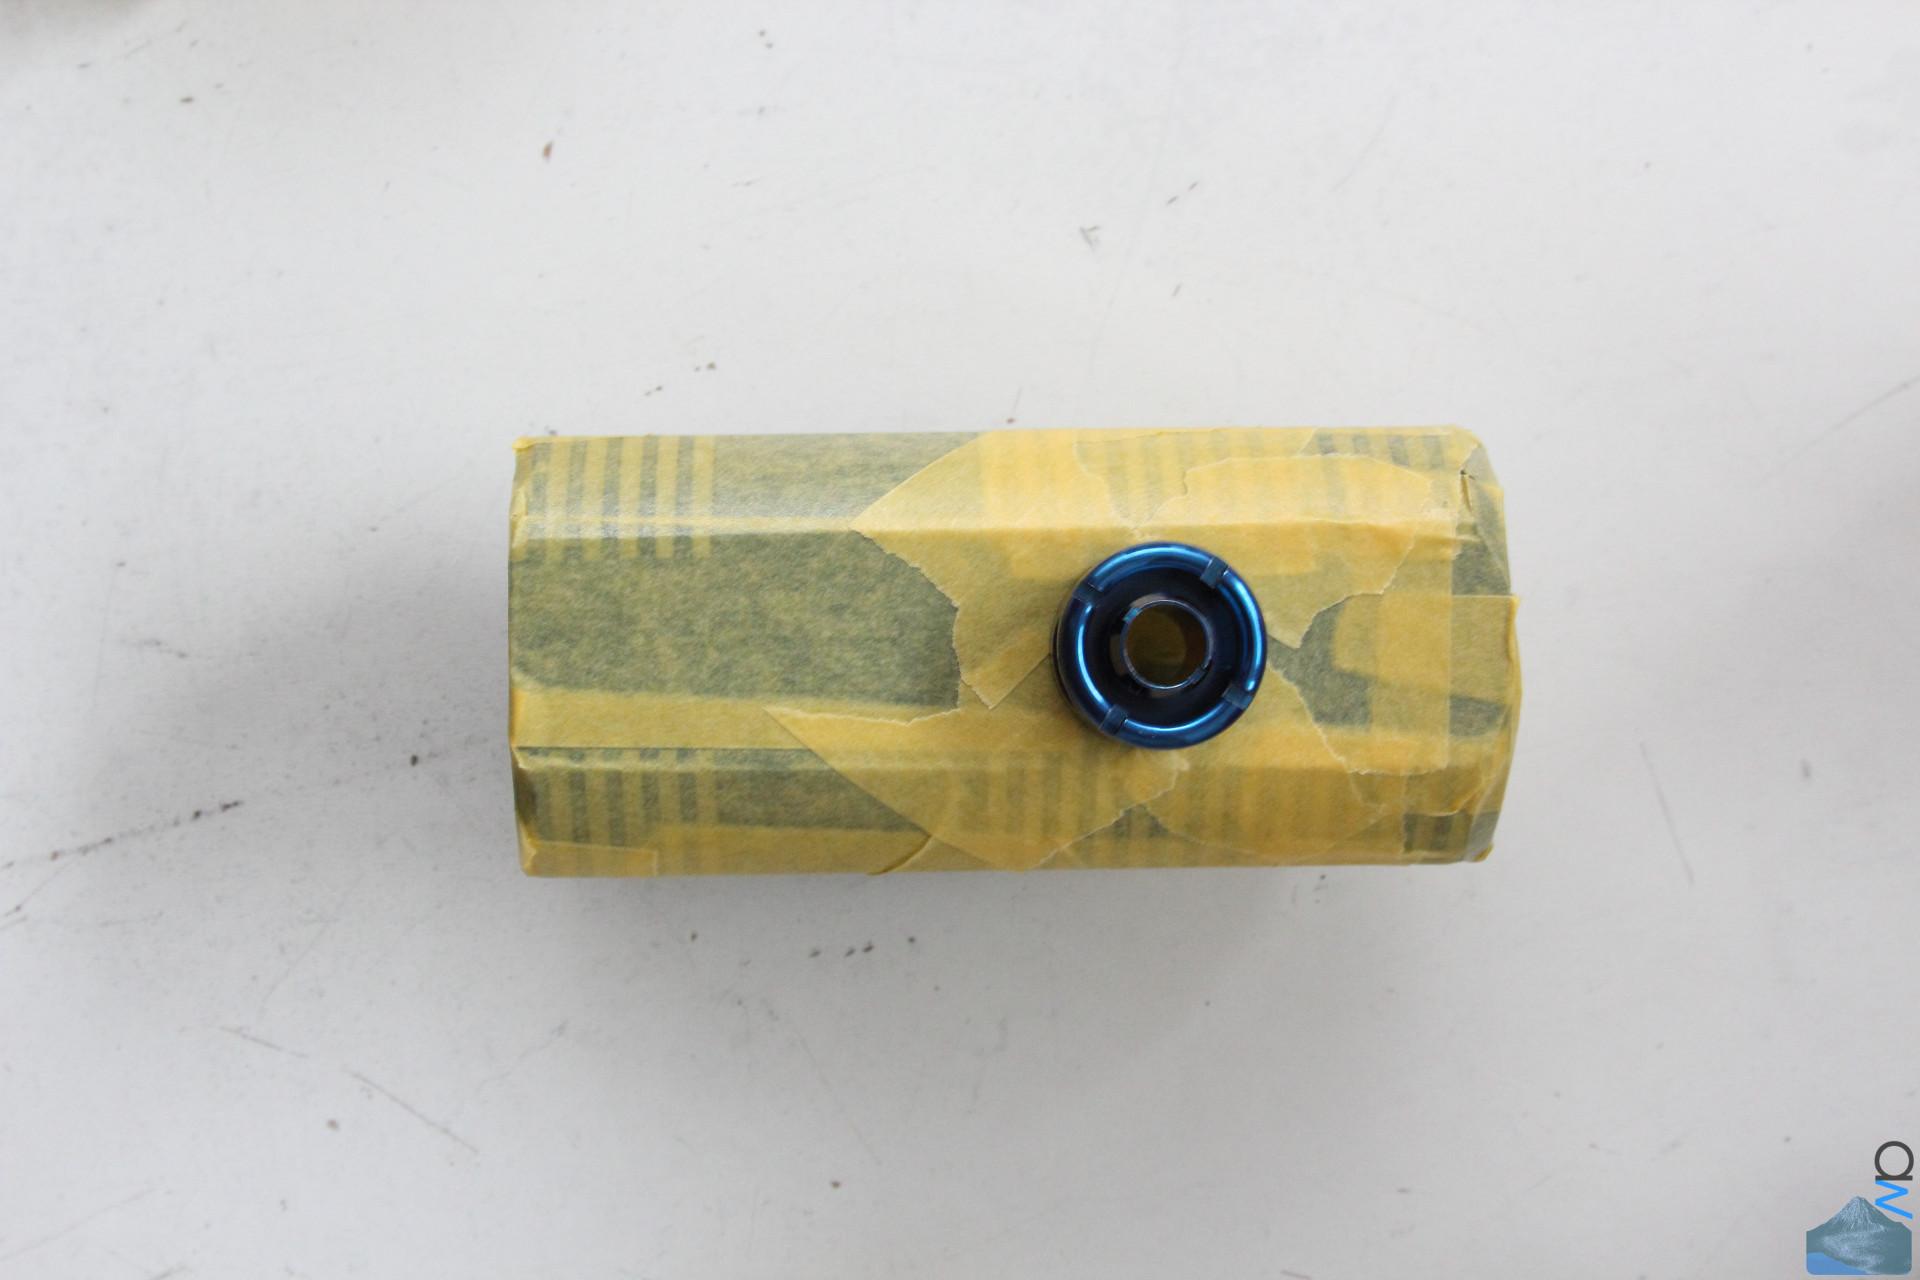
The adapter itself looks like this:
(click image for full res)

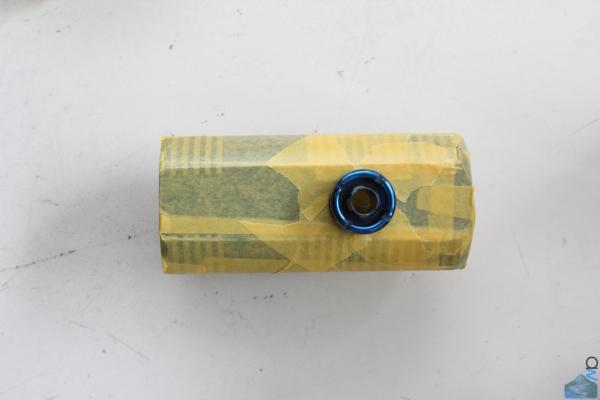
And with a fitting on it:
(click image for full res)
 The Plan
Well, it's quite simple really: Retap the hole to G1/4". However, this would leave me with a
slight problem: Naked aluminium exposed to the coolant. I will be using a corrosion inhibitor
in my loop, but I want to reduce the chance for corrosion to ruin the party by painting over the
naked aluminium and sealing the hole thing against the coolant.
Disclaimer
I'm well aware of what galvanic corrosion is and how it works (well, I'm not a chemist, but I have
a better grasp of it than most people I'd say). I'm not saying that what you're about to bear witness
to is a good idea or something you should necessarily try yourself. It's an experiment. If it works,
great, if not, I haven't lost anything since I have no more use for the reservoir anyway. But don't
anybody start panicking about corrosion please. I'm aware of the risks, I've weighed them and
I've made an informed decision to go ahead.
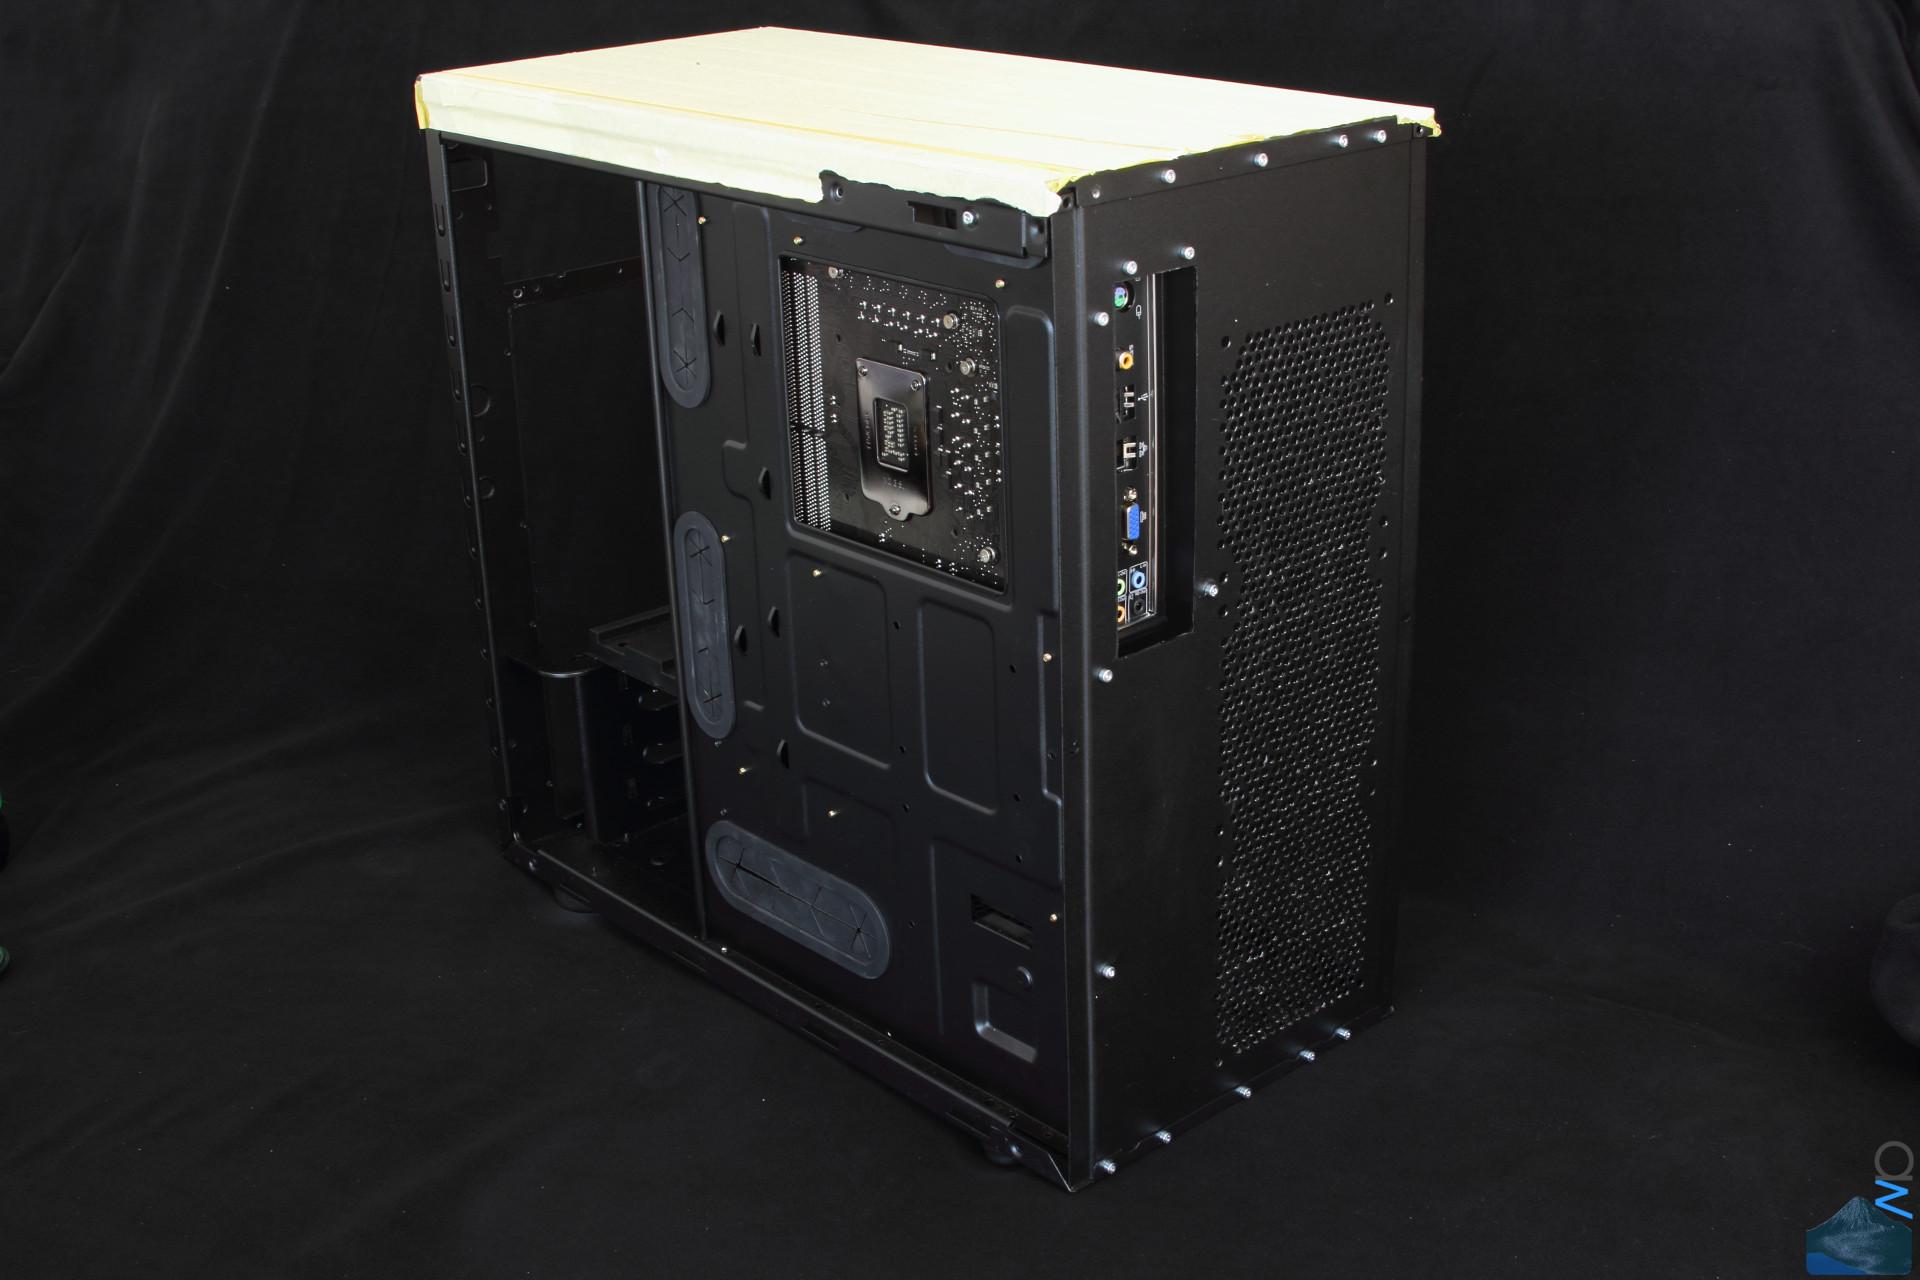
Protecting the Insides
Obviously we don't want to crash into the opposing inner wall with our drill.
(click image for full res)
 The Drill and Tap
The 11.80 mm drill bit with the G1/4" tap.
(click image for full res)
 Improvising
The 11.80 didn't fit into the drill bit adapter, so I had to improvise a bit. The adapter actually
belongs to a Bosch pneumatic drill hammer, but that thing is way too powerful for this sort
of thing, so I decided to go with this configuration. It worked surprisingly well.
Naturally I didn't just drill the G1/8" to 11.80 mm, but first to 9 mm, 10 mm and then to
11.80 mm (a 11 mm drill bit would have been handy, 10 to 11.80 is a rather large step).
(click image for full res)
 Lubrication
I didn't have any actual lubricant specifically for this, so I just used some of the gun lubricant I have
laying around (both for drilling and tapping the thread). Since it's made for the high speed movement
of a gun action, it works very well for this.
(click image for full res)
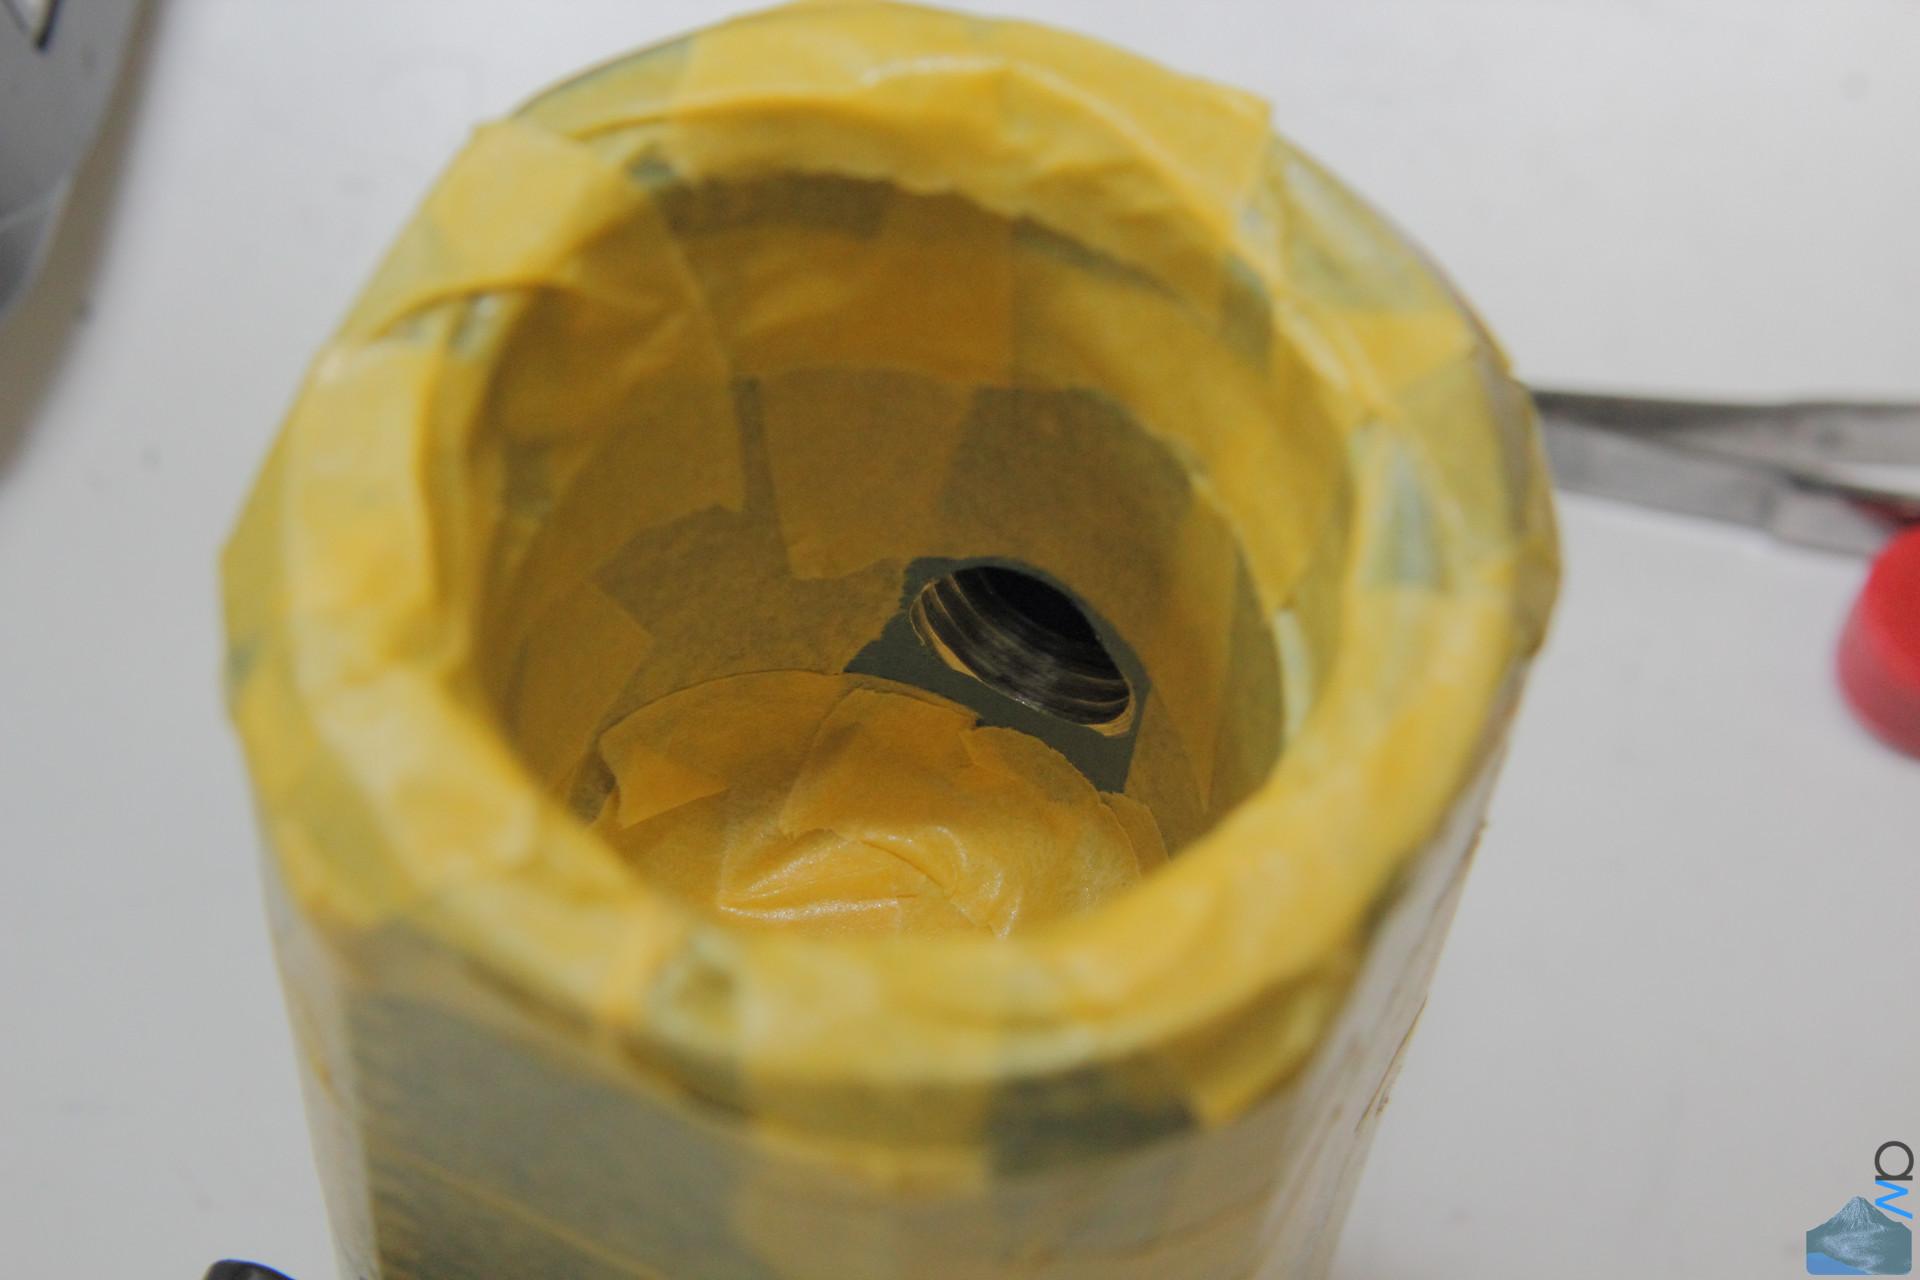
 Tapping Hole
The 11.80 mm hole before threading.
(click image for full res)
 Threading
And after cutting the thread. You can clearly see how thick the walls are on this thing. That's
why you need to lubricate very well. Otherwise the drill just blocks.
(click image for full res)
 Test Fit
As expected, much better.
(click image for full res)
 Protection
Alright then, let's paint that sucker! I did one coat of etch primer and two coats of paint.
Obviously I can't really do proper surface treatment within the thread, or put on too much
paint since it will just get stripped off by the fitting's thread anyway, but this should work
well enough to prevent the coolant from getting to the naked aluminium.
(click image for full res)
And on the inside:
(click image for full res)
 Painted
The coat is pretty thick and has bonded nicely to the surface.
(click image for full res)
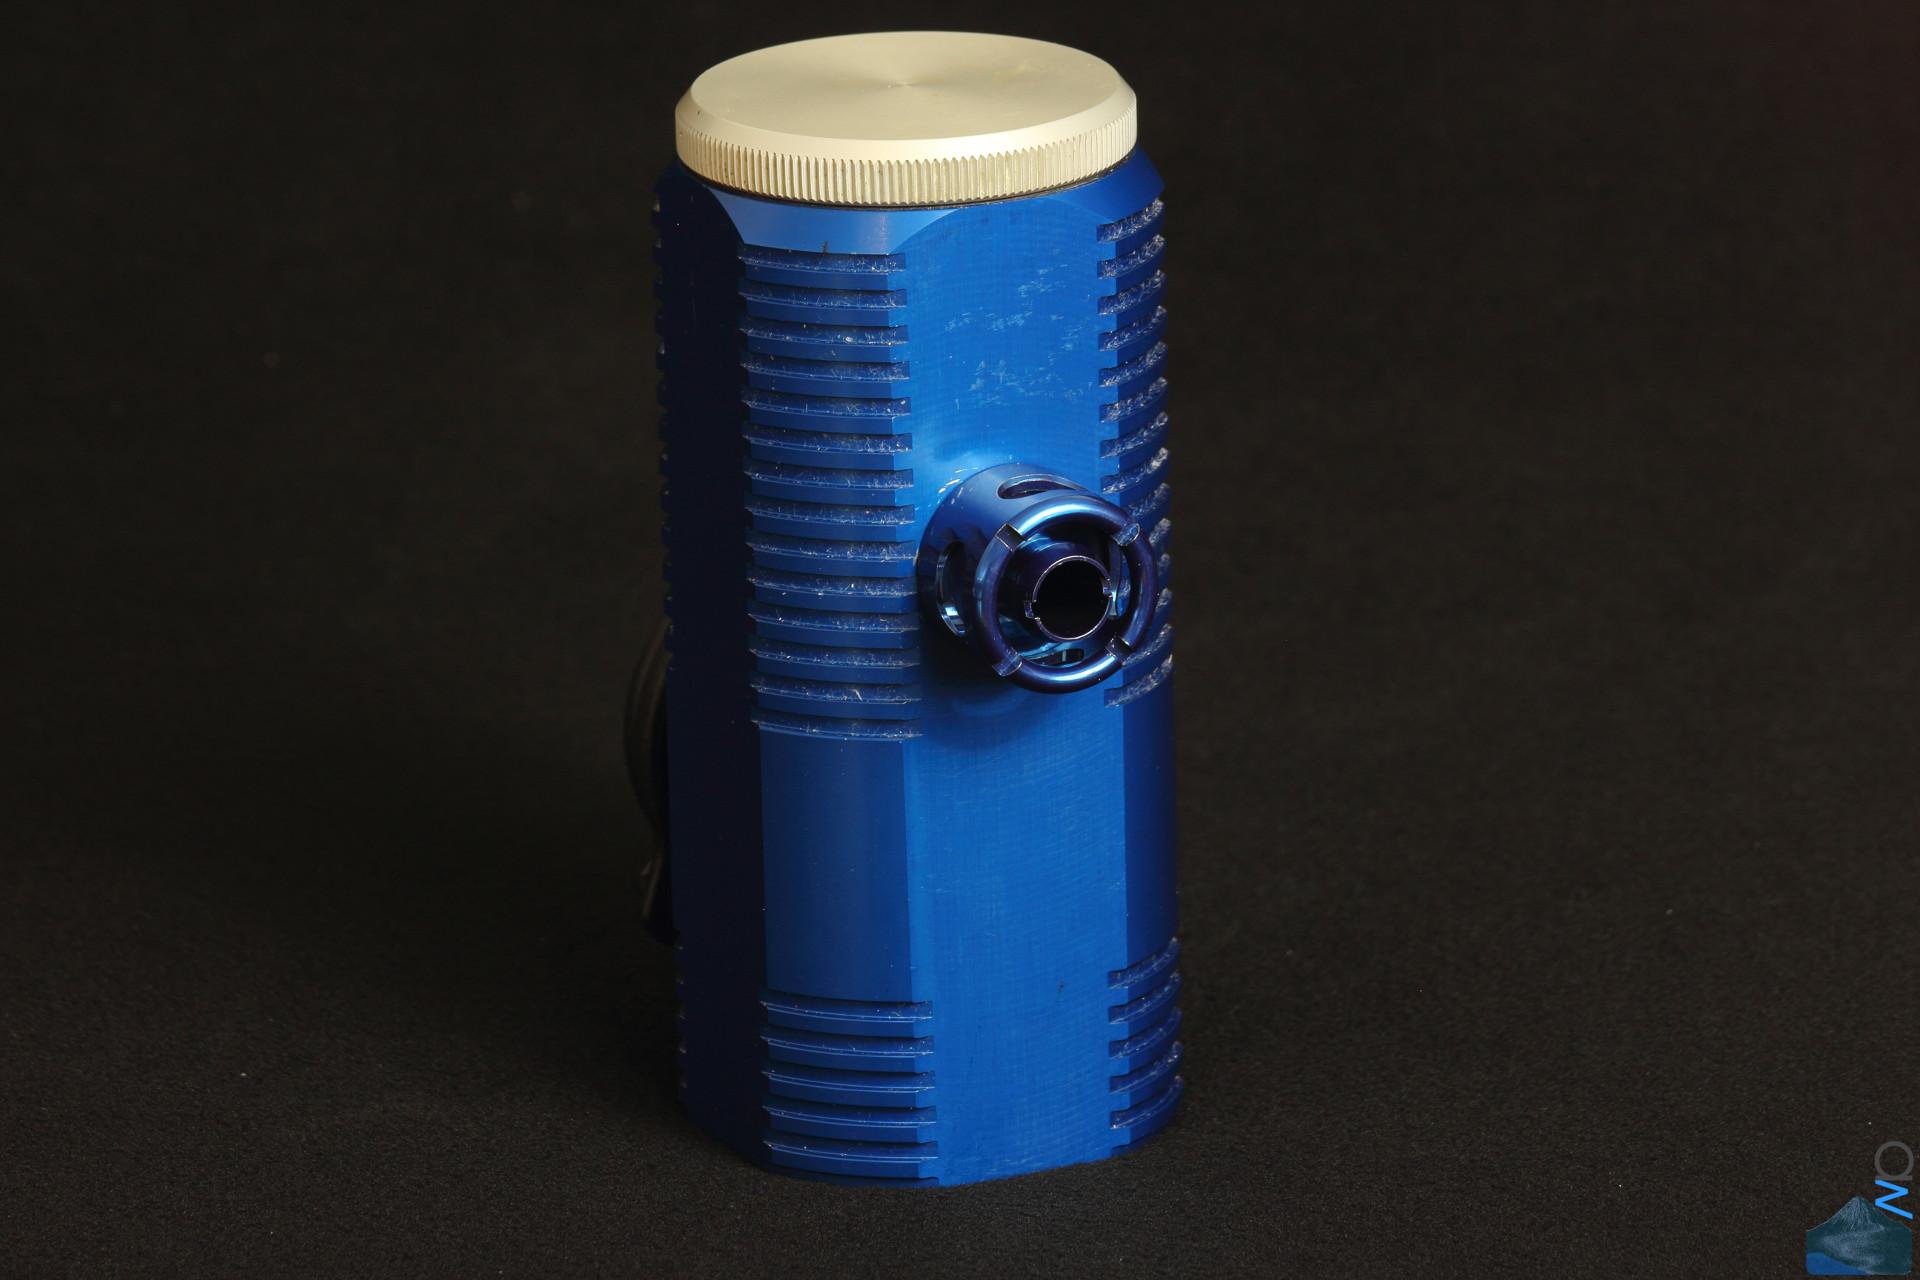
 Done
Done
The Monsoon fitting hides the paint job very well, and it goes in and out without
strippint the paint off the threads (there were two small patches of paint stripped
off, but I've covered those with the Humbrol enamel paint and things are nice and
sealed now).
As you can see, the reservoir has sustained the occasional scratch over the years.
(click image for full res)


")