WOPR desk computer

please continue...


...soon ^_^

Have been soldering all electronics and LED´s, not even half way trough yet :)
Started to glue everything together yesterday but run out of epoxy glue.
3AM now, stores open in 5hrs then its WOPR attack again.

Will put all parts in today and make the missing bottom parts for it.
More updates laters!
 
Current status, its bondo time.

Tonight i tried to get the shape of the "tower" 100% but whatever i did, it didnt look right.
Until i cut a inch from the length, then the tower fit and all proportions is 90% spot on.
I have some strange thing with the tower, it looks too wide, but really isnt too wide.
So now i have cut the length, made a new tower piece and bondo it all over.

Alot of sanding to do before i put on some primer to check all small spots to fix.
Right now it looks like crap, but you guys who seen the WOPR probably can visualize it :)

While the bondo dries, its time to make the left panels ready. I want it standing by itself today!

w3.jpg
 
Shame you don't have more free time, I'm sitting on the edge of my seat with this one!

I only have free time, but had surgery two weeks ago so i´m a little bruced up and slow in the head right now :)
Also have two kids that takes most of the time i can keep my head clear :P
My workstation died a month ago, so i made a new one. alot of time went into that one -> http://forum.overclock3d.net/showthread.php?t=54312

Right now i put all time into the WOPR and my other CRAY project.

Side panels for the side is drying now, probably done in a hour or so. Then its some filing and sanding before gluing it.
 
Glad to see more on this.

That looks to be drying into a perfect copy(with a bit of paint)

Hurry up lol,this will be awesome!!!!!!!!
 
I liked the movie & especially WOPR so I really like what you are doing here and the fact that you are showing bits of the process as well. Well done so far.

Have subbed to ensure I can keep up with your progress.
 
Been working on this the latest weeks and finalizing most of the parts.

Also had to strip all base paint due to flaking, that took some time :P
Next step is a layer of base paint that can be sanded to fill the pores and scratches, and glue all stuff together.

The WOPR is alive, and its time to get it together, right now :)

woprglue.jpg
 
Last weekend i decided to make big changes. When i first started the case project i used a noname Sketchup model that i refined to what i was thinking looked good.
I have cut the case on the width, and the length and got changes going for the "tower" atleast 5 times.
Now, i found that some proportions, angles were off from the real model.

So, last weekend, i decided to...
Start over...
Well, not really, i keeped the lower part and just remaking the top part, in acrylic instead of styrene plastic. Better strenght and also better base to put paint on later.
All electronics and LED-panels will still be used.

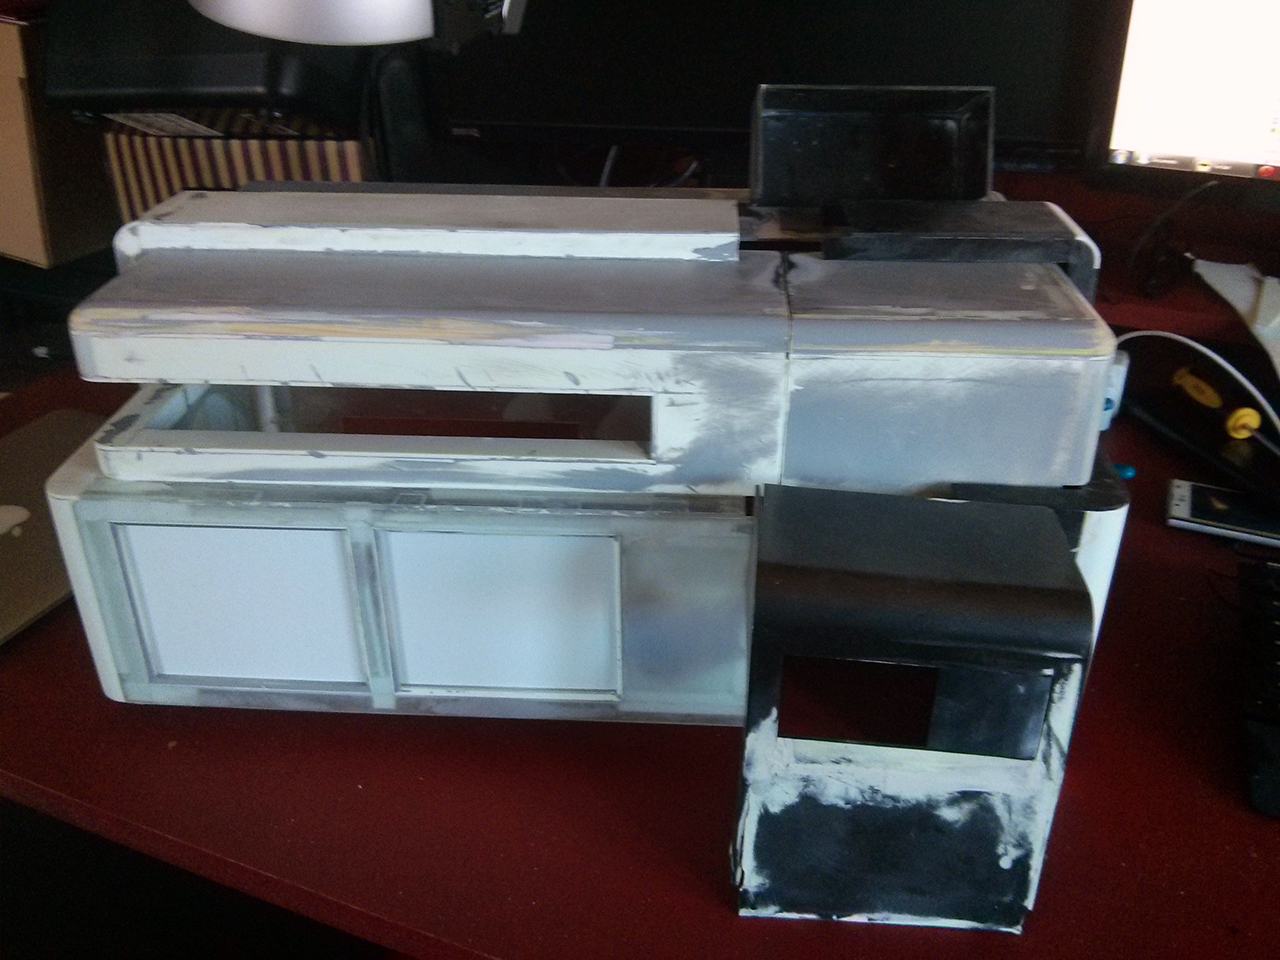
After two weekend of working, this is where i am at now.
Rocks on pretty sweet, i have done this one time before and knows what troubles i had last time. So putting all together goes really quick. Cutting all pieces took most of the time.
Right now its just a matter of putting all pieces together, and plan for the insides.

(Sorry for the mess, i cant clean the desk just for some pics ;) )

The WOPR 2.0

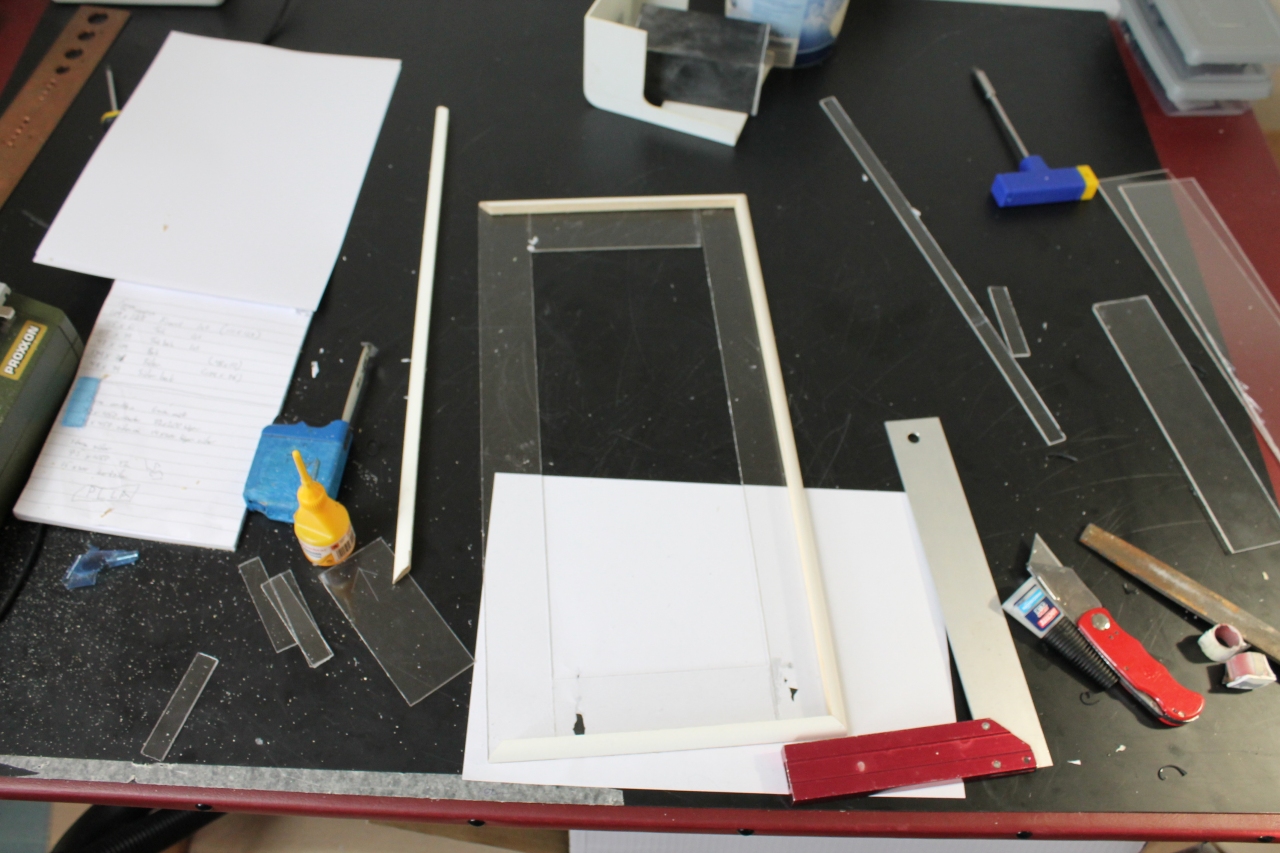
I started off with a frame and some quarter pieces of wood.

wopr20-1.jpg


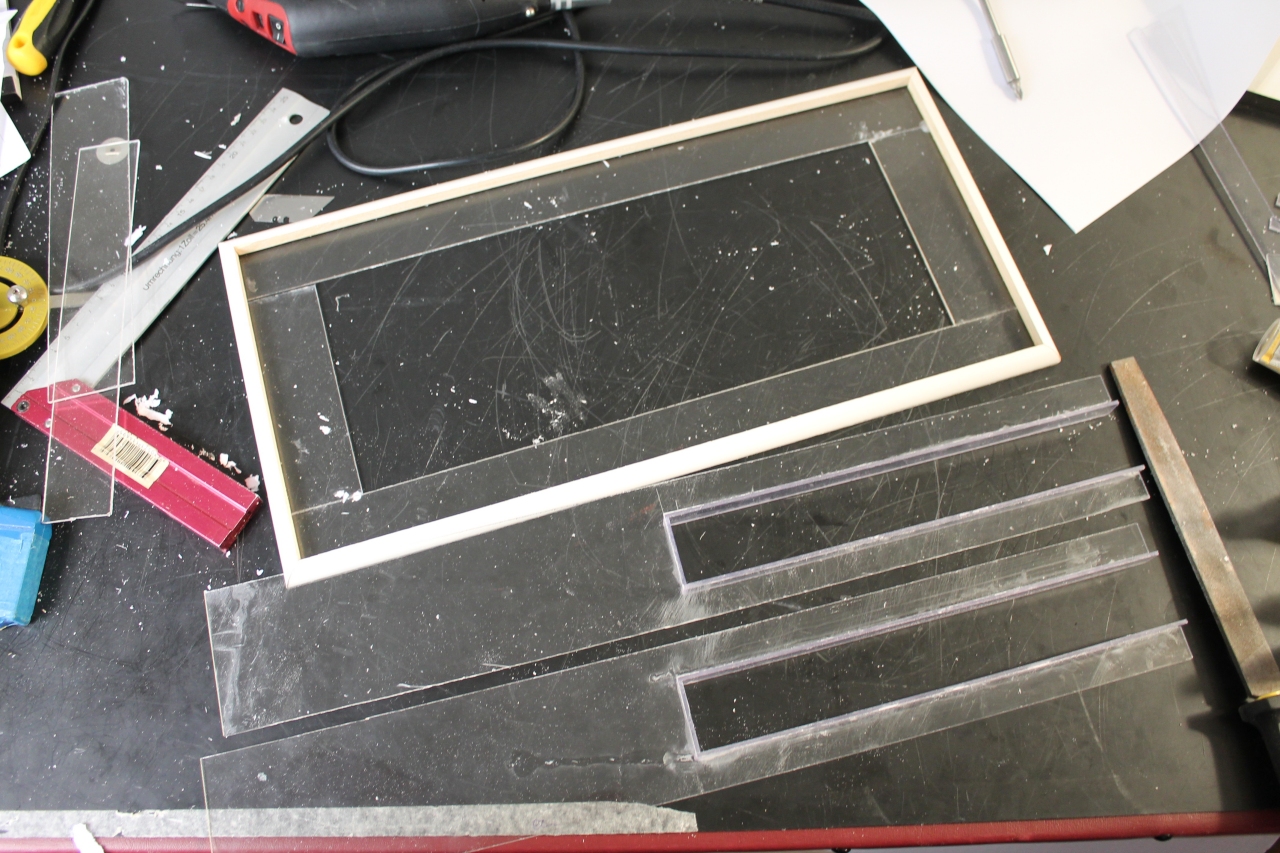
Frame and side pieces holding the LED-panels are done.

wopr20-2.jpg


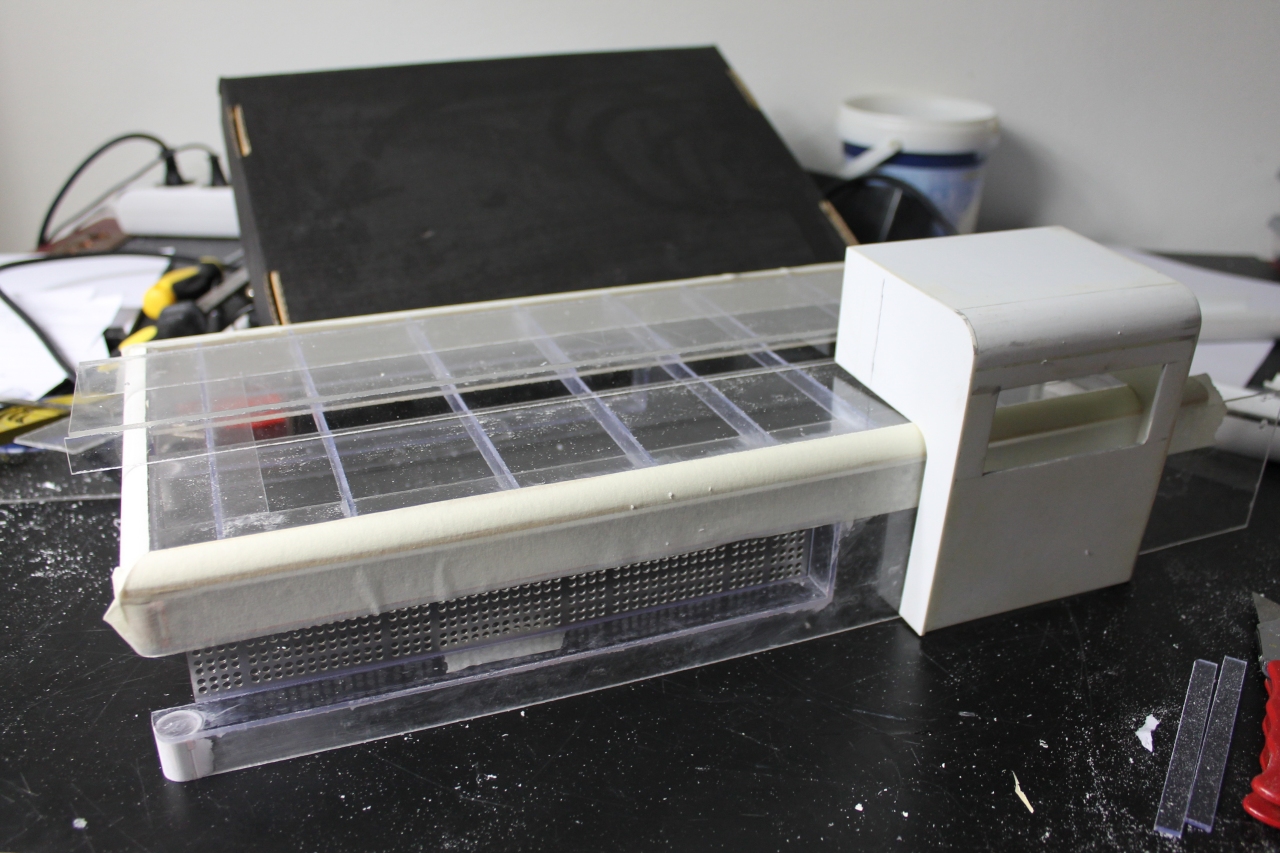
The current status. Held together with some tape.

wopr20-3.jpg
 
Back
Top