Amazing the sun came out yesterday so I though sod it and dusted off the dremel and set myself up on the balcony at TTL Towers to attack this R5.
I Need to add a 3rd fan to front of the case to cool the hard drive stack (Im using the 5 rack from each of the cases I have)
I want it to look as stock as possible and thankfully having the spare case allows me to use one for parts and try and make this look like a Fractal design rather than just a bolt on.
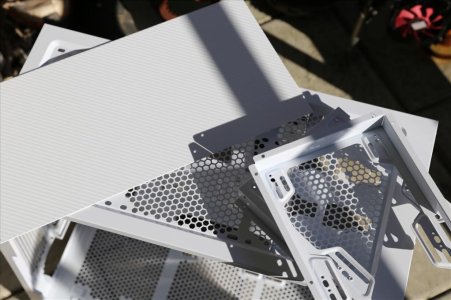
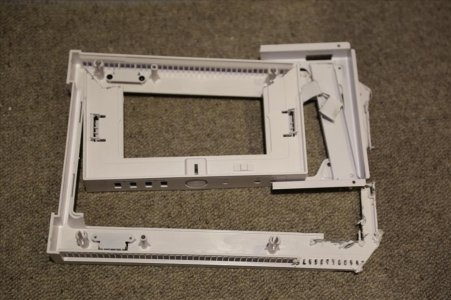
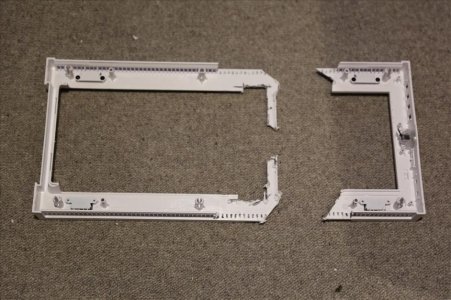
This is the standard fan cage/ mount unriveted from the case
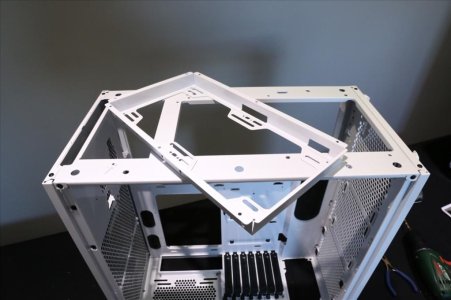
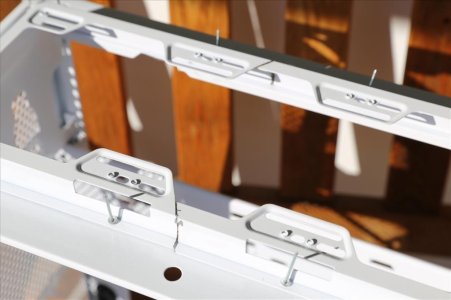
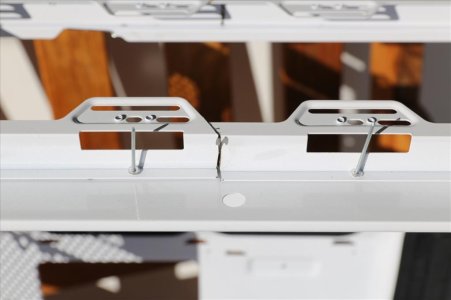
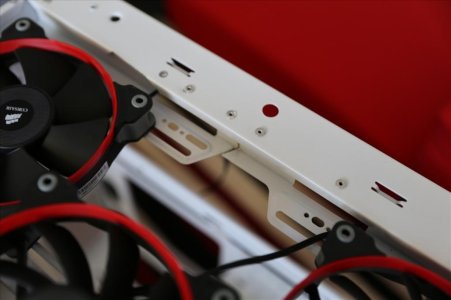
Then I mocked up for the sake of eyeballing the sizes and alignment the two cages
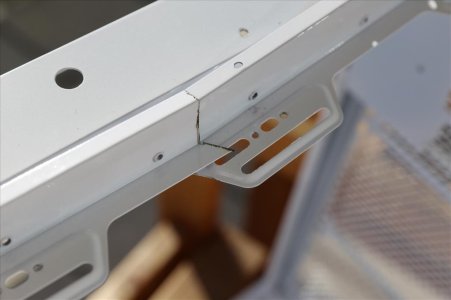
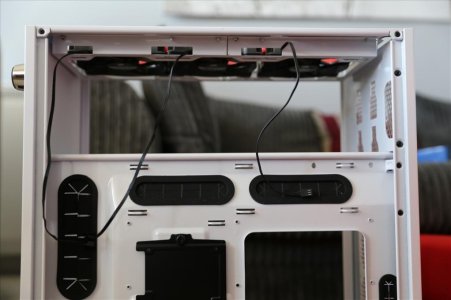
Then with the ends pretty much chopped of we get our first hint of what Im trying to do
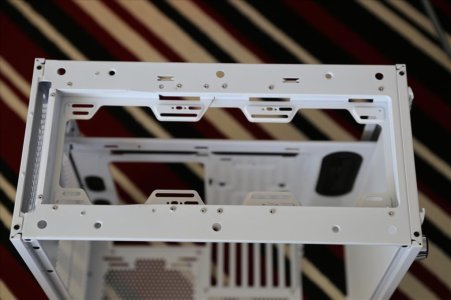
At this stage there is overlaps but Ive purposely cut them to follow the angle from the fan mount tab. with them overlapping I can work out the exact size I need to fill the front of the case and mark them for a bit of trimming to fit snug. I then held them in place with rivets on the top of the case. This is back to front but the mounts are mirrored so this way is just easier for now
")
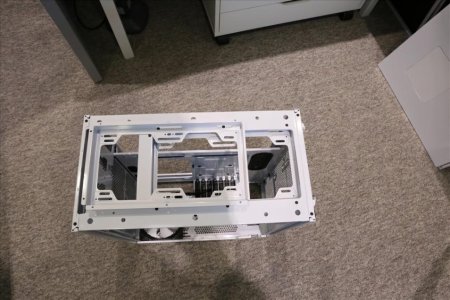
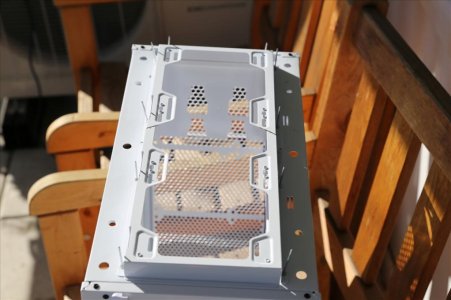
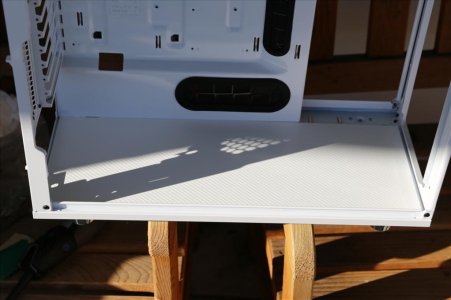
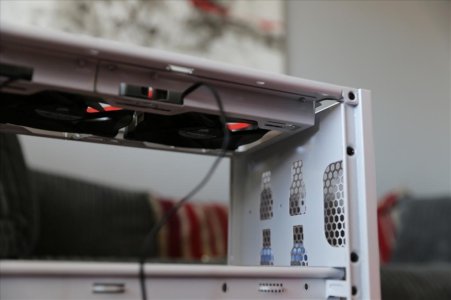
Next up was to paint the bare metal from the cuts white to try and tidy things up. I just use humbrol modeling enamel paints for this and a small brush. While the fan mount was removed this gave me the room to fit the false floor. I did this in Orca and the test rigs so Im aware "they all look the same" - I just dont like floor fans and hate seeing the grills so this just keeps things looking tidy. Ive also covered the 1m alu sheet with white DiNoc carbon film.
To be able to get all this in I have had to remove the brace that would go under the optical bays, the area for the fans and the optical bays is a different size so if you look closely youll see the cut at a slight angle to join these up. I used all the standard riveting points plus added some on the ends of the open cuts to help add some strenth back to the case and stop any vibrations.
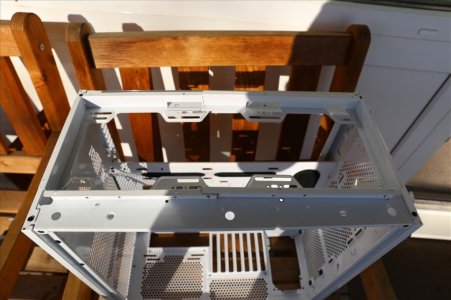
The next update will be on dust filters - Ive completely butchered the front of the spare case to remove the mount for the top of the dust filter! This will be going in above the old optical bays. The last photos show the cut and modded second fan filter in place but no mount at the top which will tidy everything up - Im not sure if I will open the optical bay area up to allow the filter to be easily removed or not yet - ATM Im unsure if it can be done and still be able to look stock due to the way the plastic is on the reverse of it all. So far though Im really happy with the way its looking......

")


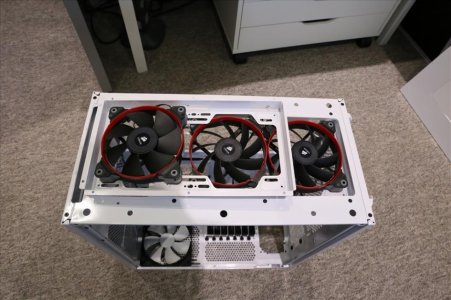

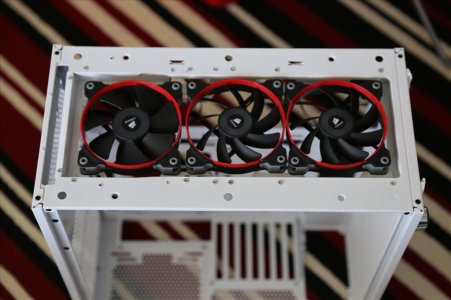

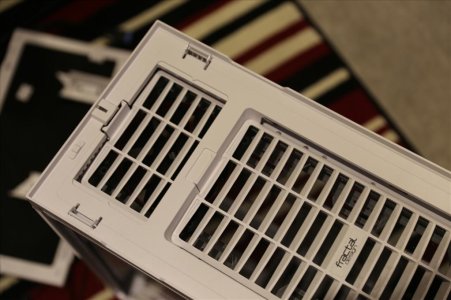
 (from years of ceiling fitting and drywall installation), I can noticably see the top fan is out of alignment ever so slightly
  (maybe I just too damn picky hahaha), but it does look really good