Ru5ty_t00l
New member
great paint-job for the mobo mr.dubs.
do u think an airbrush could do the job?
do u think an airbrush could do the job?
great paint-job for the mobo mr.dubs.
do u think an airbrush could do the job?
")


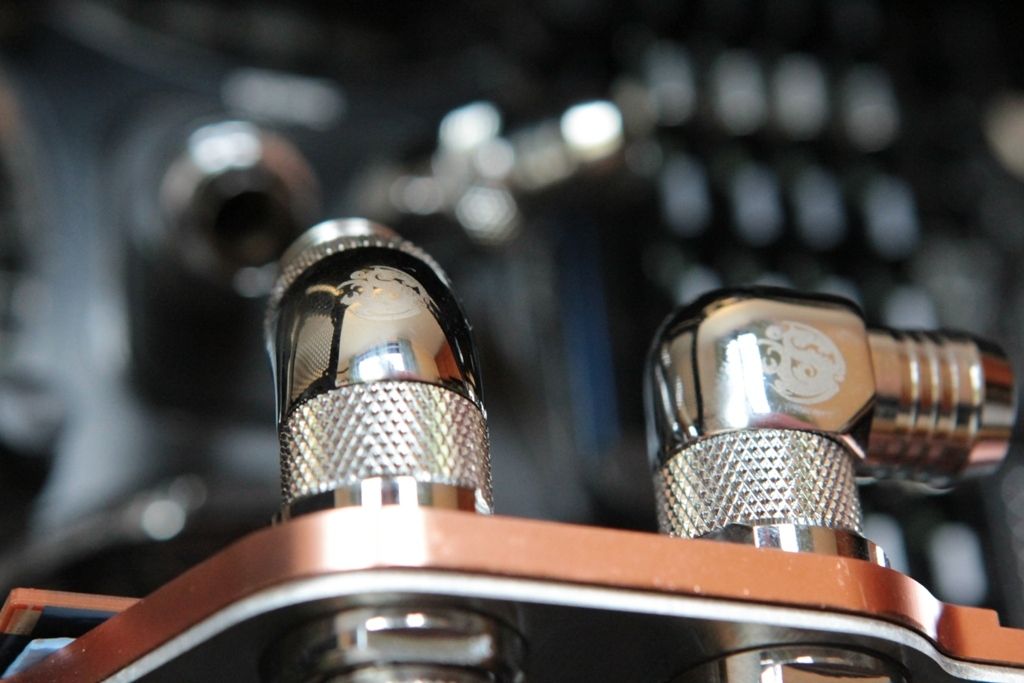


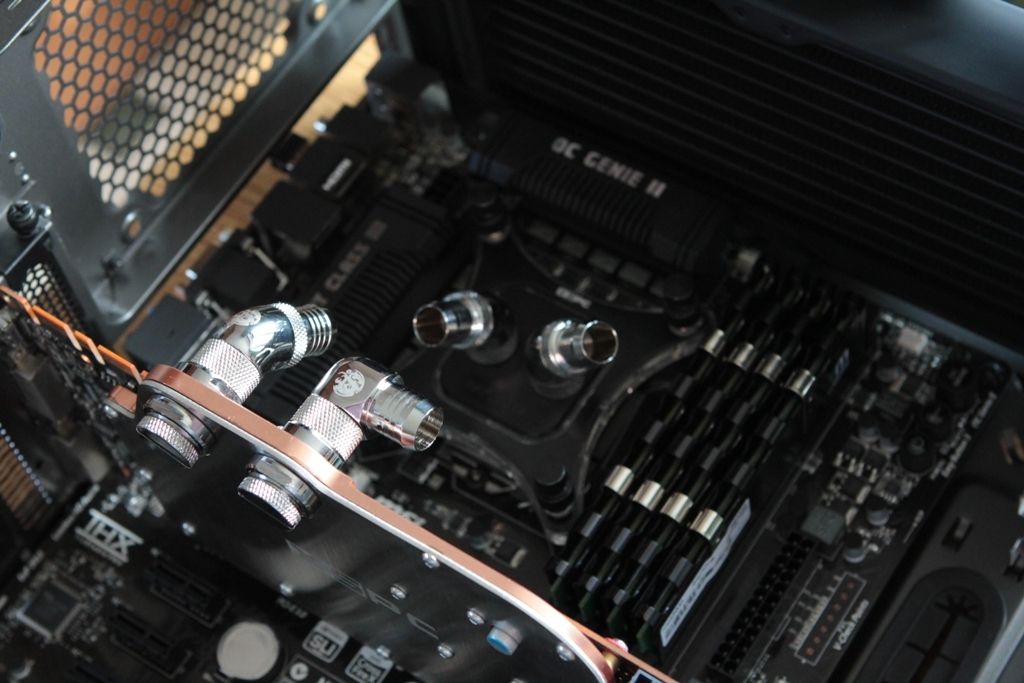
Looking fantastic! What is the colour of the tubing/coolant going to be (may have missed that part)
Are there any tutorials of how to paint a motherboard because that board looks so damn good!?
Head over to the articles section on the home page and you'll get a bit of a clue. Otherwise, I'll be getting some images up of the tubing etc later today.
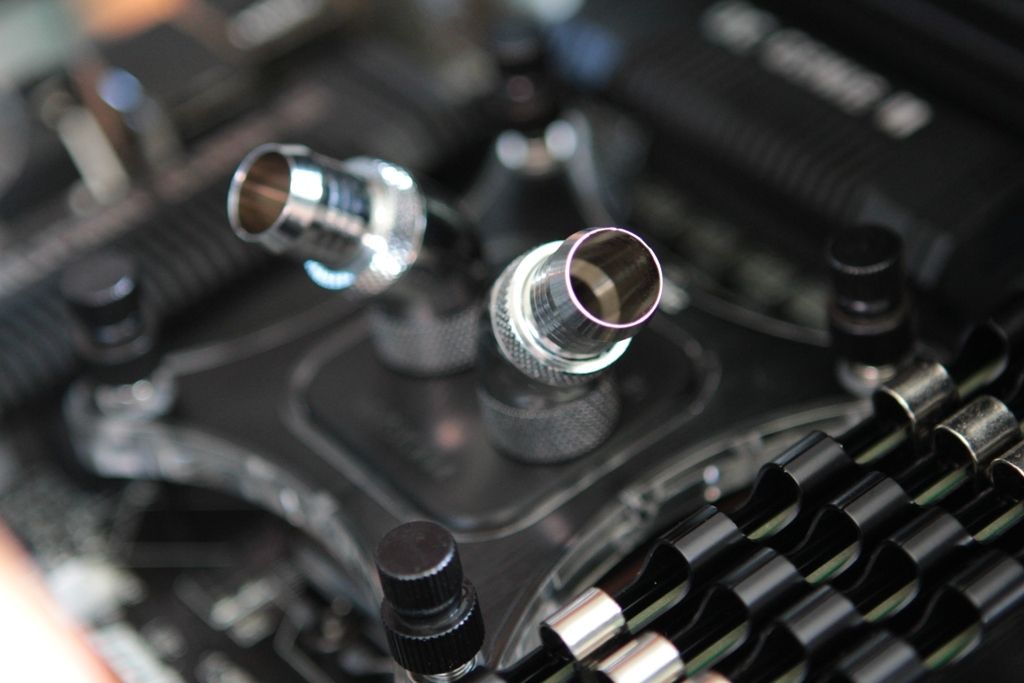
Coolant wise, you've not missed it. Keep em peelel and you'll see.
Tutorials wise on painting mobo, i've not seen any, but when I get a spare afternoon (and anothermotherboard), i'll get one done. I can't stress enough though how delicate the work is.
great shots m8. what kind of light do u use for this quality pictures?
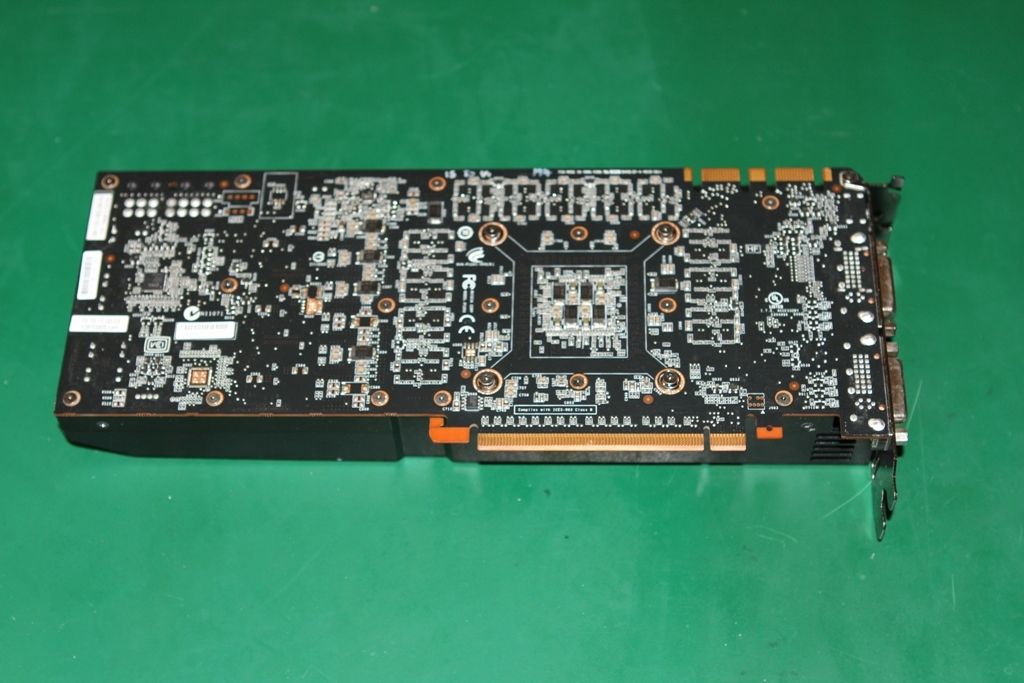
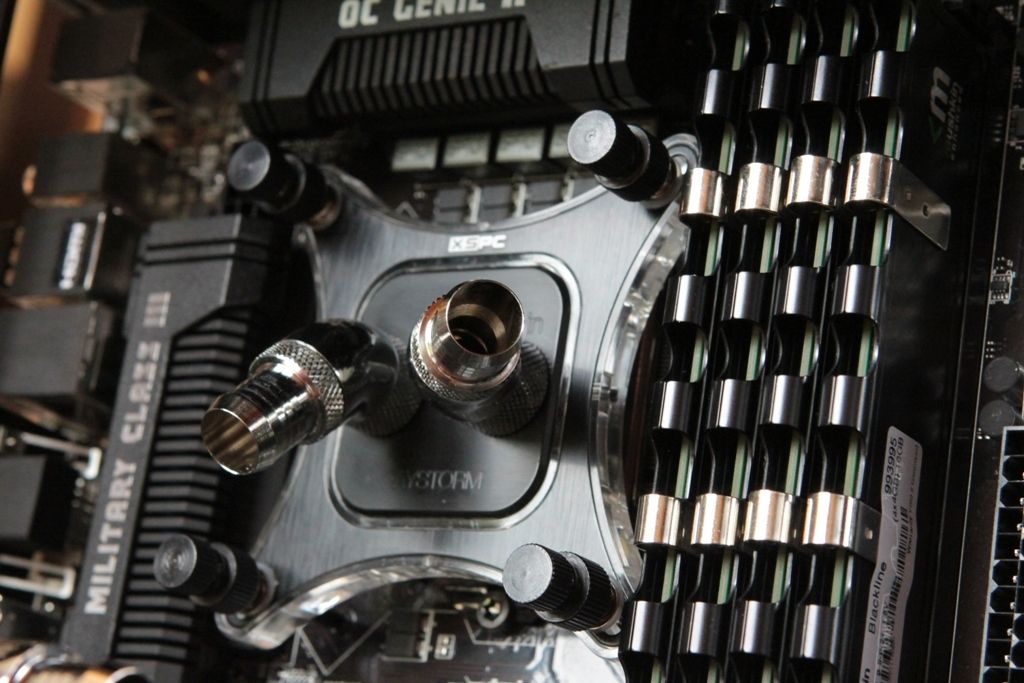
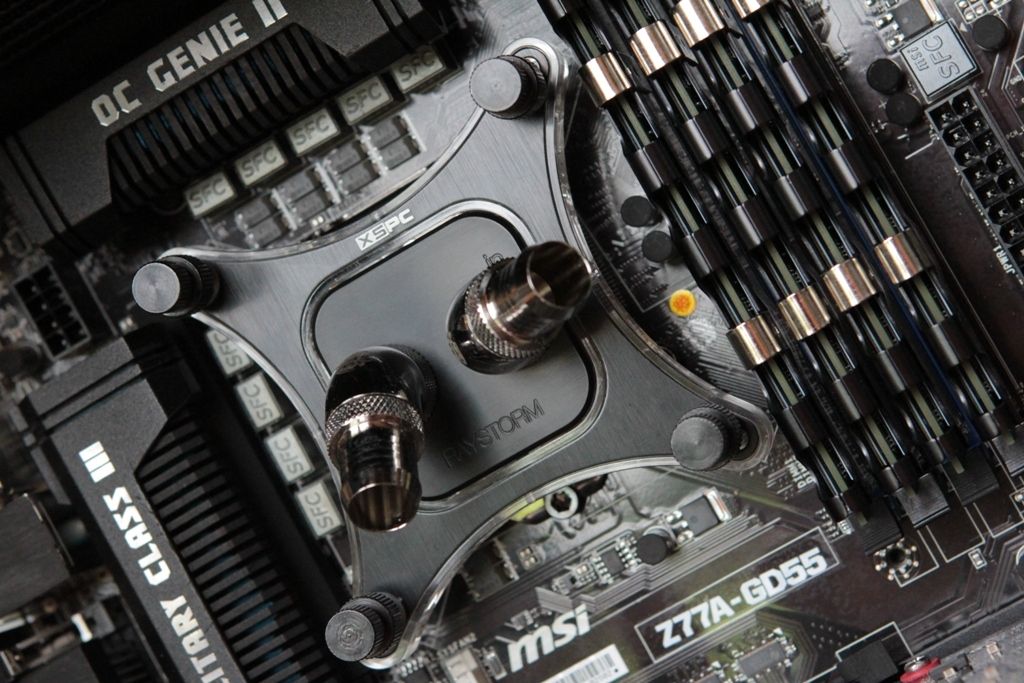
You can tell you've spent too long playing with airfix models when you can tell which number and finish of enamel paint it is just by lookingI gave a great deal of thought to choice of paint. Original thought was to use acrylic as it's quite easy to work with and easy enough to remove any mistakes.
However as I wasn't too sure how well it would stand up to even small amounts of heat (is is going on a heatsink after all), I decided to use a product called Humbrol enamel paint. Matt Black 33 thinned by 25% as it's pretty gloopy stuff even when mixed well. A selection of brush sizes with some very small ones to get into all the little nooks and crannies and an awful lot of patience. if you fancy having a go, you can get all this stuff from the sort of places that sell models etc.
I have to say I'm rather pleased with the result and nice to see the work appreciated, thanks Guys

You can tell you've spent too long playing with airfix models when you can tell which number and finish of enamel paint it is just by looking
haha me too, me too...Impressed and a little concerned that you can tell from looking.
even with thinners 
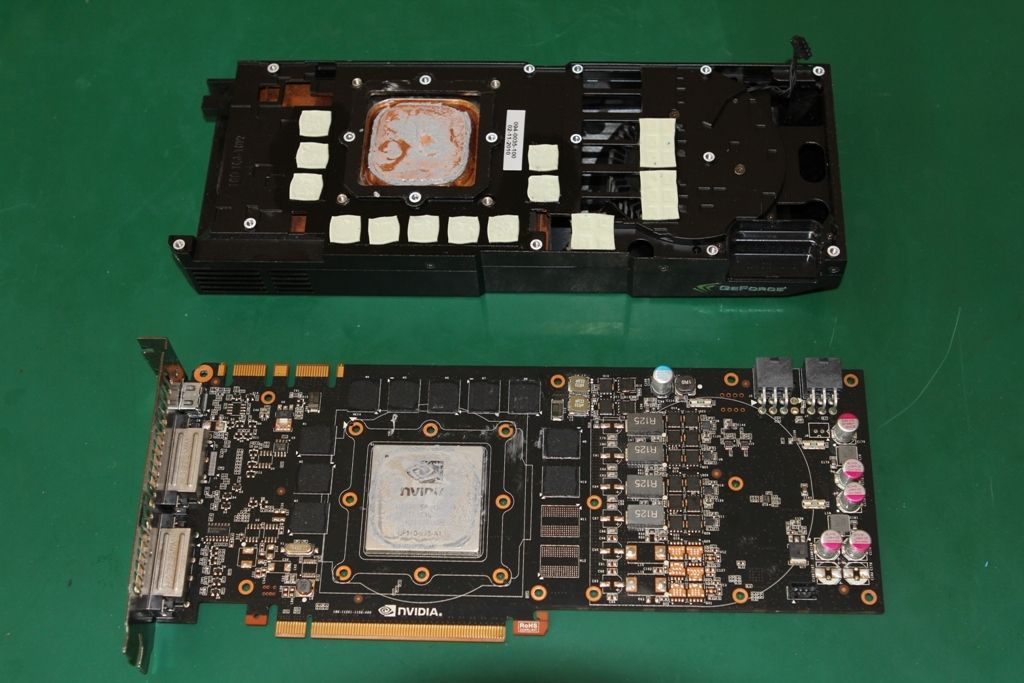
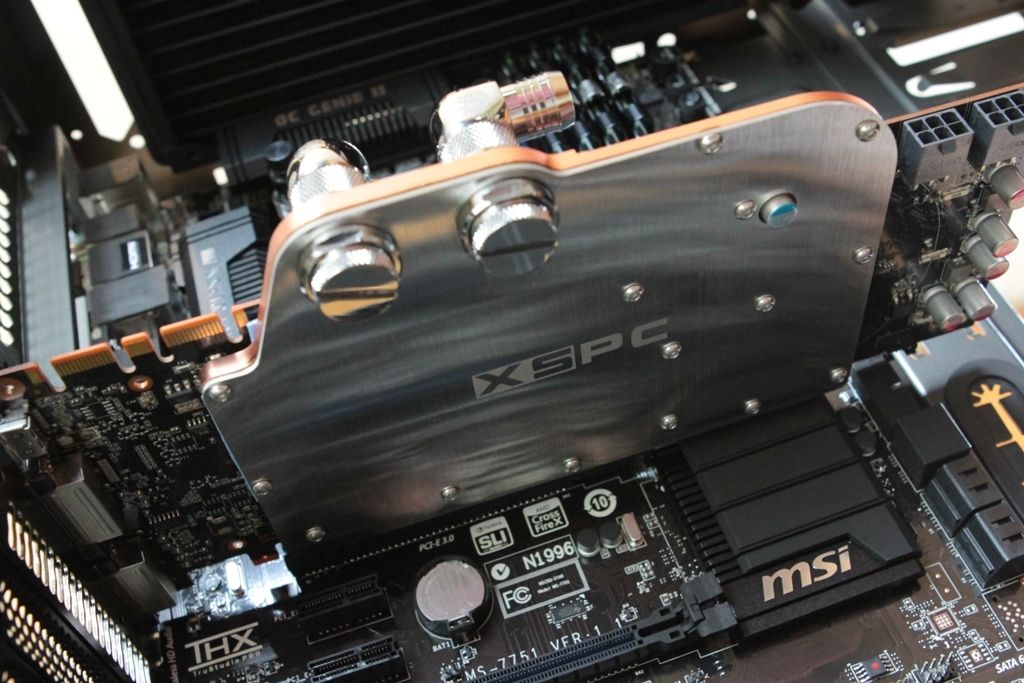
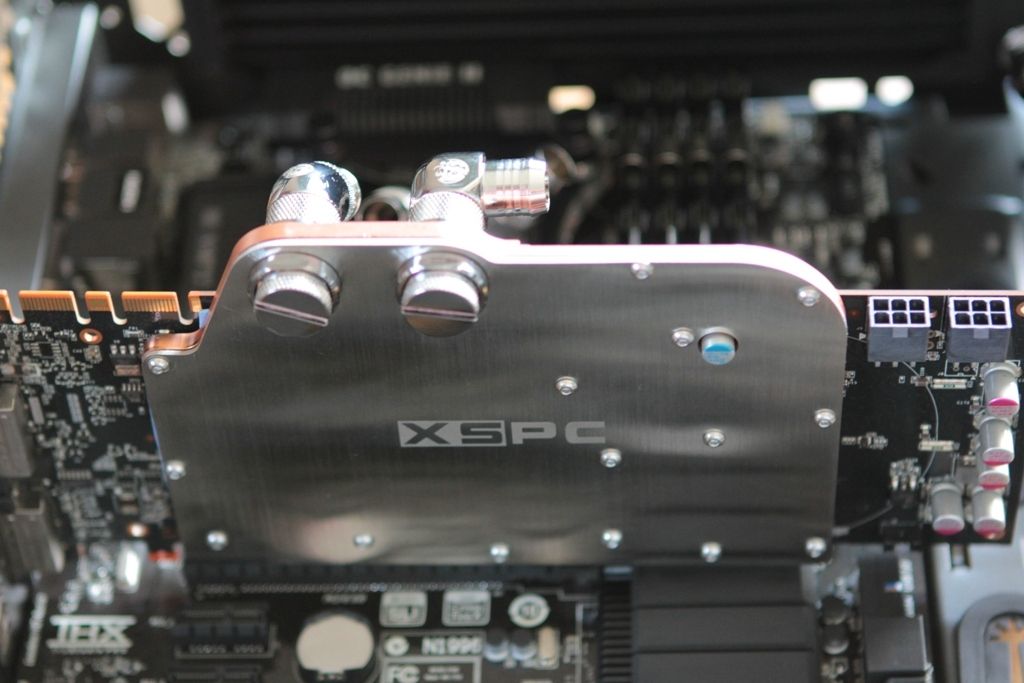
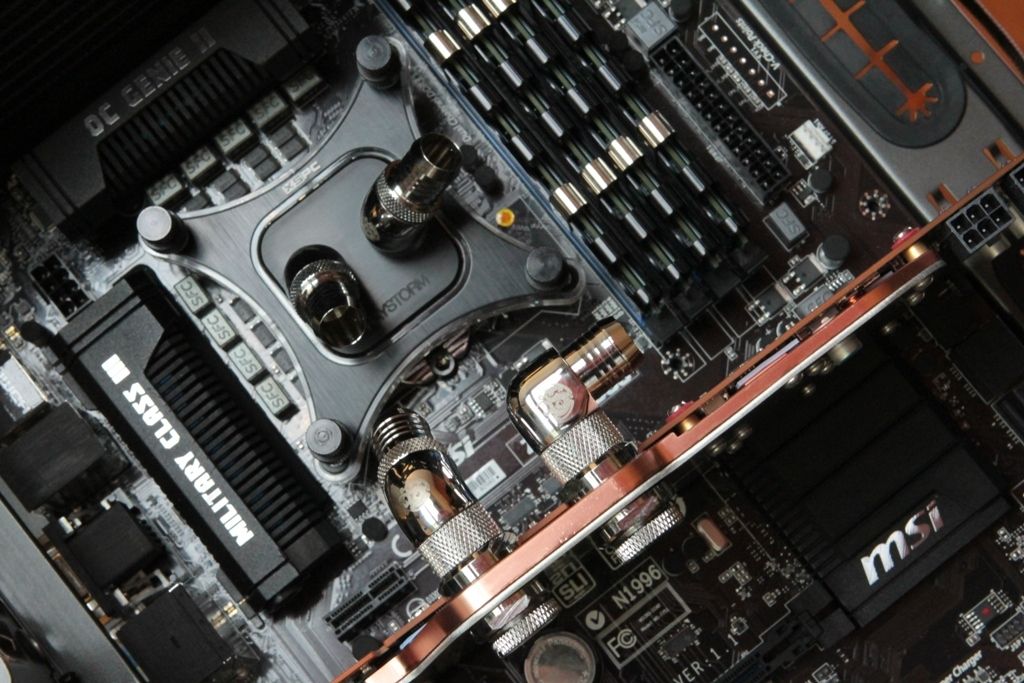
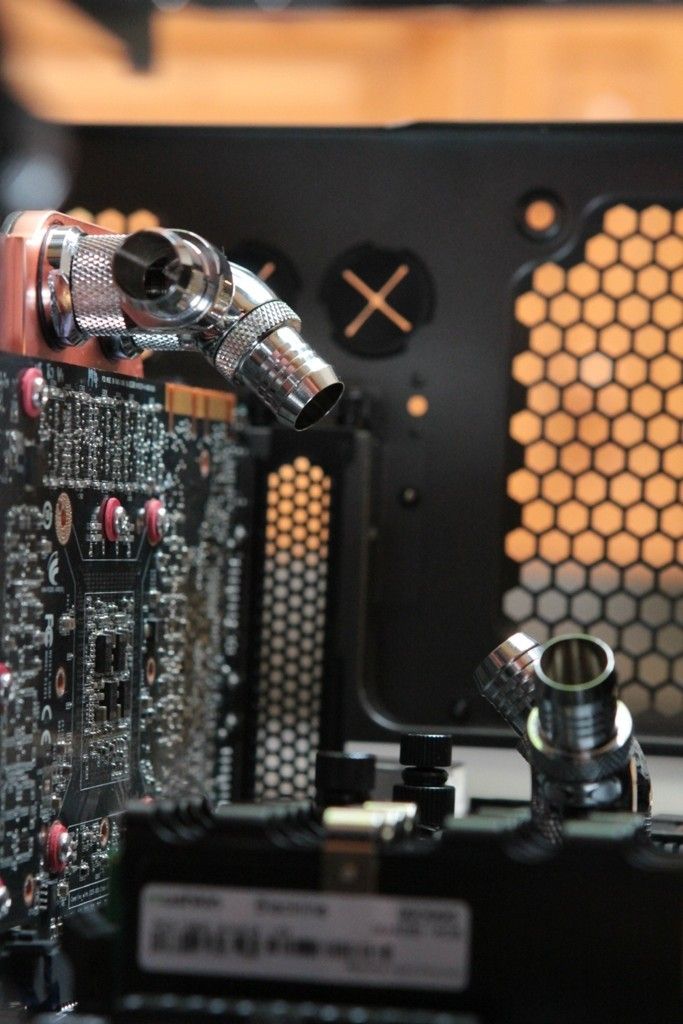
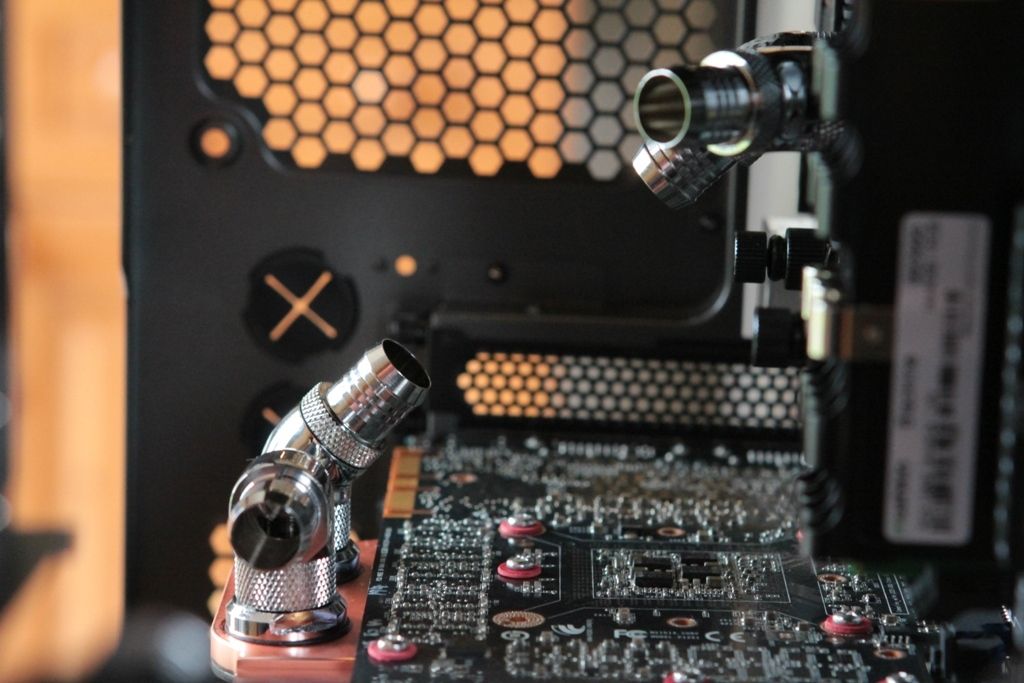
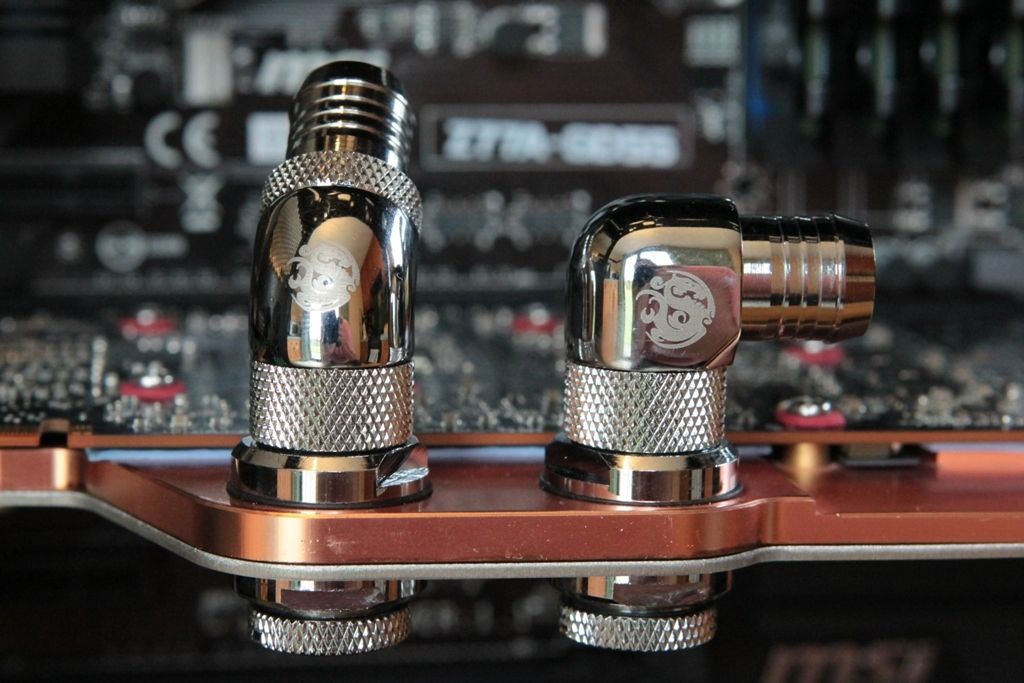
Seeing as youve painted the mobo matey that GPU block needs doing MNR stylee too imho
Get the paint back out son!!!
I agree with tom, after going through all the trouble of painting your mb and fans, you should paint that block as well, would imo make the rig look much cleanerI think it looks massively bland and almost out of place in there now