[Scratch build] Floating Cave

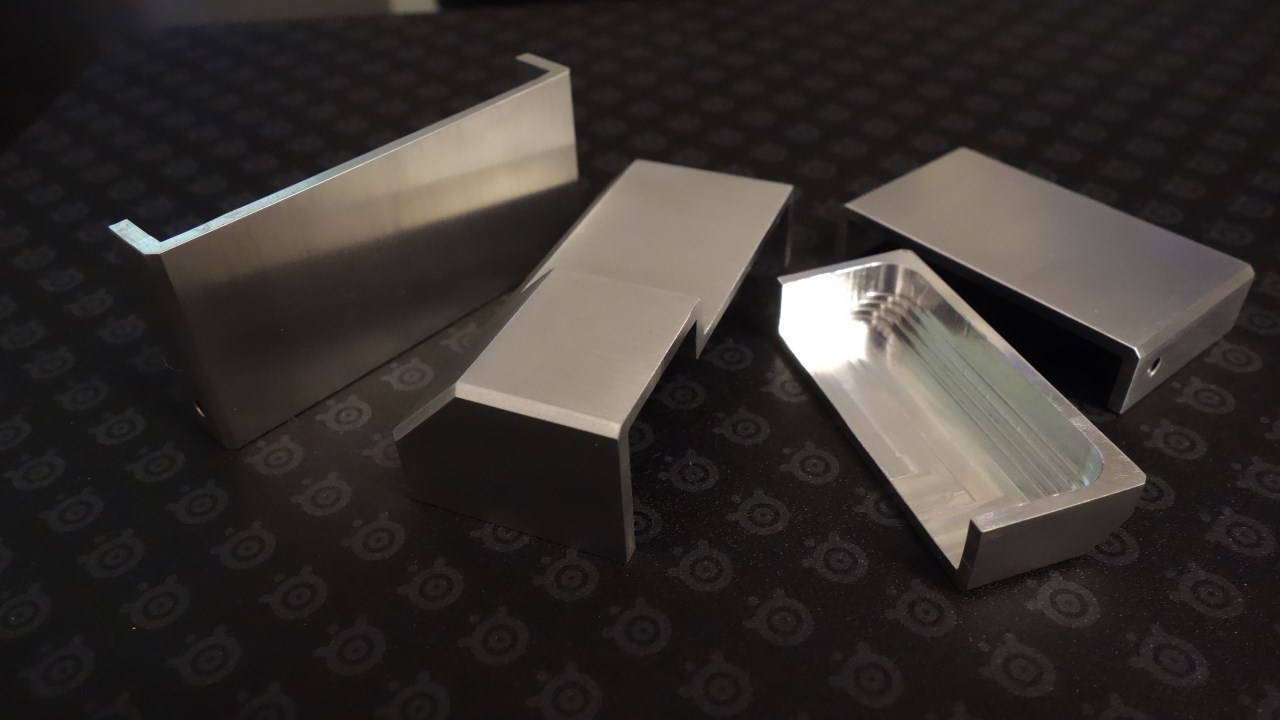
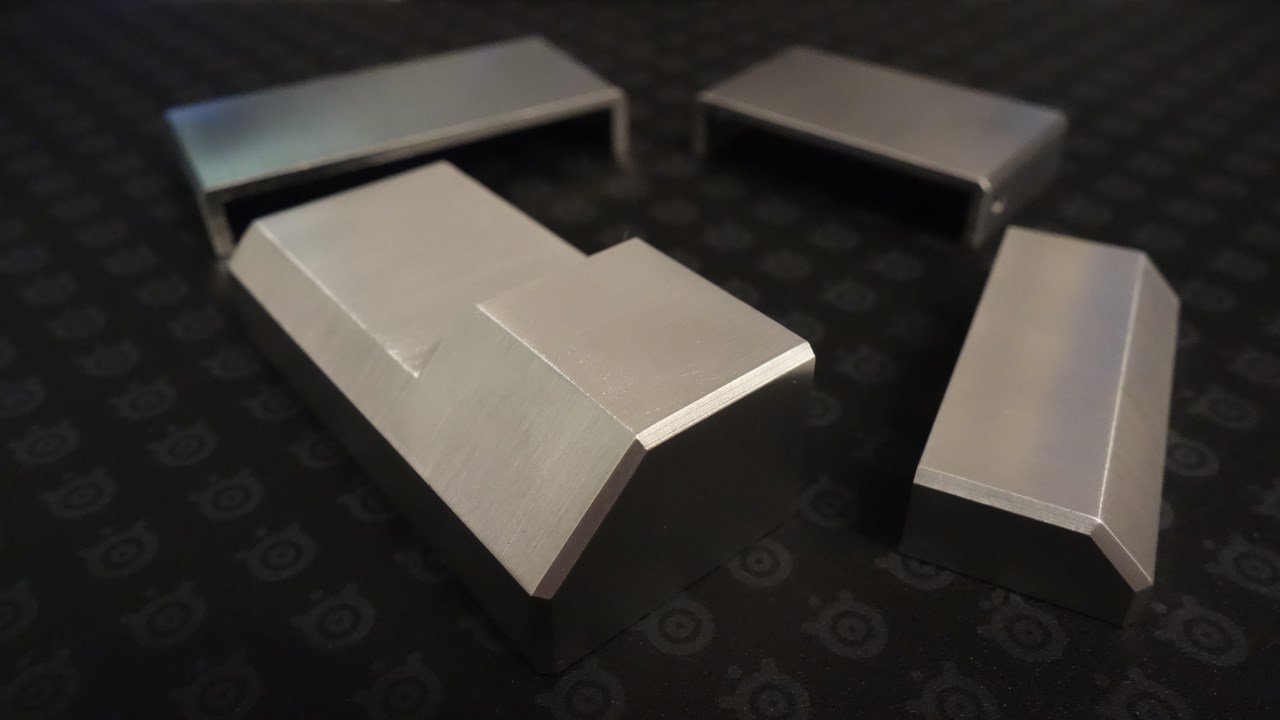
Me and my project are still alive! Family and job kept me busy, this won’t change for the next weeks. But I managed to get into the workshop for one day and worked on some covers for SATA and system cables. They’re milled from aluminium and brushed with sand paper. First draft was quite more easy, but while milling them I got new ideas about the design and in the end they got really extensive to mill. Picture quality is low due to the light conditions, but I did not want to hold back this small progress.


I’m a little bit annoyed of my slow progress, but there’s no escape from real life J

Time to mount the motherboard again:


Now it’s easier to understand how the covers for SATA and system panel are meant to work out.


The backside shows the biggest progress:


I build an aluminium-holder for my 2 SSDs. Surface has to be sanded yet.


Aquaero and both Farbwerke found a place, too. Now I’m planning how and where to fix the cables.


And there’s still a lot of work to do on the case itself.
 
Sorry for the bad picture quality, I’m using an old camera till I’m going to get my good camera back next week.
I soldered the LED-stripe for my reservoir:


Then I soldered the power connection fort he GPU. Had to use glue to hold the wires together so I was able to mount the cover.


Had to test it immediately:


Next step were some very time consuming work steps for the case: first step was to apply a primer.


I glued all thread inserts into the MDF plates. Needed the extra power for the next step: I filled up all the back sides of the thread inserts.


They need to get sanded. I then worked on the lower platform. Cut it in half and used four hinges to get a swinging function free from backlash.


Next step will be a lot of sanding!
 
That is a lot of work. Great craftsmanship. I can't wait for final build. :D Impressive job.
 
Thanks!

On the side panel I glazed all parts which are not going to be covered by foil.


Then I mounted the side panel to check if it fits. I switched its position a little bit to the inner side to get the whole case covered by the plate. I used special mandrils to mark the spots for the wood plugs.


Sidepanel in place und looking good!


Small gift for myself:


My old X-Fi Extreme music isn’t supported any longer, and uses the old PCI port. Changing it later would mean to have to rework one of my selfmade covers.

Yesterday I made two very annoying mistakes. I forgot the resistors when I soldered the reservoir-LED-stripe. After realizing this, my plan was to solder the resistors into the extension cable. But yesterday I forgot about it and tested the LED-strip. It exploded! Good for me, all fragments flew into another direction. I build a new LED stripe late in the evening with included resistors. Tested it today, and what should I say? I mixed up blue and green at one of the LEDs. So I have to do this LED-stripe a third time…


Yesterday I made two very annoying mistakes. I forgot the resistors when I soldered the reservoir-LED-stripe. After realizing this, my plan was to solder the resistors into the extension cable. But yesterday I forgot about it and tested the LED-strip. It exploded! Good for me, all fragments flew into another direction. I build a new LED stripe late in the evening with included resistors. Tested it today, and what should I say? I mixed up blue and green at one of the LEDs. So I have to do this LED-stripe a third time…
As an electronic engineering masters student I feel your pain :rollinglaugh: Why can't they label them!!
 
You're welcome!

The "cellar" still has to be done. It's an air duct between both radiators. The 60 mm radiator is ready for mounting.


I'm using HDF-plates for building the duct.


I'm using inline-temperature-sensors at the in- and outlet of the radiators. Had to do something with the stock cables.


The lower part of the reservoir is finished.


Same for the upper part.


My lord this just gets better..

Work like this makes my OCD happy. :)
dsc00357hosnl.jpg
 
Thanks guys!

The res on its place:


Lead-trough with a set off for a cover


Air outlet for the power supply:


Connection panel for the radiators:


Extensions for power and network:


Way better looking with cover:

 
Back
Top