You are using an out of date browser. It may not display this or other websites correctly.
You should upgrade or use an alternative browser.
You should upgrade or use an alternative browser.
Project Steel within
- Thread starter Perturabo
- Start date
yassarikhan786
New member
Amazing hardware and it's awesome to see an update (finally
 )
)
Hey guys, does anyone know if it is possible to edit threads in this slimmed down version of the forum? I cant find a way to update my post and I dont want to have most of the build log in one post and then a few at the end :S
Also if anyone knows where I can get a male and female usb 3 header or a right angled header please let me know as I think I am going to need to use a custom cable for this to all fit together.
Also if anyone knows where I can get a male and female usb 3 header or a right angled header please let me know as I think I am going to need to use a custom cable for this to all fit together.
yassarikhan786
New member
I think any posts made before the hacking debacle cannot be edited. I say this because the last post above yours has no edit option and my latest post does.
EDIT: I think also with the temporary forum software we can only post 4 images per post.
EDIT: I think also with the temporary forum software we can only post 4 images per post.
yassarikhan786
New member
Cheers for the info, I cant even edit posts from after the hacking either...I guess I will be saving up for a big update later then. Or I could try and make a video update and shove it on youtube?
I think you can only edit for a limited amount of time as I've edited some my posts after a couple of minutes. The edit option seems to disappear after a bit
Josh Weston
New member
Hopefully that can be added to the list of changes that need to be made to the new forums.
Hey guys, thought I would just post something to let you know whats happening. The mod is progressing and I have all my WC parts on order from various places and in transit  I cant post anything yet since at the moment I can't edit my original post where the rest of the log is. However the photos are heaping up for a nice big update when it is possible.
yassarikhan786
New member
Hey guys, thought I would just post something to let you know whats happening. The mod is progressing and I have all my WC parts on order from various places and in transitI cant post anything yet since at the moment I can't edit my original post where the rest of the log is. However the photos are heaping up for a nice big update when it is possible.
Looking forward to it
Well looks like the edit function for older posts isn't coming back so the build log continues here. So after quite some time since a last update, here goes!
So for things to live in this desk they need cable holes, so some drilling and Jigsawing later...
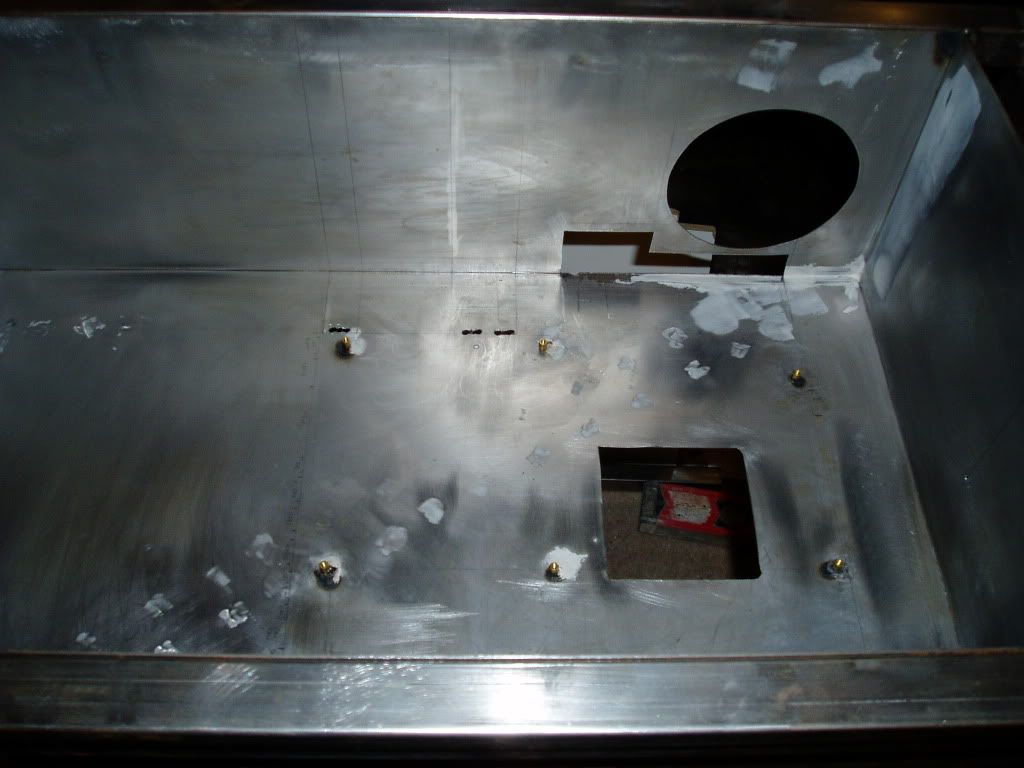
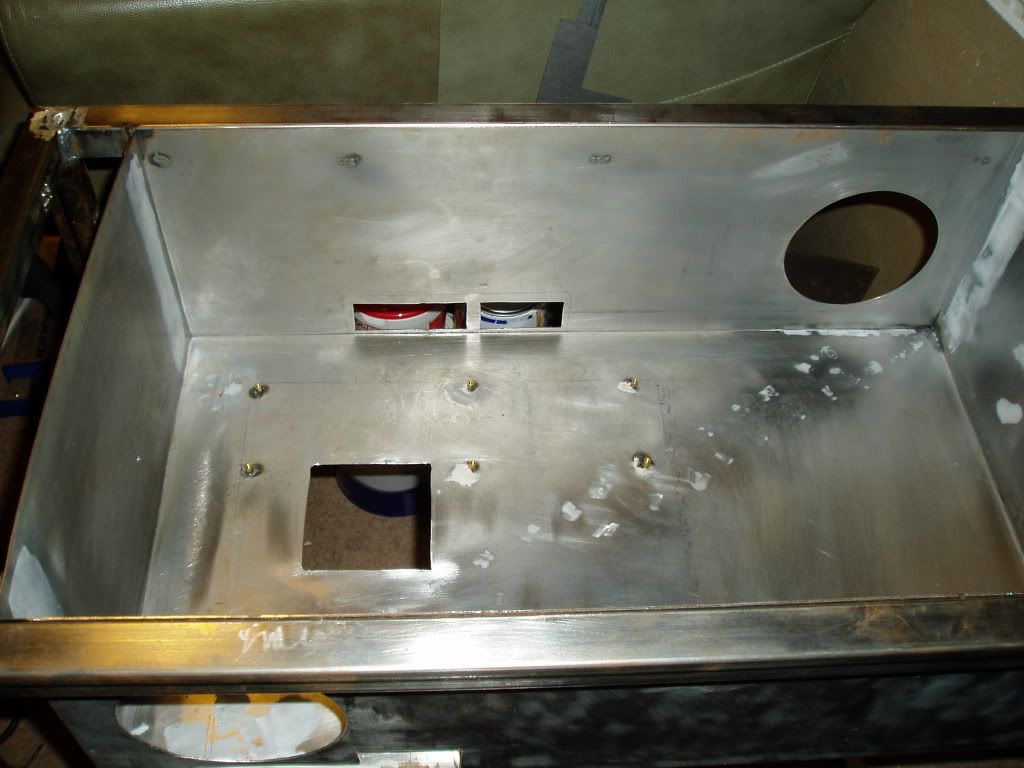
Excellent, holes for cables to mobo now in. So in with some other bits to test fit and more hole cutting!
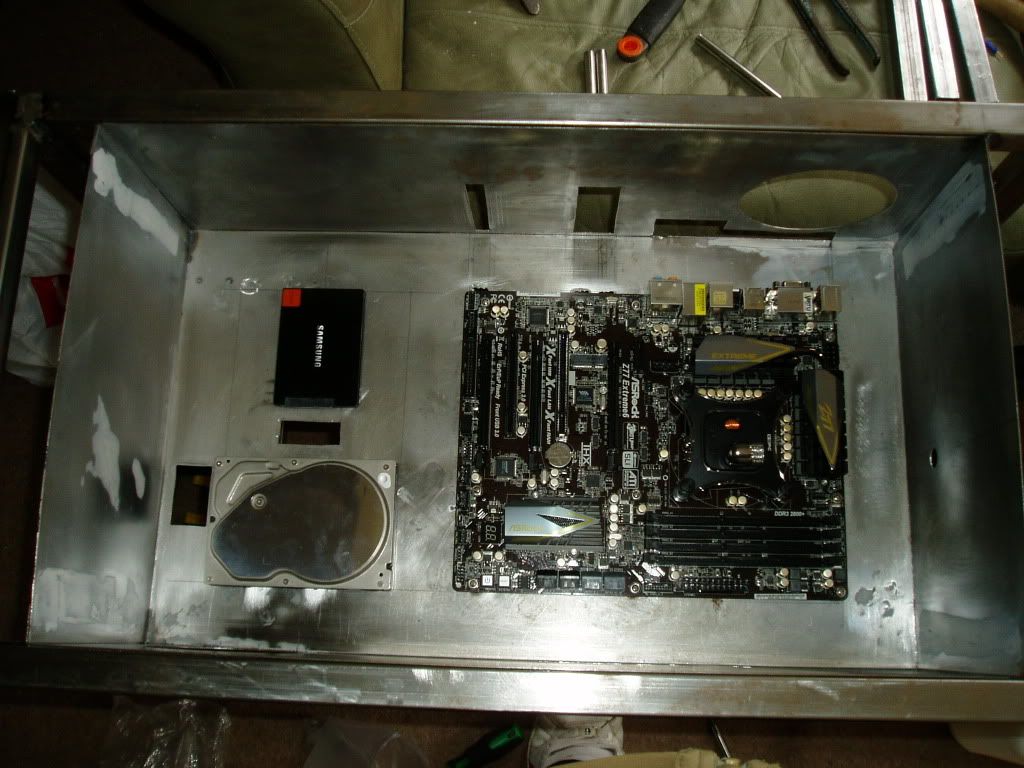
Now we have holes for the graphics card, sound card and storage.
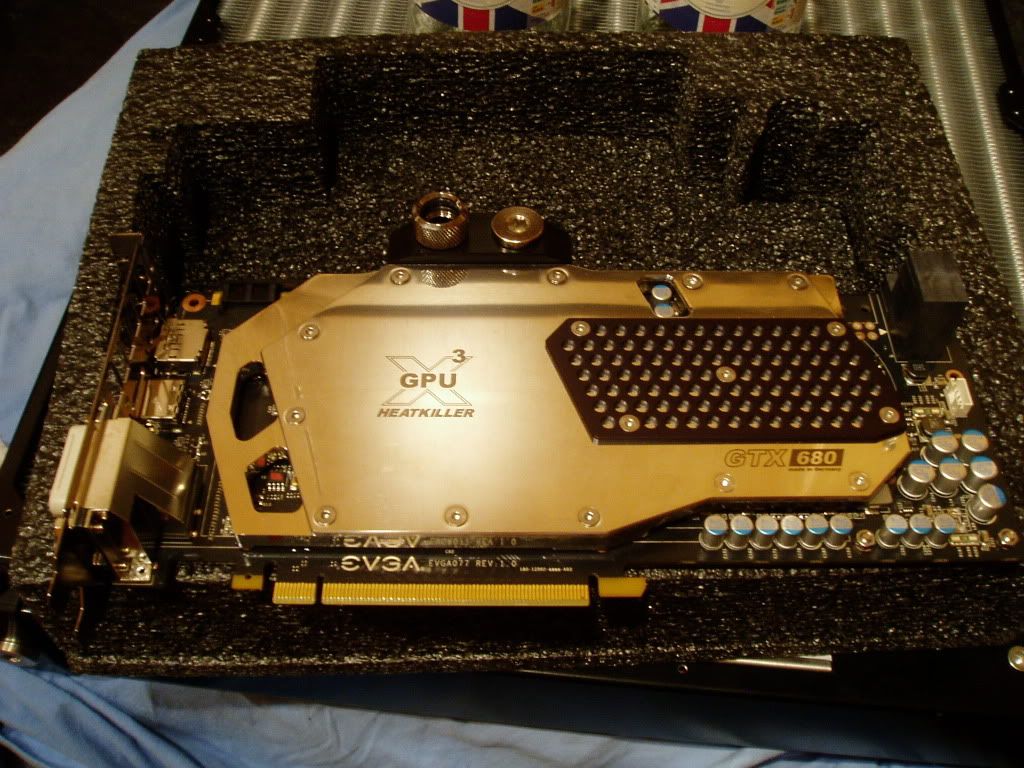
Time to get the 670 out of its old plastic home into something a little sexier! Absolutely love the watercool backplate.
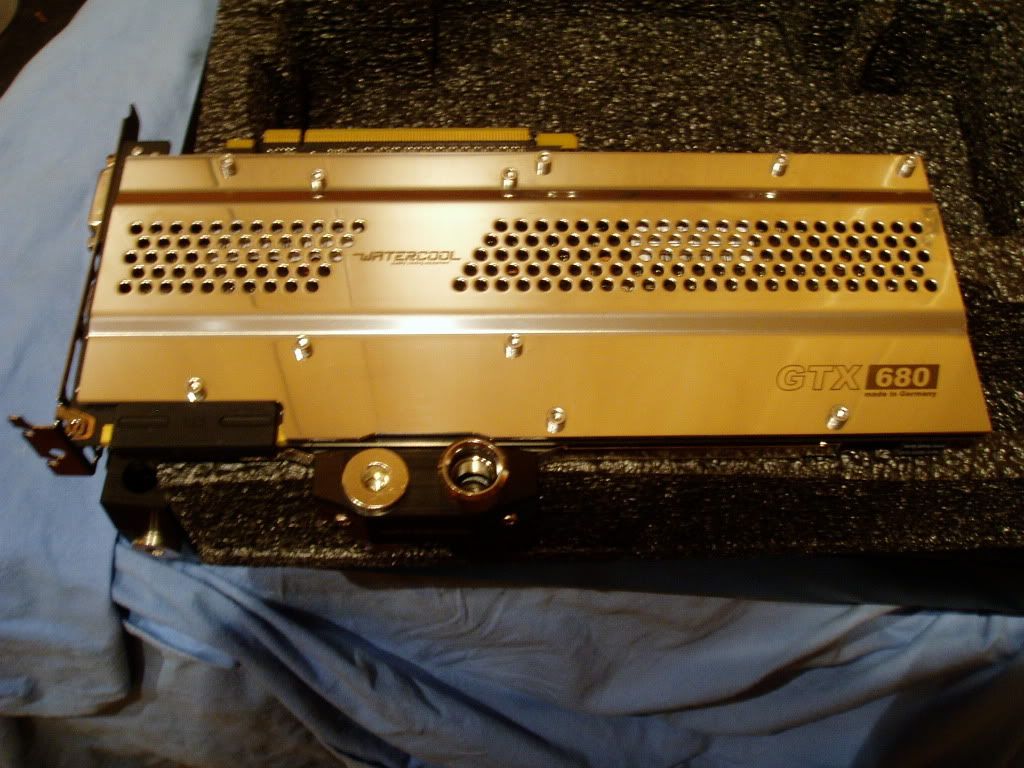
And on the other side some more watercool mechandise, lovely!
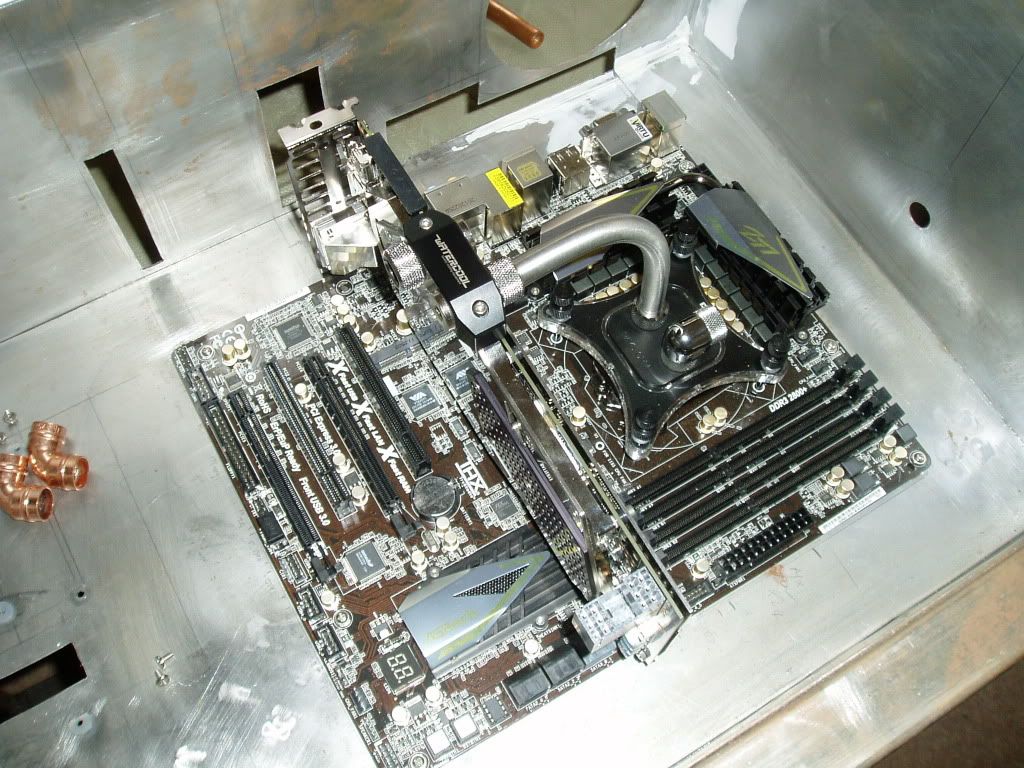
Now the card is looking beautiful it can climb on into the desk again along with my first piece of equally lovely stainless steel pipe Metal looking particularly rusty here, sanding all of that down was easily the most exciting weekend ive ever spent.
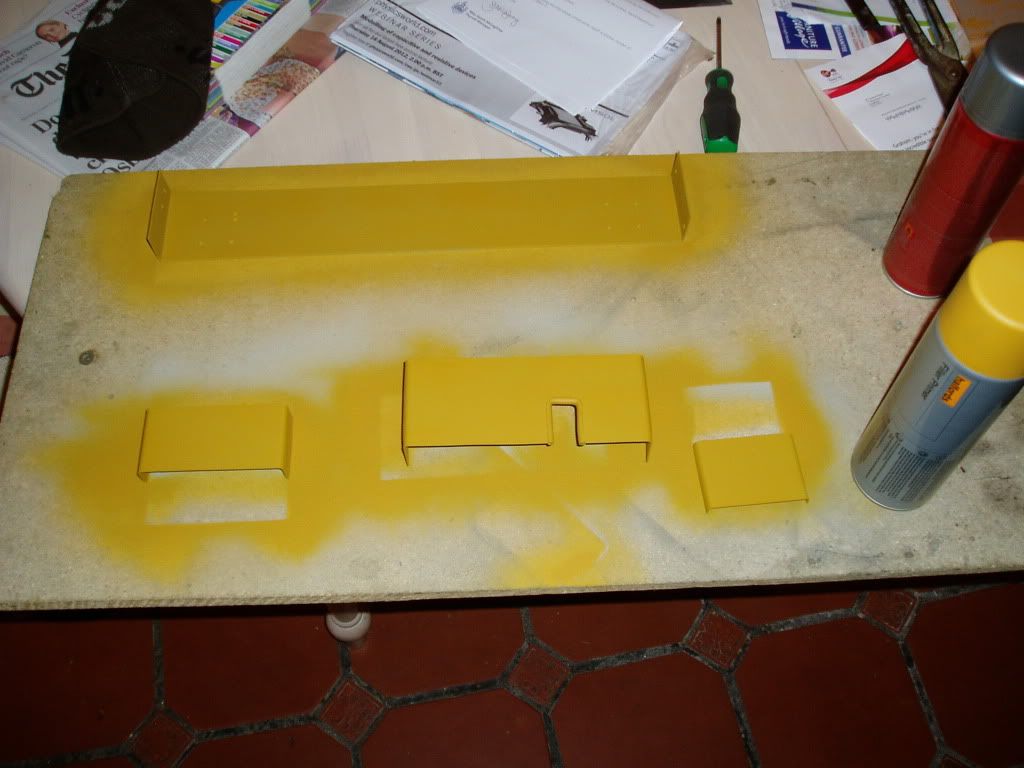
All those lovely gaping holes I've cut for cable routing clearly need tidying up, here are a few of the covers ive made after a coat of primer. Lovely.
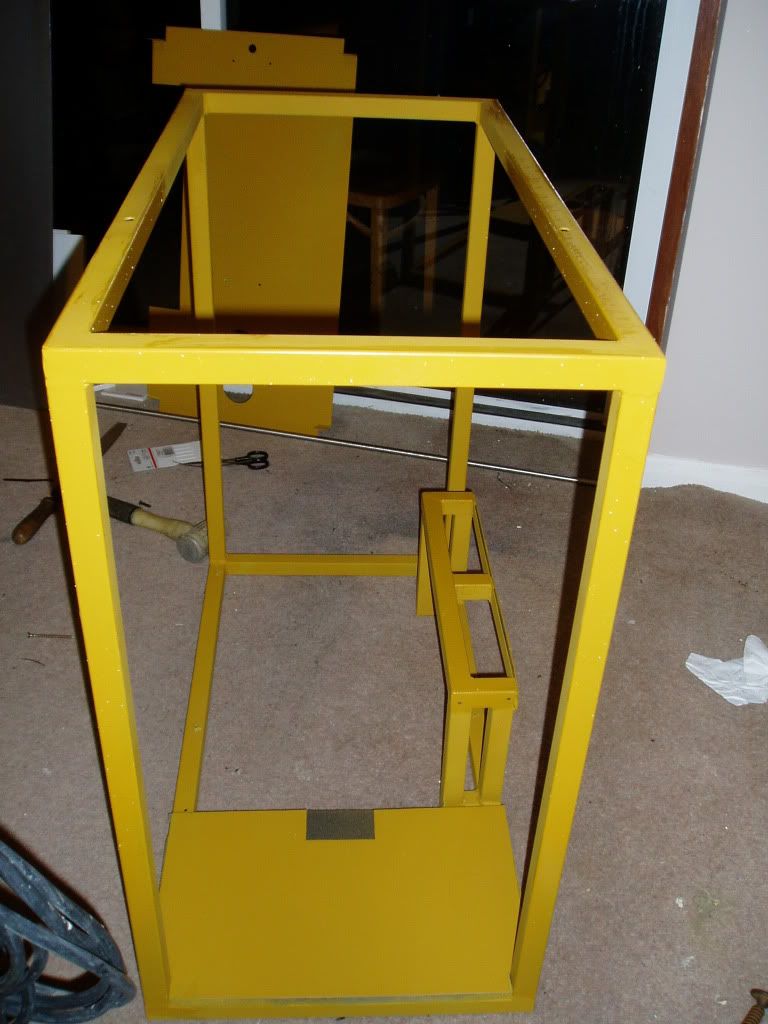
Having gone through hell to remove all that rust I thought it best to get some paint on the frames to avoid punishing myself with more sanding in the future. All this yellow primer really put me off my colour scheme. Black and silver seems like a much nicer prospect and involves far less painting.
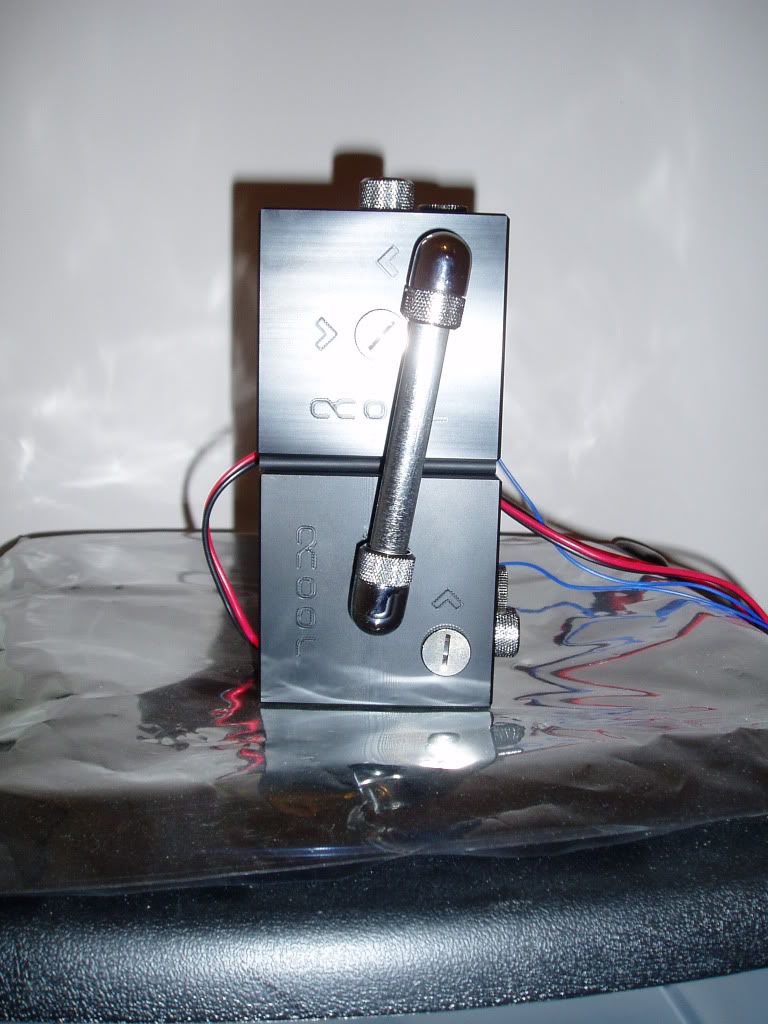
To fit in that hole at the bottom of the previous frame we have a pair of D5 pumps with alphacool tops joined by bitspower shining silver sli fittings/rotary fittings. Should do the job nicely.
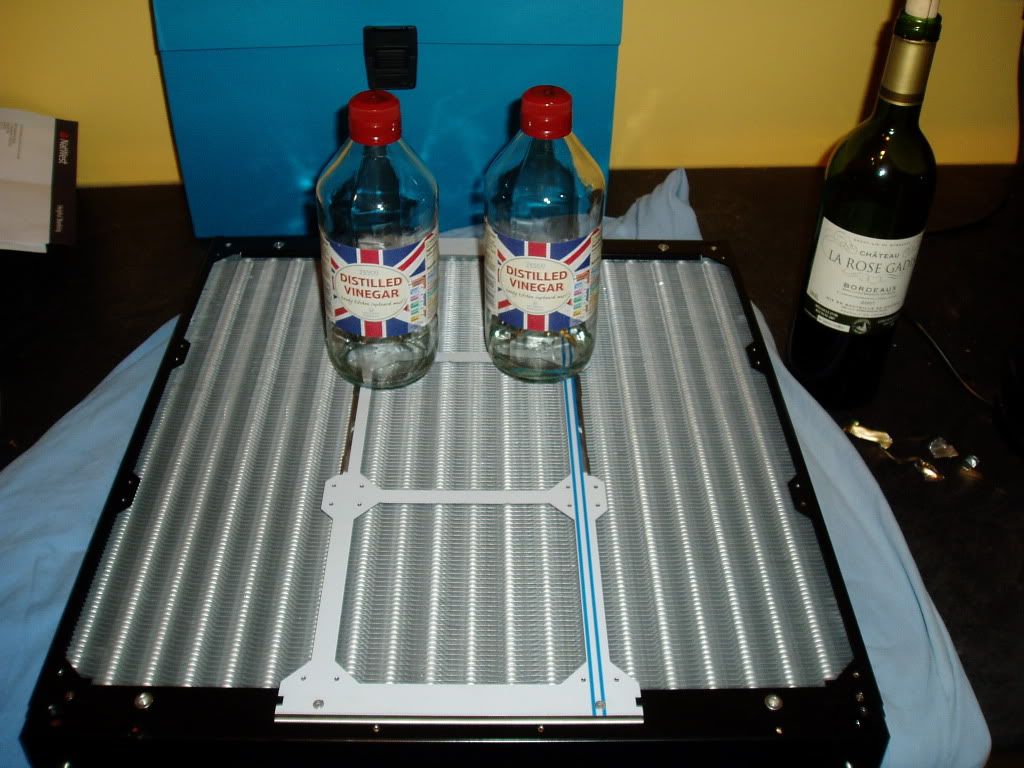
Next I felt my kitchen smelt far too sweet so I filled my rad with a litre of vinegar and went to work. On returning that situation had been soundly dealt with I can assure you. It also removed some slightly unpleasant looking flux from on draining, which I am glad will not be entering my loop.
Slightly out of chronological order but here is the test fit for the rad, pumps and res. Seemed to work out ok, should look pretty smart once it has some paint on it.
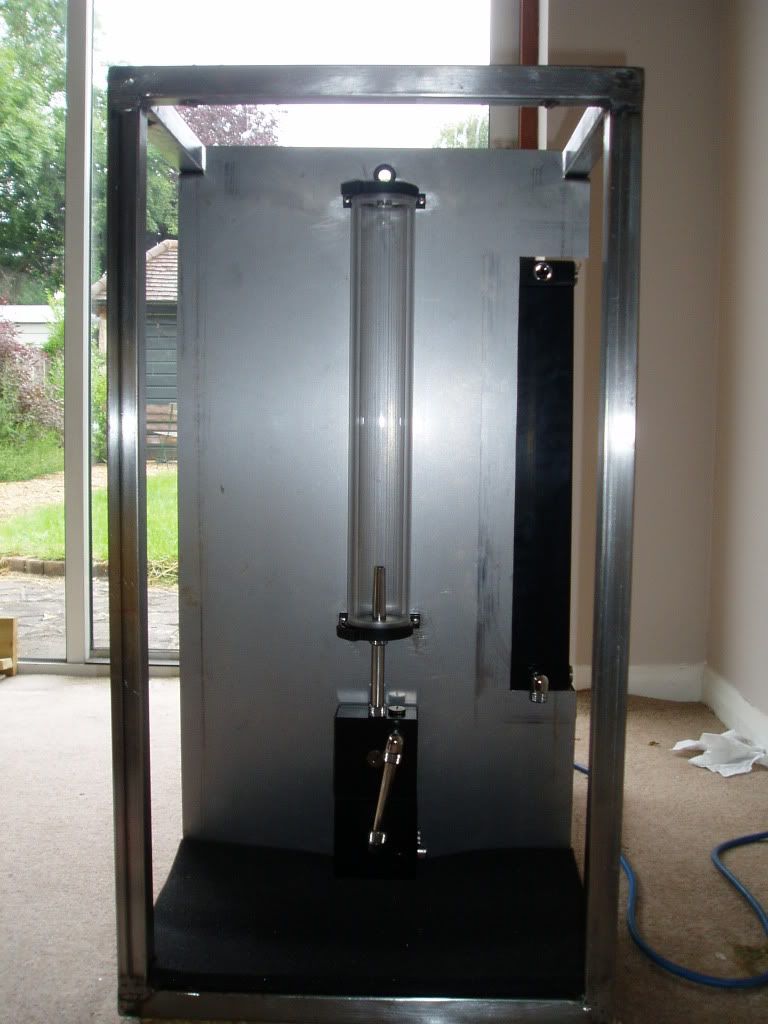
Component side is all piped up and ready to go, a few cosmetic bits missing but at this stage it is technically functional at last. I think the black paint came out pretty well, looks a bit crap in the grainy photo so you will have to trust me that it looks better in reality.
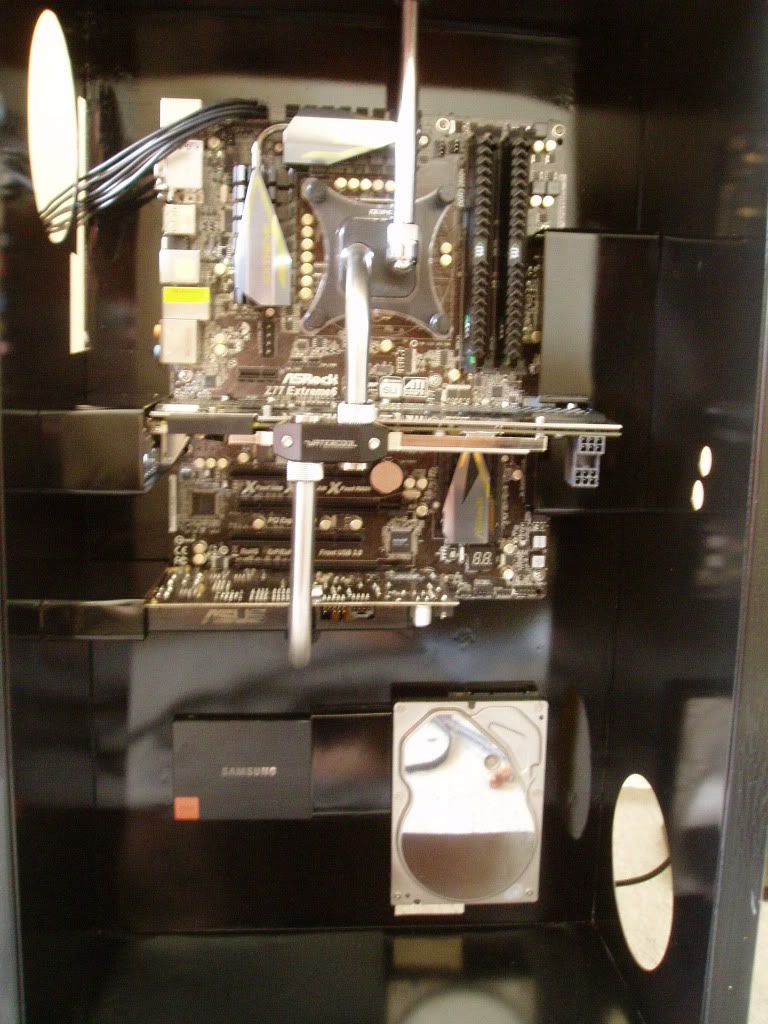
Same on the pump side, again paint looks a bit rough thanks to the camera.
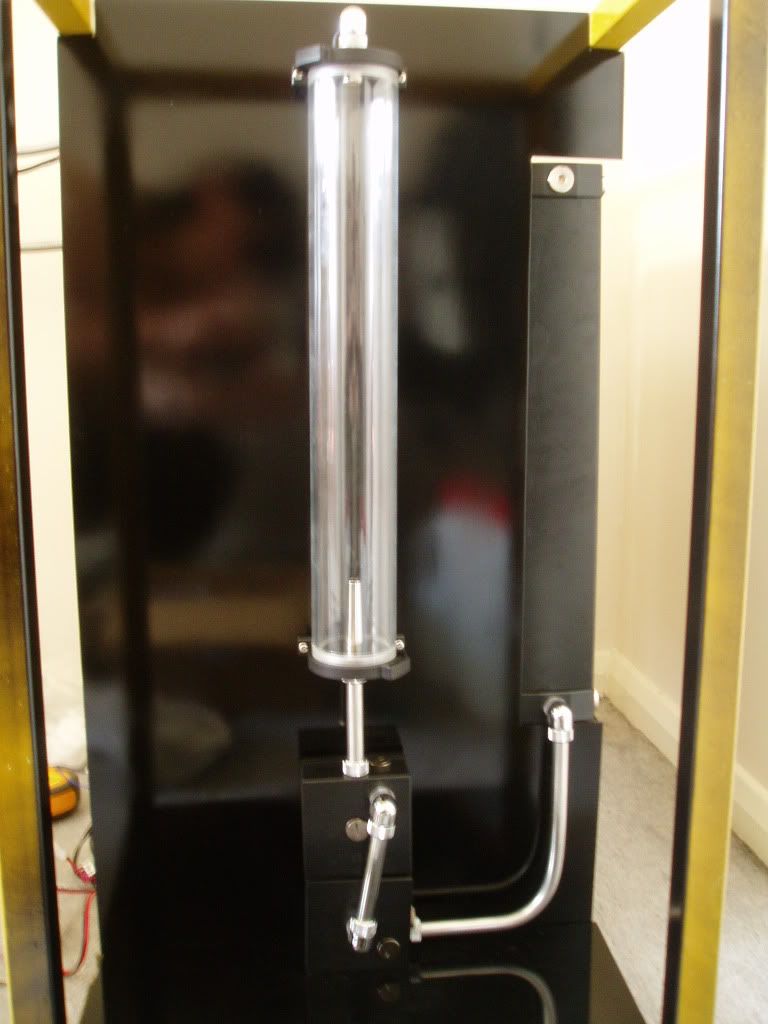
Finally a look at the whole thing as it stands. Can just see one of the 9 phobya black silent fans on the right, which I have been very impressed with. Especially considering i got 9 for £50. Can only hear moving air so very quiet. Once I get the sides on I might not even be able to hear that. Behind the scenes the rest of the plumbing is a mixture of 15mm copper, compression fittings and flexible shower hose. The fill port consists of a T junction with a blank.
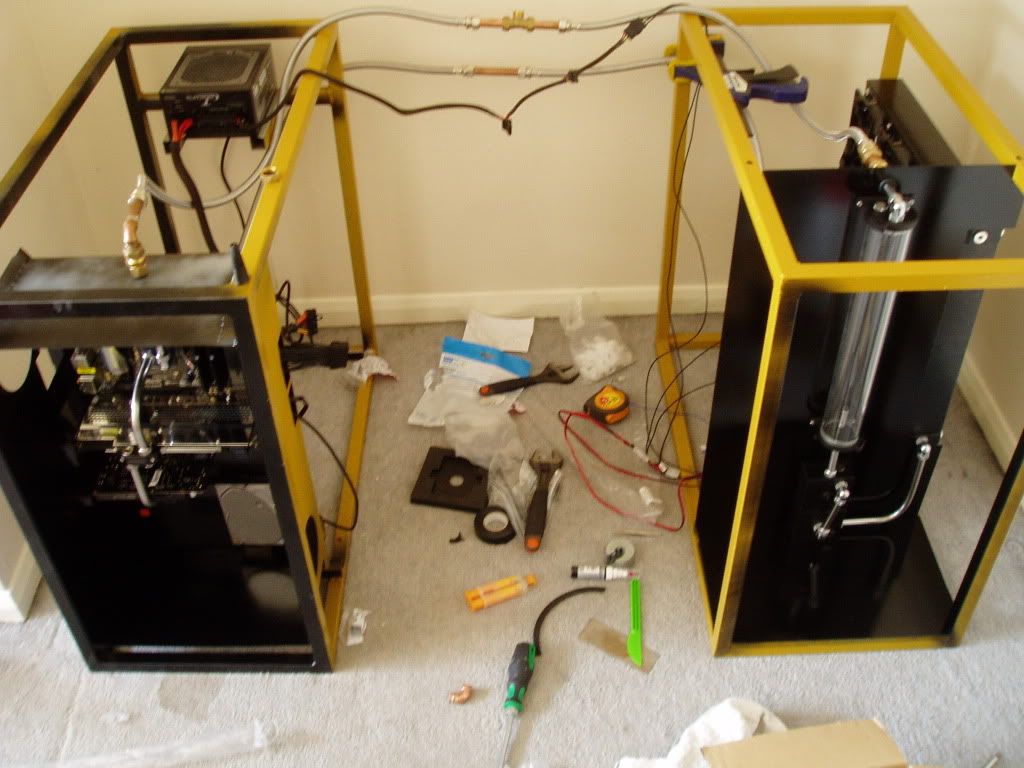
Wiring is looking a little heath robinson at the moment and nothing is really held in place at the back but this is all minor stuff now. Last night I leak tested without issue and am typing this using the system right now GPU is idling at 22C and CPU at full load 30C. Next I want to do some OCing and see what this thing can do!
So please let me know what you think, and feel free to criticise, its all appreciated.
So for things to live in this desk they need cable holes, so some drilling and Jigsawing later...


Excellent, holes for cables to mobo now in. So in with some other bits to test fit and more hole cutting!

Now we have holes for the graphics card, sound card and storage.
Time to get the 670 out of its old plastic home into something a little sexier! Absolutely love the watercool backplate.

And on the other side some more watercool mechandise, lovely!

Now the card is looking beautiful it can climb on into the desk again along with my first piece of equally lovely stainless steel pipe

All those lovely gaping holes I've cut for cable routing clearly need tidying up, here are a few of the covers ive made after a coat of primer. Lovely.

Having gone through hell to remove all that rust I thought it best to get some paint on the frames to avoid punishing myself with more sanding in the future. All this yellow primer really put me off my colour scheme. Black and silver seems like a much nicer prospect and involves far less painting.

To fit in that hole at the bottom of the previous frame we have a pair of D5 pumps with alphacool tops joined by bitspower shining silver sli fittings/rotary fittings. Should do the job nicely.

Next I felt my kitchen smelt far too sweet so I filled my rad with a litre of vinegar and went to work. On returning that situation had been soundly dealt with I can assure you. It also removed some slightly unpleasant looking flux from on draining, which I am glad will not be entering my loop.

Slightly out of chronological order but here is the test fit for the rad, pumps and res. Seemed to work out ok, should look pretty smart once it has some paint on it.

Component side is all piped up and ready to go, a few cosmetic bits missing but at this stage it is technically functional at last. I think the black paint came out pretty well, looks a bit crap in the grainy photo so you will have to trust me that it looks better in reality.

Same on the pump side, again paint looks a bit rough thanks to the camera.

Finally a look at the whole thing as it stands. Can just see one of the 9 phobya black silent fans on the right, which I have been very impressed with. Especially considering i got 9 for £50. Can only hear moving air so very quiet. Once I get the sides on I might not even be able to hear that. Behind the scenes the rest of the plumbing is a mixture of 15mm copper, compression fittings and flexible shower hose. The fill port consists of a T junction with a blank.

Wiring is looking a little heath robinson at the moment and nothing is really held in place at the back but this is all minor stuff now. Last night I leak tested without issue and am typing this using the system right now
So please let me know what you think, and feel free to criticise, its all appreciated.
yassarikhan786
New member
As I've said before I love the shade of yellow, it looks absolutely awesome. The black paint and metal tubing also looks fantastic. Can't wait to see more 
andrevautour
New member
Amazing project!
