Project Tight "used to be" Tight
Ok so after asking around alot, watching some vids, searching google like mad. I have come to the conclusion that YES! the MB will fit in my scout case BUT! their are a few issues.
So whats the project then? well basiucaly it was time to stop being lazy and keep telling my self that the system will be fine for anougher year or two. And go and spank down some cash on a new system.
now when I built my current system a few years back. it was done cheaply.
The specs:
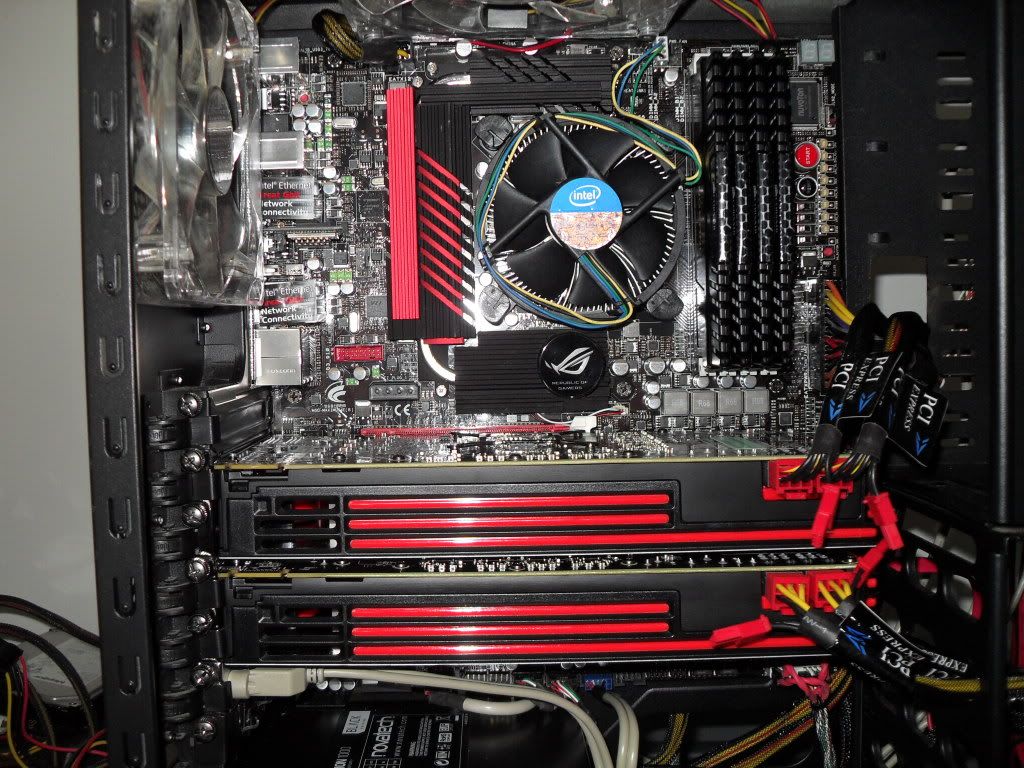
Gigabyte M52 boared
Novatech none branded Nvidia 9800gt
AMD Athlon X2 7750 black edition
2 gig of OCZ 800mhz ddr2
80gig IDE hdd
250gig Sata hdd
now the reason it has taken me so long to upgrade is because the damn system refuses to NOT play something. even crysis and metro 2033 on full settings it still puts out 30-45fps.
But its time i gave this system to my 6 year old and got a big boy computer for my self.
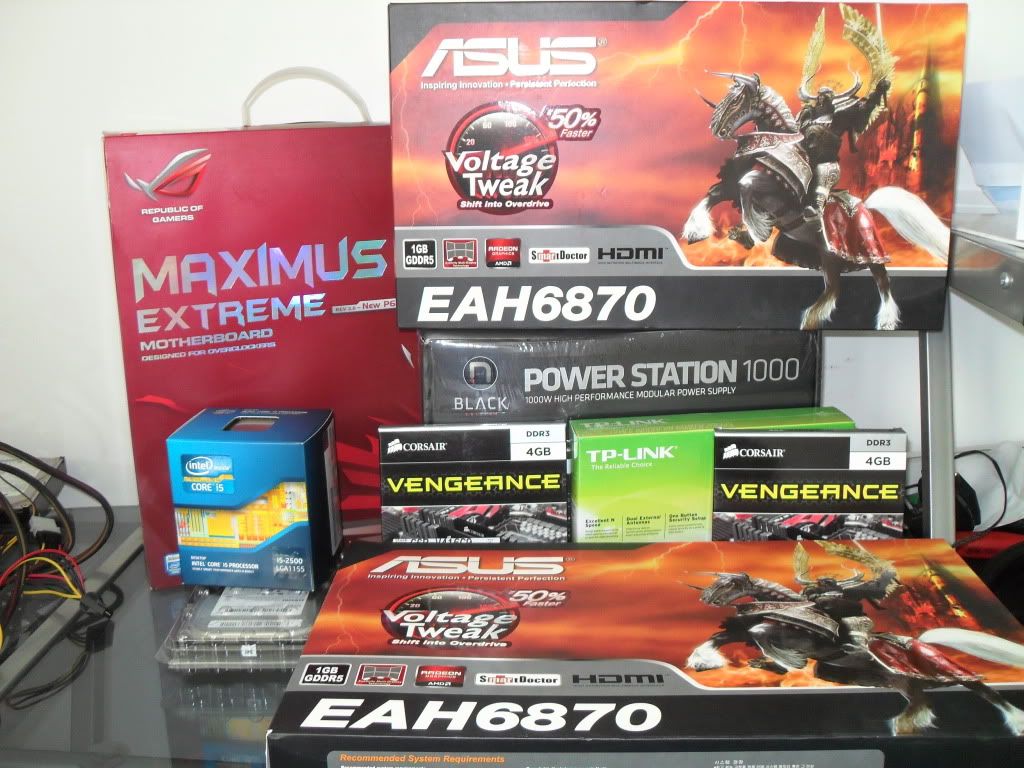
So the specs of the new machine.
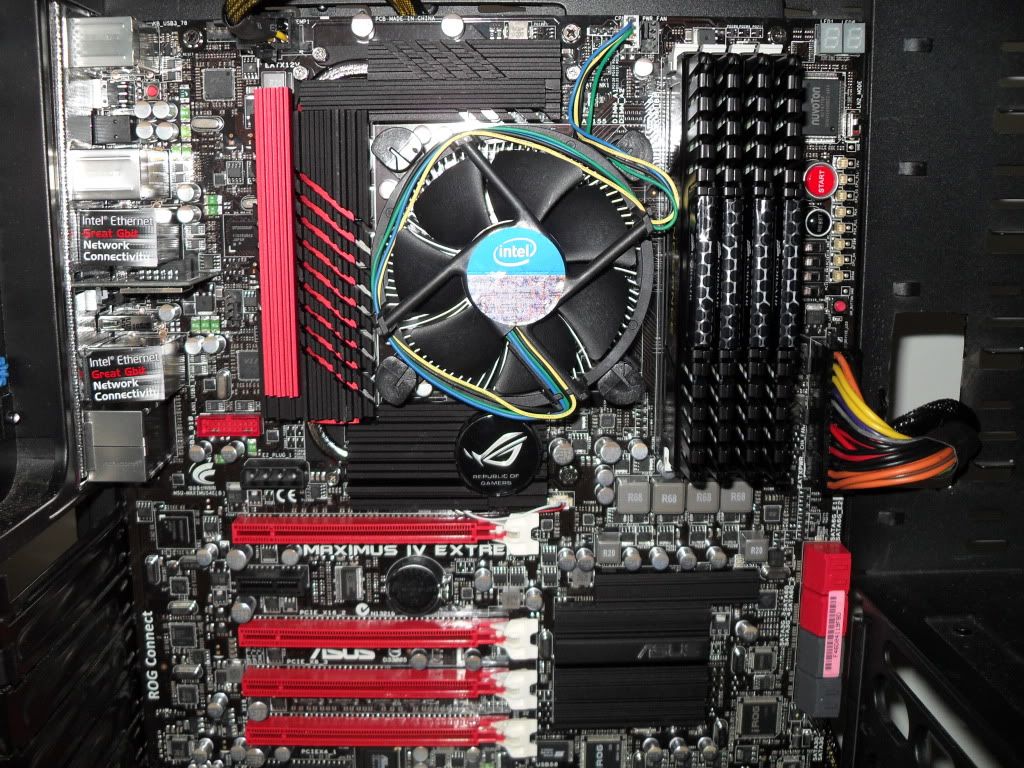
Asus Maximus IV extream
intel i7 2600k ( first intel chip I have ever owned EVER! )
8-16 gig of corsair vengance 1600mhz ram
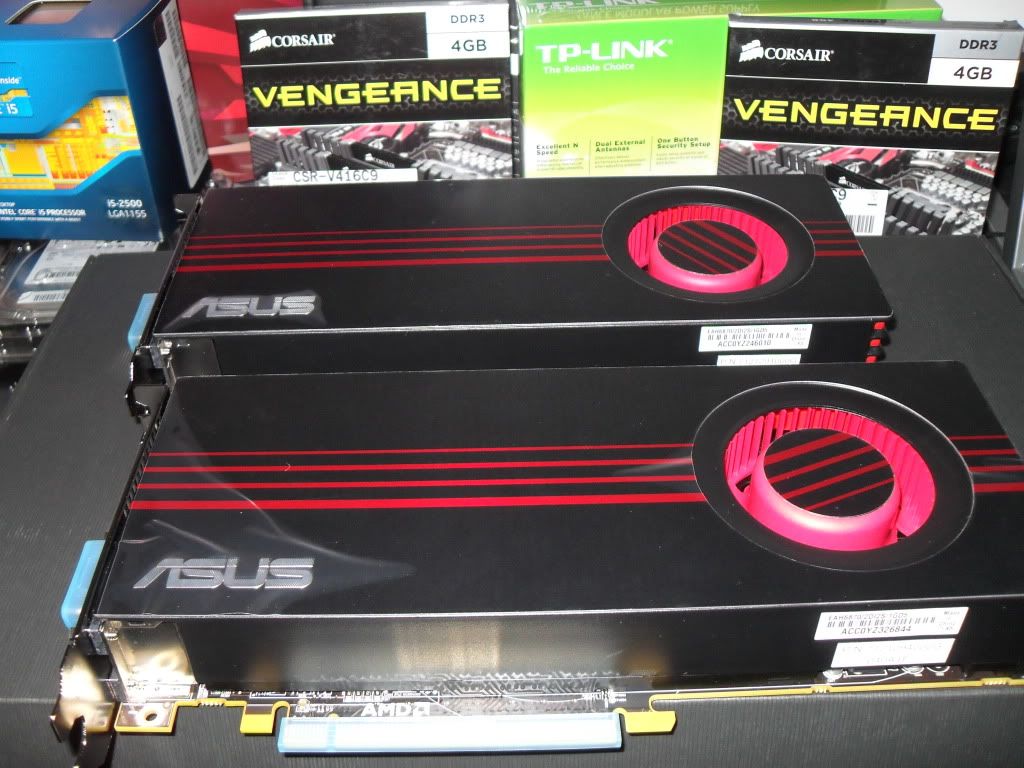
ASUS 6950 (with 6970 bios flash) OR 2X XFX 6870's in cross fire, still undisided here.
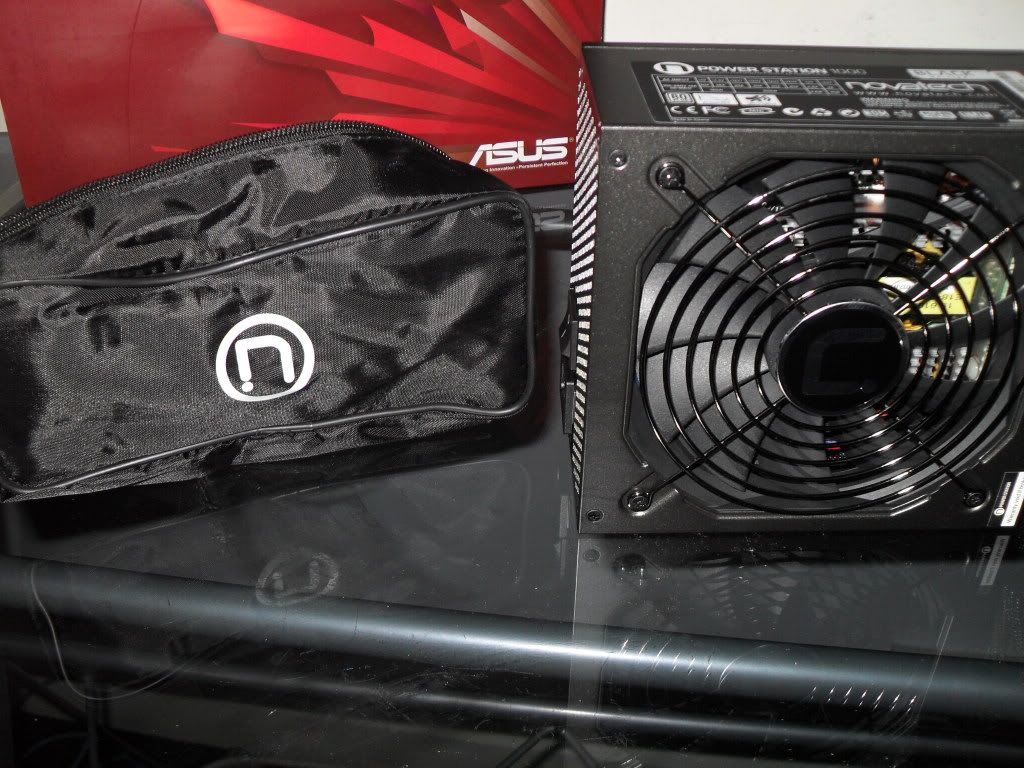
Novatech 1000watt powerstation PSU. (this has had great reviews and at £100 its on the bargain side)
2X 40gig OCZ SSD in raid 0
2X 500gig WD 500gig HDD in raid 0
Im hoping this should give me a nice boost in performance for my gaming and all round use.
The problem
My case. I love it and dont want to part with it. It is a CM storm scout case.
Problem I have is that the maximus is an oversize boared, however it will just fit. And the case needs a few mods in order to route cables ETC.
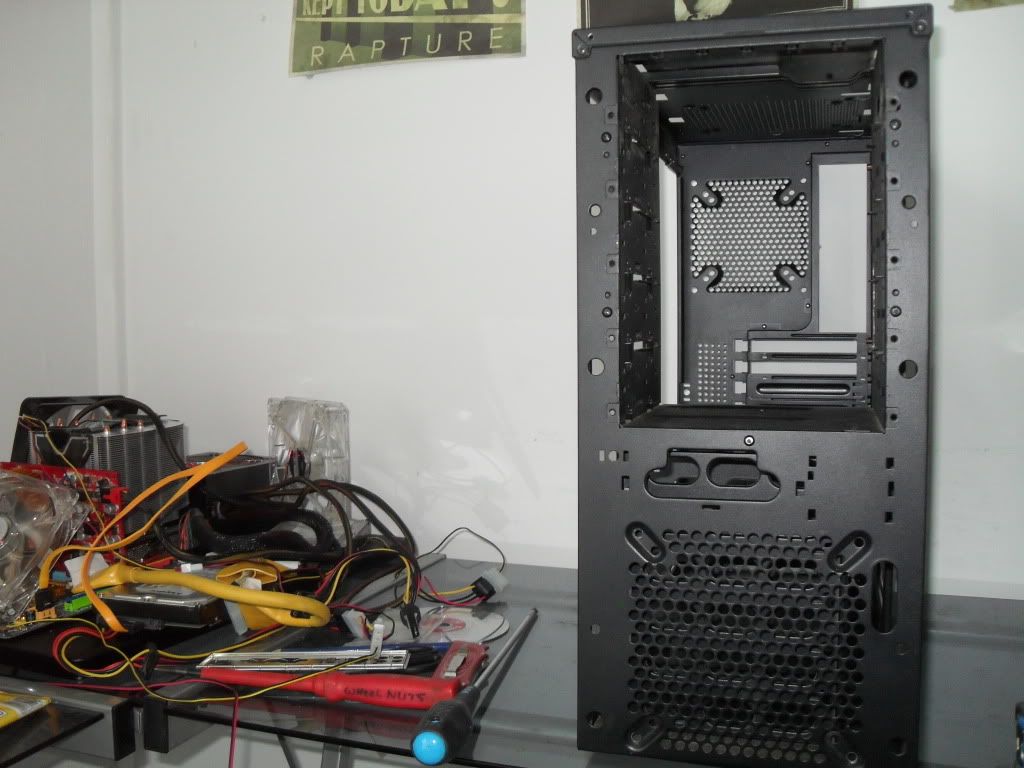
So first job. strip the case down to nothing and then start the dremmel up.
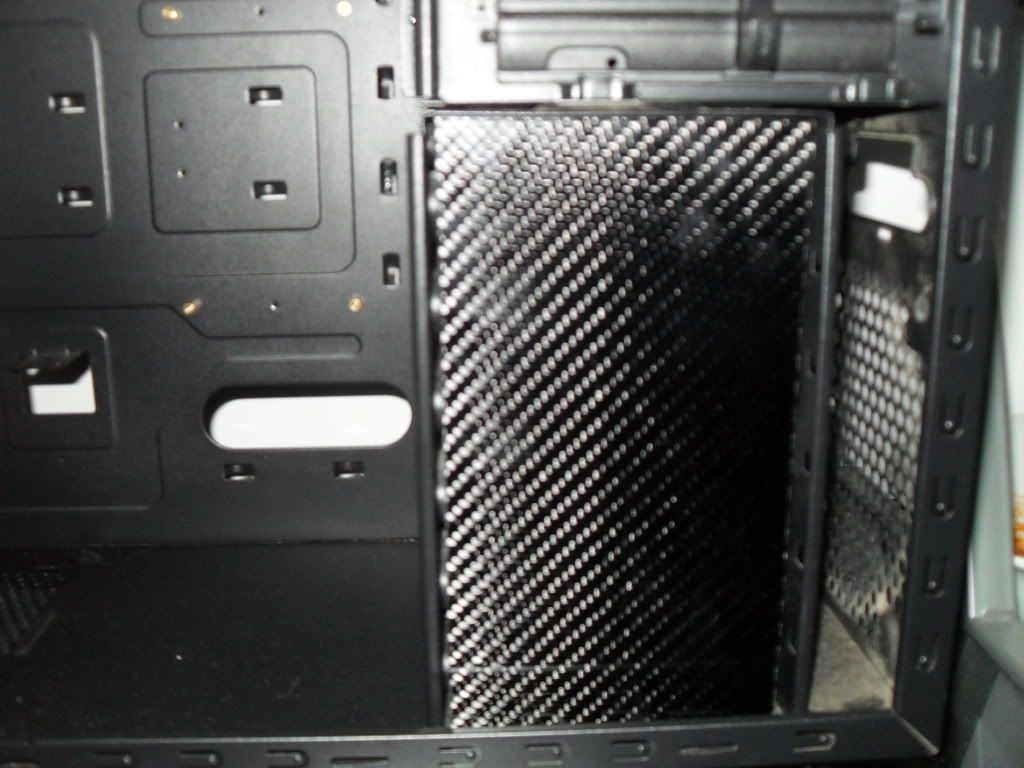
this is the scout when it is totaly naked.

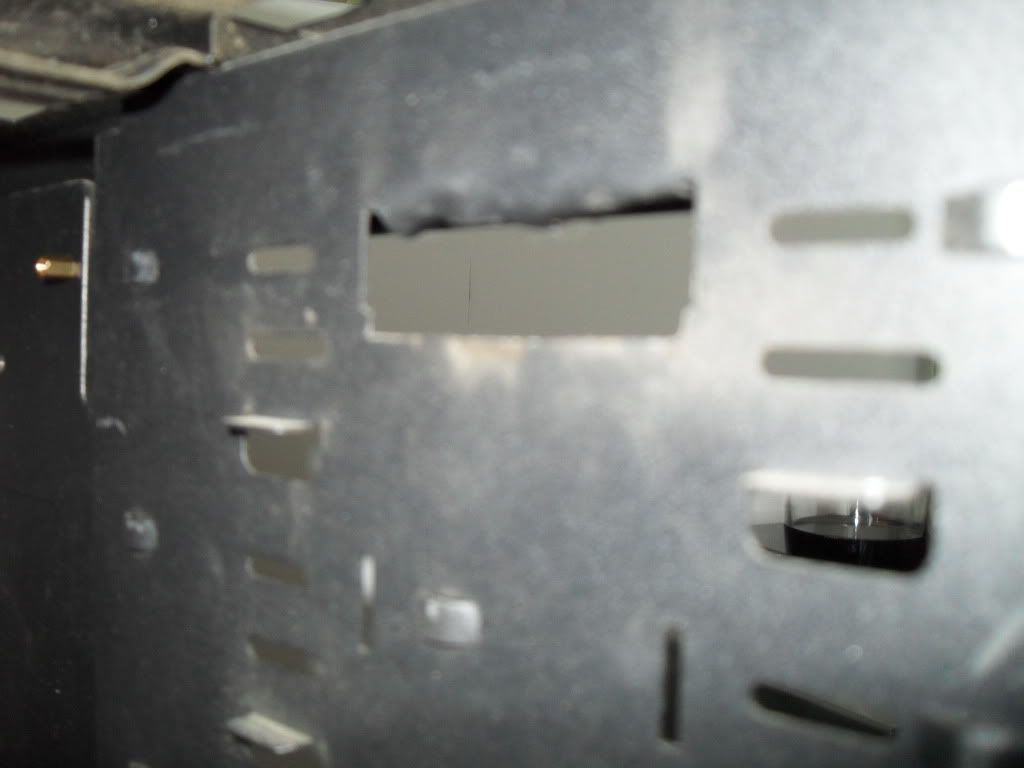
As you can see from this next picture I have cut a hole in the drive may storage. this is for the MB powersupply to come through.

And also cut a hole at the top of the drive bay to allow the front panel connections to drop down through.
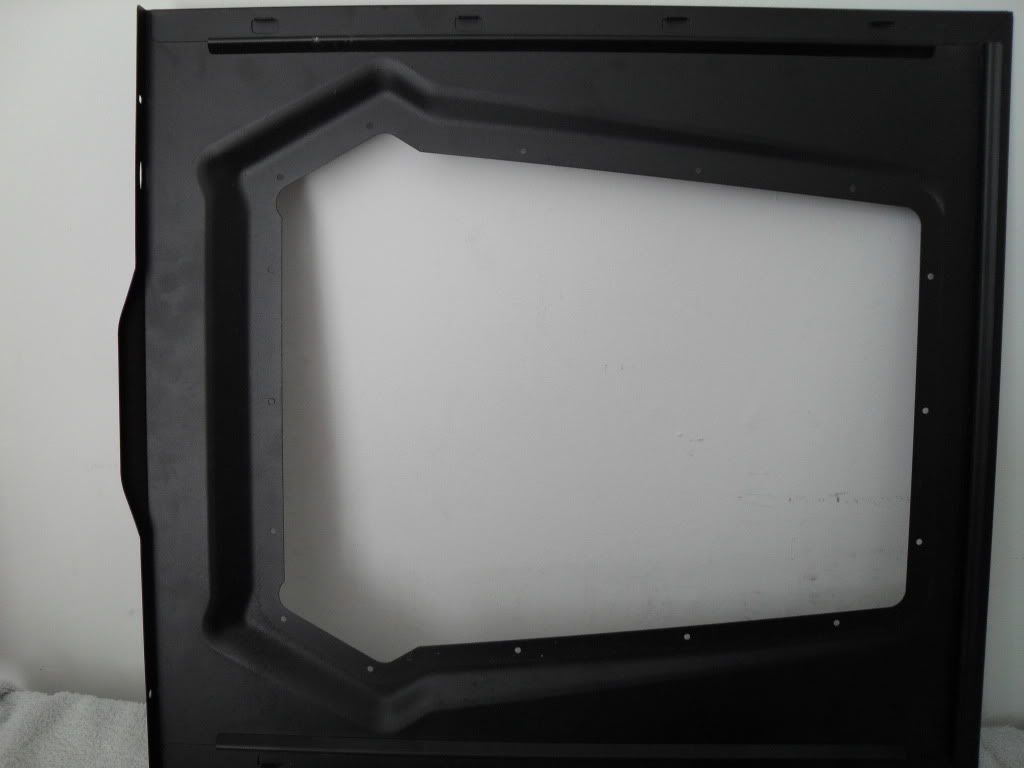
Now i just need to wait for my edings to arrive and clean it up a bit. and hopefully that should be it for cable management.
Anougher problem that has presented itself is if I dont cut away some of hdd enclosure, I will actualy block off 2 of the 8 sata ports. not realy a problem, but these 2 happen to be 2 of the 6gps connections. but without the boared here this will have to wait, till i can do a mockup of the boared in place.
Next issue, well its more of an annoyance realy. the large hole on the motherboared tray, is slightly off to the where the new intel 1155 cpu socket is. so the access to the back of the boared will be restricted, and means having to remove the MB in order to change a cooler. Not realy a problem but like i said an annoyance.
so any ideas and help is greatly appreciated along the way with the build. ie the spec i have chosen etc.