Project - Feuer und Wasser

equk

New member
Project - Feuer und Wasser

logo.jpg


I've been planning this project for a while and the case came today
smile.gif


The plan is to have a watercooled case with a 360 & a 240 radiator.

Cost Sheet

fw_costing.png


Sketchup design

equk_case_02.jpg


The case

2010-08-20%2012.26.31.jpg


done:

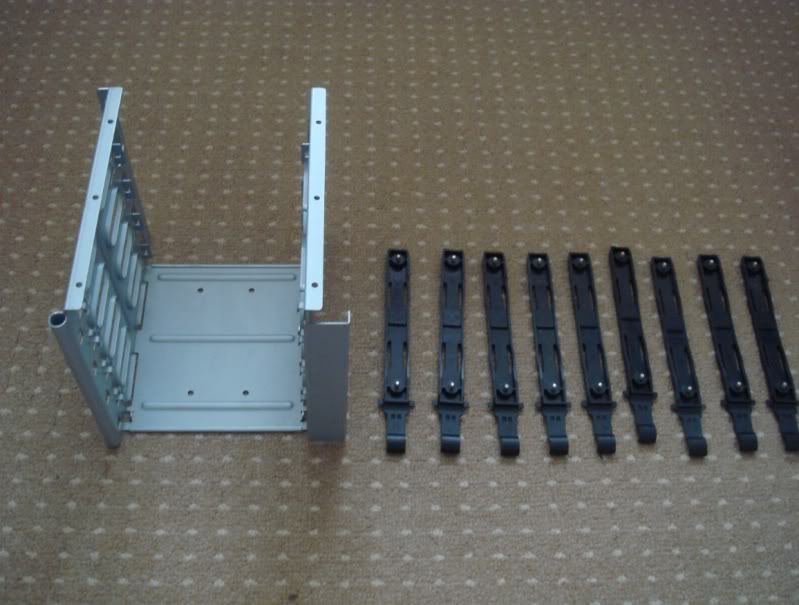
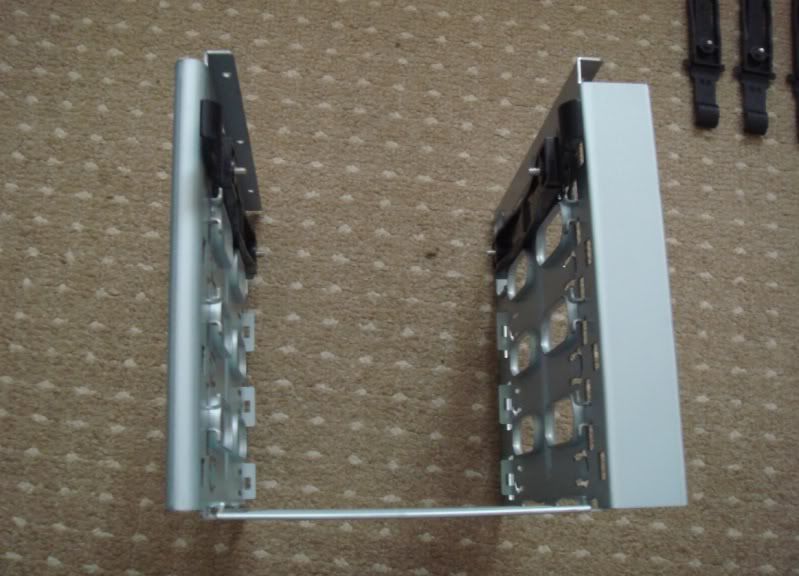
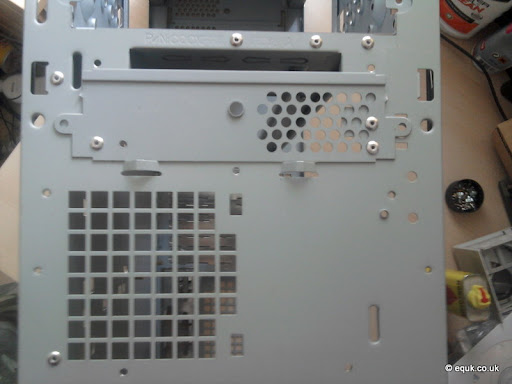
remove drive rack making room for PSU

move backplate for PSU down & mesh hole in top

remove floppy cage

drill holes for 360 radiator

cut top panel for radiator grill

drill holes for 240 radiator

move front cables

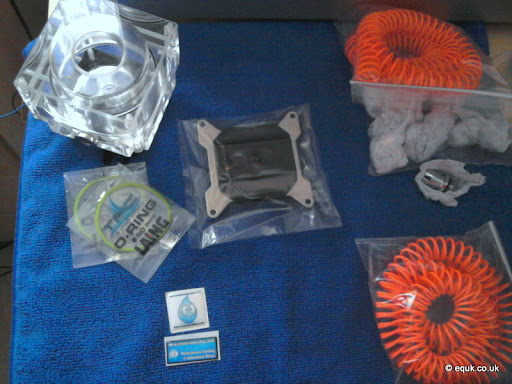
make custom neoprene shim for 360 grill

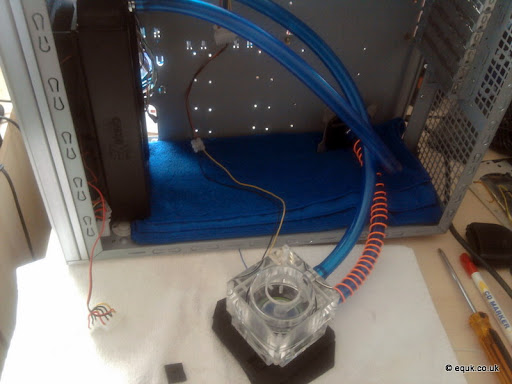
make custom neoprene anti-vibration mount for pump
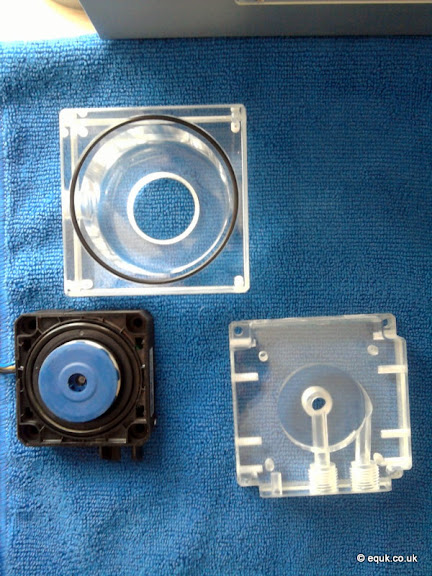
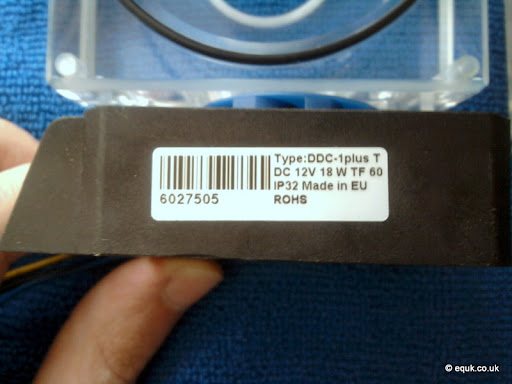
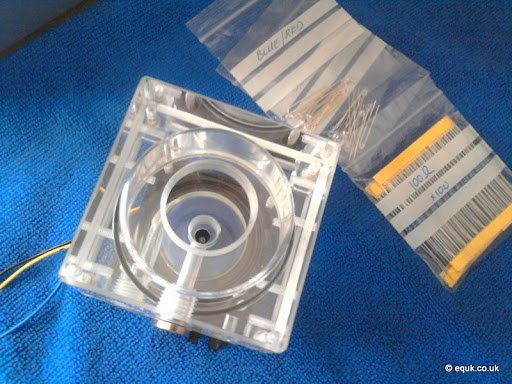
change pump top

cut down tubing

todo:

install uv lighting
 
I got the case earlier and the first thing I did was remove most of the plastic parts (fan mounts etc)

2010-08-20%2012.47.30.jpg
 
BTW dude. I have something here that may prove of use to you.. Obviously I don't know what you're planning to do with the hard drives but this could save you some space.

cage.jpg


A couple of months ago I ended up with bus service cases. I ordered one and two came at once
rolleyes.gif


They were both scuffed so I made one perfect one out of the two and then scrapped the second, drilling out all the rivets. It holds 4 drives, is nicely solid and rolled and works like this.

railsin.jpg


As you can see it also has a full set of 8 rails. I don't want anything for it not even shipping. I can get it out to you in about 1.5 weeks if that's any use. I'm going on holiday next weds and so money is tight, but I get paid as soon as I get back.

If you need dimensions just holler man, would happily help donate to the cause
biggrin.gif
 
Update:

I've now drilled out the rivets and removed the floppy bays and the hard drive bays, just measuring up for the psu
biggrin.gif


2010-08-20%2015.16.11.jpg


2010-08-20%2015.21.08.jpg
 
I got some of the watercooling parts in the post today
biggrin.gif


2010-08-24%2015.02.12.jpg


2010-08-24%2015.07.23.jpg


2010-08-24%2017.07.40.jpg


wonder what those LEDs are for
cool.gif


2010-08-25%2011.32.39.jpg


think I ordered too much orange coil
rolleyes.gif


2010-08-25%2011.35.58.jpg


I also got a package with some of the lighting for the project
biggrin.gif


2010-08-25%2012.06.15.jpg


This was taken in daylight
ohmy.gif
so shows how bright these LEDs are
 
Small update today

I had to fill the space left from removing the floppy bays so I could mount the 240 radiator properly, so I got one of the pushouts from the cdrom bays, drilled and rivited it in place.

Seems nice and sturdy with 3 rivets holding it.

2010-08-28%2014.04.44.jpg


I have also filled the rear with 2 of the cdrom pushouts.

There is now a hole in place for fitting the psu (had to use the dremel)

The one thing thats causing me a bit of grief is the top of the case, I've now ordered a radiator grill so should be able to sort the top using that (when it arrives)
 
Decided to setup a small loop with the 240 radiator in the case while I wait for the 360 grill to come.


Filling the loop:


2010-08-30%2015.11.47.jpg


2010-08-30%2015.51.12.jpg


Leaktesting and bleeding:


2010-08-31%2016.20.49.jpg


I've left a lot of length on the tubing so I can connect it up to the 360 when it's in place
 
Update 04-09-2010

I finally got round to cutting the top out for the grill
biggrin.gif


The grill is 2mm stainless steel

2010-09-04-21.19.08.jpg


The screws are black M3 Alan Key machine screws 35mm
biggrin.gif
(had to order)

I've not decided whether to paint the case black or not yet but think it will give a good contrast
biggrin.gif
 
update 08-09-10

I've just put the loop into the case and spent a while bleeding the loop
biggrin.gif


I decided to move the input barb on the res/pump down as it was creating air bubbles and pulling them thru with high flowrate
sad.gif


So it's now plugged in directly to the top but I've still kept the res on top to bleed/fill the loop
biggrin.gif


2010-09-08-19.03.57.jpg


Not a very good image because my phone doesn't like the lighting
sad.gif


I have also ordered more stuff which should hopefully come before the weekend.
 
update 10/09/10

I finally put everything into the case
biggrin.gif
have a problem with the 8pin power cable for the mobo which is too short but as it's friday I've set it all up with the psu alongside the case
blink.gif


Have the fans on the radiators running at 7v and have ran orthos quickly
biggrin.gif


idle - 35

load (orthos 15min) - 45 (stays around 40 but sometimes hits 45)

on my freezer7 earlier the idle was 48 so pretty good so far
 
Here are some screenshots of the temps
biggrin.gif


idle: 32°C

load: 42°C

idle_temp.jpg


load_temp.jpg


Just need to sort out the harddrive mounting and get the power extension lead for the 8pin and should be able to get the psu and drives inside of the case
huh.gif
 
I downloaded hwmon, ran orthos for a while and this is the results:

hwmon.jpg


few degrees difference to speedfan

I've still got speedfan on startup for the systray temp as hwmon doesn't seem to have this
sad.gif
 
Back
Top