You are using an out of date browser. It may not display this or other websites correctly.
You should upgrade or use an alternative browser.
You should upgrade or use an alternative browser.
Project Blue Rock!
- Thread starter maniac
- Start date
Wraith
Bettyswollocks
Update zi op!!!!11111!!!!11!1!!1!!
:huh: R2D2 is that you??
Sup.What ??
d'bag huk haq l-ostra!! Fight me irl feggit!!!11!11!!!!111!11!lol dont mind him, hes a d'bag I call my friend, apperently he has a lot of free time
Paint me like one of your French girlsget him painting")
No. I'm iuyrdtyui:huh: R2D2 is that you??
No more bs posts from me. I will prove myself as an upstanding forum member. Hi
maniac
New member
Sup.
d'bag huk haq l-ostra!! Fight me irl feggit!!!11!11!!!!111!11!
Paint me like one of your French girls
No. I'm iuyrdtyui
No more bs posts from me. I will prove myself as an upstanding forum member. Hi
bahnan
translation : idiot - in maltese
Edit: mod - please ban him, thanks
Xenomorphical
New member
I got a old case laying around apart as well that i was going to turn into a testbench.
But then i was like what will i even test on it?
So it will now be cut up to make metal brackets and fan adapters from instead.
Anyways, this is why i would never do the painting of a modded case myself.
I've seen to many on here that didn't turn out great since it it was done without proper sanding, to quick or to thick by people.
Sometimes if you want something to look as you have in mind you have to let the pro's do it.
And yeah it costs more than a DIY but at least it's done right after the first time.
Do what you whish with this advice ^_^
maniac
New member
I got a old case laying around apart as well that i was going to turn into a testbench.
But then i was like what will i even test on it?
So it will now be cut up to make metal brackets and fan adapters from instead.
Anyways, this is why i would never do the painting of a modded case myself.
I've seen to many on here that didn't turn out great since it it was done without proper sanding, to quick or to thick by people.
Sometimes if you want something to look as you have in mind you have to let the pro's do it.
And yeah it costs more than a DIY but at least it's done right after the first time.
Do what you whish with this advice ^_^
Apart from loving to mod, it is more of a learning experience for me, with this one I am learning to use hard metal properly and perfecting my cutting skills. Besides that was a minor setback, some serious progress is currently being done with the case, I will get an update out when I have some spare time
Xenomorphical
New member
Apart from loving to mod, it is more of a learning experience for me, with this one I am learning to use hard metal properly and perfecting my cutting skills. Besides that was a minor setback, some serious progress is currently being done with the case, I will get an update out when I have some spare time
Yeah i know what you mean hehe.
I knocked out (rivets) most of the walls from my testbench project, only to find out it would become super flimsy.
I needed to put actual support beams back in to make it usable, but then those support beams beat the whole idea of getting parts in and out easy.
The whole thing lost its purpose pretty much, but if not i would have sent it off to a paintshop tho.
Ah well...
maniac
New member
UPDATE!!!
So started finalizing some things, I'm currently out of paint and its a public holiday today so all the shops are closed, hopefully tomorrow morning I'll go get some more paint to start finishing most of the parts.
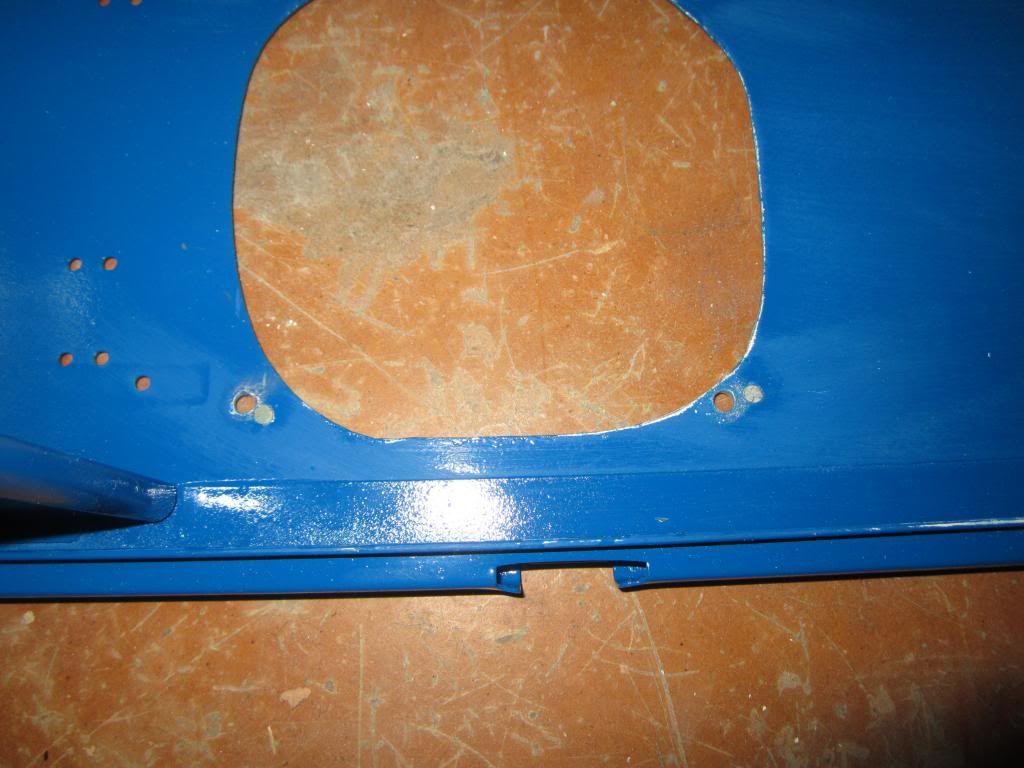
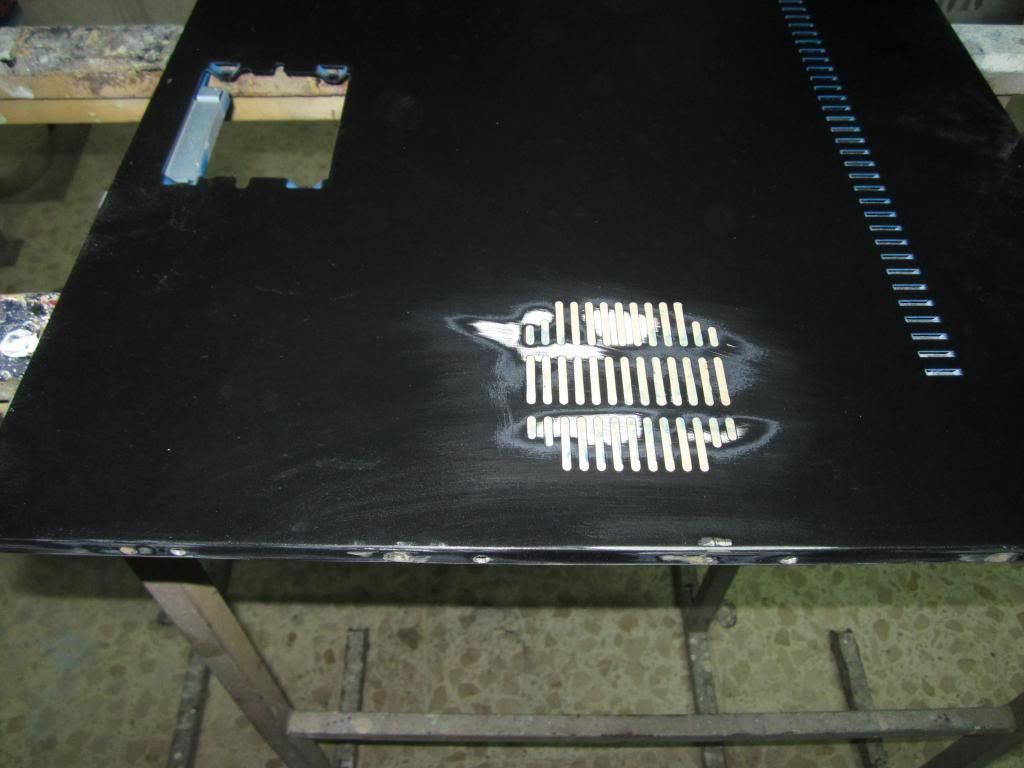
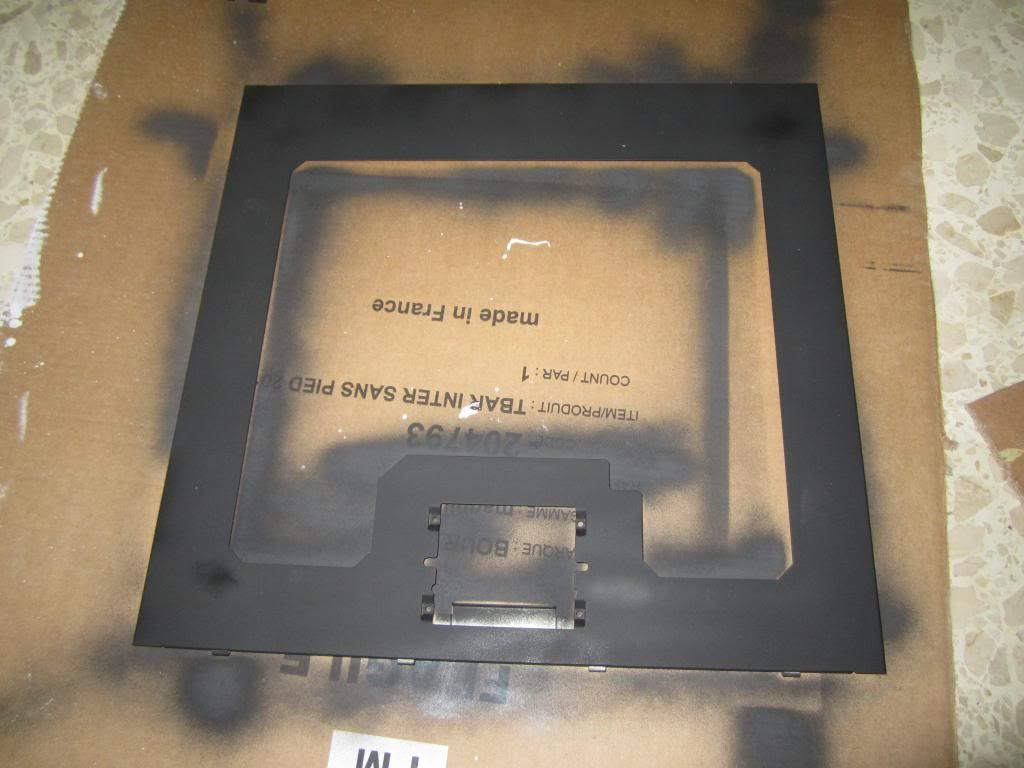
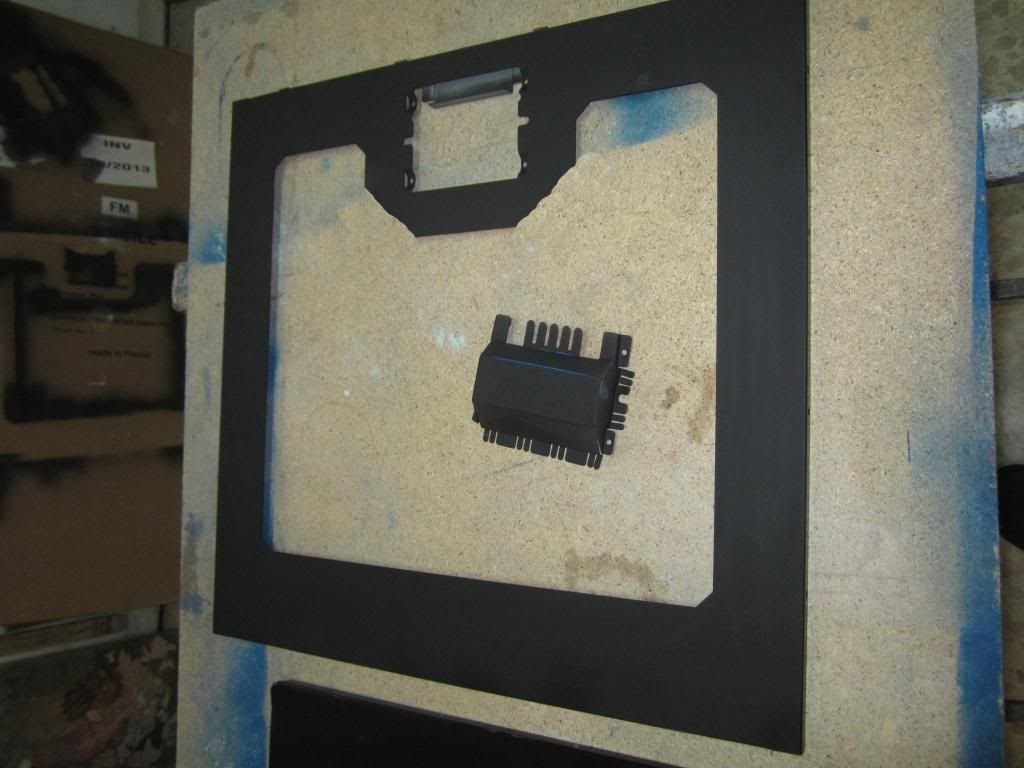
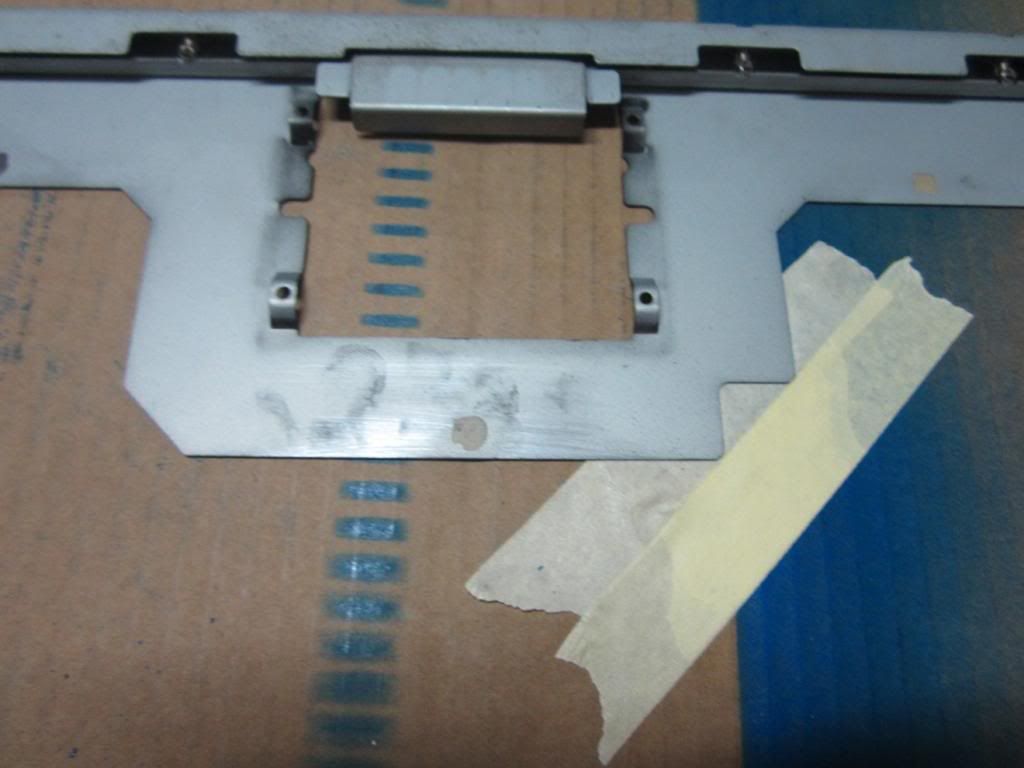
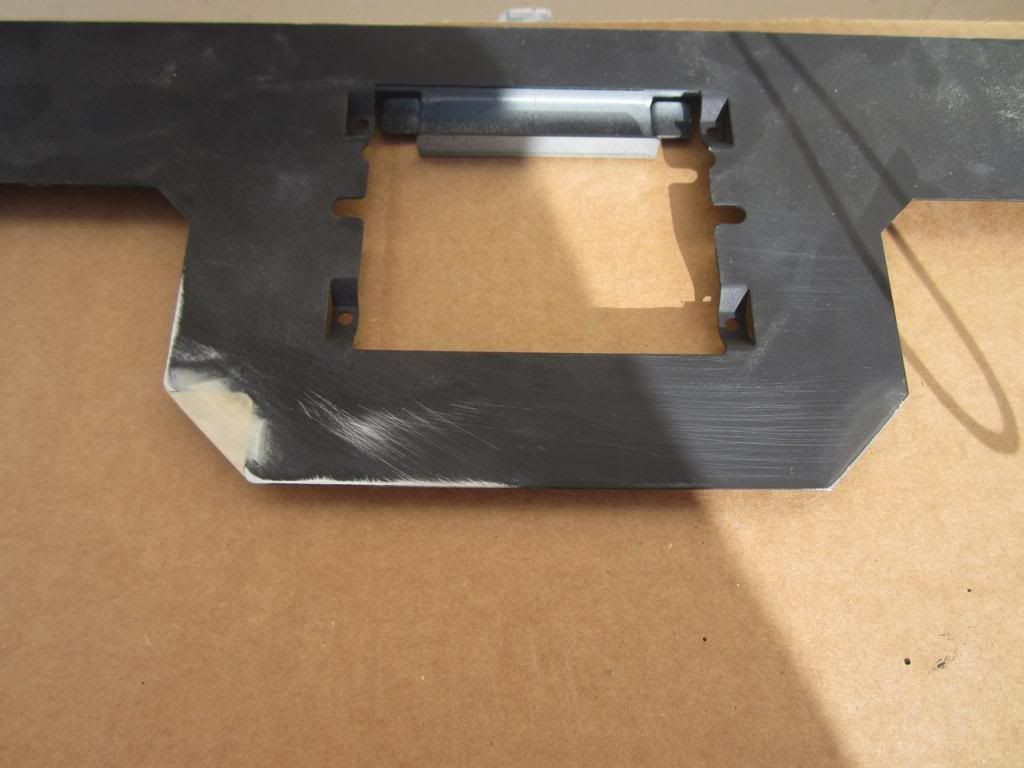
Lets begin, I arrached two motherboard standoffs to the back panel so the motherboard tray can be screwed in once its in place, and I alse closed the fan ducts which now will end up behind the motherboard tray, and theres only like 4mm clearance so no way a fan could be installed. This is it already sanded down.
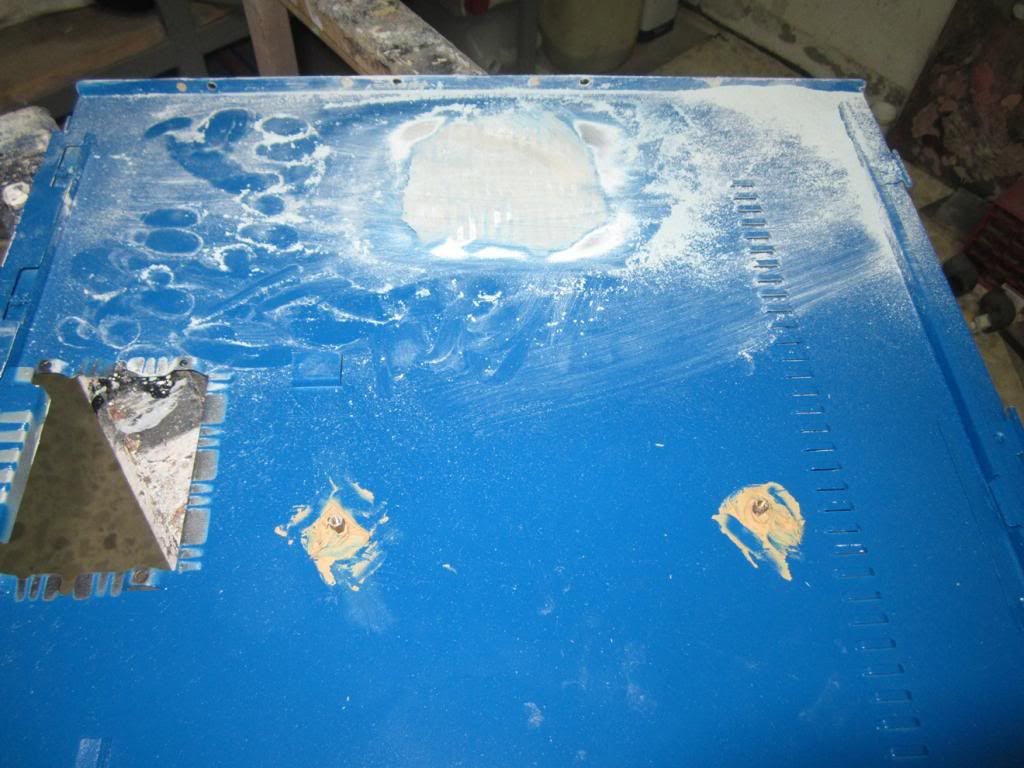
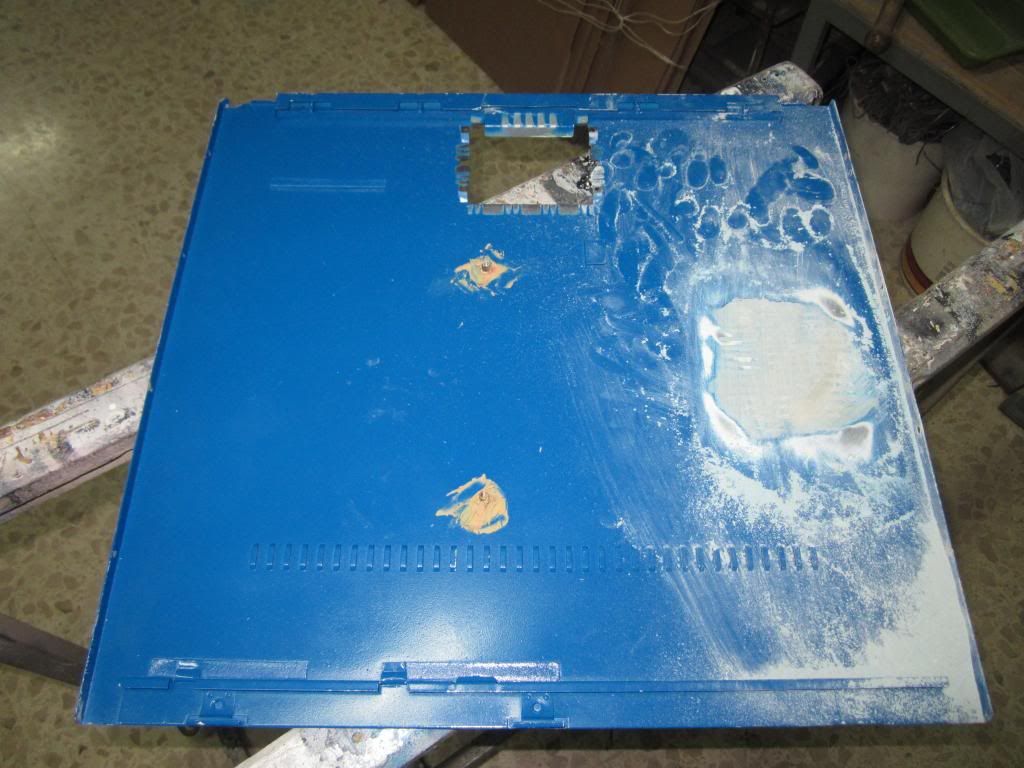
Closed all the frickin holes on the windowed side panel to make it cleaner, i need you HELP on this one, what should I do with the corners near the latch? as you can see theyre not symmetrical, I could either make them both with the square cut in like the right side (in the pic) or cut a large 45 degree angle that will probably look bad, I am still open for suggestions
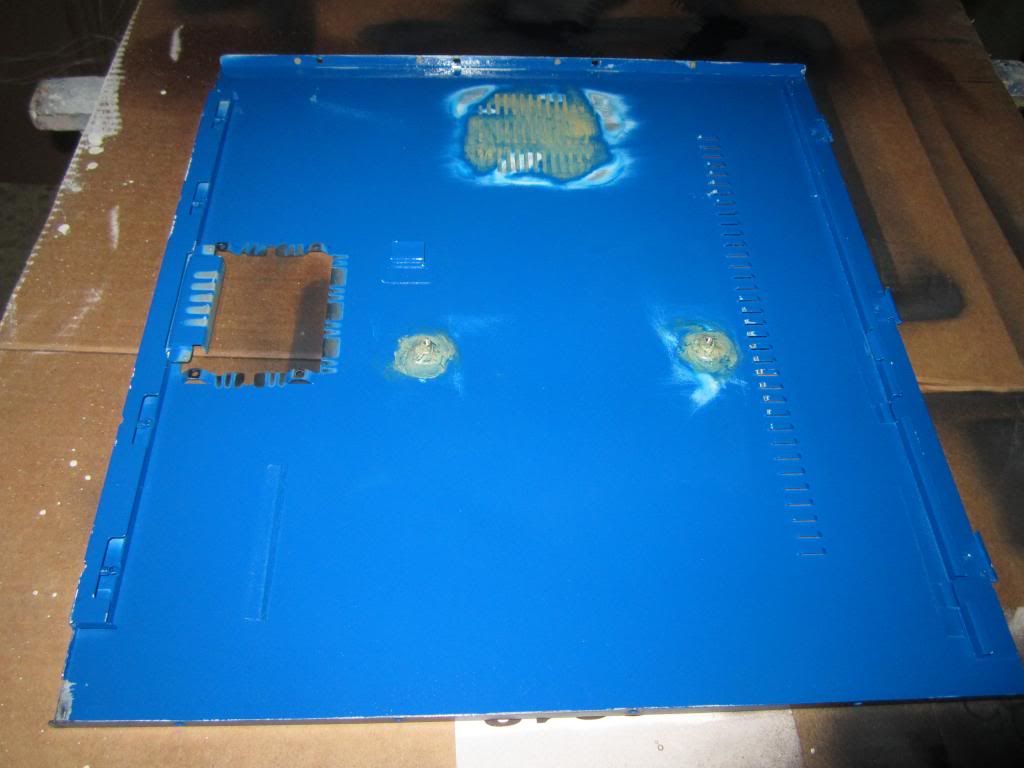
fixed these holes on the bottom of the case...
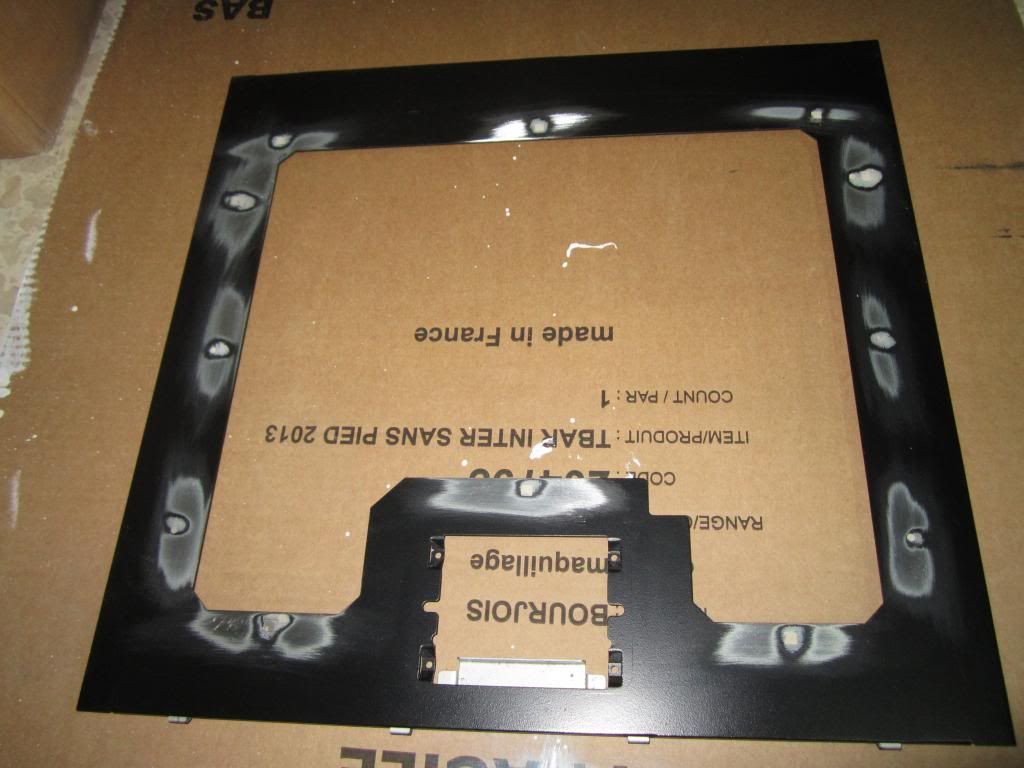
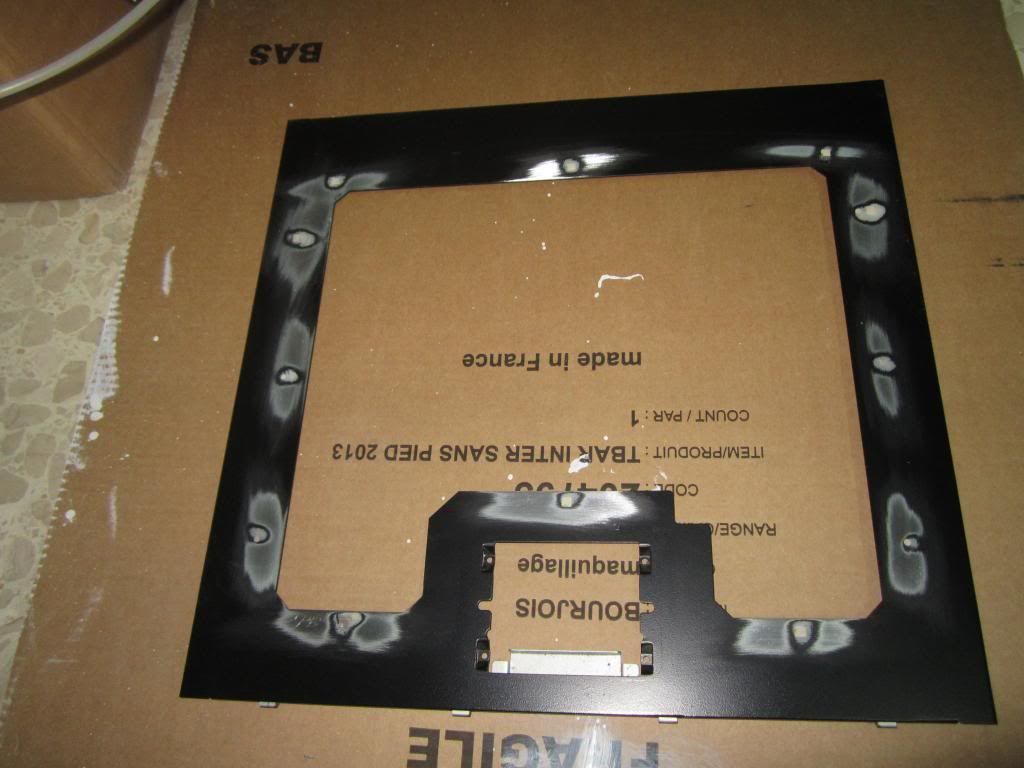
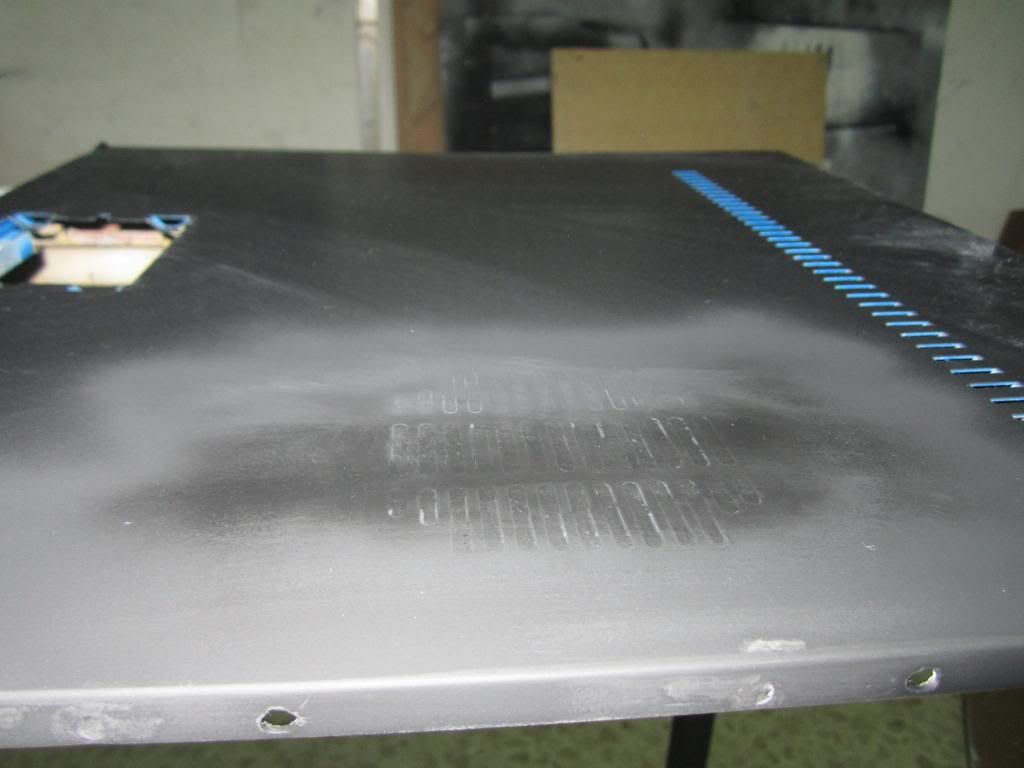
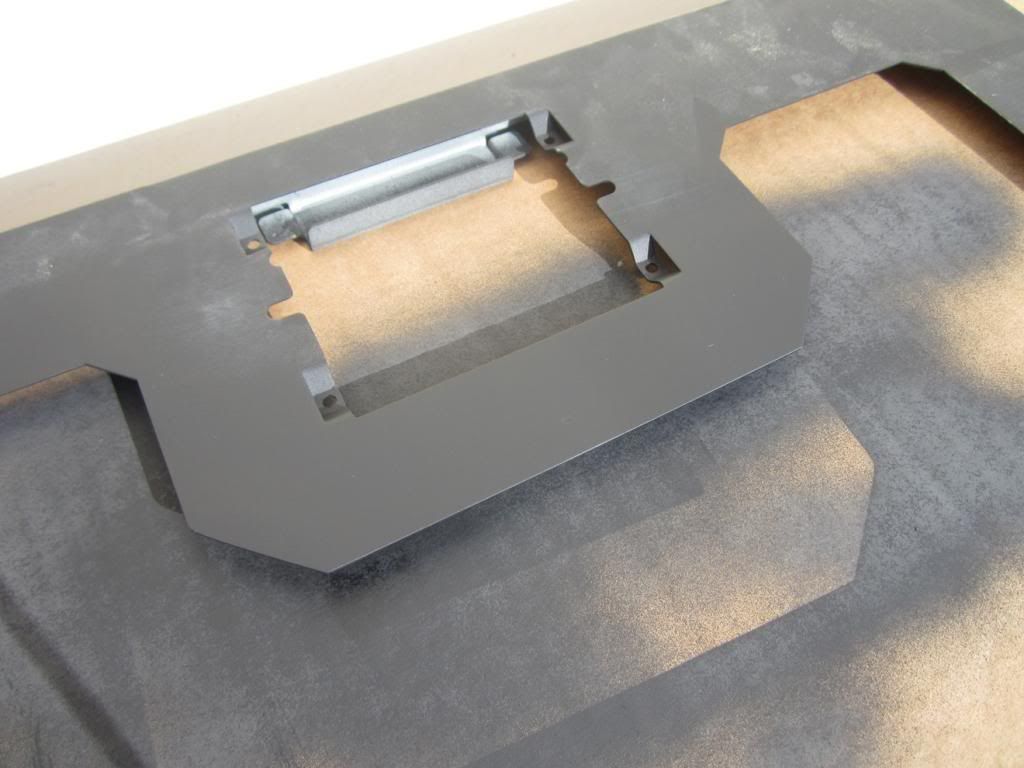
this is how the exterior of the back panel looks right now, it has been sanded and primed and will be wrapped in carbon fibre shortly.
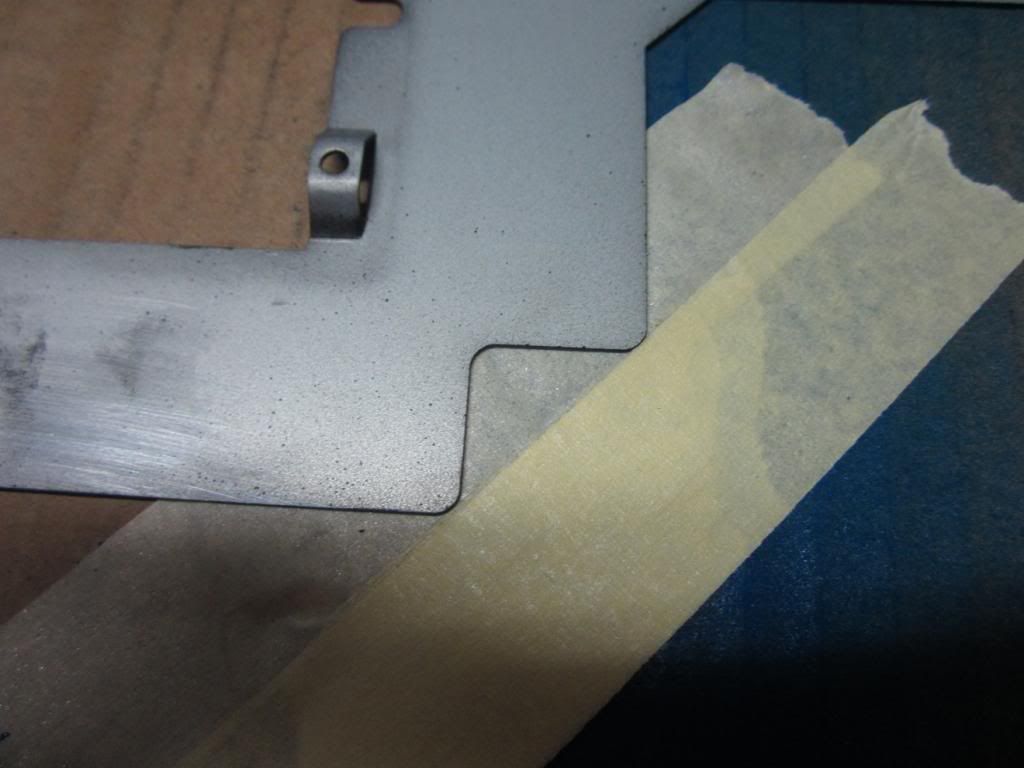
The windowed panel has been primed, I only need to decide on that corner and I can wrap this too.
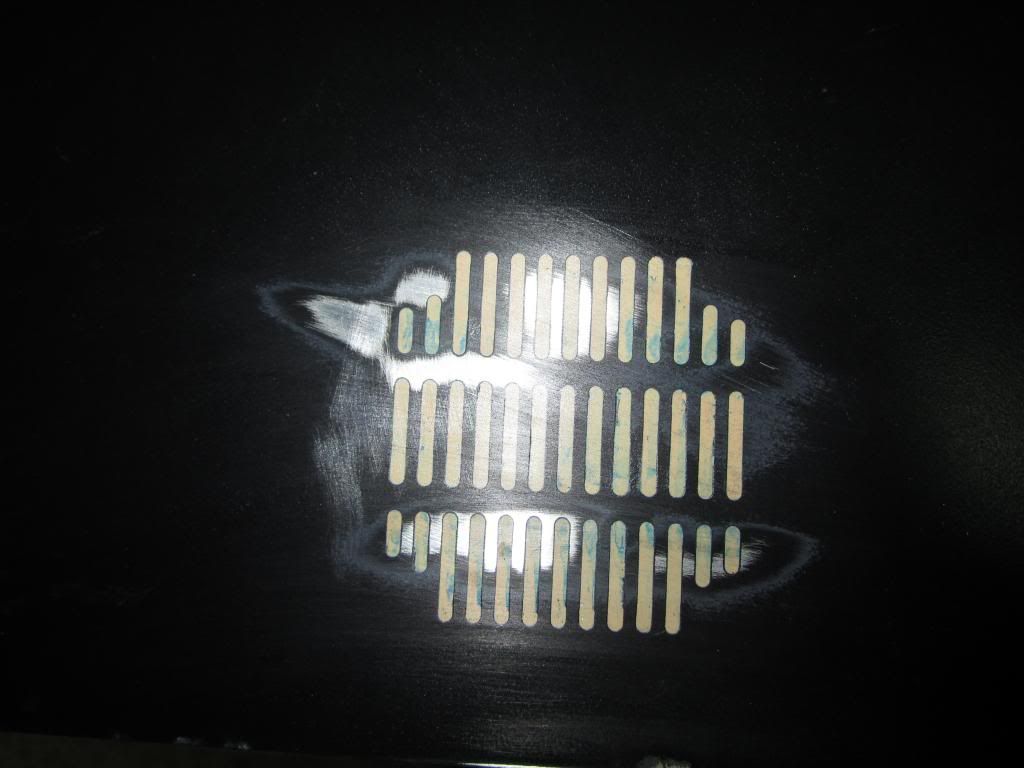
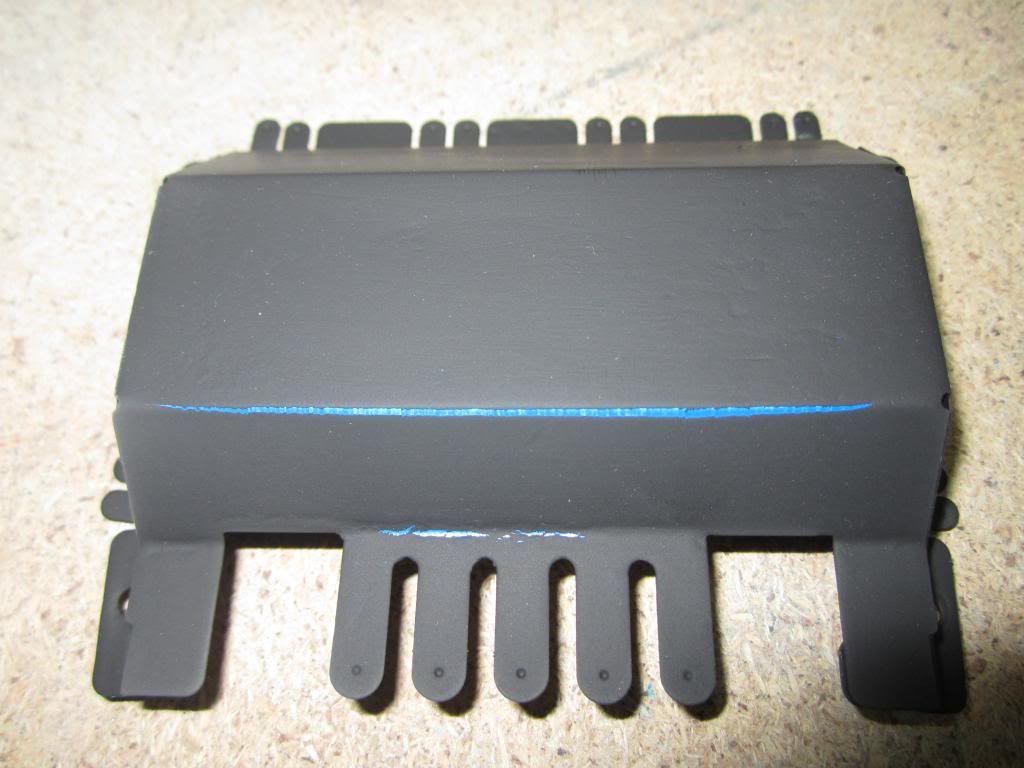
Weird thing happened, primer paint didn't want to stick to the edges of this so I ended up with this...
cleaned the back panel up
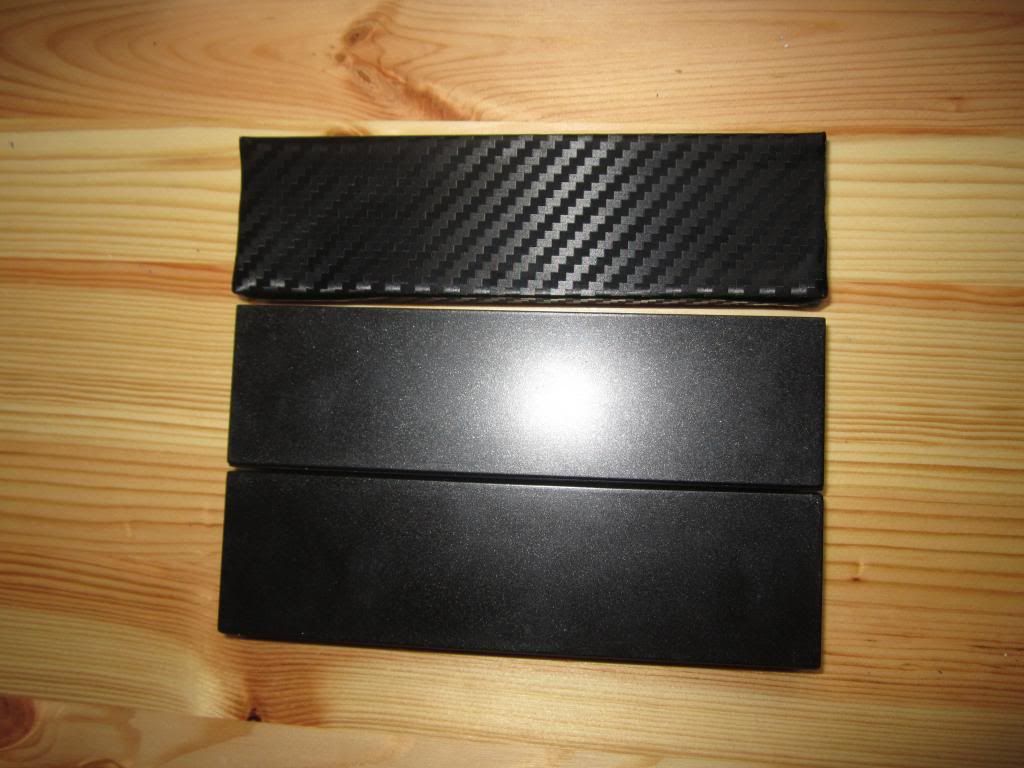
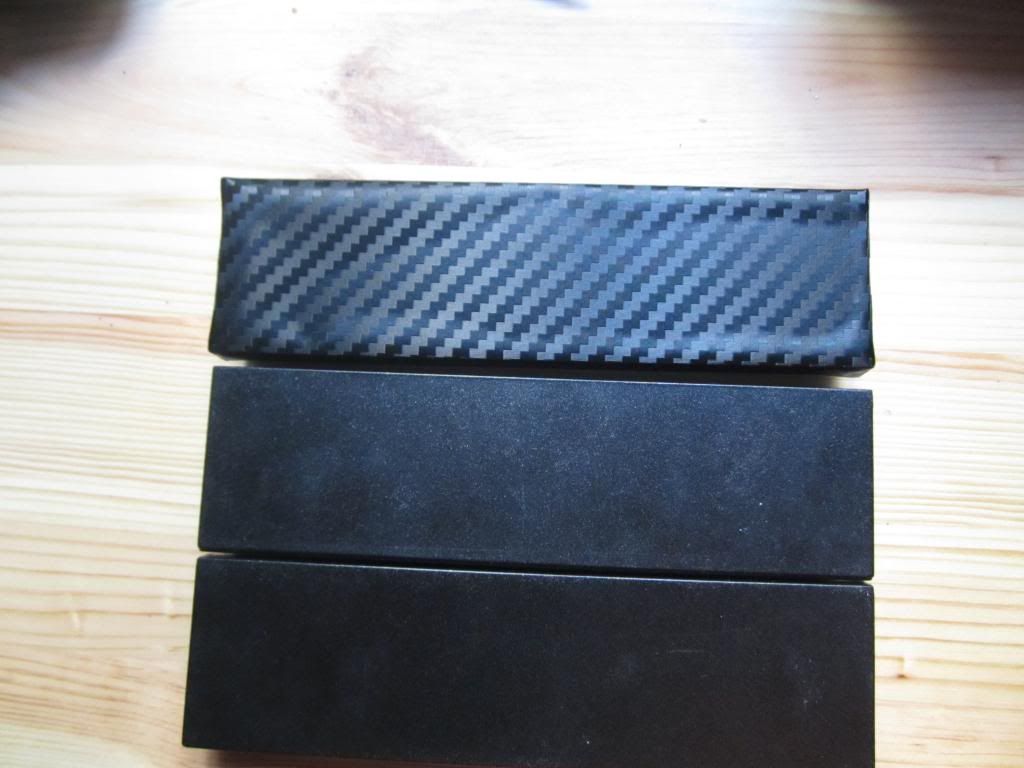
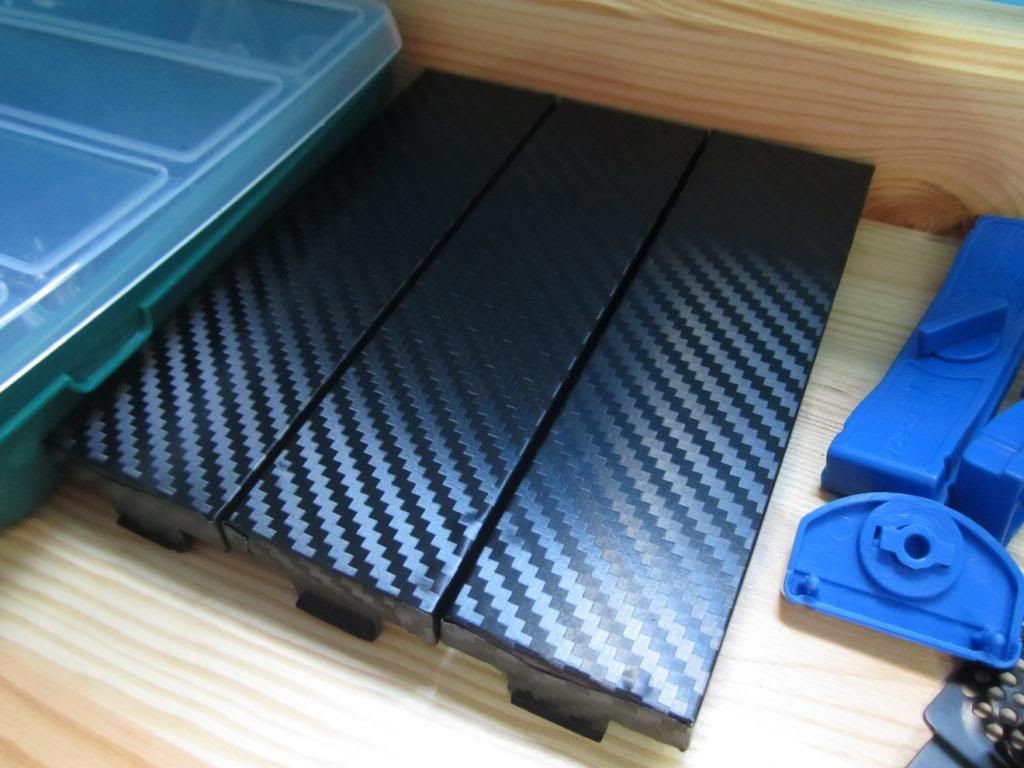
Also yesterday I received a roll of carbon fibre and the edge wasn't completely straight so I cut it up and instead of throwing it away I used the extra piece to wrap the optical bay covers, I can't find the hair dryer though to make it look a bit better
thanks if youre still following this, I try to update as much as possible so those thinking to mod for the first time can see what you have to do and think about, my mistakes are another ones lesson
So started finalizing some things, I'm currently out of paint and its a public holiday today so all the shops are closed, hopefully tomorrow morning I'll go get some more paint to start finishing most of the parts.
Lets begin, I arrached two motherboard standoffs to the back panel so the motherboard tray can be screwed in once its in place, and I alse closed the fan ducts which now will end up behind the motherboard tray, and theres only like 4mm clearance so no way a fan could be installed. This is it already sanded down.
Closed all the frickin holes on the windowed side panel to make it cleaner, i need you HELP on this one, what should I do with the corners near the latch? as you can see theyre not symmetrical, I could either make them both with the square cut in like the right side (in the pic) or cut a large 45 degree angle that will probably look bad, I am still open for suggestions
fixed these holes on the bottom of the case...
this is how the exterior of the back panel looks right now, it has been sanded and primed and will be wrapped in carbon fibre shortly.
The windowed panel has been primed, I only need to decide on that corner and I can wrap this too.
Weird thing happened, primer paint didn't want to stick to the edges of this so I ended up with this...
cleaned the back panel up
Also yesterday I received a roll of carbon fibre and the edge wasn't completely straight so I cut it up and instead of throwing it away I used the extra piece to wrap the optical bay covers, I can't find the hair dryer though to make it look a bit better
thanks if youre still following this, I try to update as much as possible so those thinking to mod for the first time can see what you have to do and think about, my mistakes are another ones lesson
Remmy
New member
I can't find the hair dryer though to make it look a bit better
Good idea, I suppose that helps it mould better to the object?
maniac
New member
Good idea, I suppose that helps it mould better to the object?
I'm guessing the wrapping will stretch to fit better and the glue will stick more to make it more "permanent".
mehere
New member
I'm guessing the wrapping will stretch to fit better and the glue will stick more to make it more "permanent".
it stretch real well even on compound curves

maniac
New member
found the hairdryer
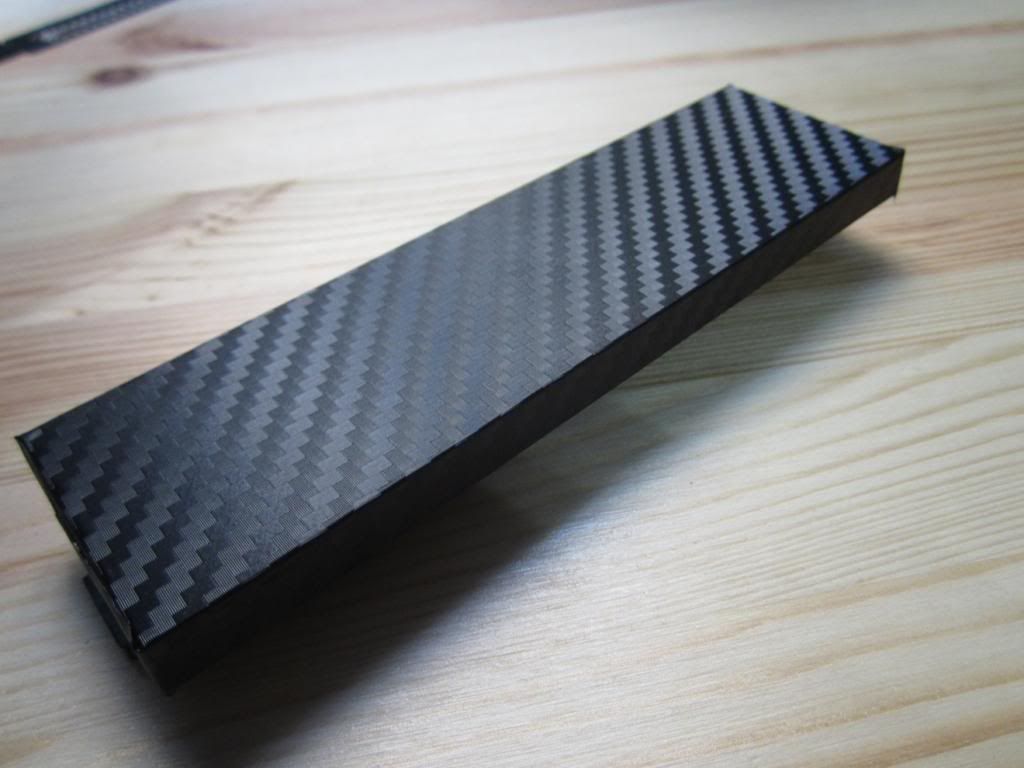
The back panel is ready, I know its not the cleanest, but none of it will be visible so I didn't be anal about it, 3/4 of it will be hidden by the motherboard tray.
Woo wrapped, I love it <3
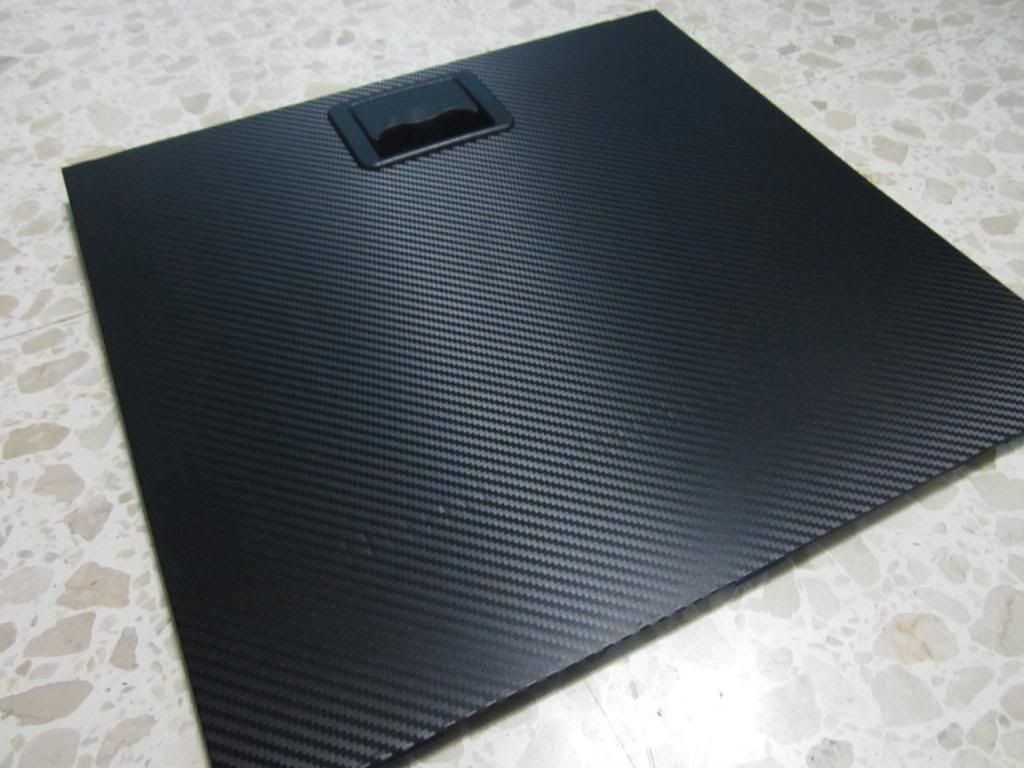
Wrapped all the ODD covers, I am thinking about wrapping the fan controller too, but I probably won't.
Now back to the uneven windowed panel... who said cases can't have reconstructive surgery too?
Also had to cut a bit off the other corner to make them perfectly even
yeahhhh
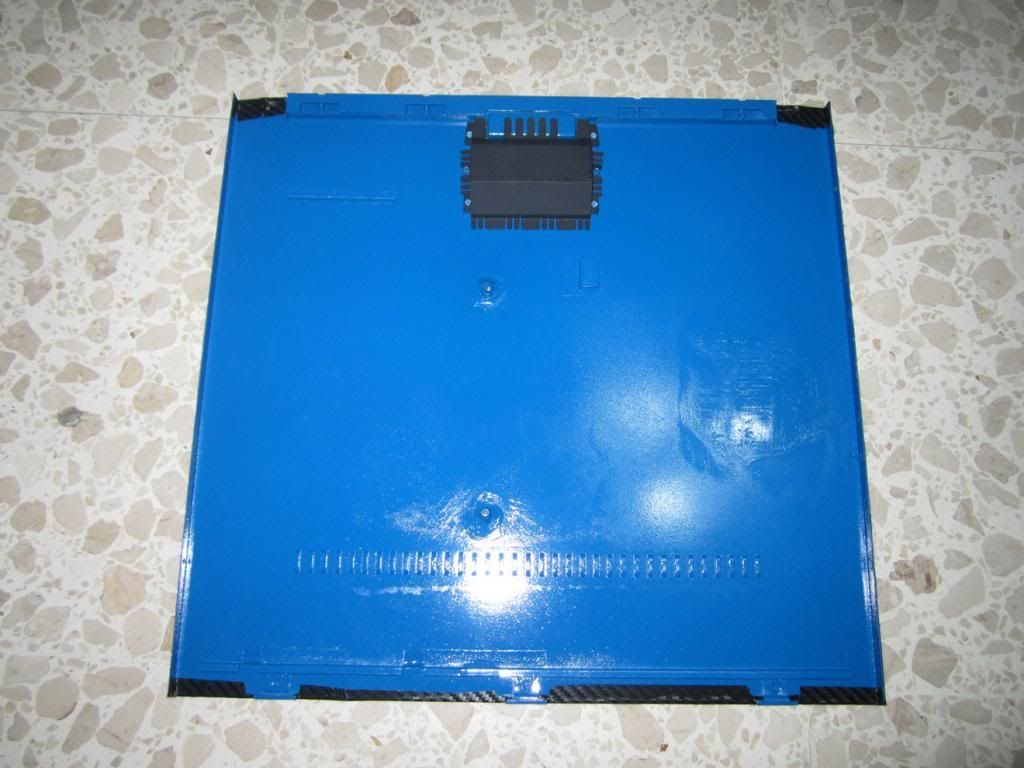
painted the mobo tray back to blue, without scratches this time

mounted all three ODD covers, looks nice

Next I'm waiting from an order from specialtech.co.uk to be able to finish this
The back panel is ready, I know its not the cleanest, but none of it will be visible so I didn't be anal about it, 3/4 of it will be hidden by the motherboard tray.
Woo wrapped, I love it <3
Wrapped all the ODD covers, I am thinking about wrapping the fan controller too, but I probably won't.
Now back to the uneven windowed panel... who said cases can't have reconstructive surgery too?
Also had to cut a bit off the other corner to make them perfectly even
yeahhhh
painted the mobo tray back to blue, without scratches this time
mounted all three ODD covers, looks nice
Next I'm waiting from an order from specialtech.co.uk to be able to finish this
maniac
New member
now that looks better
bit of heat done the world of good
did you get any tin in that corner or is it filler?wondering if it will stay put if it only filler
It is car body filler, the one you mix with the hardner and it is pretty solid. Also I managed to find another ODD cover which was pretty damaged, so fixed that with filler, sanded down and wrapped in CF too, looks exactly the same as the others from the front. The windowed side panel is now wrapped too, I will need to wait for the specialtech order to be able to continue any further.
maniac
New member
hate the waiting game
yep
I wasn't sure what to buy at first so I bought the items a couple days ago, specialtech also delayed the purchase as I asked for the combined shipping price before paying and they took like 3 days to respond, everything is sorted now maniac
New member
How did I miss this for so long?
This reminds me of your last project with the red case to save me from my boredom! I will definitely follow this one too. Or at least from this point on
Time Killing 101