Project Arclight

Well, your case comes with red accents as well so I'm just really wondering why you decided to go with blue coolant?

If it were me, and I had the money for it, I'd throw in a different motherboard
 
Well, your case comes with red accents as well so I'm just really wondering why you decided to go with blue coolant?

If it were me, and I had the money for it, I'd throw in a different motherboard

all the red accents are being replaced with perforated alu to match the feet mounding
 
Don't use a blue cover. There is already a little too much blue in there at the moment.

cover woudl be black with blue accents or a blur ROG shield. im also wondering if all place with the rog shield made with another black plate offset and blue edge lit woud work so all you see is a glue glow in the shape of the ROG shield

It will be a hell of a job balancing it to much black and it looks empty to much blue and it look like a cartoon

Yeah, I see the dilemma. The black cover with blue accents could work.
 
amazing build and probably one of if not the best modding ive seen.

p.s. you can do all of this amazing things but you cant buy legit pringles?
 
amazing build and probably one of if not the best modding ive seen.

p.s. you can do all of this amazing things but you cant buy legit pringles?

they were left over from our xmas party, im not giving the neighbors the good ones, i scarfed those
 
making prelim designs of the remaing parts now... arrghgh solidworks 2012 why you no have decent photoview360
 
really nice work mate...
but i would change the color of the covers... maybe black or white!?!
 
It is finally time for an update

As most of you know by now a short while ago i acquired a small CnC mill with which to being my twisted imaginings to reality.
here is how it went

220V110V-Updated-3040-CNC-ROUTER-ENGRAVER-DRILLING-MILLING-MACHINE-p107808.jpg


As i completely forgot where i left my shots of my mill here is a stock shot of the exact same model, I was rather dubious of the quality of the machine as it is a cheap ebay Chinese machine but after ironing out a few bugs i do haft to say this is a great machine.... i had to mod it of course


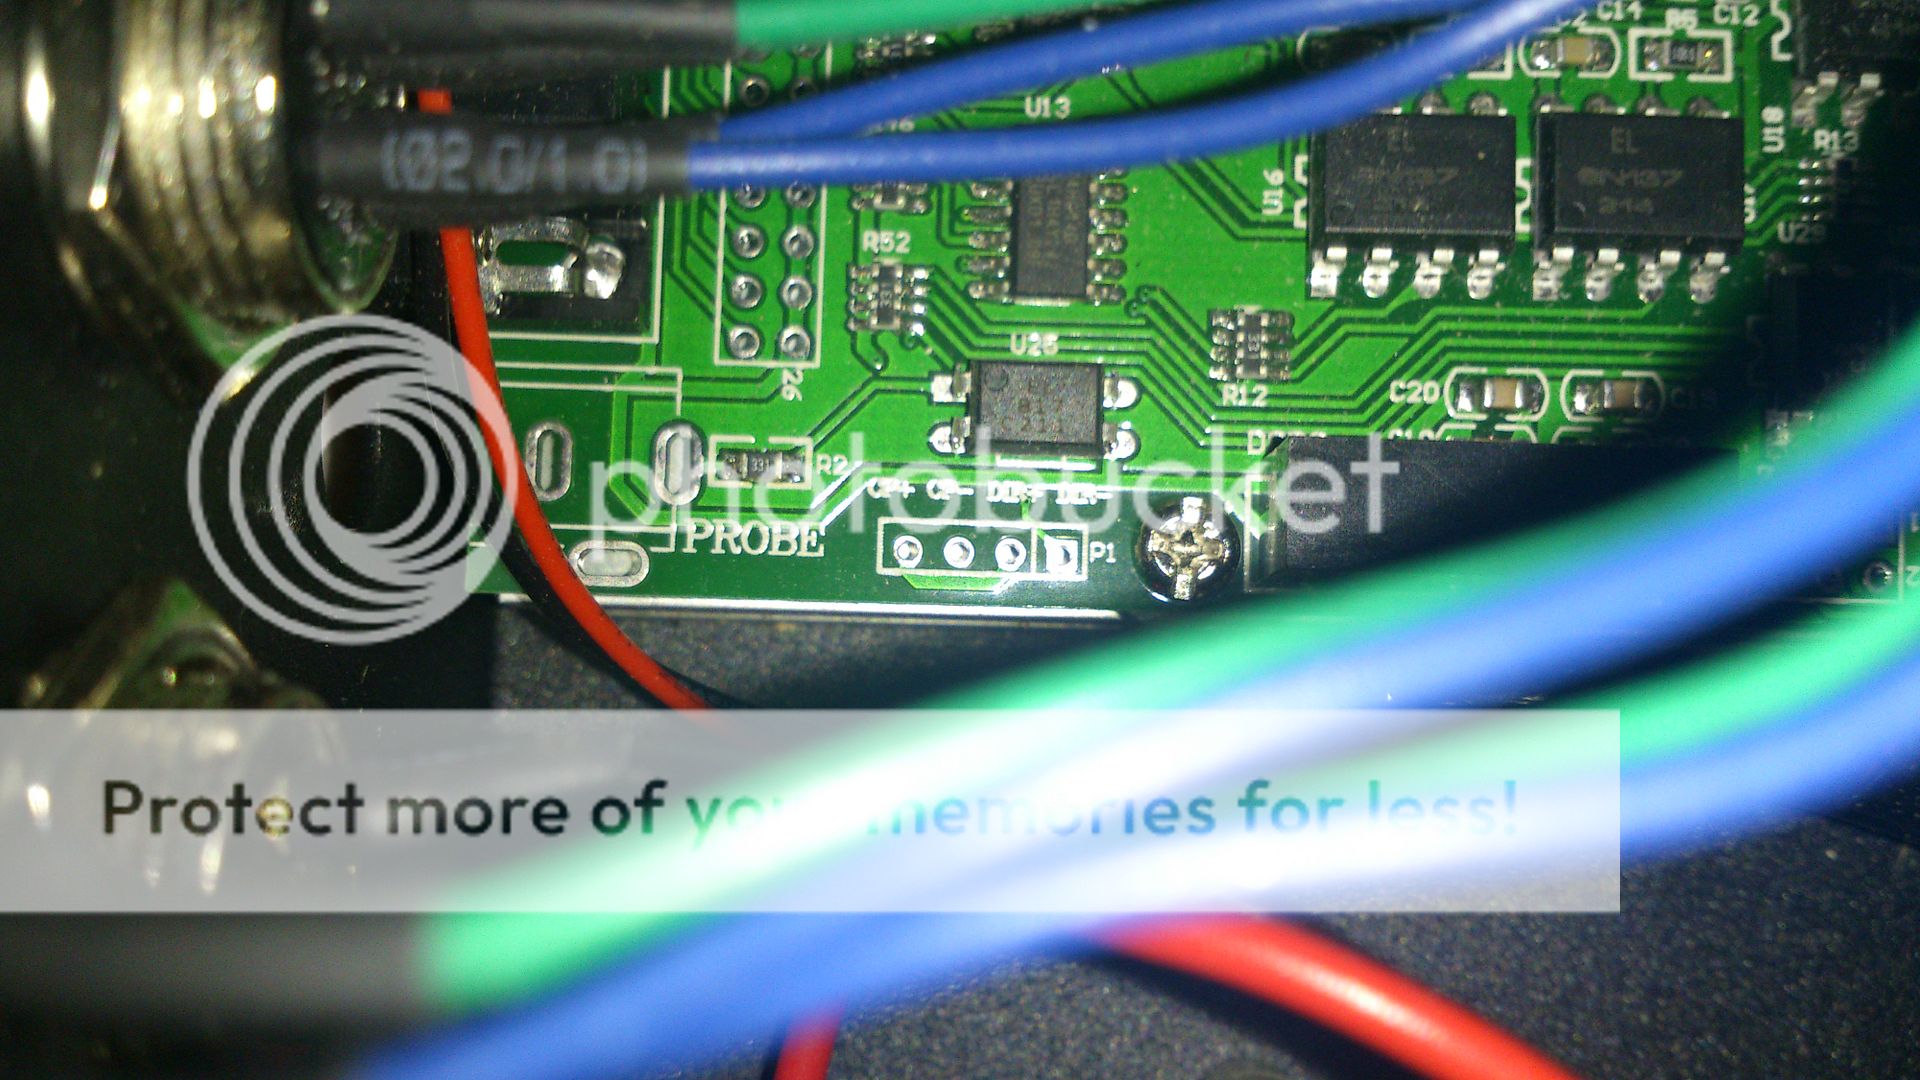
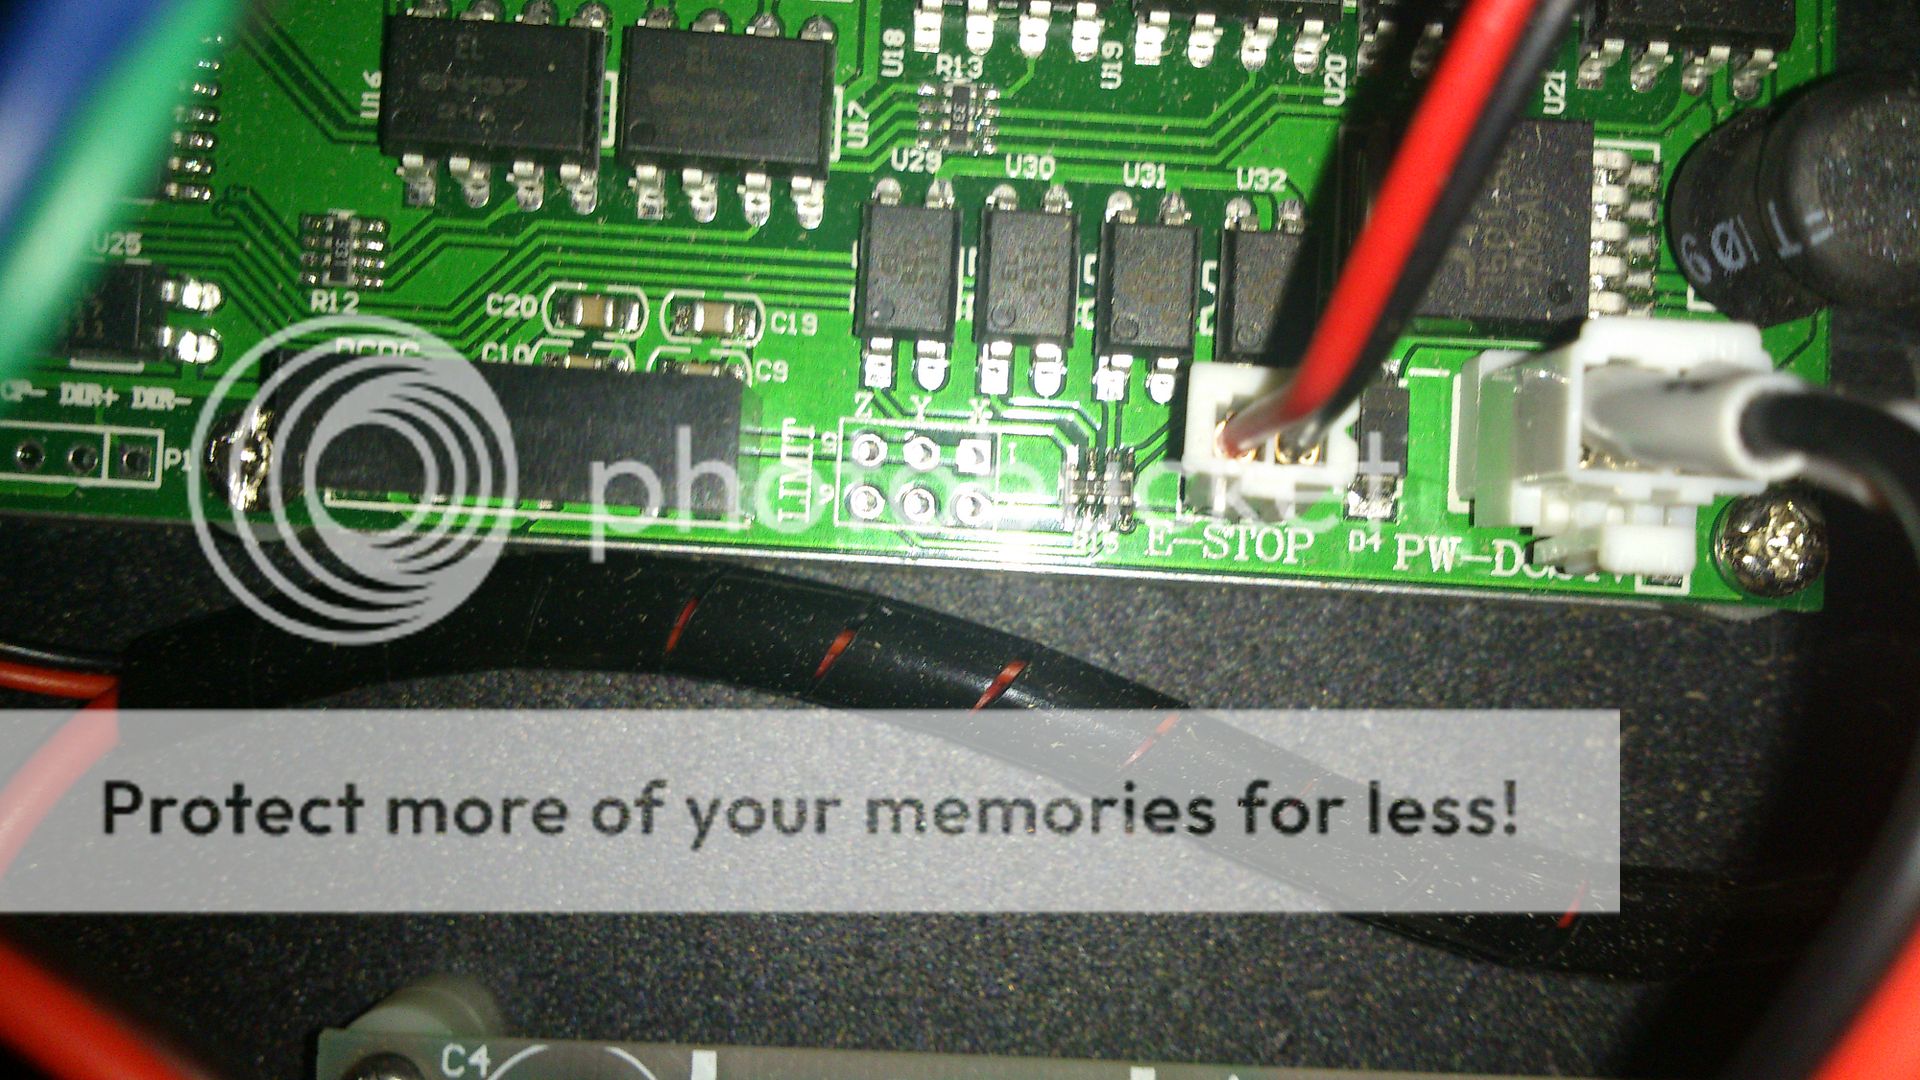
i had heard that as the boards in the control boxes were generic i should find additional headers for a probe and limit (home) switches


just what i wanted to find, headers for limit and probes, idon'tcurrently have a need for a probe but a limit (home) switch is a must have


finding areas to mount the switches was a little tricky given the spaces i had to work in. i wont bore you with the details/


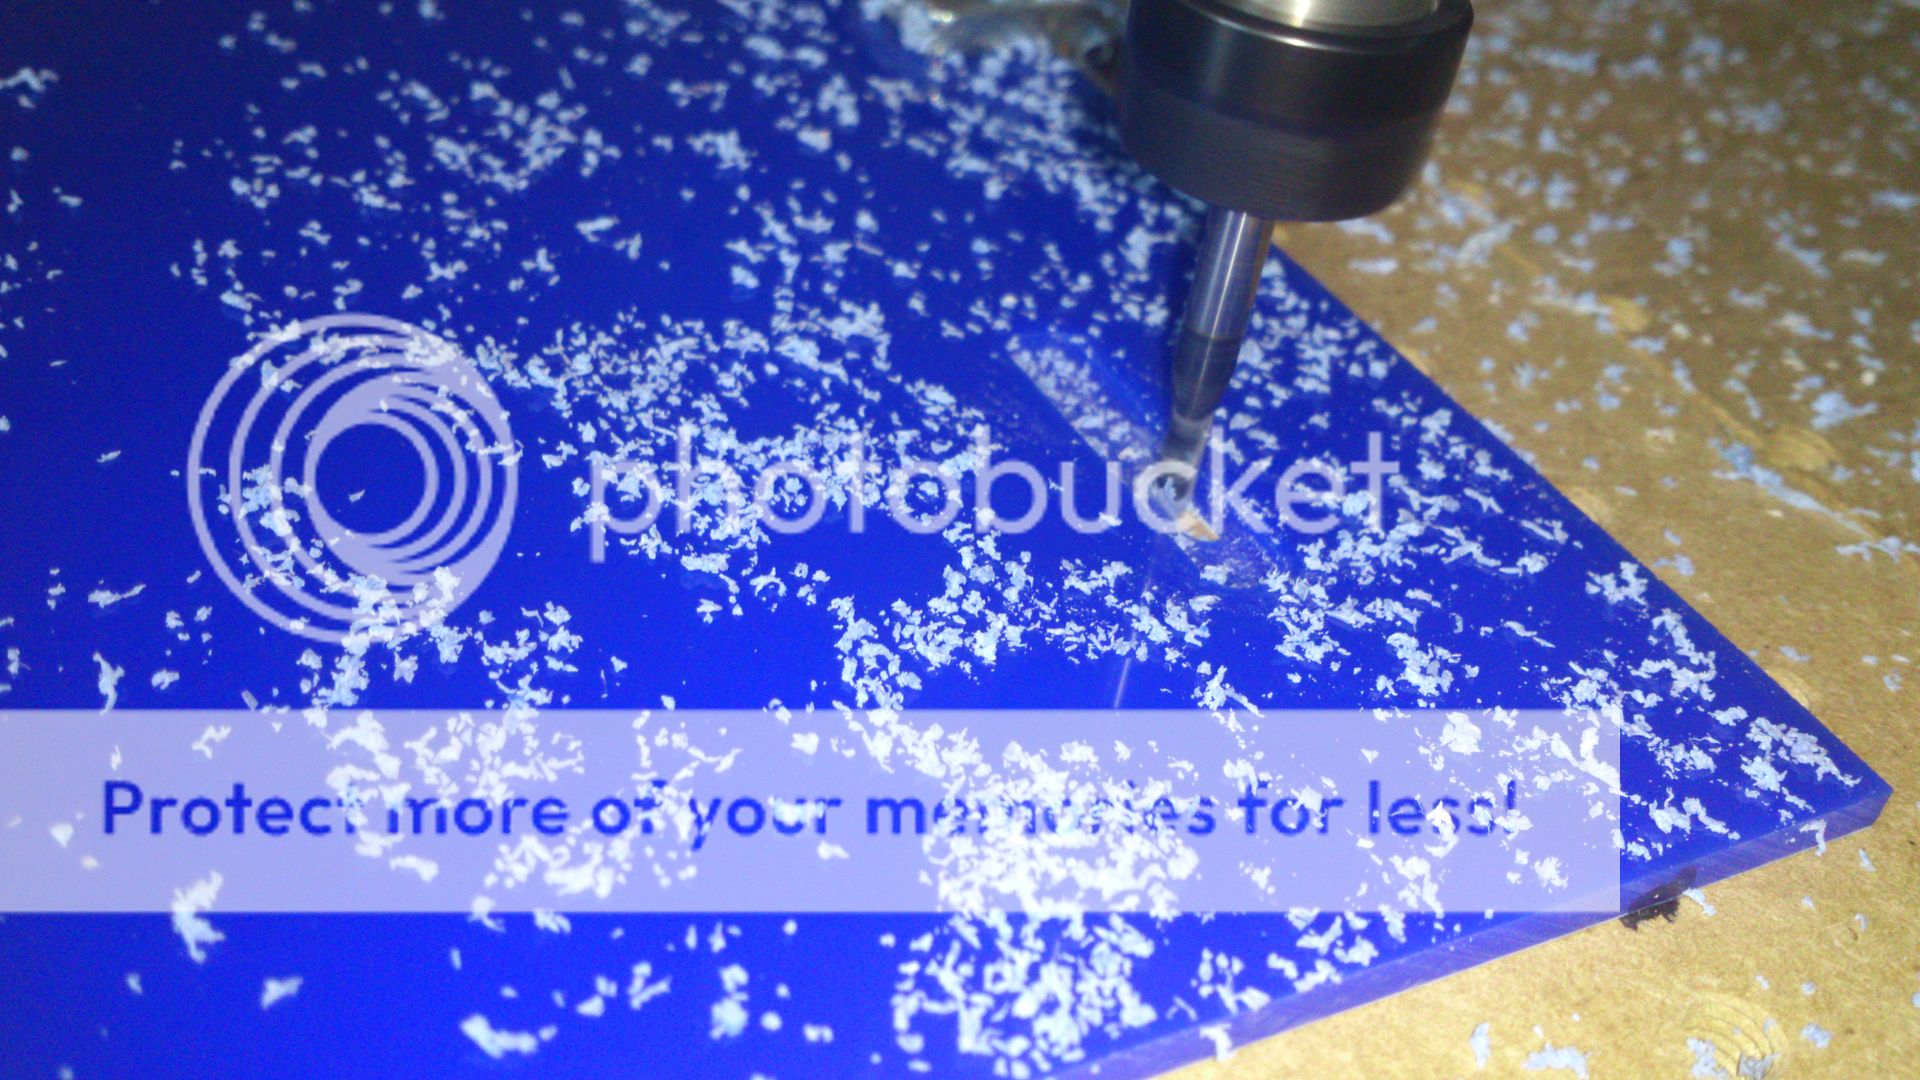
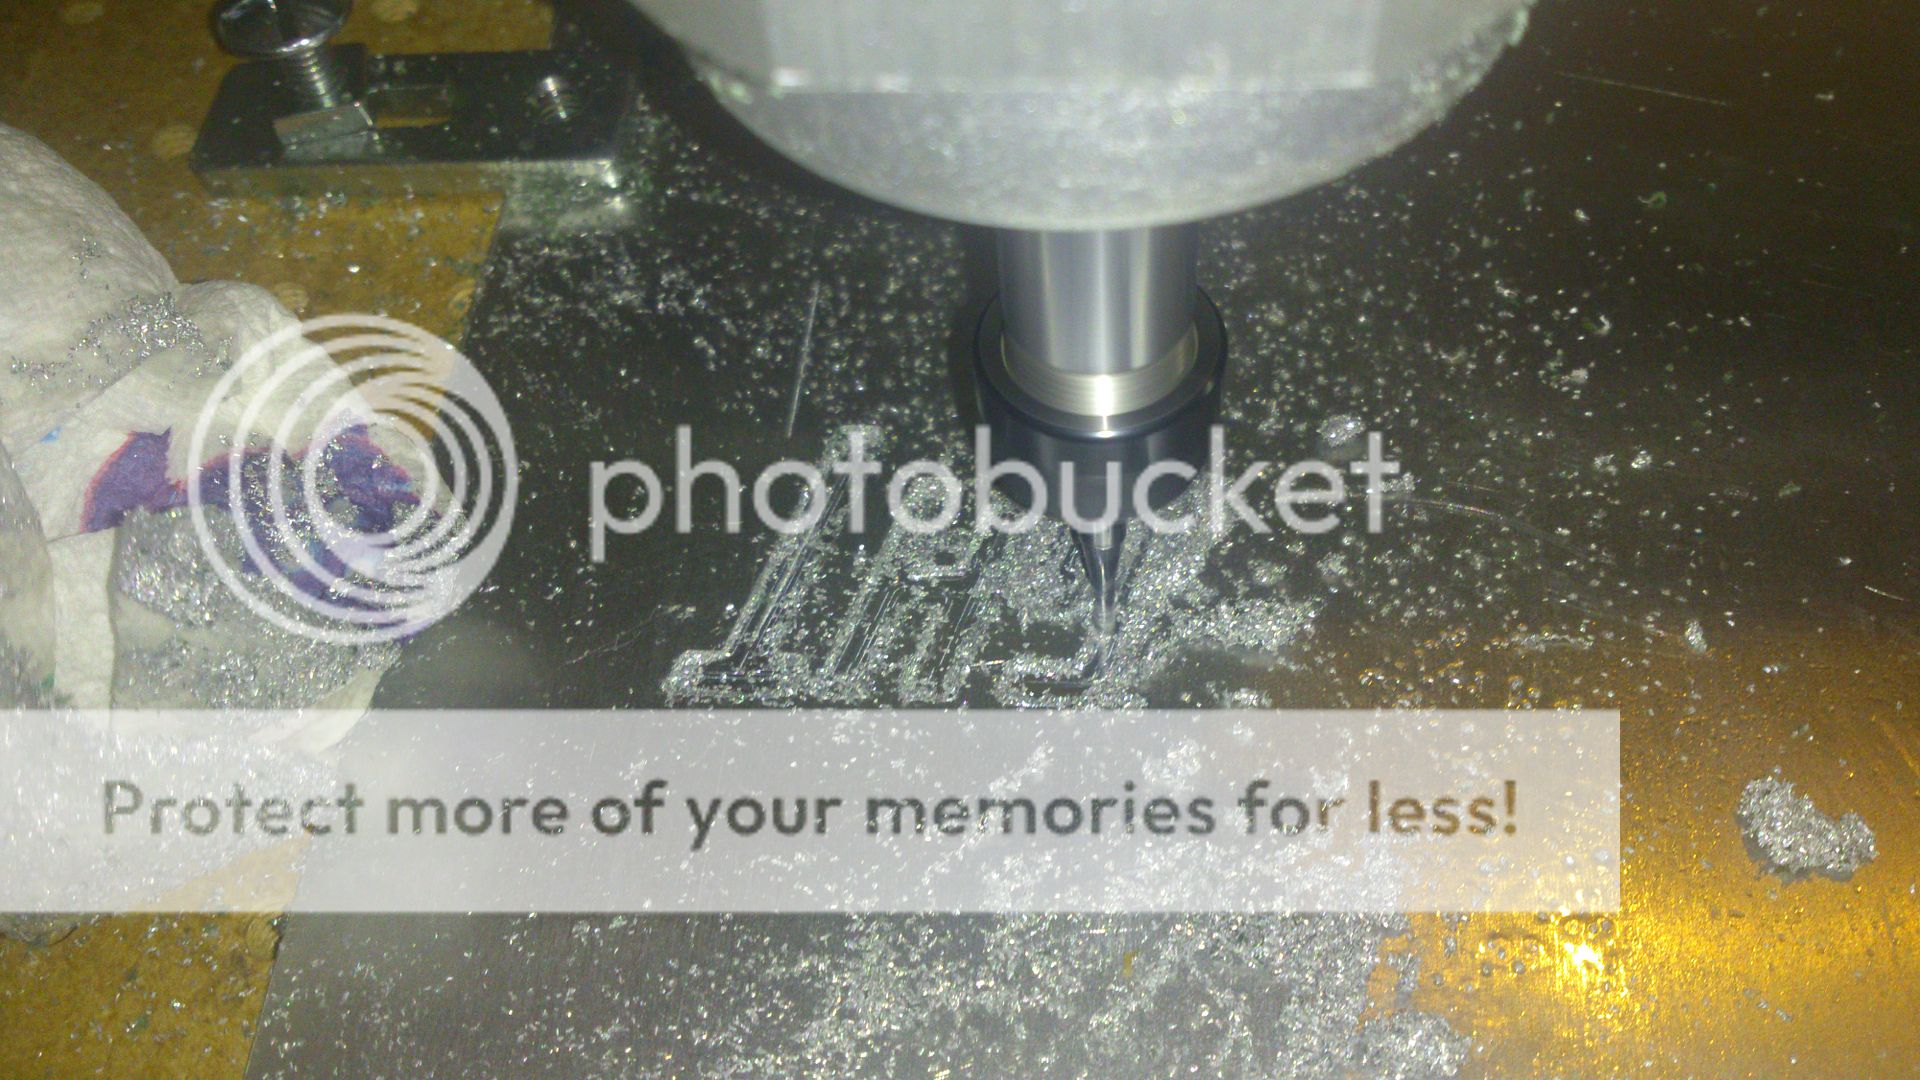
starting simple learning my way around the machine and everything went well..... if you forget the time i put an engraving bit part way through my T slot bed. the end result for a simple quick run was rather impressive although settings still needed some refining/
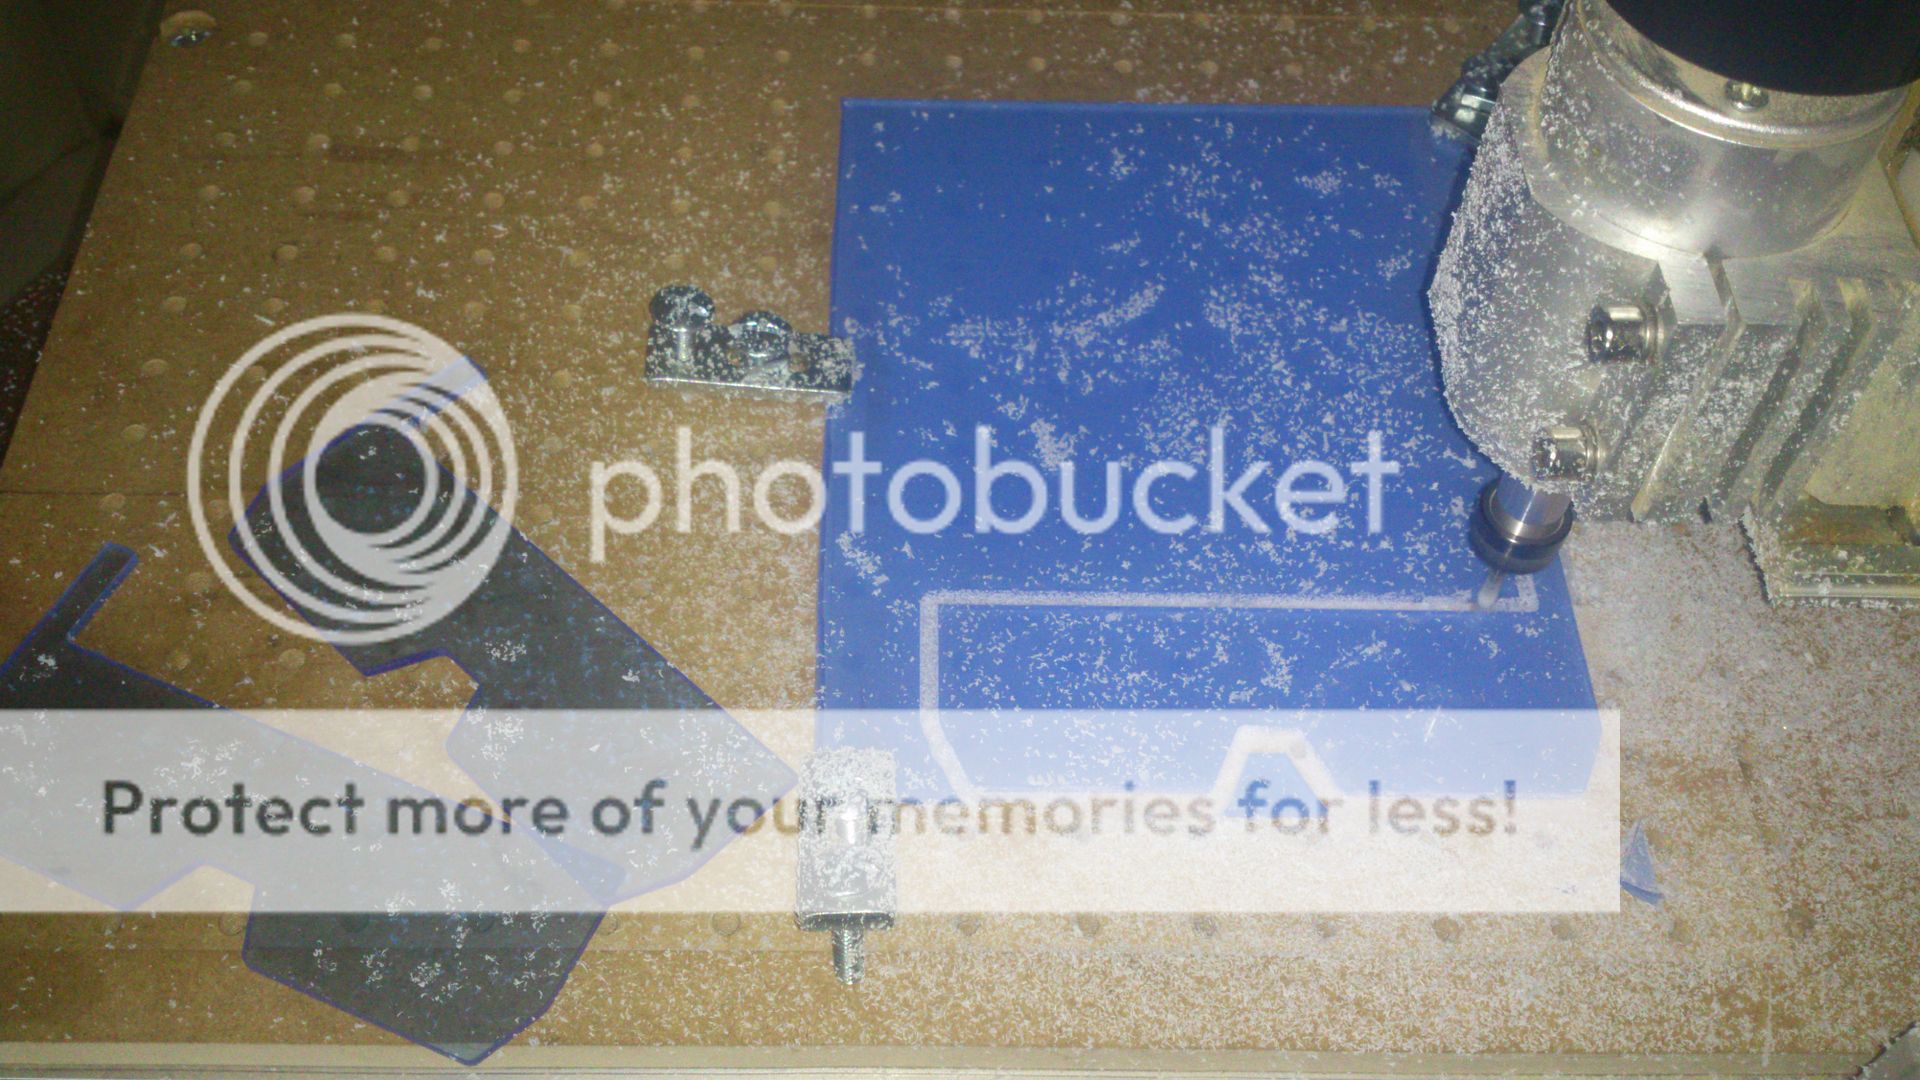
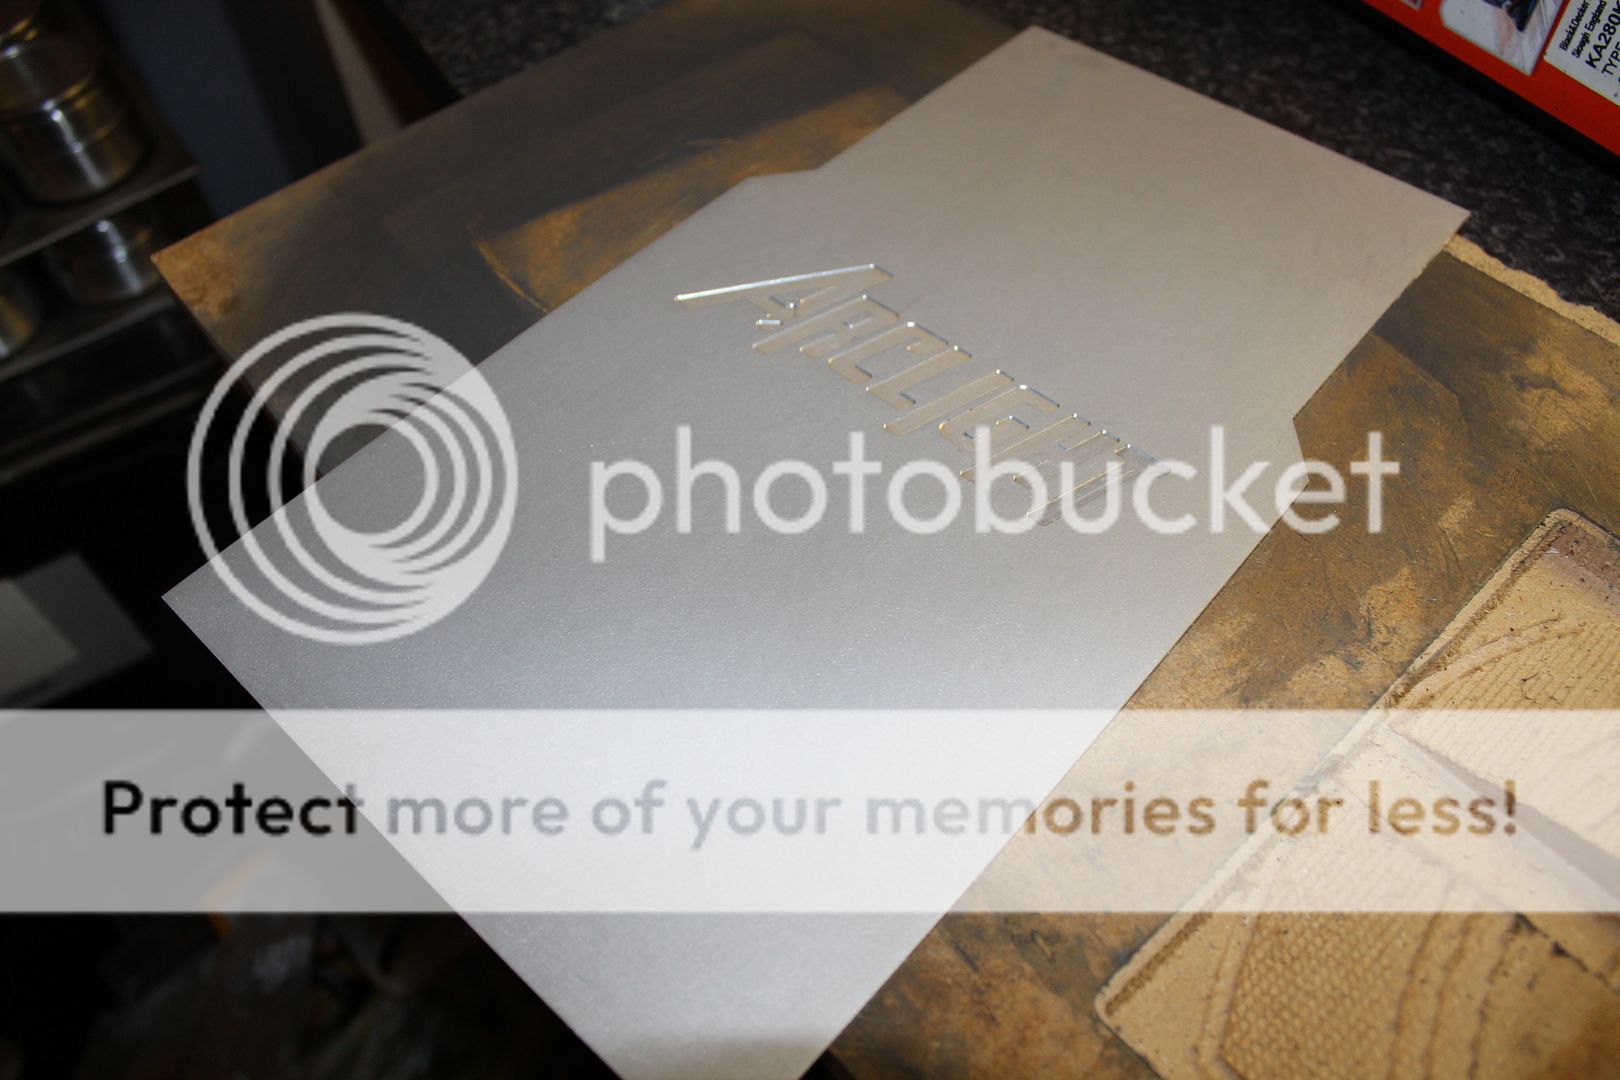
the first proper case parts to roll off are roof intake vents, the original vents took months to make by hand but with a cnc i can improve on them and get perfect results in just a few hours to cut all 30 of the new intakes (more about those in a later update)
 
once my confidence with the machine grew i finally ventured in to alu milling.... with TERRIBLE results, screaming mill and terrible tooling marks. after 3 weeks i finally worked out what was wrong, no coolant/lubrication, so out came the WD40 and away we went


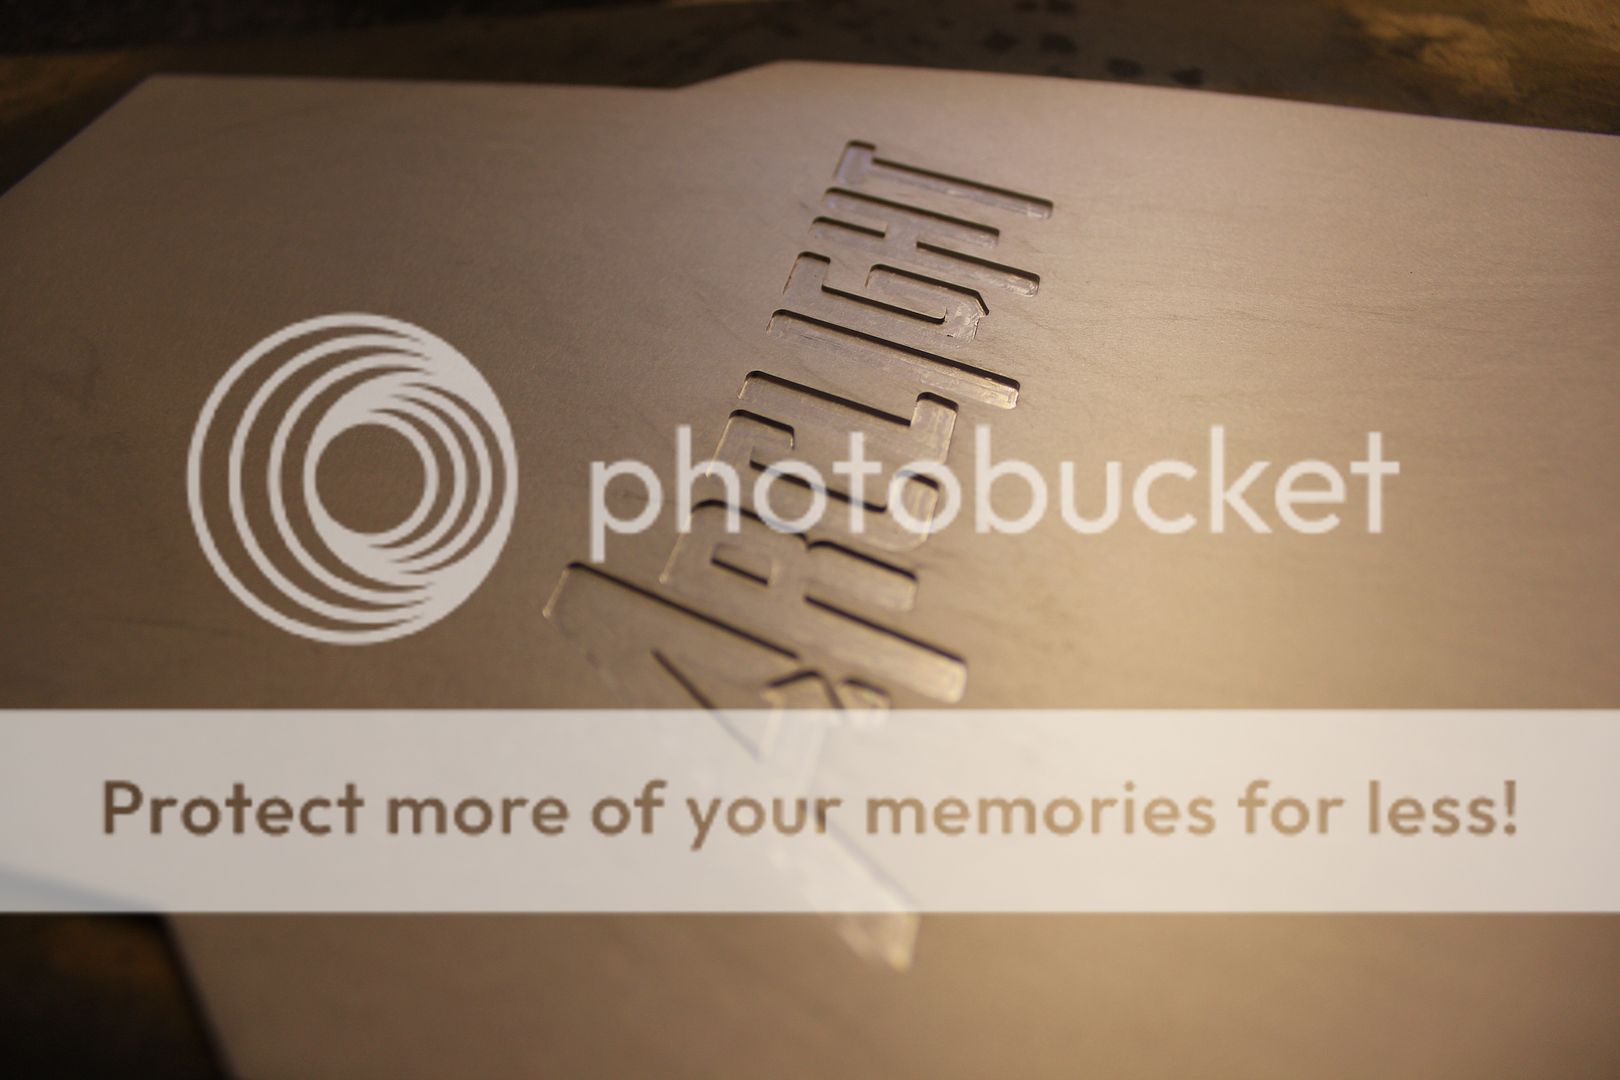
the arclight main bezel for the front of the roof if a plane sheet of 1.3mm alu shaped and contoured to fit in to a recess in the existing factory plastics


to say that the milling went very well would be an understatement, the results are fantastic, i will be doing way more alu work in the future including my own custom grills for sale

the lesson here...... WD40 is your friend


on to the REAL work


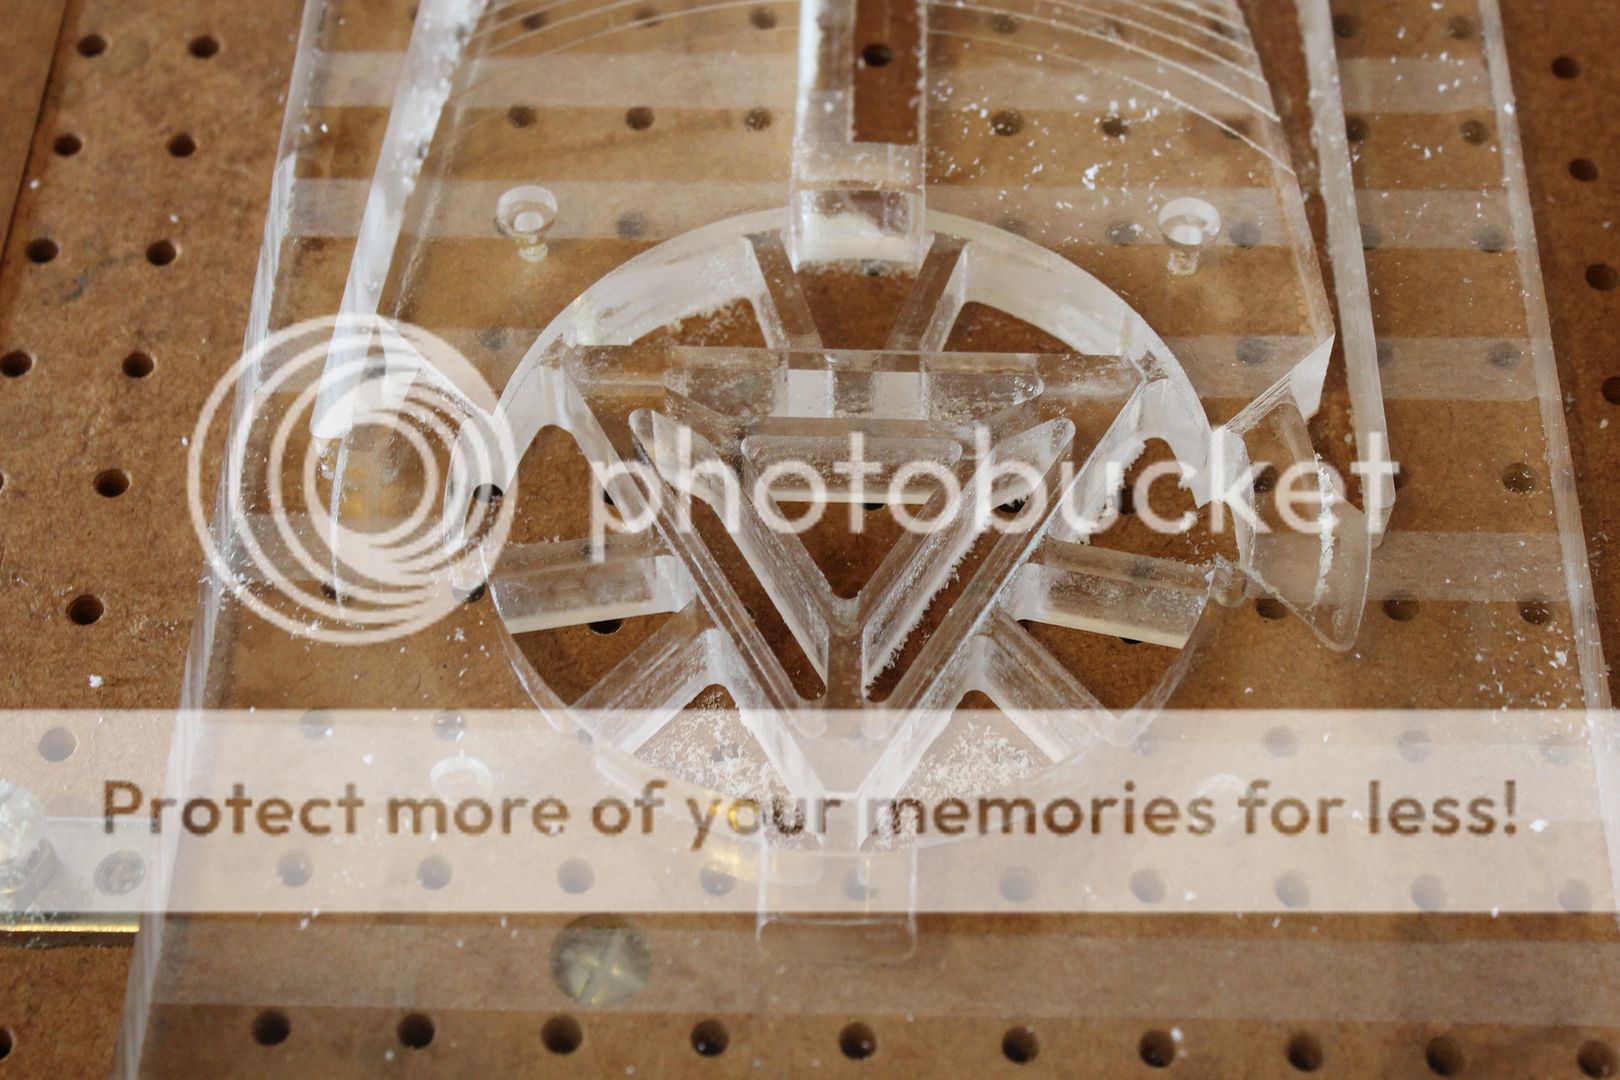
some time ago i designed this bezel for the arclight based on the mk7 ironman cheat arc, at the time i did not have the ability to bring it to life..... now i do

and so the madness begins


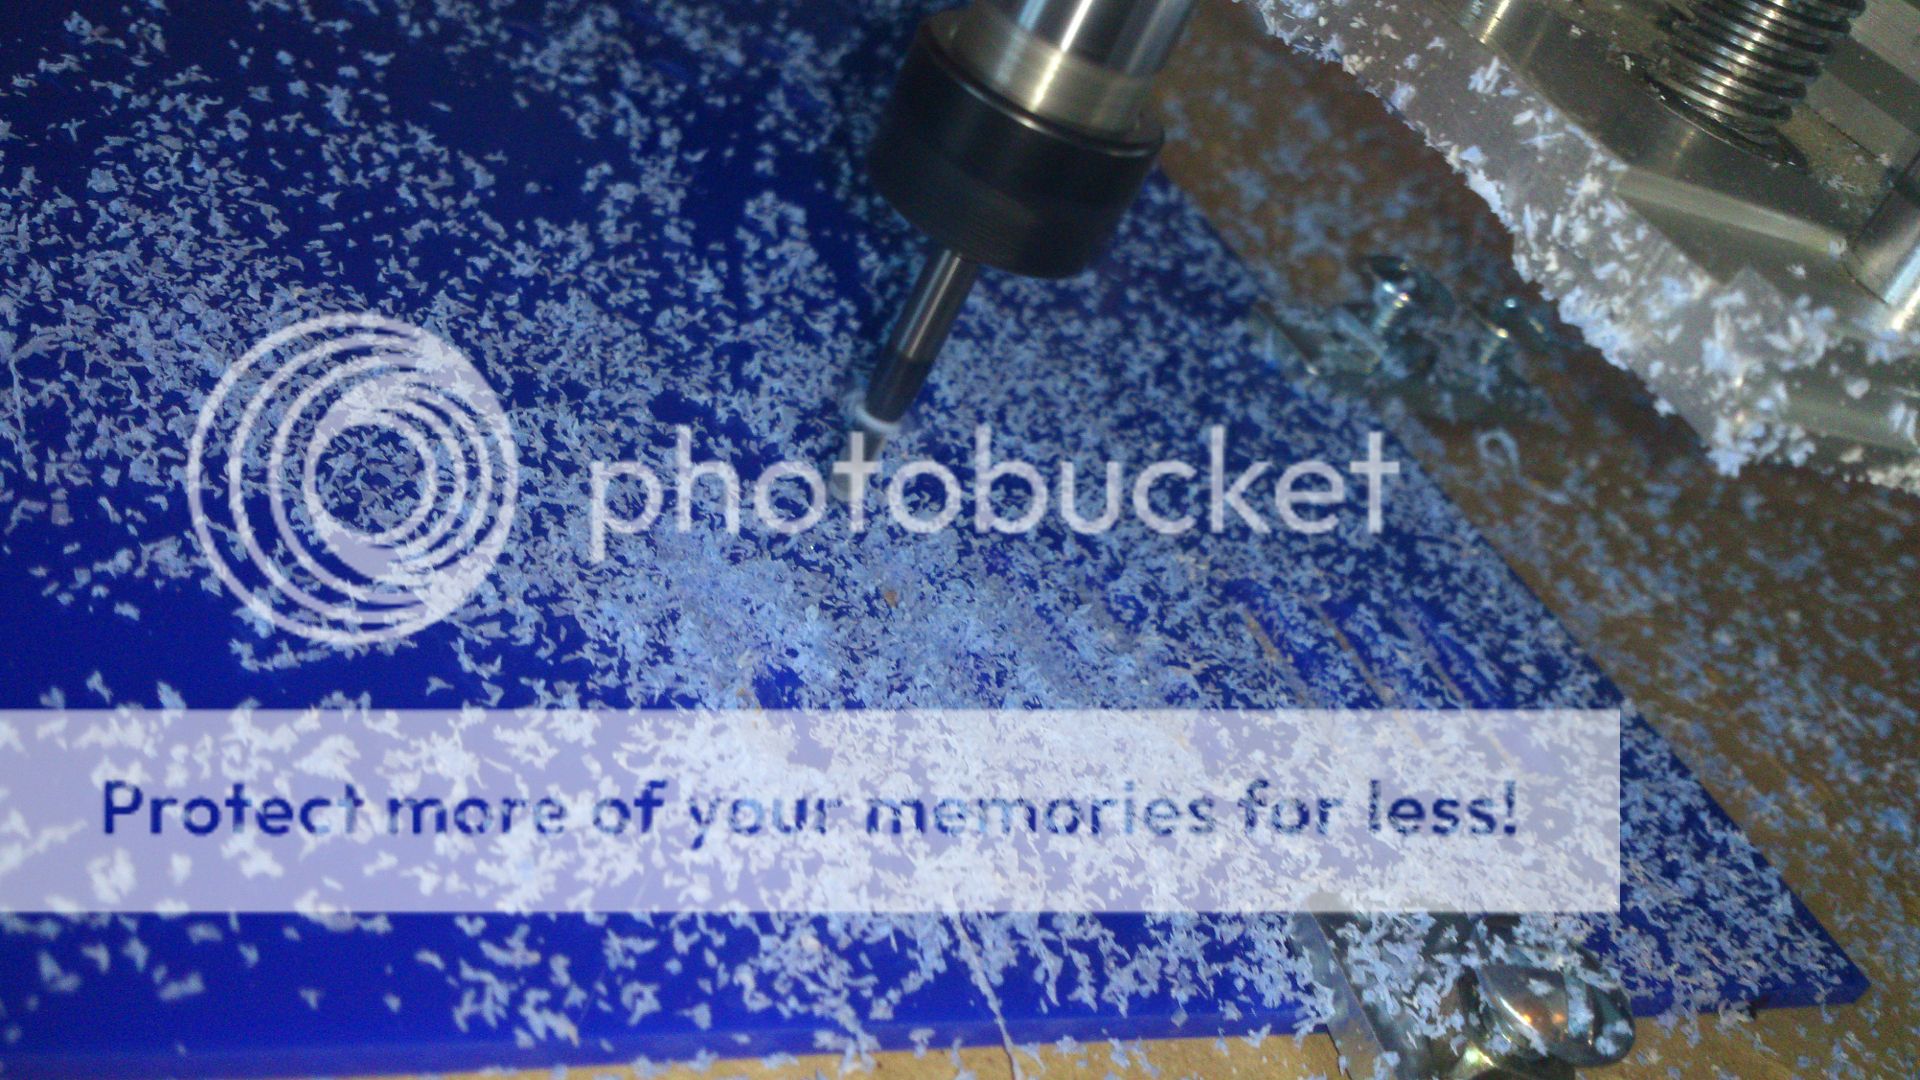
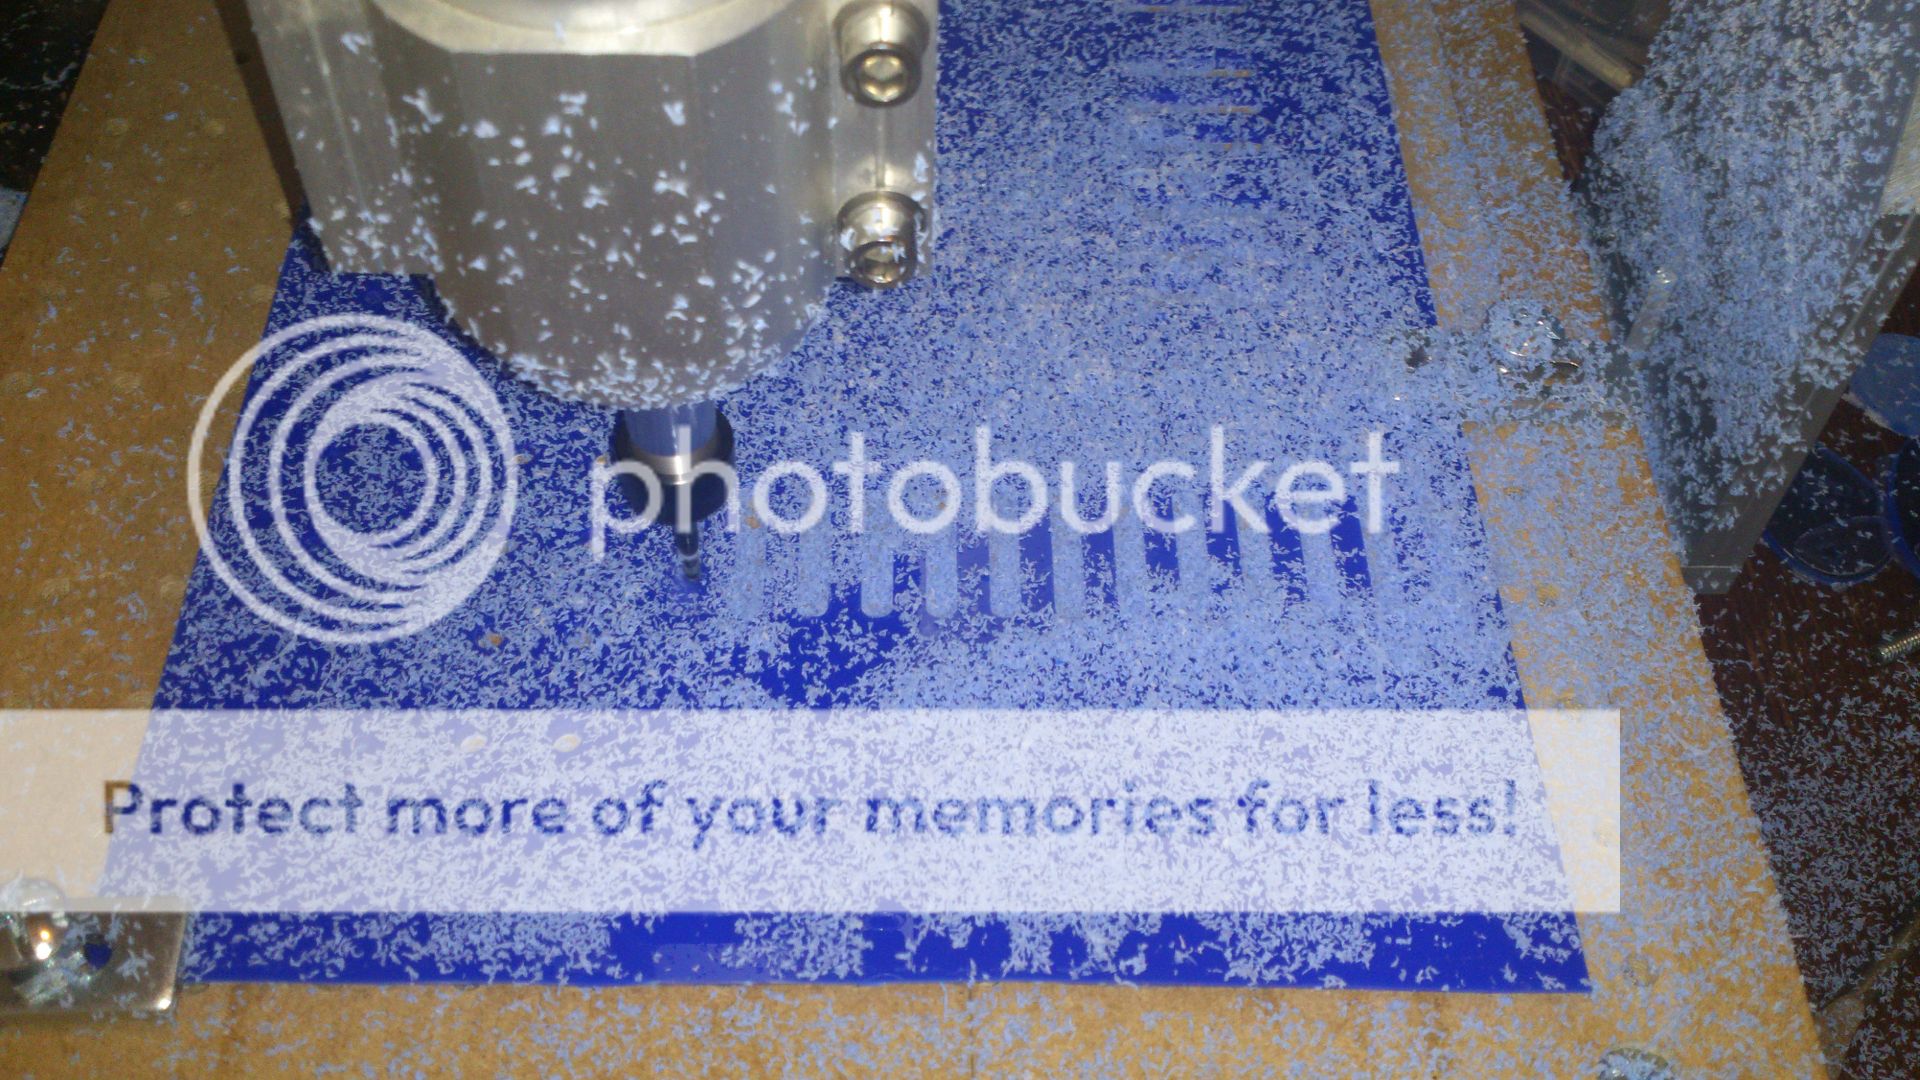
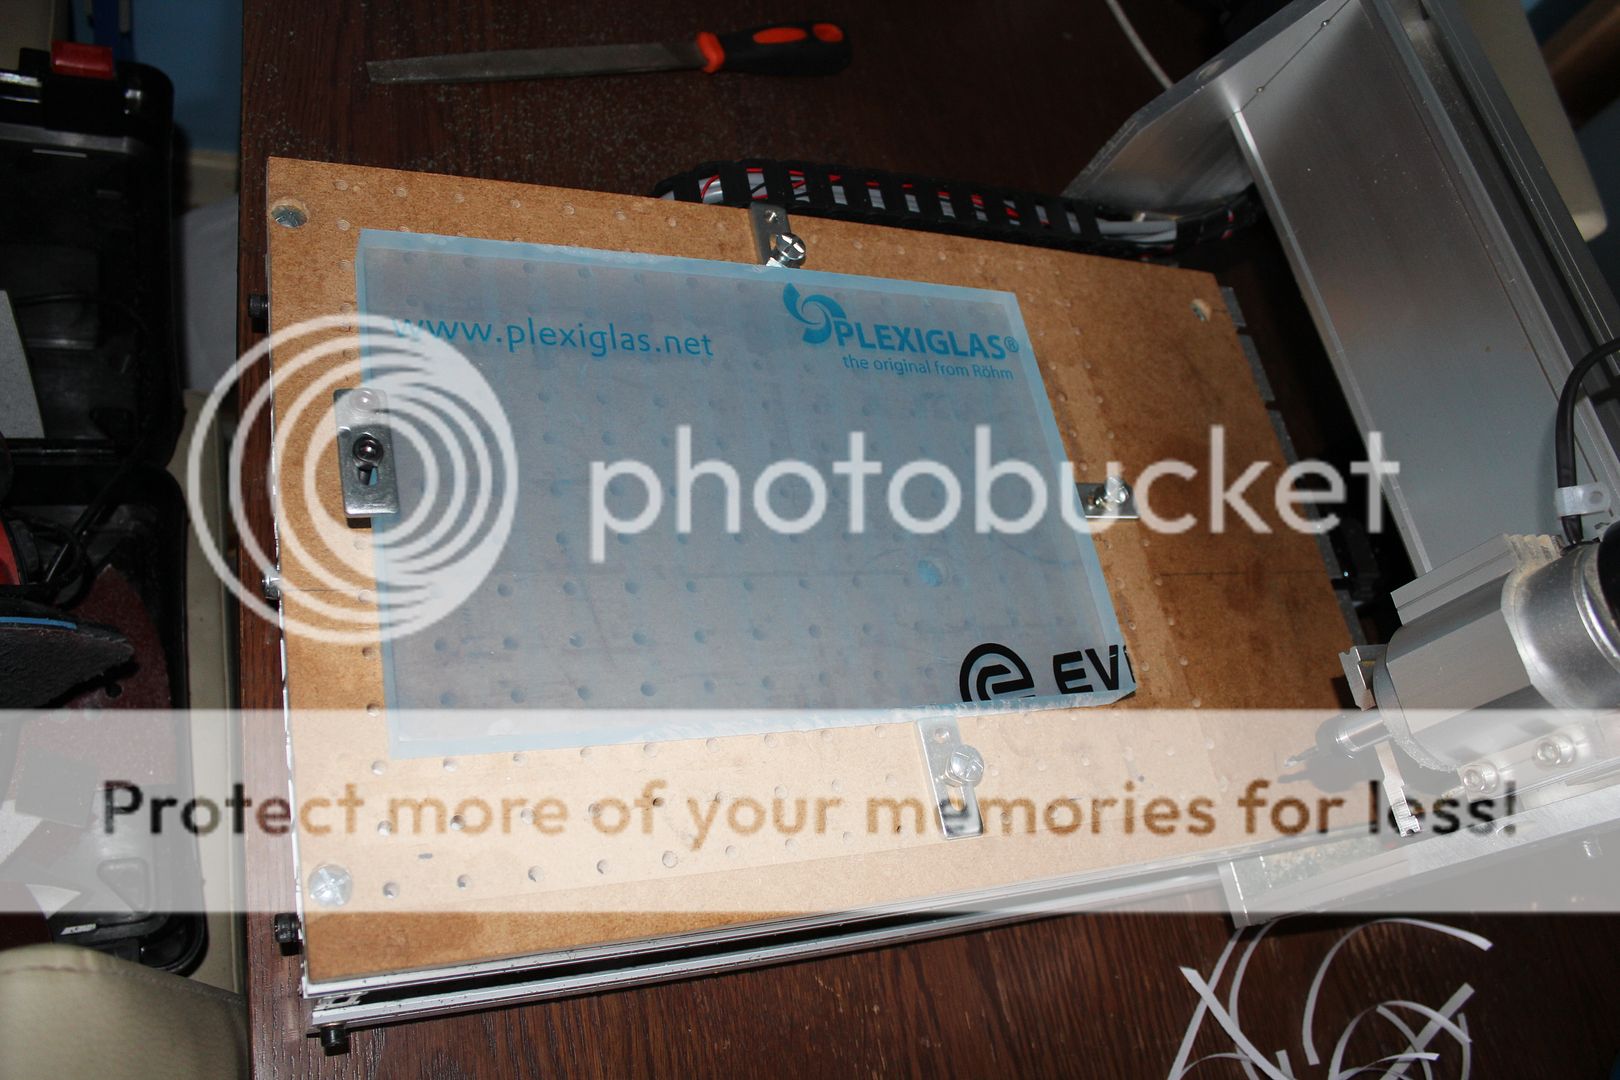
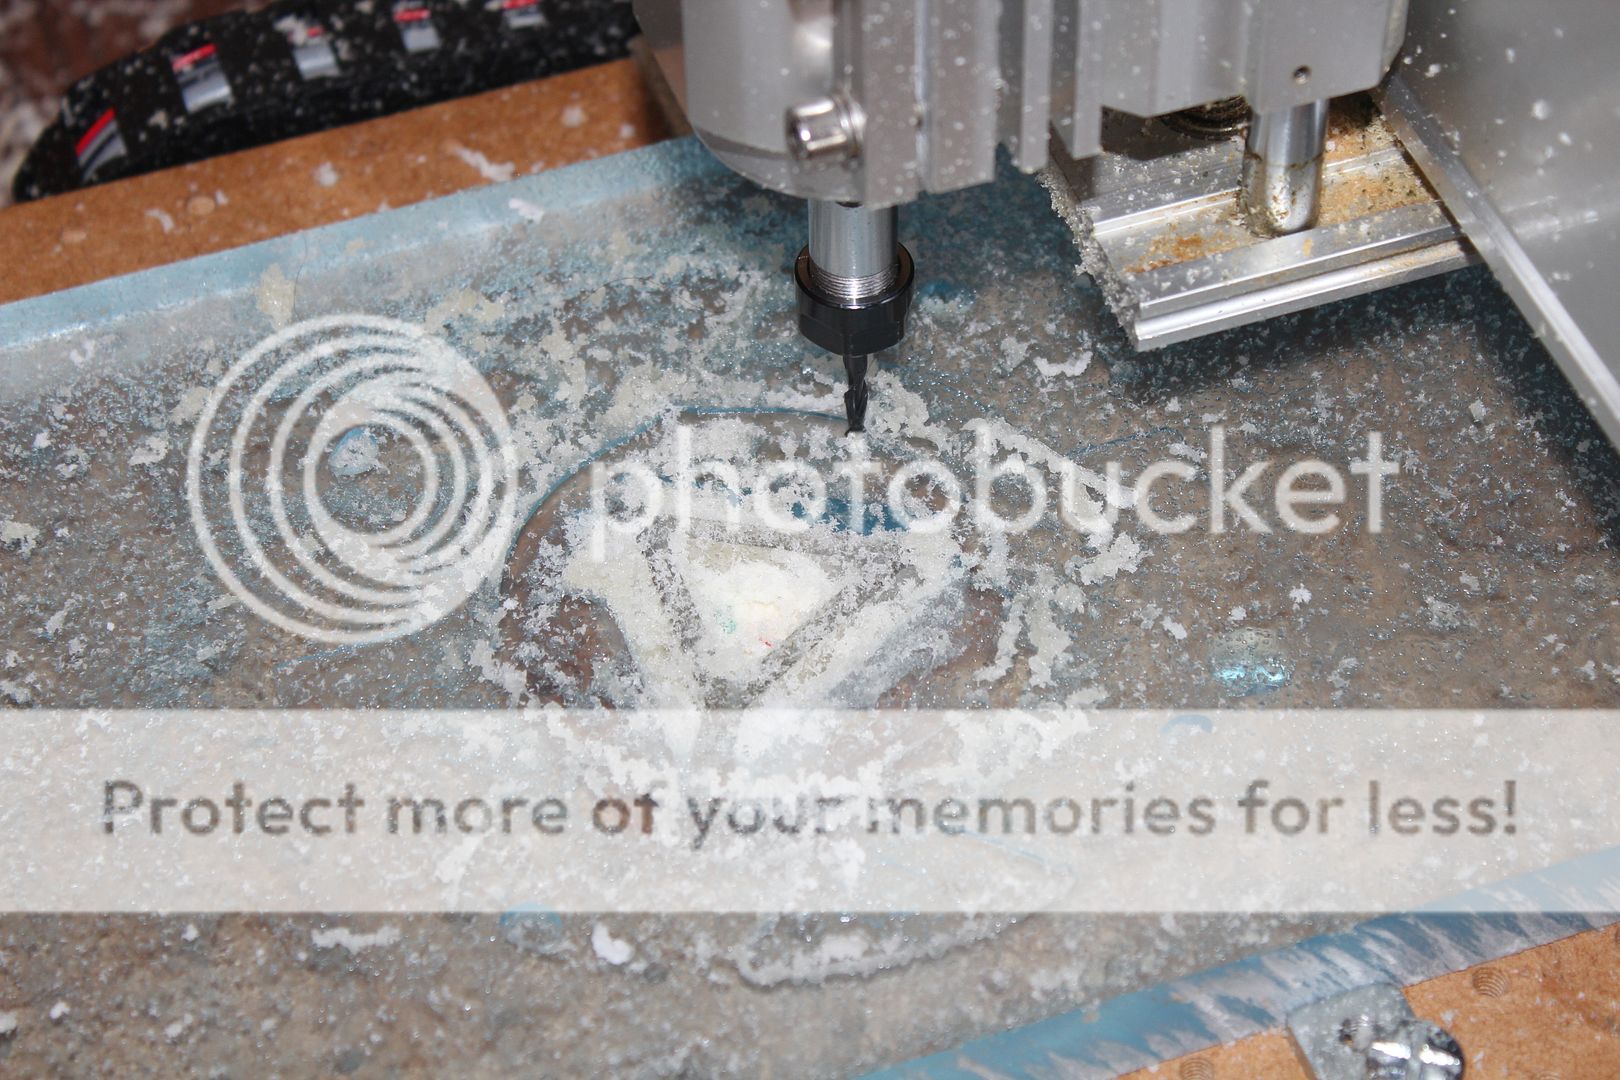
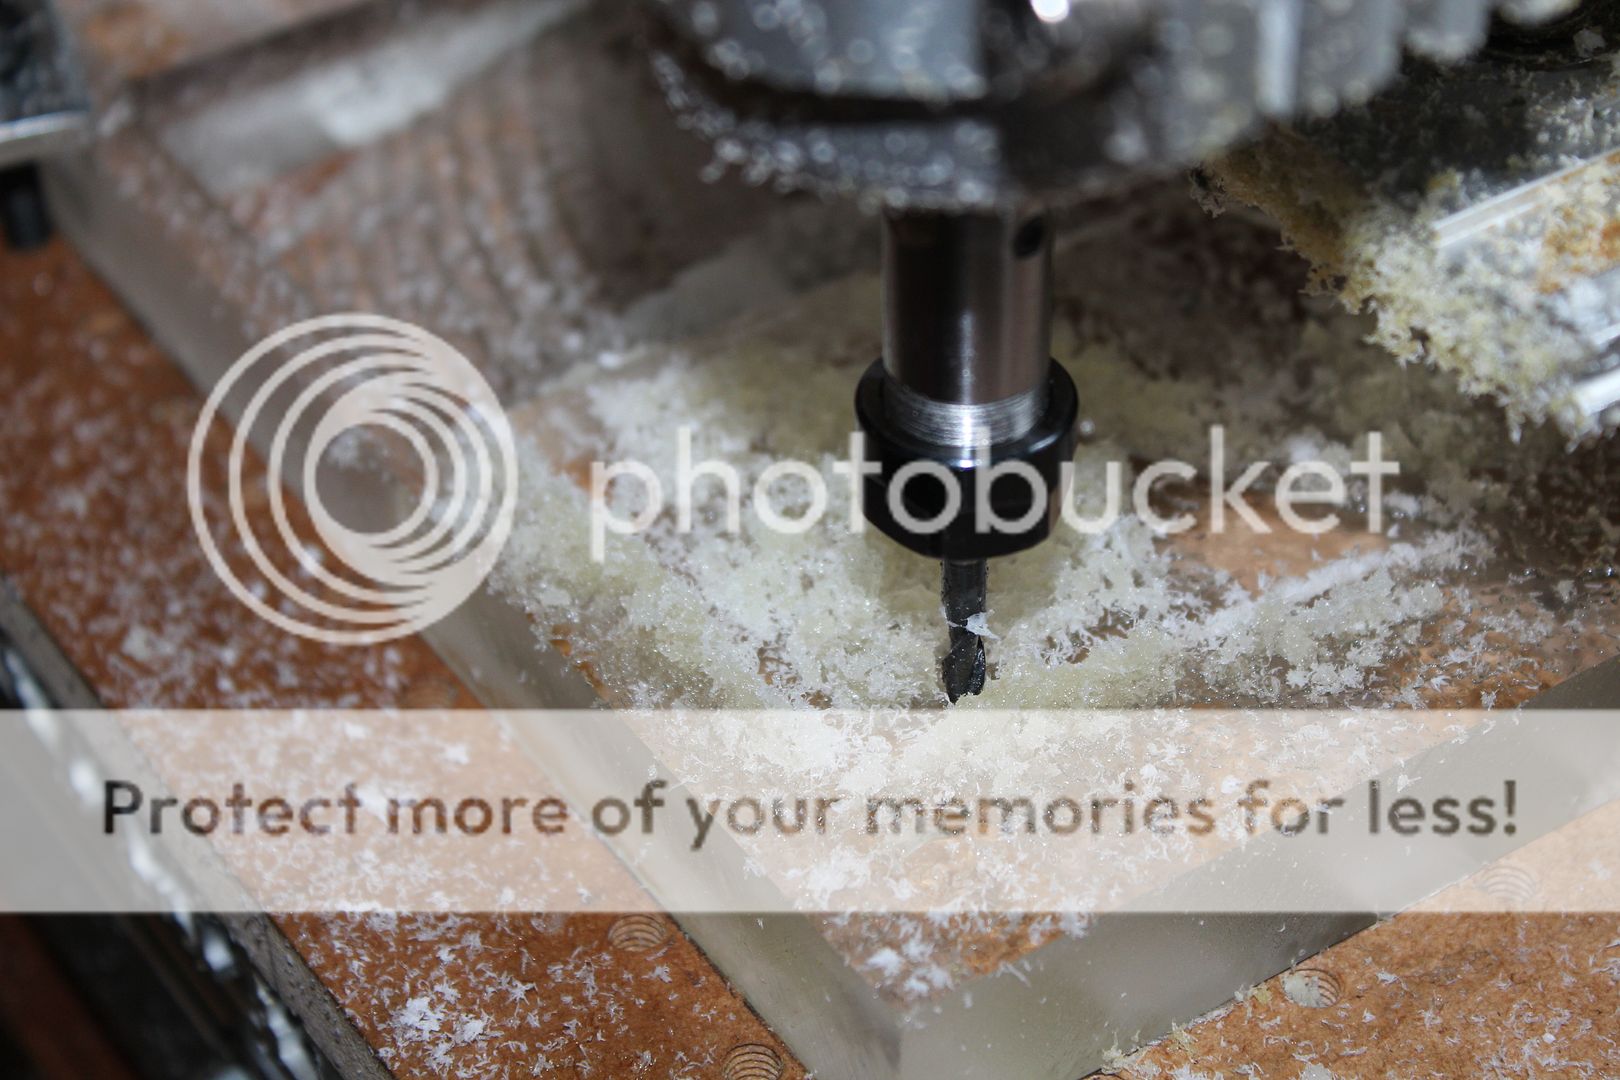
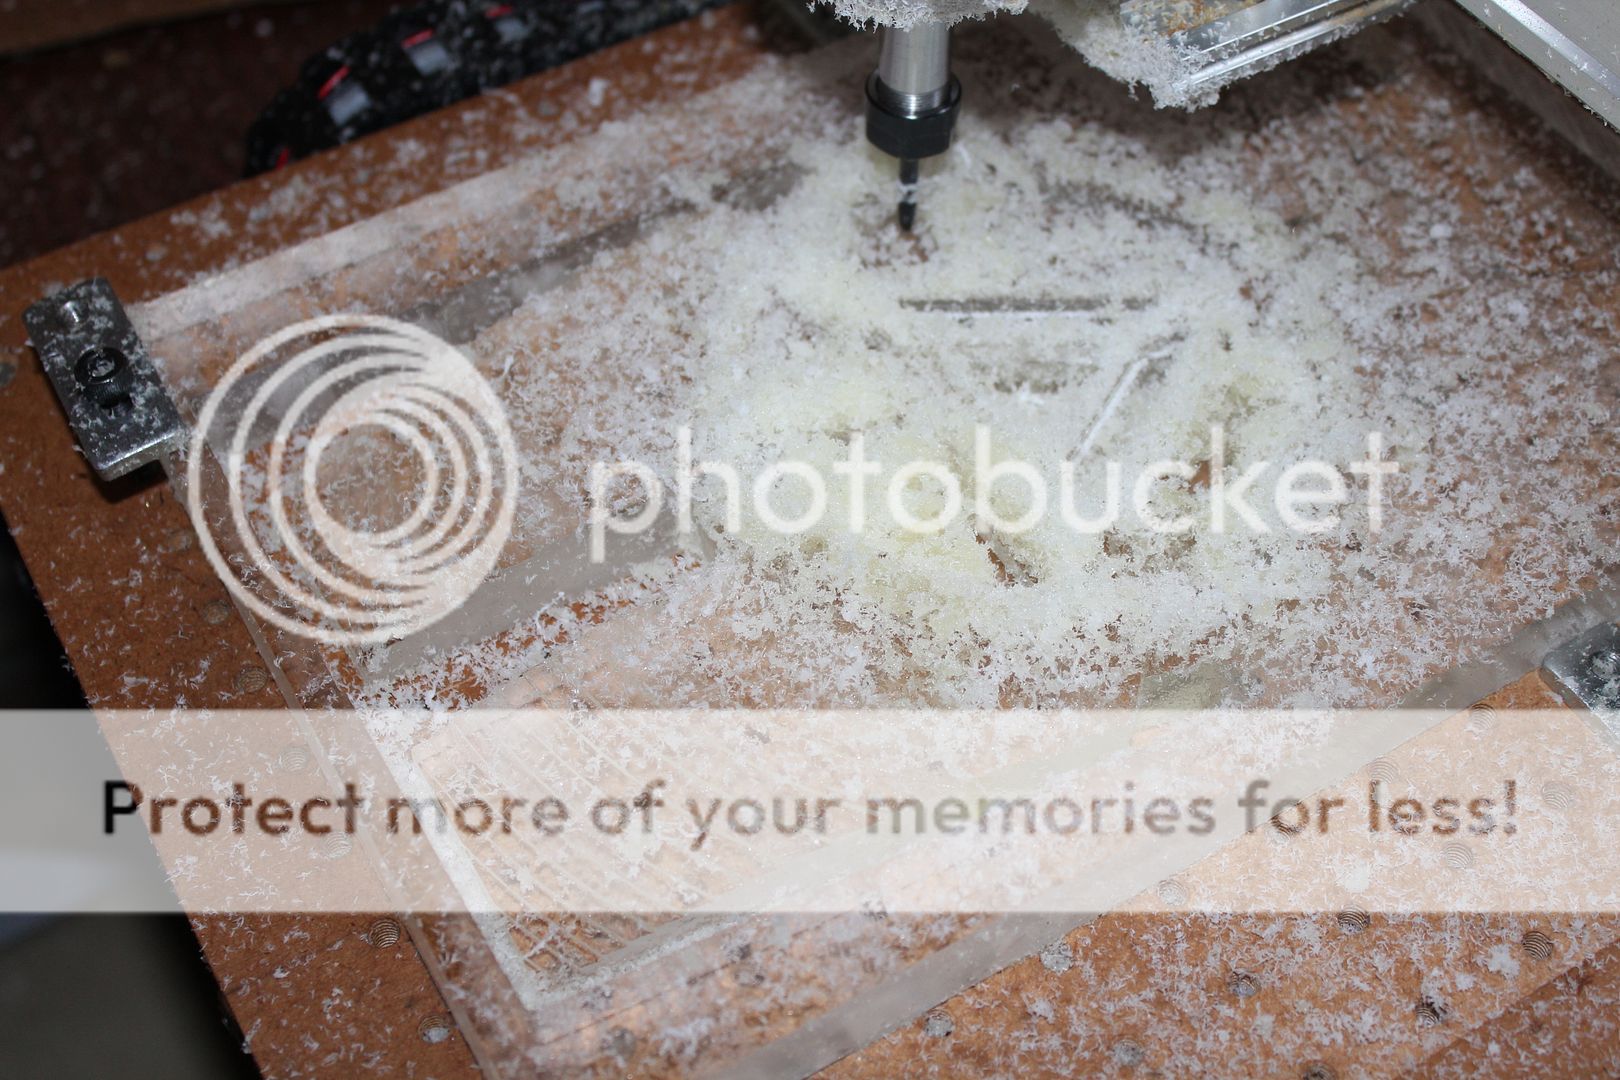
starting with a massive block of plexi (300x200x20mm) and a psychotic grin, the mill went in to action, to keep a fairly good finish and prevent melting of the pexi, i invested in some coolant (you will spot the chips chance colour a few times depending on the coolant i am testing in each phase)


the endmills i am using are designed to go no deeper then 12mm and i am going down to 20mm so lots of coolant is being used to try to push the working limits, and thankfully it worked far better then expected


the above shots represent 3 hours of mill time, going super slow to avoid trouble
 
continued......


after getting the centre to full depth the tricky work can begin, the endmills i use have a flute that is 12mm long, this limits me to 12mm depth or i will not get any kinf of chip evac when cutting......... but i ignored that and took them 20mm deep


mach3 with custom skin displaying tool paths and the current positions of the axis, just about to start fork on the epics above


i am skipping sections of programs or making ones that leave out large areas of the design specificaly to allow me more sway room as i get closer to completion


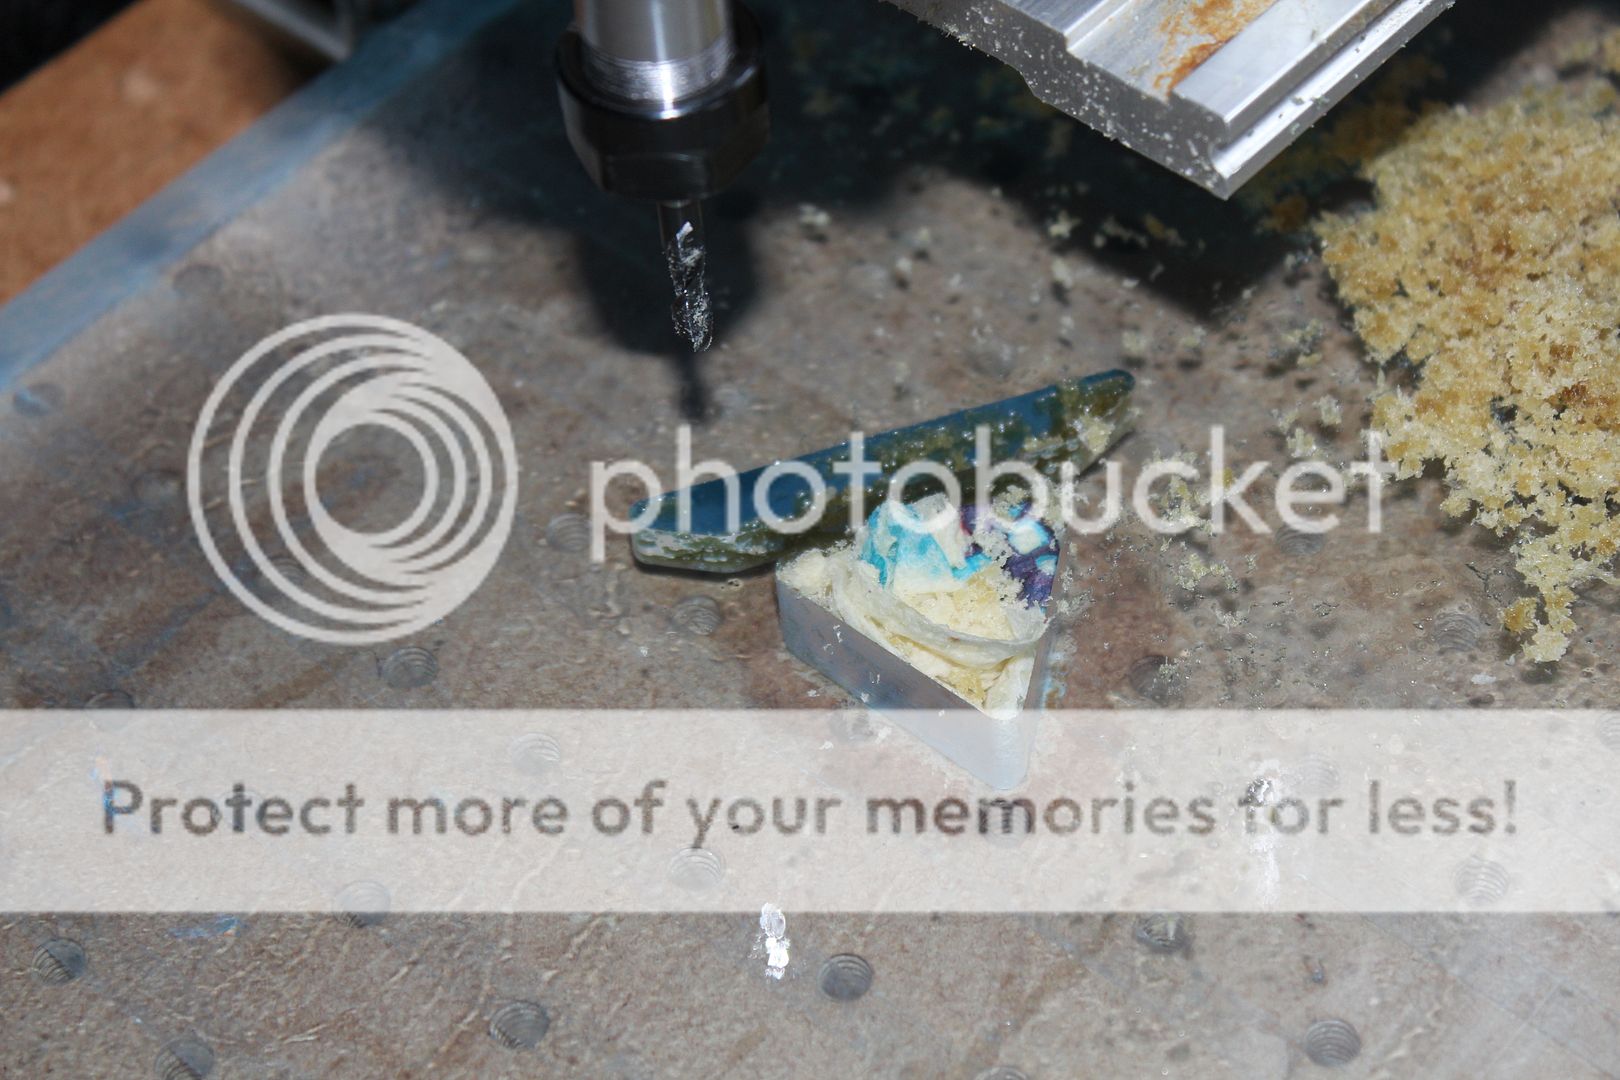
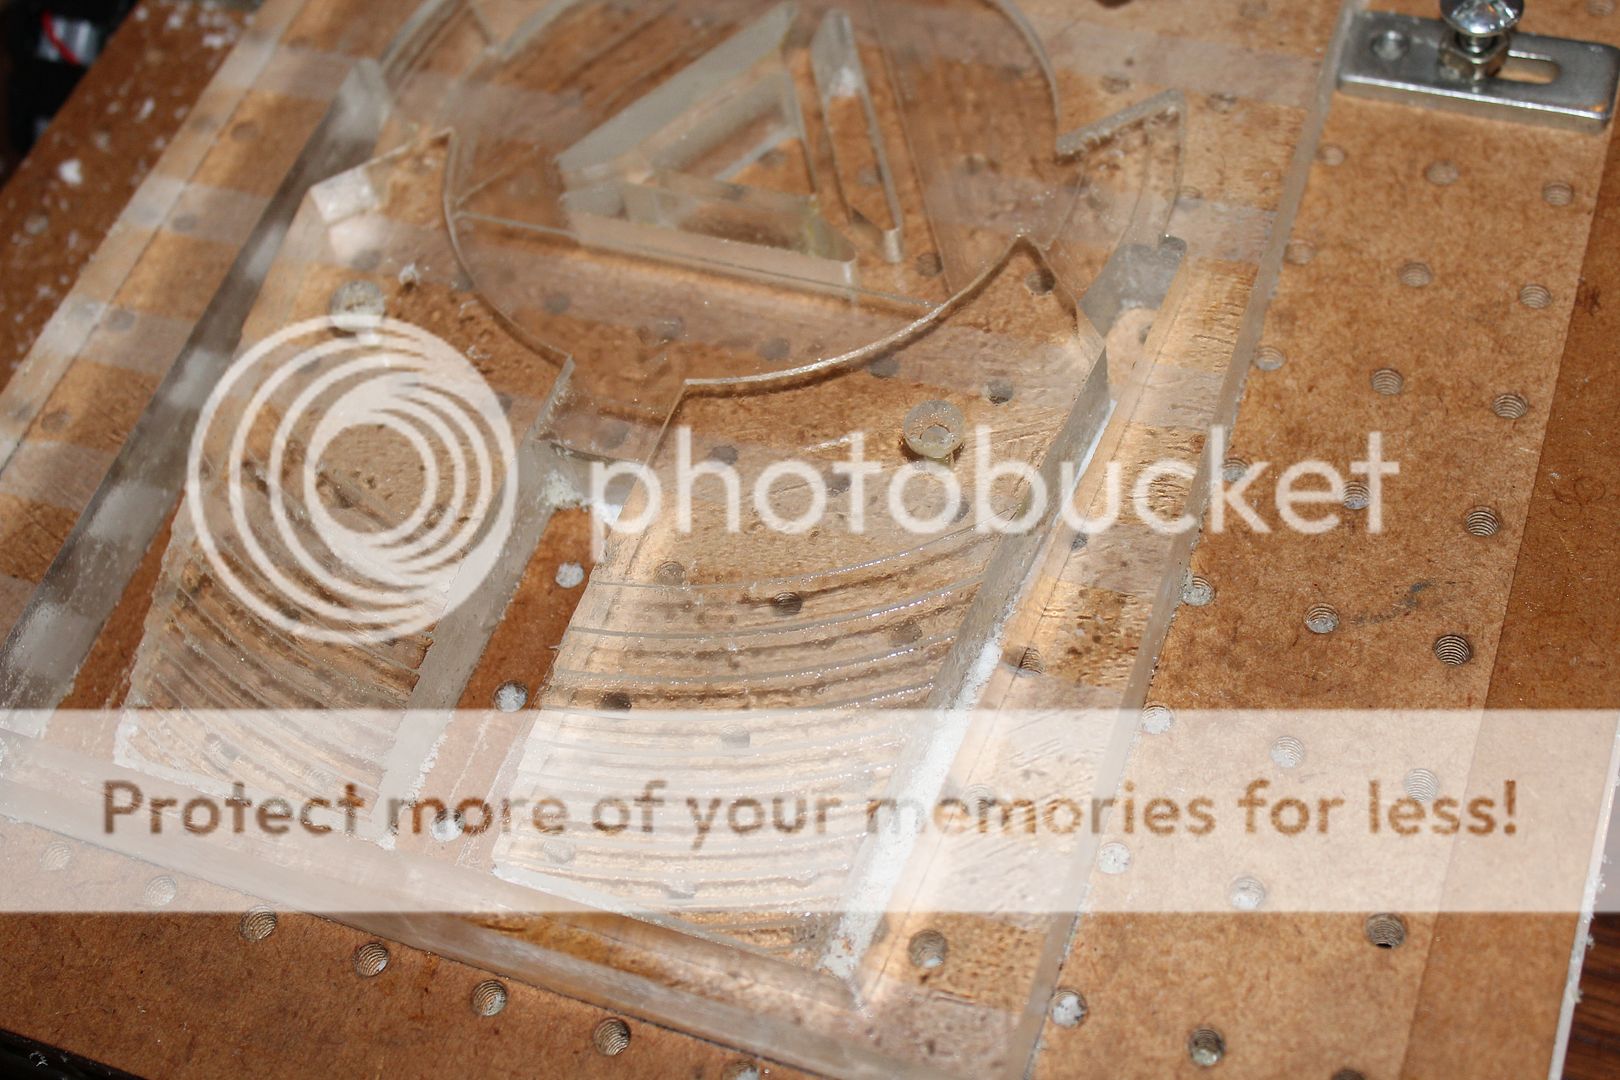
first roughing (horizontal roughing) for one of the arms, using vegitable oil (liberated from my chip pan) as an ad hoc lube, as this is cast plexi it melts if you even breath on it. the tooling looks a bit rough as ive not cleaned up all the debris in the shot... the results even at extream depth were very pleasing, although oil as lube does make the chips look horrible and a nightmare to clean up


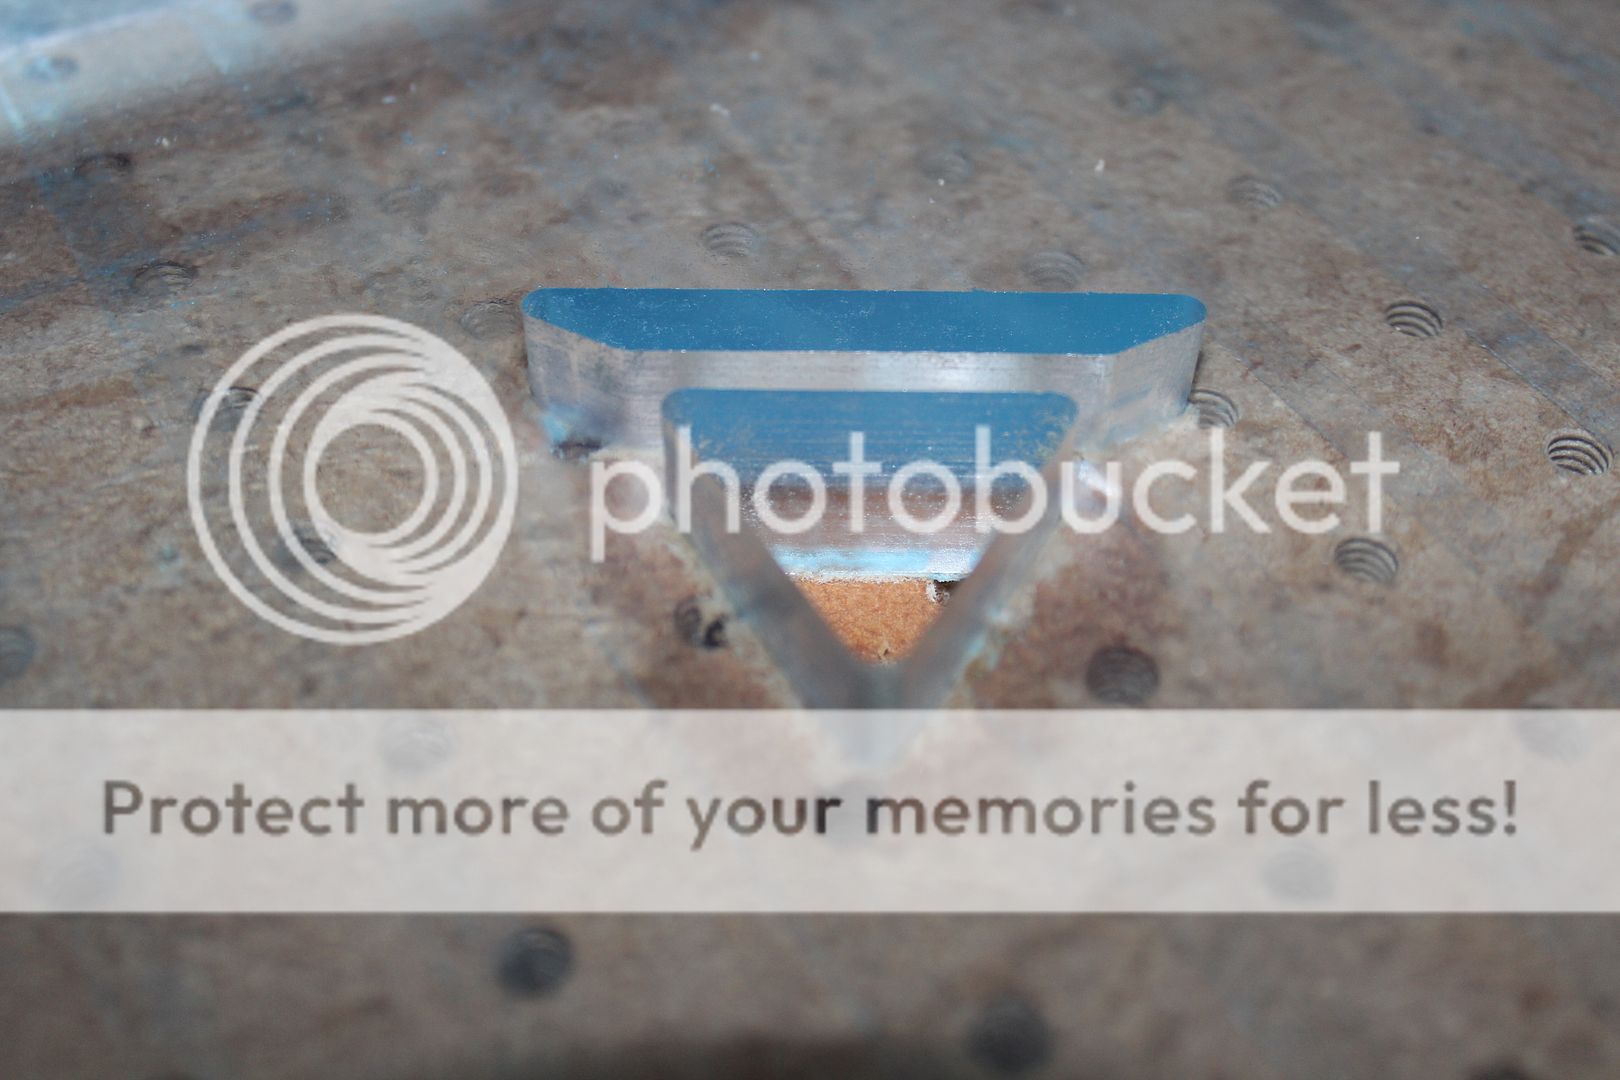
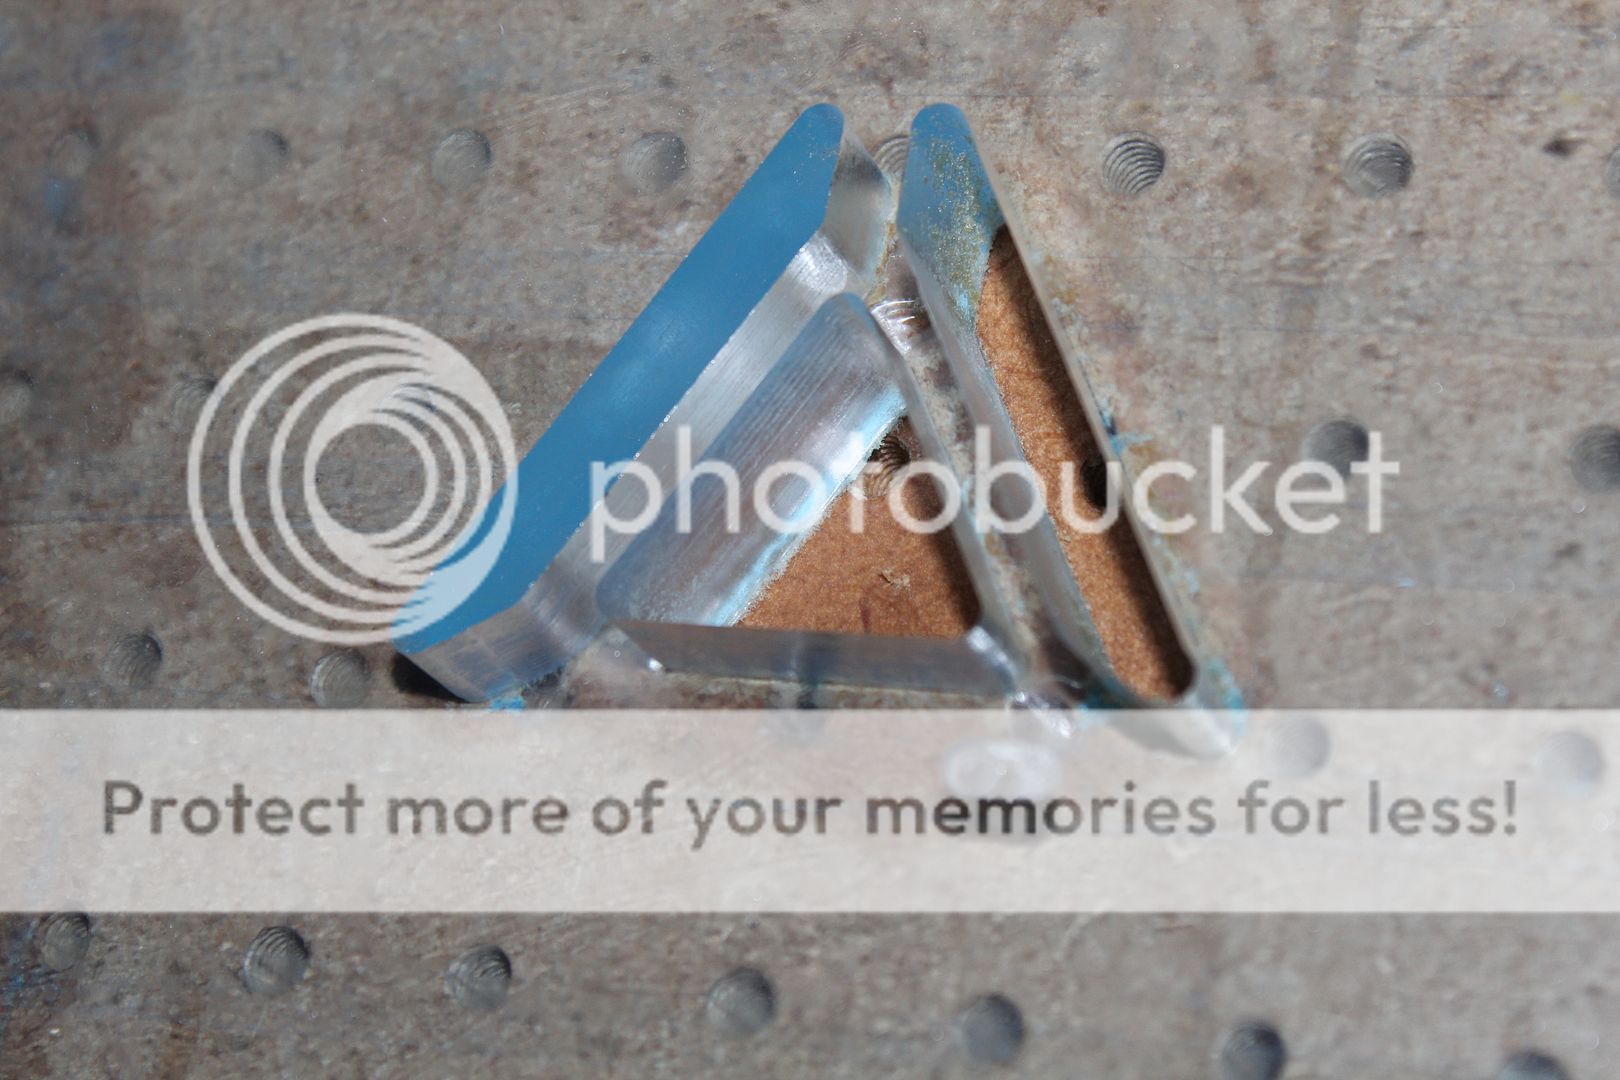
the eagle eyes may notice the slight lip on the bottot of the right arm, after finishing the left i decided to change max depth to 19.5mm to give me a ,5mm tab to help keep the part stable later and to stop the coolant from destroying my baseboard
 
continued.... erm.... some more


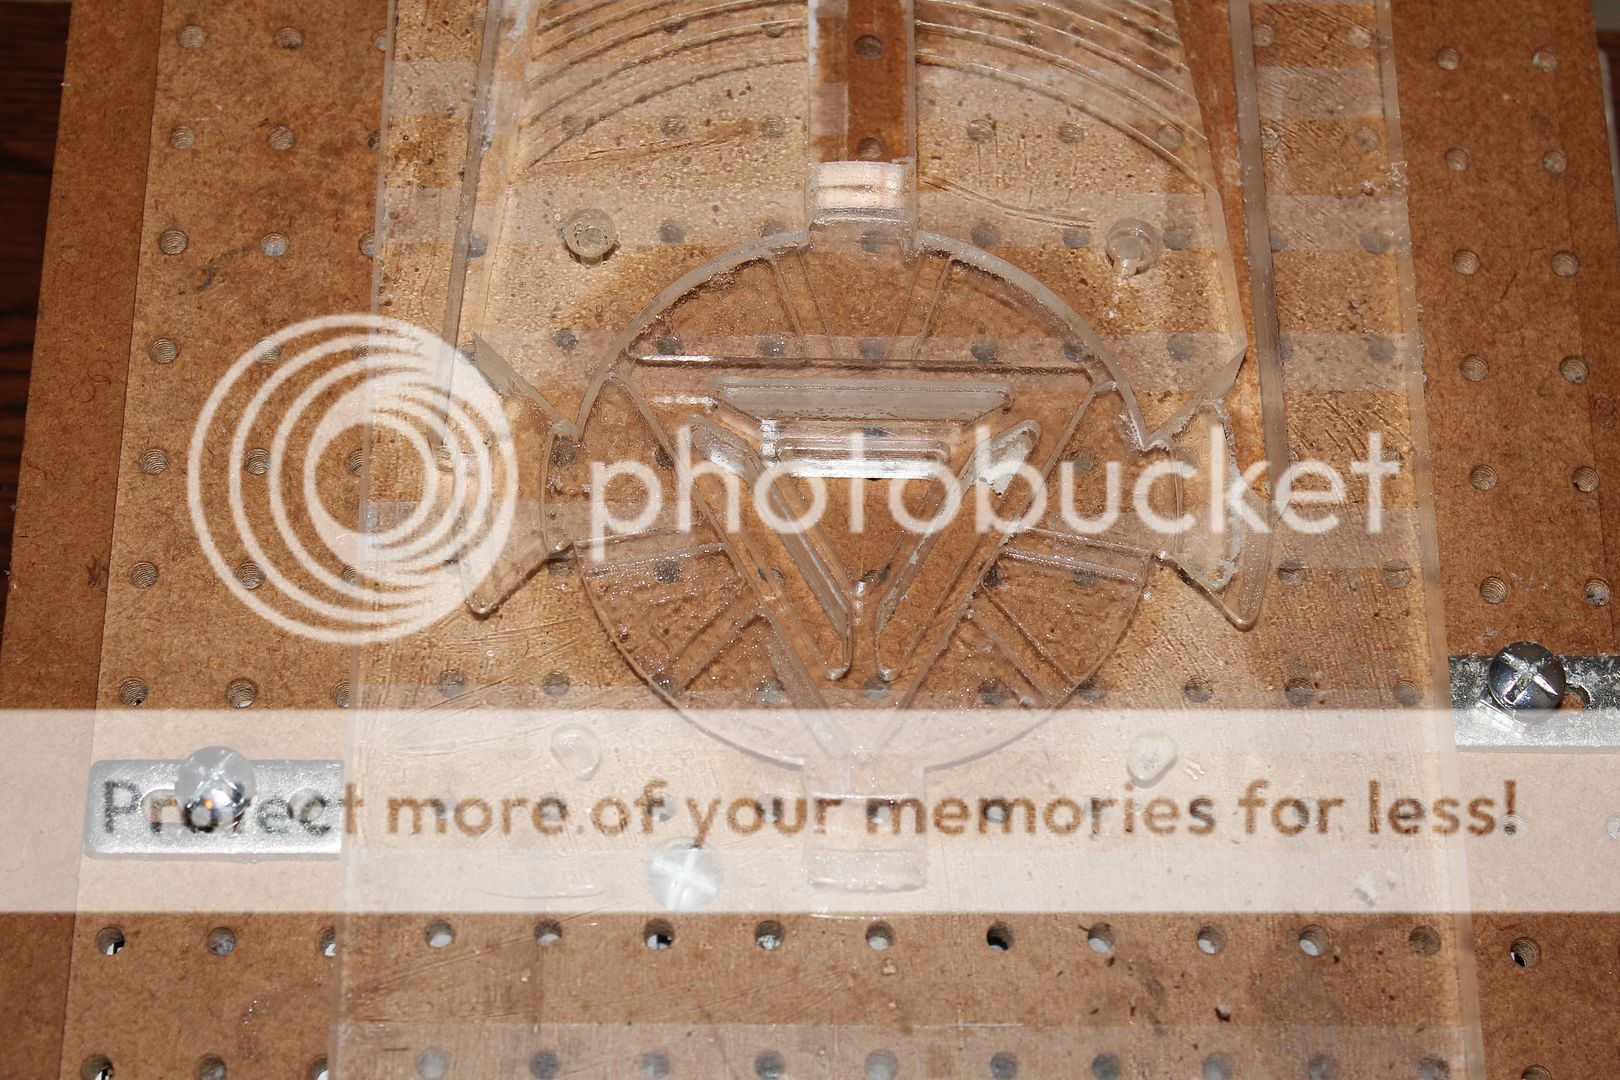
back to milling the center this time leaving zero stock, this was make or break, if i had planned anything wrong the whole piece would be ruined, but it seemed that lick was on my side


full cleanup can wait until all the cutting is complete


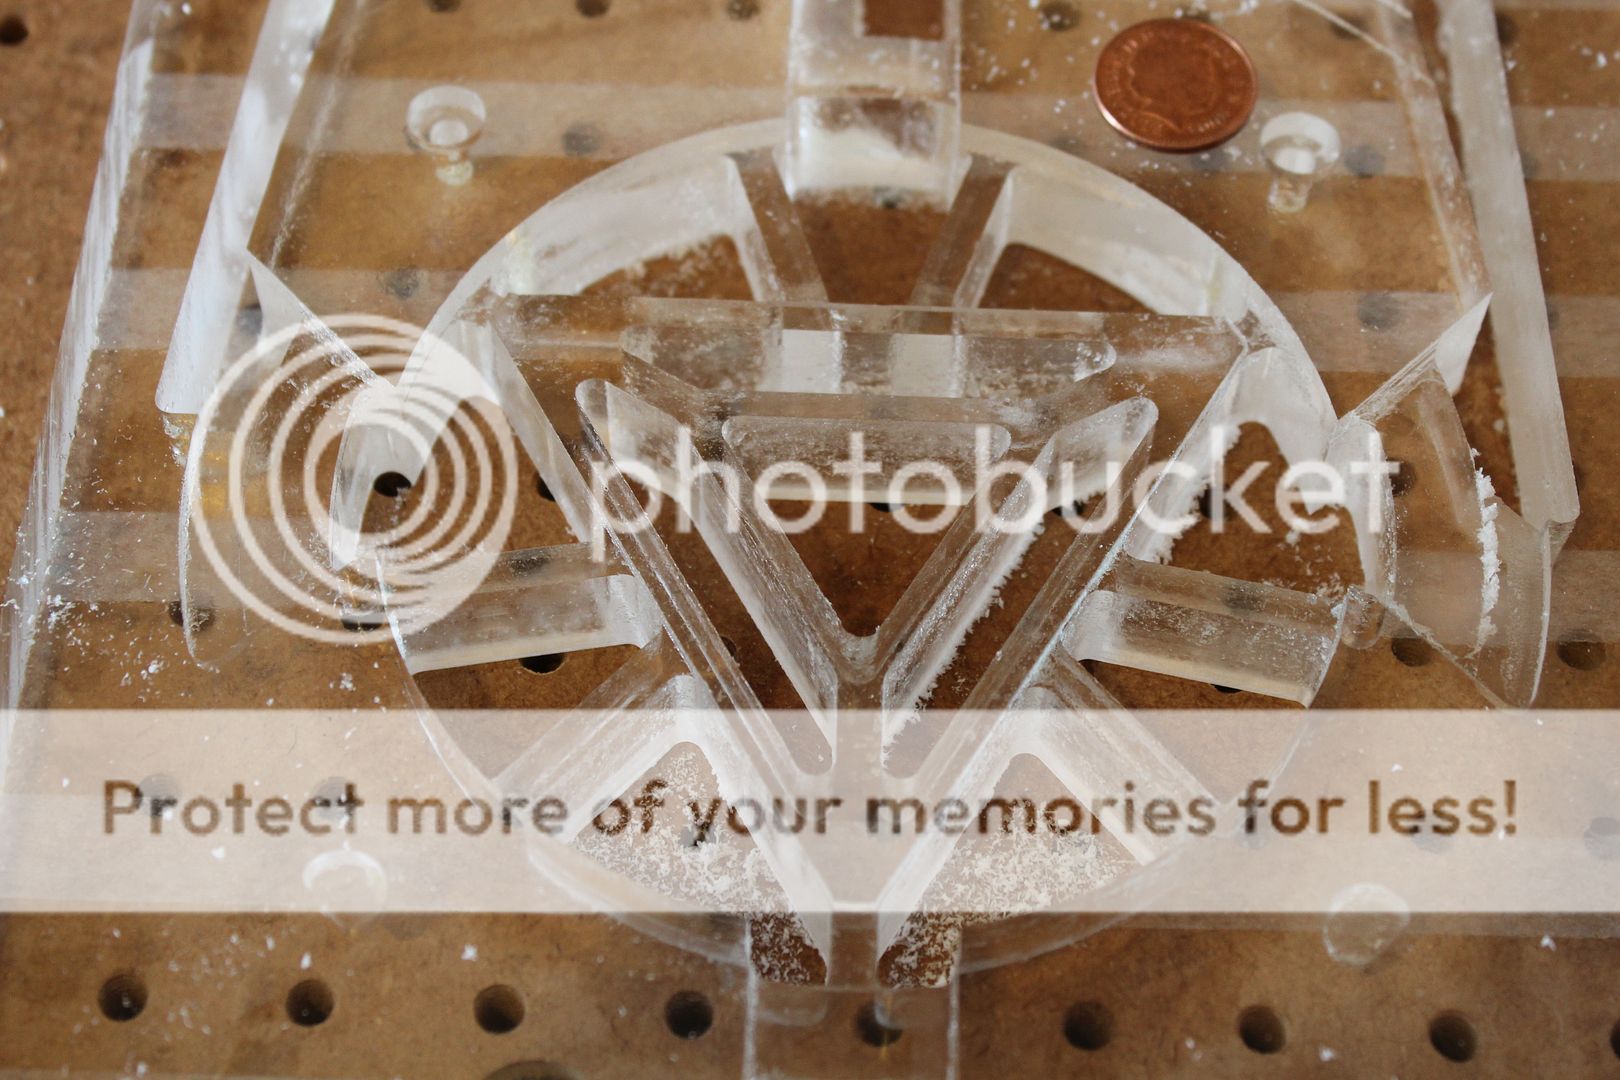
for some scale


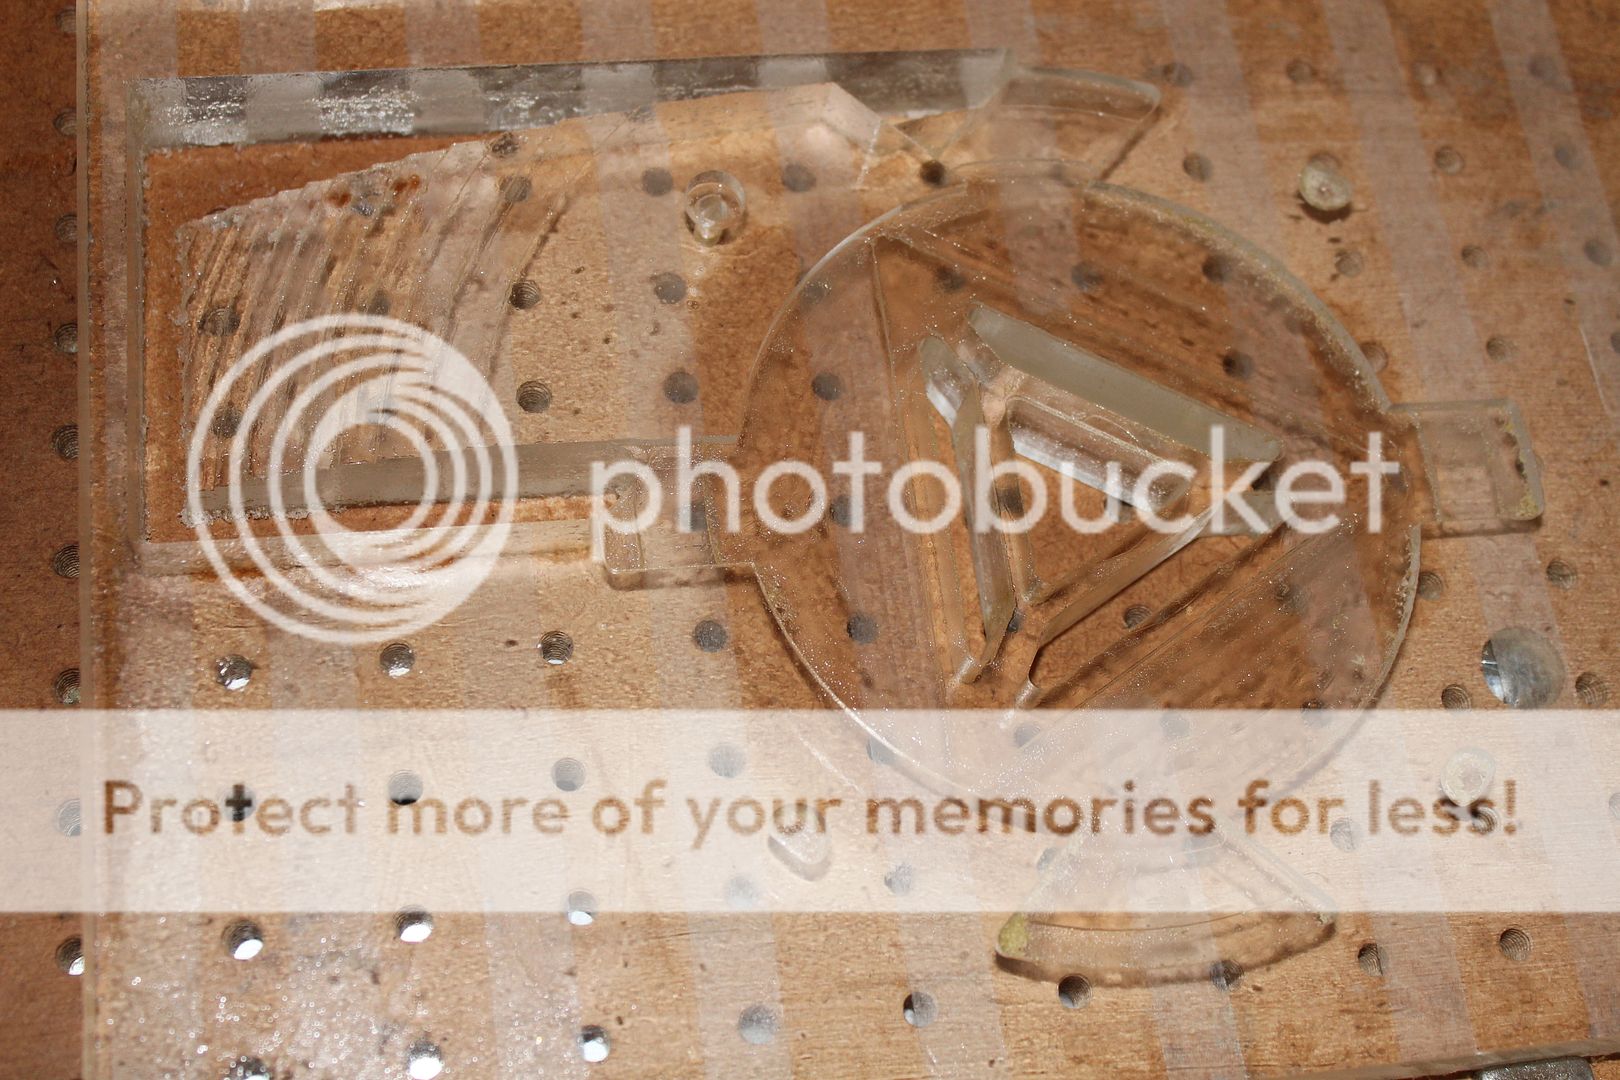
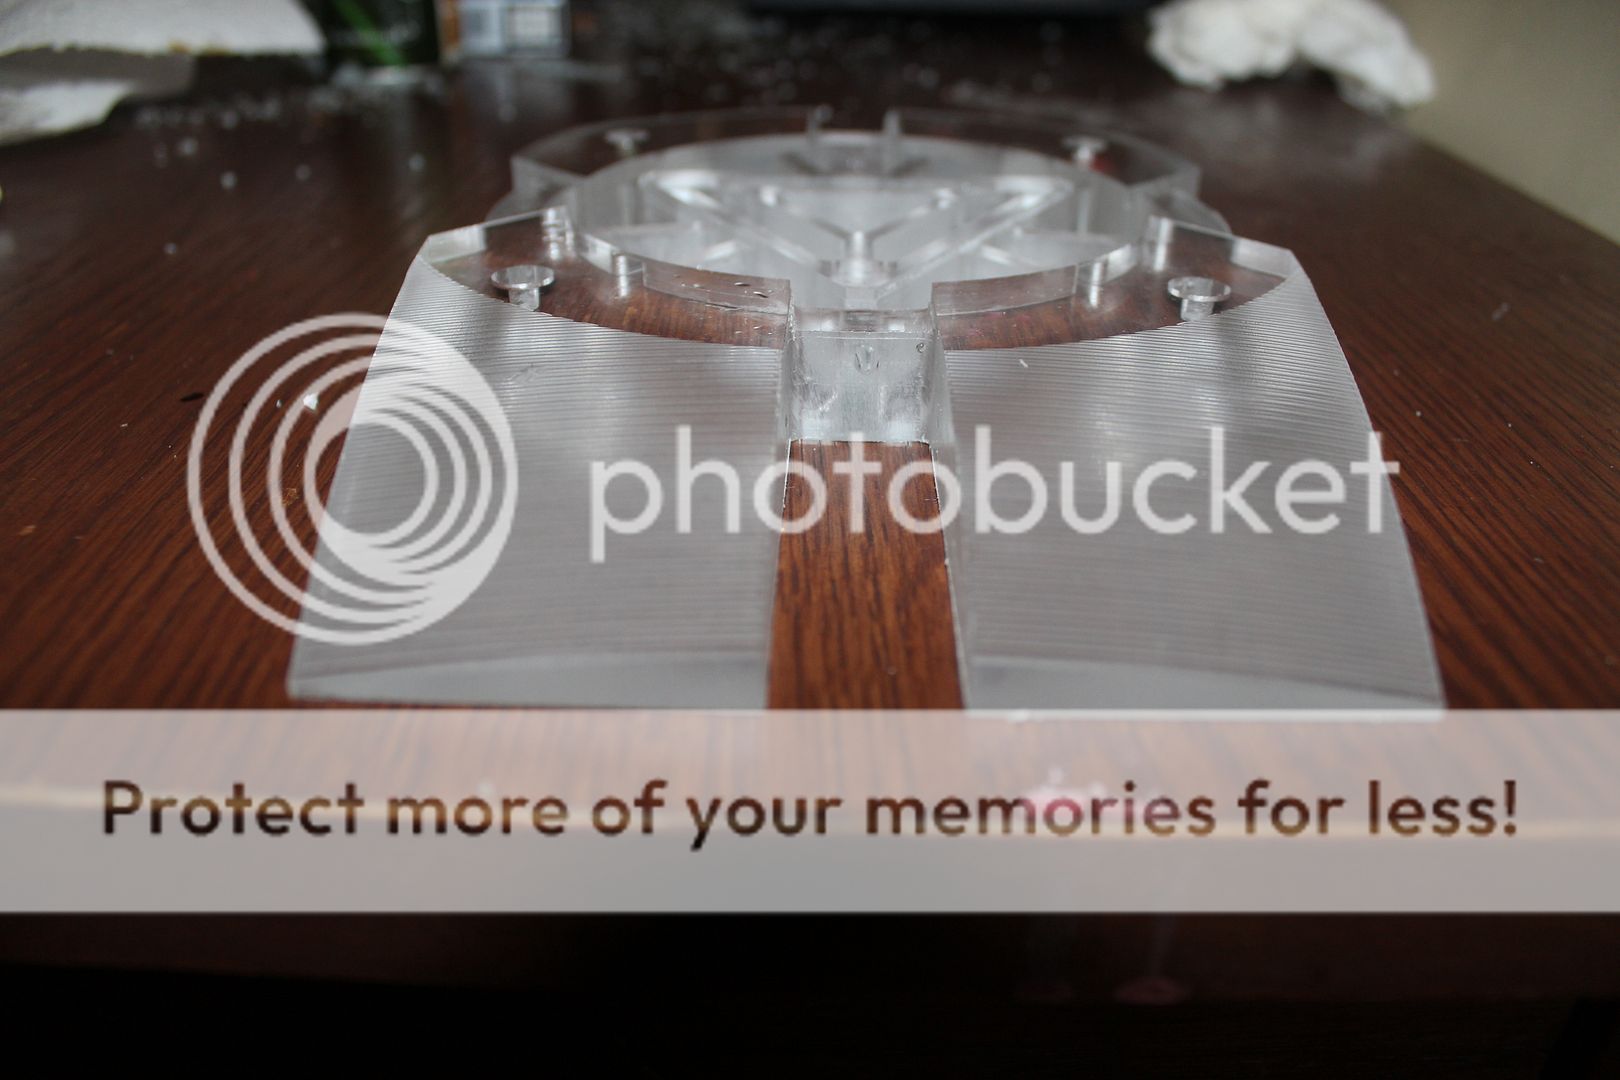
many many hours later we have this, i quite like the liered effect of the roughing but this is destined to have a smooth finish

finishing took less than an hour, meer seconds compared to the time the entire roughing took


and this is what we and up with


well thats me up to date, more updates in a week
 
I don't know what to say, really. That is some beautiful work, man.
really enjoying your build log. Keep it comin'
:)
 
Back
Top