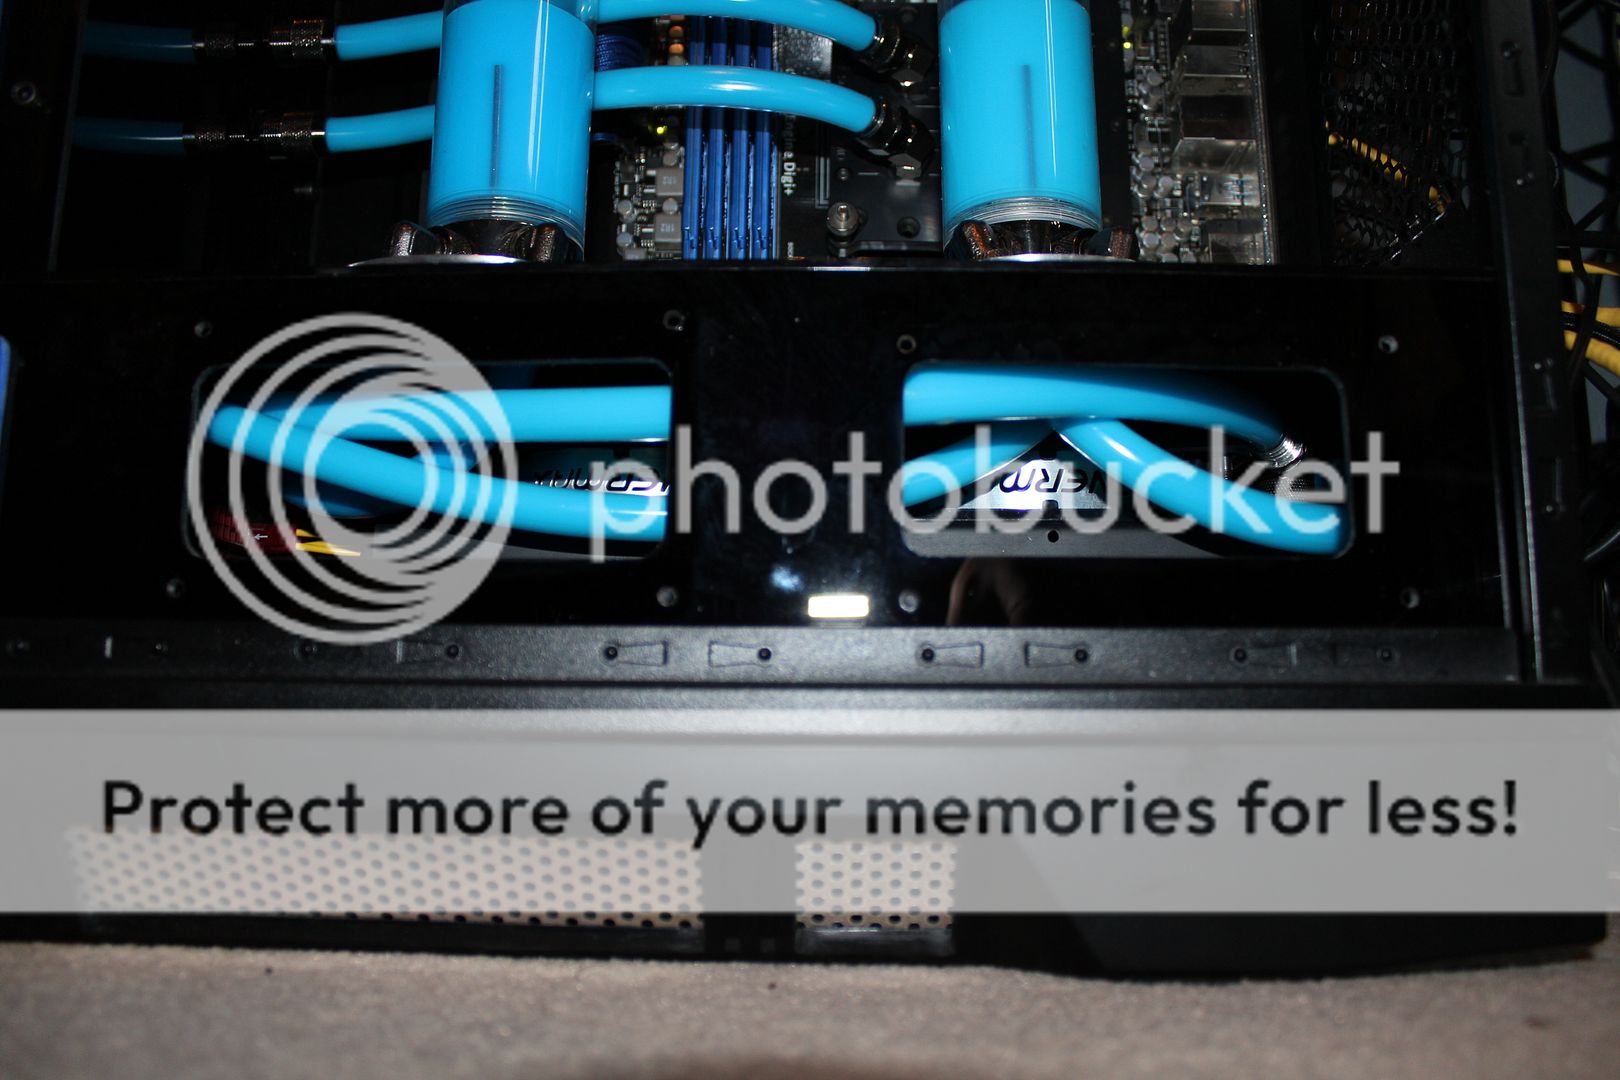
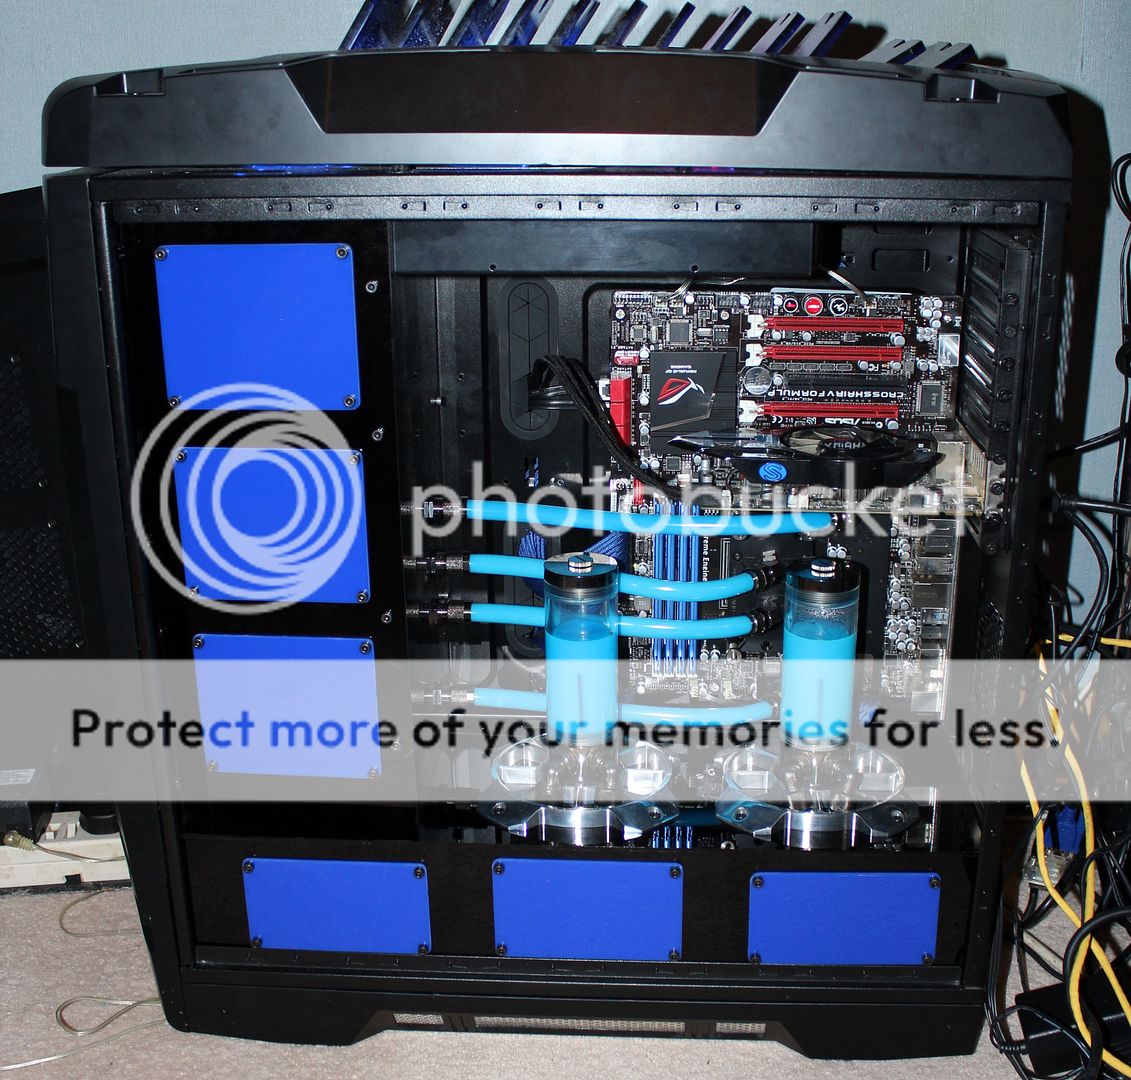
Hello good people of OC3D
For some time i have been working on my current build Arclight, and after doing a quick check of forum i use i have completely neglected to post it here
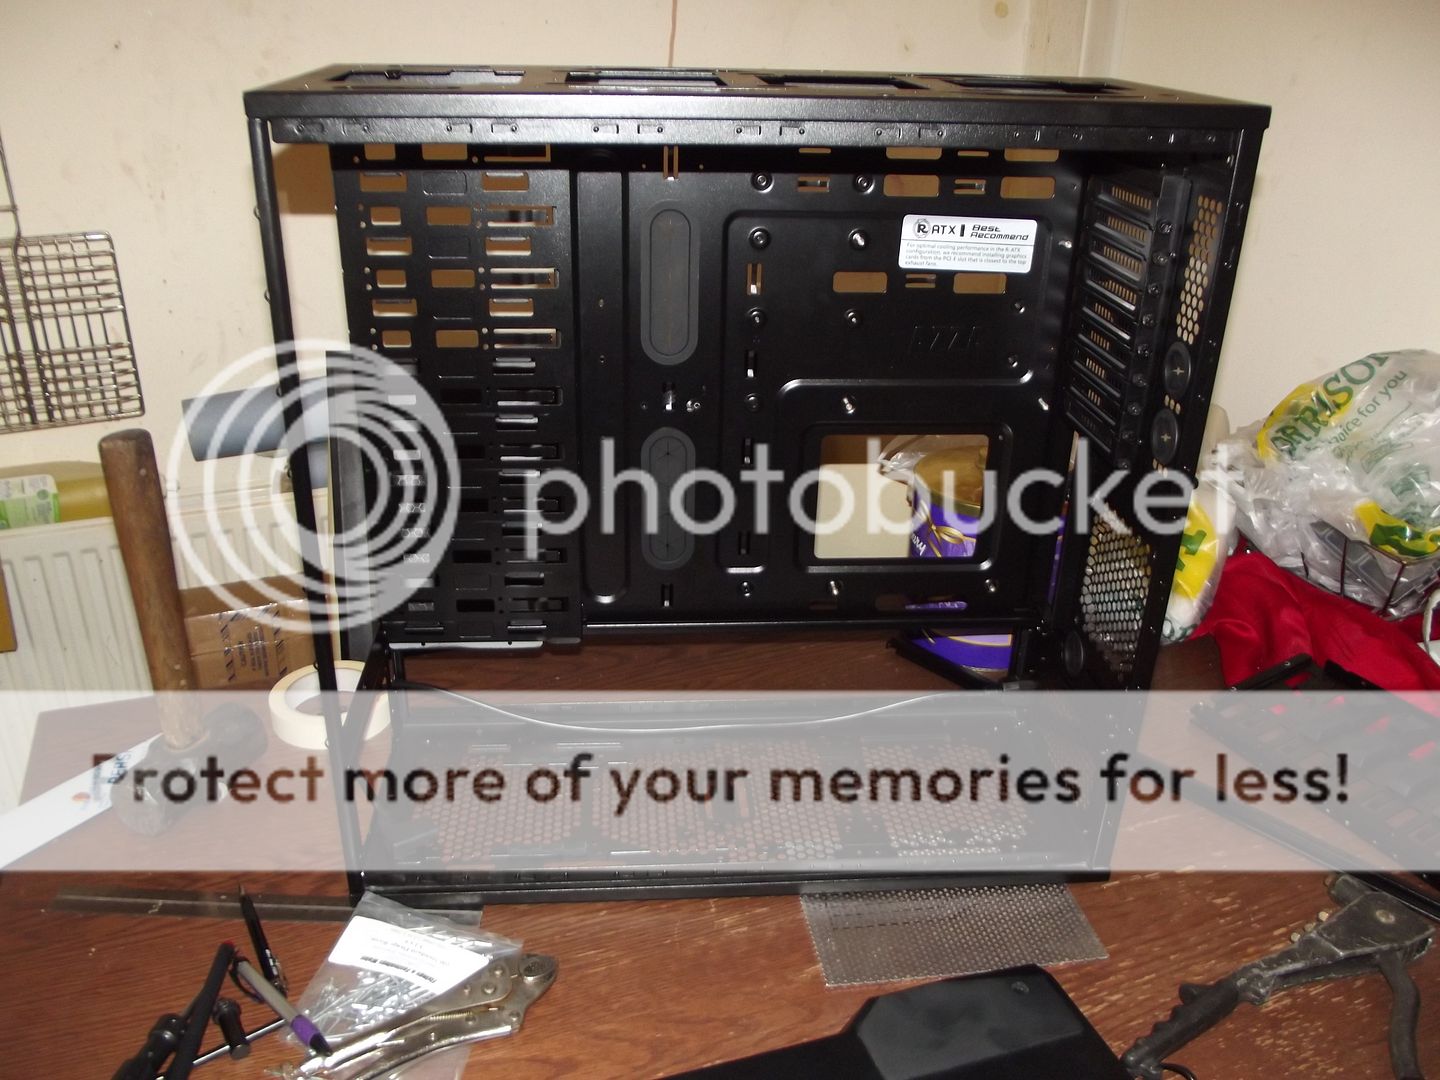
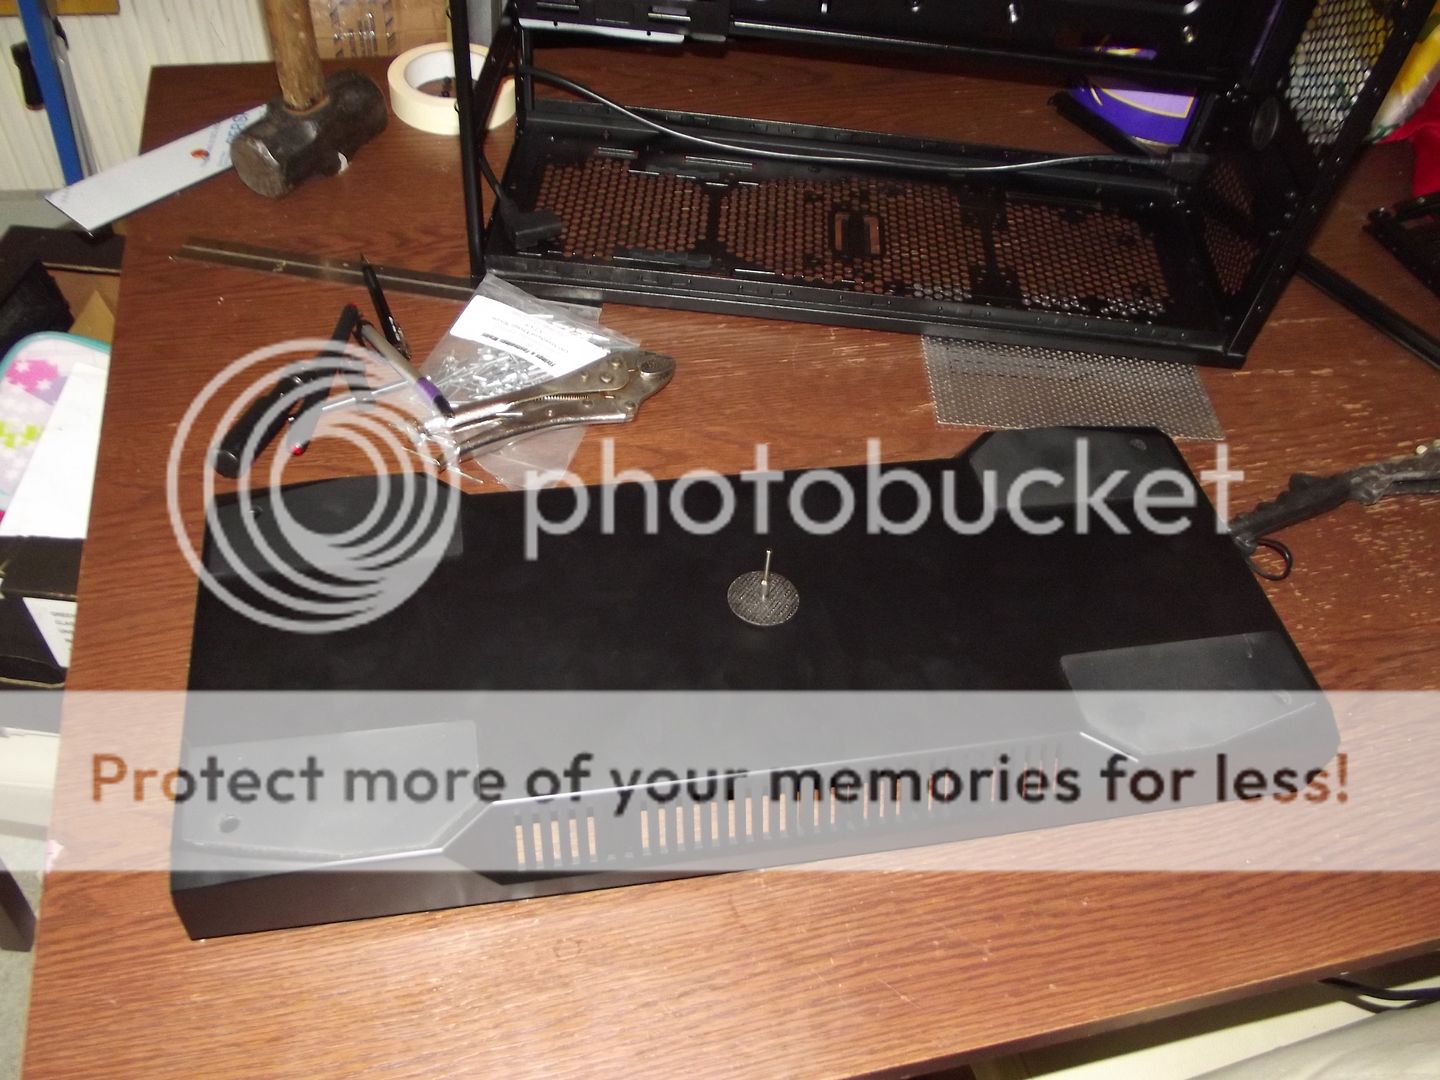
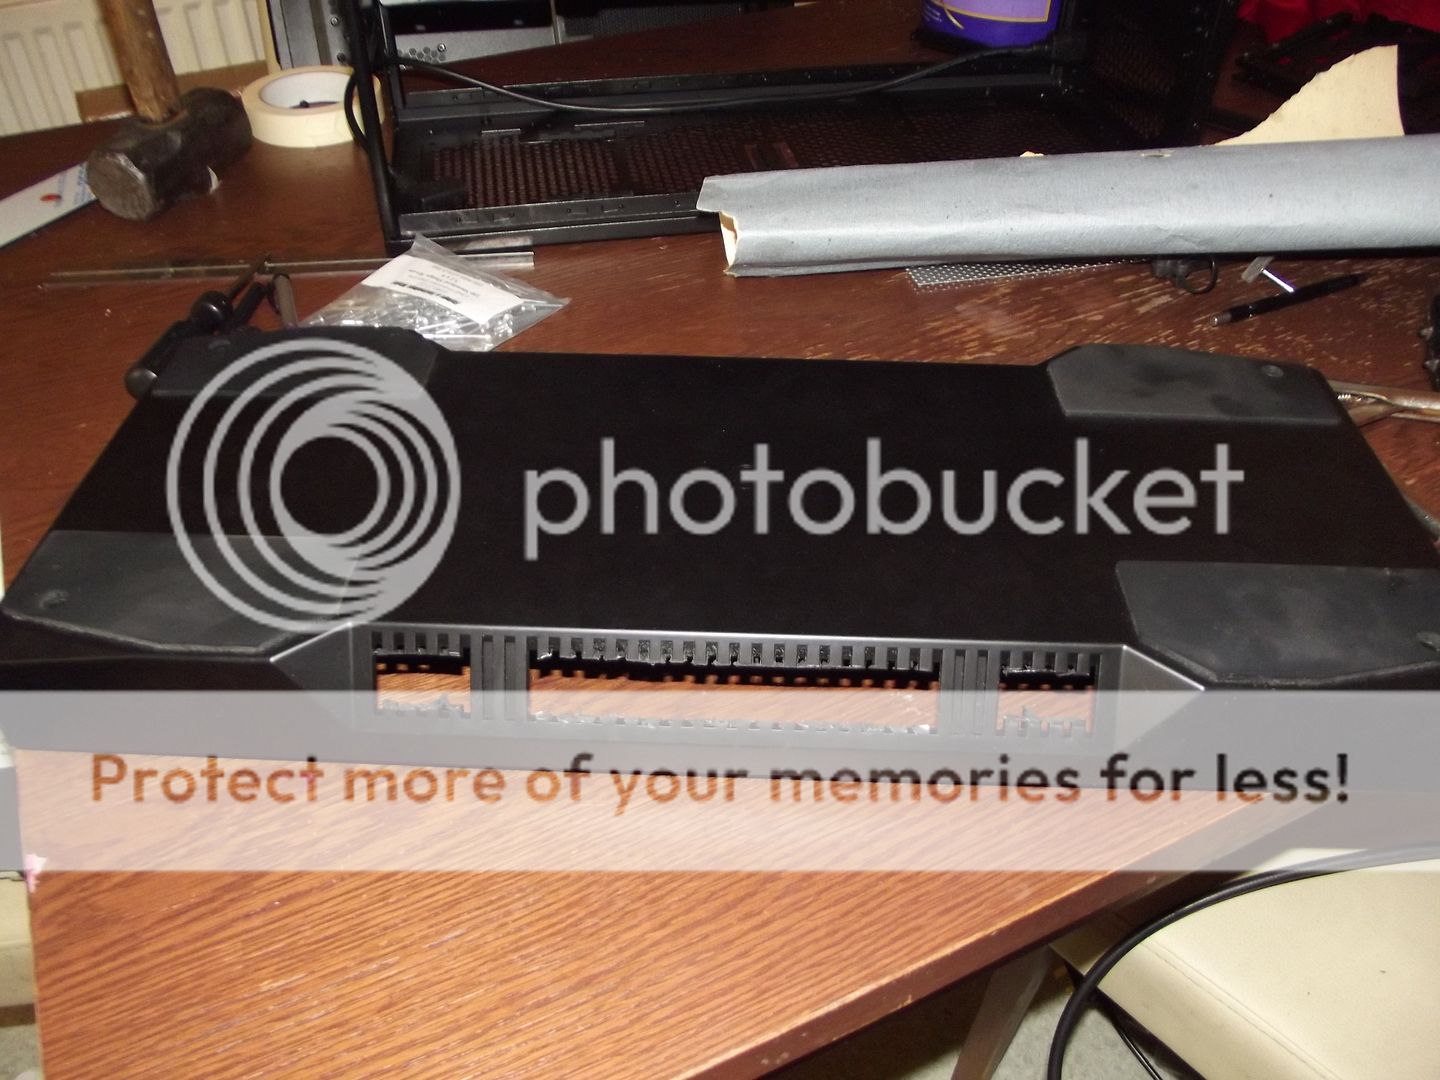
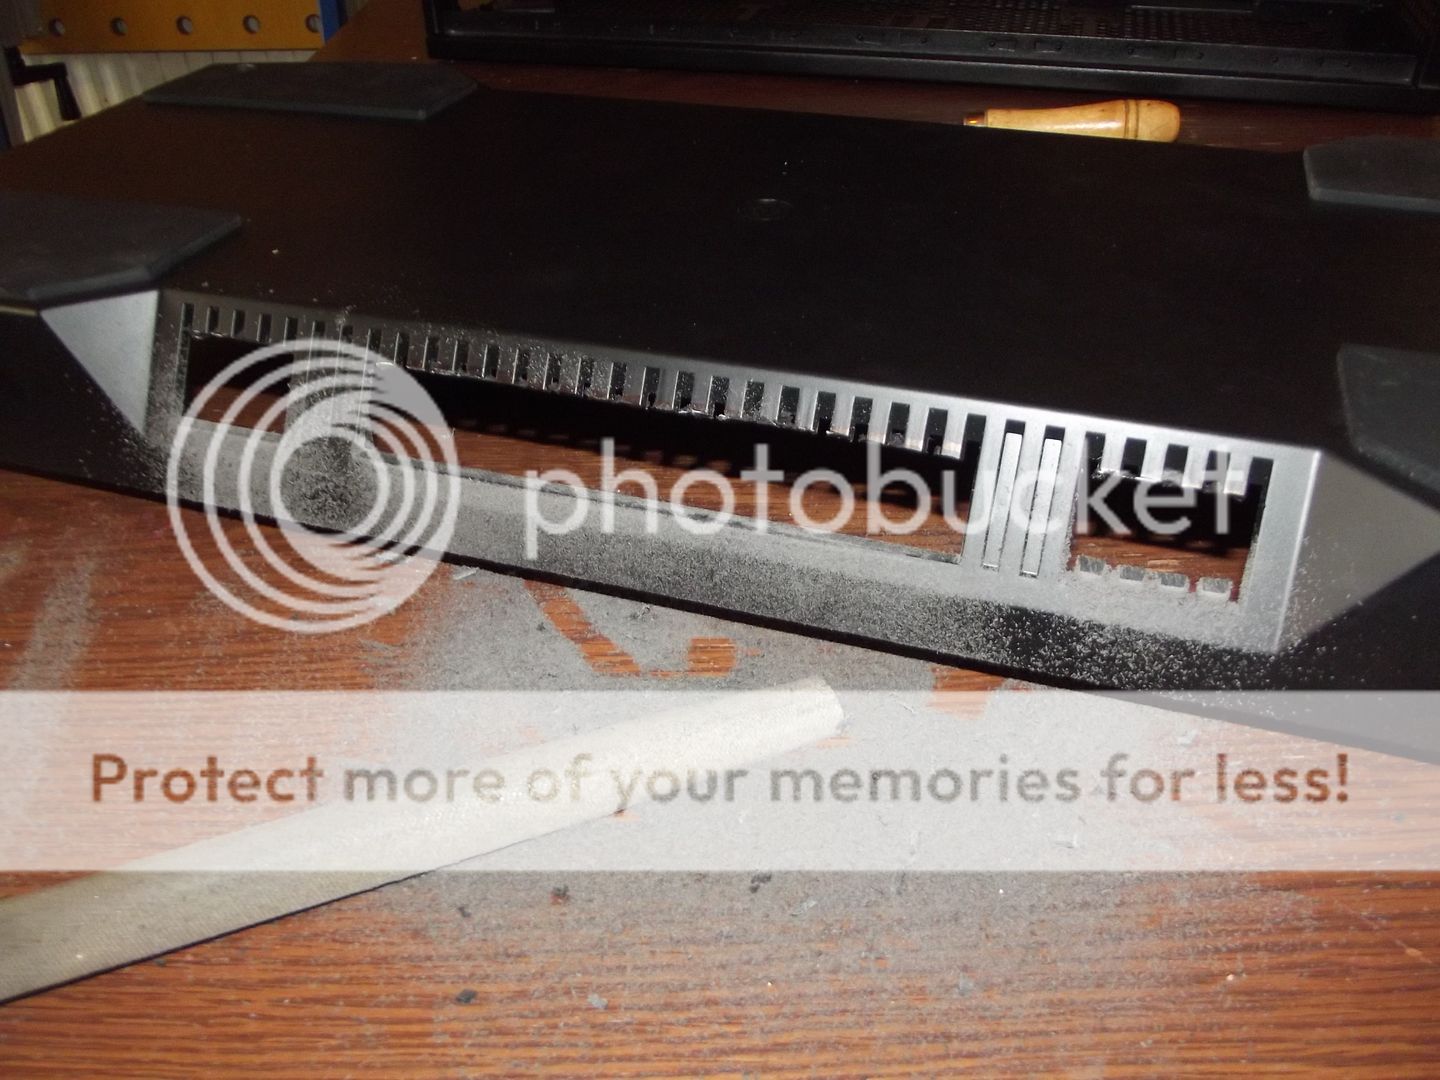
So here is is the full log so far, An questions please just ask and all feedback good and bad welcome
For some time i have been working on my current build Arclight, and after doing a quick check of forum i use i have completely neglected to post it here
So here is is the full log so far, An questions please just ask and all feedback good and bad welcome