alienware
Banned
So the logistics of this have now been worked out and it's been fully designed.
The Idea.
Right. I live with my fiancee in a 1920s 5 bedroom farm house. We both have Asperger's Syndrome and hate being apart. Due to this I have not got a desk set up to play games and have to use the television and a 360 controller. Now this is fine for games like Tomb Raider and Fallout but it is heavily lacking when it comes to FPS such as Crysis 3. I can't aim using the controller and I keep dying. What makes it even more frustrating is even though we have a 50 inch television I can't see enemies far in the distance because of how far away I have to sit.
Due to this I want something on my lap, but using proper peripherals. The idea was born....
What is lapdesk?
It's a desk you can have on your lap. It's not a laptop stand and it will have a full red blooded computer monitor mounted to it. Weight and physics have been carefully considered, and the over all weight will be around 9 kilos. This is a lot of weight, but it will be countered by a 4" layer of memory foam between it and the user. It will be akin to having a small child on your lap yet the child would be sitting on a cushion and the weight will be spread over a much bigger area meaning it disperses better to maximise comfort.
The materials.
So here we have what will be used for Lapdesk. First up I have a Lenovo 19" monitor. It has a 16:10 resolution, here are the specs.
Max Resolution: 1440 x 900 / 75 Hz
- Image Contrast Ratio: 1000:1
- Response Time: 5 ms
- Signal Input: DVI-D, VGA
So when I vsync I will get 75hz or 75 FPS which is awesome.
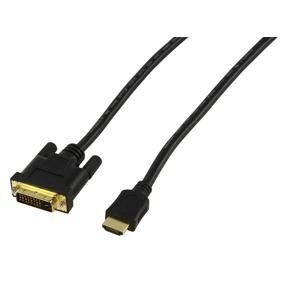
Powering Lapdesk will be my full on desktop filled with powerful hardware. It will use a 10 meter HDMI - DVI cable pictured here.
The keyboard and mouse.
Obviously using a full sized set is out of the question so sacrifices have to be made. I will be using a blue tooth wireless set from an Acer Revo.

Onto the build ideas and design.
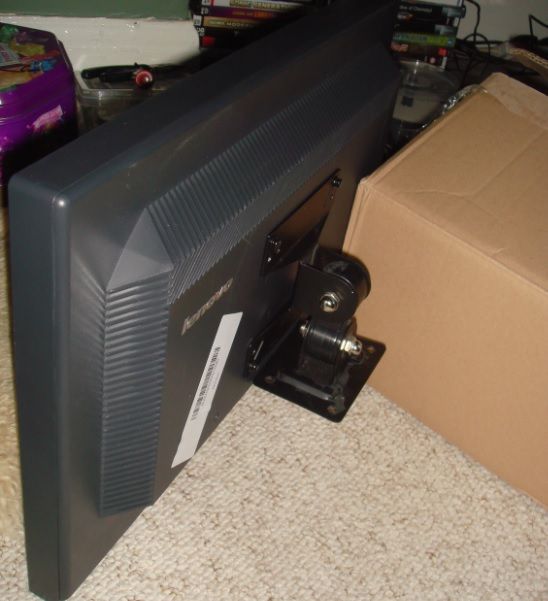
First I unpacked the monitor. Here it is with what I'll be using to set it up.

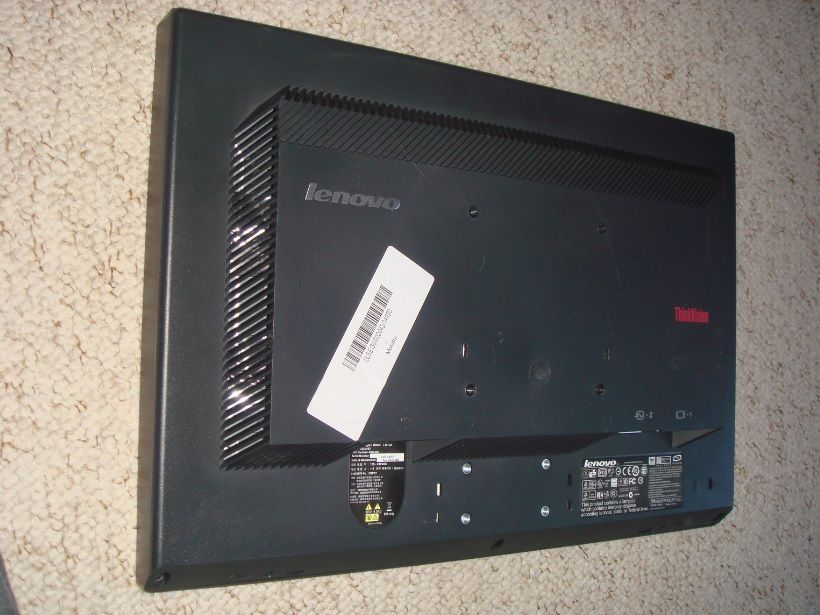
And the back, note the stand is gone.
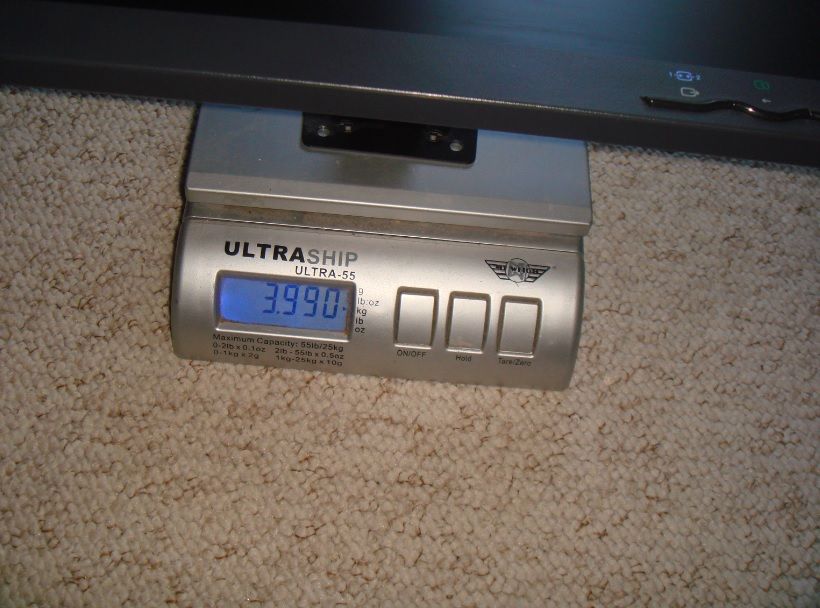
Then the most important part, weighing the monitor with the VESA mount fitted so I know how much weight I may have to counterbalance.
Then it was time to design a rough draft of it in Photoshop to pass over to a friend of mine who is fluent in Sketchup.

And about ten minutes later.....
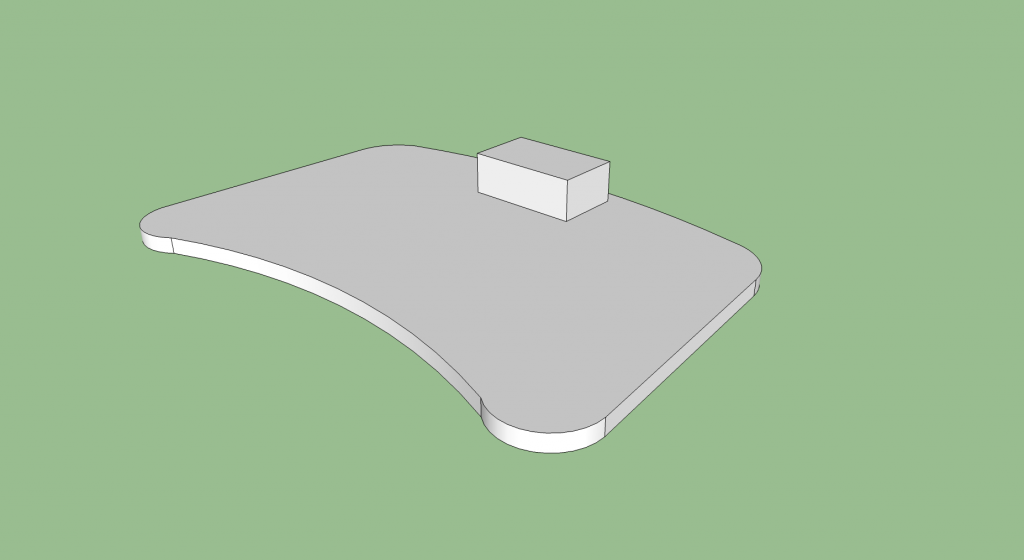
Note that right now it has no side parts or anything like that.. This is because I will add those as and when I need to after the unit above has been made. It will also have braces underneath to stop it from flexing.
This is how the monitor will mount onto the block in the design picture.
Allowing full tilt and rotation")
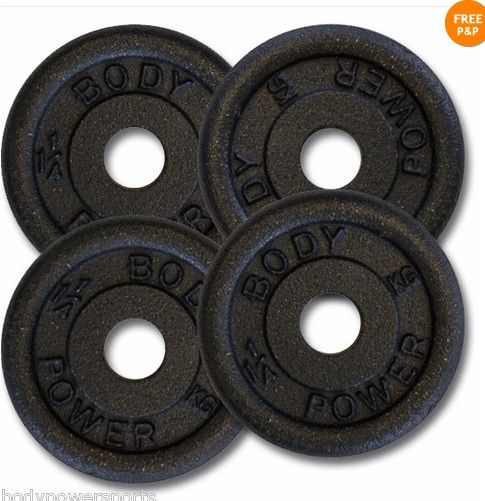
You will note how the corner edges near to the user are round? that's because they will have circular mounts on which to attach weights to counter balance the weight of the monitor. I will be ordering some 2kg iron weights like these.
So until next time ...
The Idea.
Right. I live with my fiancee in a 1920s 5 bedroom farm house. We both have Asperger's Syndrome and hate being apart. Due to this I have not got a desk set up to play games and have to use the television and a 360 controller. Now this is fine for games like Tomb Raider and Fallout but it is heavily lacking when it comes to FPS such as Crysis 3. I can't aim using the controller and I keep dying. What makes it even more frustrating is even though we have a 50 inch television I can't see enemies far in the distance because of how far away I have to sit.
Due to this I want something on my lap, but using proper peripherals. The idea was born....
What is lapdesk?
It's a desk you can have on your lap. It's not a laptop stand and it will have a full red blooded computer monitor mounted to it. Weight and physics have been carefully considered, and the over all weight will be around 9 kilos. This is a lot of weight, but it will be countered by a 4" layer of memory foam between it and the user. It will be akin to having a small child on your lap yet the child would be sitting on a cushion and the weight will be spread over a much bigger area meaning it disperses better to maximise comfort.
The materials.
So here we have what will be used for Lapdesk. First up I have a Lenovo 19" monitor. It has a 16:10 resolution, here are the specs.
Max Resolution: 1440 x 900 / 75 Hz
- Image Contrast Ratio: 1000:1
- Response Time: 5 ms
- Signal Input: DVI-D, VGA
So when I vsync I will get 75hz or 75 FPS which is awesome.
Powering Lapdesk will be my full on desktop filled with powerful hardware. It will use a 10 meter HDMI - DVI cable pictured here.

The keyboard and mouse.
Obviously using a full sized set is out of the question so sacrifices have to be made. I will be using a blue tooth wireless set from an Acer Revo.

Onto the build ideas and design.
First I unpacked the monitor. Here it is with what I'll be using to set it up.

And the back, note the stand is gone.

Then the most important part, weighing the monitor with the VESA mount fitted so I know how much weight I may have to counterbalance.

Then it was time to design a rough draft of it in Photoshop to pass over to a friend of mine who is fluent in Sketchup.

And about ten minutes later.....

Note that right now it has no side parts or anything like that.. This is because I will add those as and when I need to after the unit above has been made. It will also have braces underneath to stop it from flexing.
This is how the monitor will mount onto the block in the design picture.

Allowing full tilt and rotation
You will note how the corner edges near to the user are round? that's because they will have circular mounts on which to attach weights to counter balance the weight of the monitor. I will be ordering some 2kg iron weights like these.

So until next time
...

 .
.


")